

Review:
Legrand - Valena Next - Starterskit

Installation:
The first step is to power the hub. You can do this by connecting the installation wires to the socket. A blue (N) and phase wire (L) is required. This can be found in most wall sockets, especially if you already have a socket there. Make sure you turn off the power first, such a shock is a bit annoying.
After restoring the power we hear a click (from the relay) and we see that the light at the socket starts flashing red and then stays red for a few seconds. Now we place the gateway in the wall socket, wait a while before placing the frame. If we now look further in the manual, we have to connect the accessories.
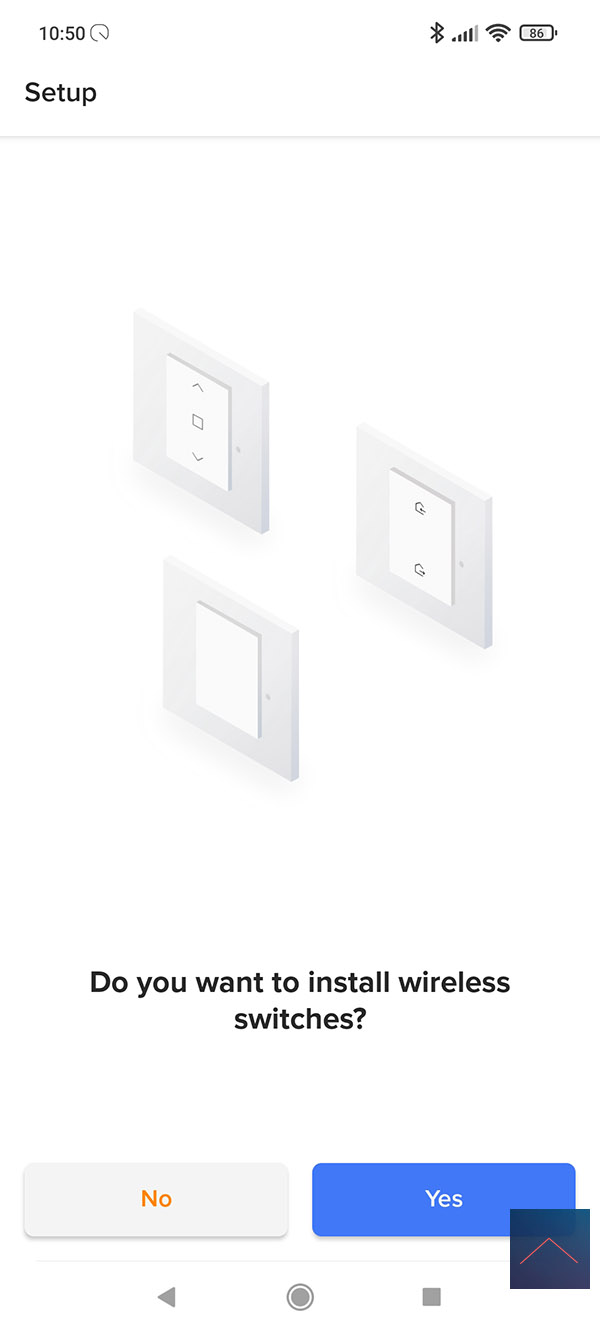
So we grab the wireless wall switch and unhook the tab to make sure it gets power. The led will flash green and after a while we see that it lights up green and this is also the case on the gateway. So it looks like it's linked.
We do not have any additional devices, so we can proceed to the last steps in the manual. And that is installing the cover plates and installing the wireless wall switch in place.
Configure/install APP:
All nice of course that everything is hanging on the wall, but we really want to do something with it. For this you need to install the Legrand Home + Control APP. It is available for Android and iOS.
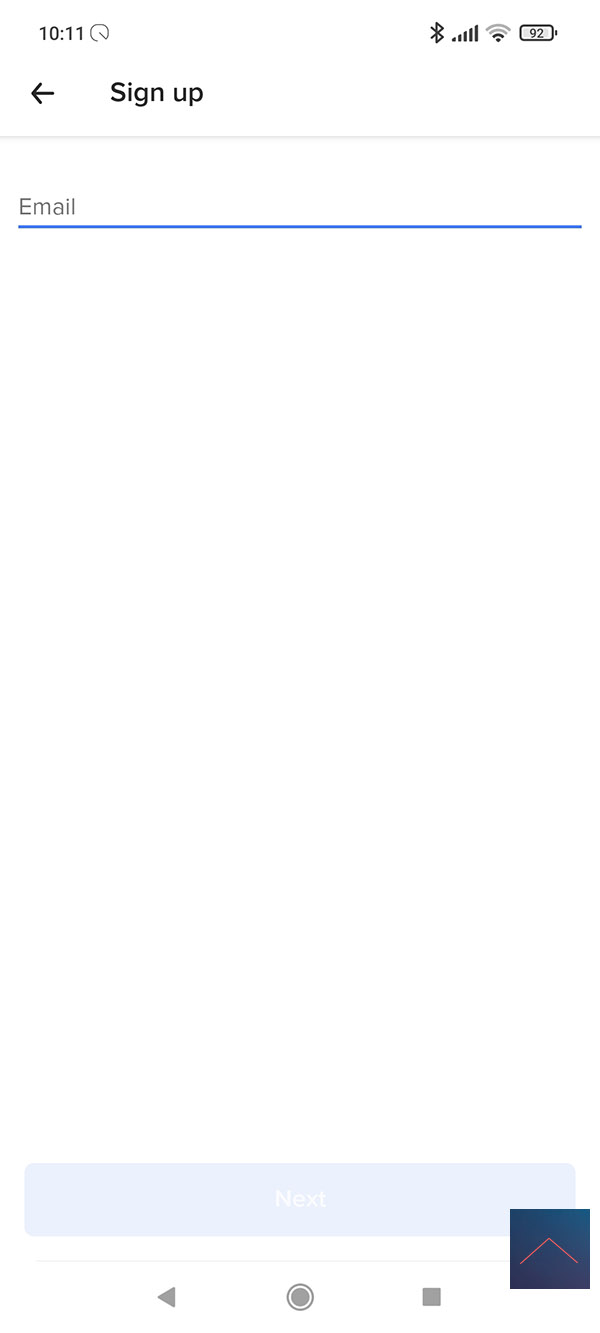
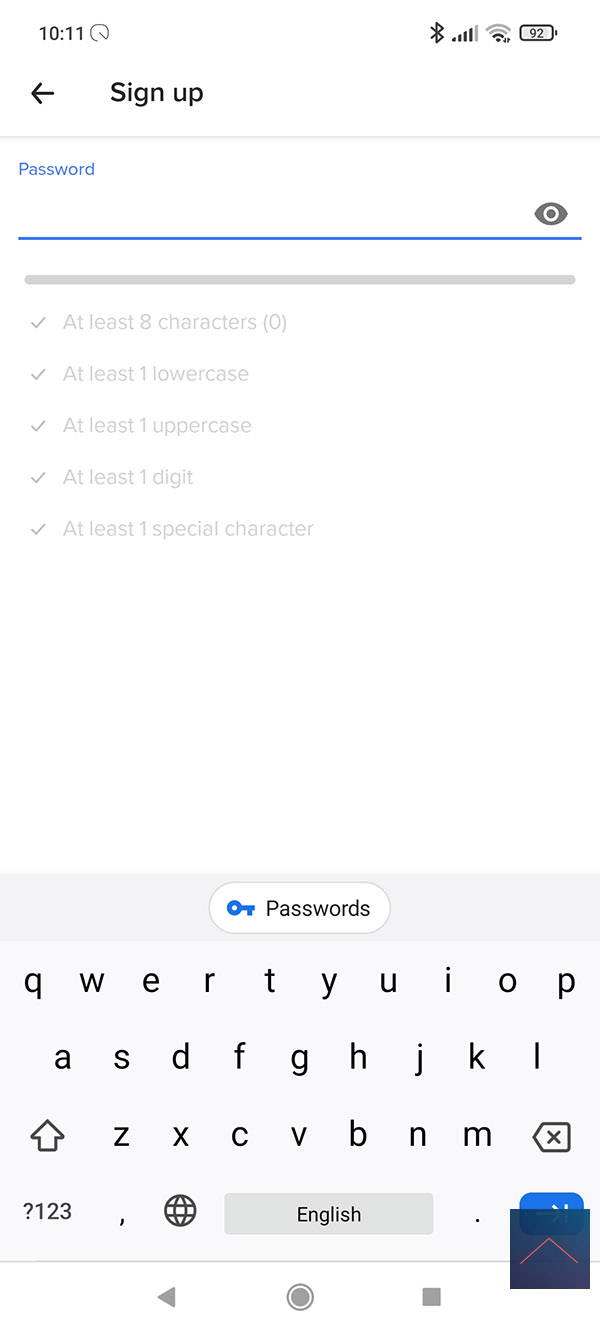
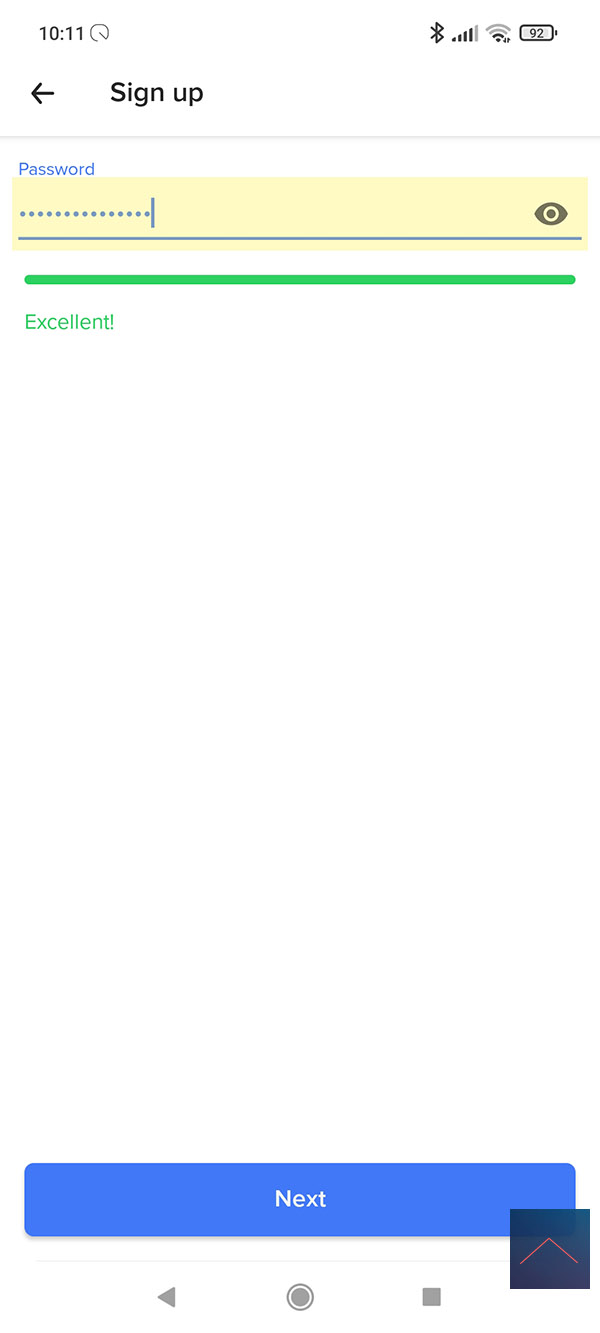
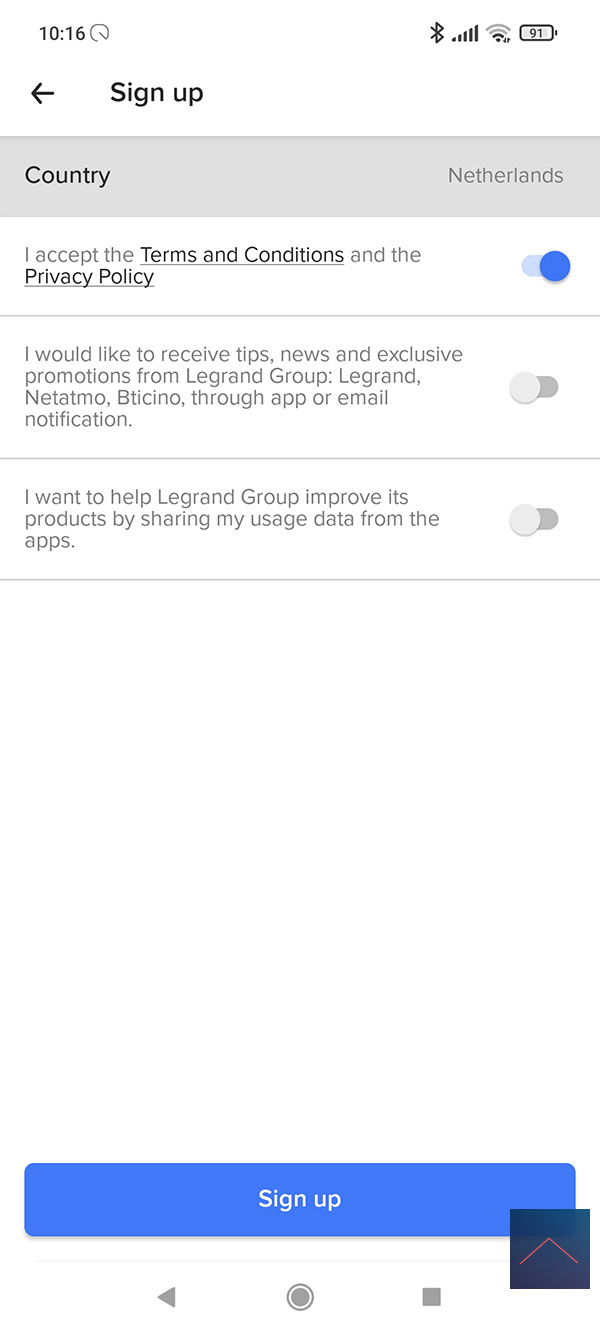
As usual, we must first create an account by means of email address and password. If we look at the conditions/privacy in the last step, we see nothing special in this. As far as we can see, only Legrand/Netatmo has access to your data. If you really want to know this, there is an overview that shows exactly what happens to your data. Other manufacturers can take an example from this.
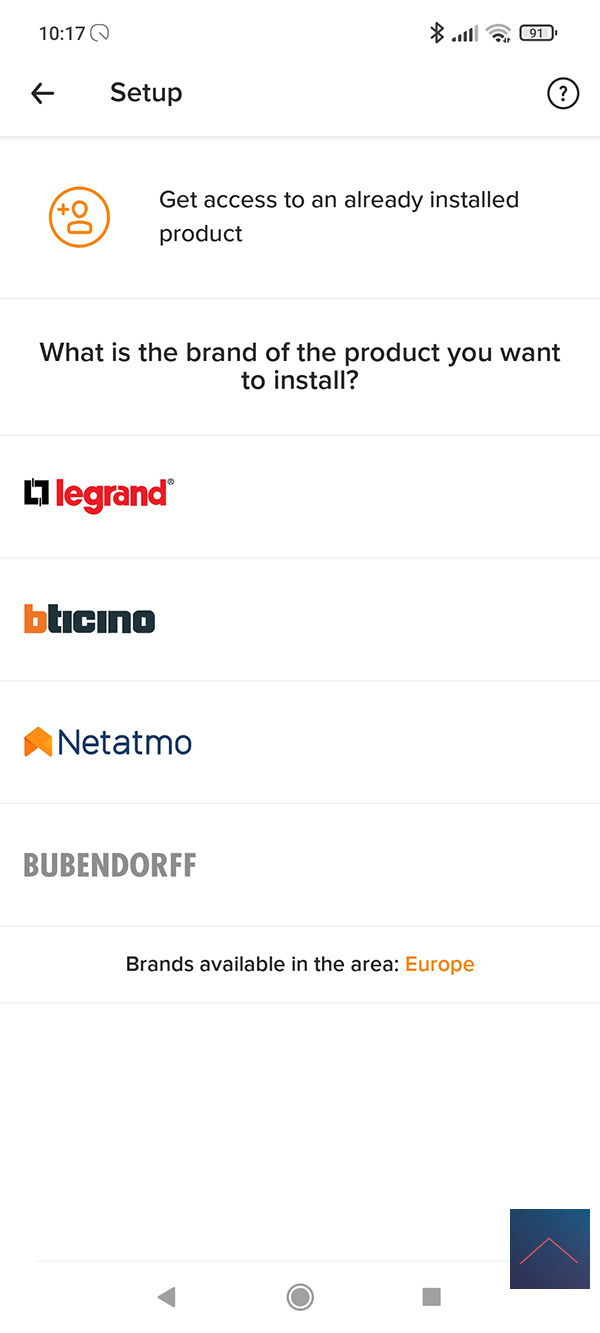
After creating it, you will be asked what kind of product we are installing. In our case, Legrand.

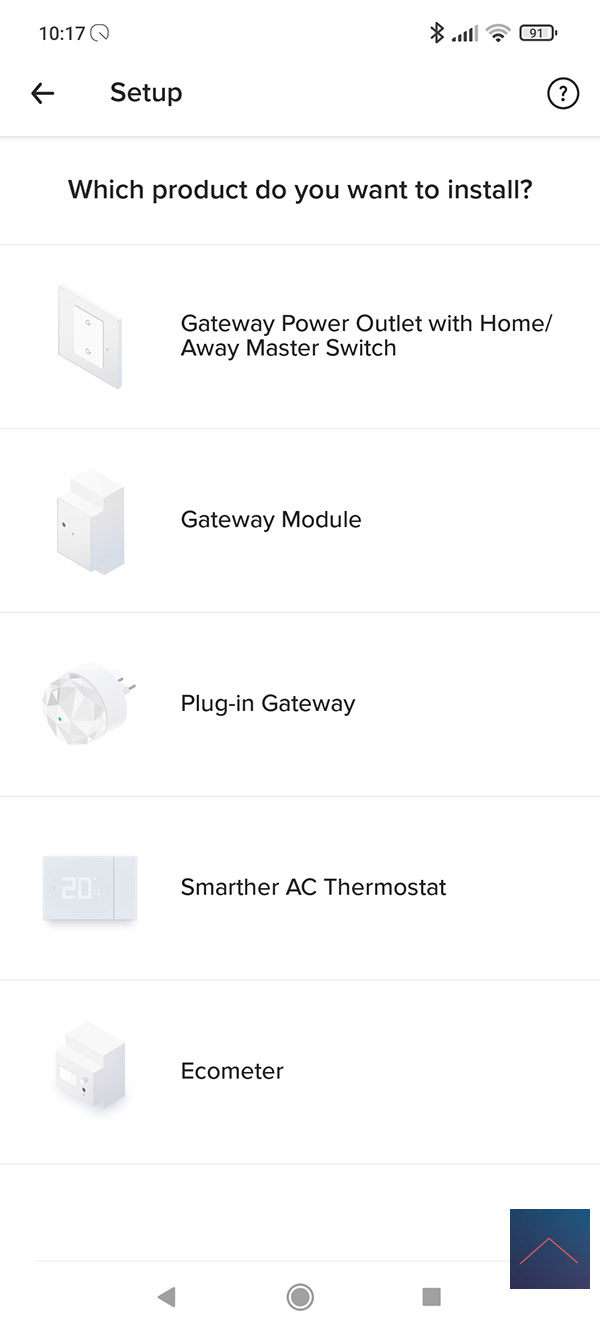
The next step is the question of what we want to install. We select the gateway. Now we're really going to add it
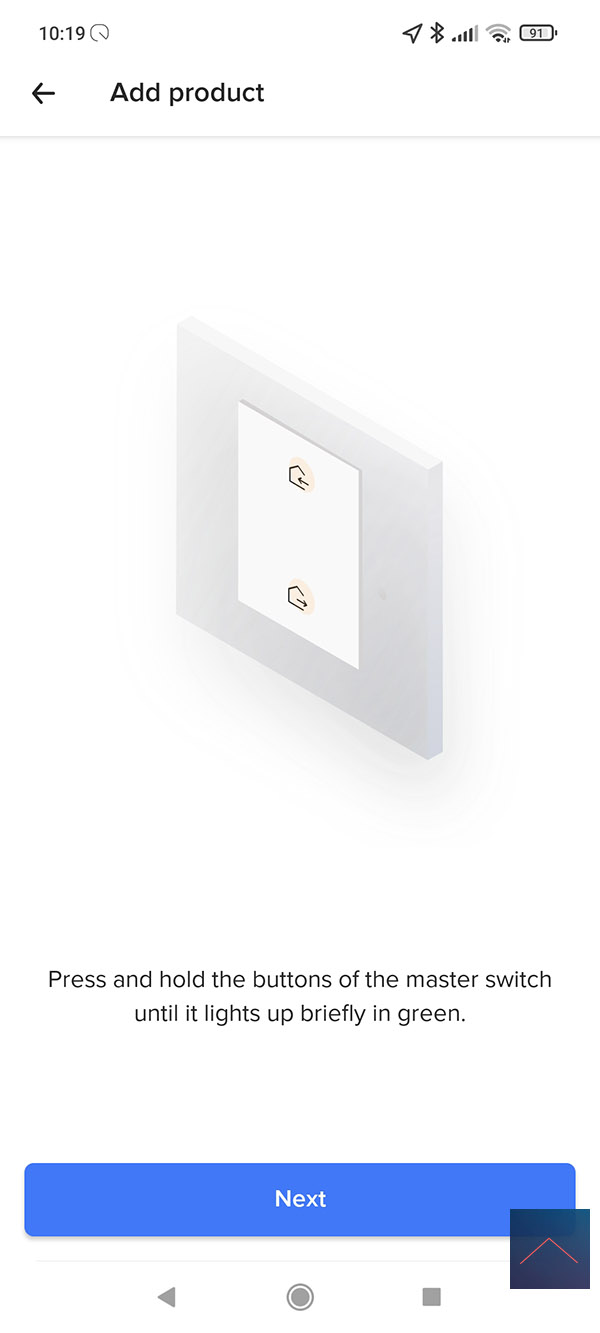
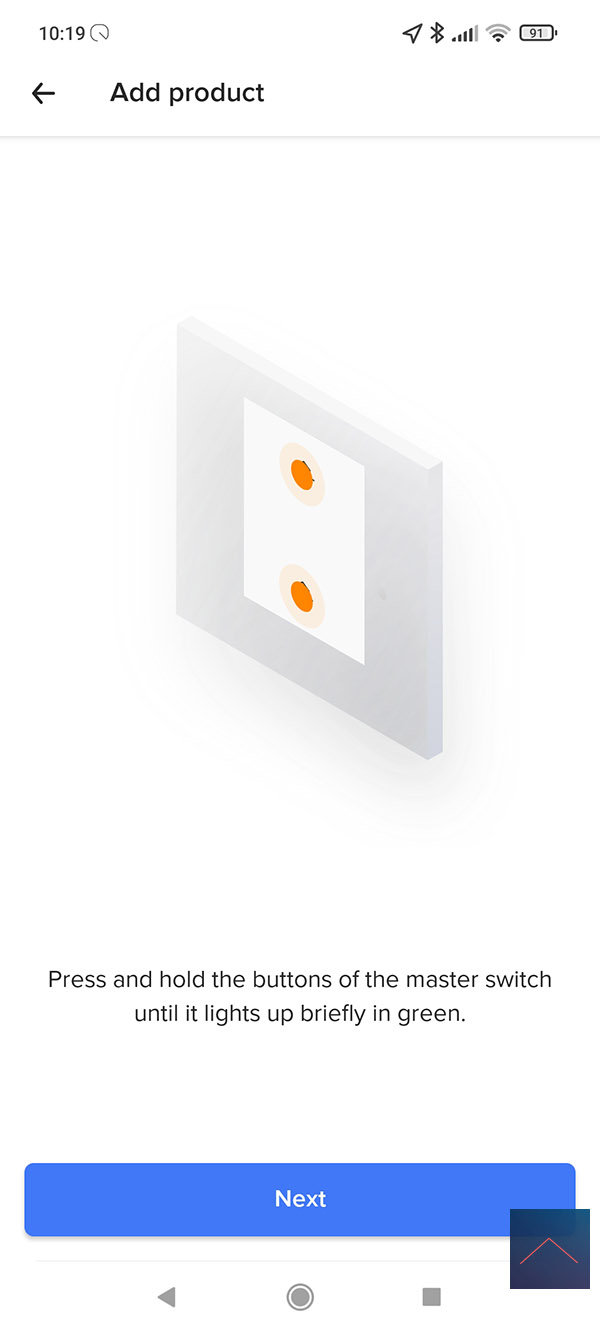
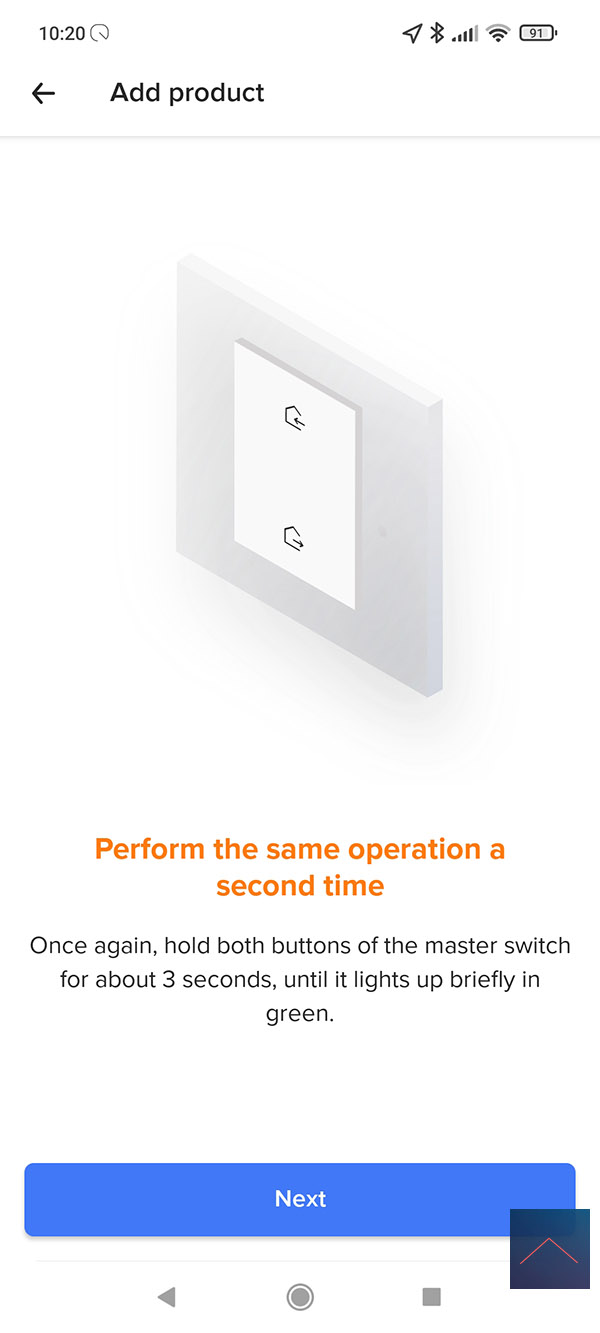
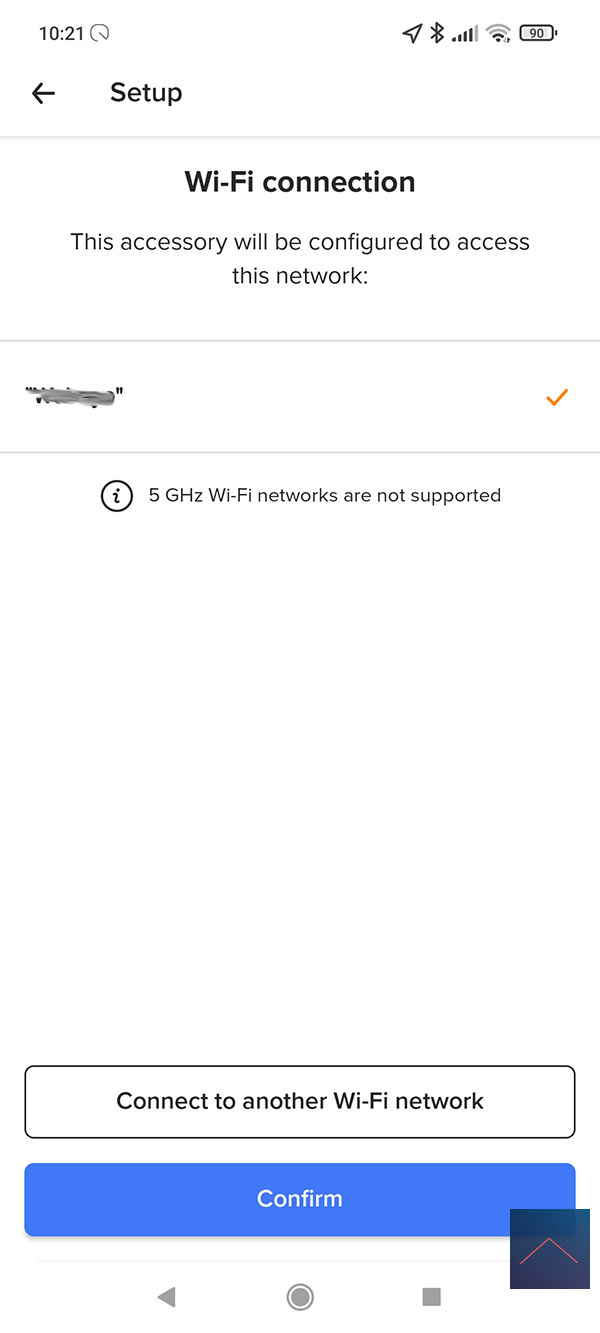
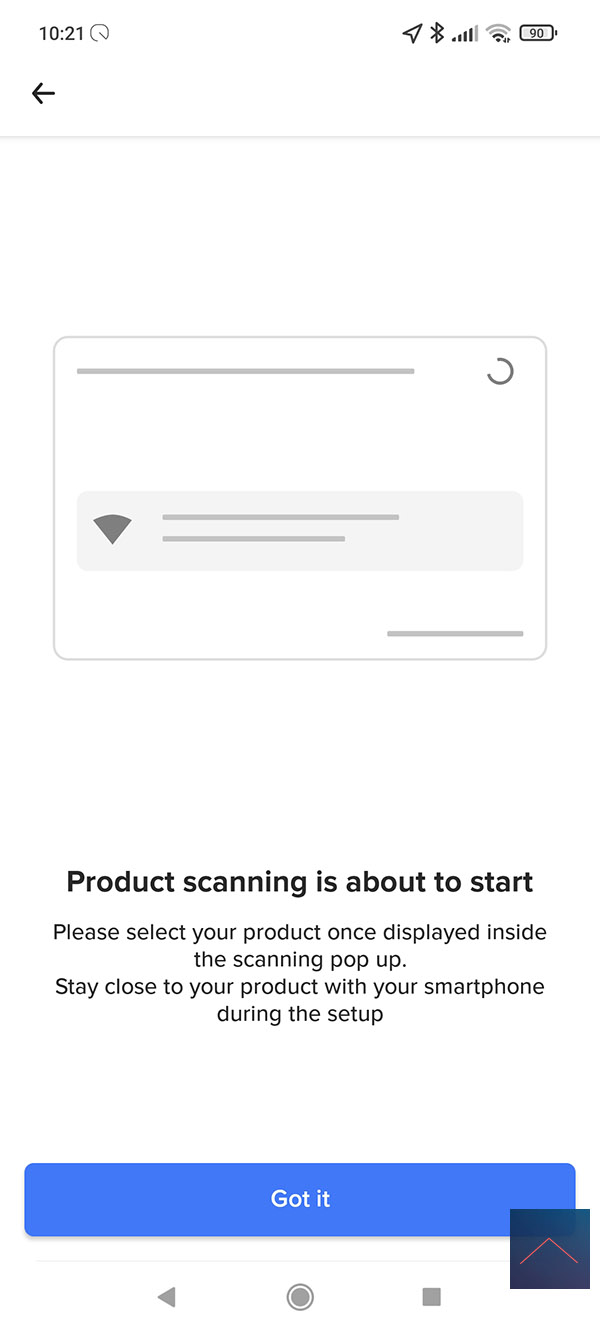
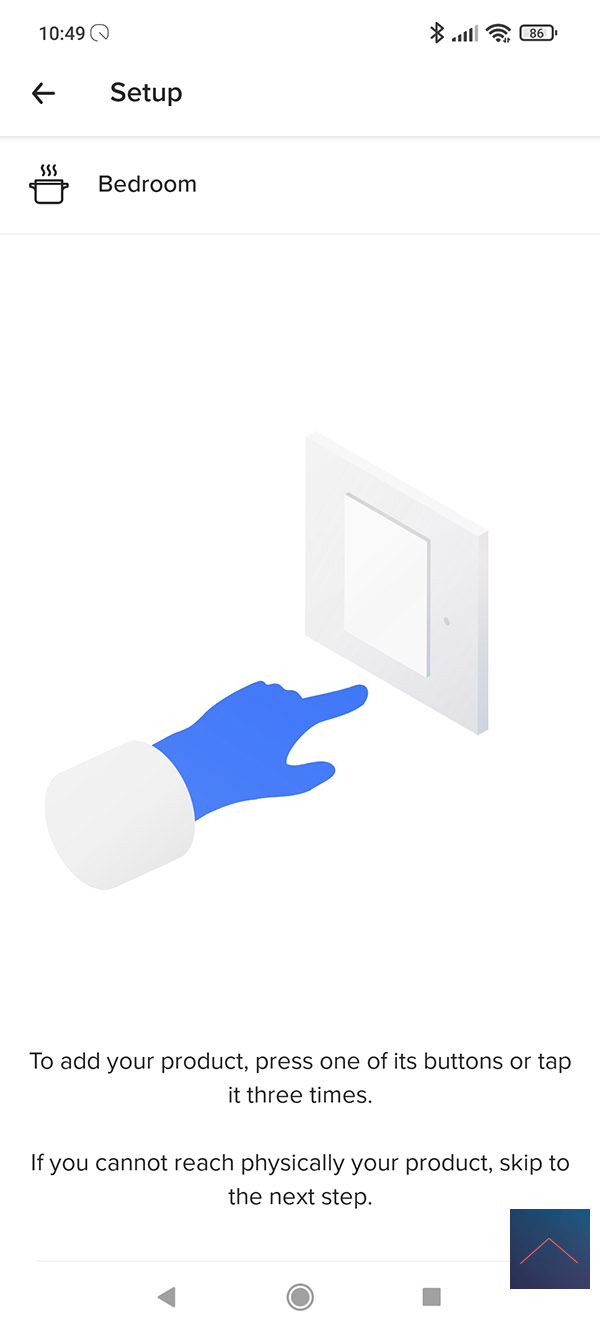
After some steps you will be asked to press the buttons of the wall transmitter together until the LED lights up green. We must repeat this. Now you will be asked which WiFi network we want to connect. We select this and make sure that you do not use a 5Ghz connection, because this is not supported.
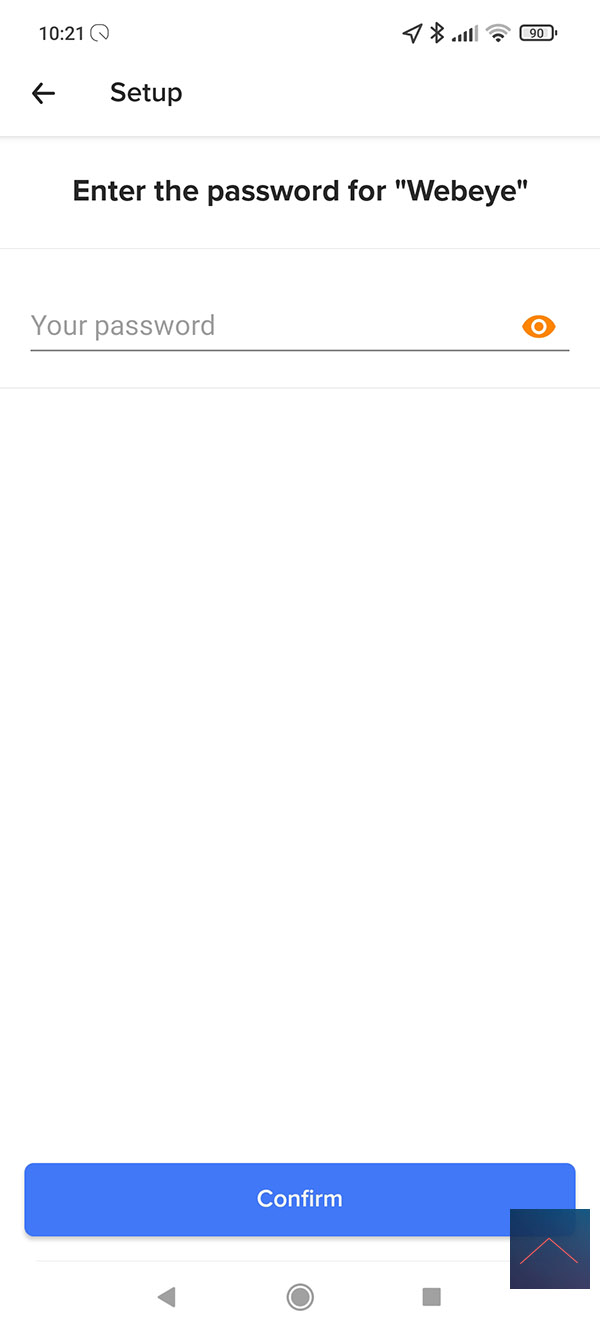
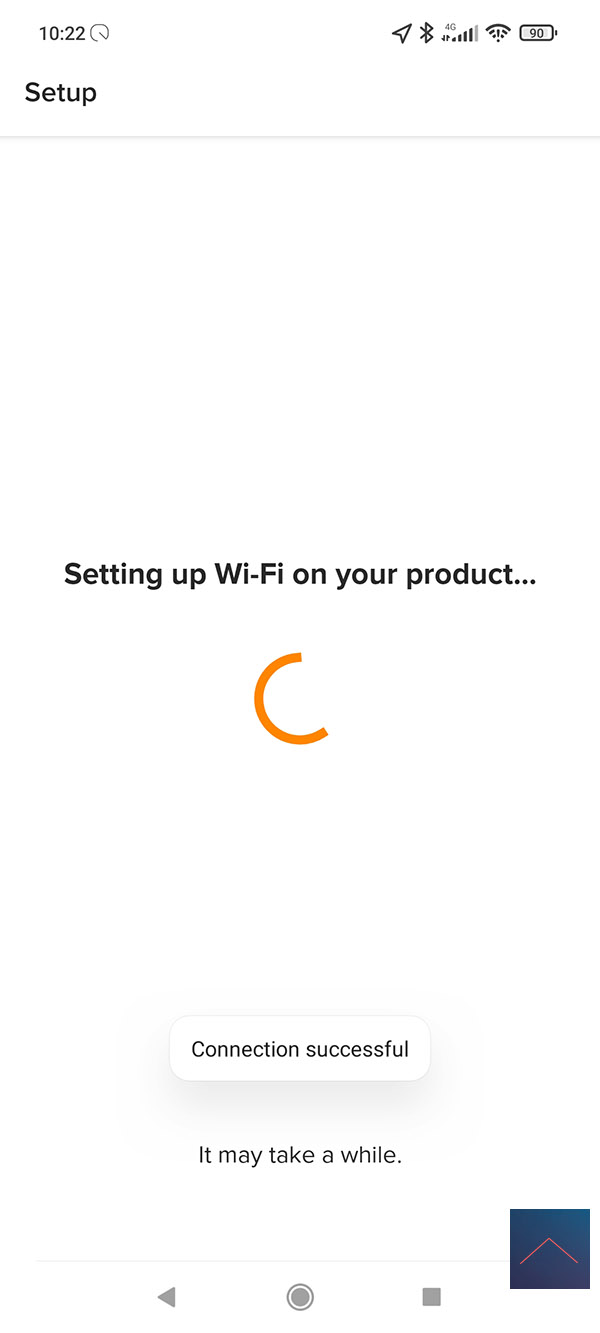
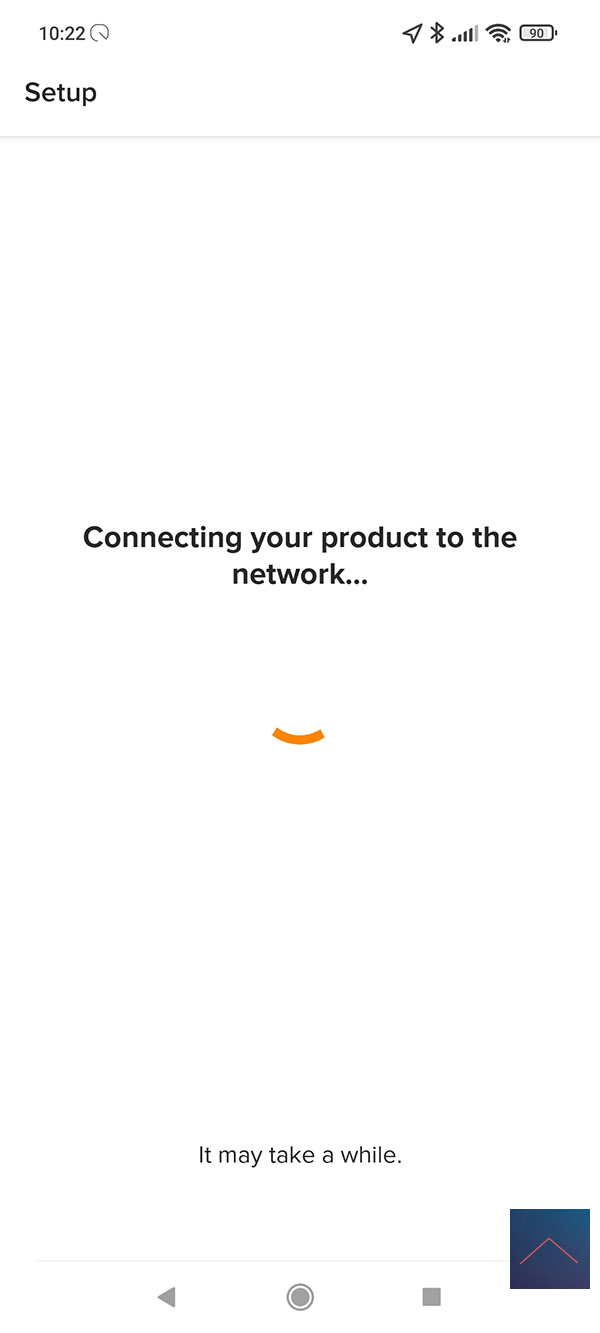
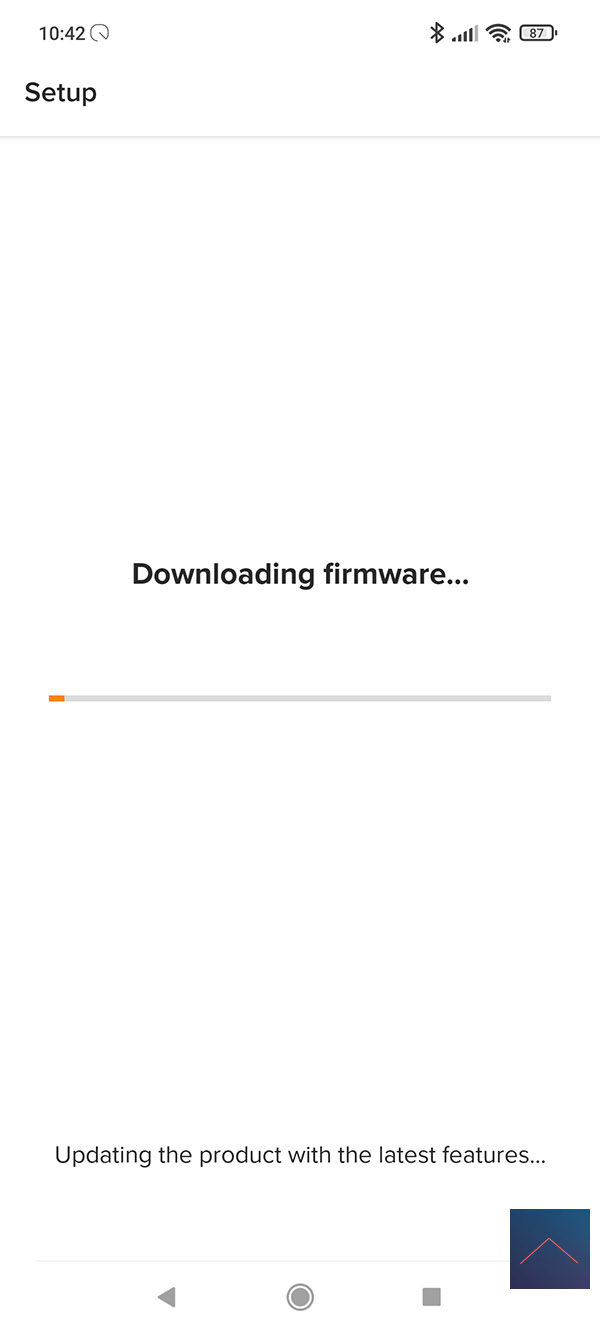
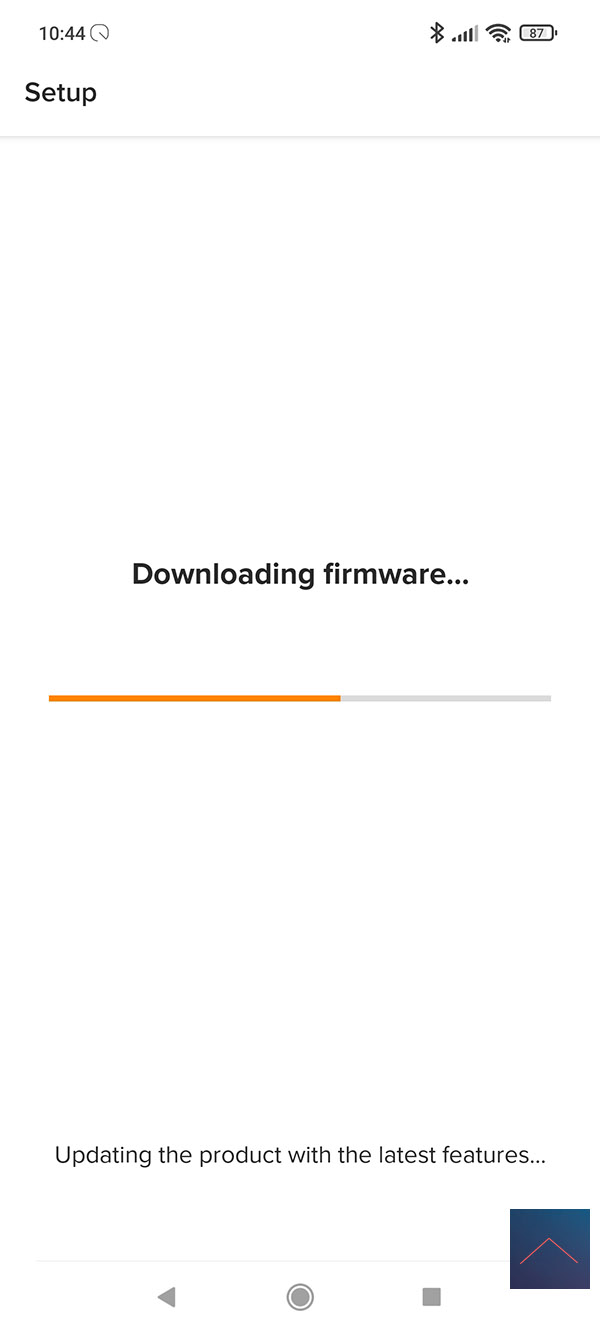
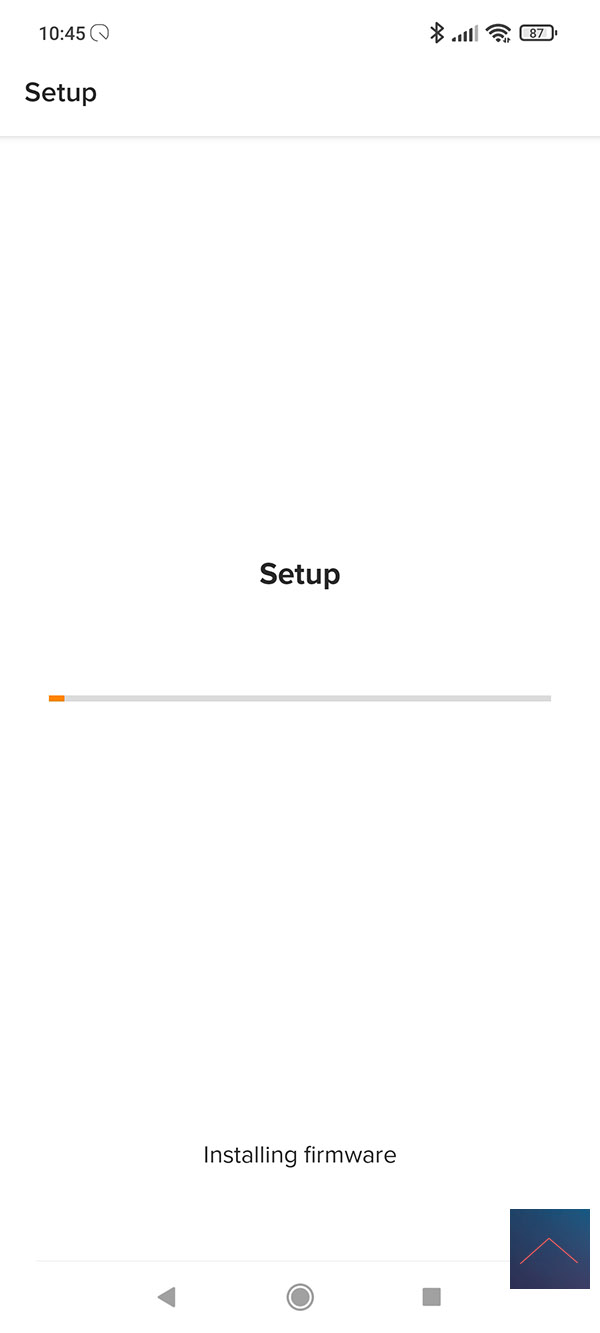
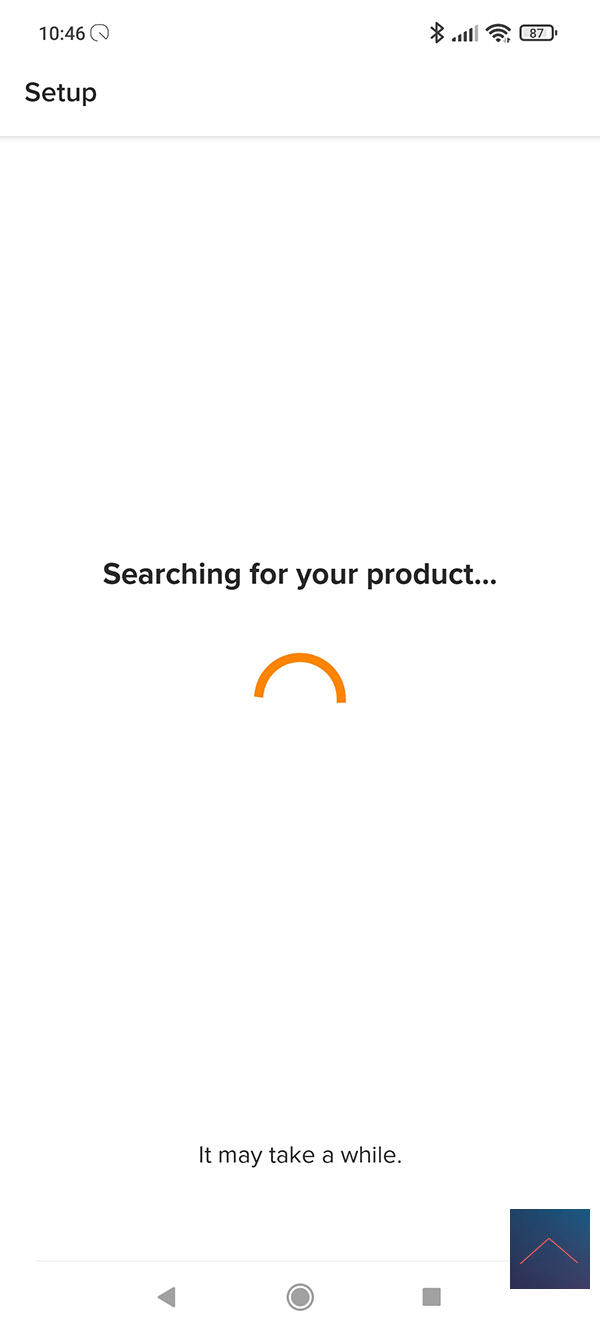
Now the APP will search for the gateway which is configured as a hotspot. After a few seconds we see it appear and the APP will configure your local WiFi connection so that the gateway can connect to it. After it is connected (please be patient) a new firmware will be downloaded.
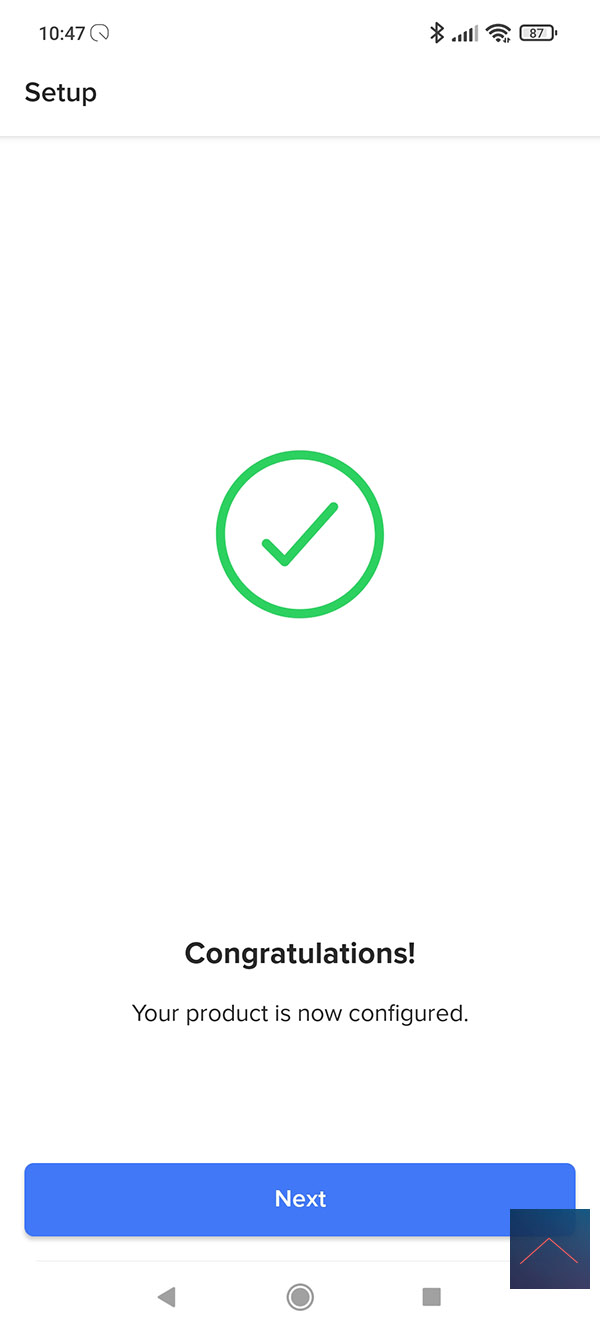
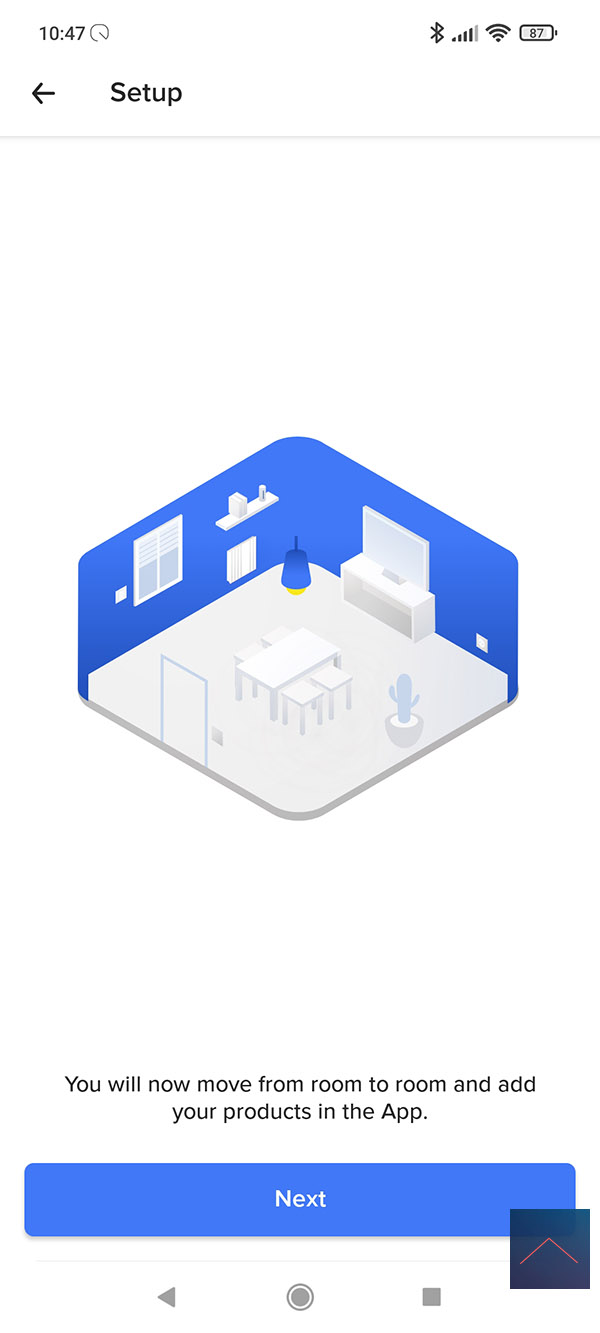
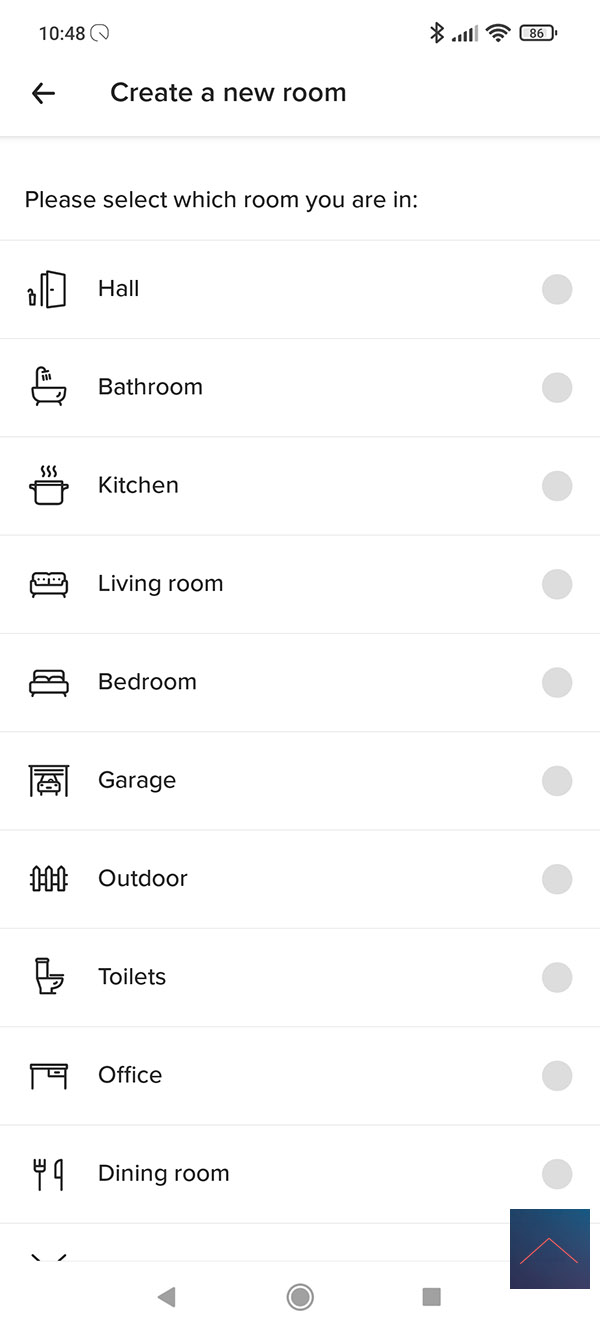
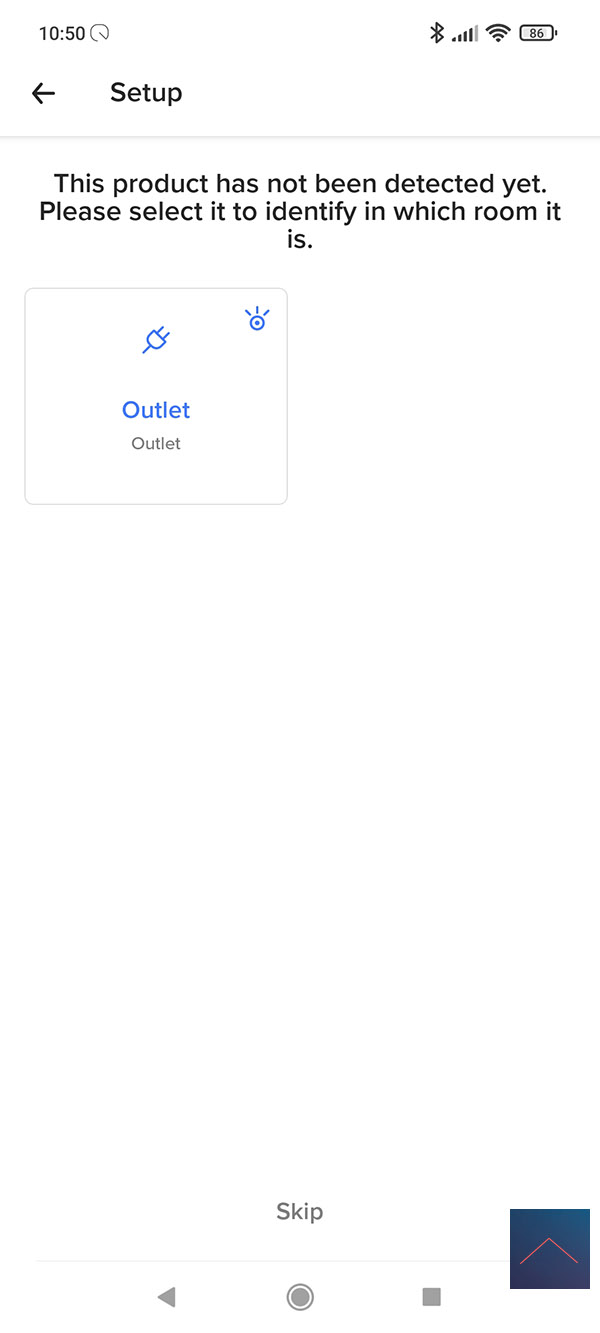
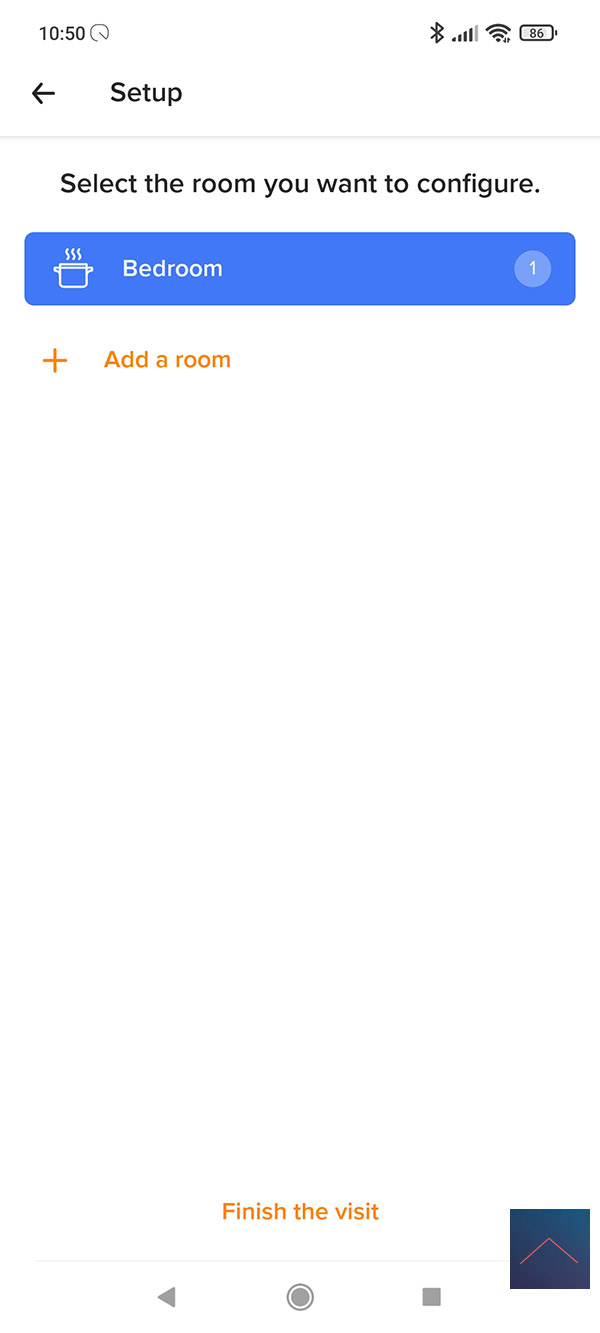
After some steps we give our gateway a name and add rooms. Then we arrive at the start screen.

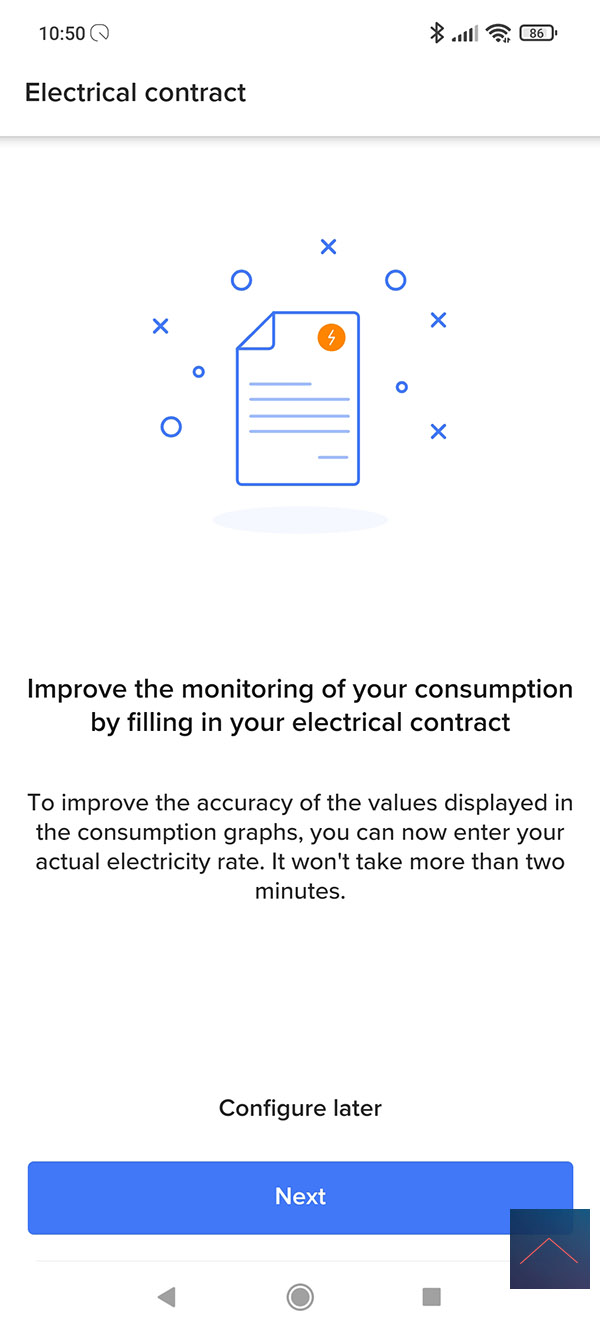
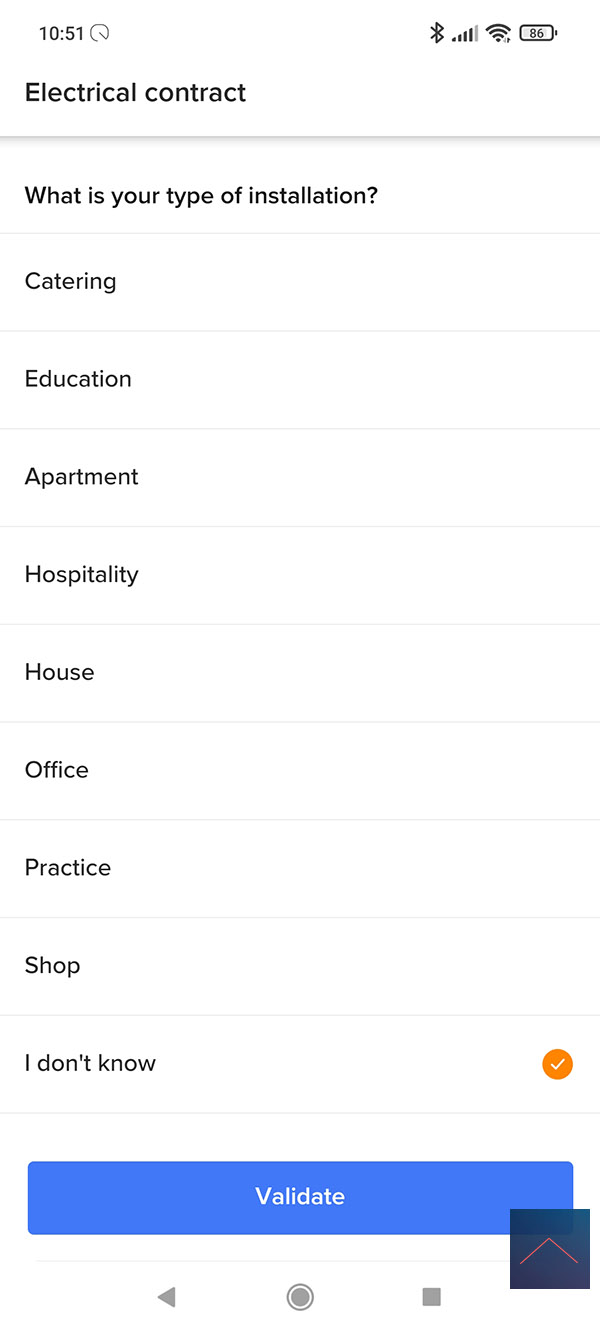
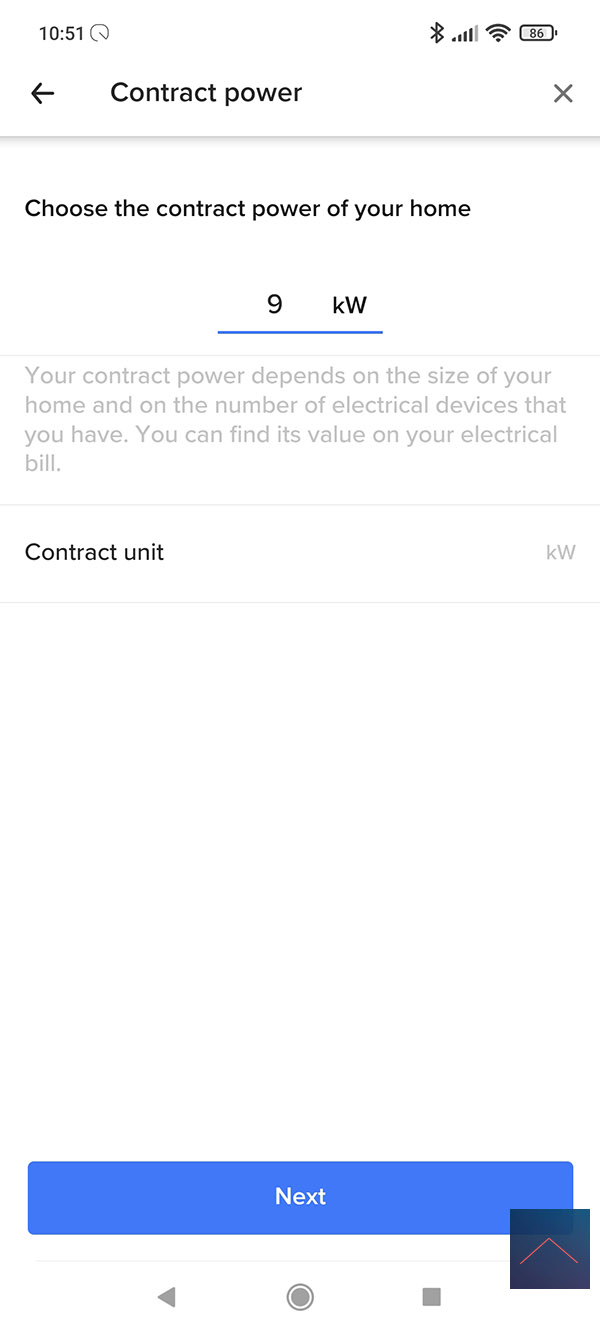
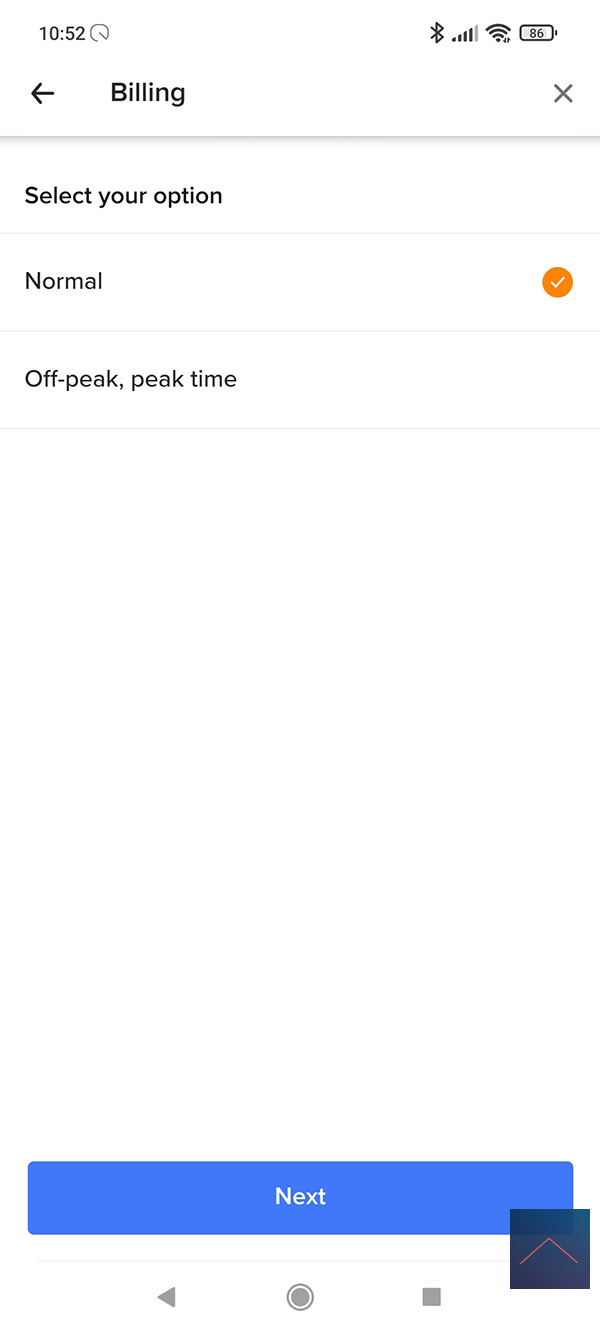
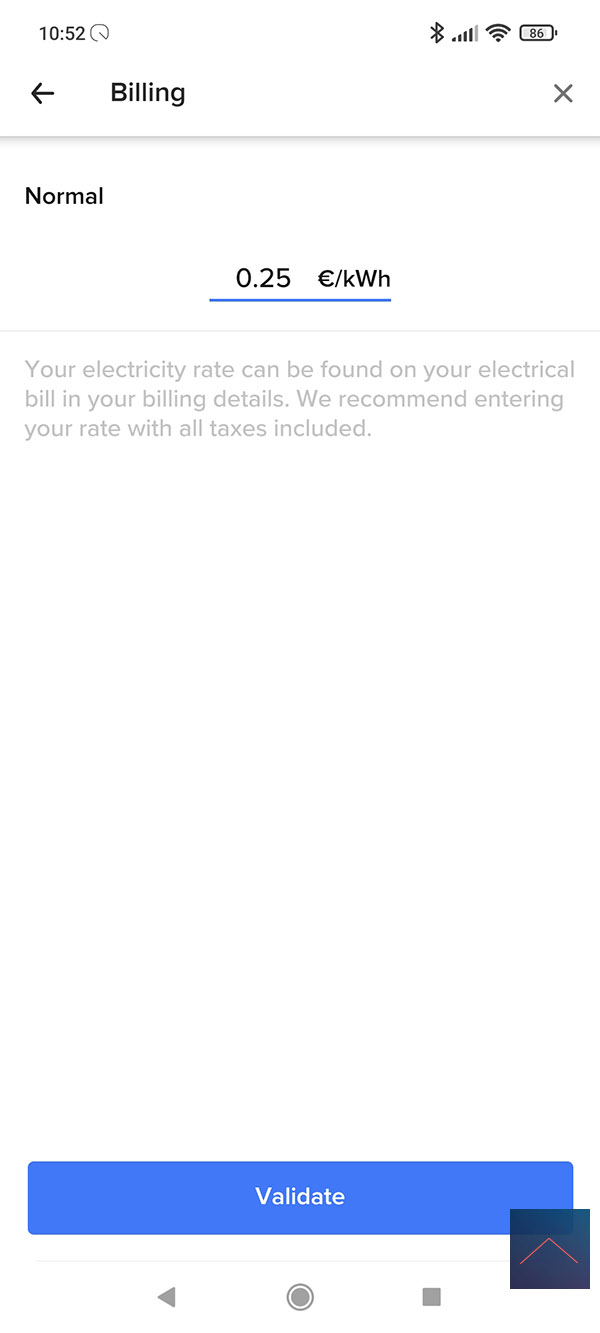
The nice thing about this system is that you can keep track of your consumption. The next step is to configure this by specifying the kWh price.
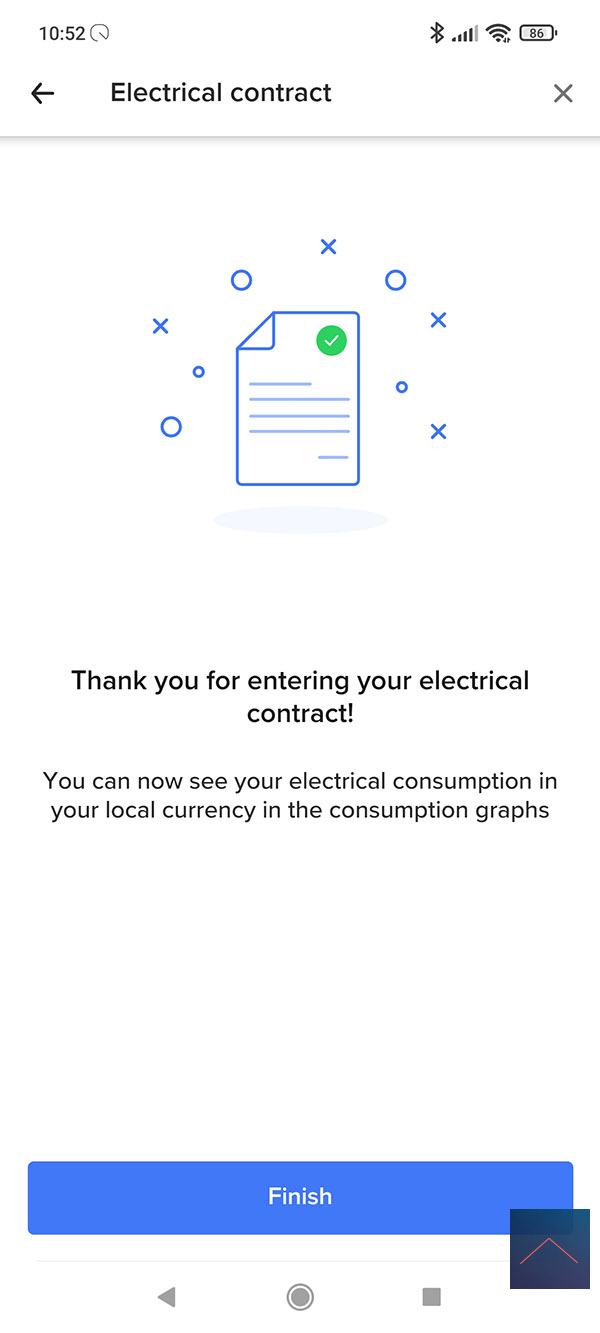
Now we have done the basic configuration and we can start looking at the different options.
Content:
Intro
Installation
Operation APP / Automate
Voice control
Conclusion