Review
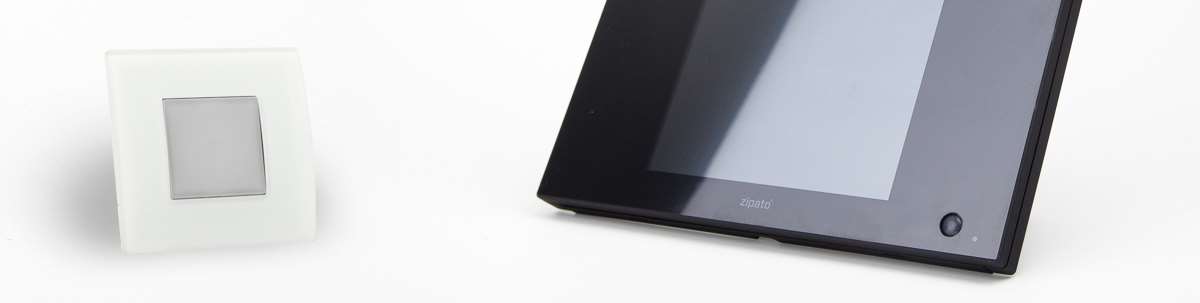
Qubino Luxy Smart Switch
Installation via the ZipaTile/ZipaBox:
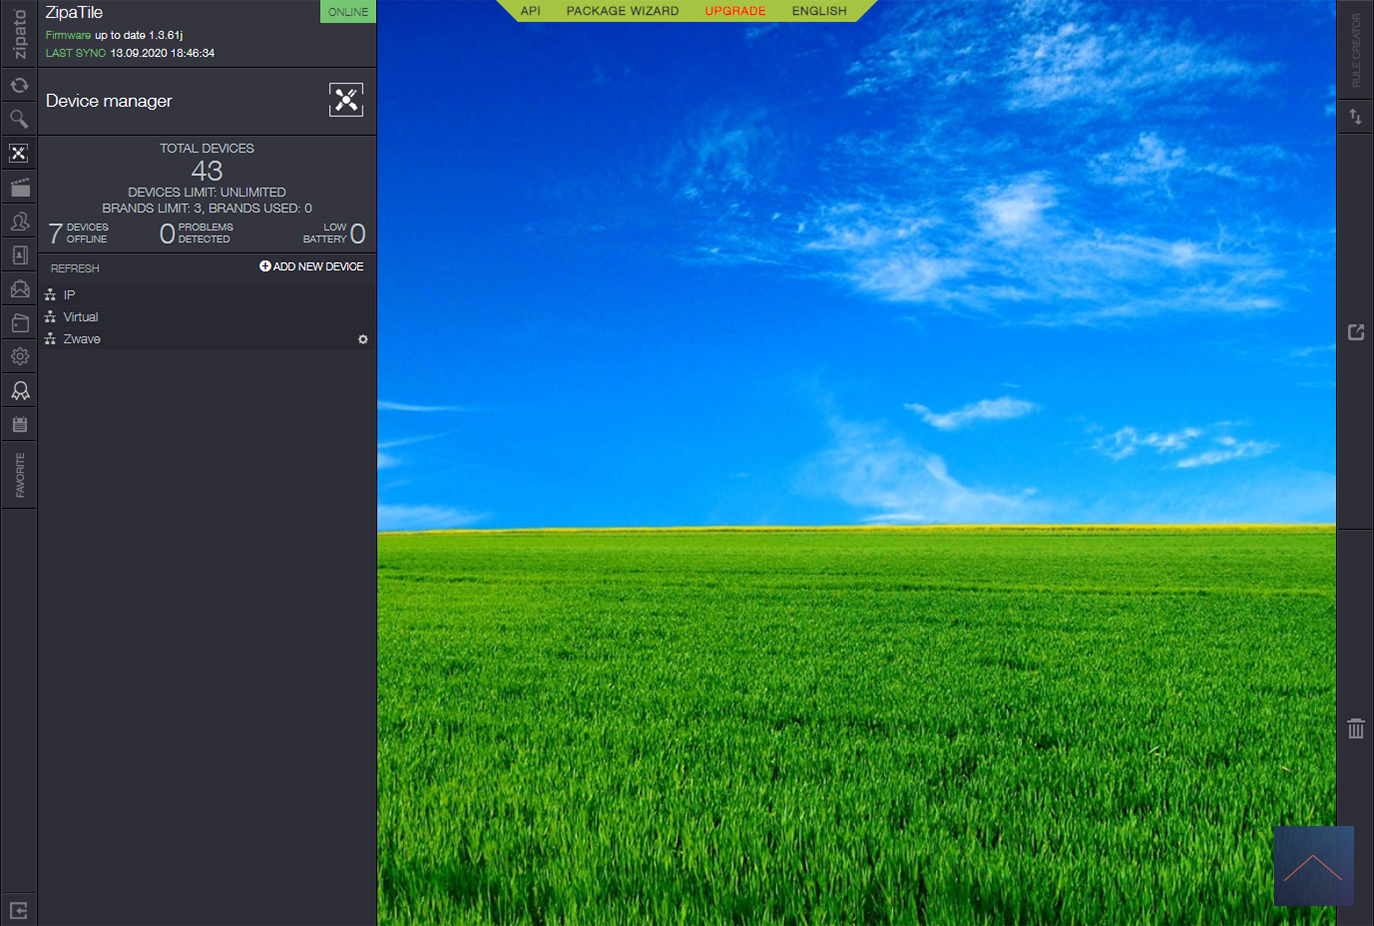
After we have had the Homey, we will now get started with the ZipaTile. Zipato always has its support in order, so I don't expect a lot of problems with this switch. We will see.
We will first get the power from the old switch, then we remove it and placed the Luxy smart switch according to the supplied schematic. Make sure you have a blue wire in your wall socket, otherwise you cannot connect it.
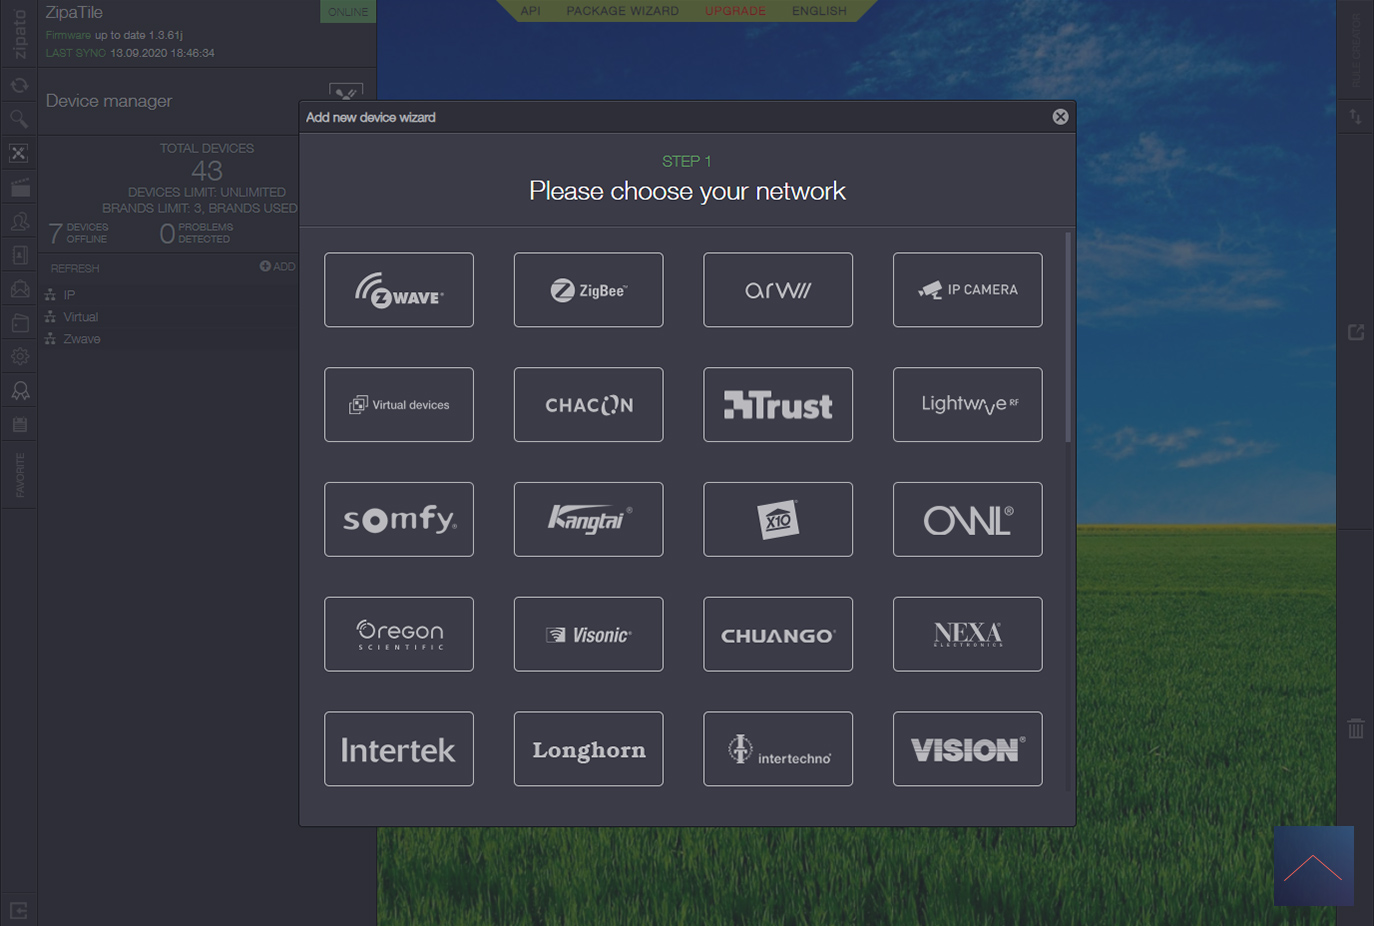
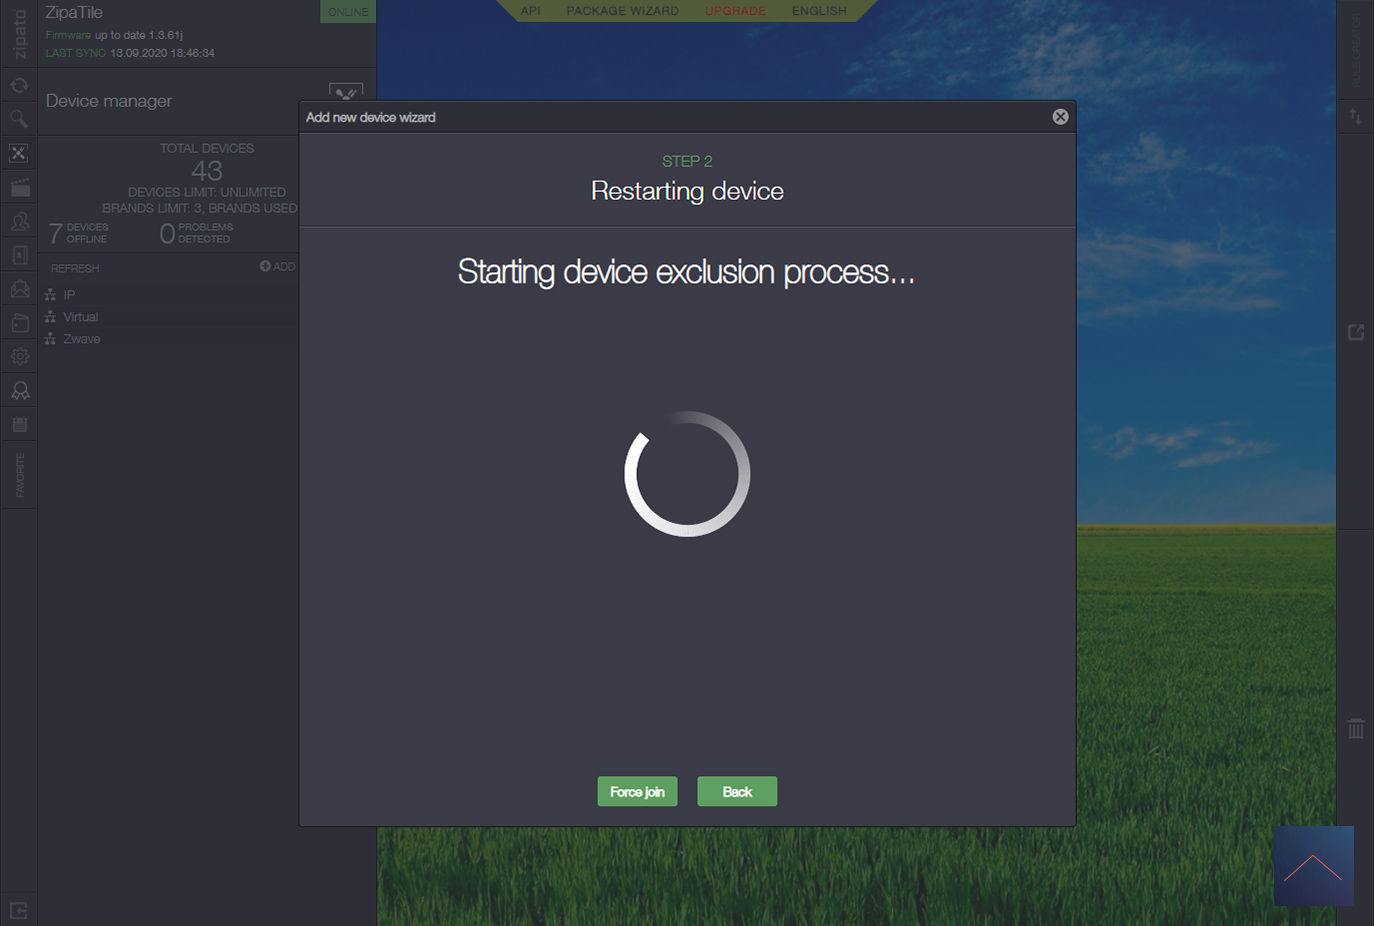
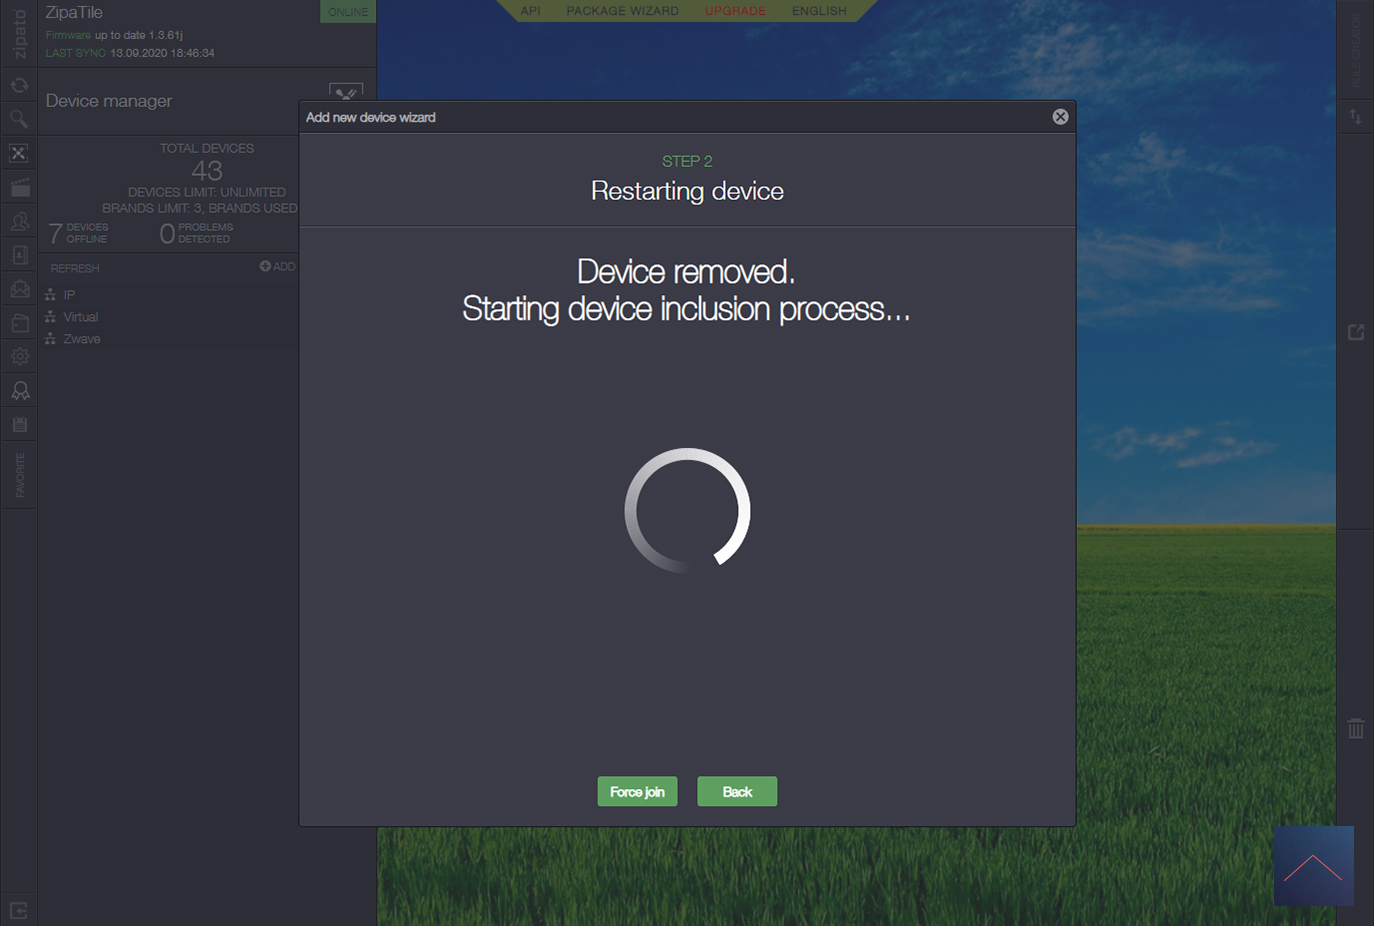
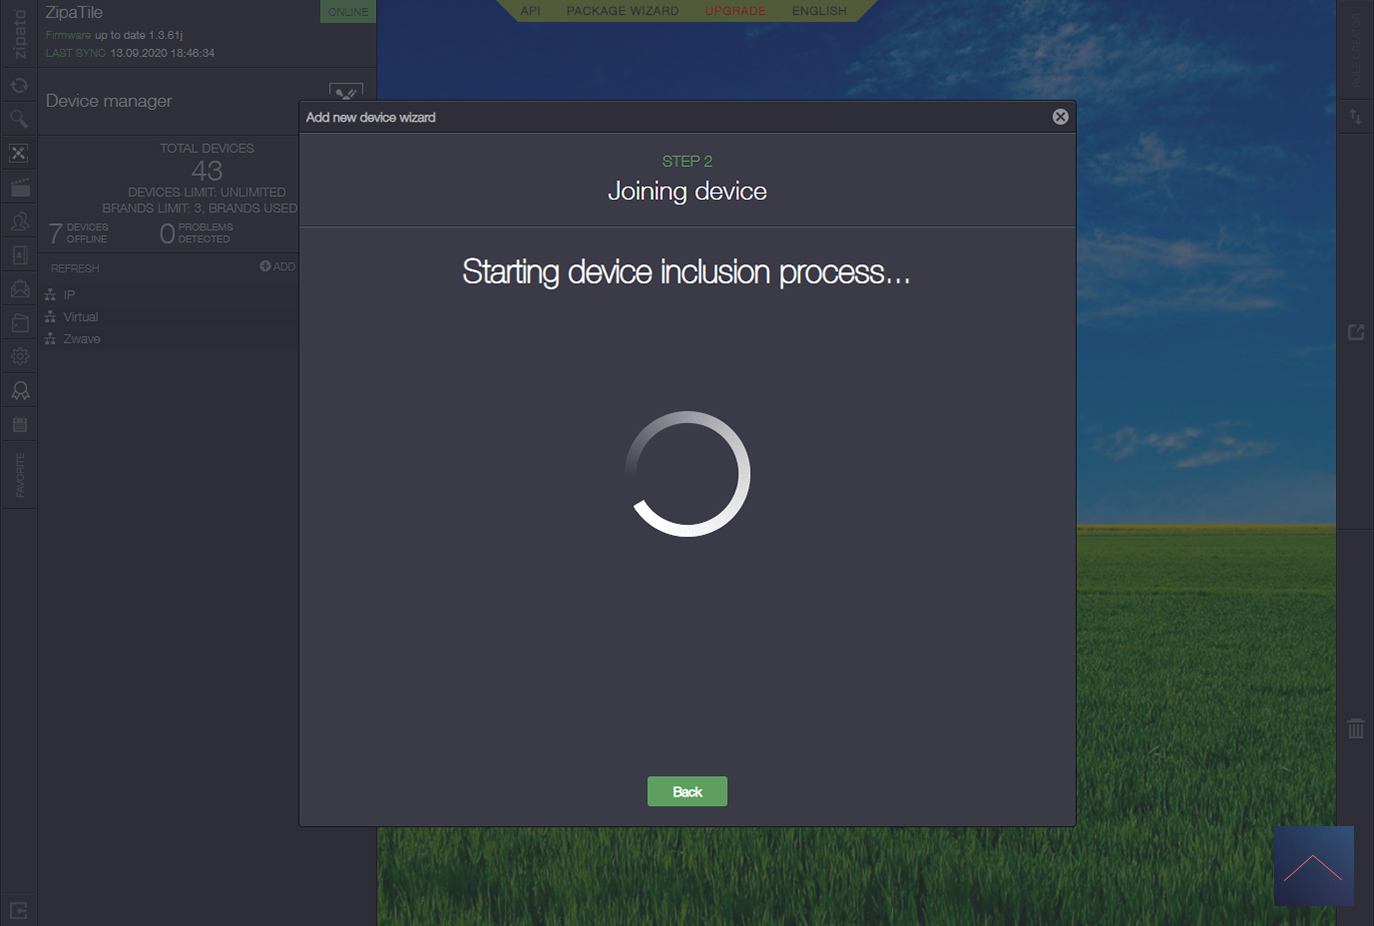
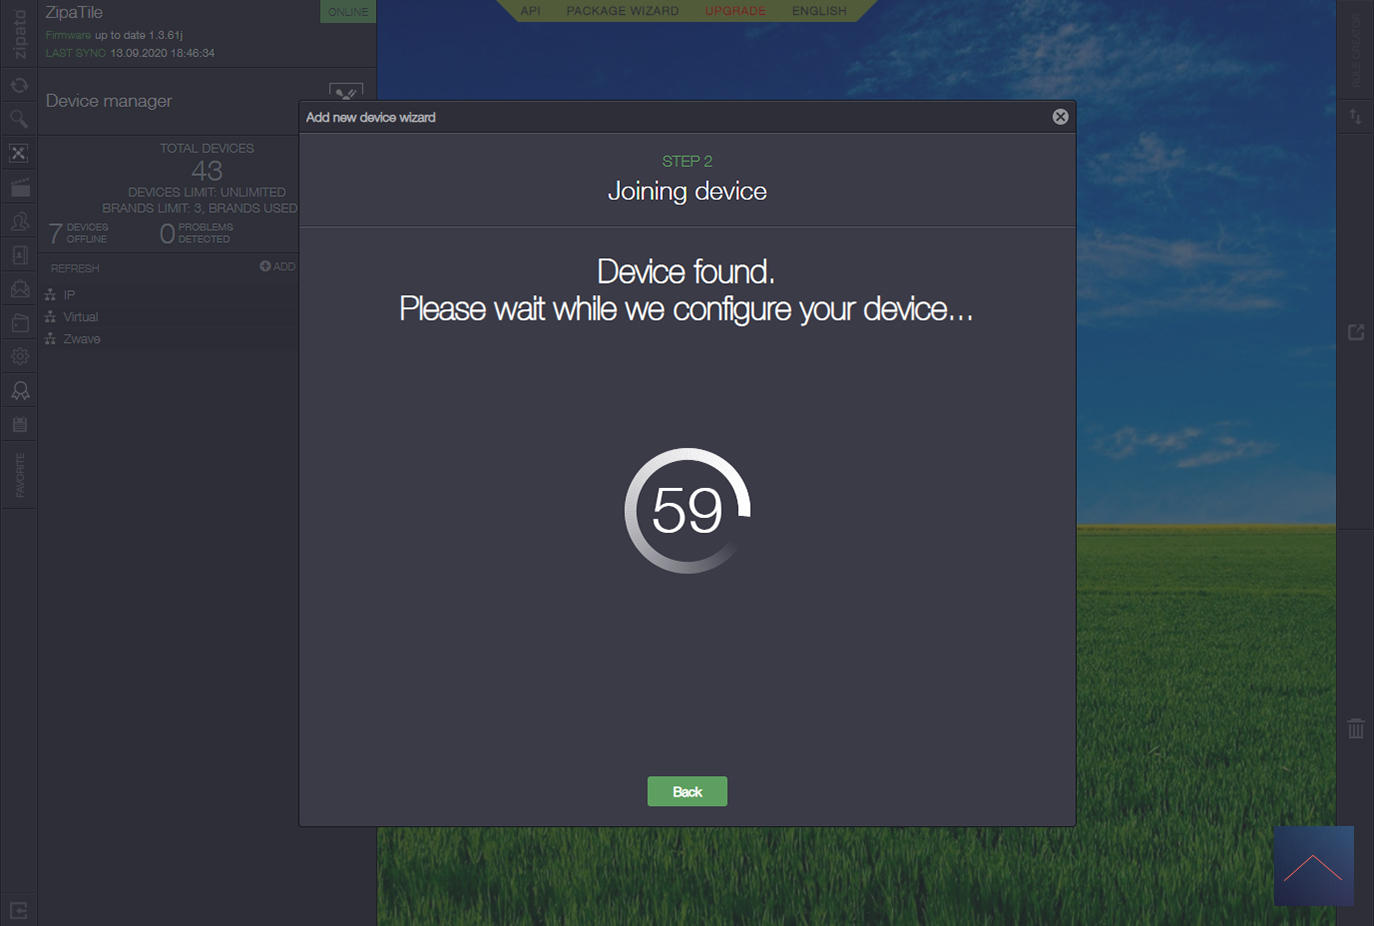
The next step is to log into the ZipaTile and go to your devices. Then click on "add new device" and then on Z-wave. The ZipaTile will first ask to reset the module. We can do this by applying the power to the module and performing the following actions: press the right button (3) 1x, then press the bottom button (4) 1x. The LED will turn white and then press and hold the right button (3) for 4-6 seconds. The LED will now flash green and light up fully after 10 seconds. After this you repeat this action again. As a last step I have to enter the SDK code. You can find this on the sticker supplied.
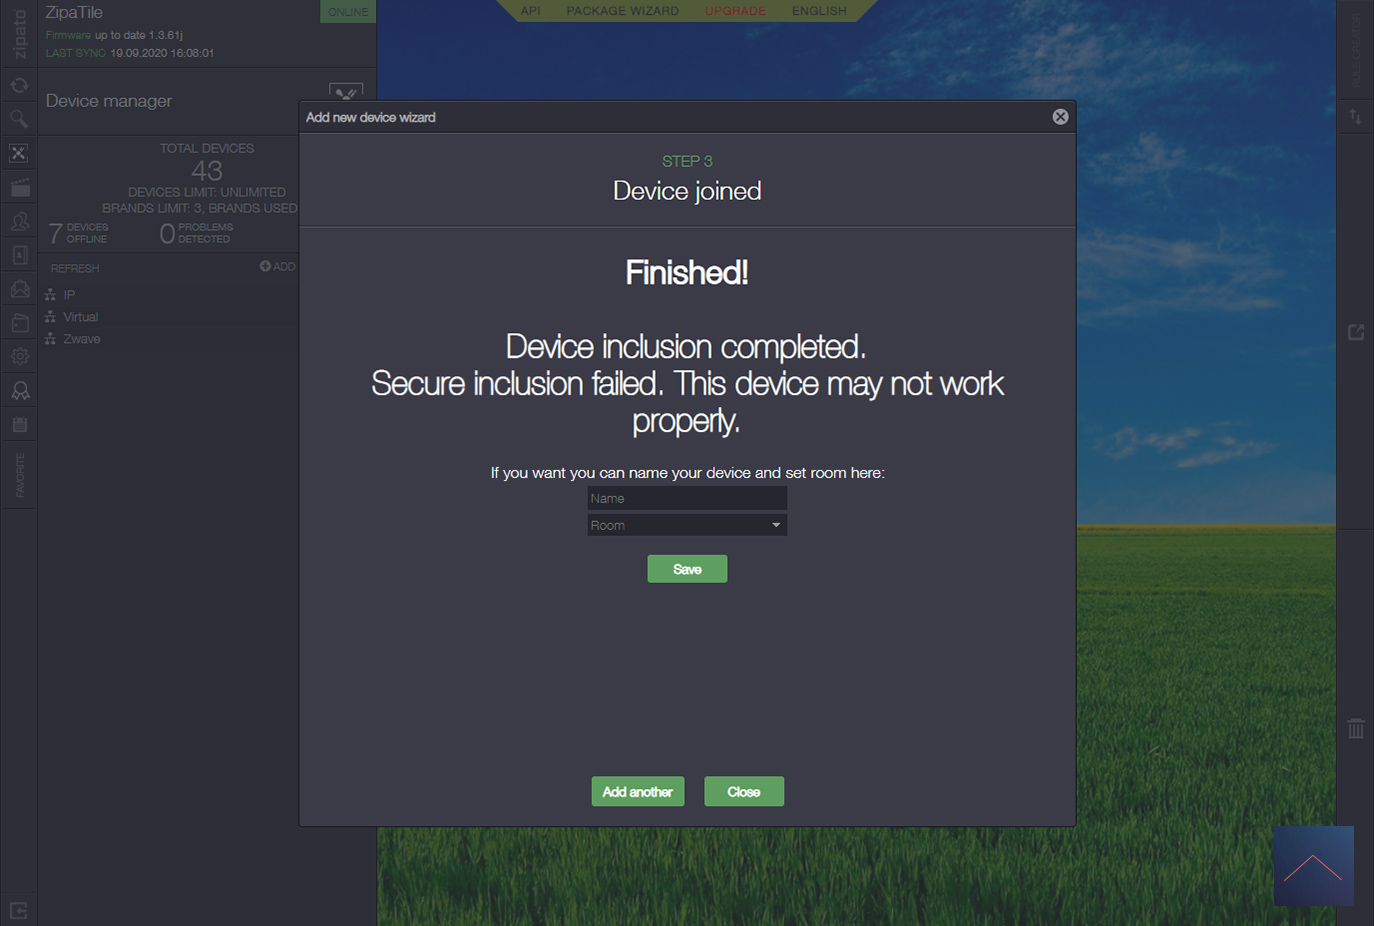
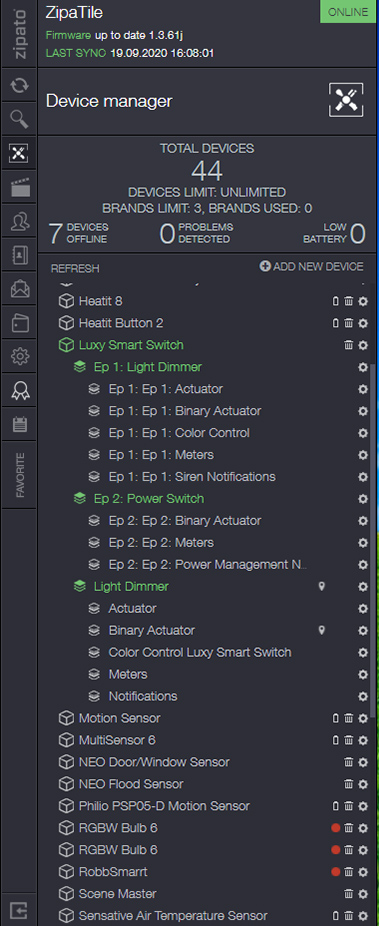
I see it being added to the ZipaTile. Unfortunately, I can only operate the LED and not the switch.
Qubino indicates that it is working together with Zipato on good support.
Installation screens:

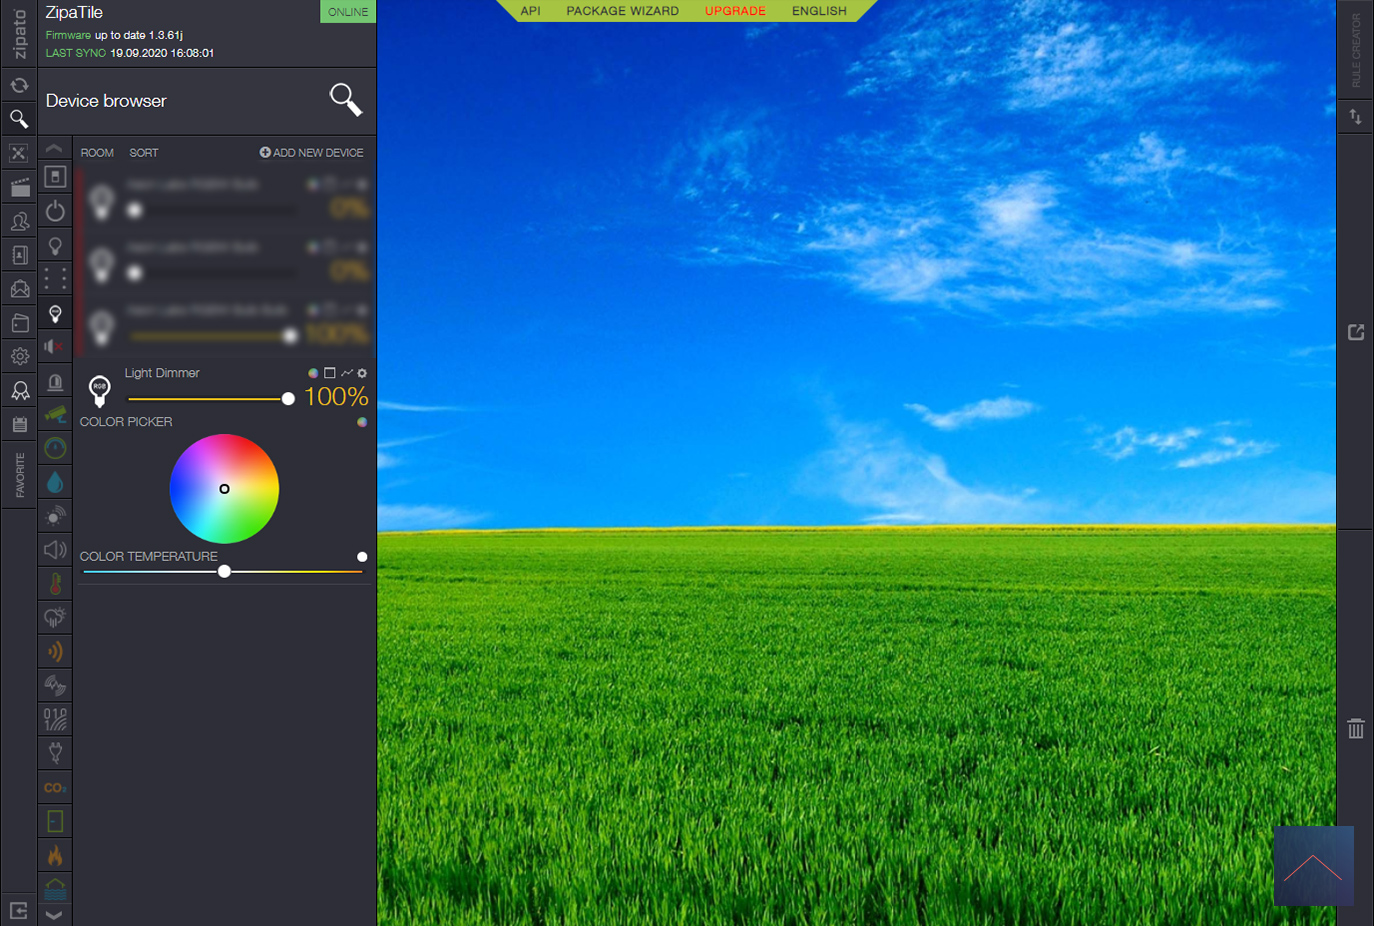
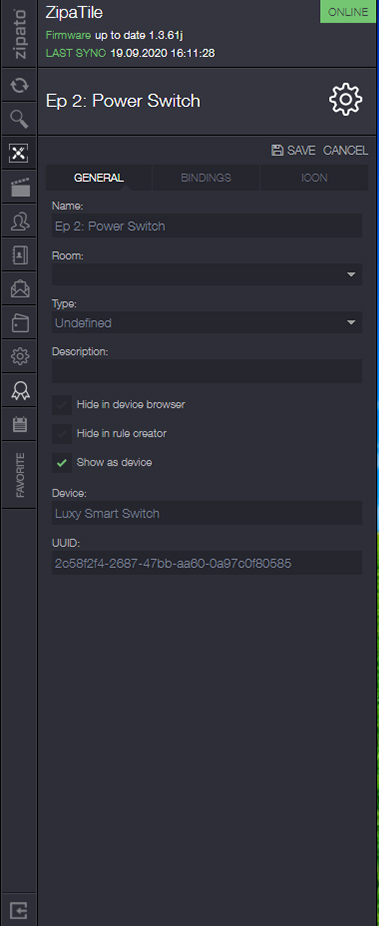
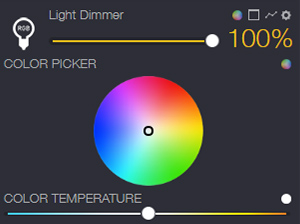
Configuration:
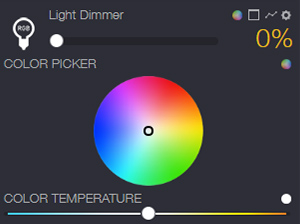
Control:
Unfortunately I can only operate the LED.
Line options:
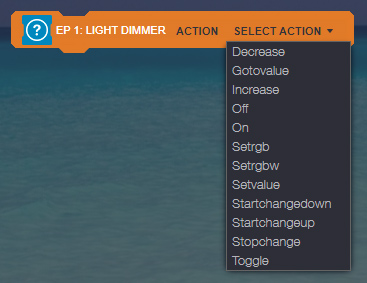
Action:
Example rule:
When the alarm goes off, he turns the LED to red.
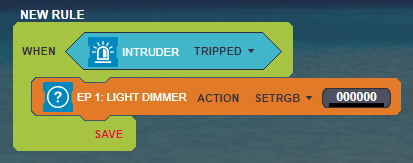
Table of content