

Review
Xiaomi MI Flora Sensor

Installation on the Homey:
As a final test, we will install this sensor on the Homey. The Homey has support for various protocols, including Z-Wave, Zigbee and also Bluetooth, which this sensor uses. This BT variant is well supported from firmware 6.0 and there is an APP so adding it should not cause many problems.
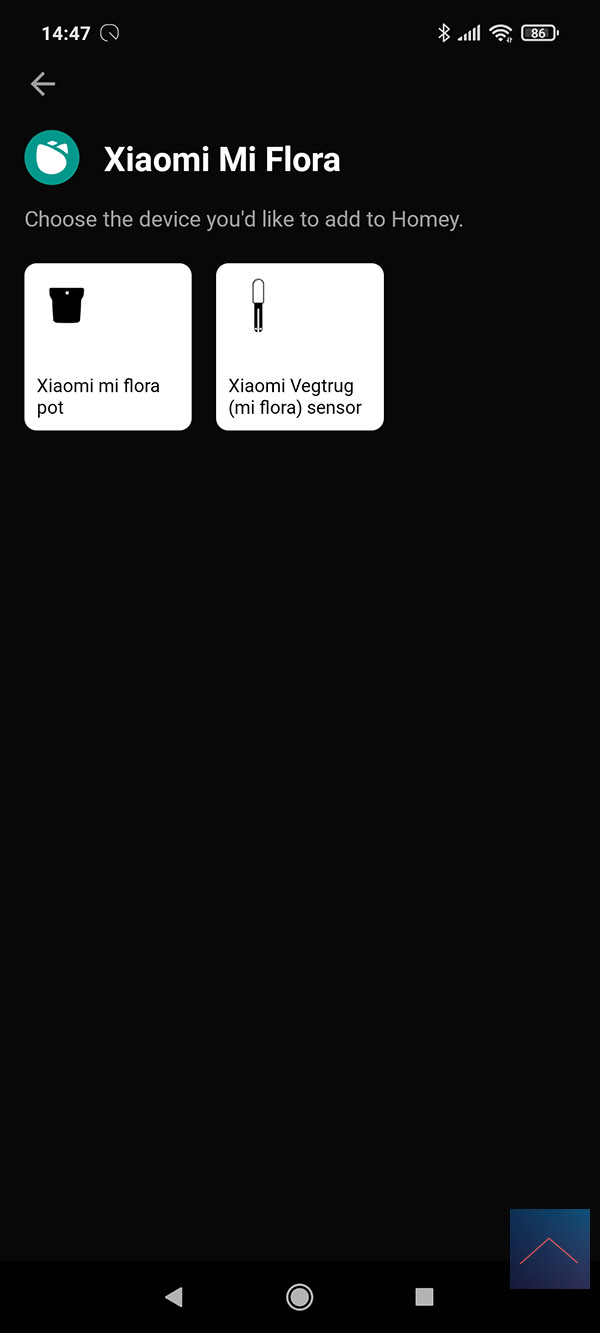
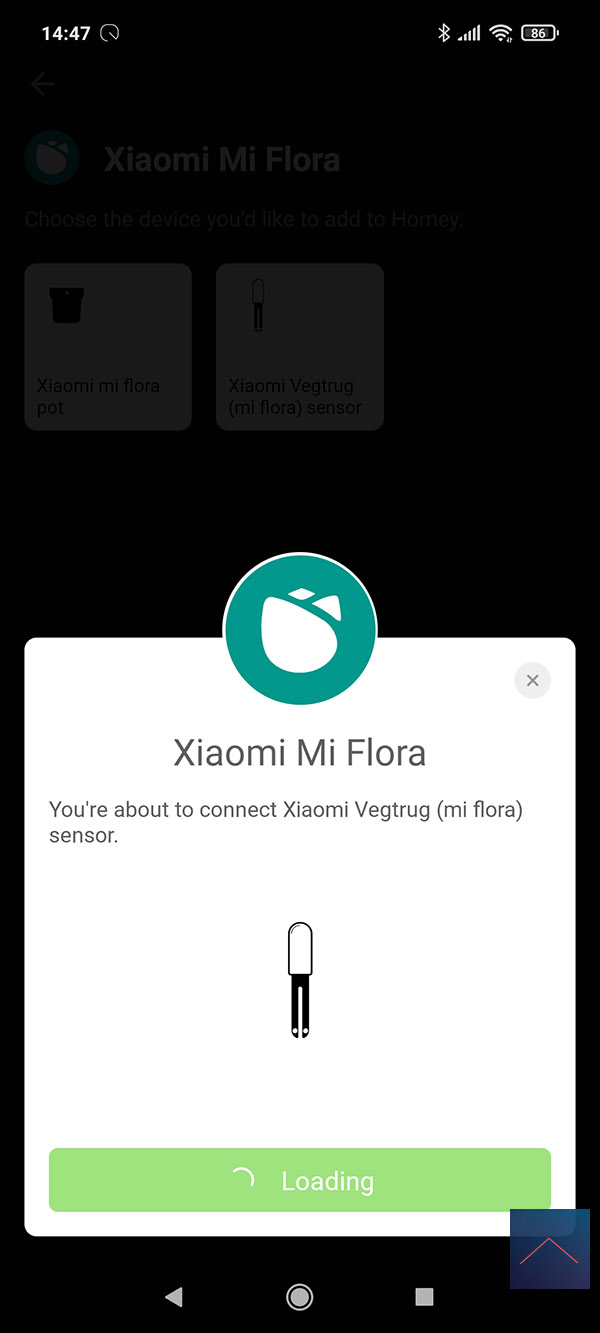
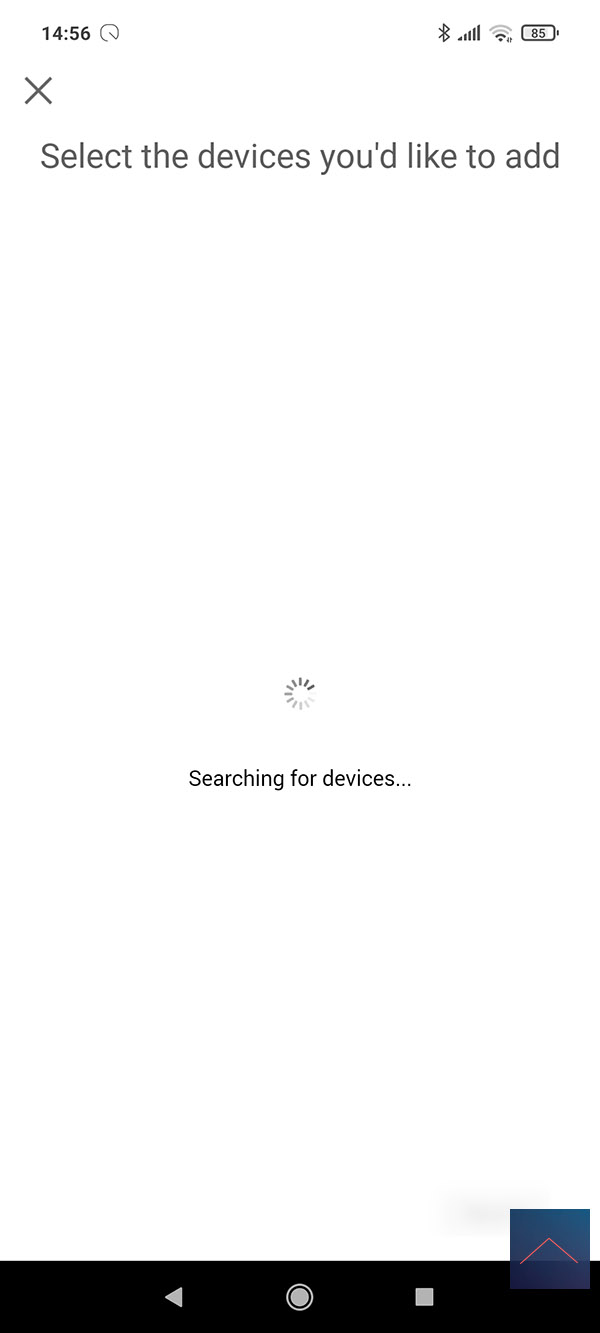
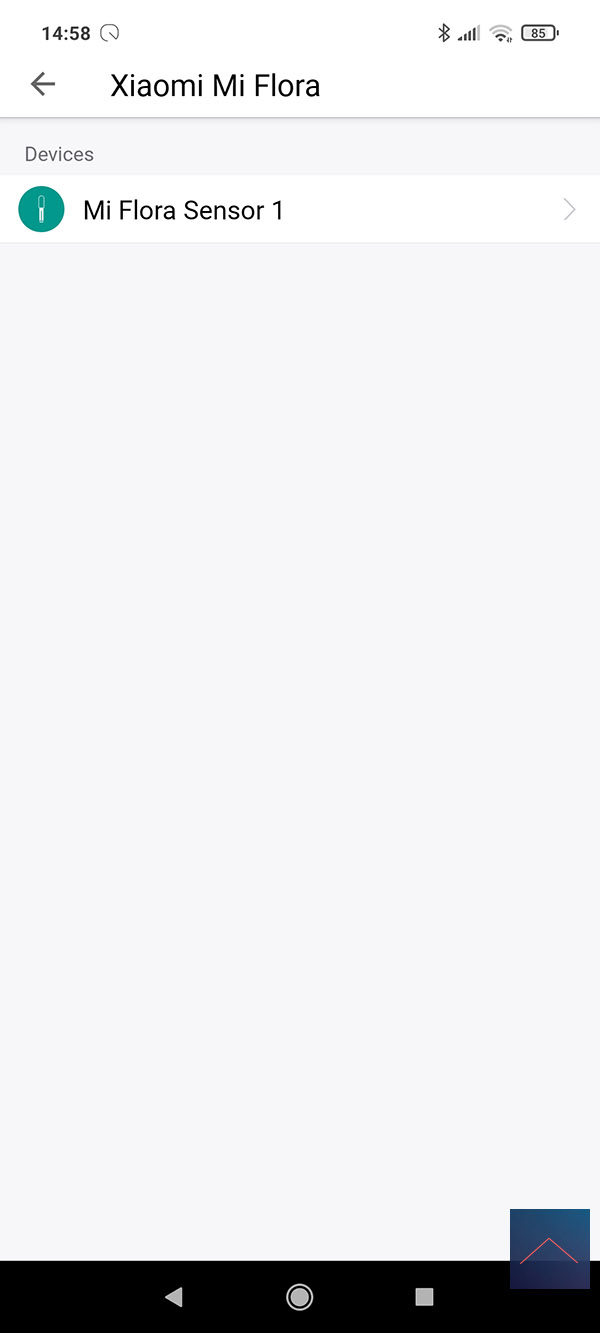
We can add this sensor by removing the cover and the battery tab. We close it again and start the Homey APP. Now we press the plus sign next to our devices and look for the Xiaomi MI Flora. We then install the APP and select the correct sensor.
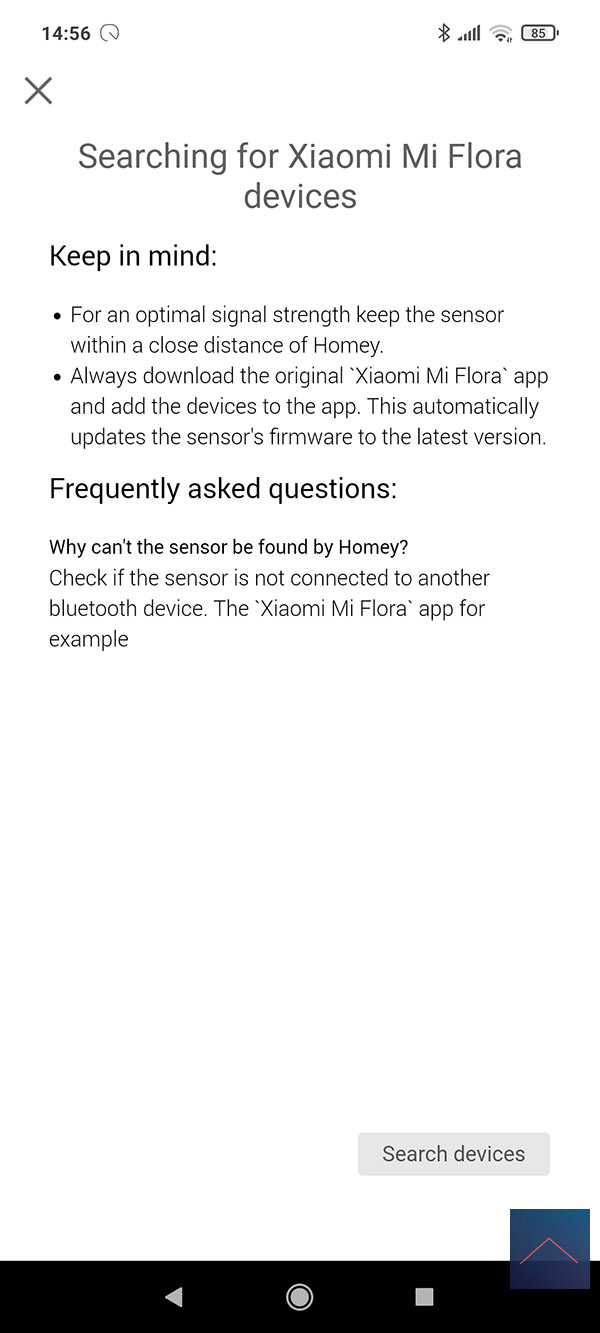
Make sure you are not too far from the Homey and press "search devices". He is immediately found with me and can add him. I immediately see values coming in, but a new update took quite a while (40 min.). So be patient.
Installation screens:

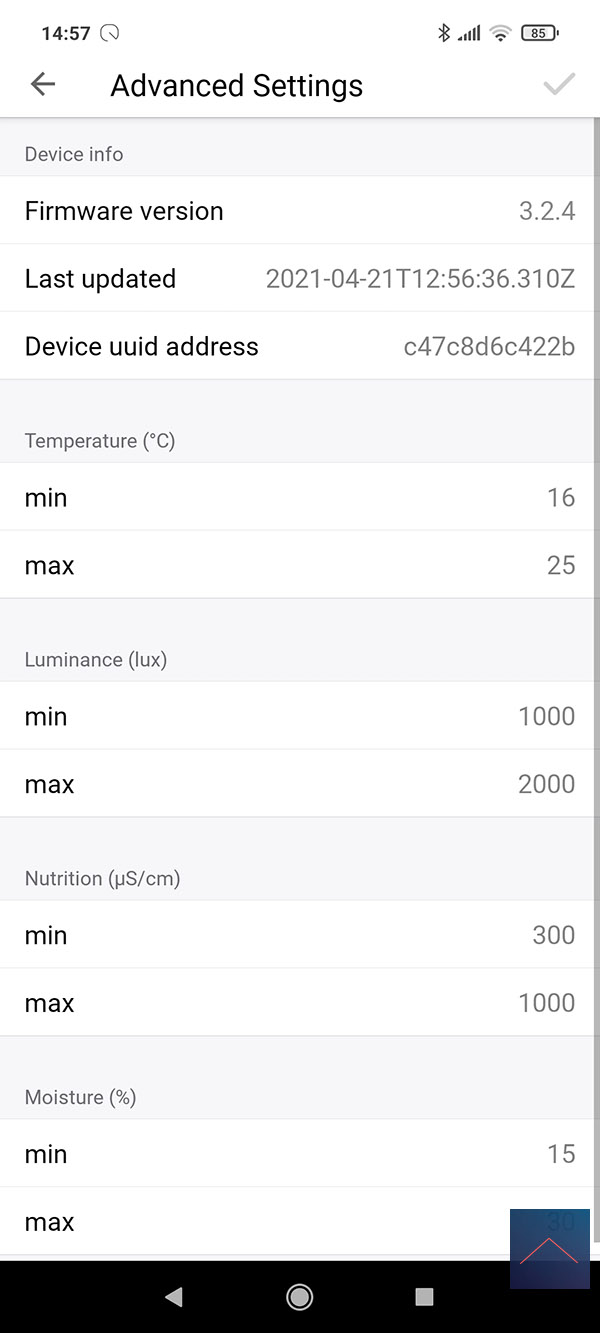
Configuration:
Operation:
You get to see the humidity, nutritional value, amount of light and the temperature. Via the configuration you can change the update interval from 15 min. (default) to another value. Note that if you set this lower, the battery will also run out faster.
Flow options:
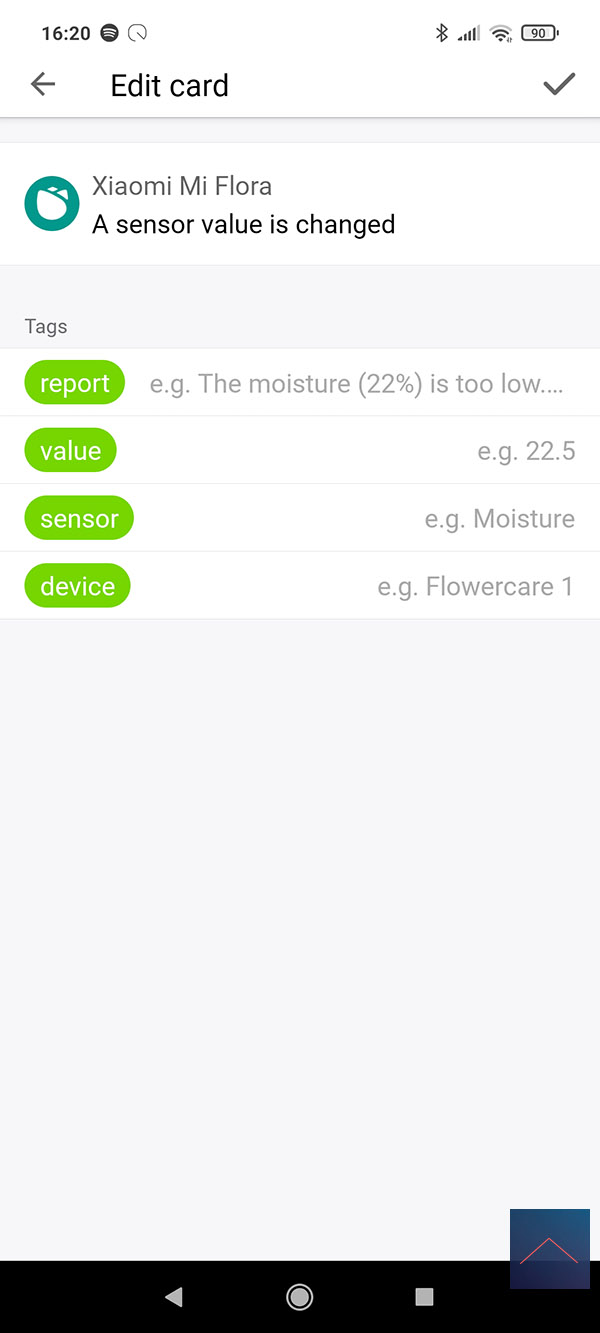
The following options are available to you to create a flow:
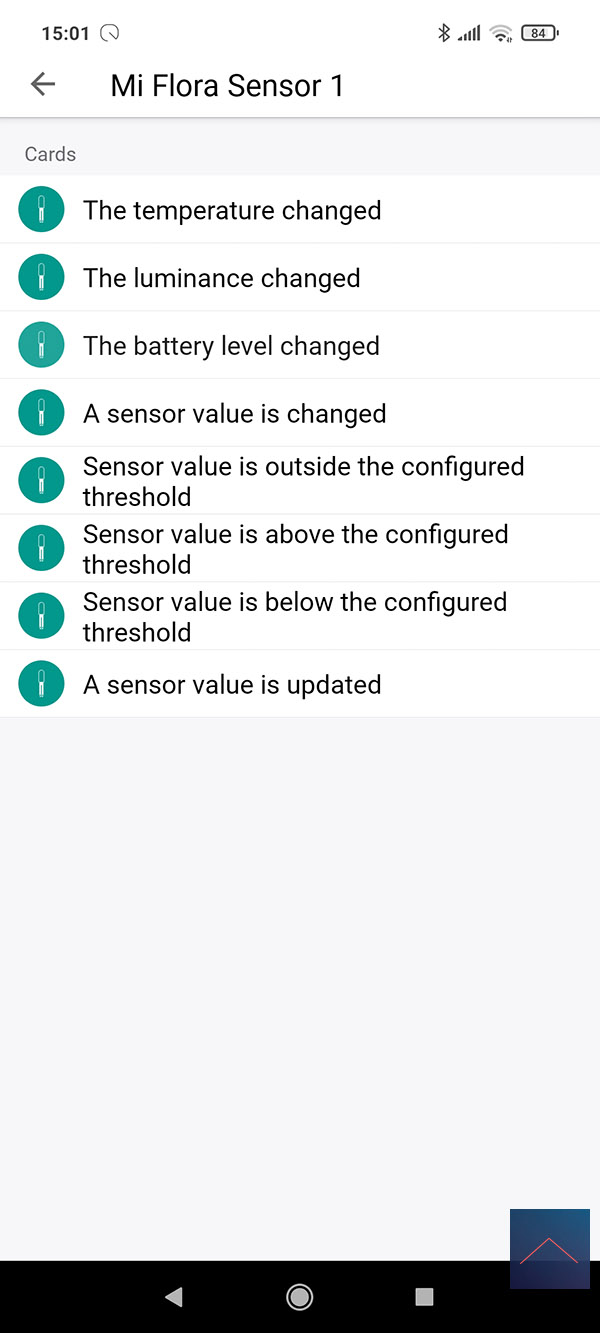
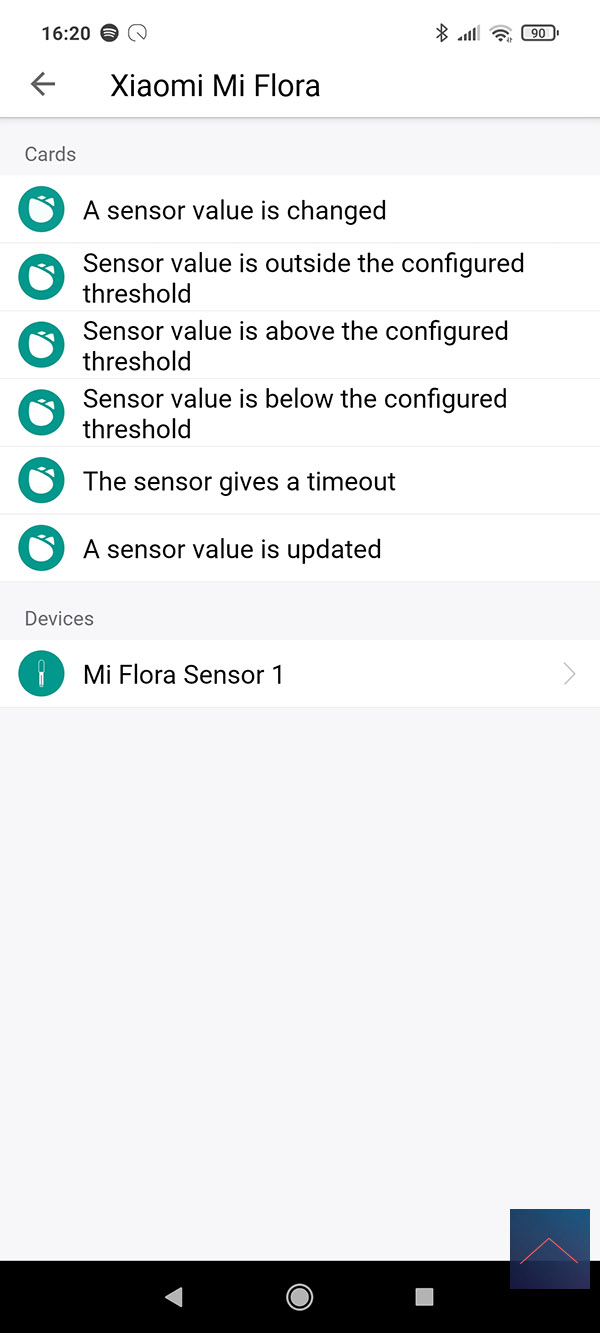
IF:

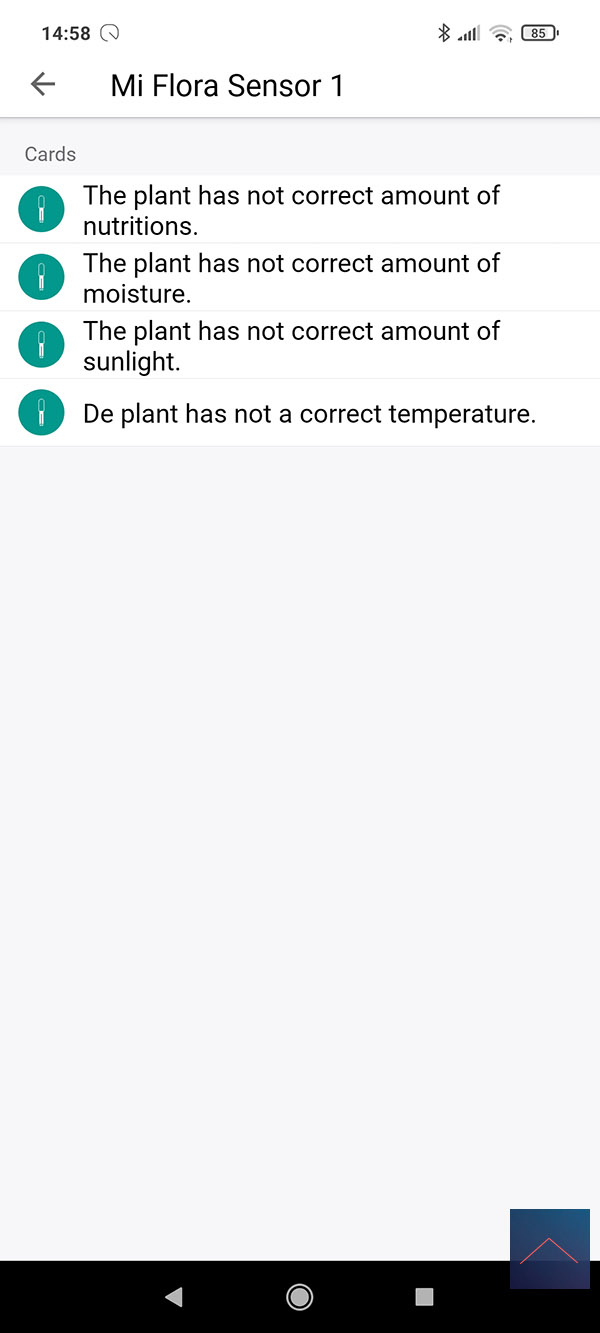
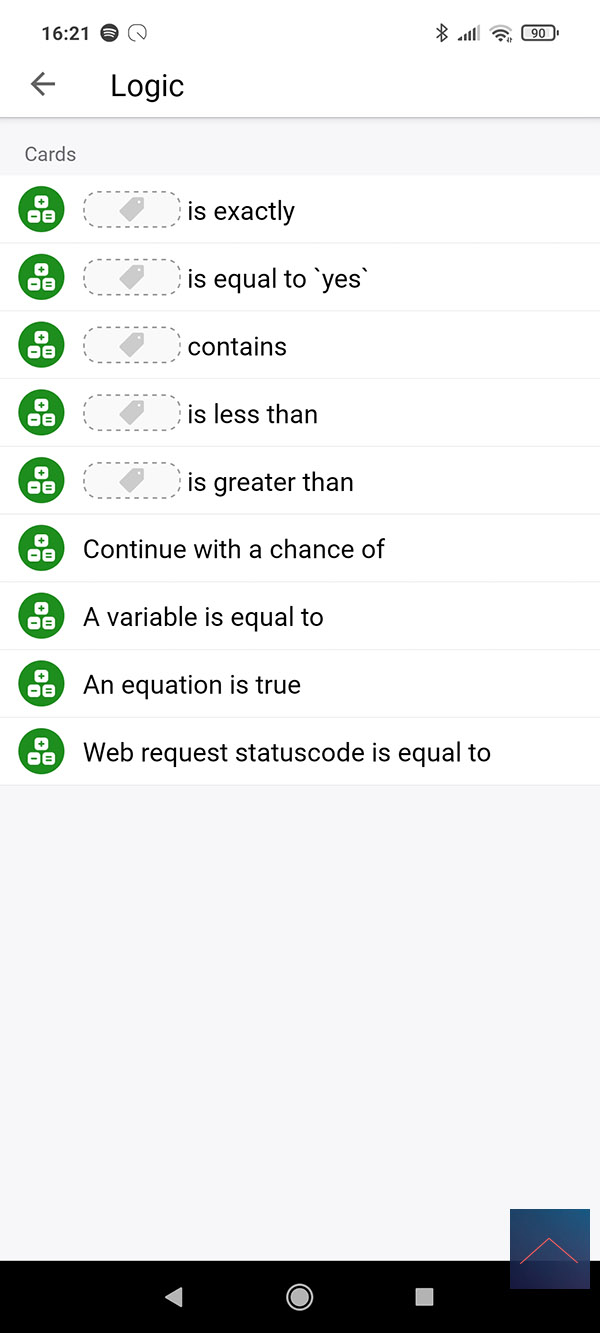
AND:
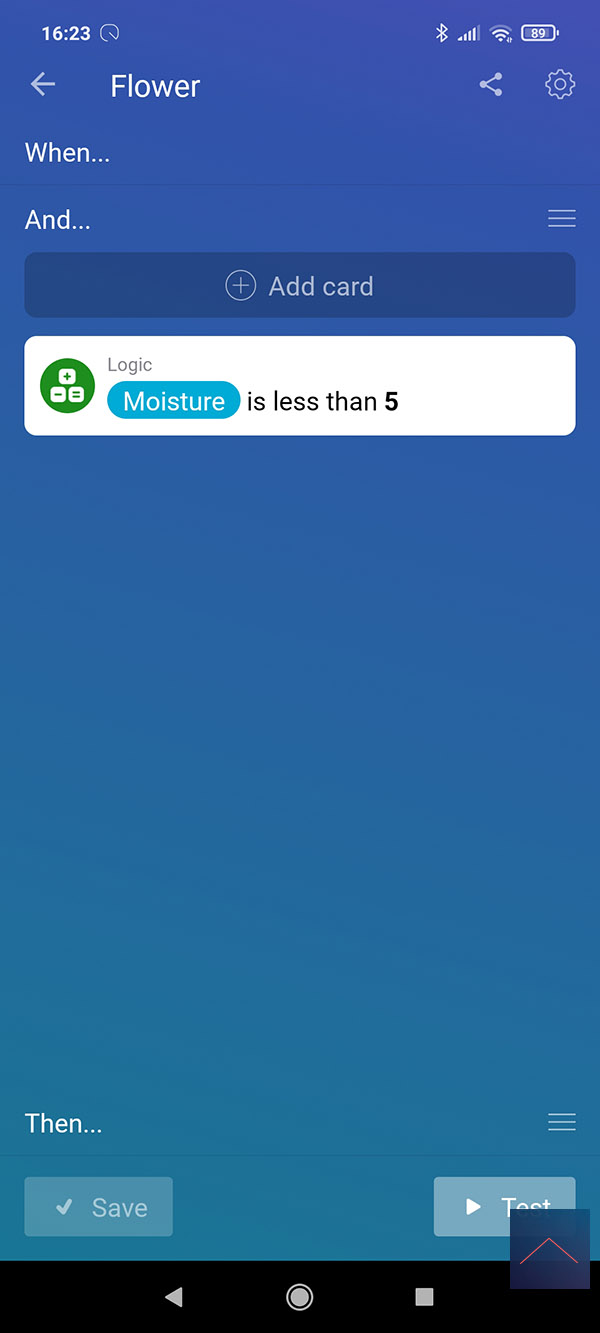
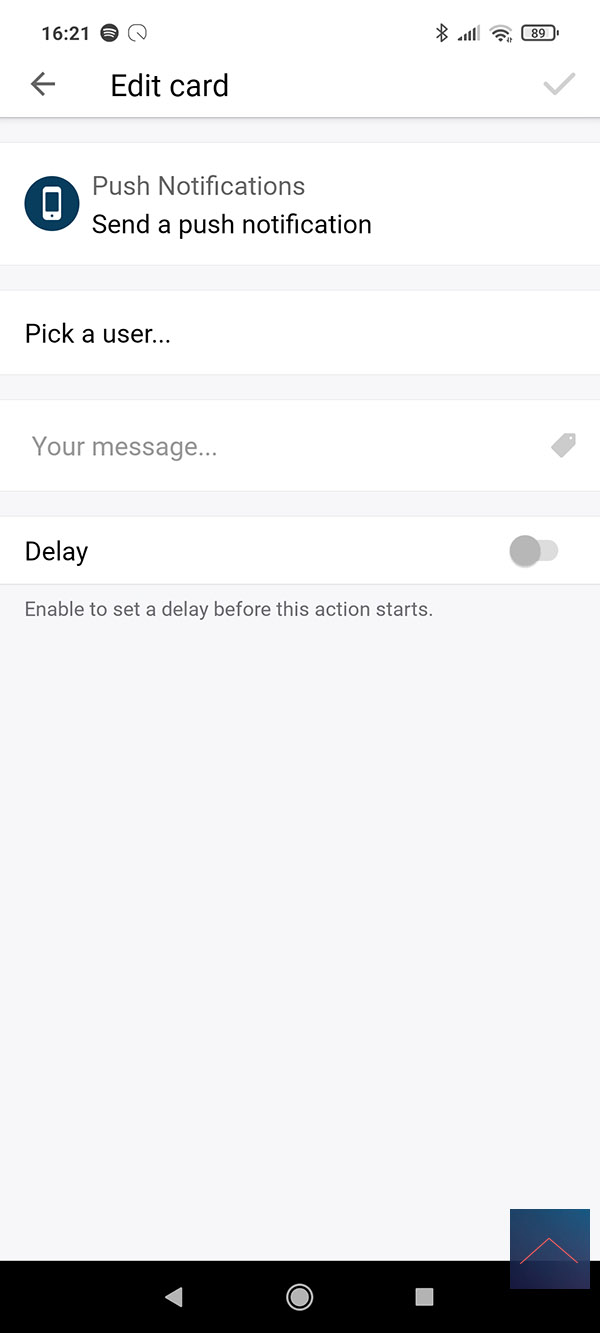
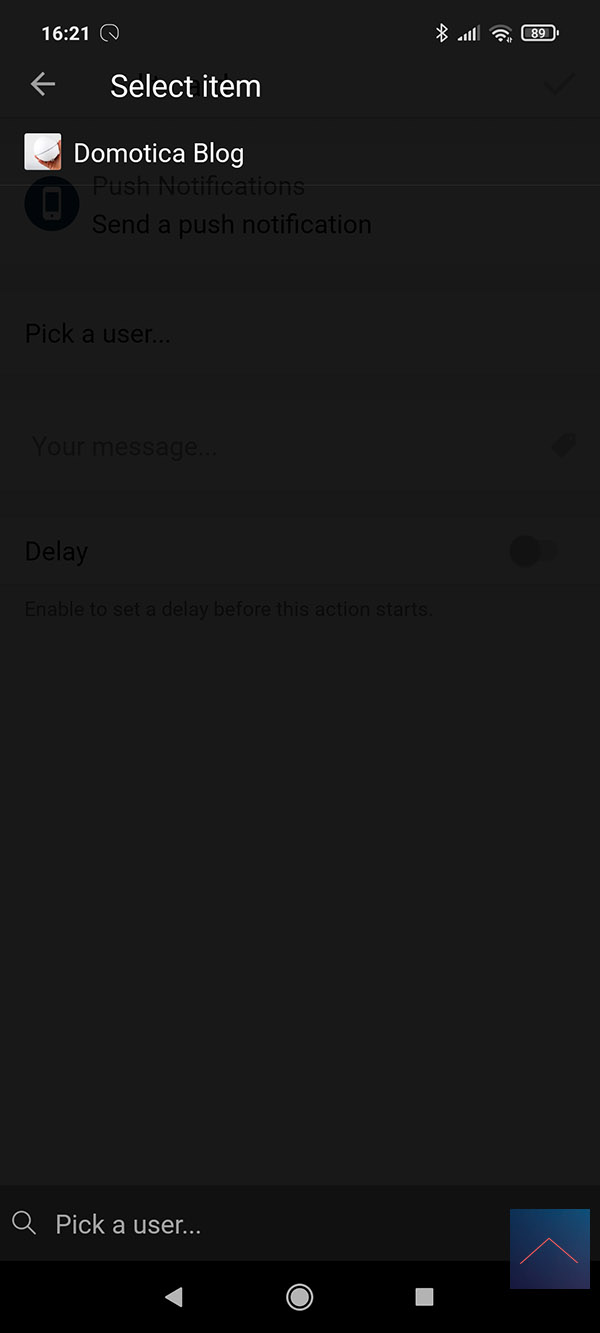
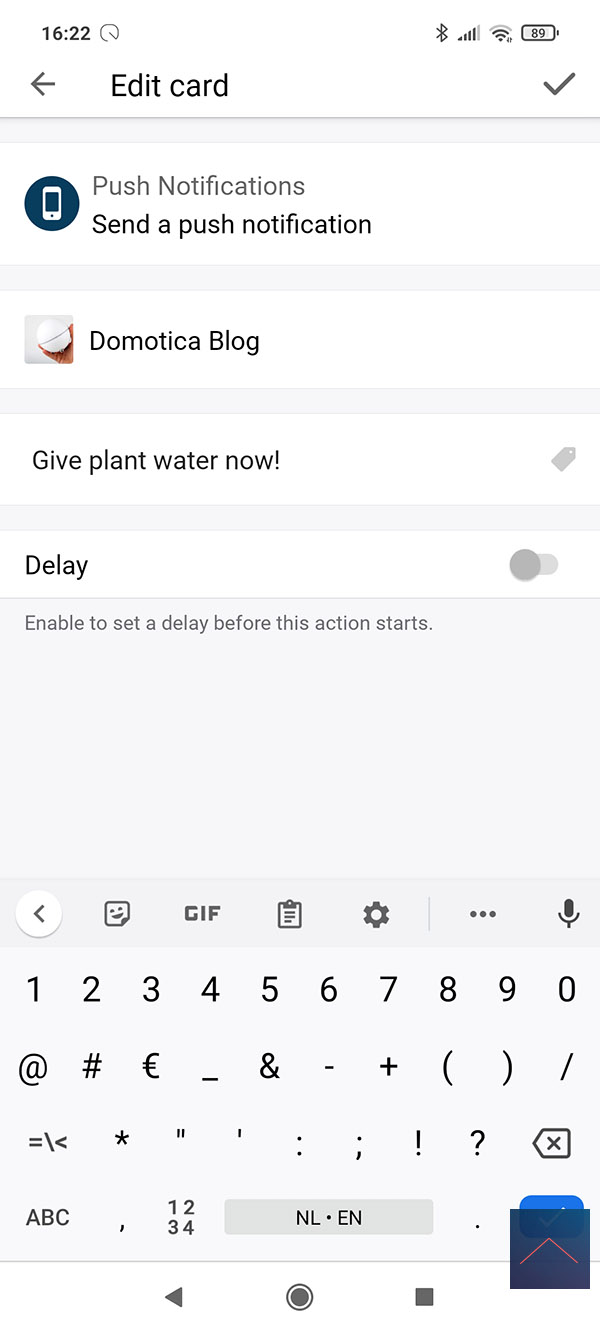
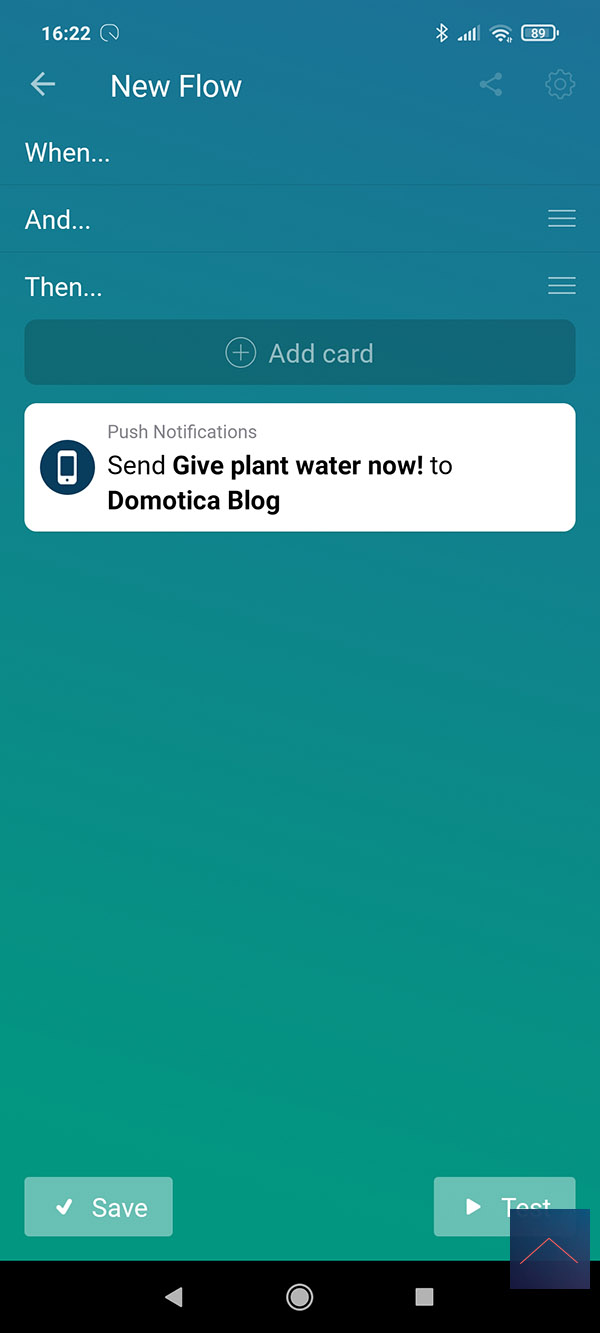
Flow example:
Of course we want to create a flow because we want to receive a message when the plant needs water. You can look up exactly what this value should be in a plant database. Some plants will of course need more water than others.
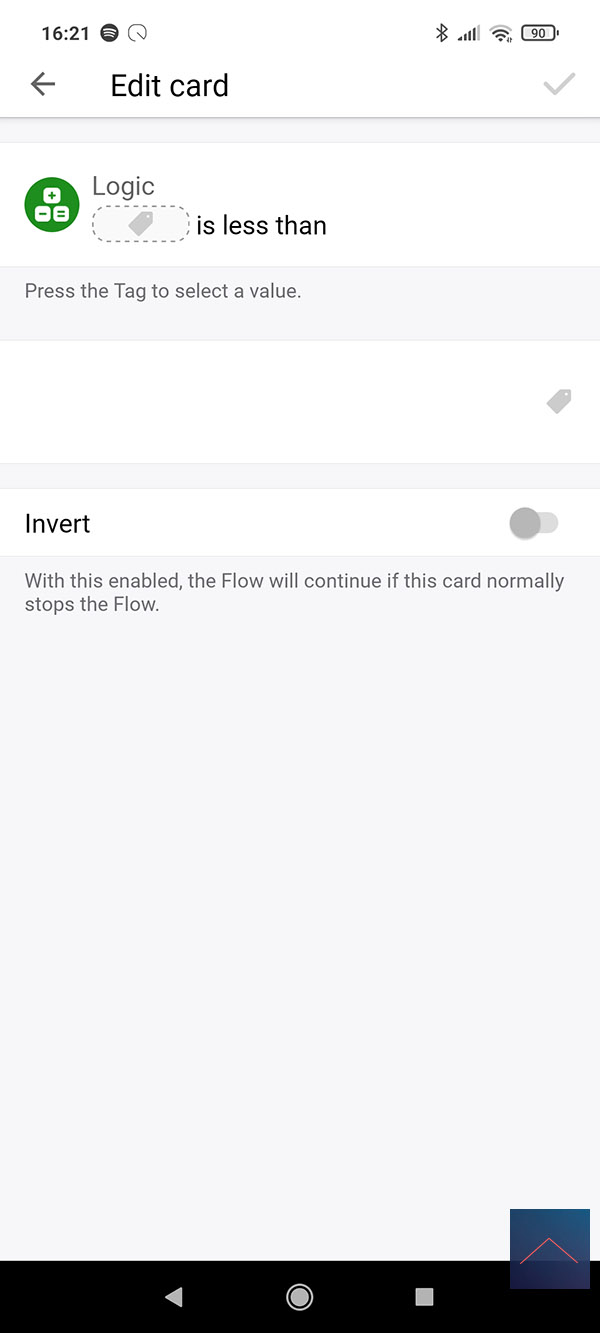
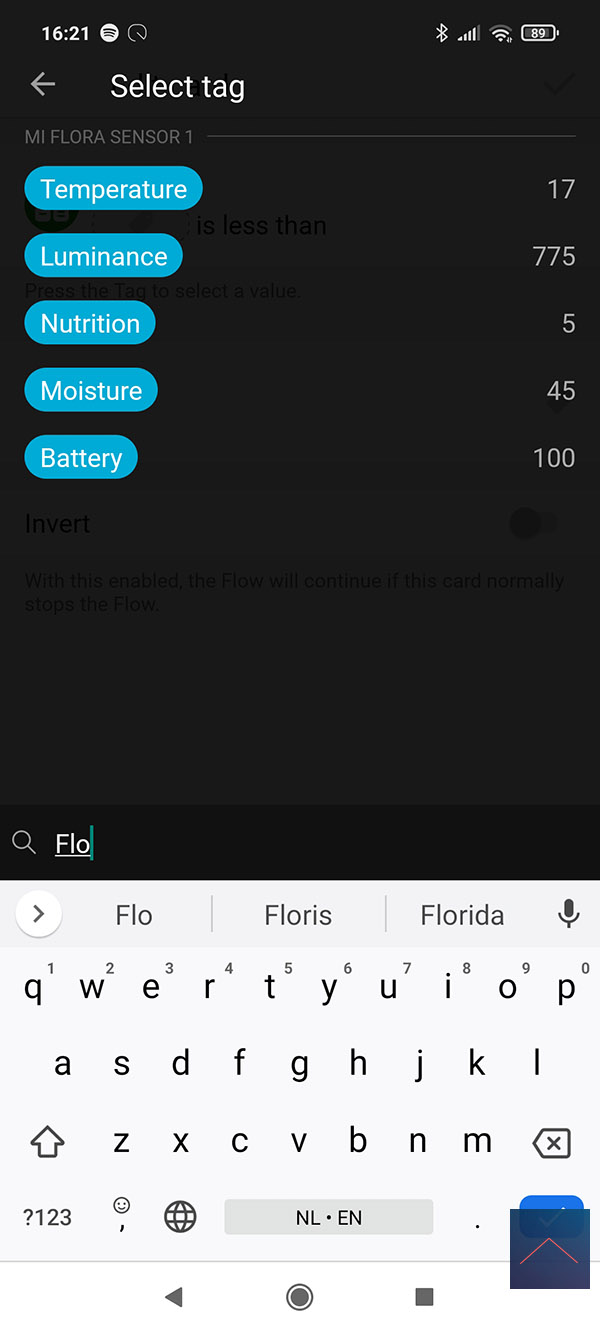
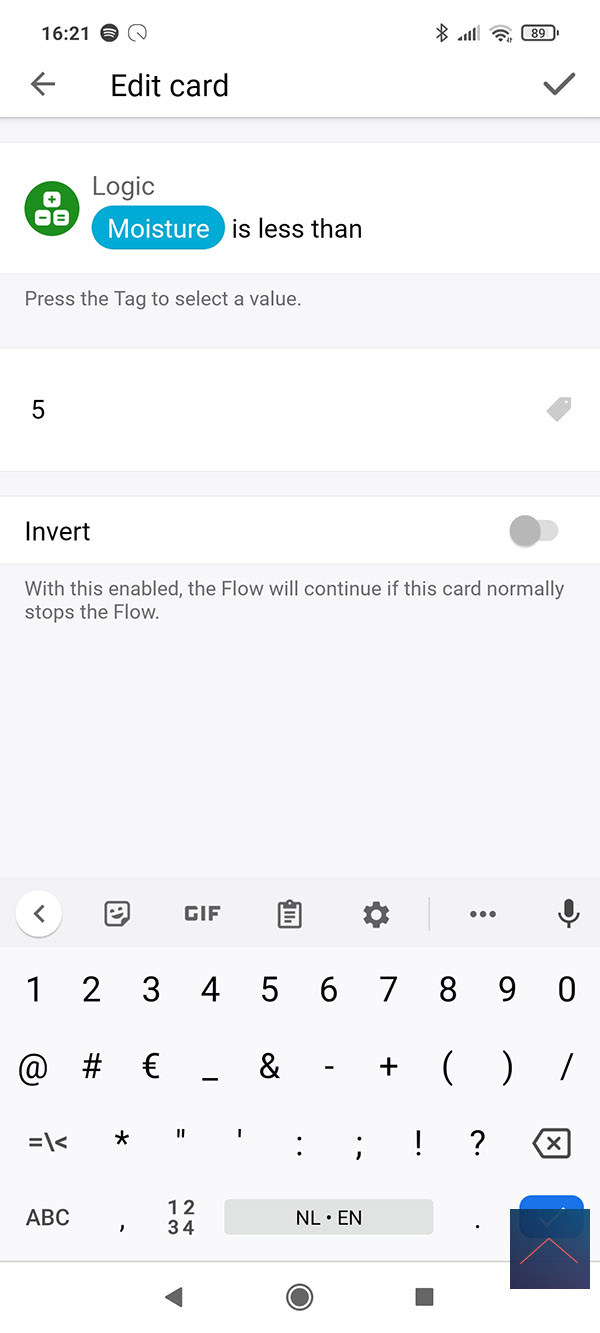
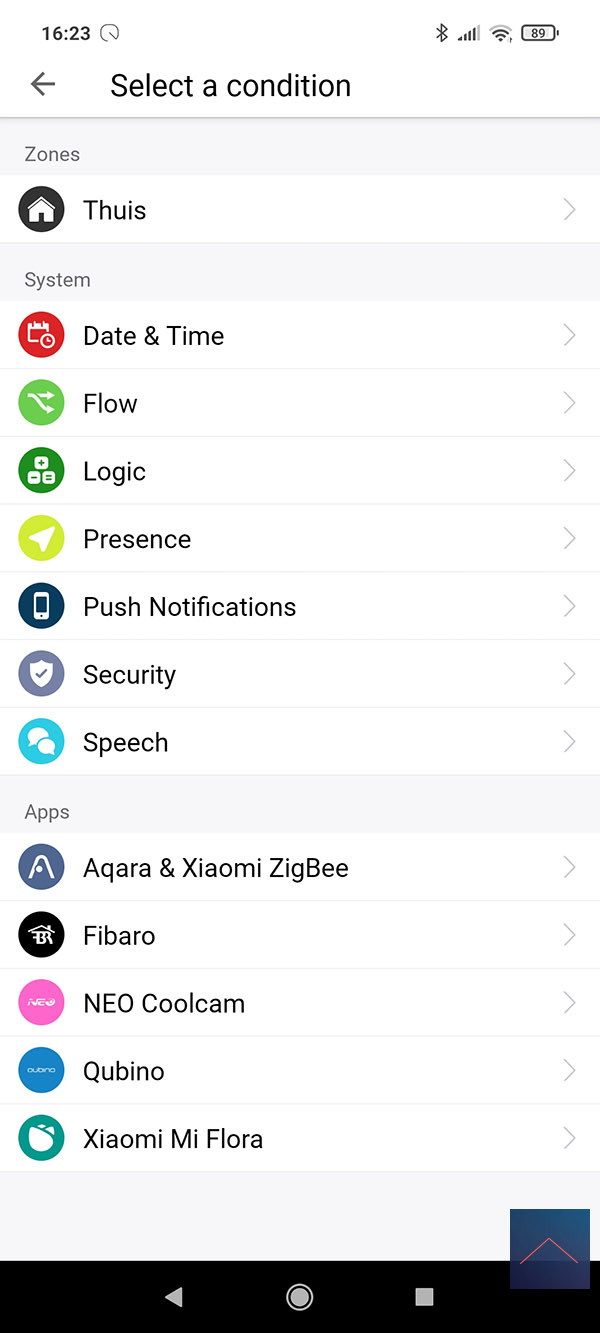
We start with the IF with the "A sensor value is changed" and check with the AND via a logic card whether the moisture value is lower than 5. If this is the case, we send a message.
IF:


AND:

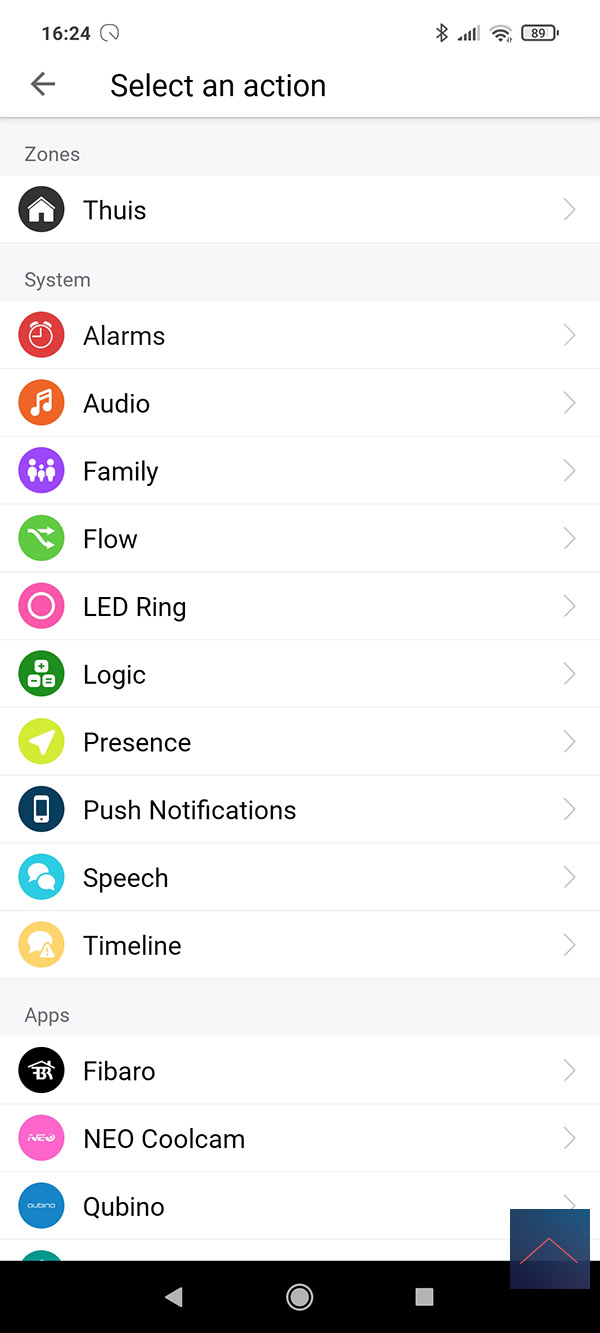
THEN:
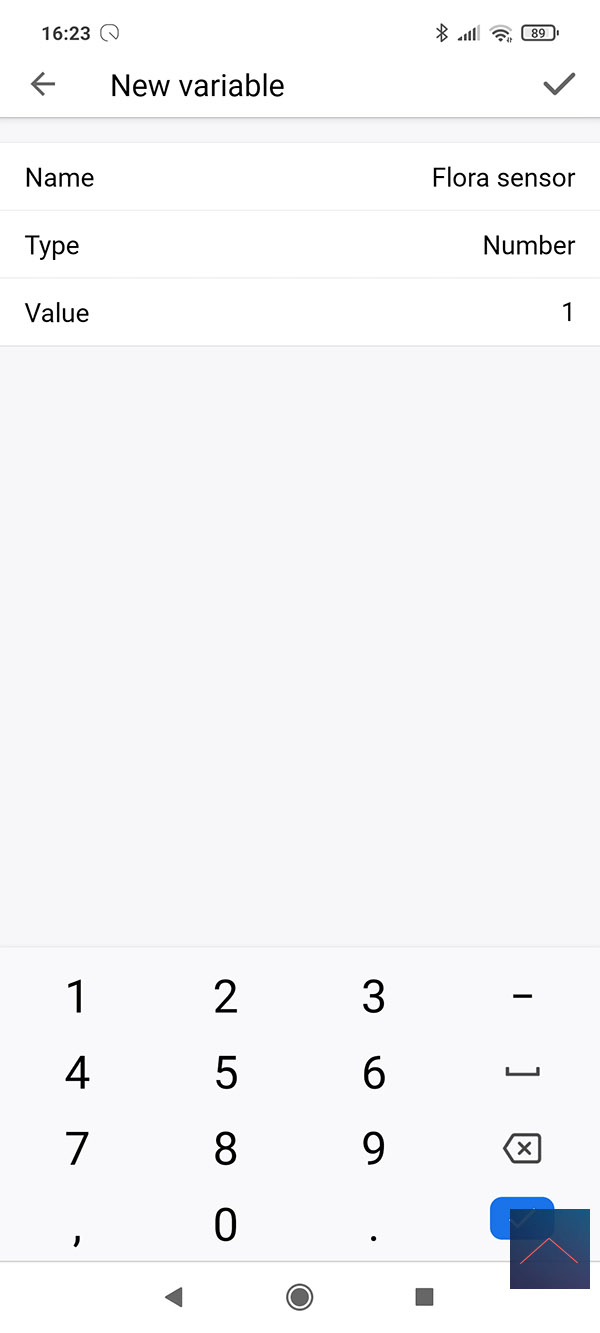
If you have made this flow above, you will see that you will continue to receive messages if the value is lower than 5. This may not be so desirable. To counter this, we put a variable with a number in it. We check this number when starting the flow. If this is lower than 4 (I don't want to receive more than 3 messages), he may no longer send a message.
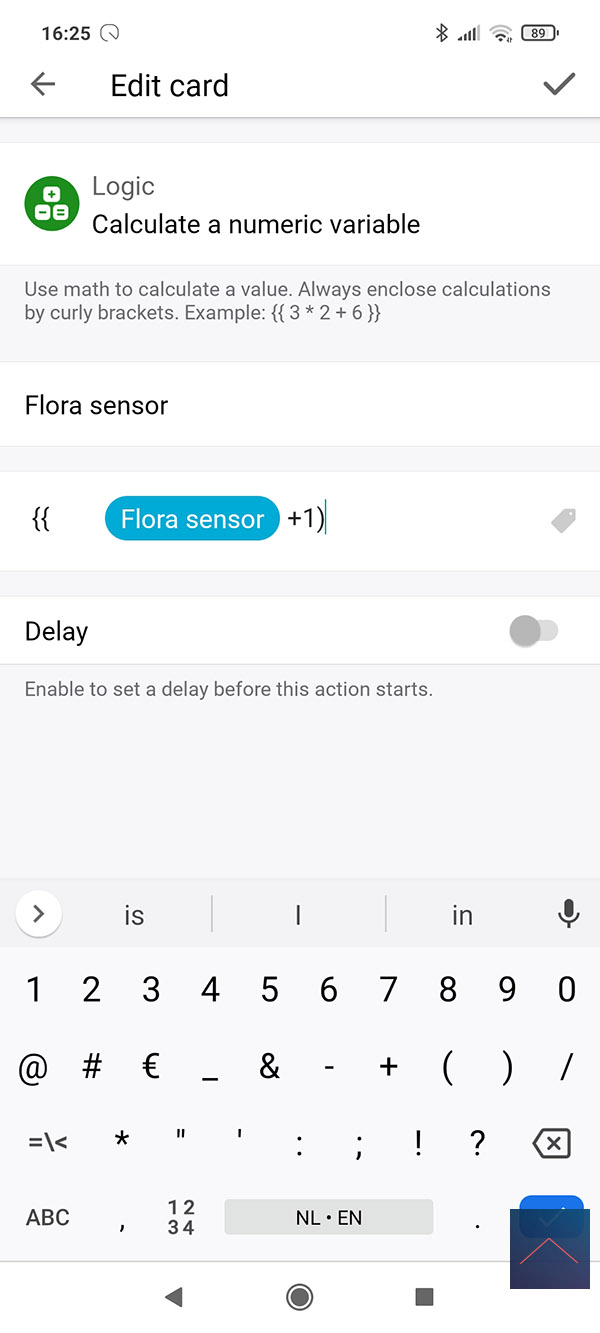
First we create the variable:
Then we say at the AND that it must be lower than 4.


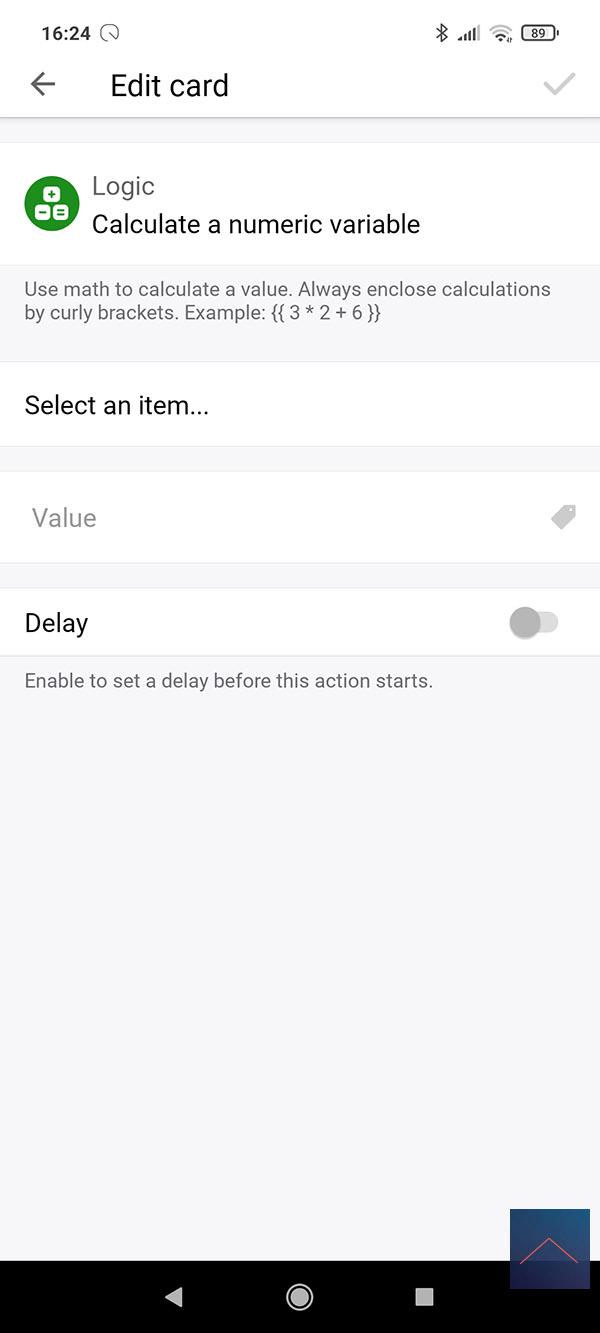
And at the THAN we calculate the variable. We are going to add 1 number each time.
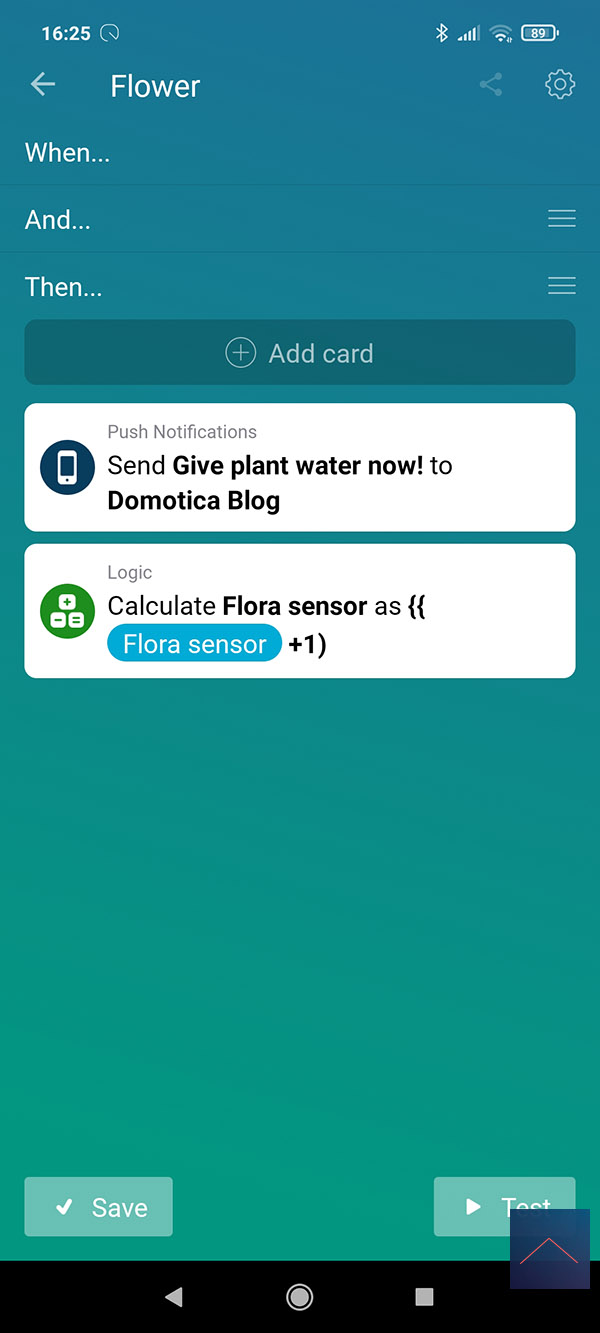
The flow will now no longer run when the variable has become 3 and so we will no longer receive messages. The next day I want to receive a message again, so in the night I set the variable back to 0.