Review:
Blastbot

Installation:
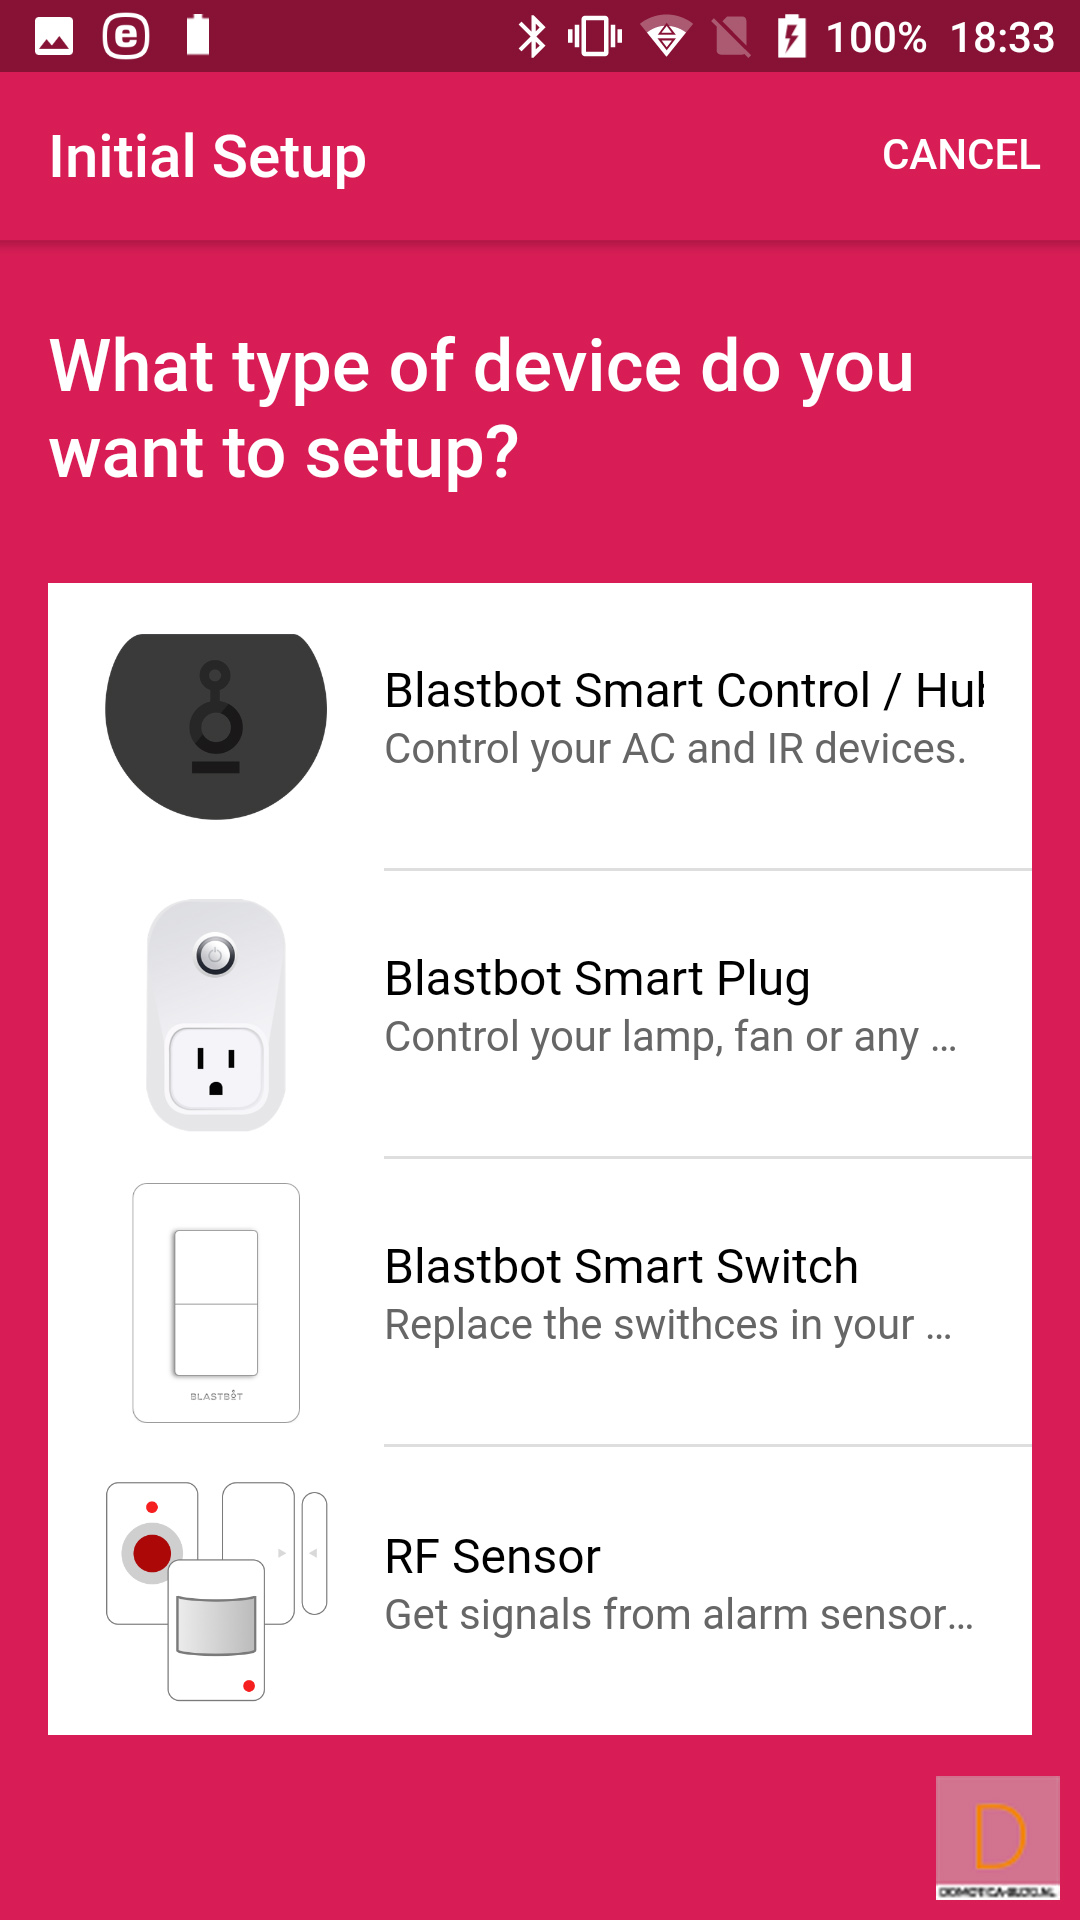
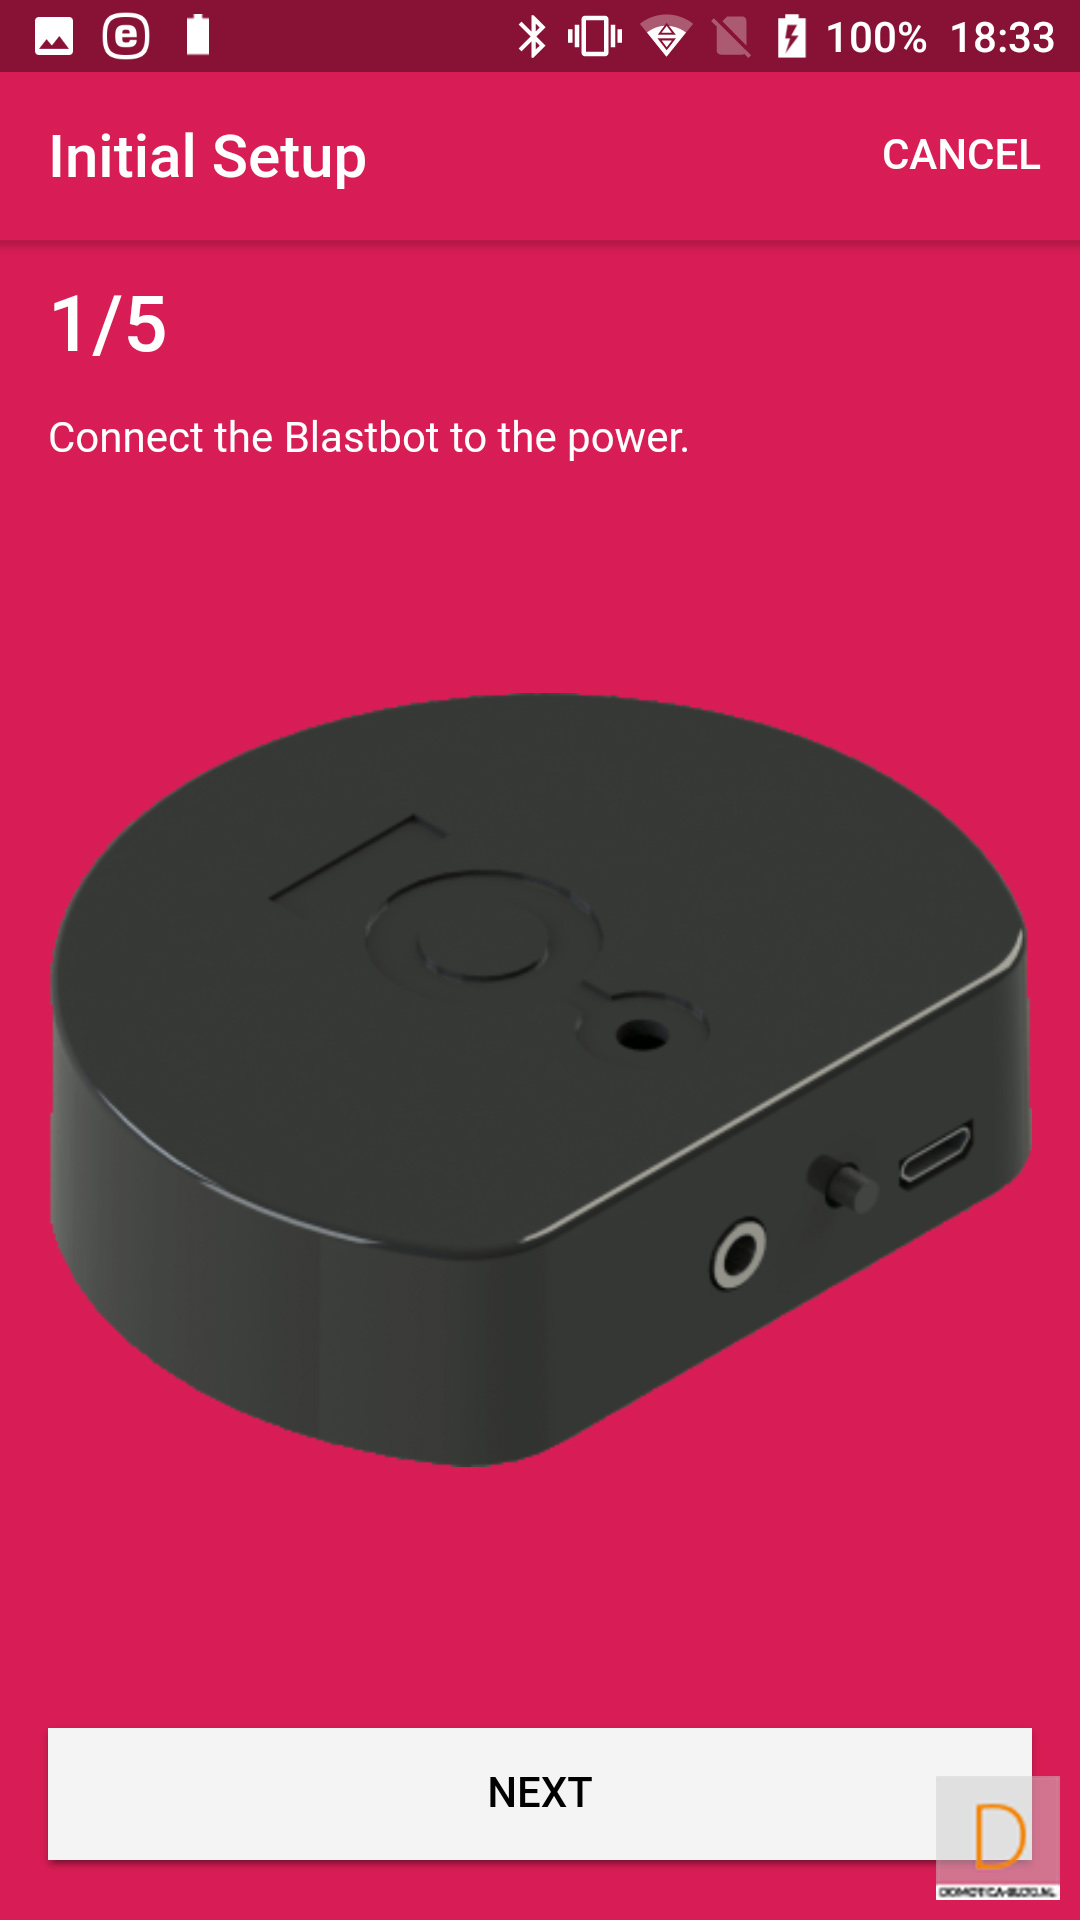
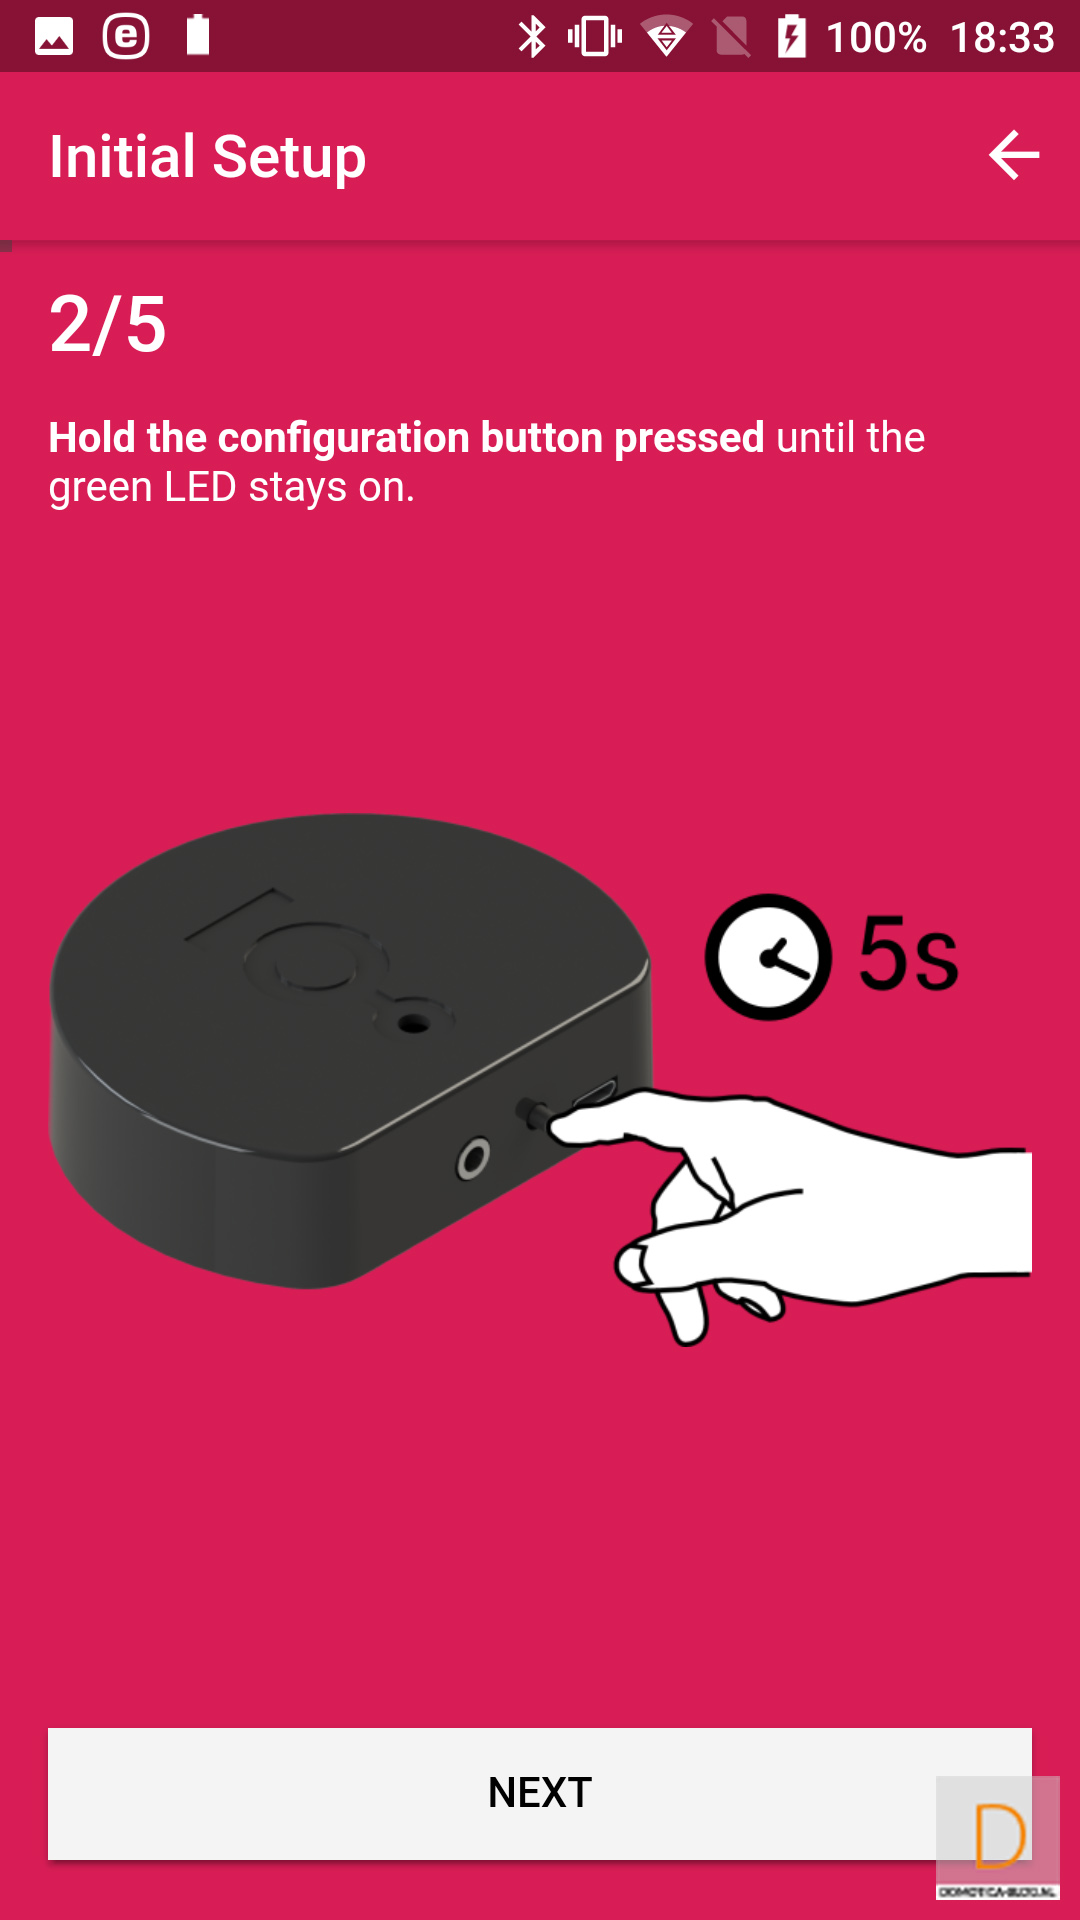
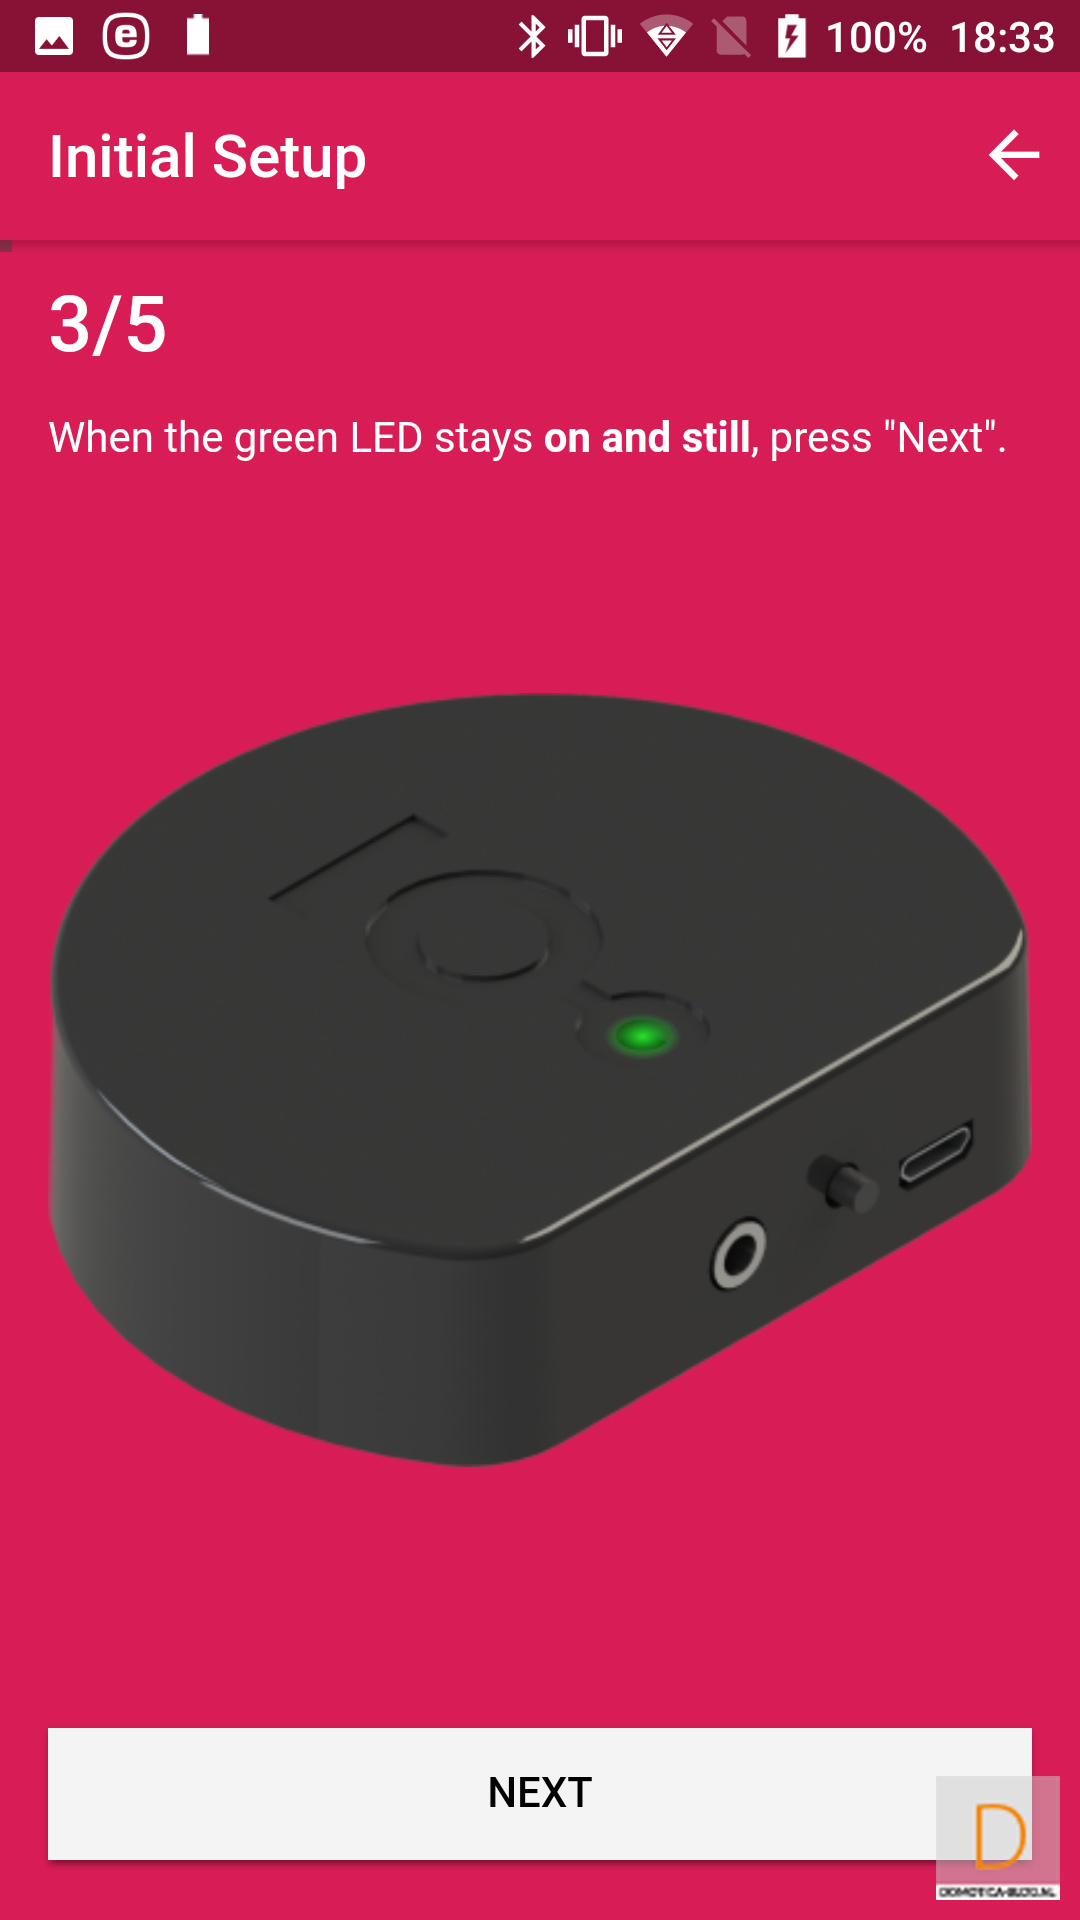
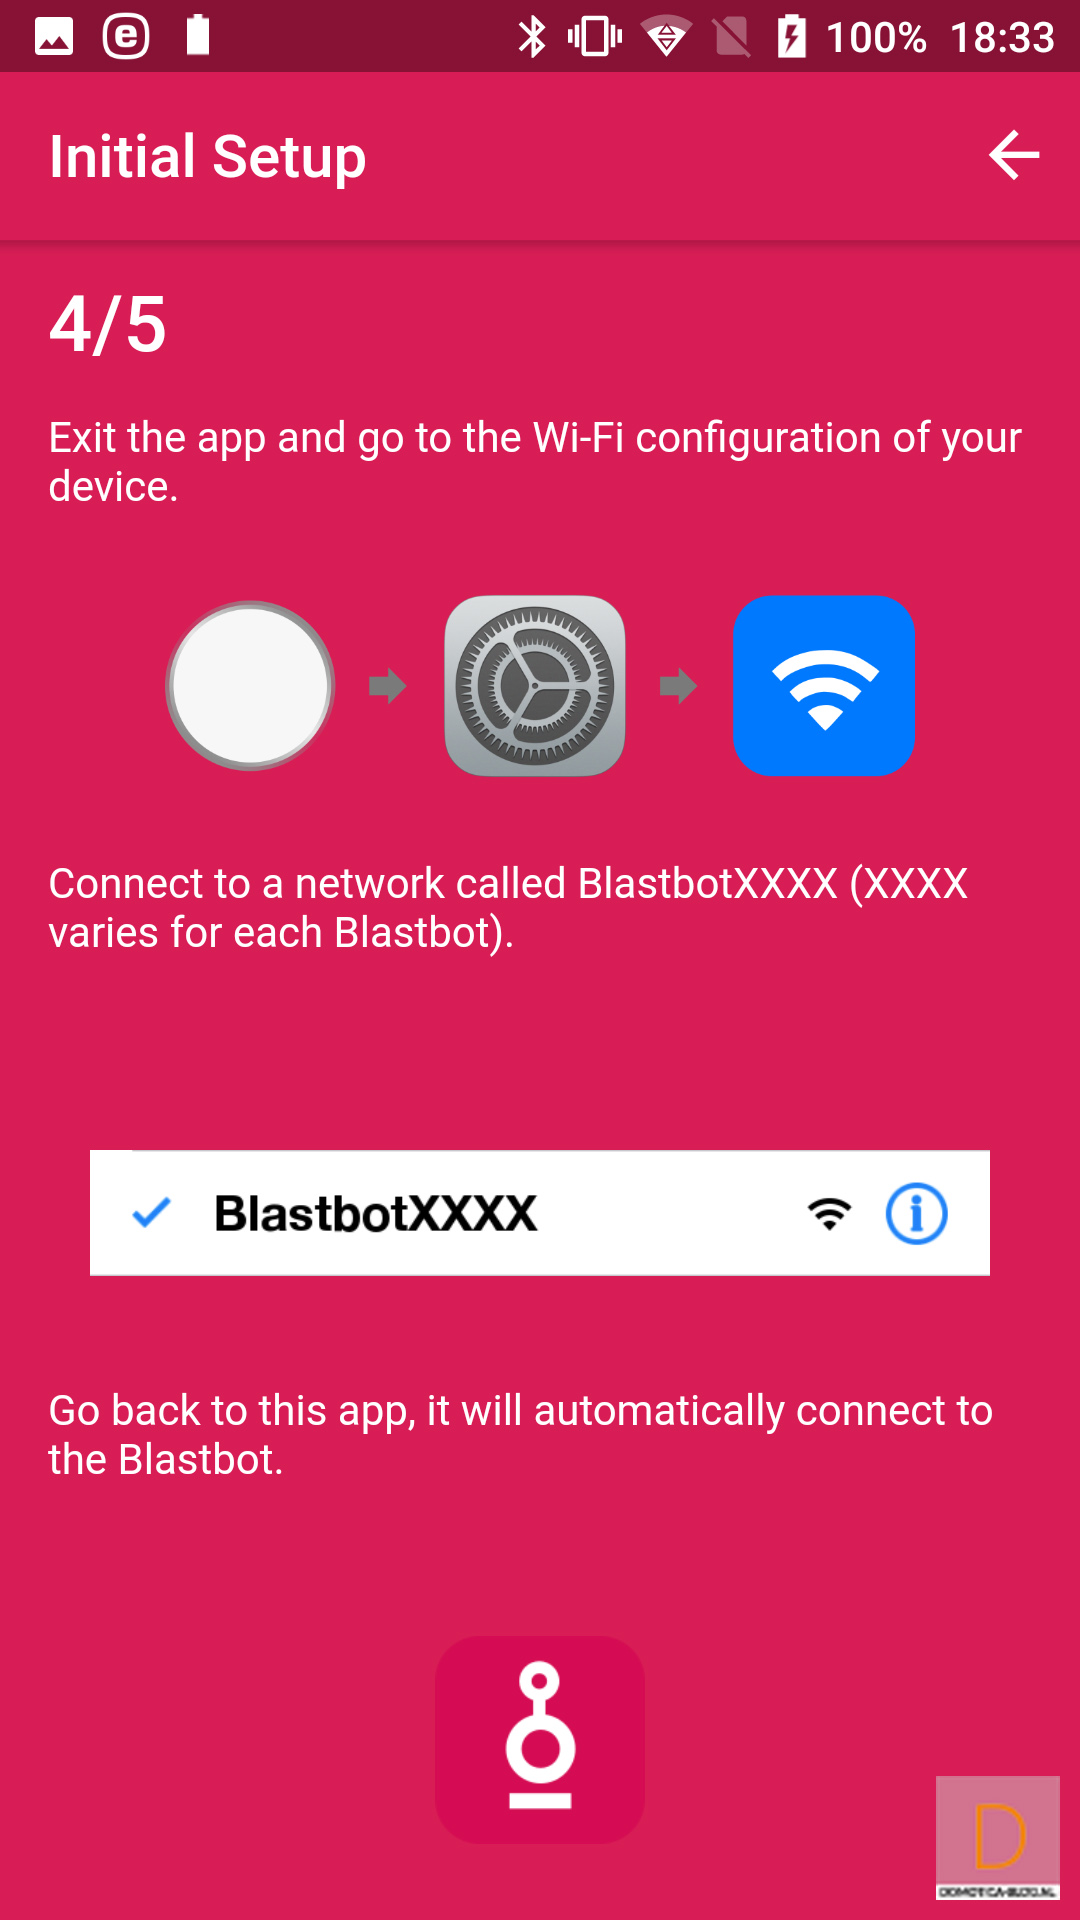
The first step is to download the APP (Android / iOS) and install it on your phone. After this you create an account and provide the Blastbot with power with the included adapter / USB cable. Then click on "Setup new device" and select the Blastbot and hold the button on the back for 5 seconds until the LED stays on. After this you exit the application and go to your WiFi configuration on your phone. You will then see the Blastbot as a network.
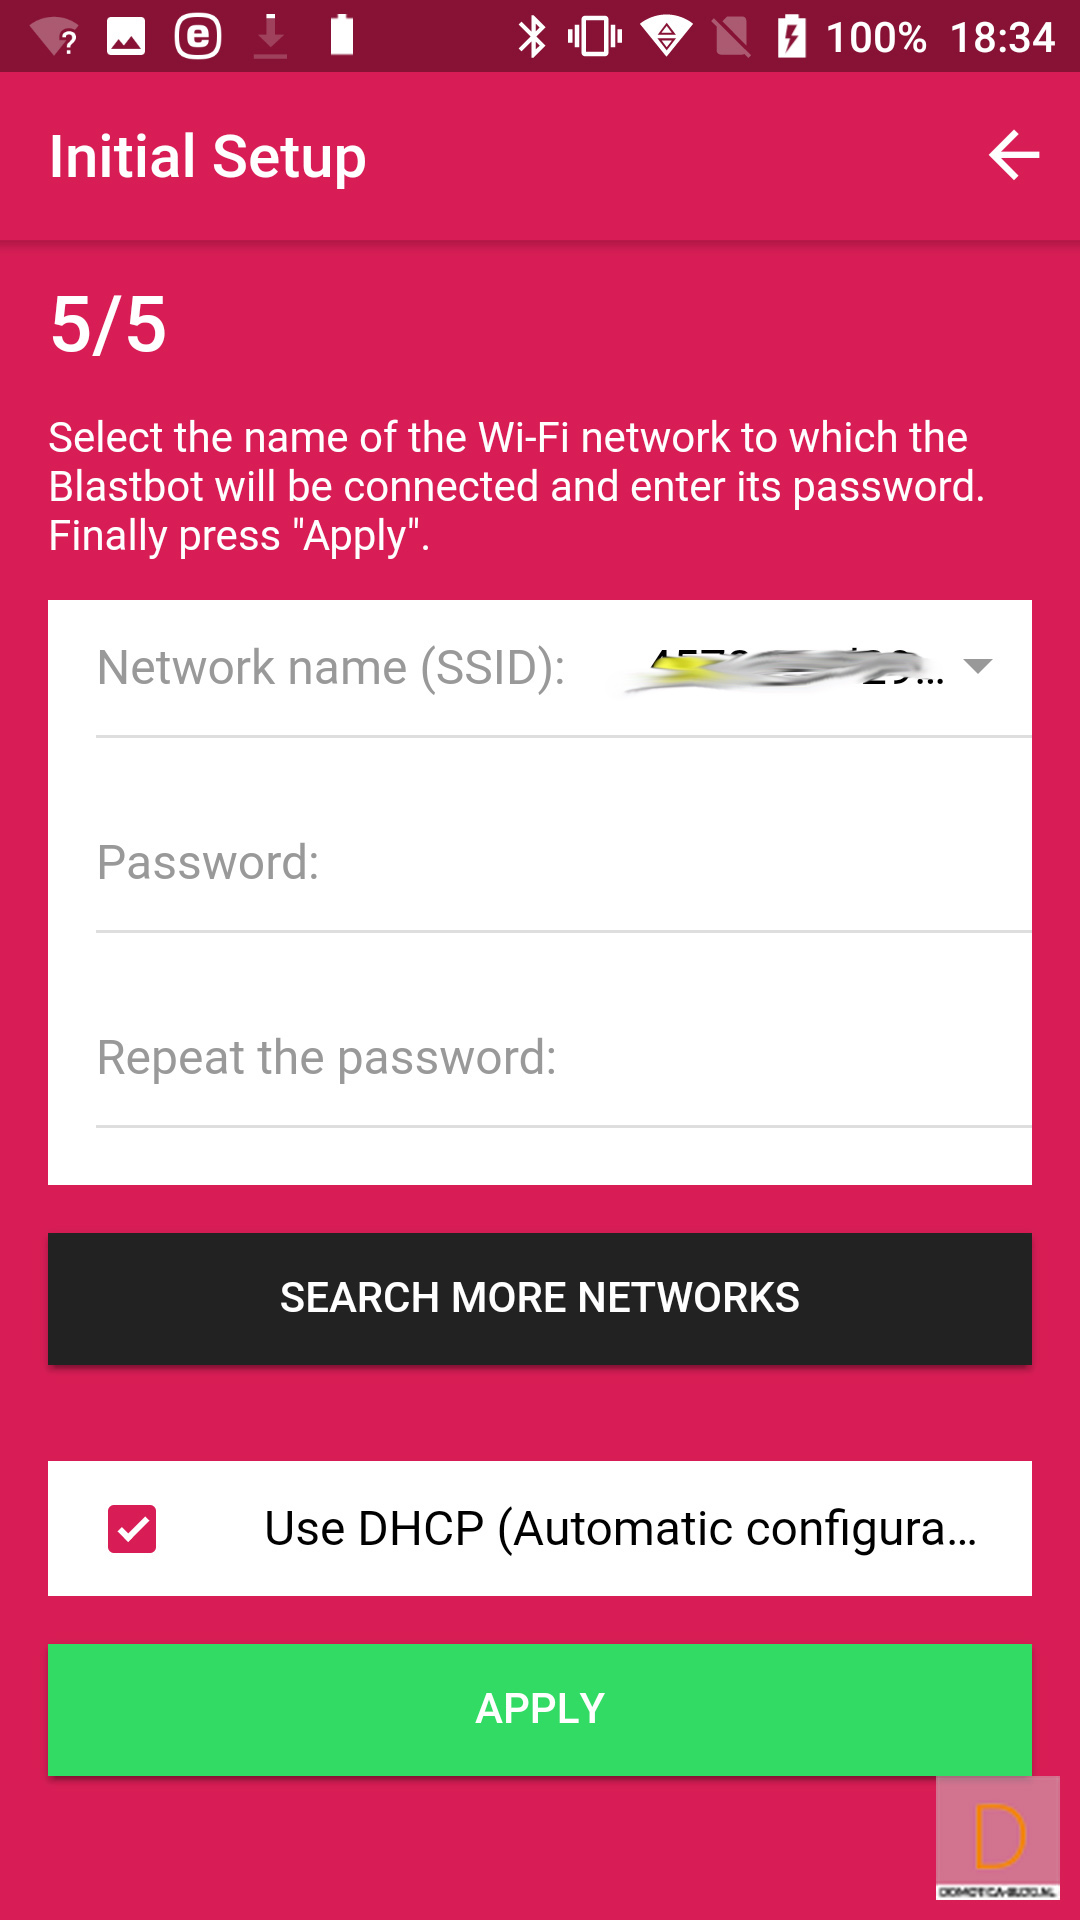
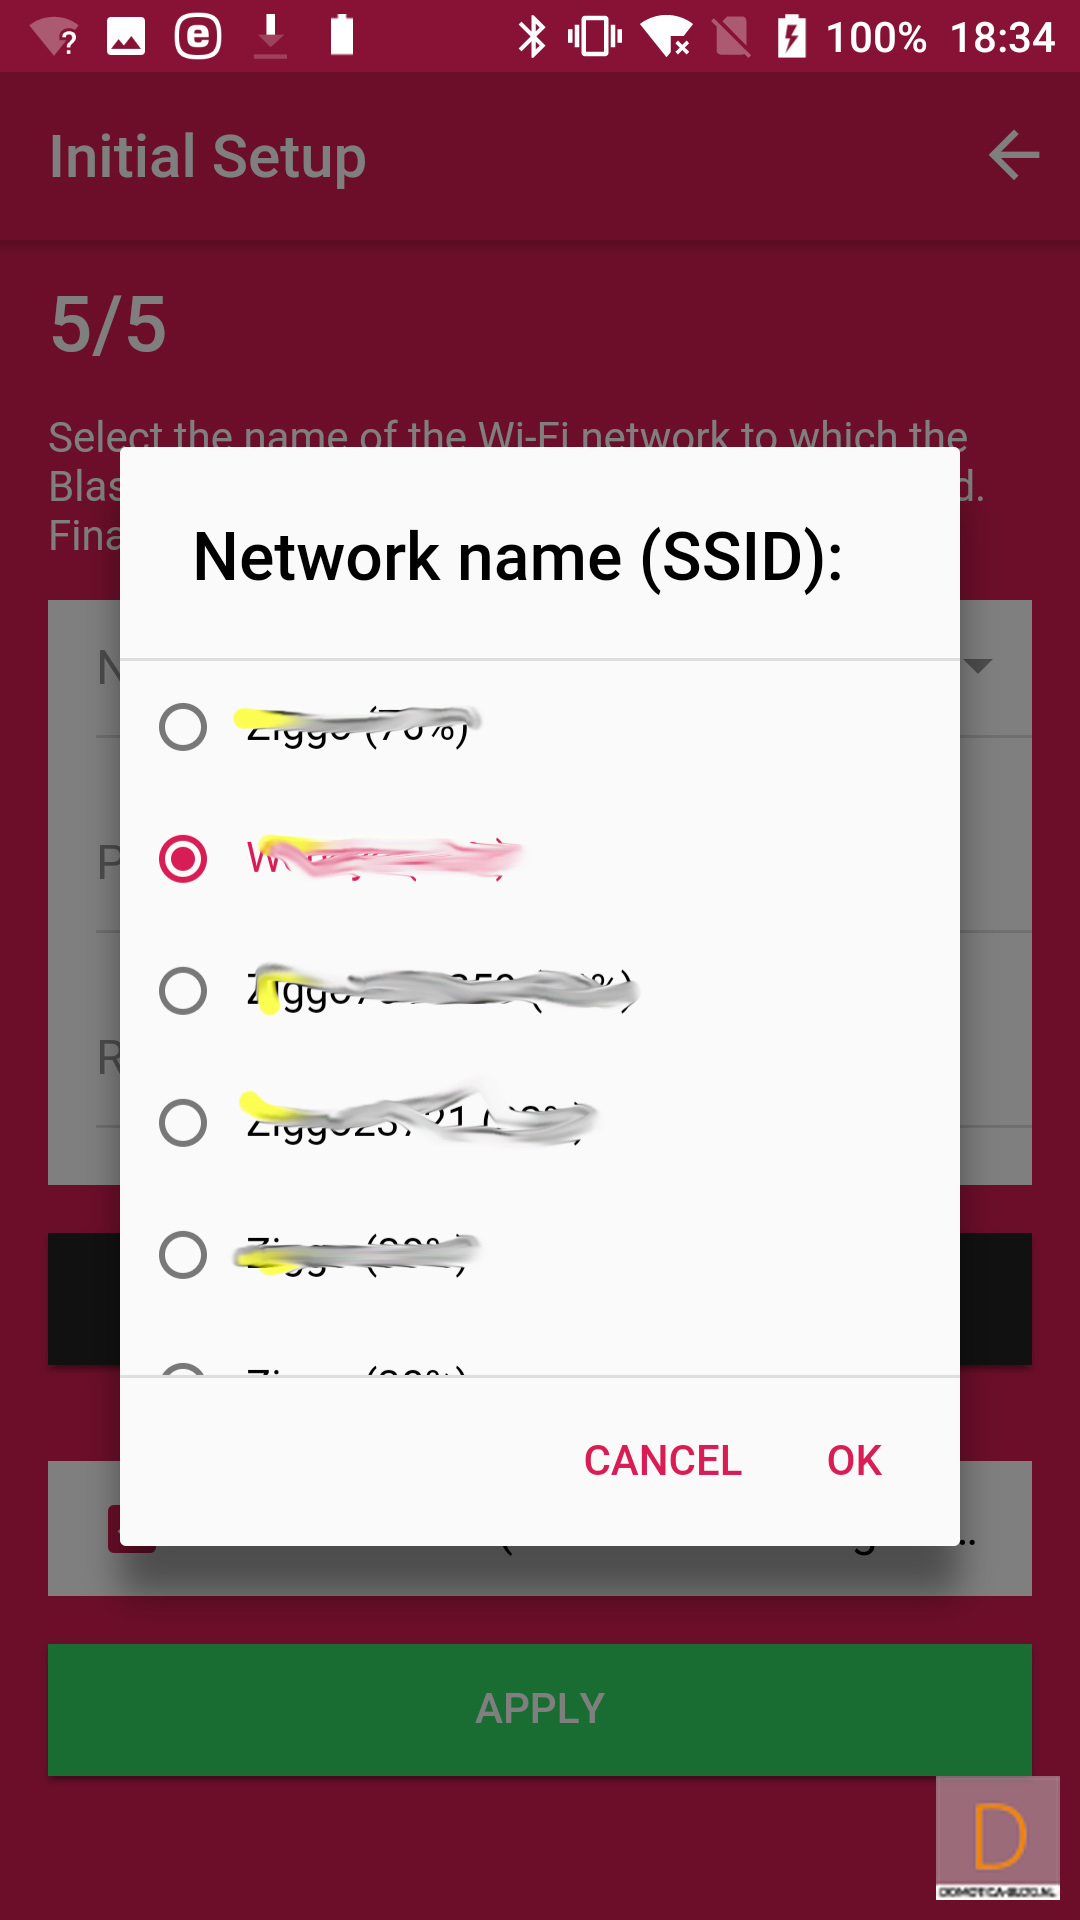
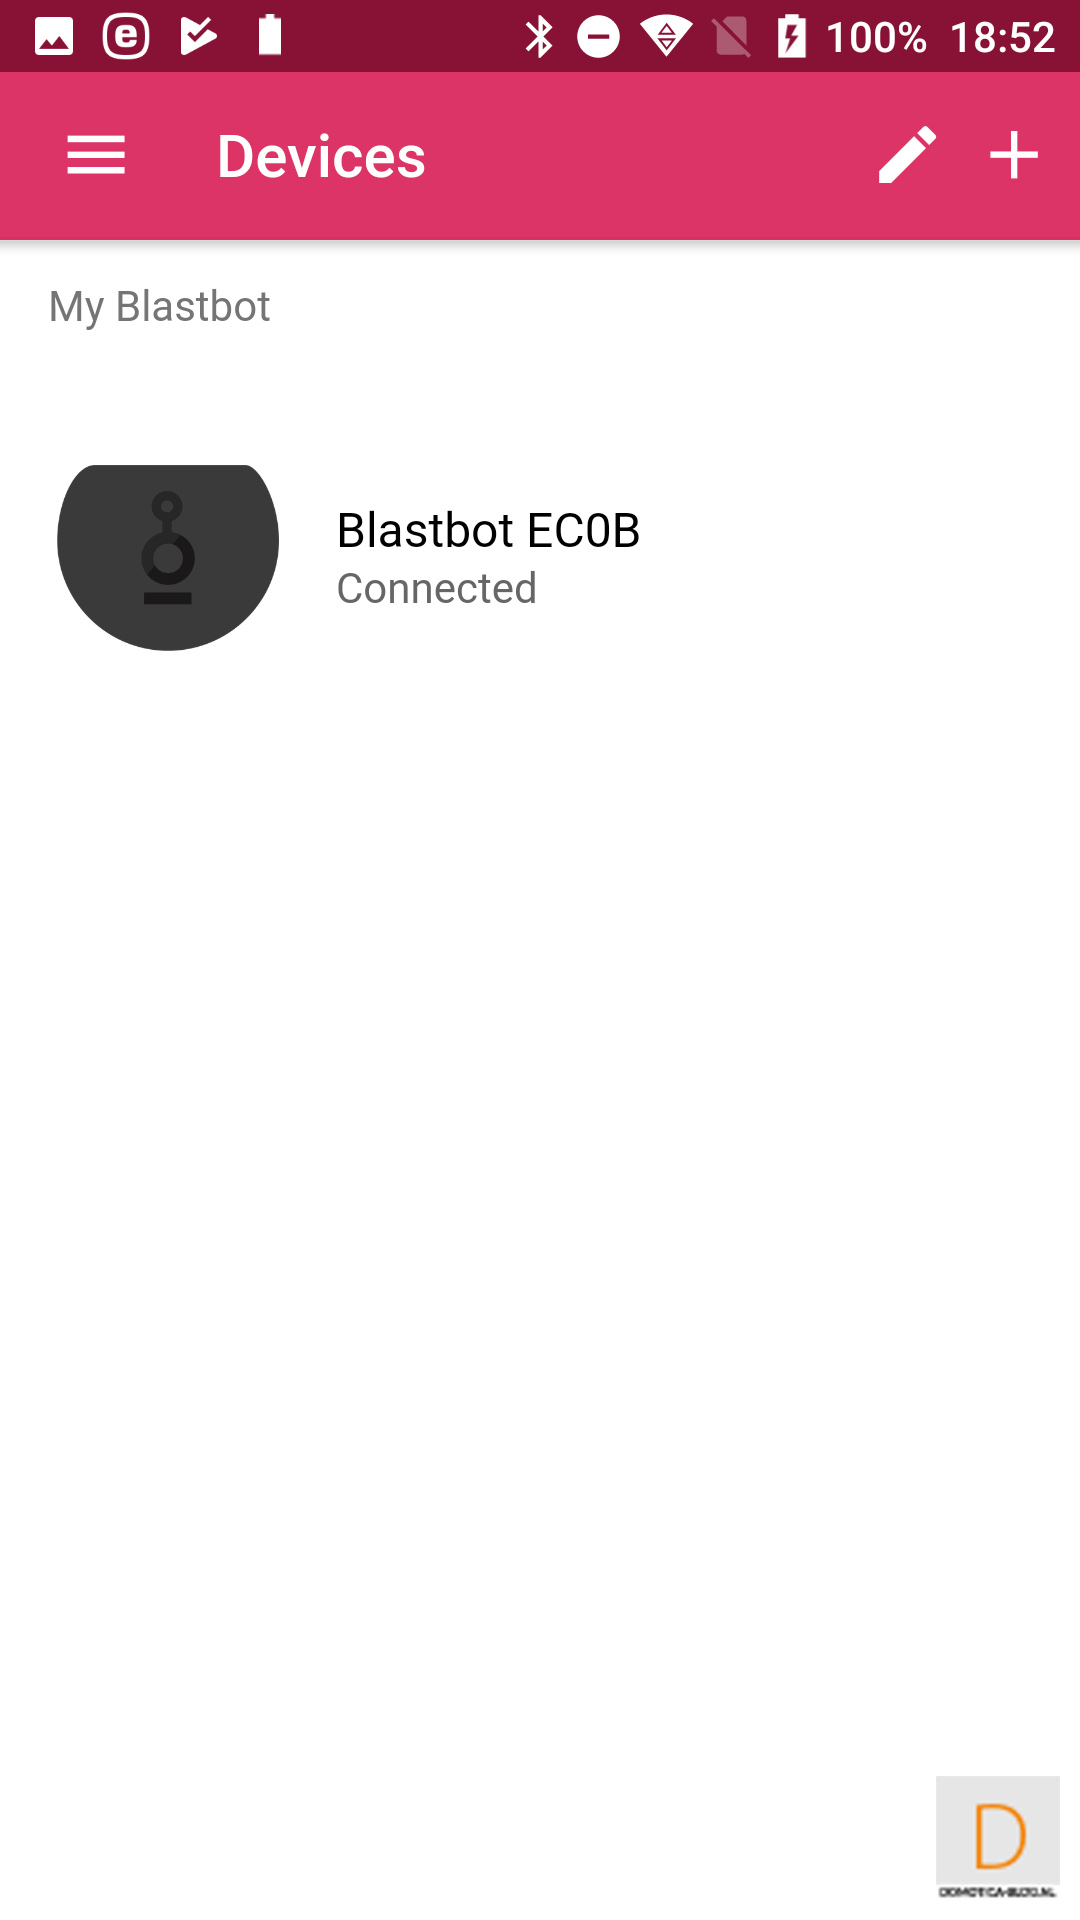
Then connect to this and go back to the APP. He will then find the Blastbot and ask for your local WiFi data. You then enter this to connect the Blastbot to your network. This did not go well with me because he did not see my network or the Blastbot did not see. After grabbing another Android phone, the installation went well. This could be a problem with the APP and Android 9. After installation I see the Blastbot with my devices.
Installation screens:

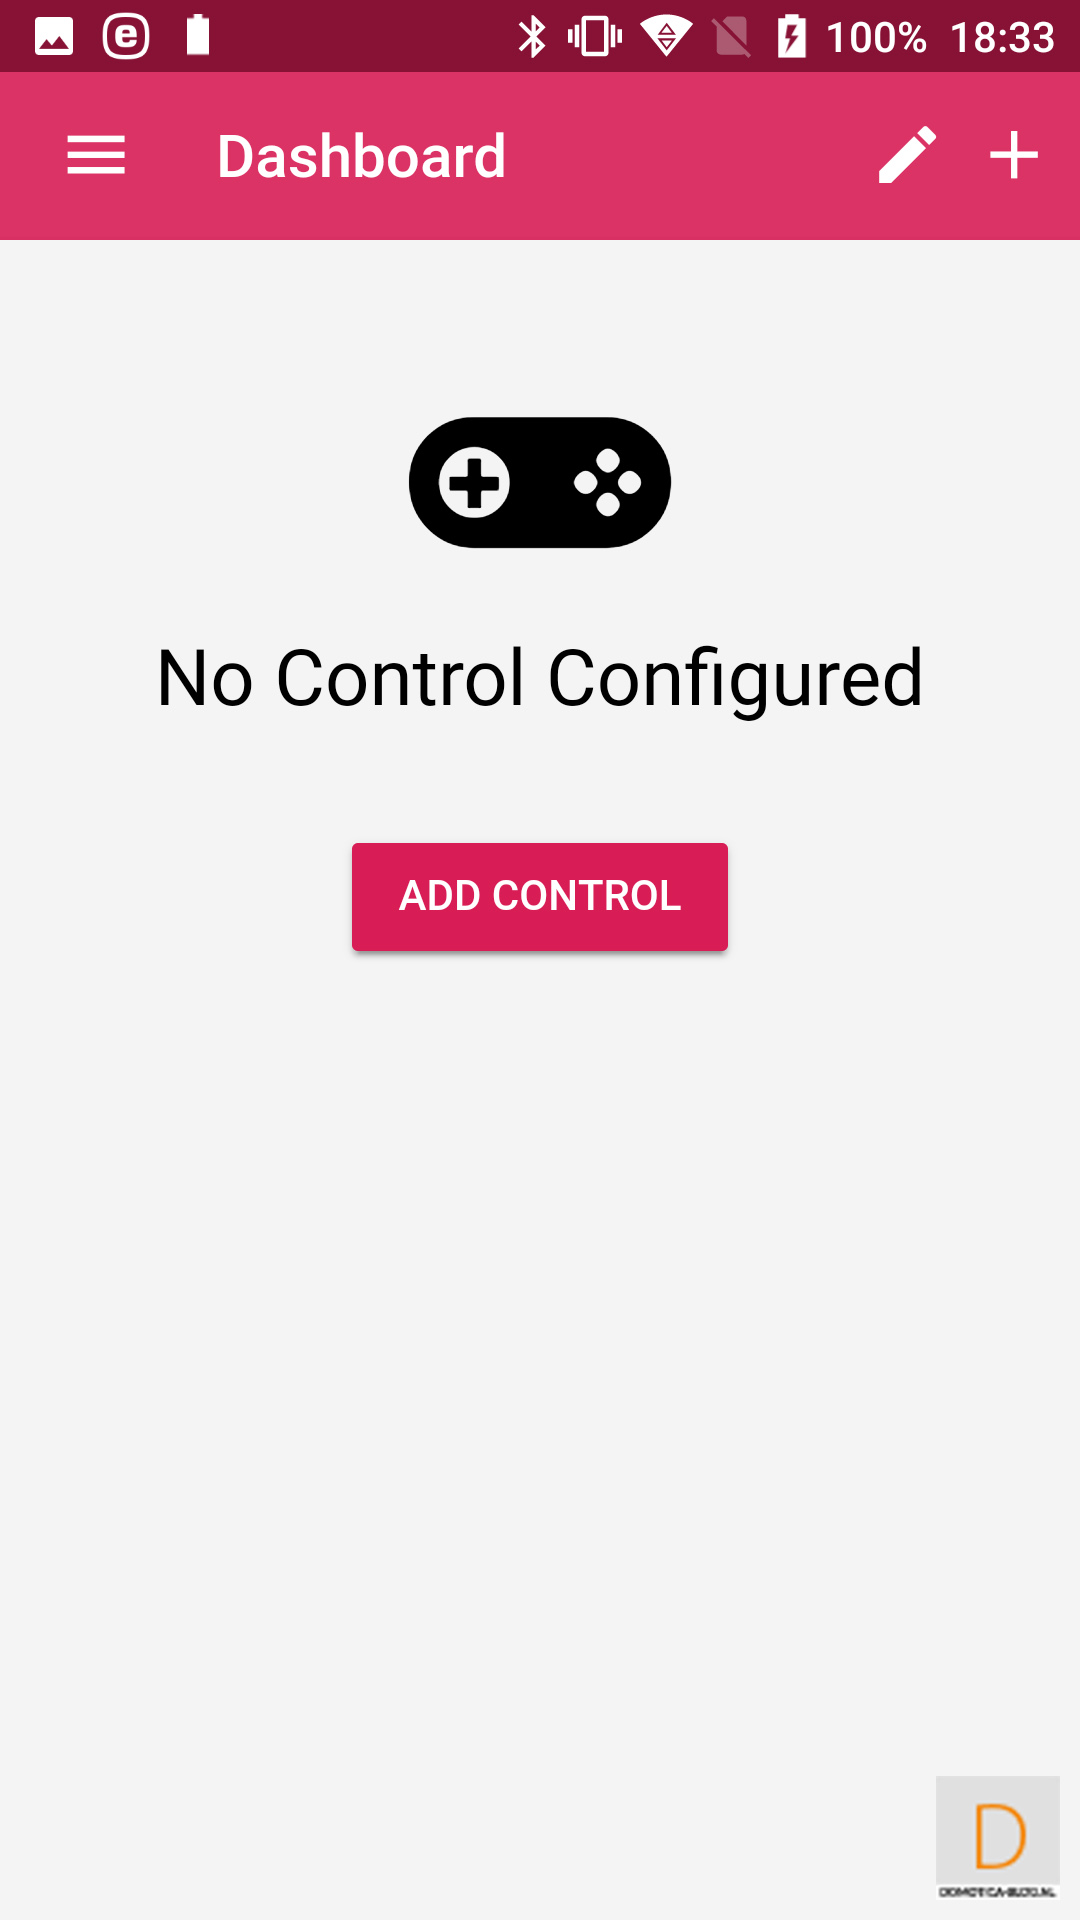

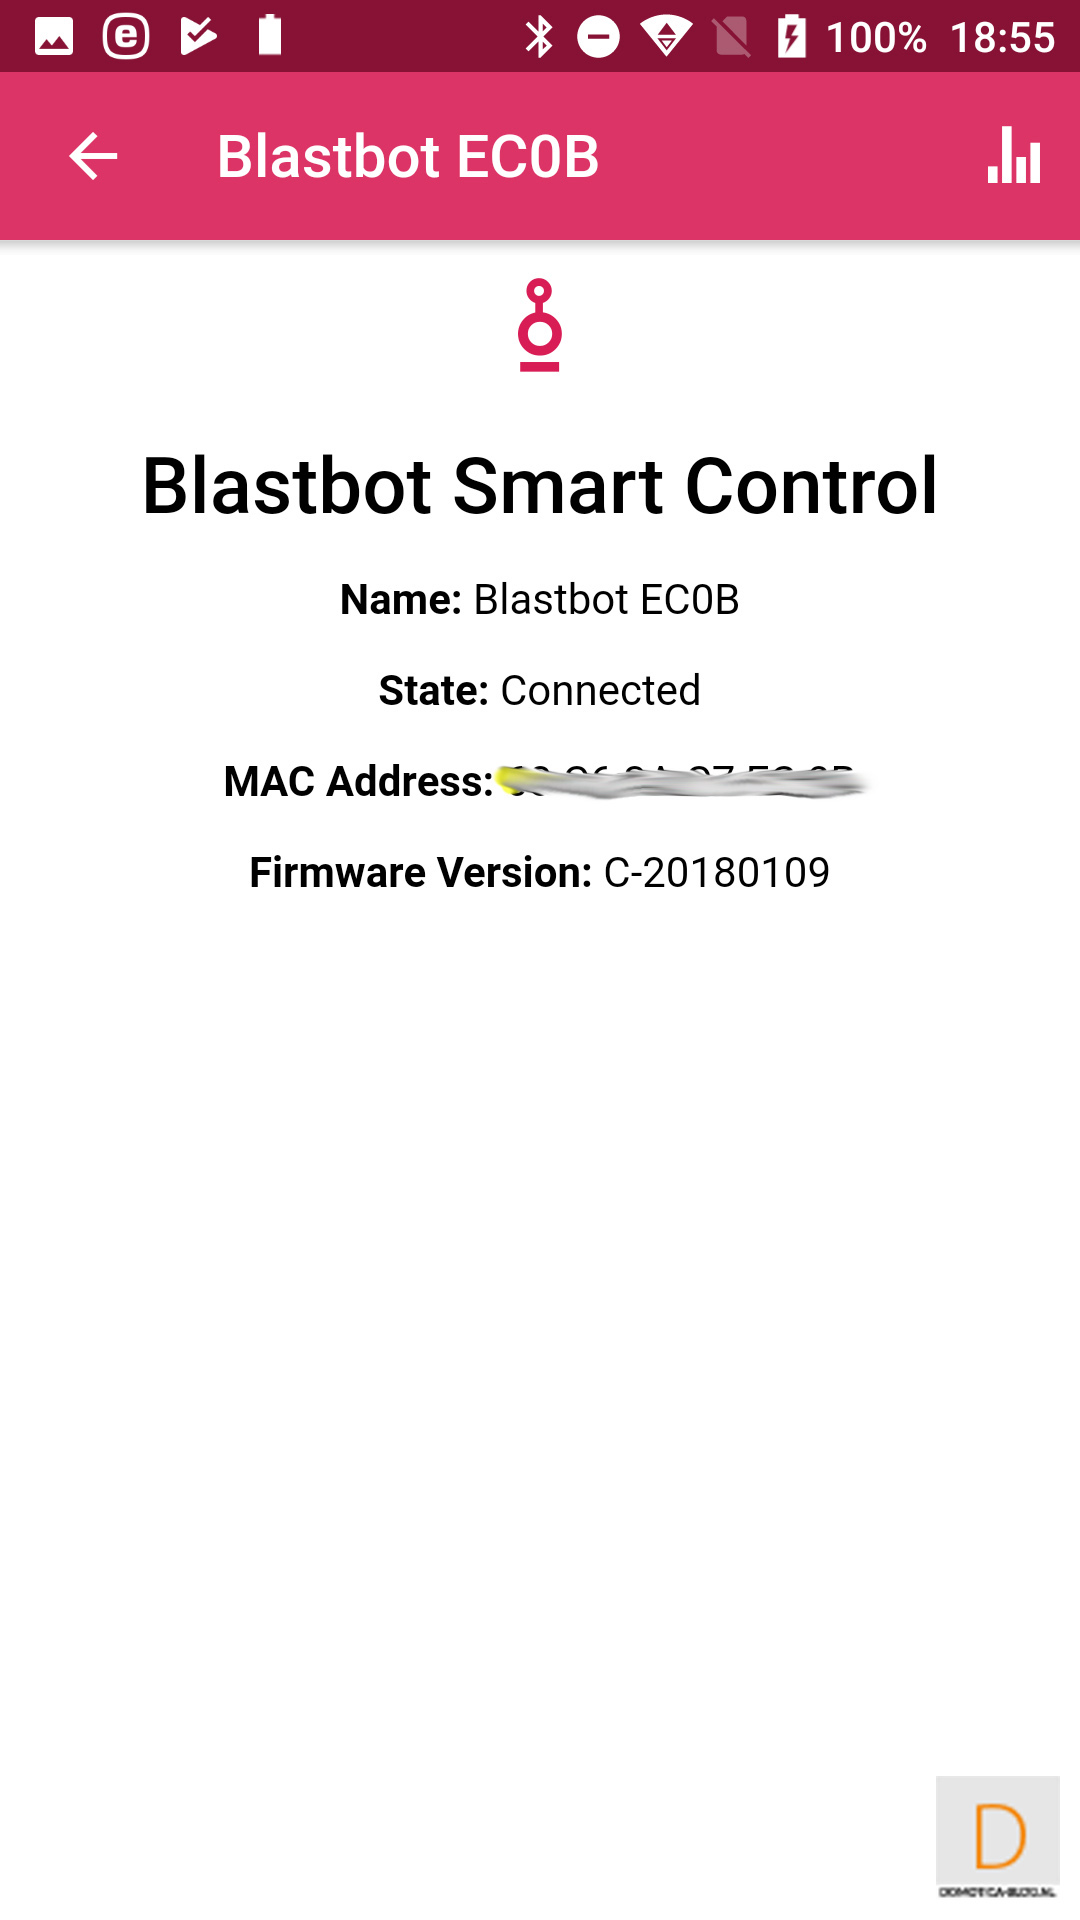
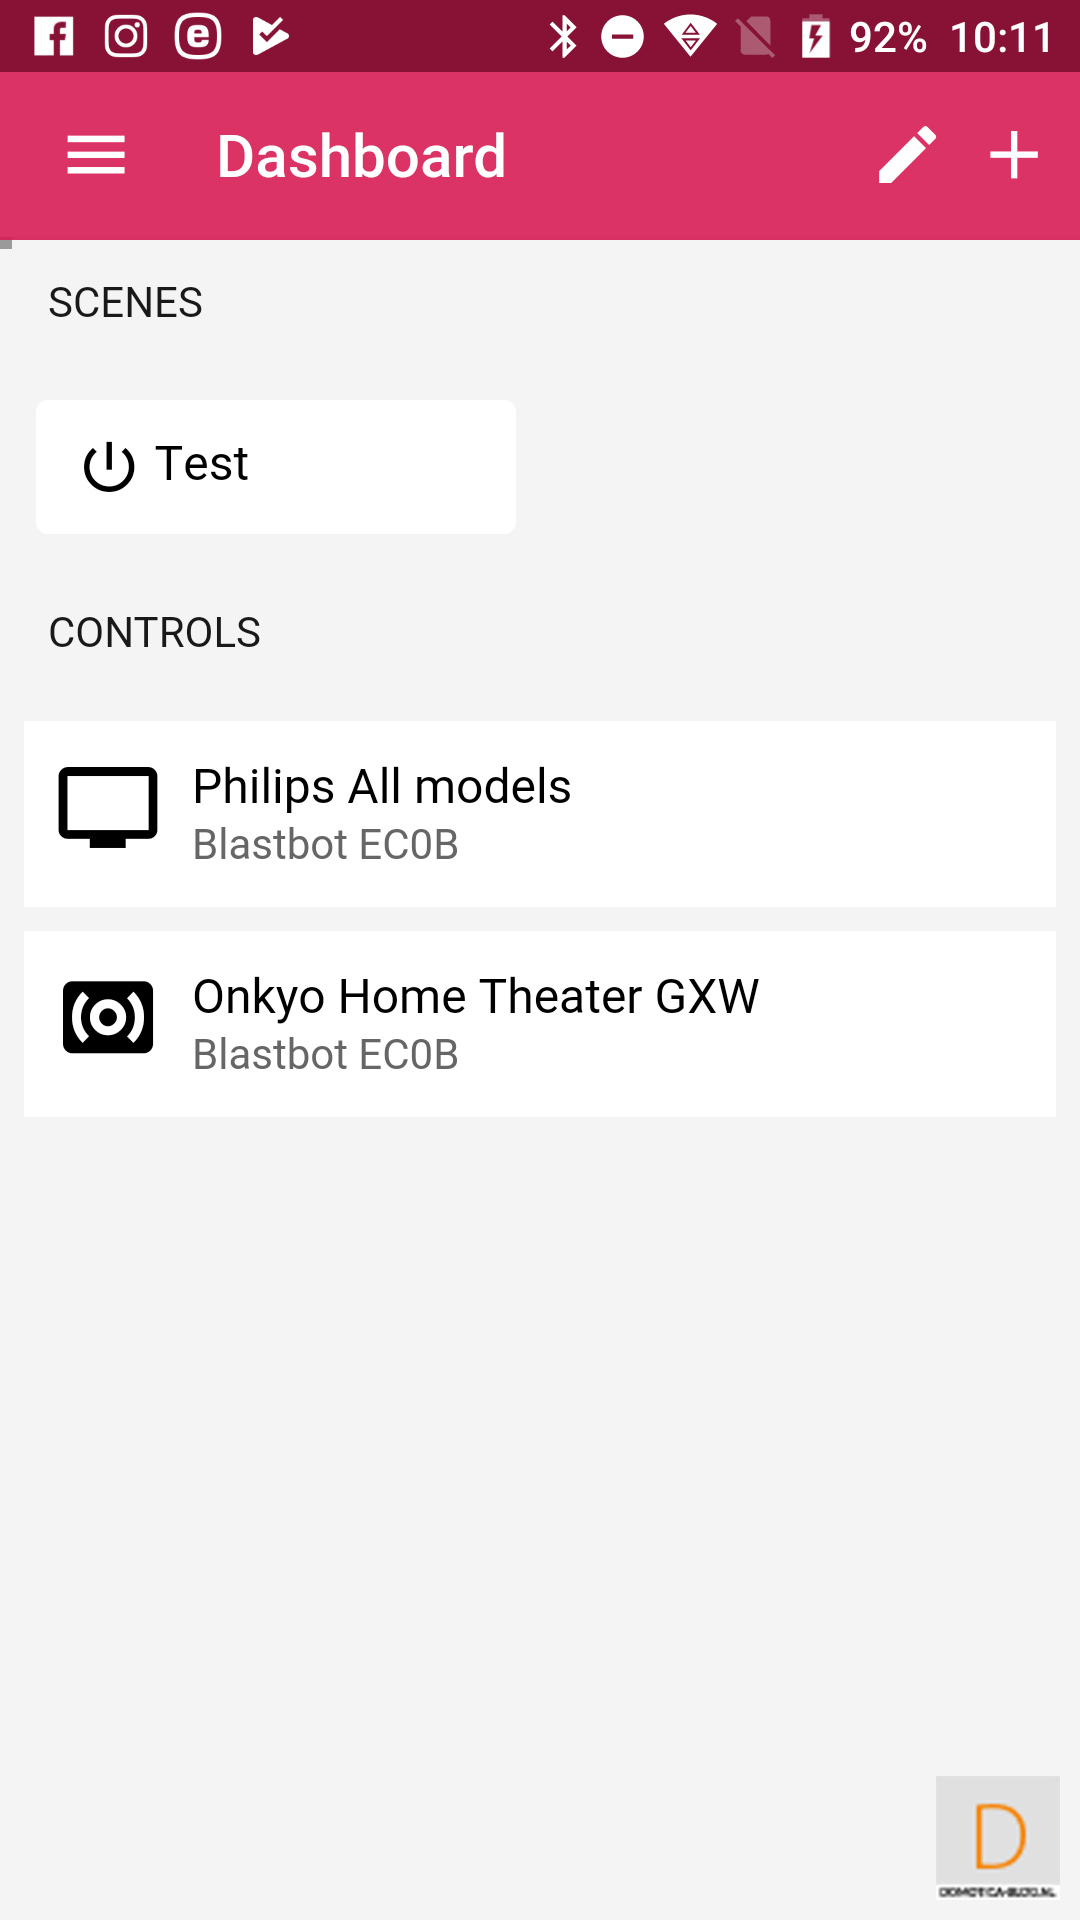
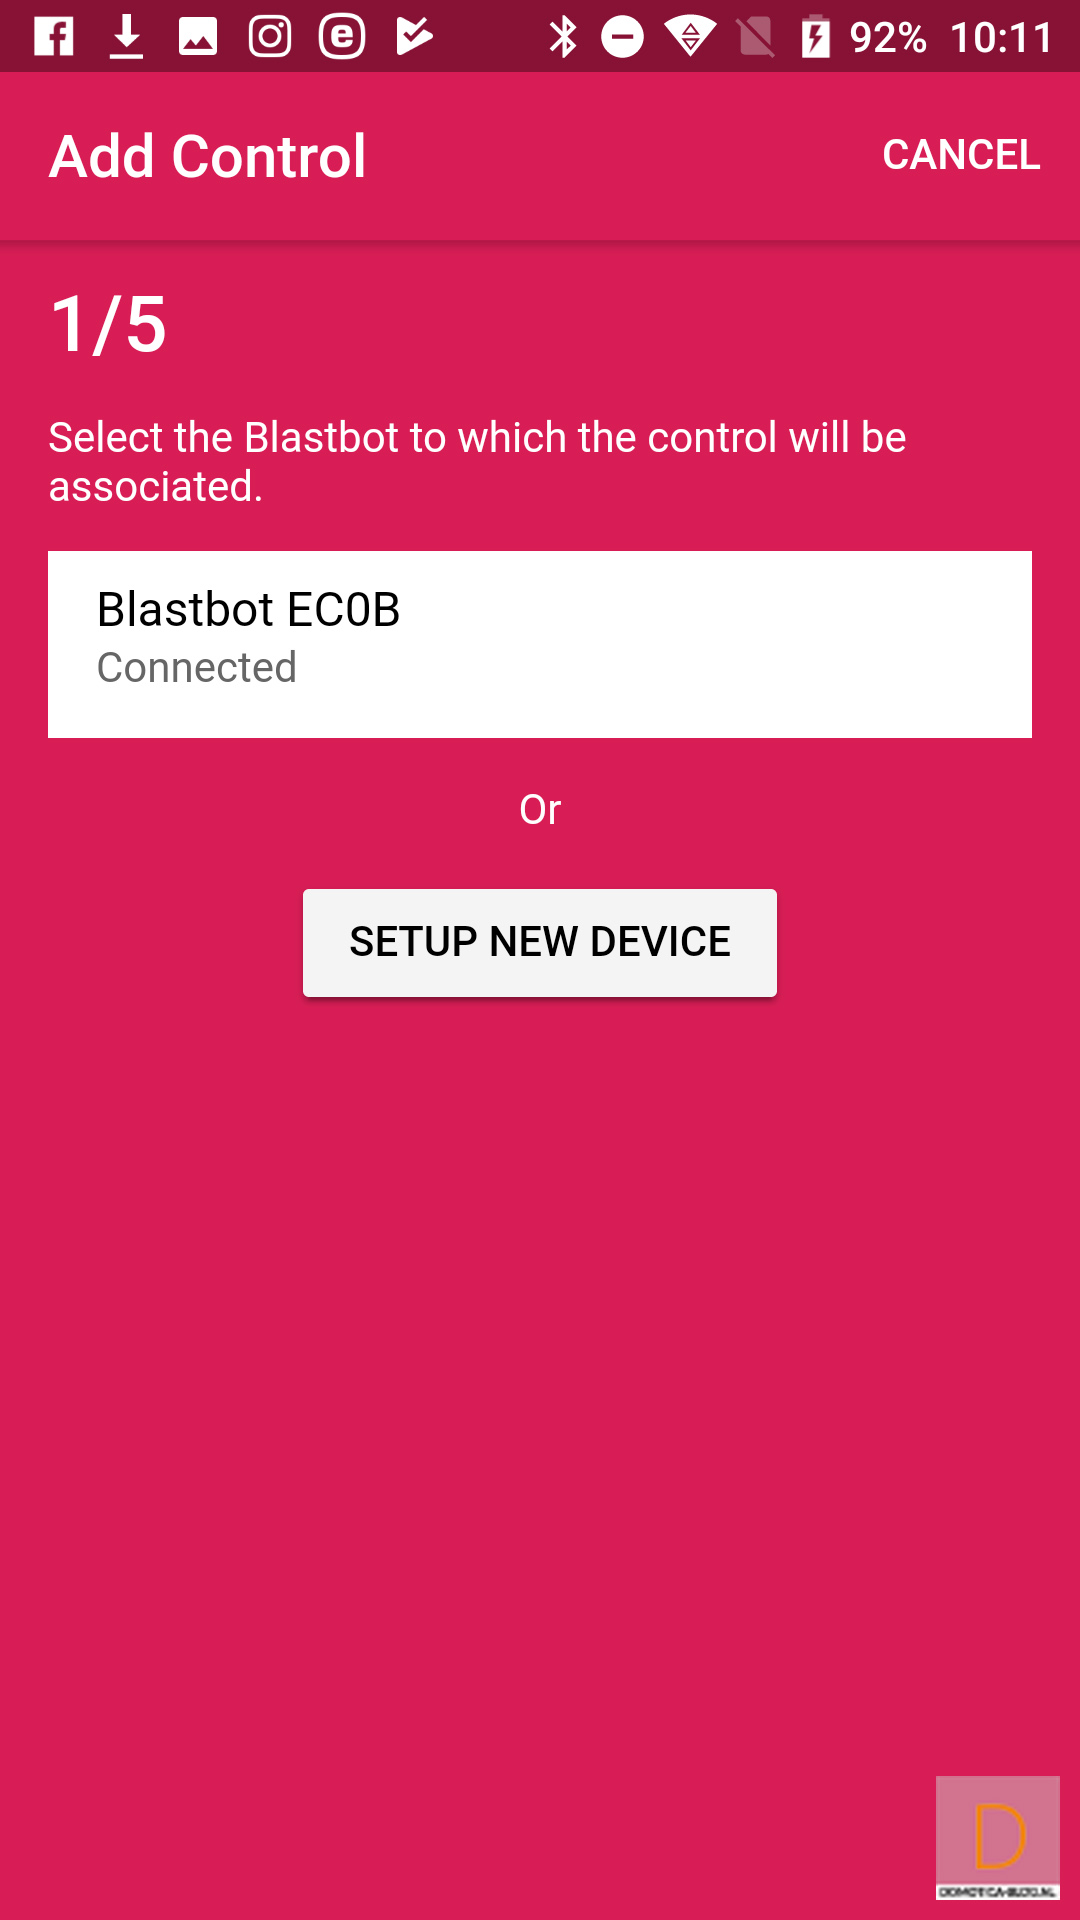
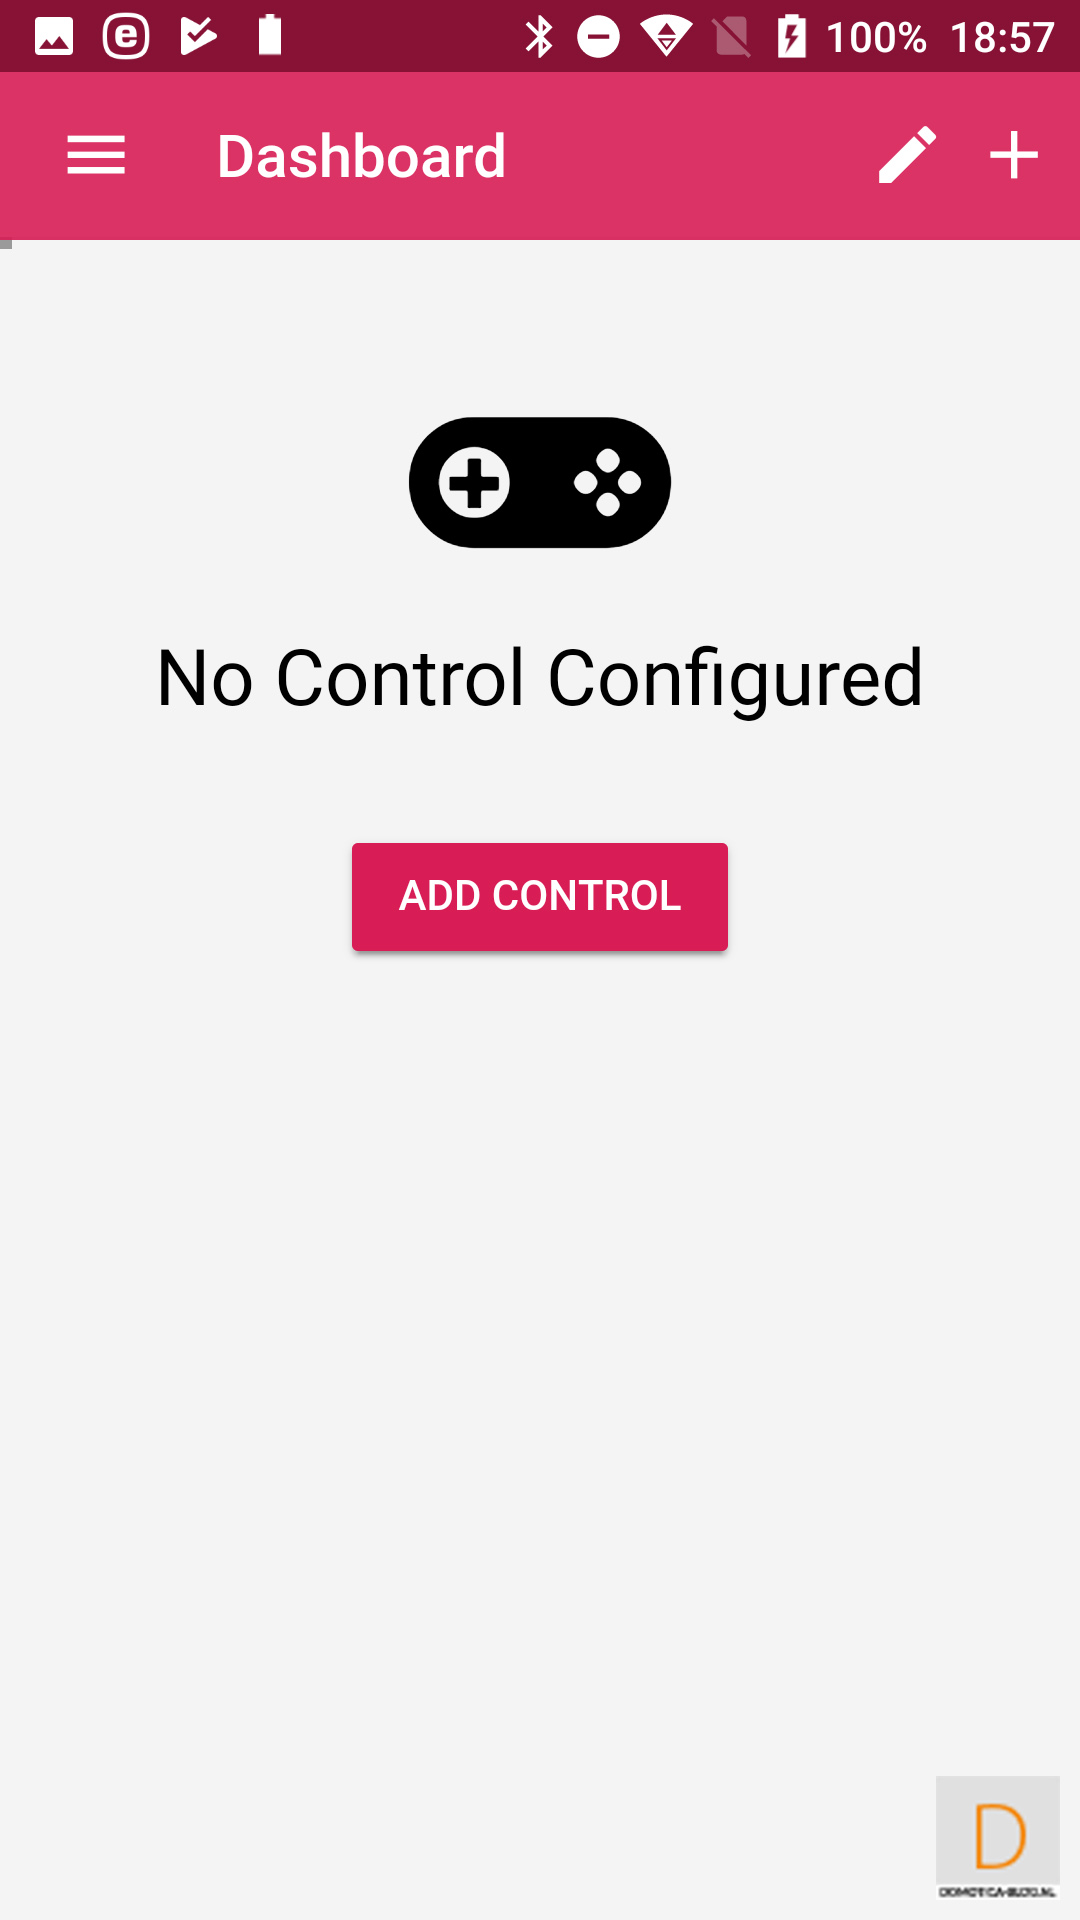
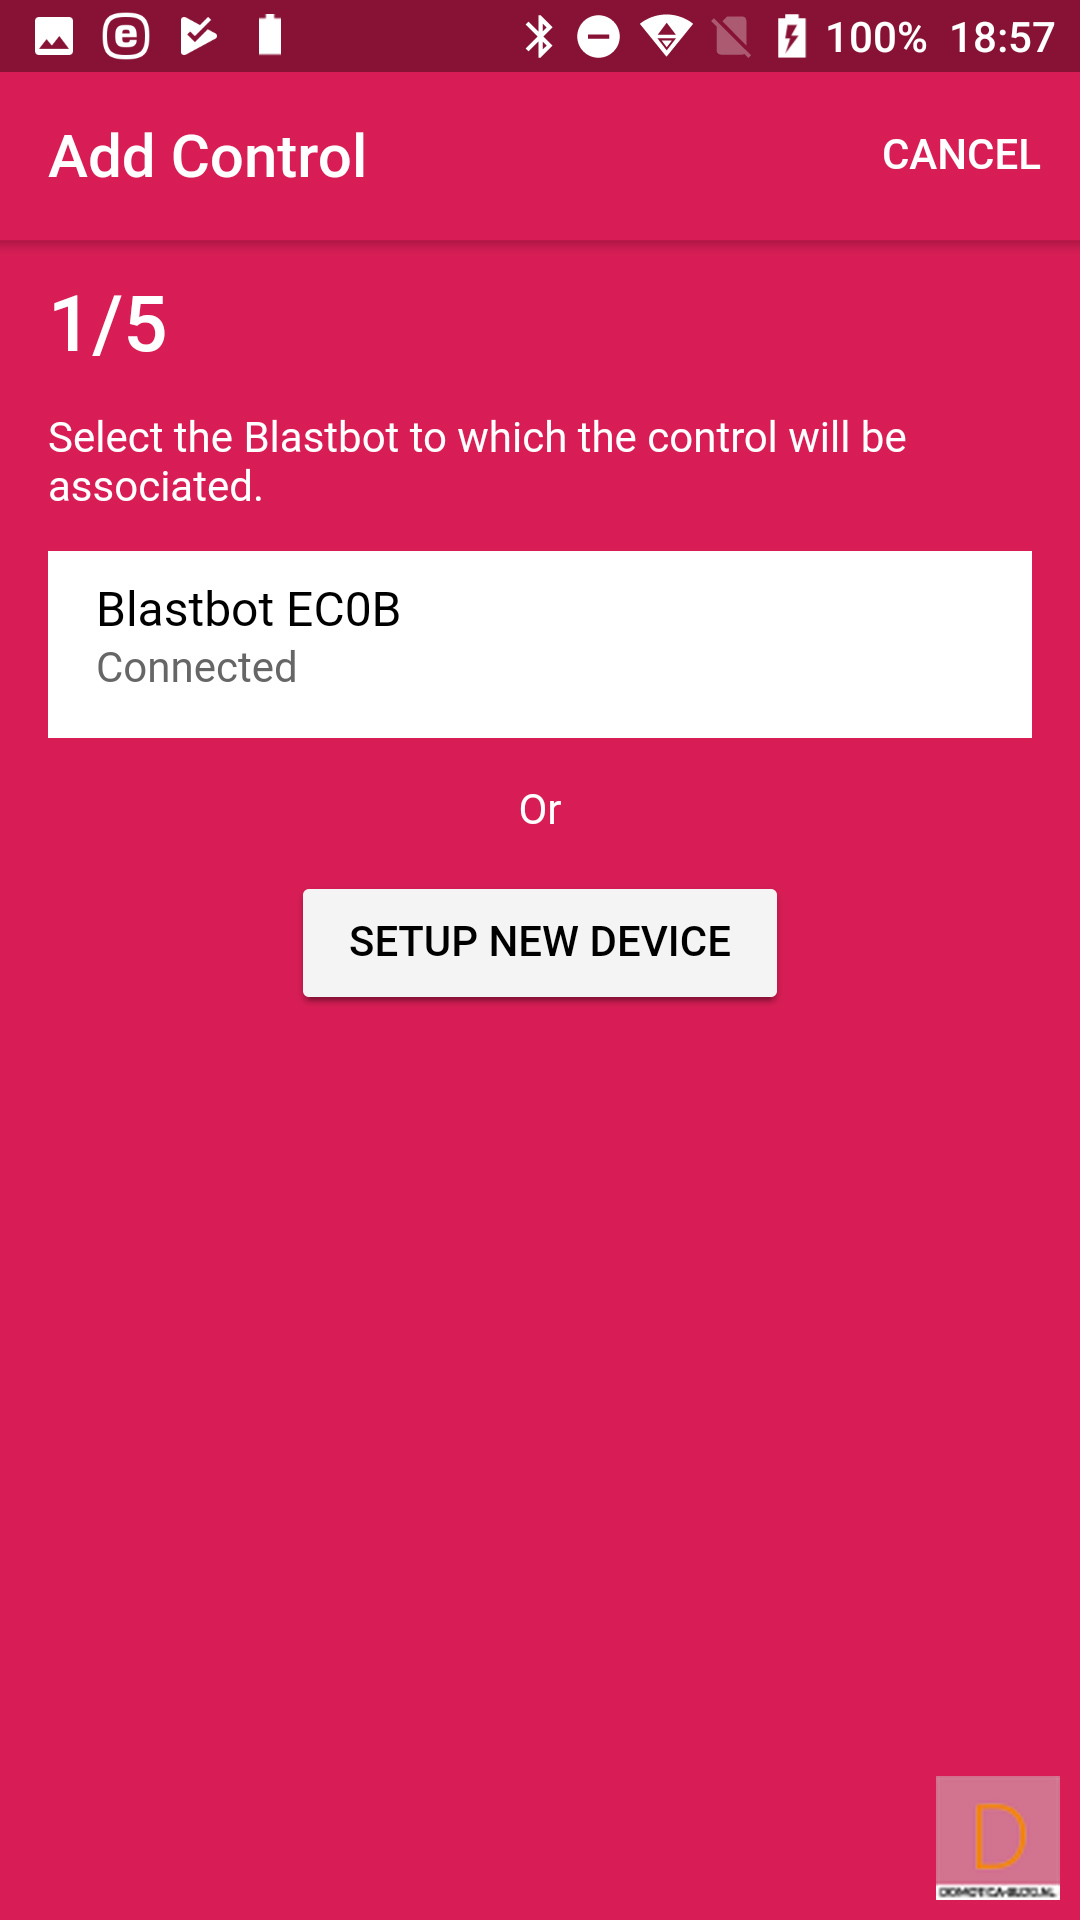
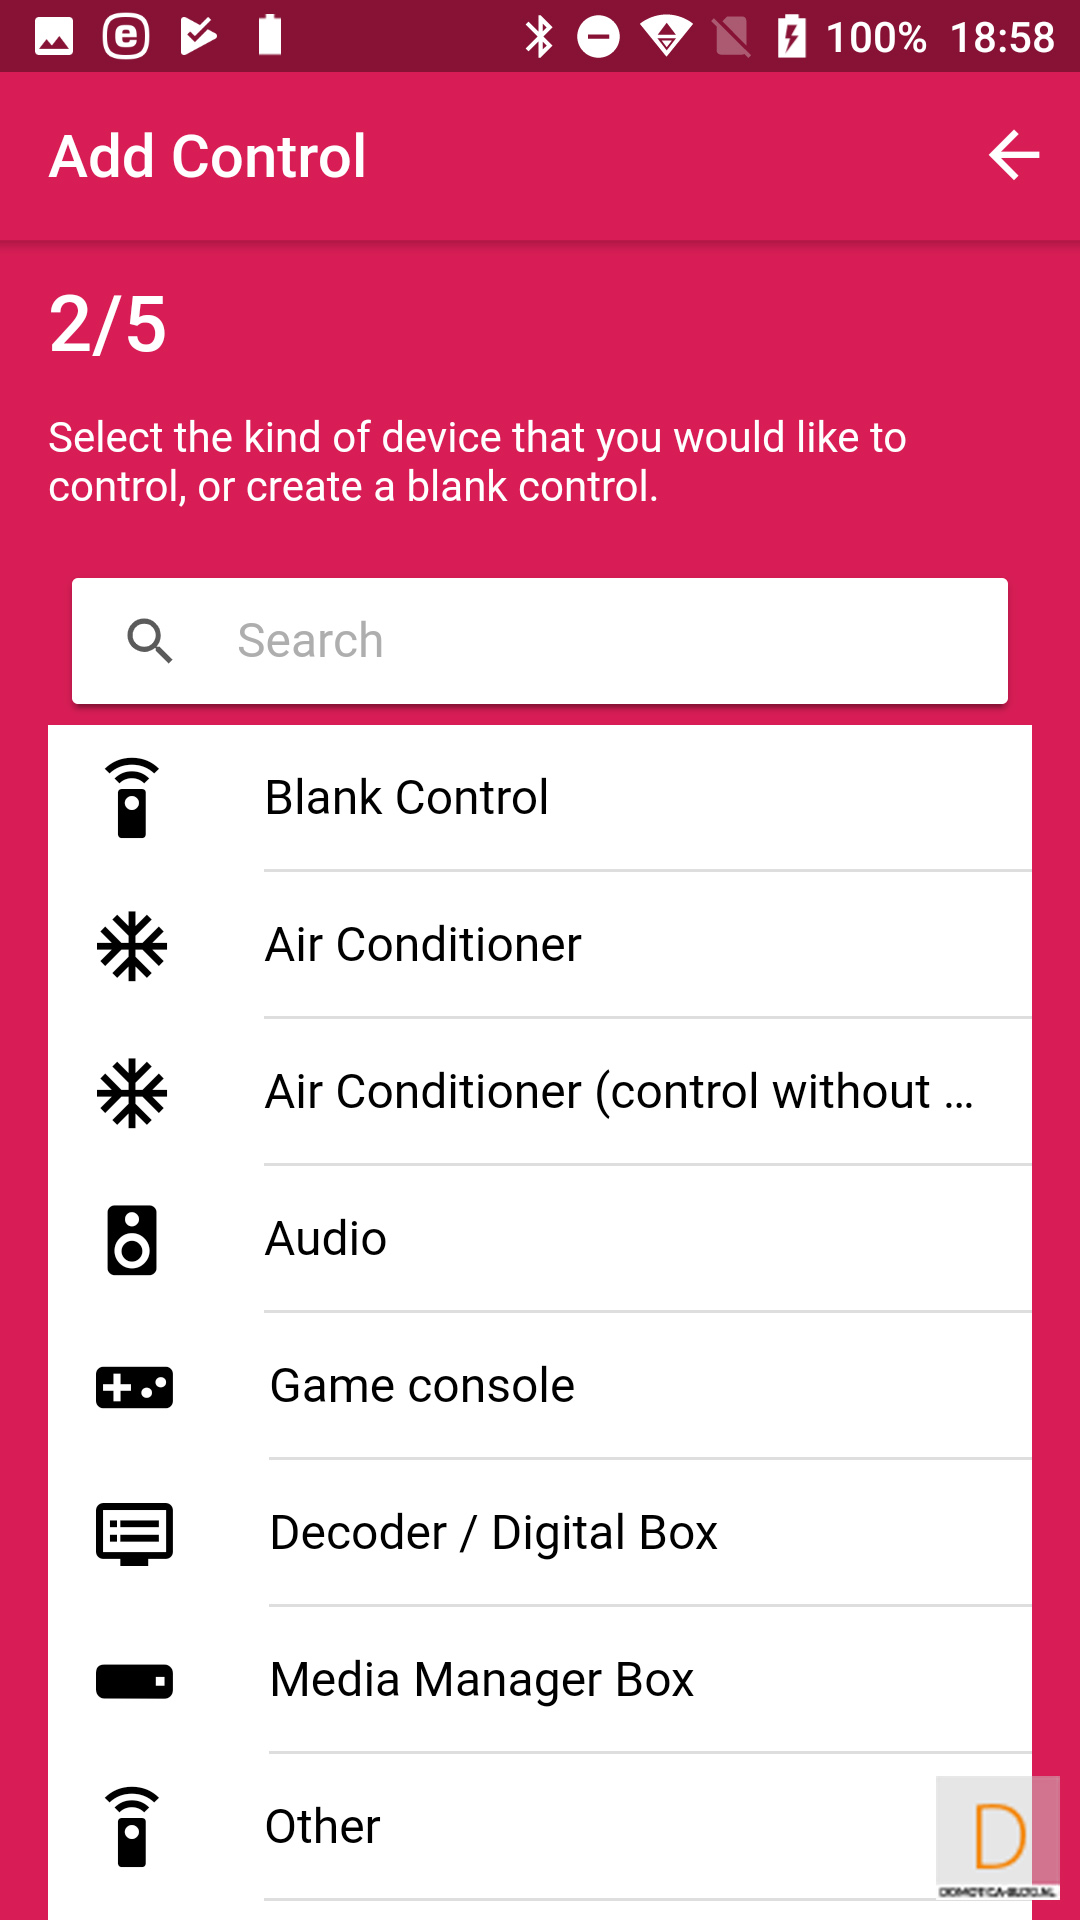
Add devices:
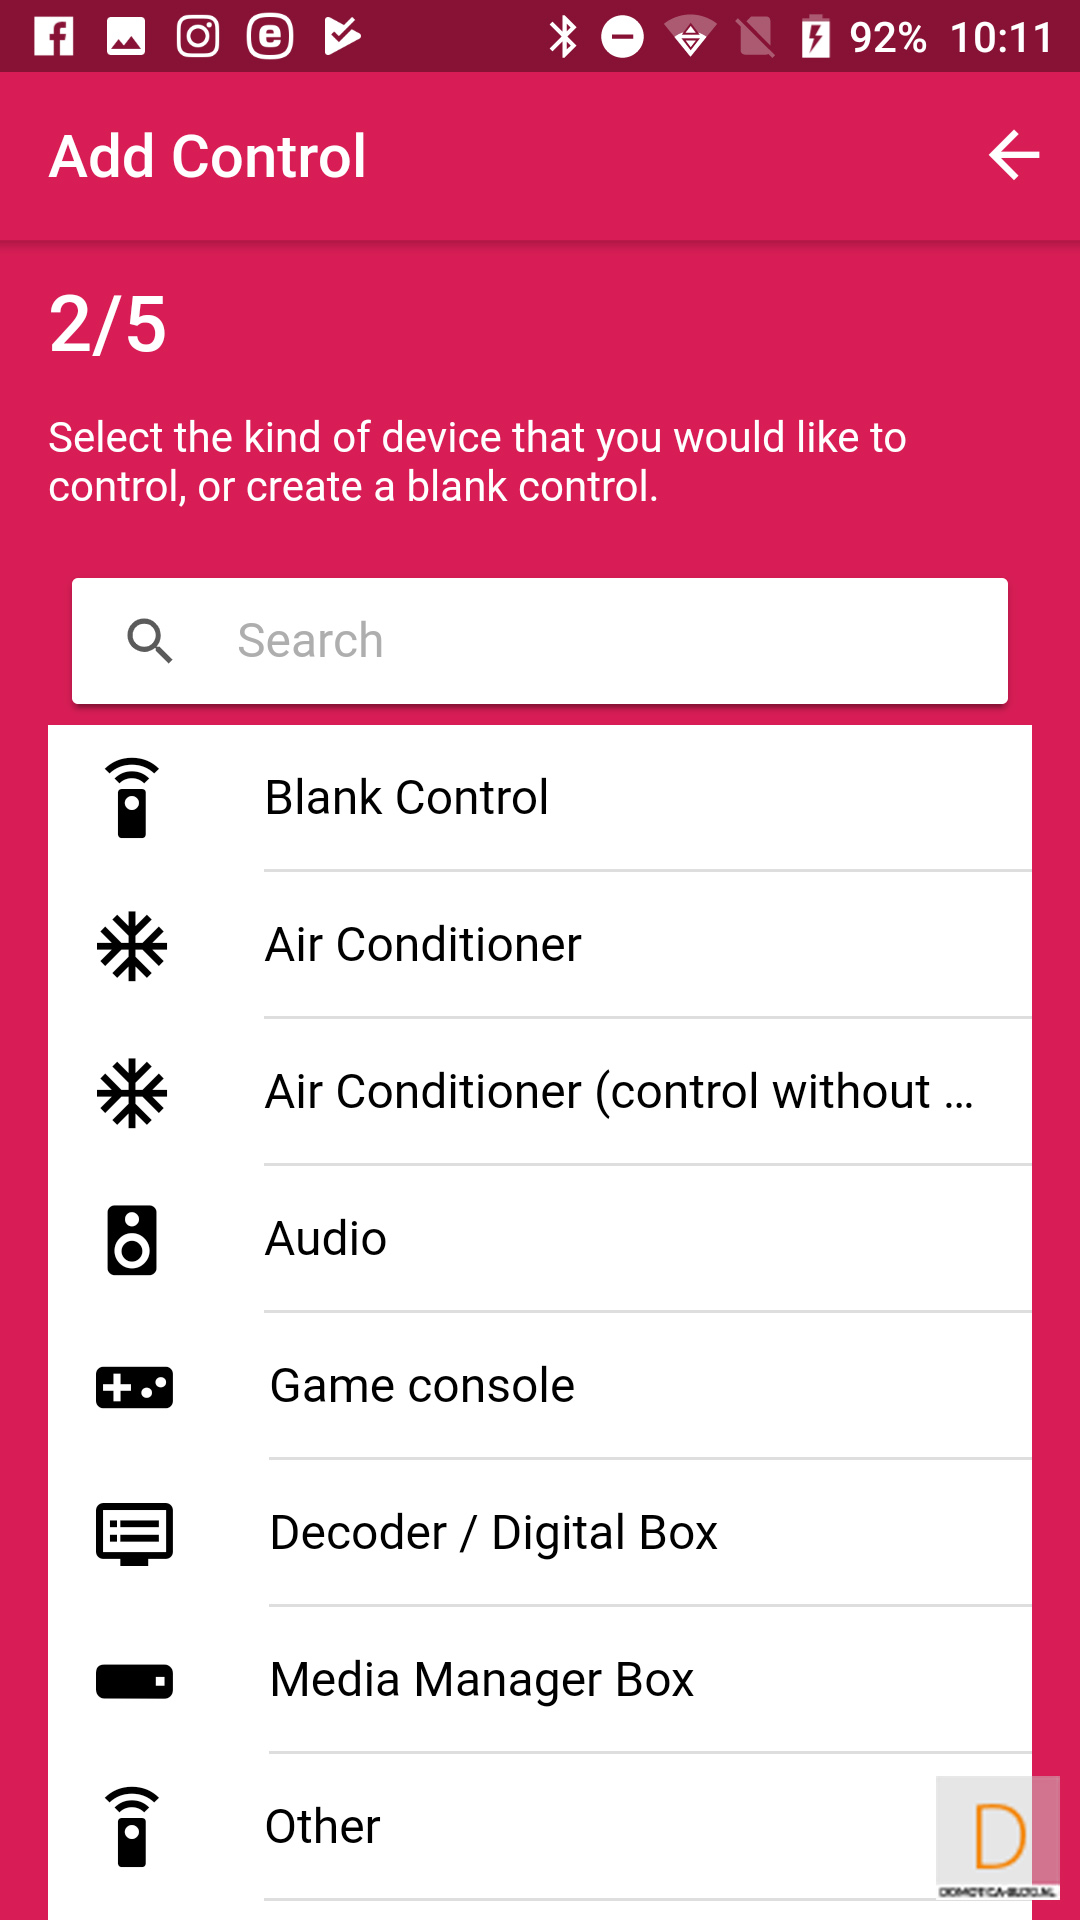
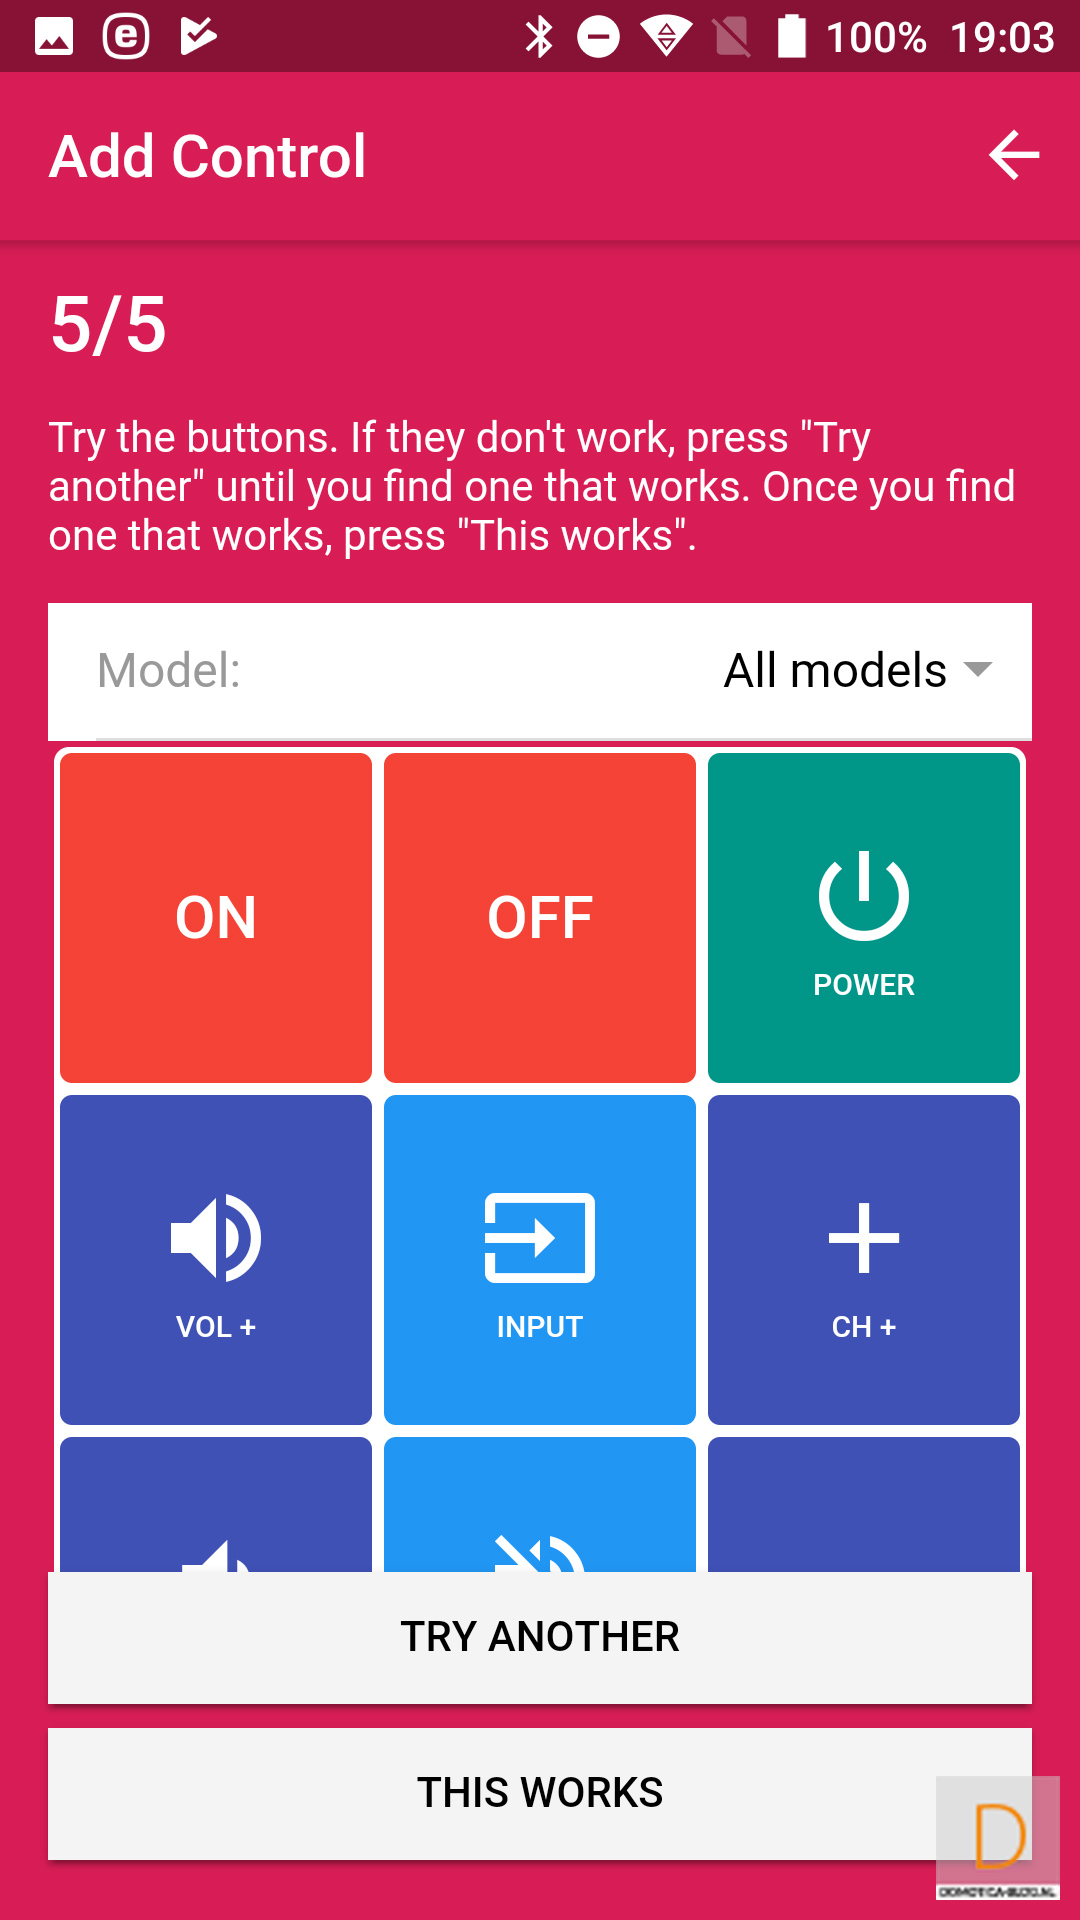
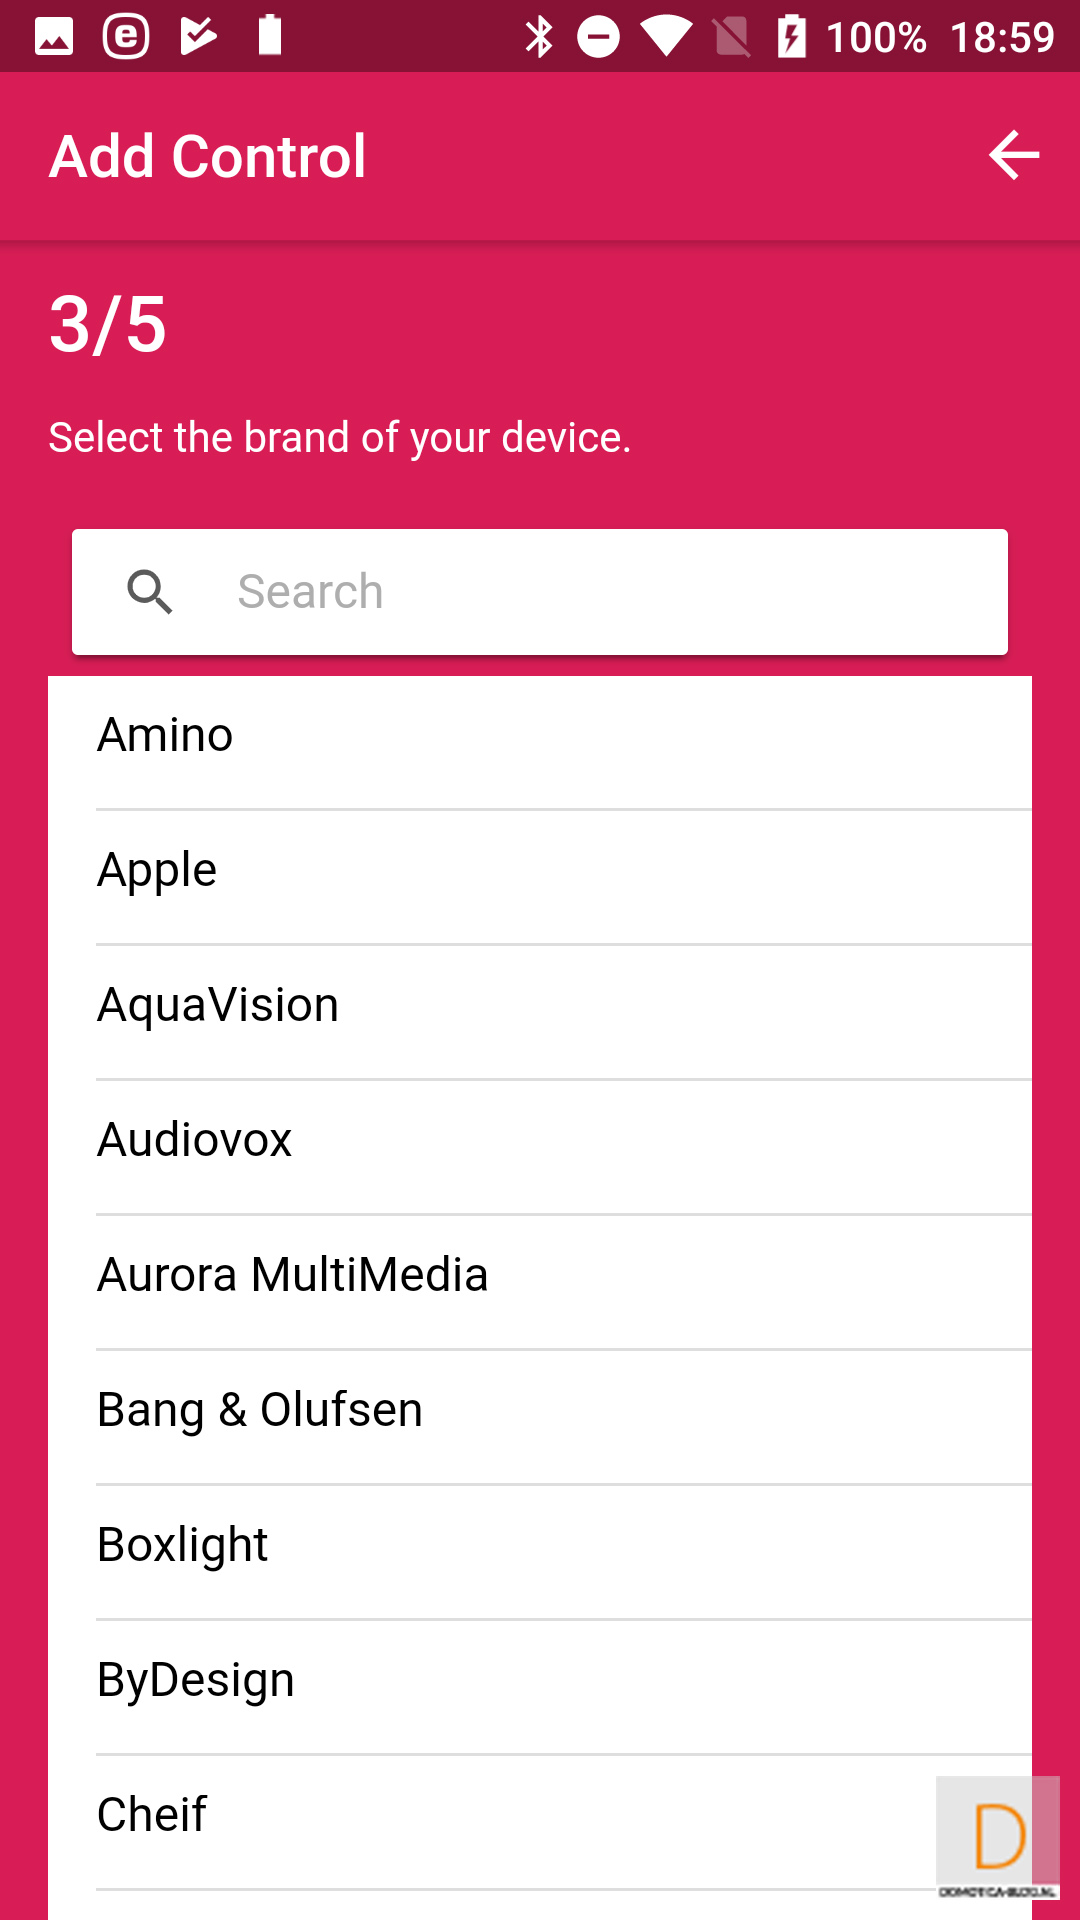
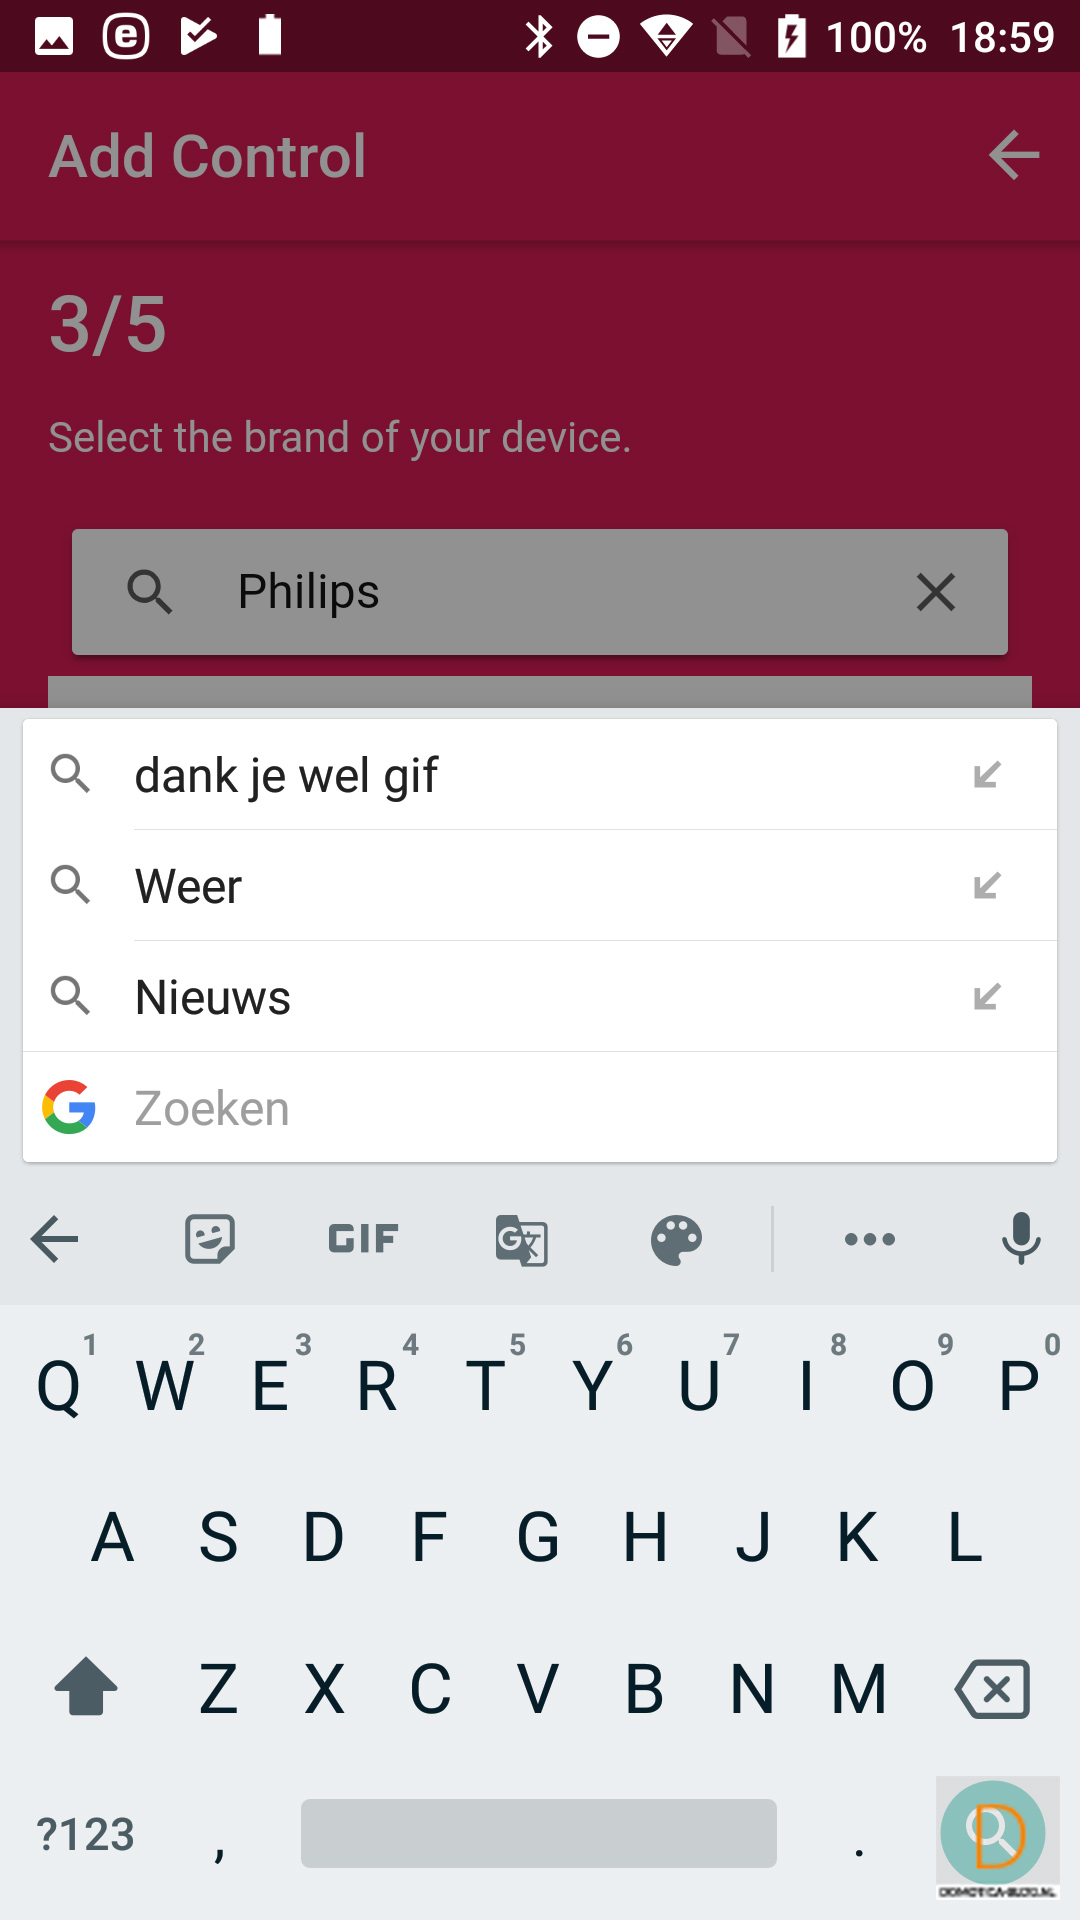
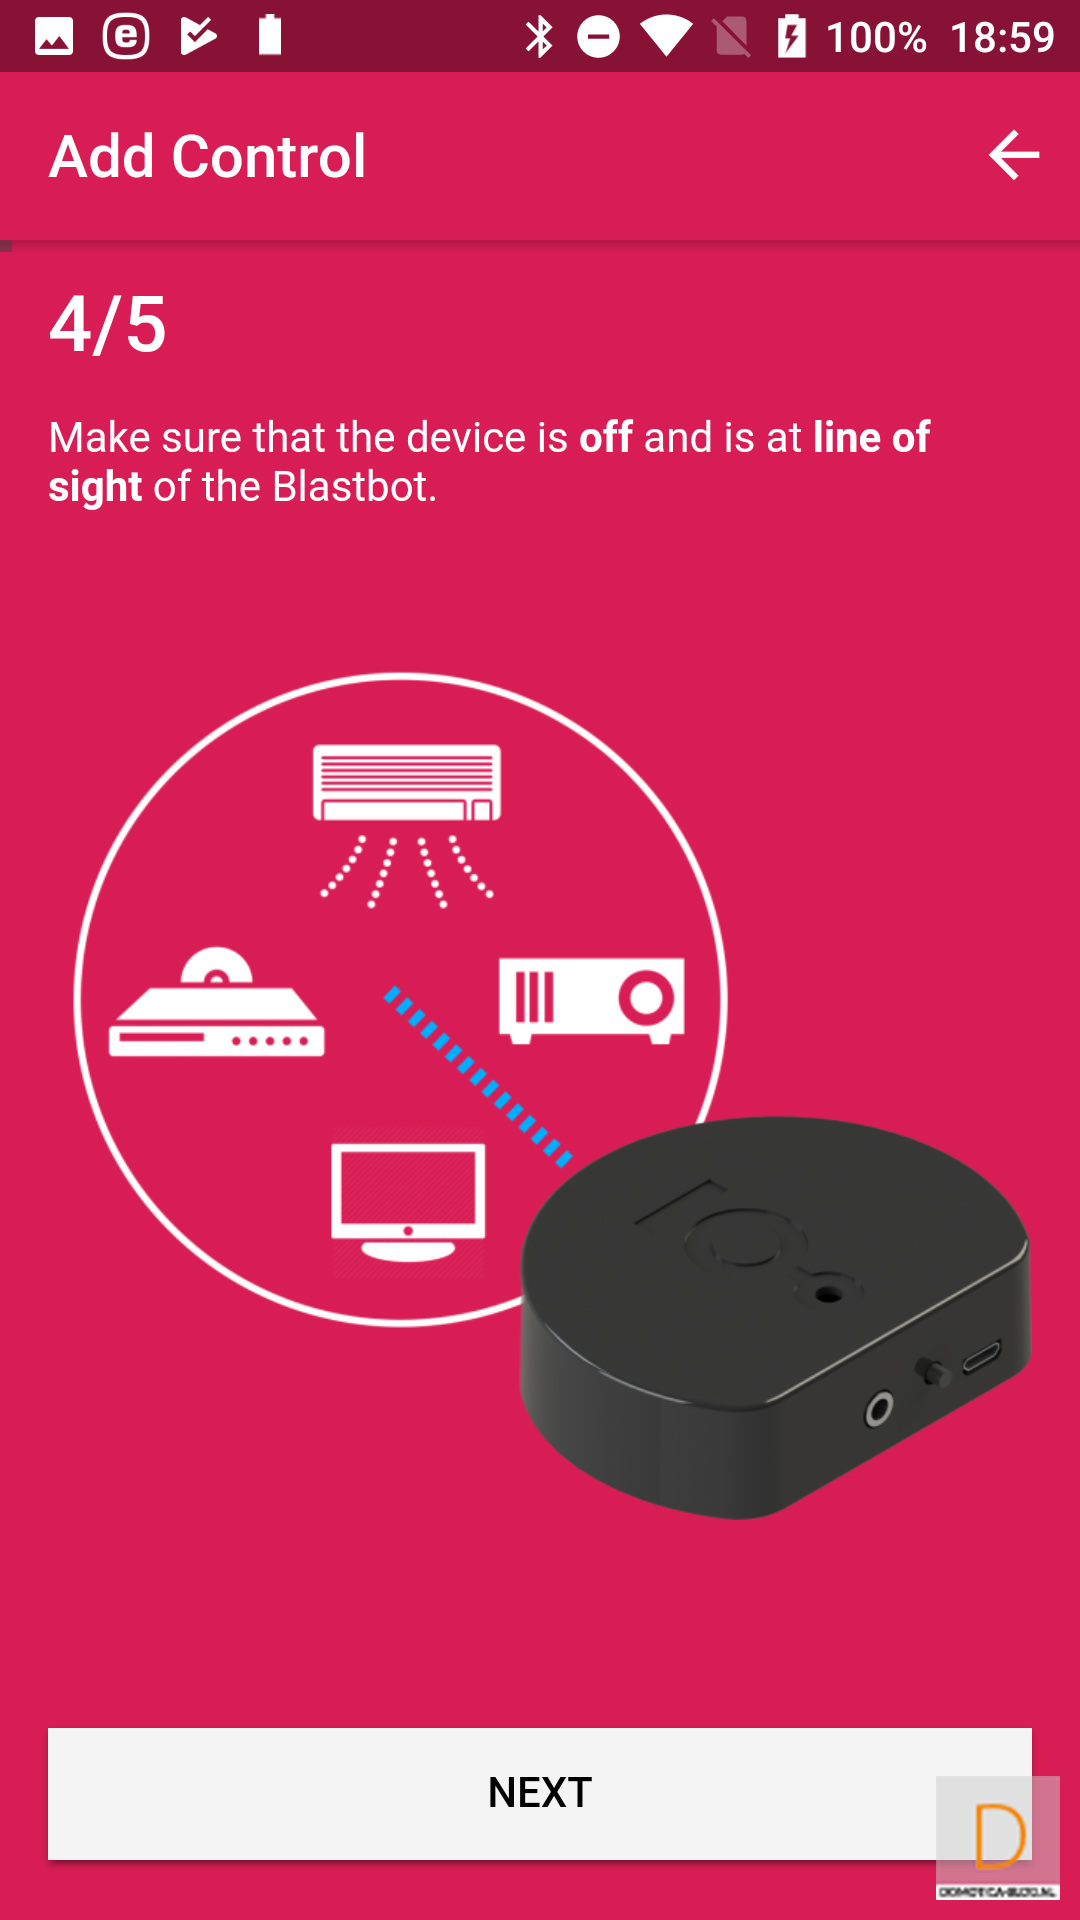
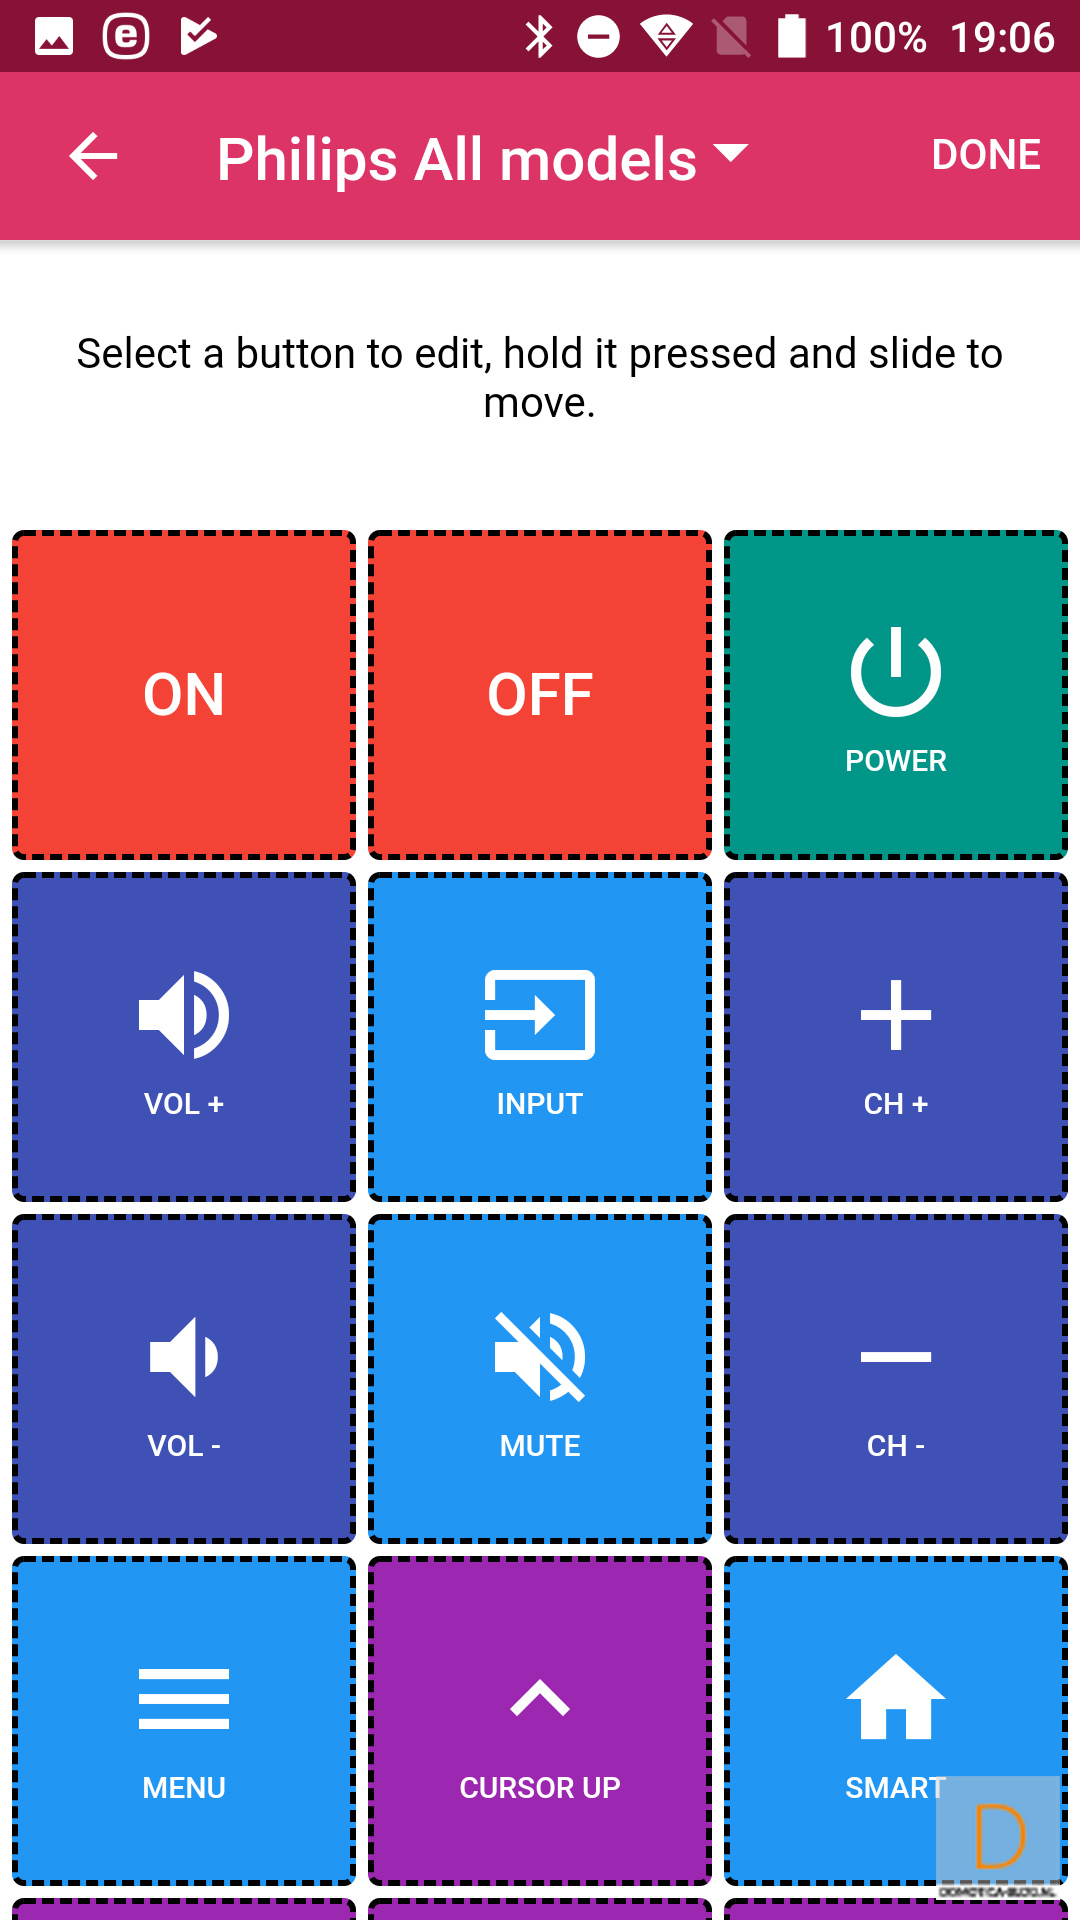
Now that we have the Blastbot at work, we need to make sure we can control our TV. You do this by adding a Control. You can add a "Blank" device to learn the codes yourself or a pre-programmed device. We start with the latter. I have a Philips TV so I look it up first. Then you need to make sure it is on standby and the Blastbot is facing the TV.
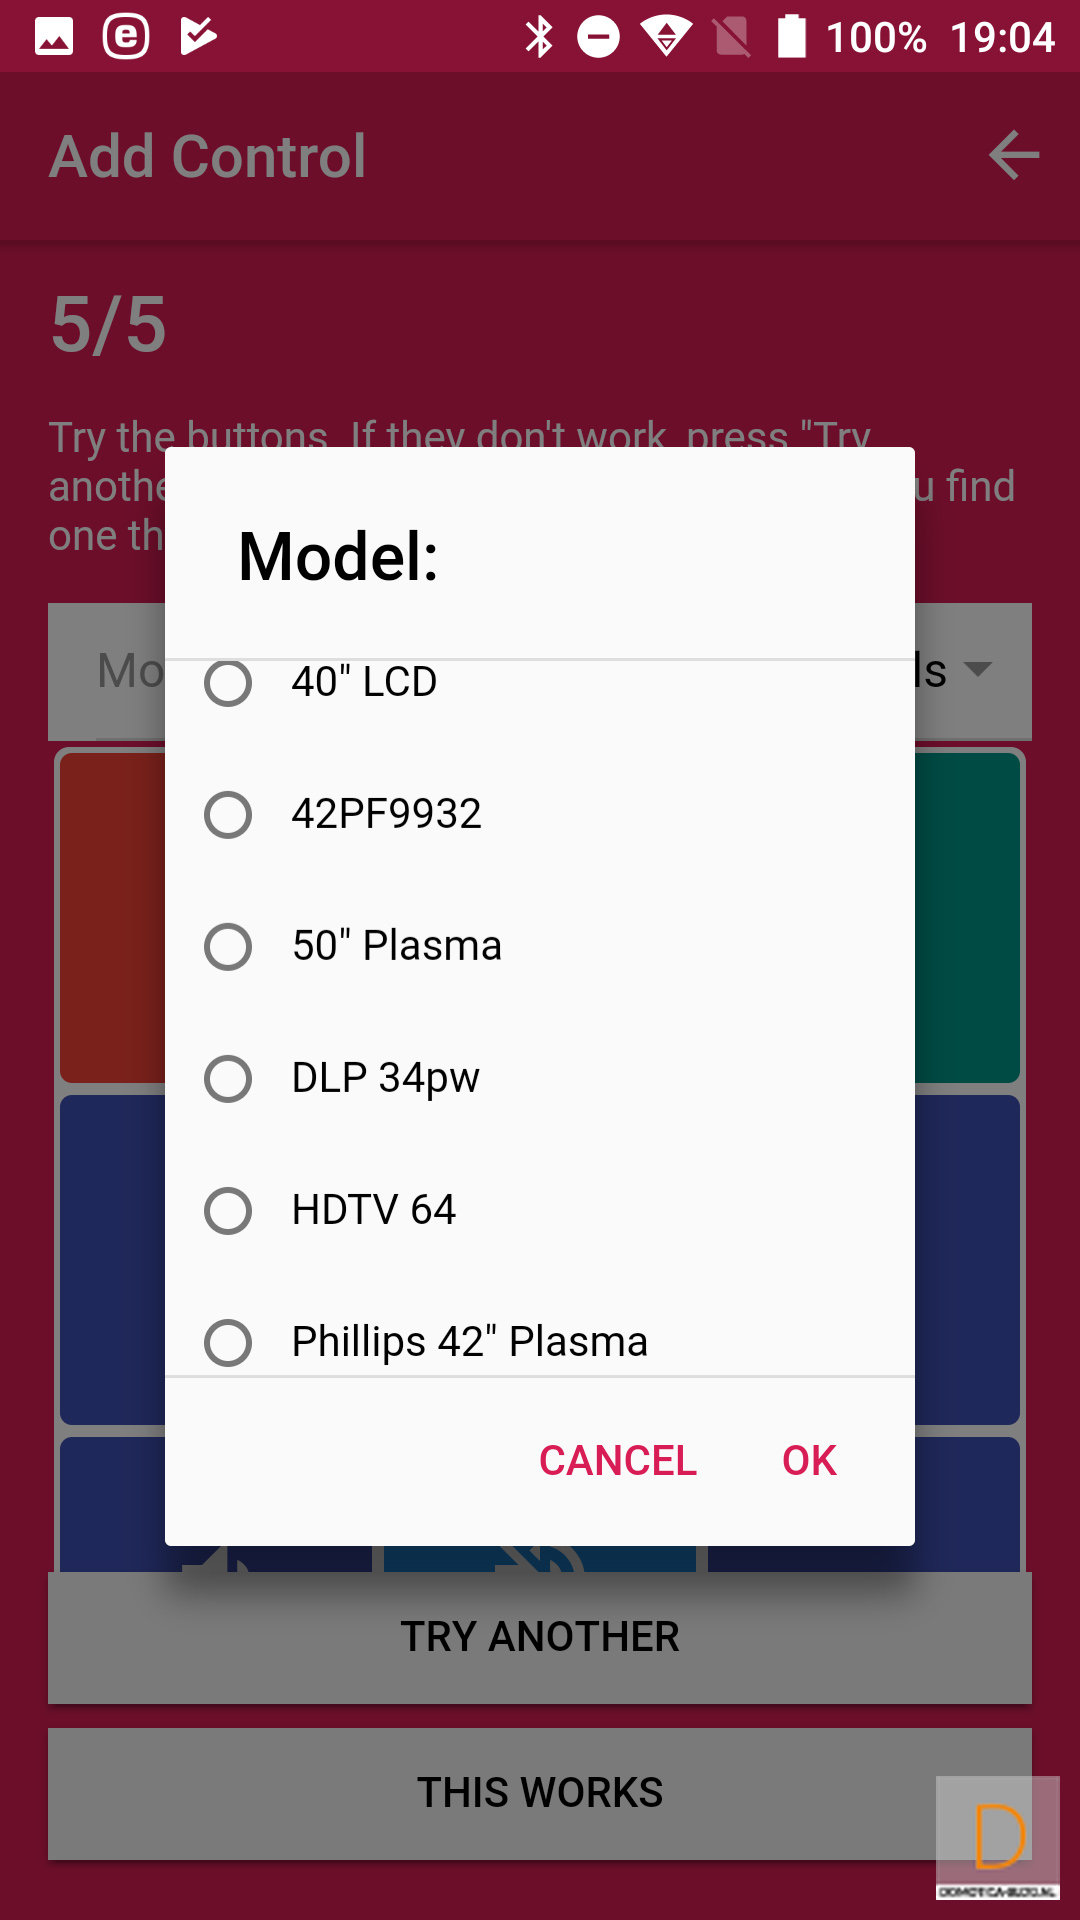
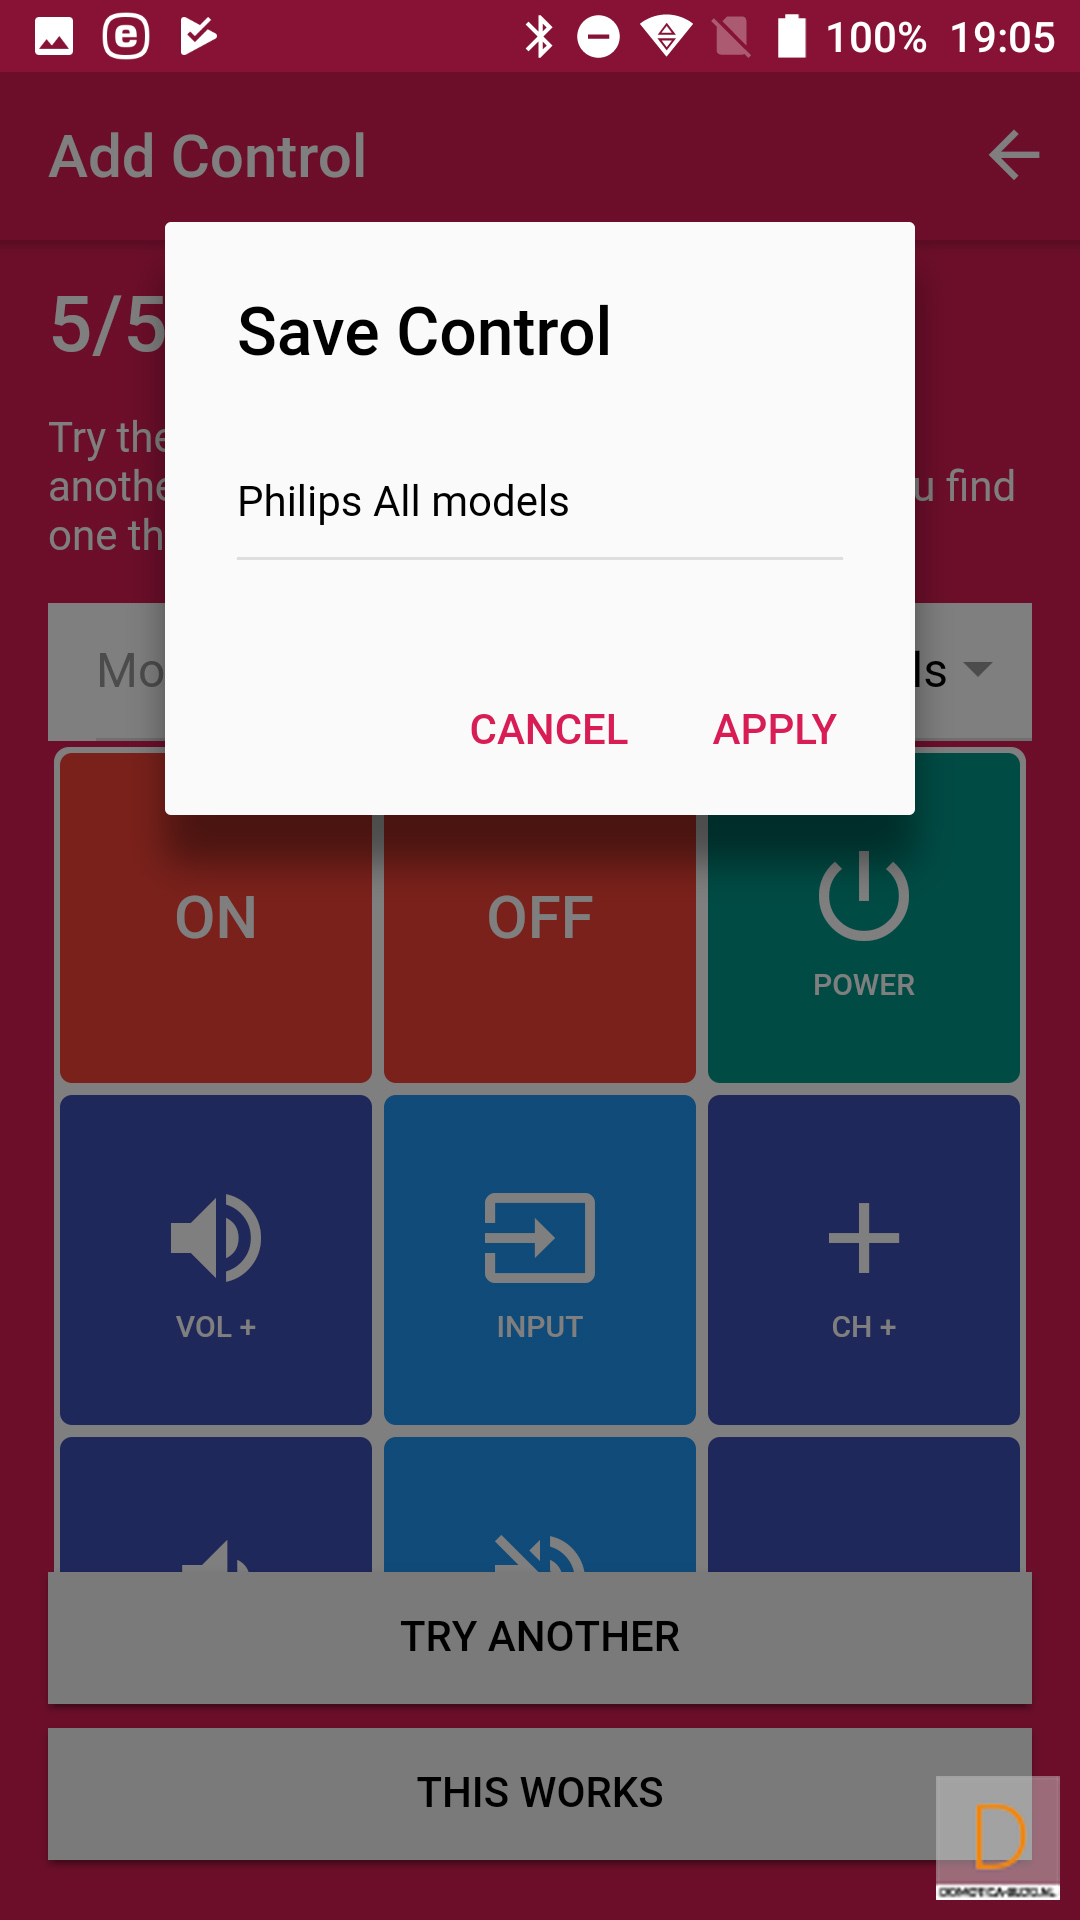
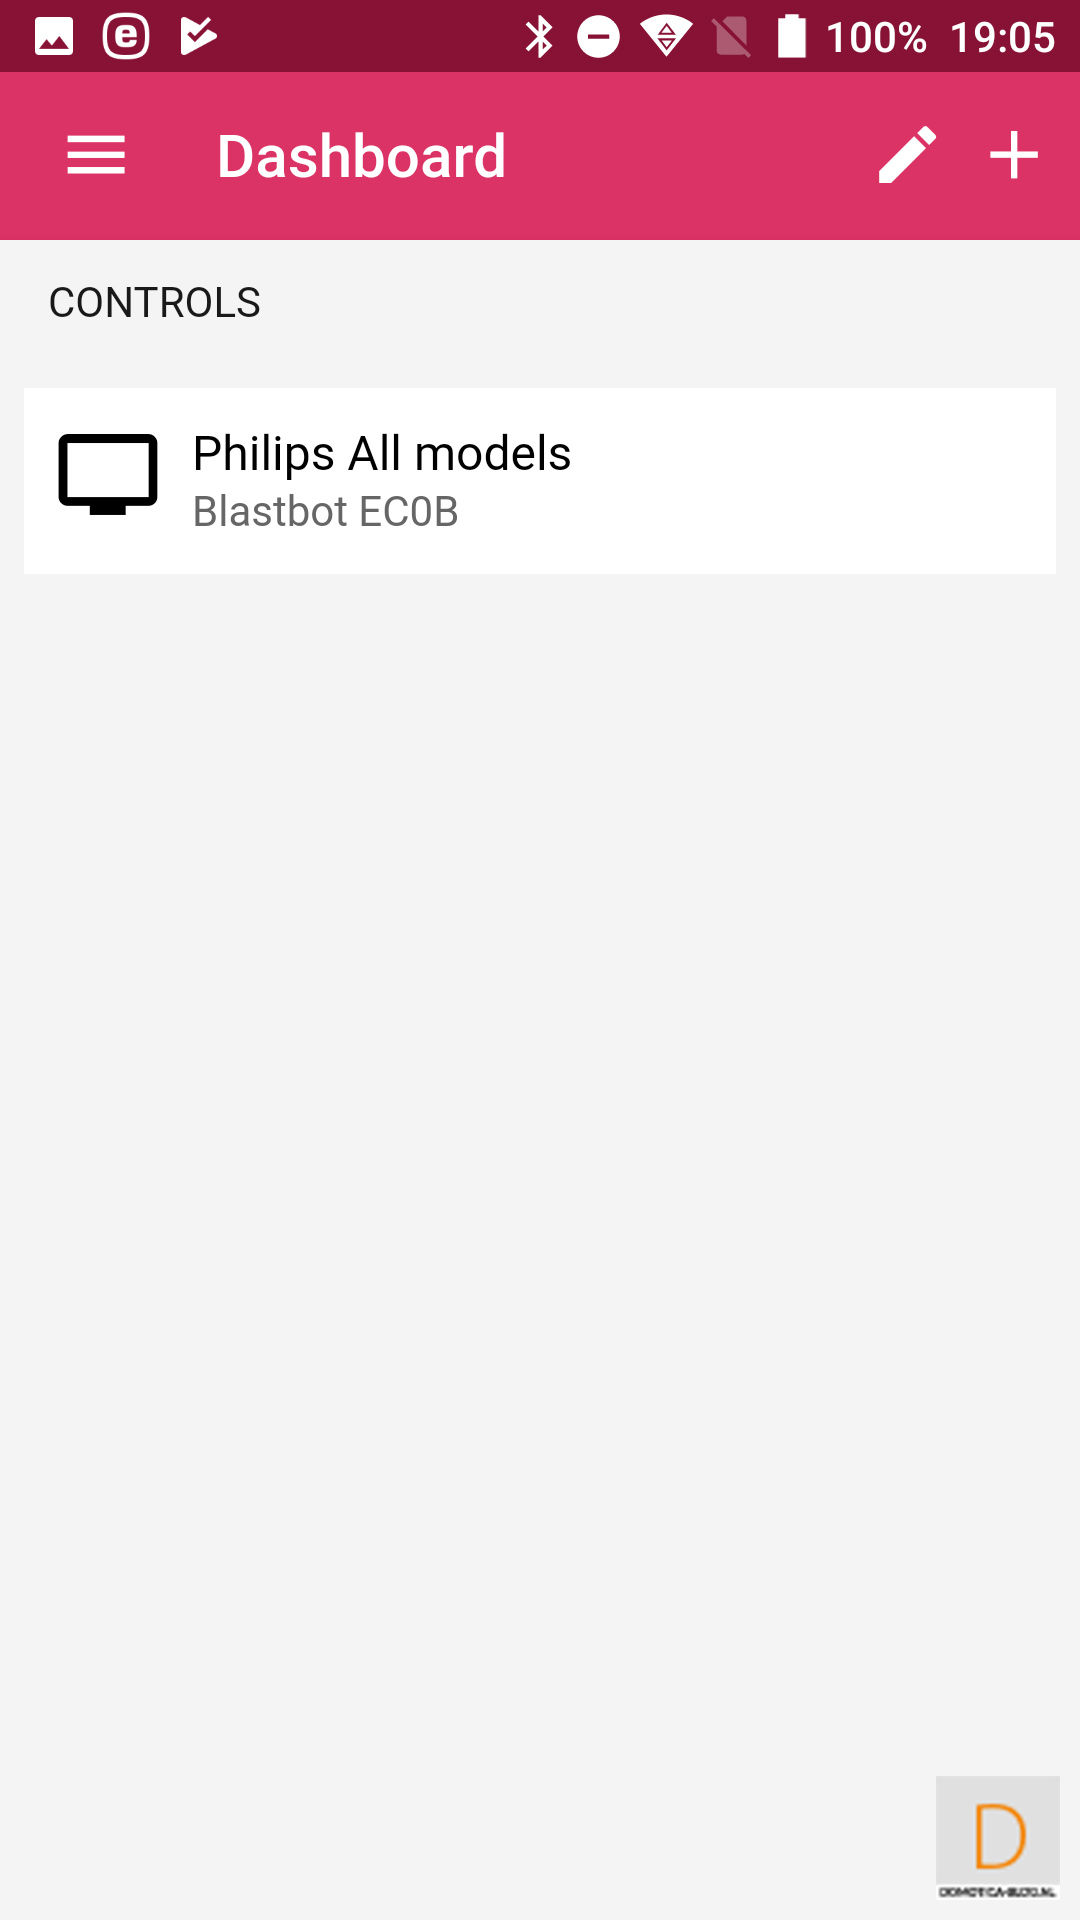
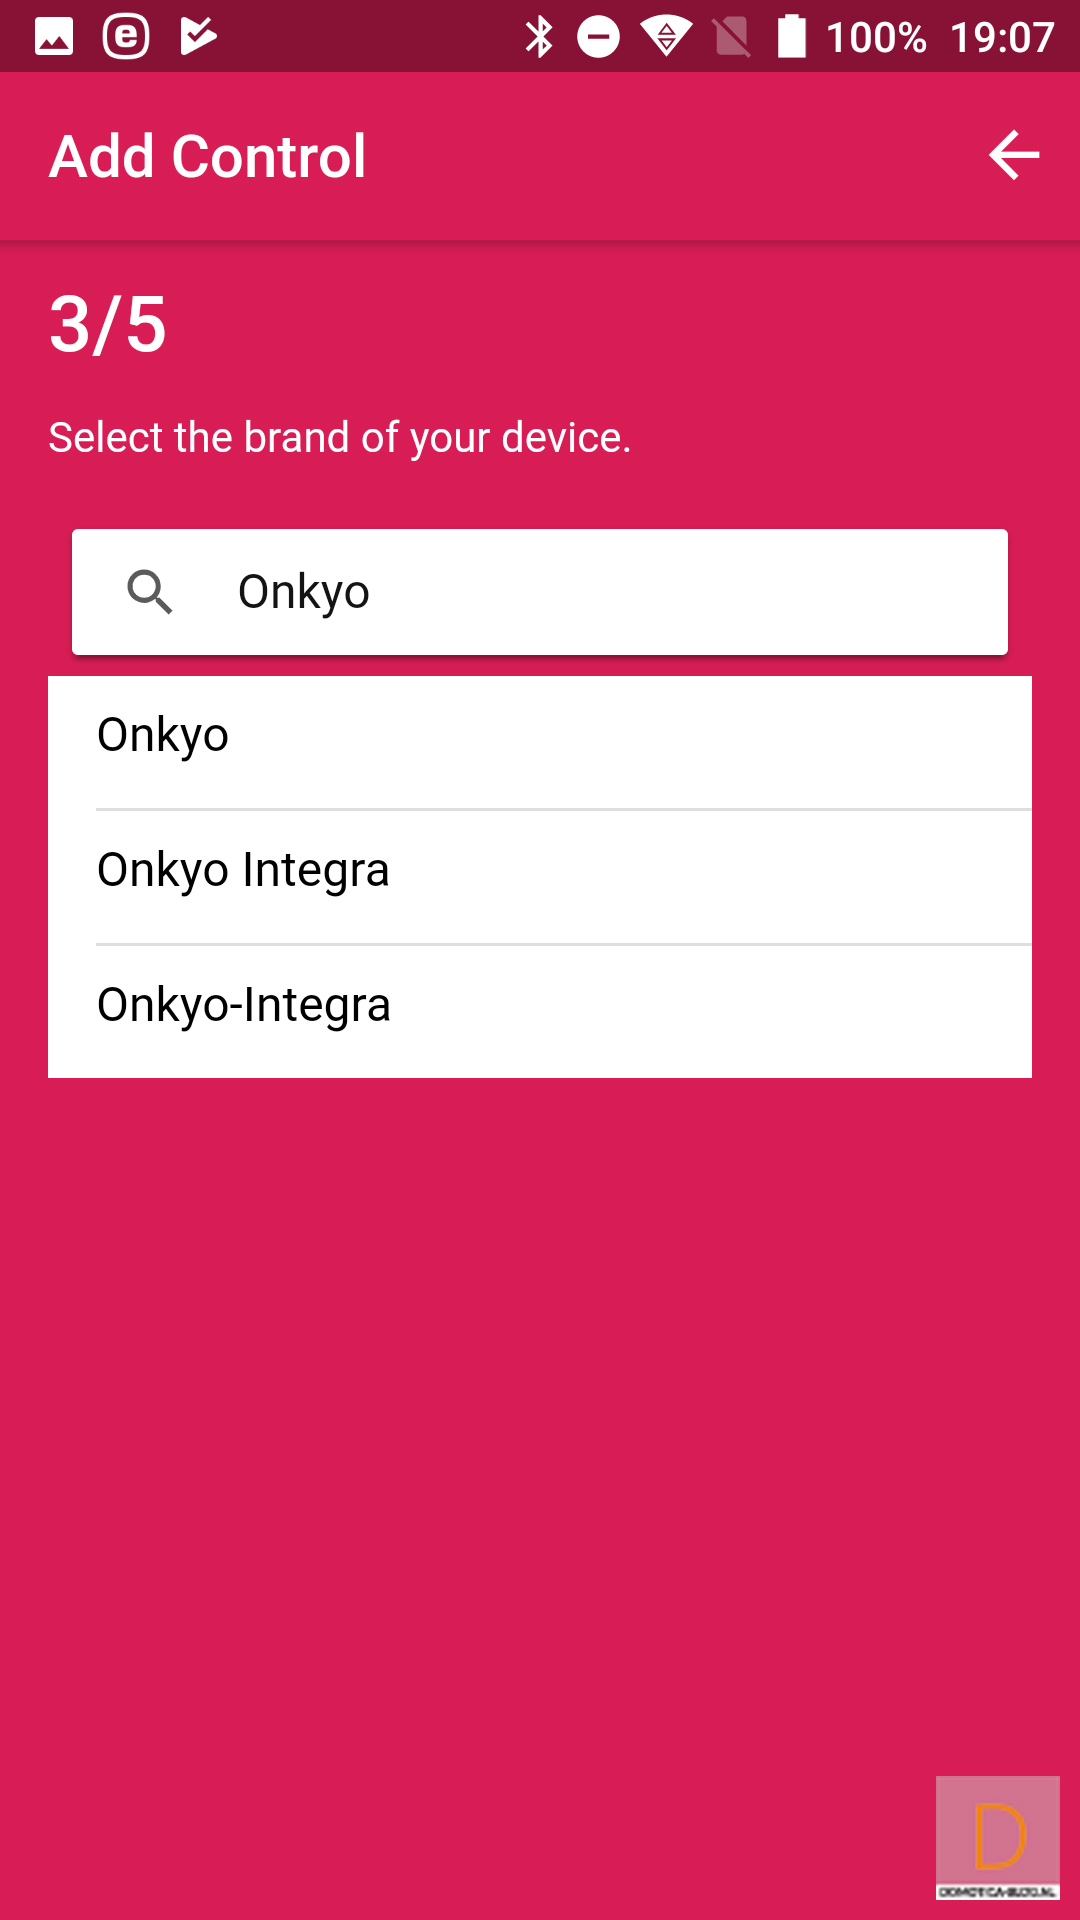
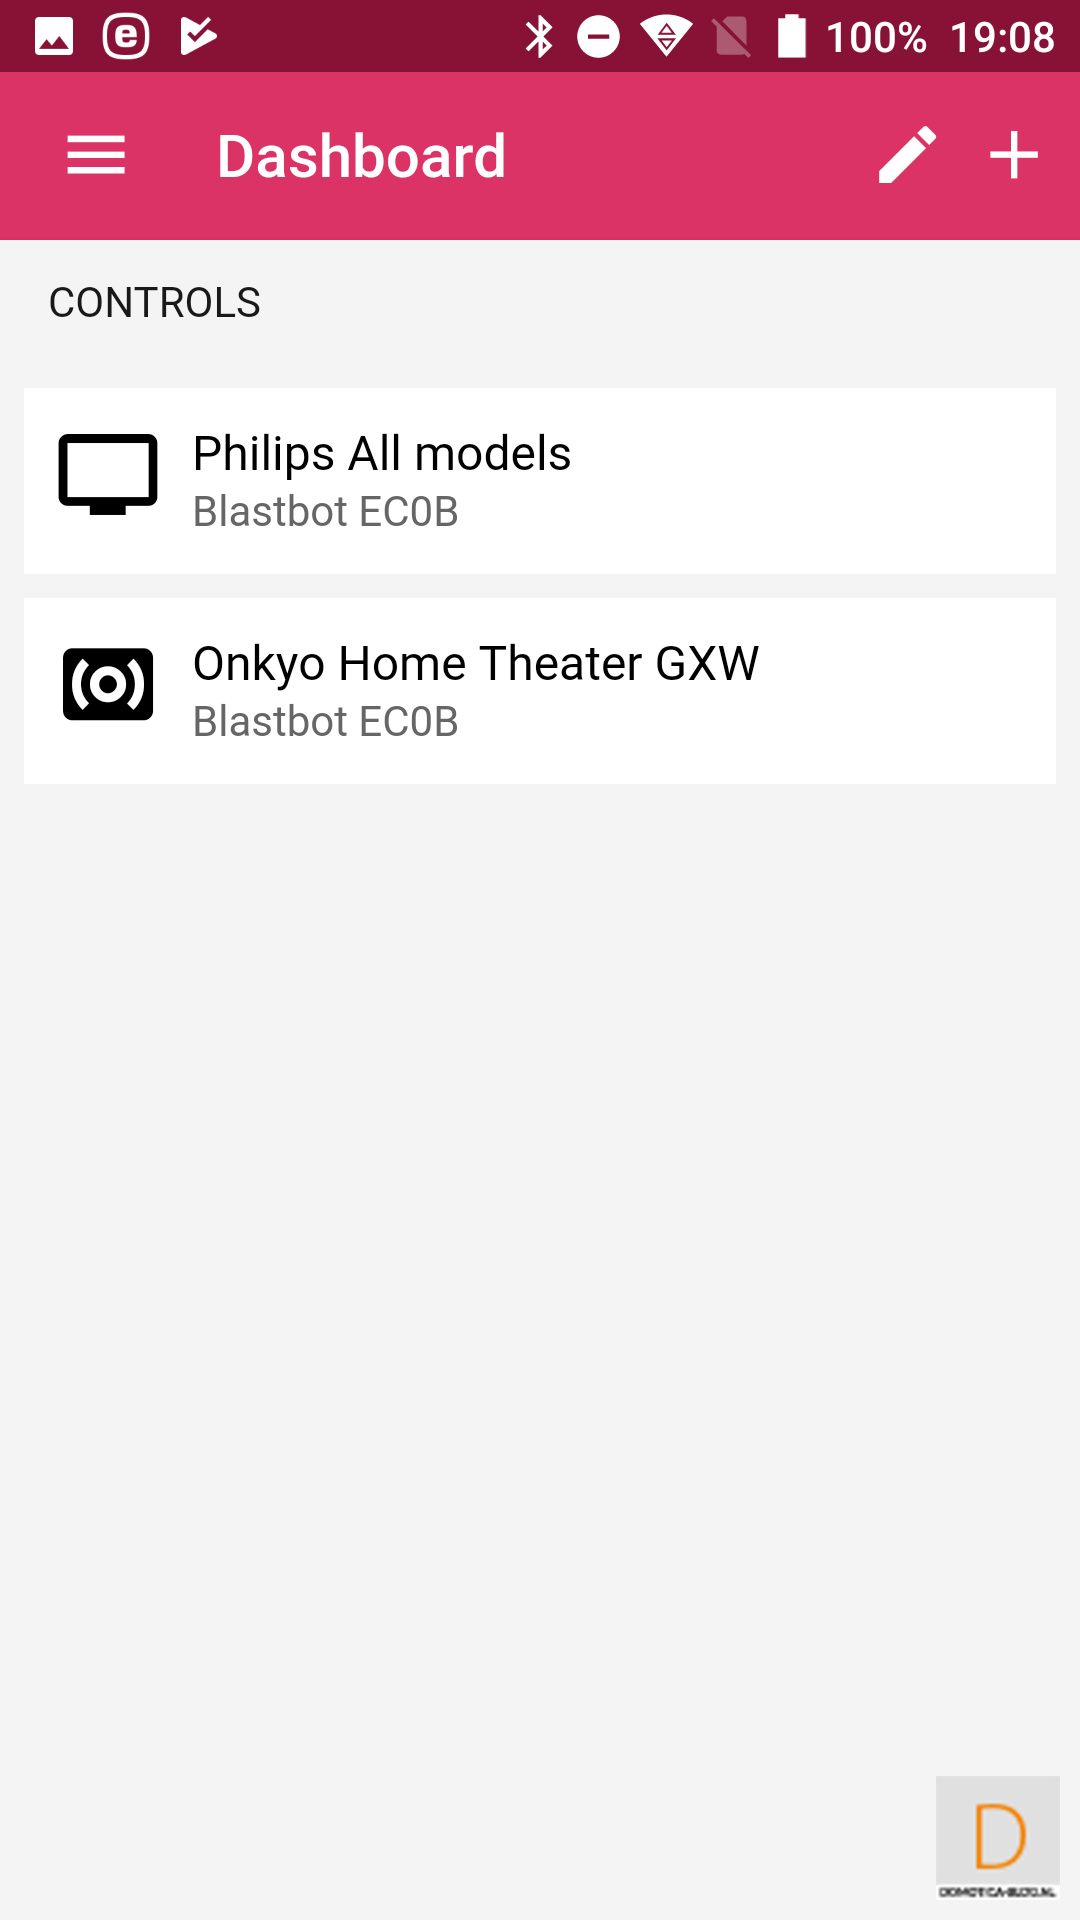
In the next step he comes up with a standard button proposal. You can then test this immediately. If something does not work, you can also search for your specific device. Everything worked fine for me so I added it. After this I also added my Onkyo (TX-N509) AV receiver and this went without problems. I also looked up other devices and they could all be found. The database with the devices therefore seems to be well put together.
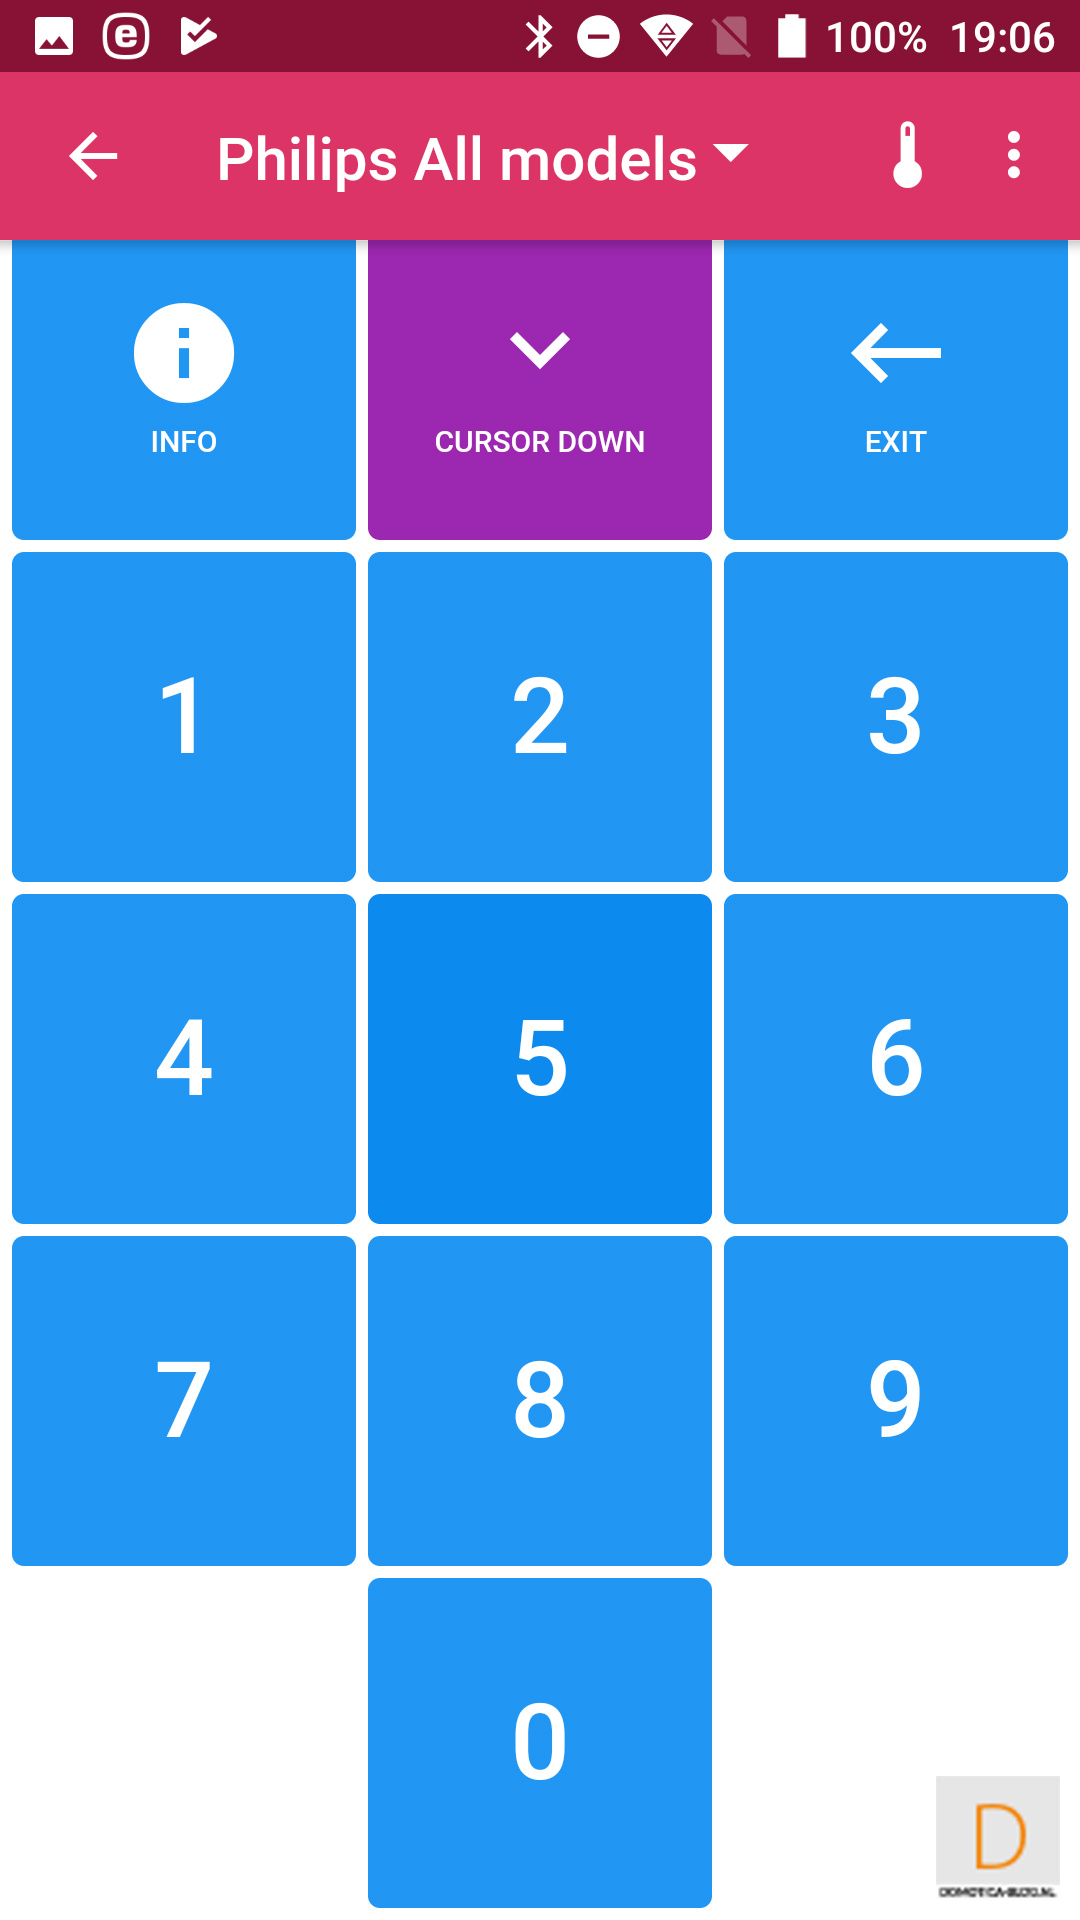
Installation screens Philips TV:

Installation screens Onkyo AV receiver:

All devices supports
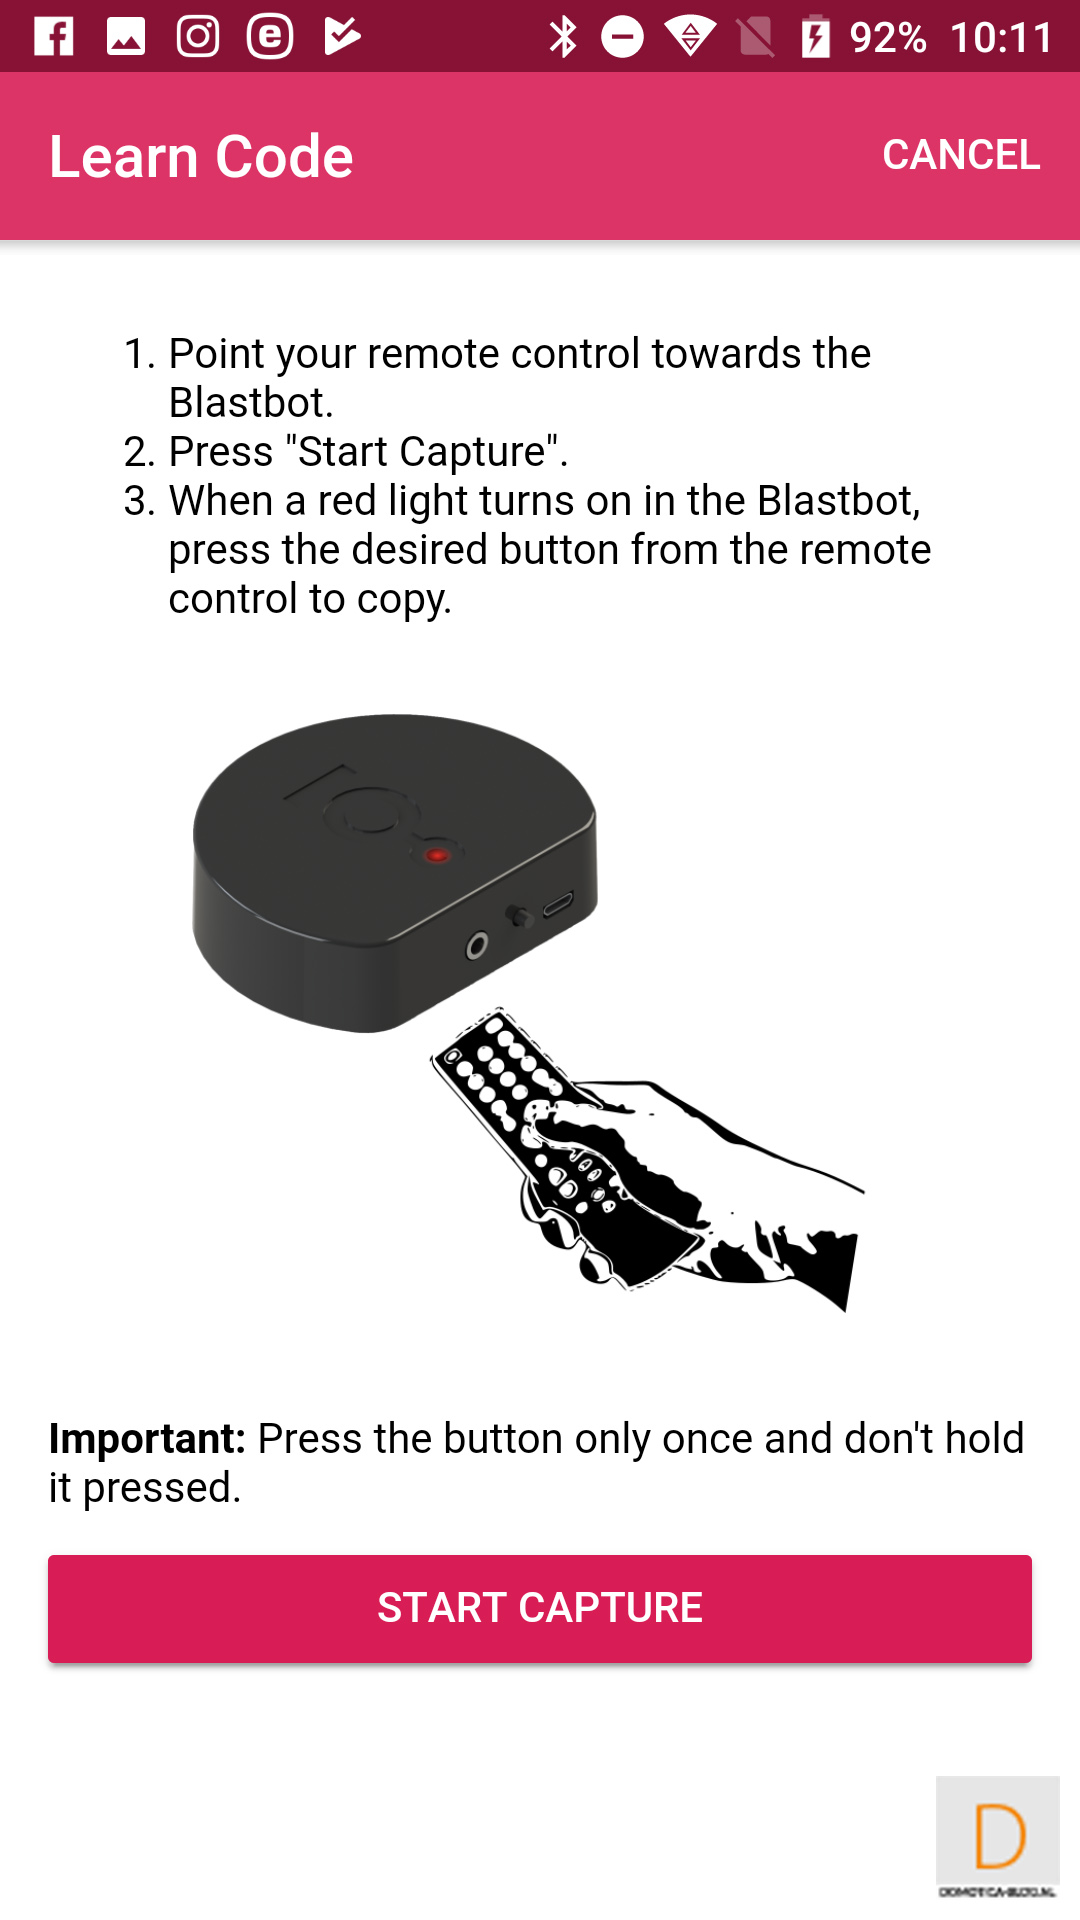
It is of course impossible to check whether all devices that work via IR are supported. This will probably not be the case either. Fortunately, there is a self-learning function. With this you can forward to the Blastbot with old remote control so that he knows them too. I also tested this and it works fine. Nice that this option is present, this makes the Blastbot always available.
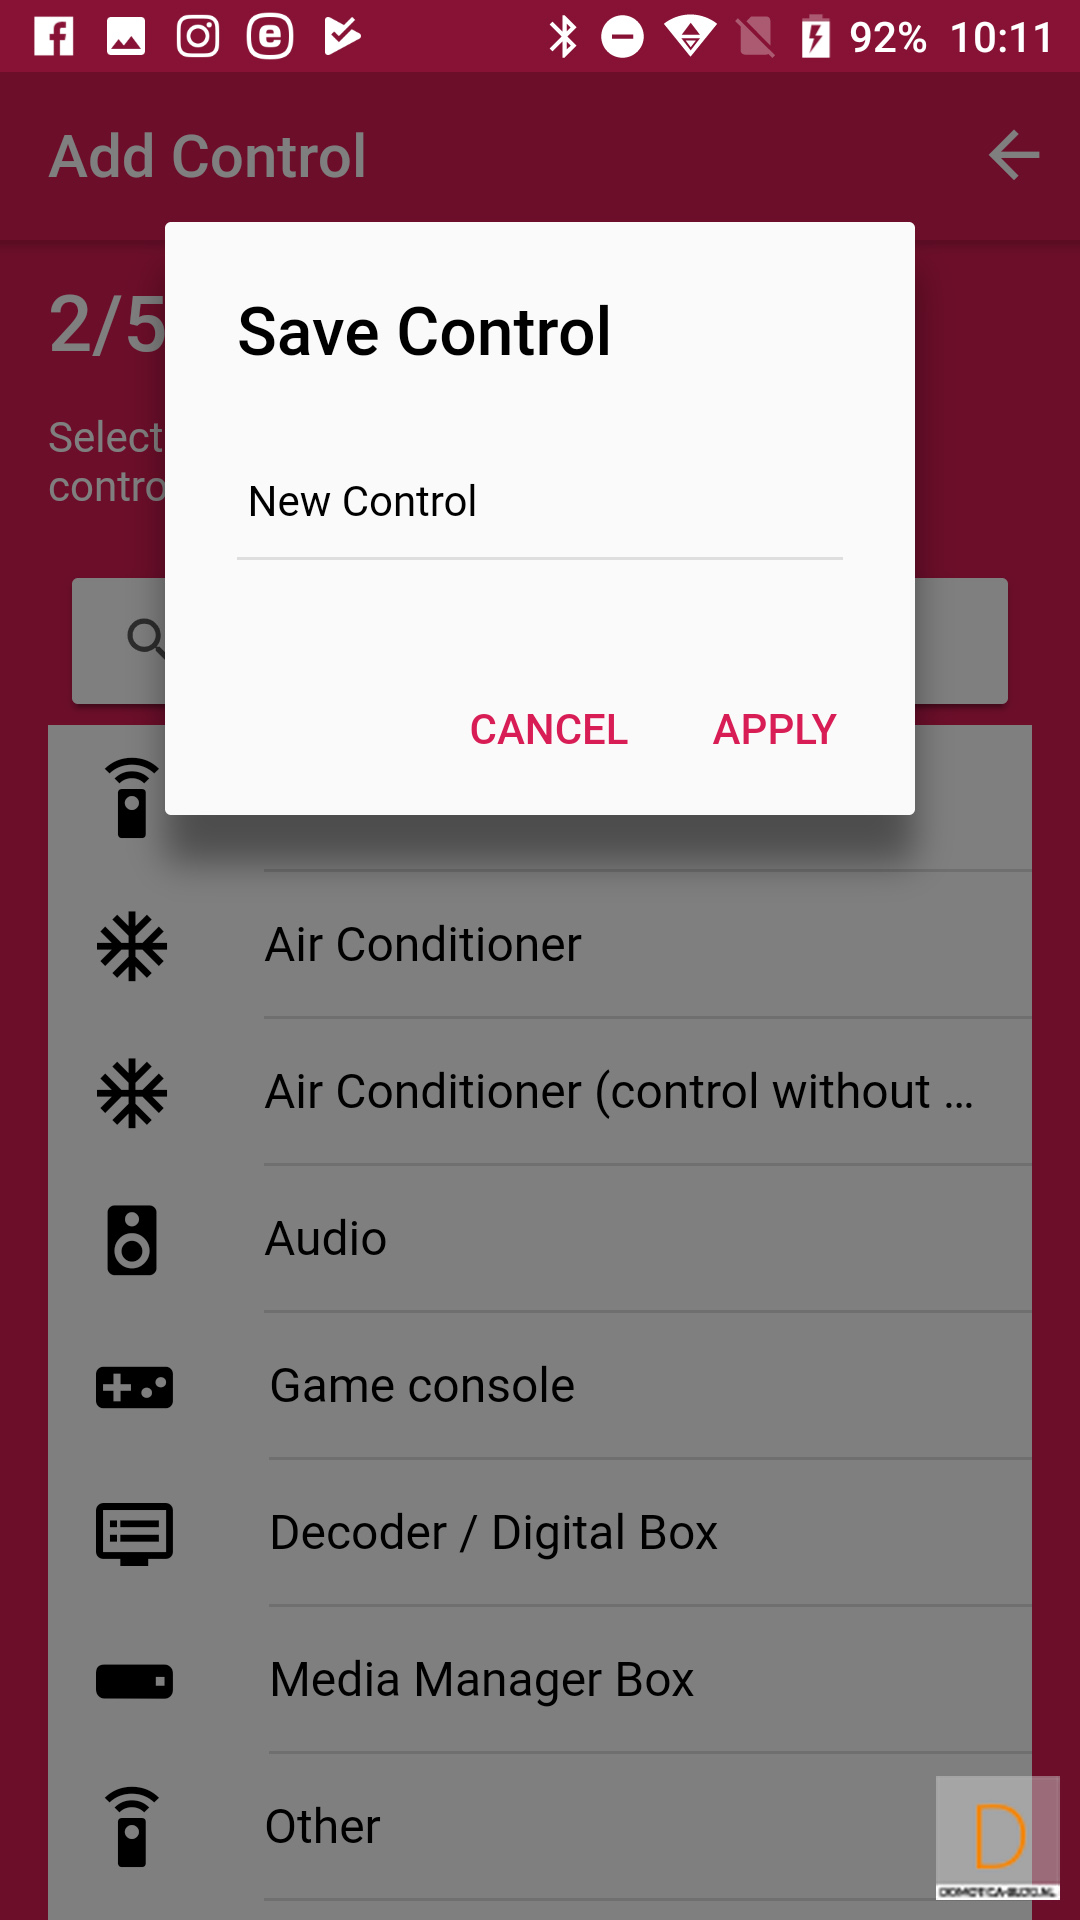
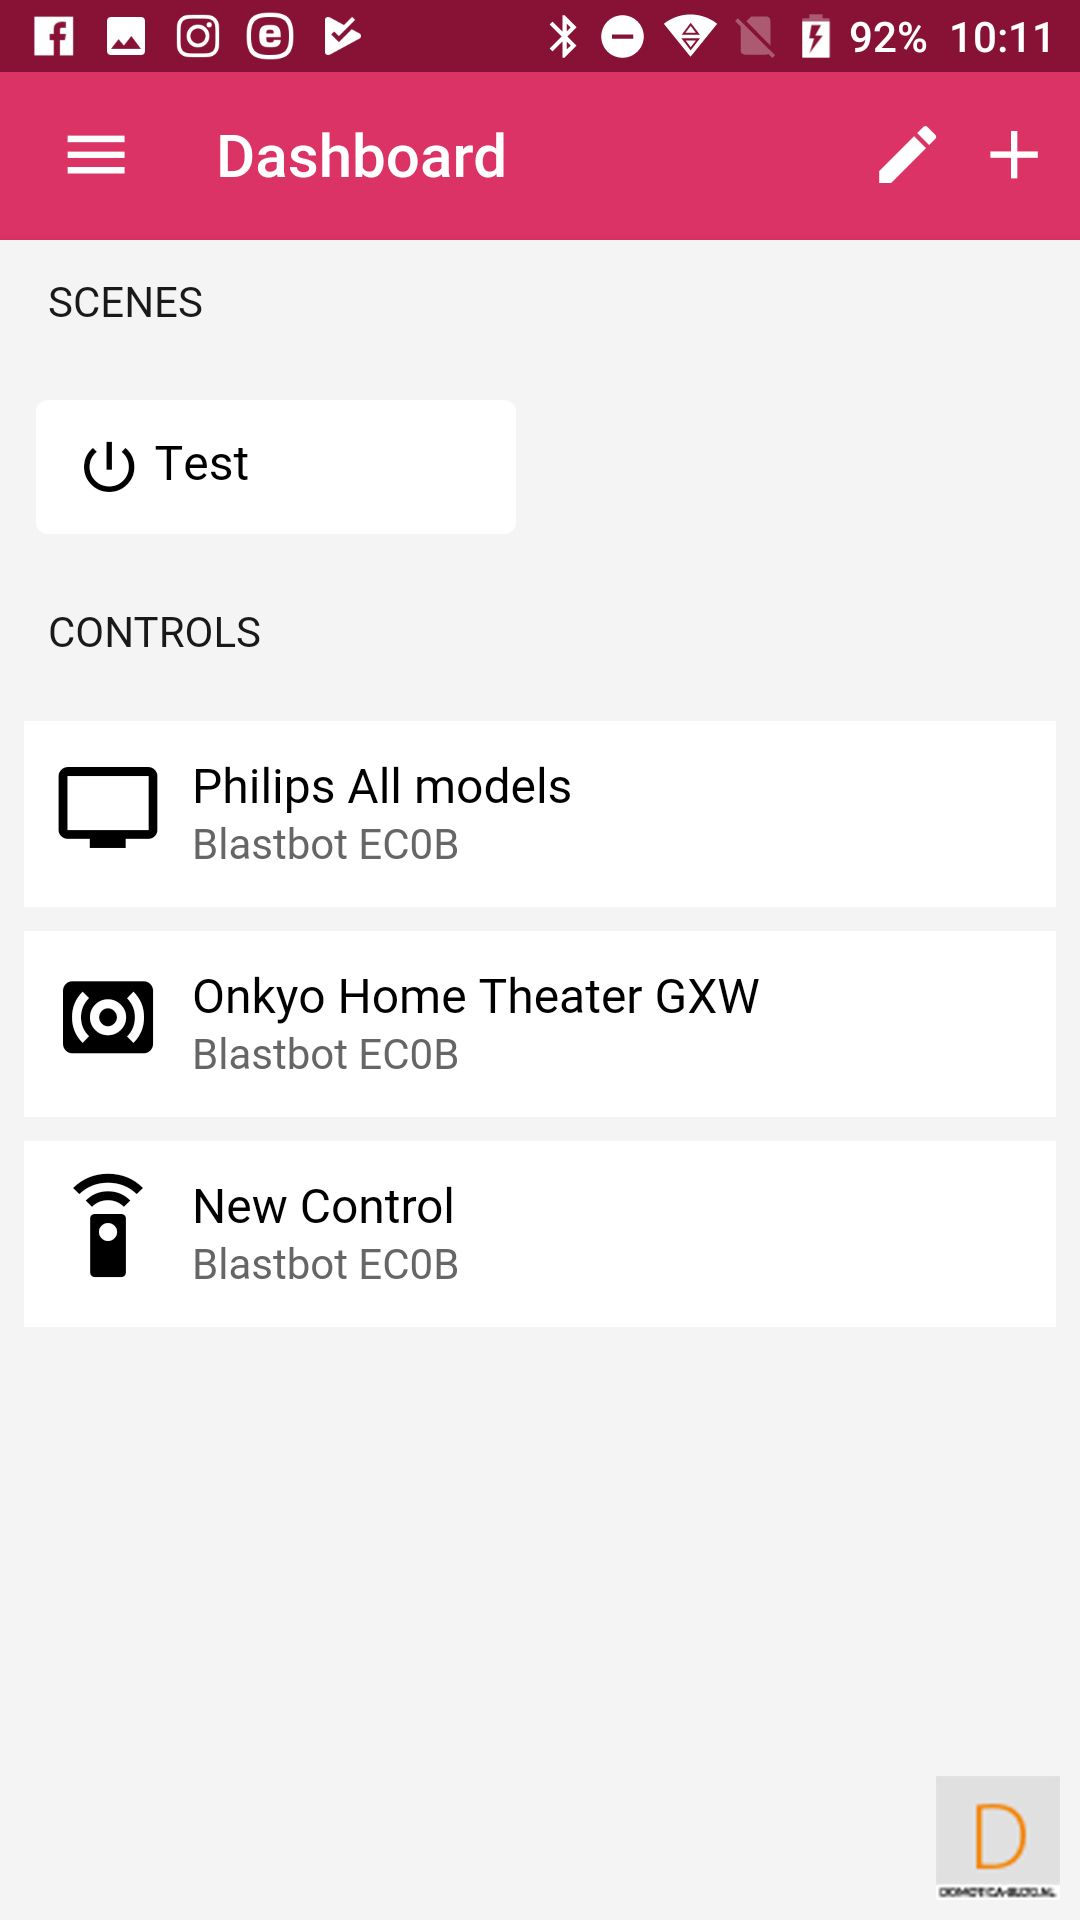
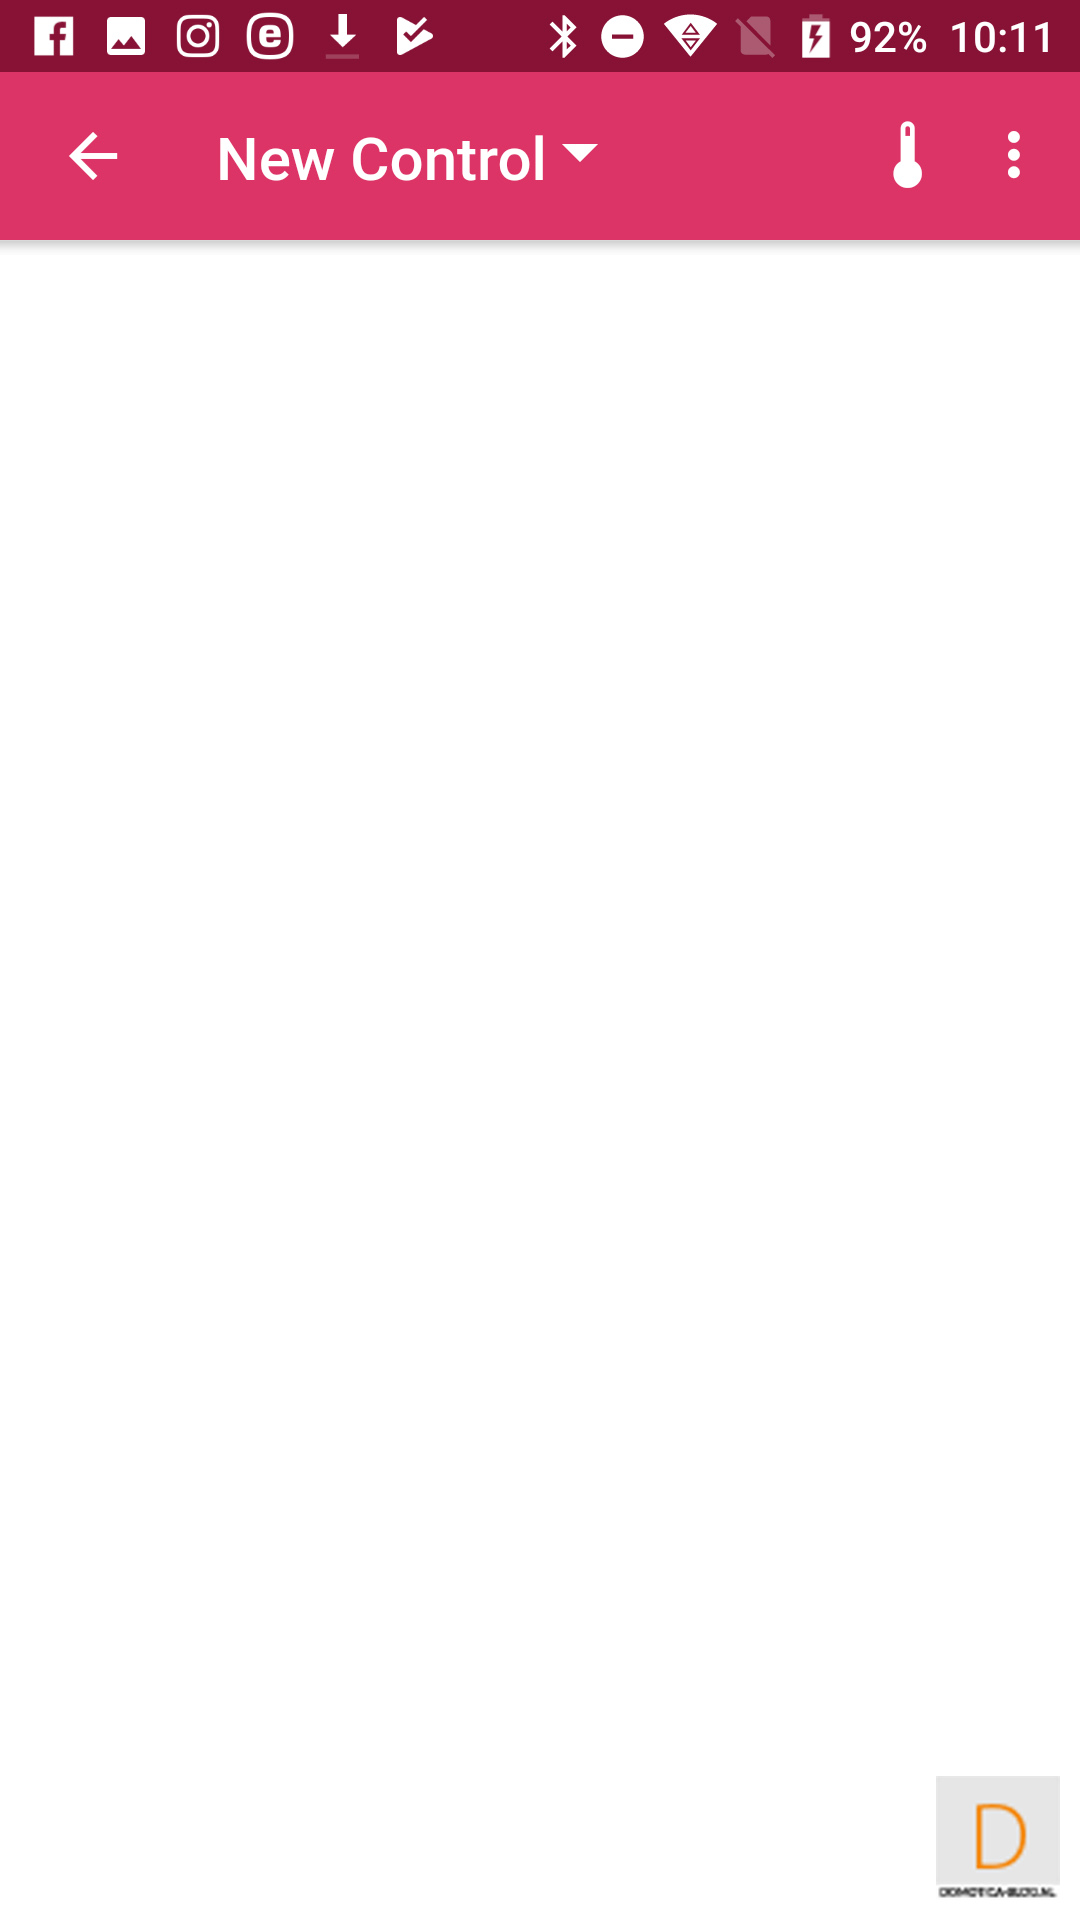
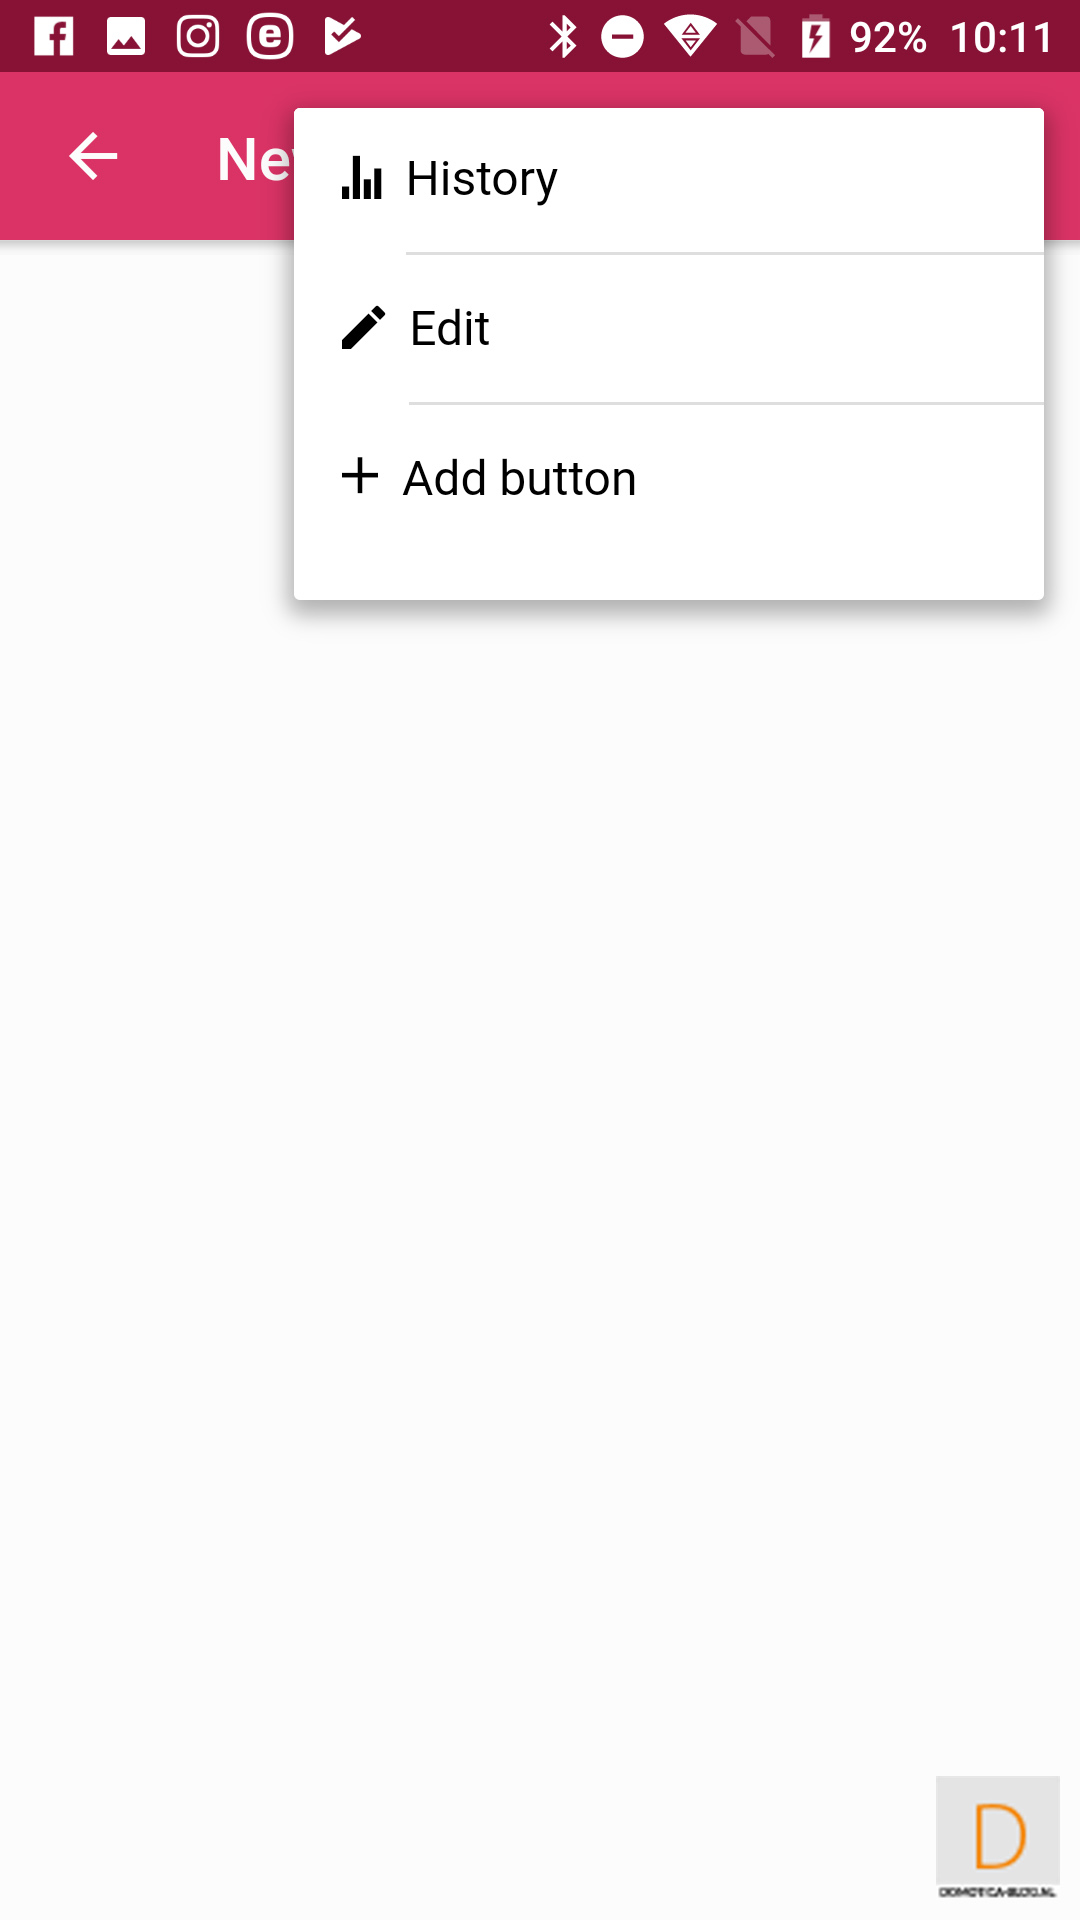
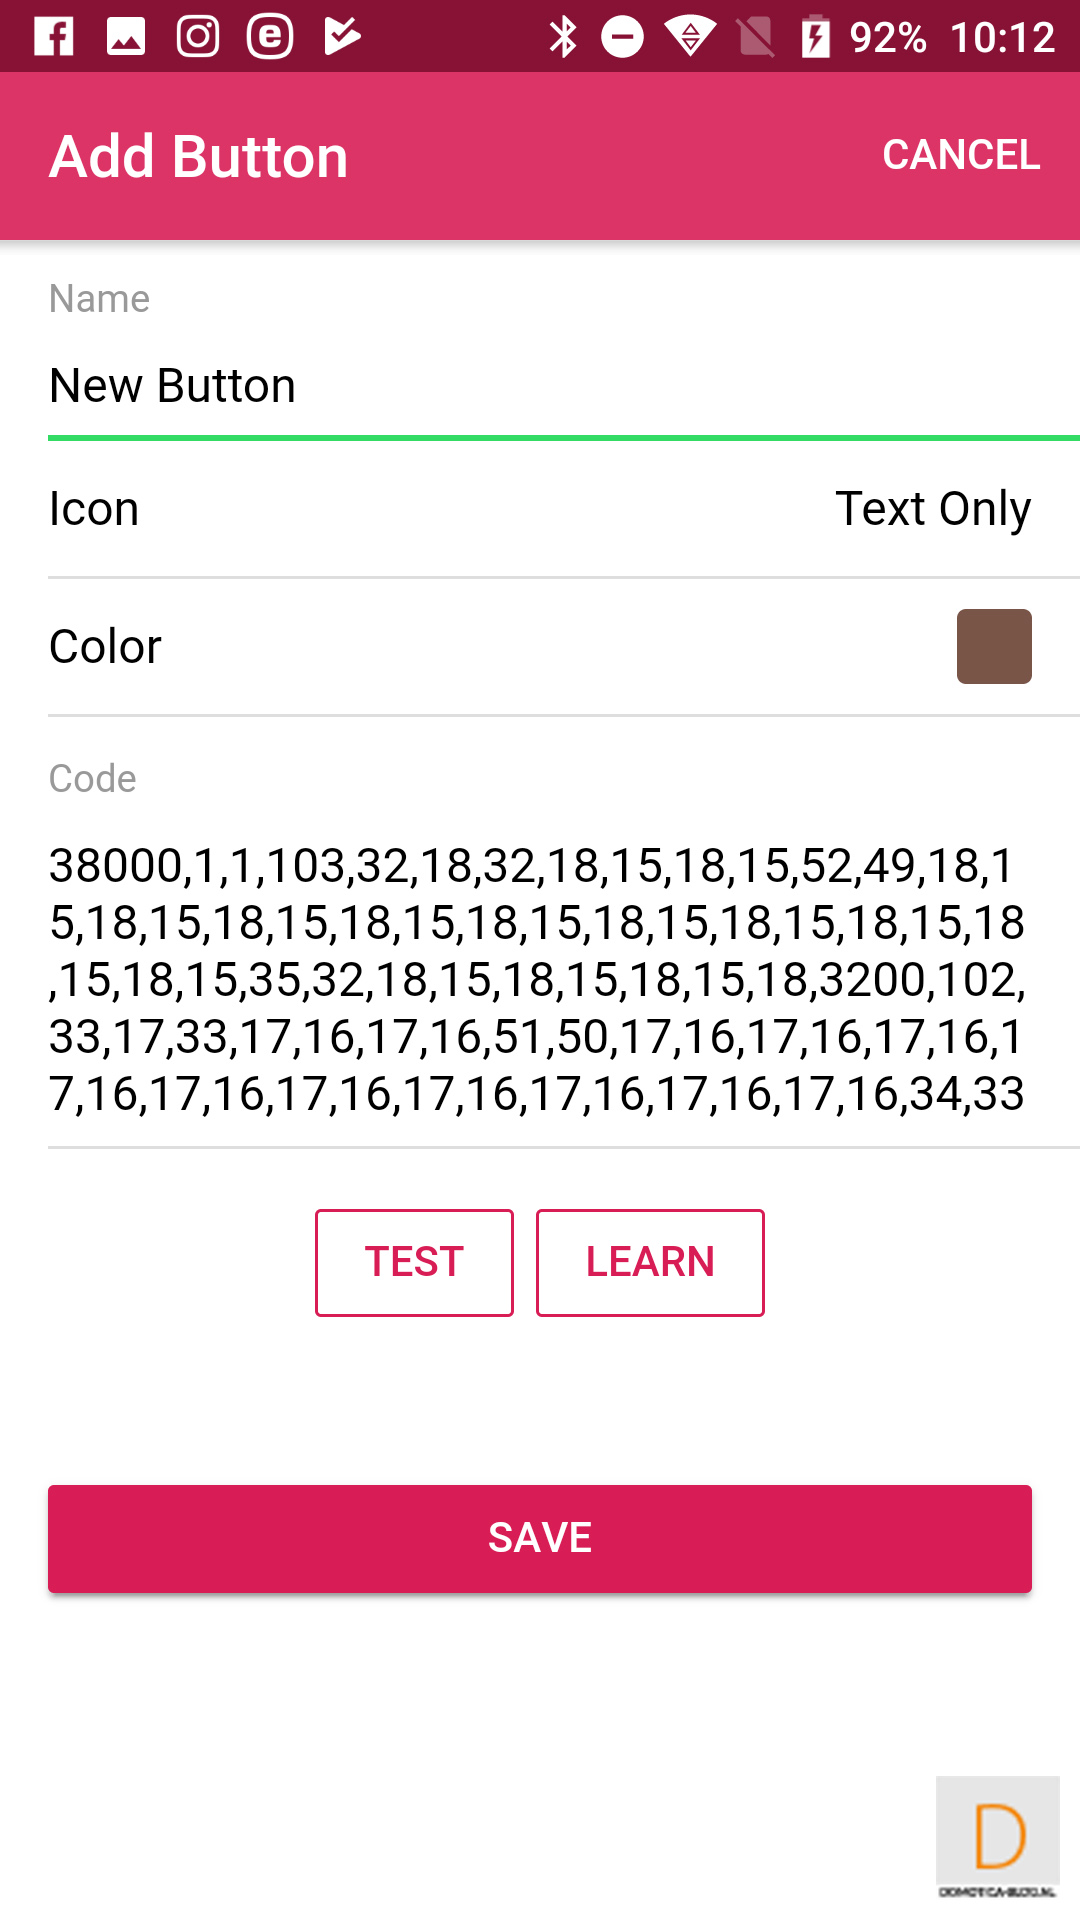
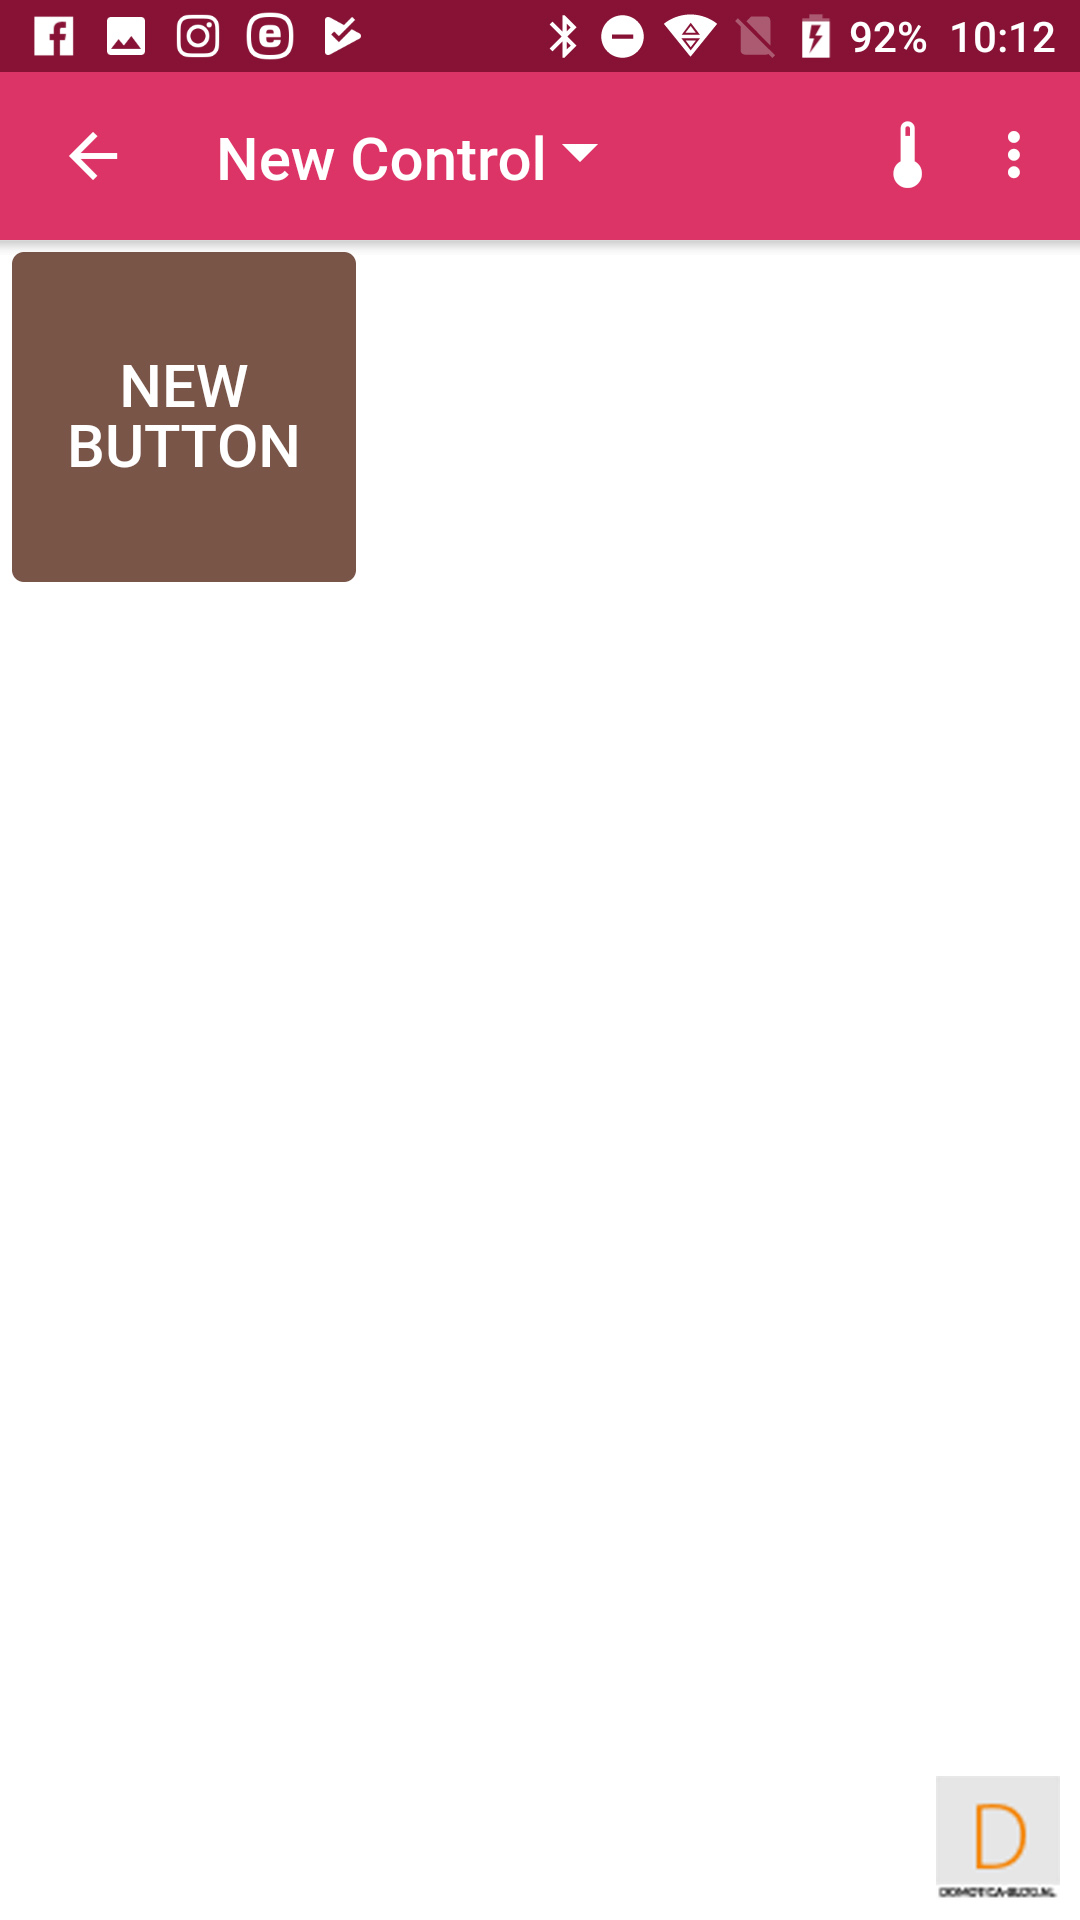
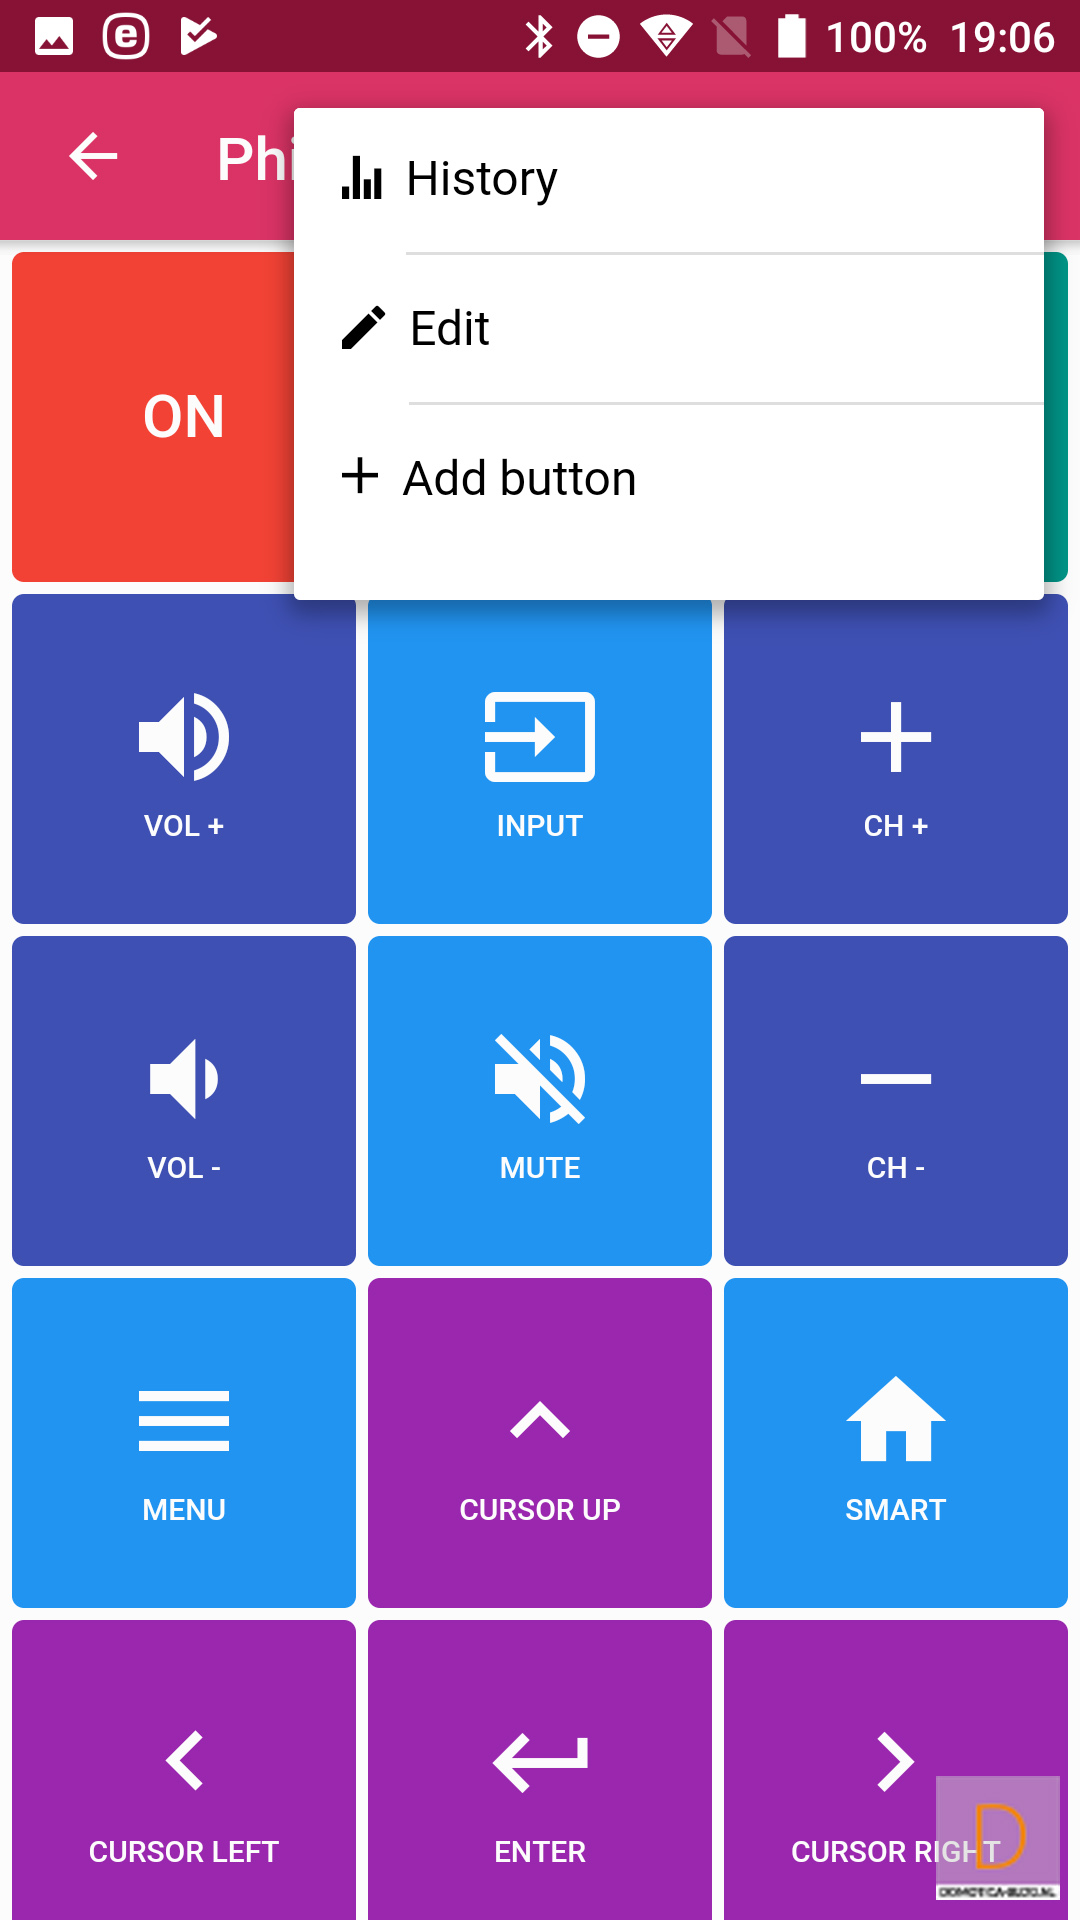
Adding codes is easy. It is a matter of creating a new controller and pointing the remote control to the Blastbot. After that, press the desired button and it will be added. You can still change the name, color and icon.
Add codes: