Review:
Neo Coolcam Door sensor

Installation on the Fibaro Home Center 3:
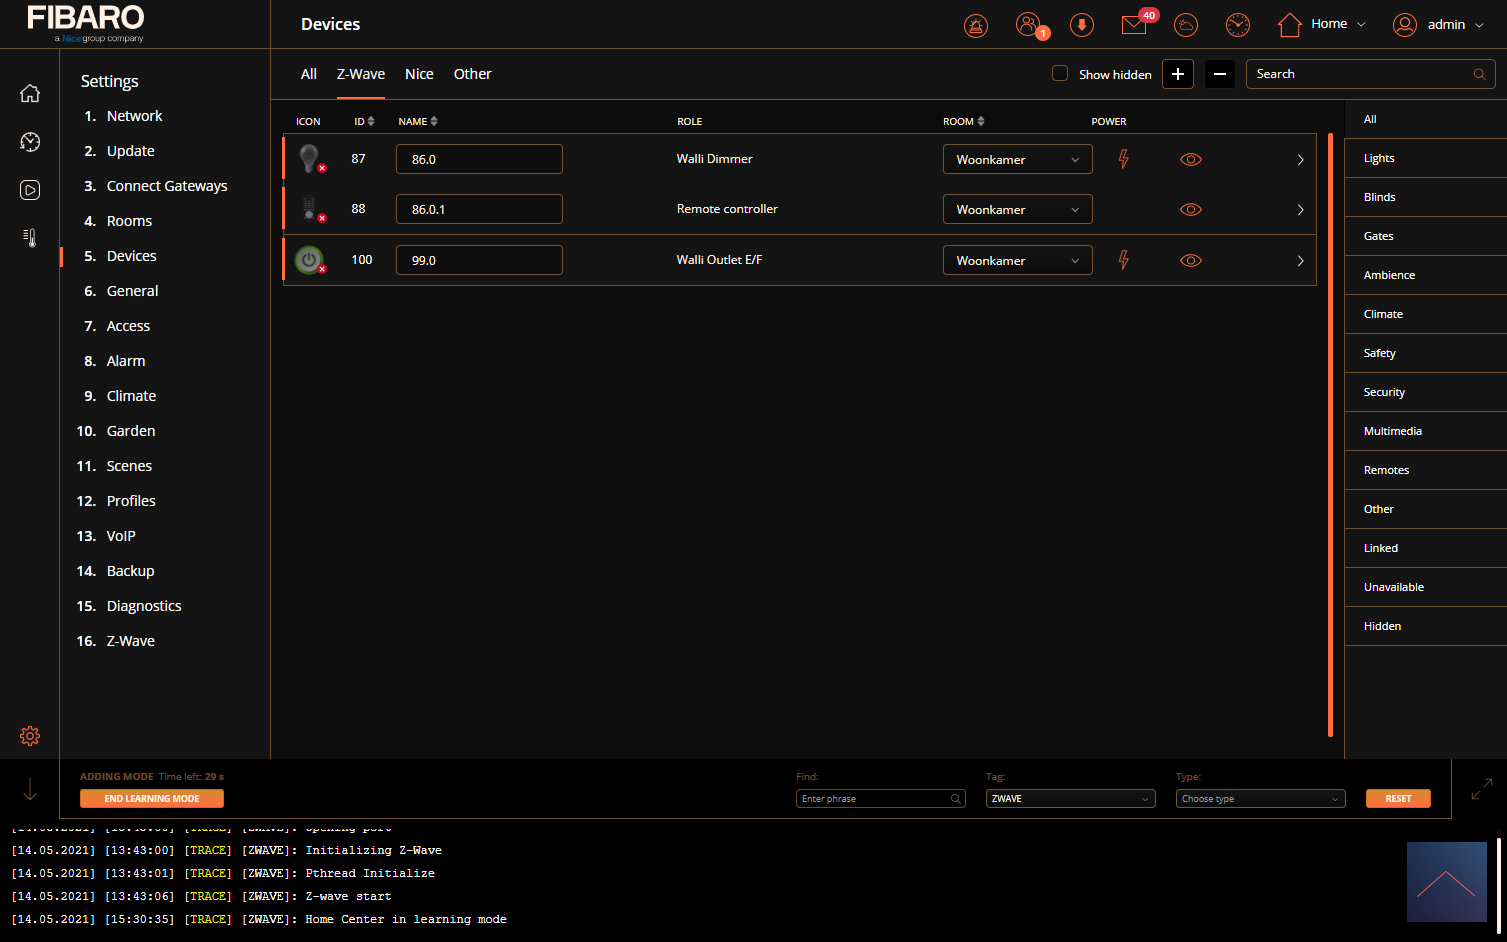
We just installed this sensor on the HC2 so it shouldn't cause any problems on the HC3. We're going to add him again.
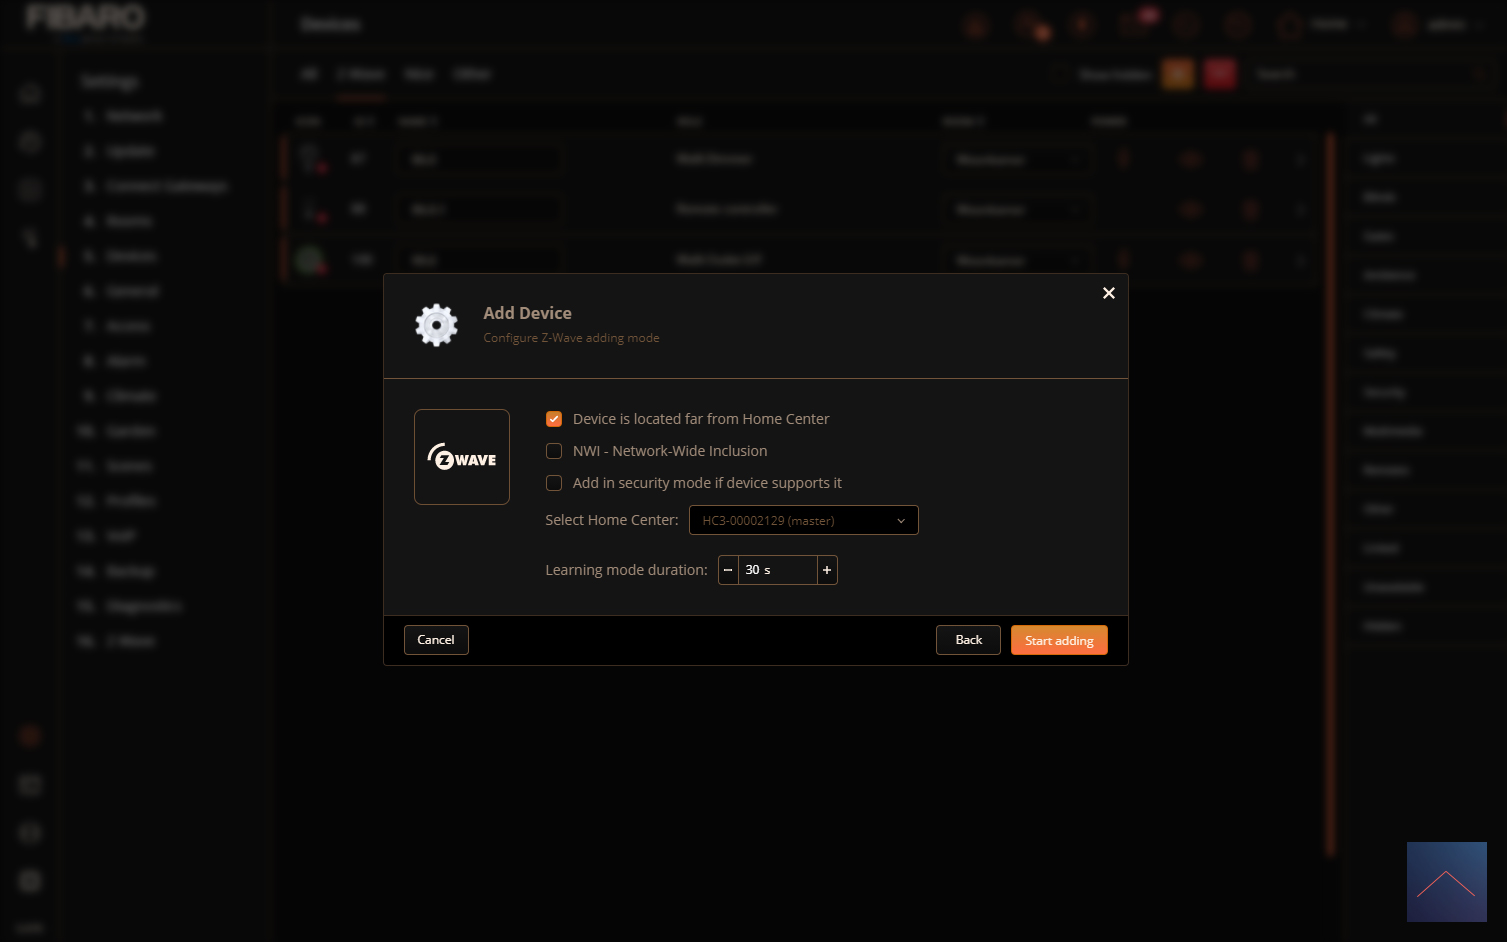
First we remove the cap from the sensor and the tab at the battery. After this we log in to the HC3. We go to our devices and press the plus sign. Now hold the add button on the inside of the sensor for 5 seconds until the LED turns white. The HC3 gives a message that it is "add" and I see the LED of the sensor blinking blue.
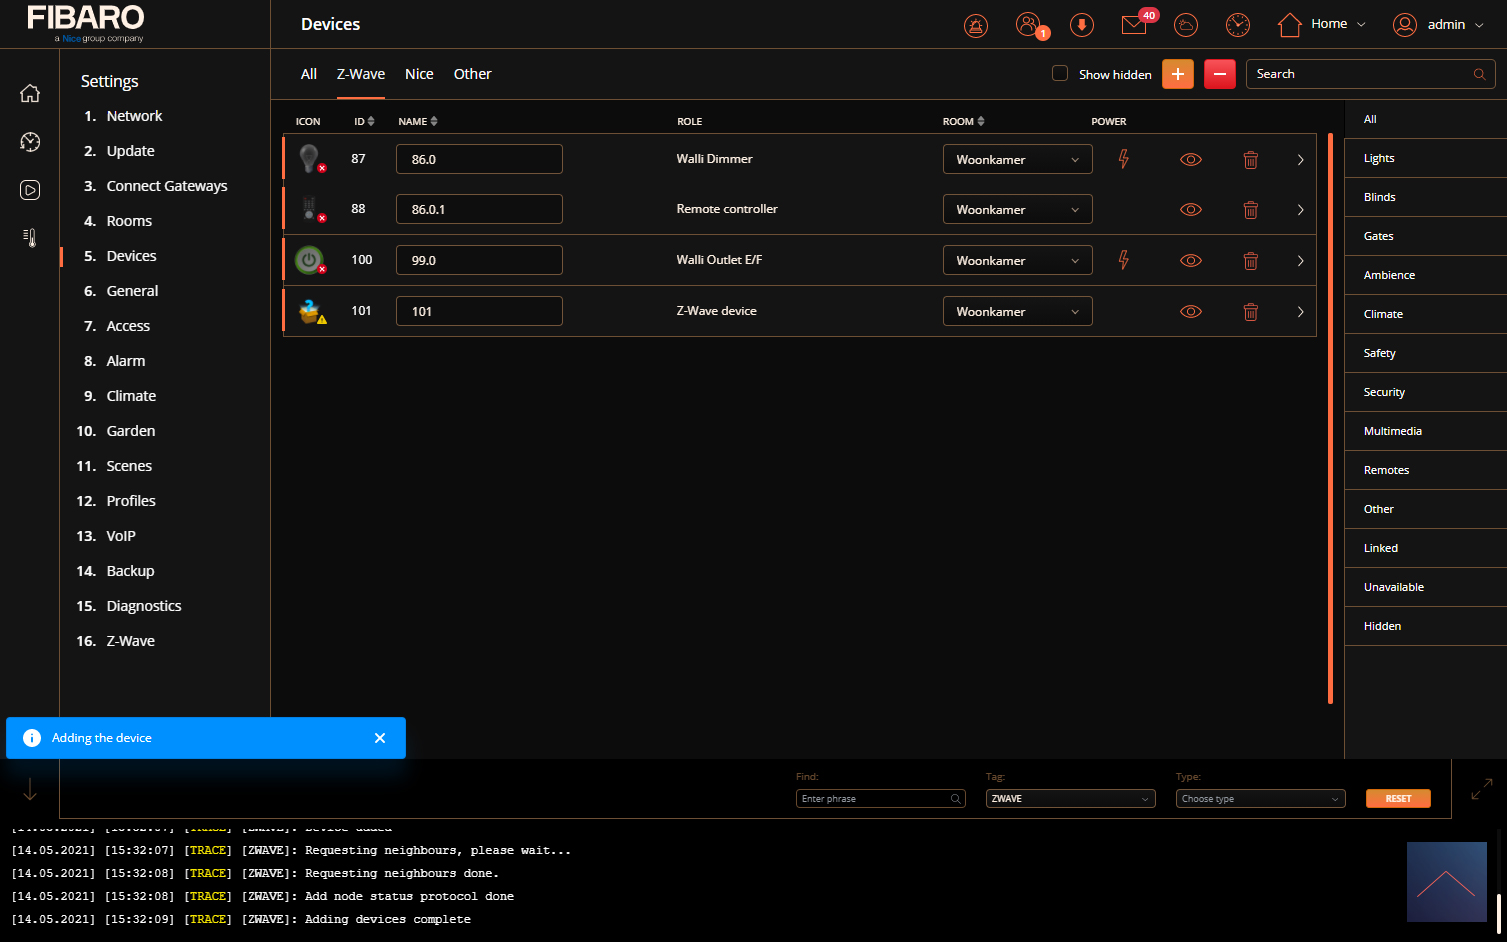
After a few seconds, it gives a message that the addition was successful. Now I can install the sensor in its final location. Make sure that the distance between the sensor and the magnet is no more than 2 cm apart.
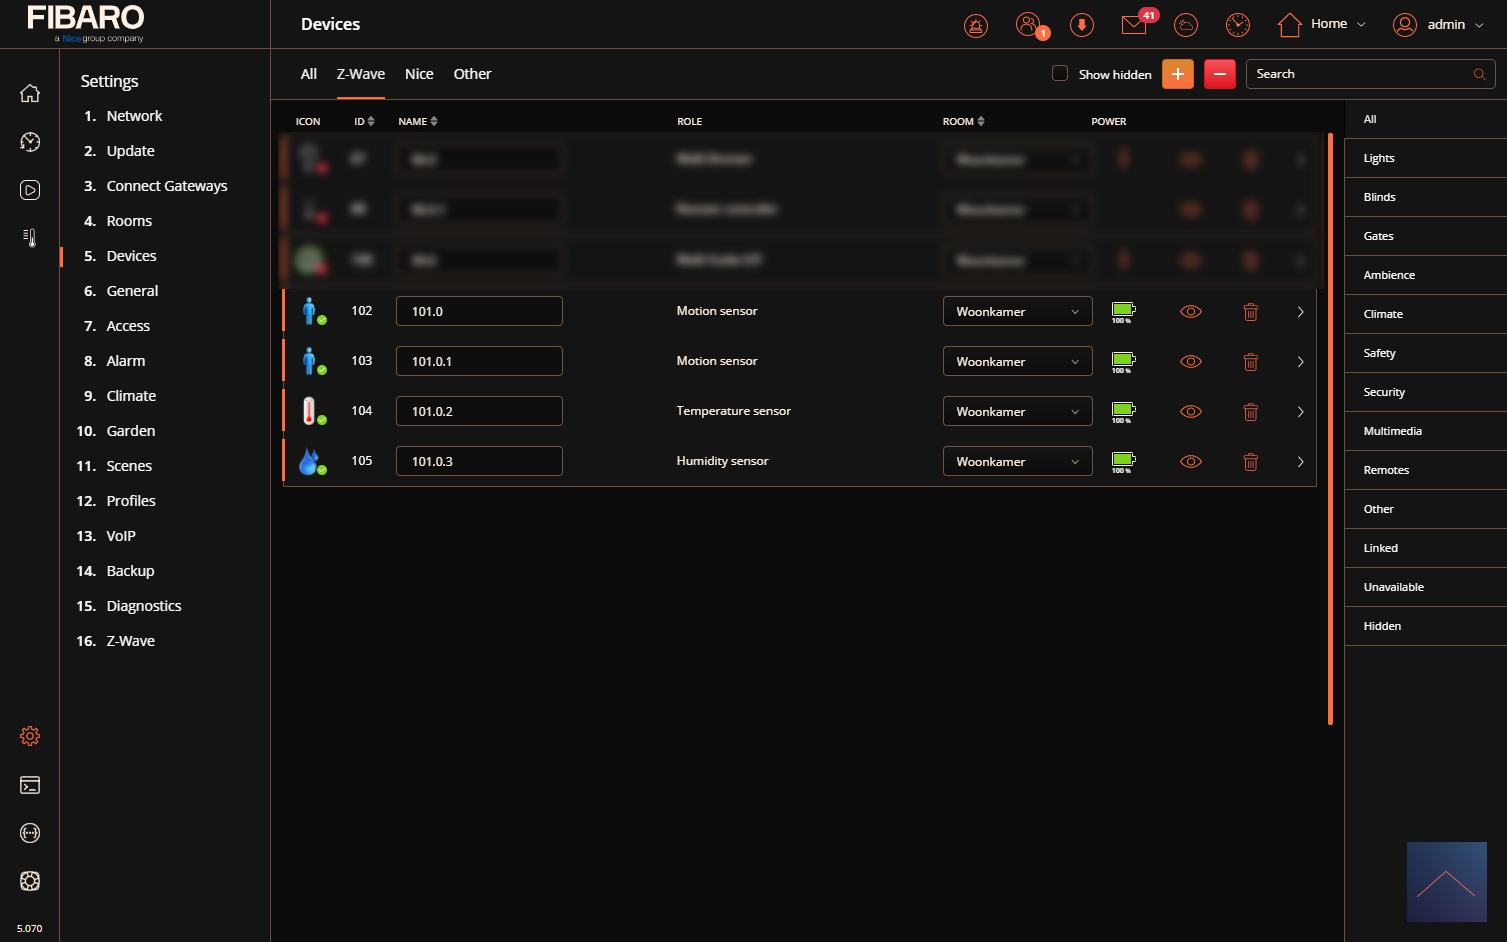
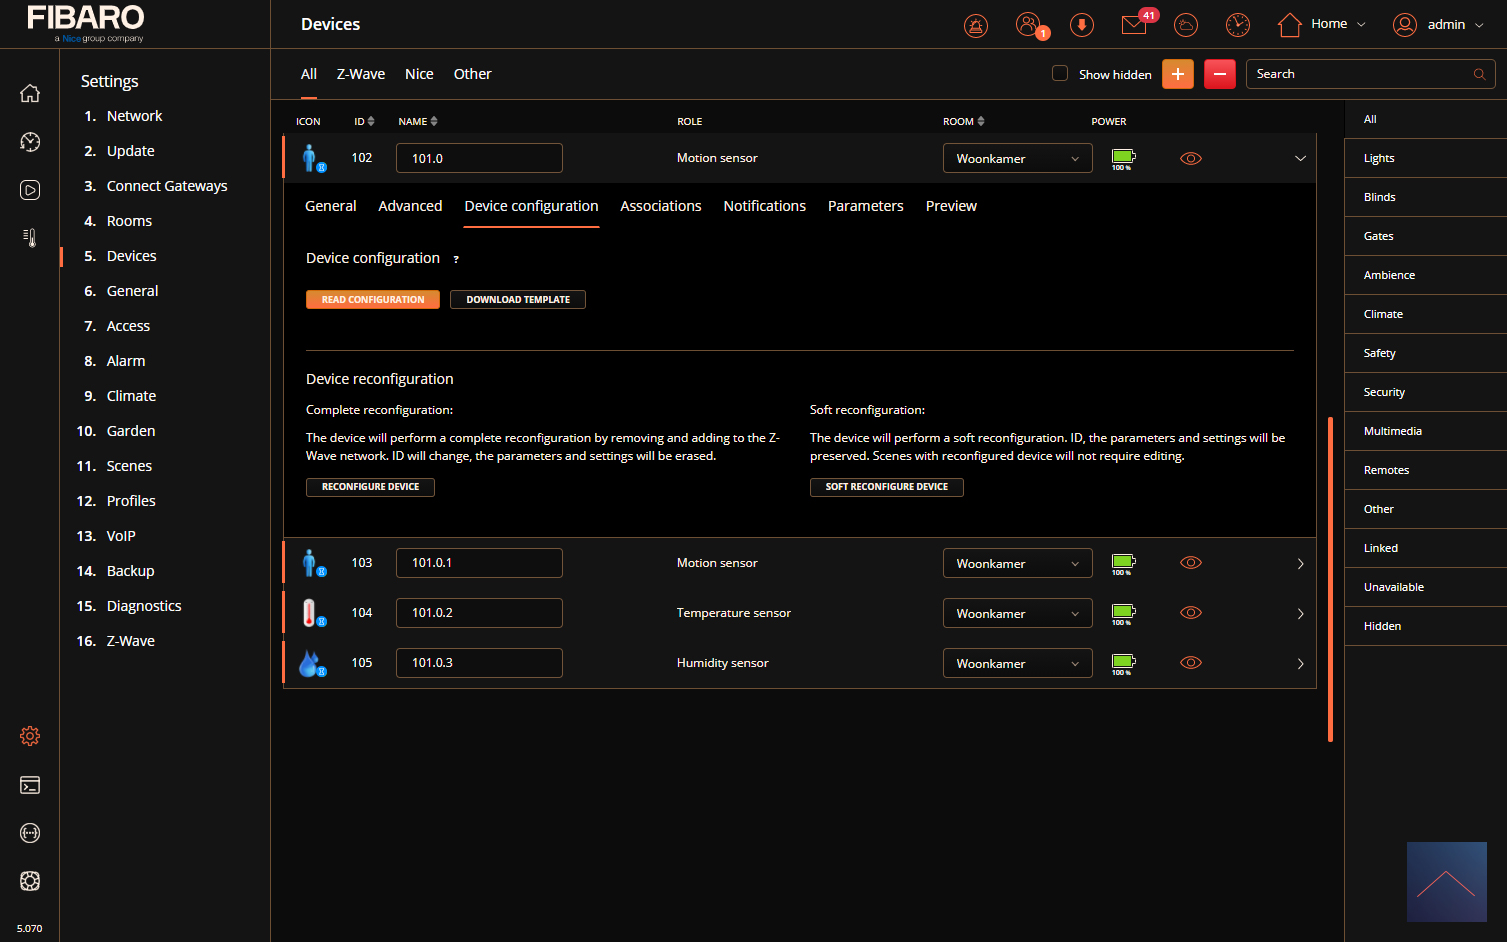
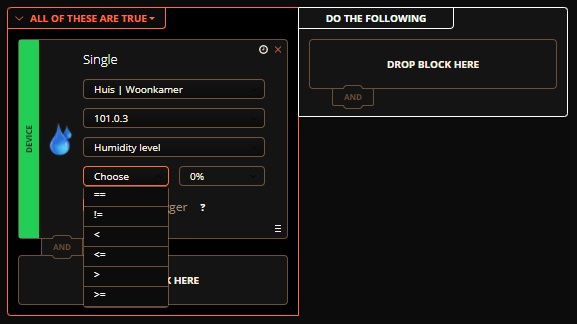
It strikes me that there is no configuration (parameters) present, so you will have to add it by hand. See later in the article.
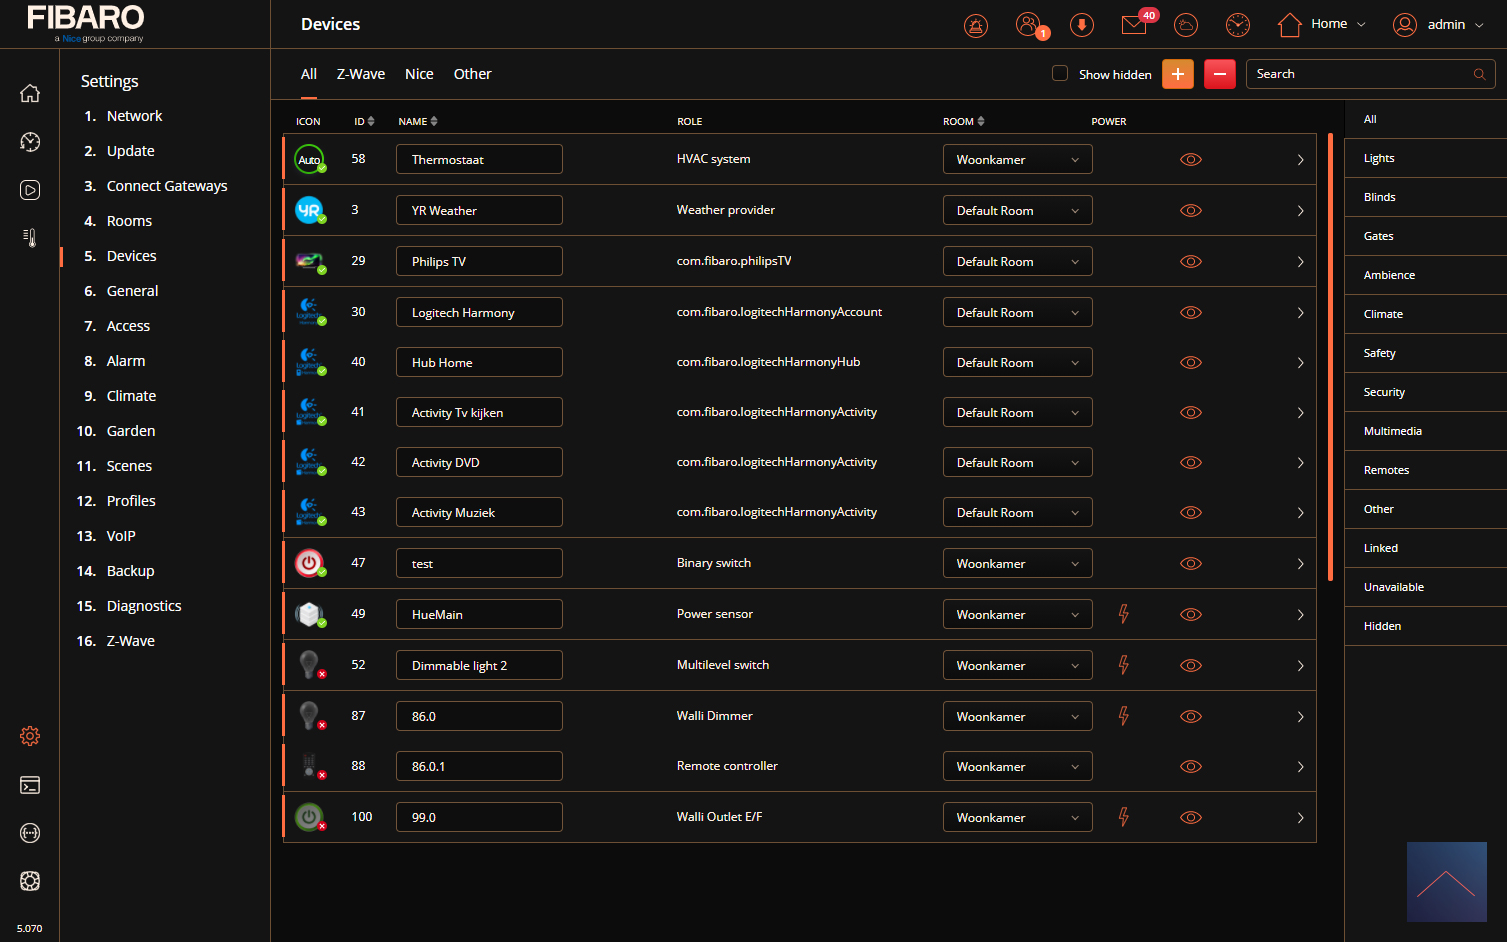
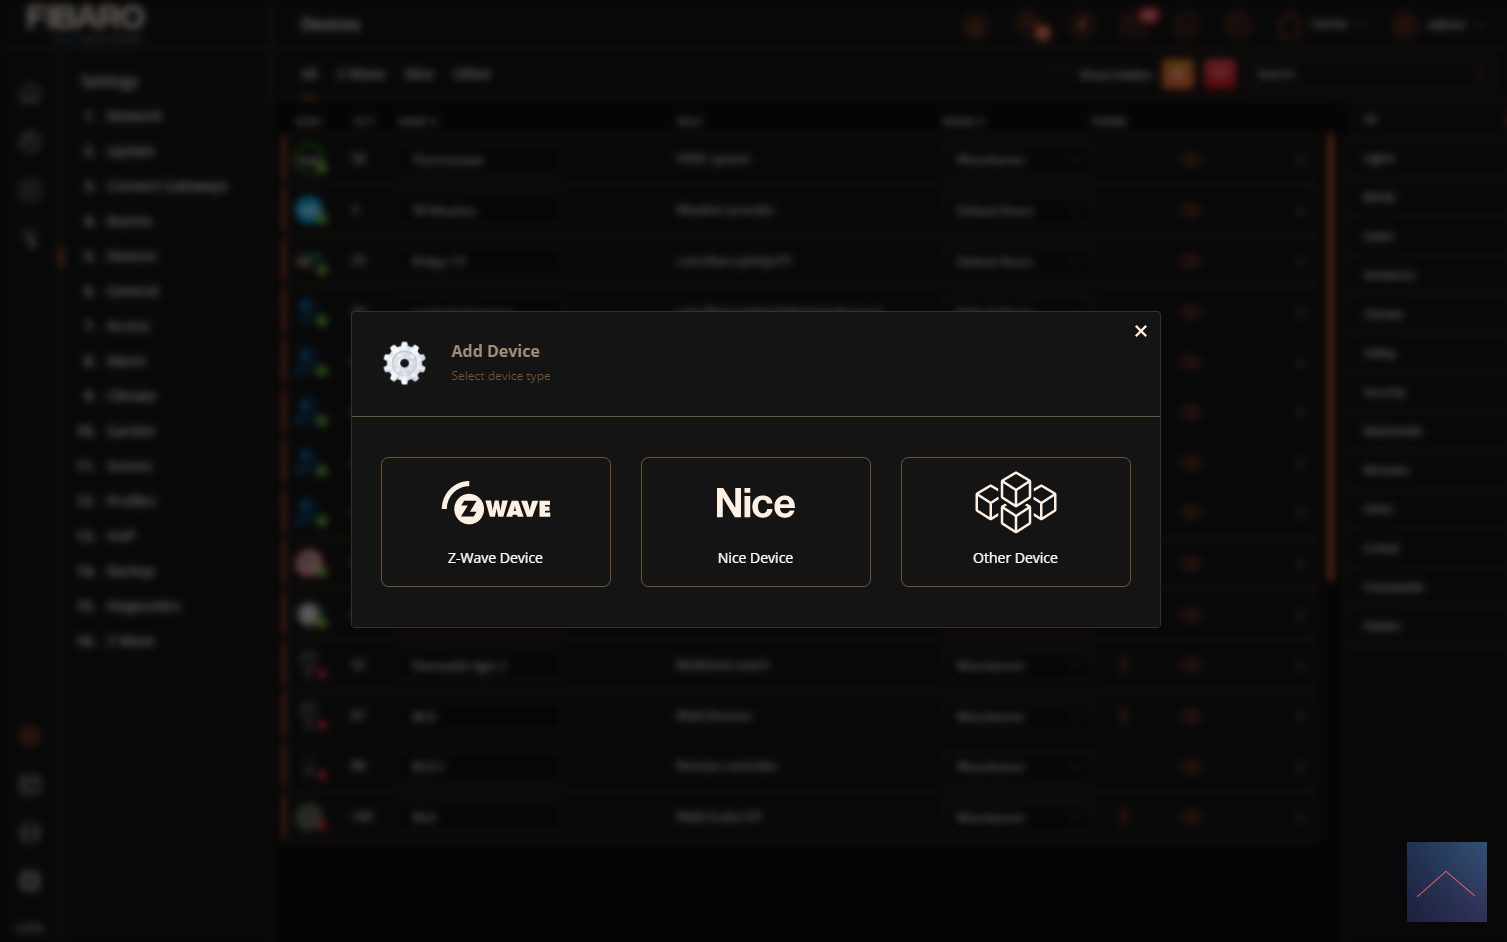
Installatie schermen:
Configuratie:
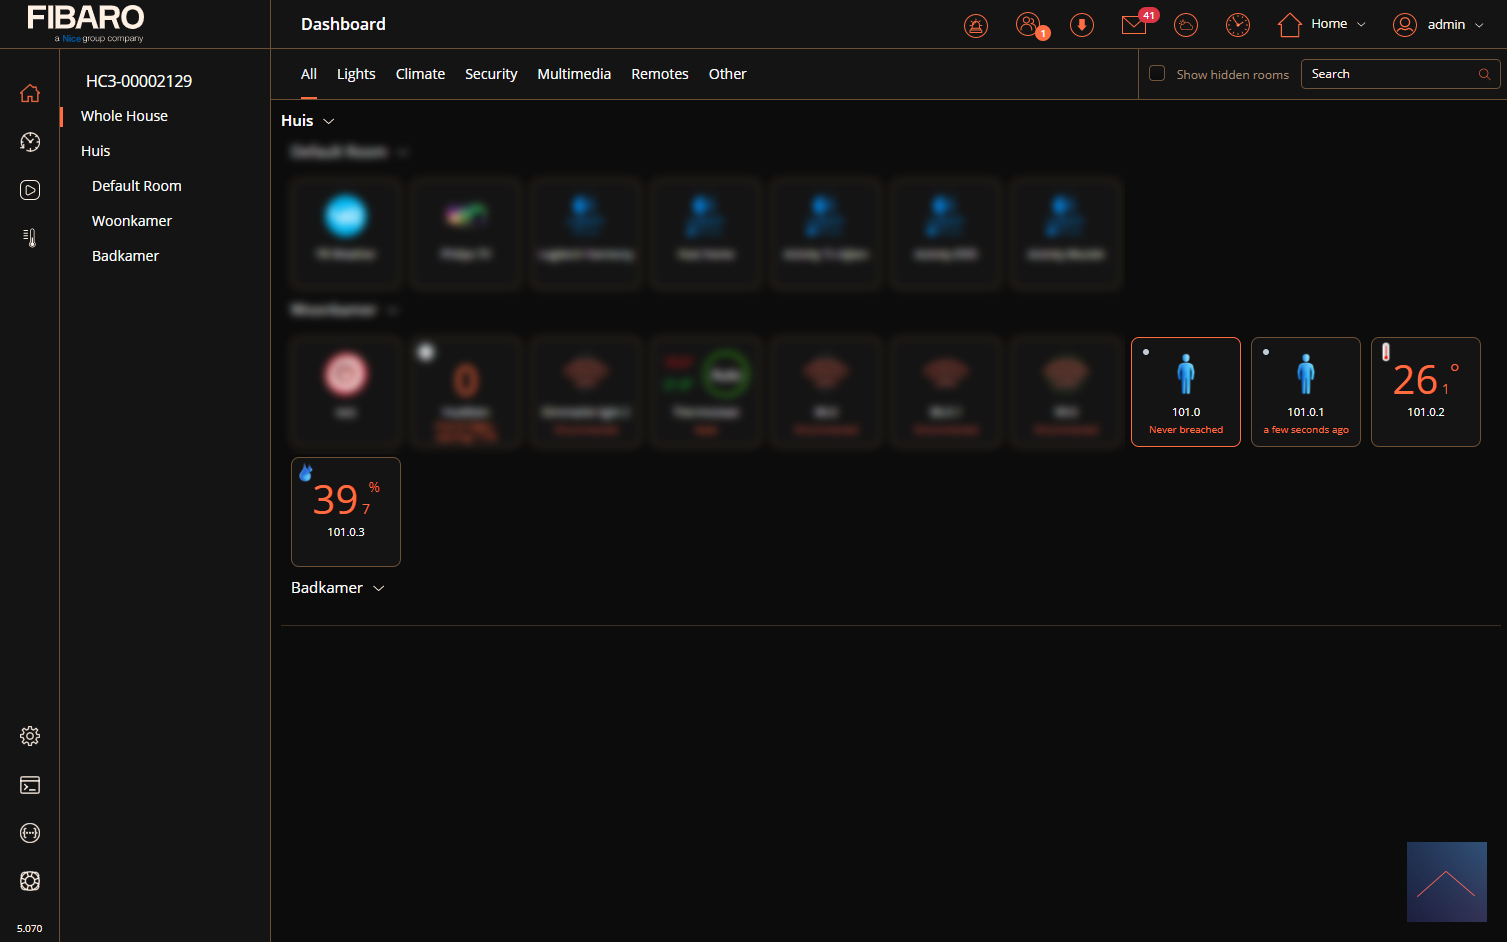
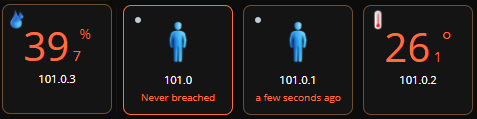
Operation:
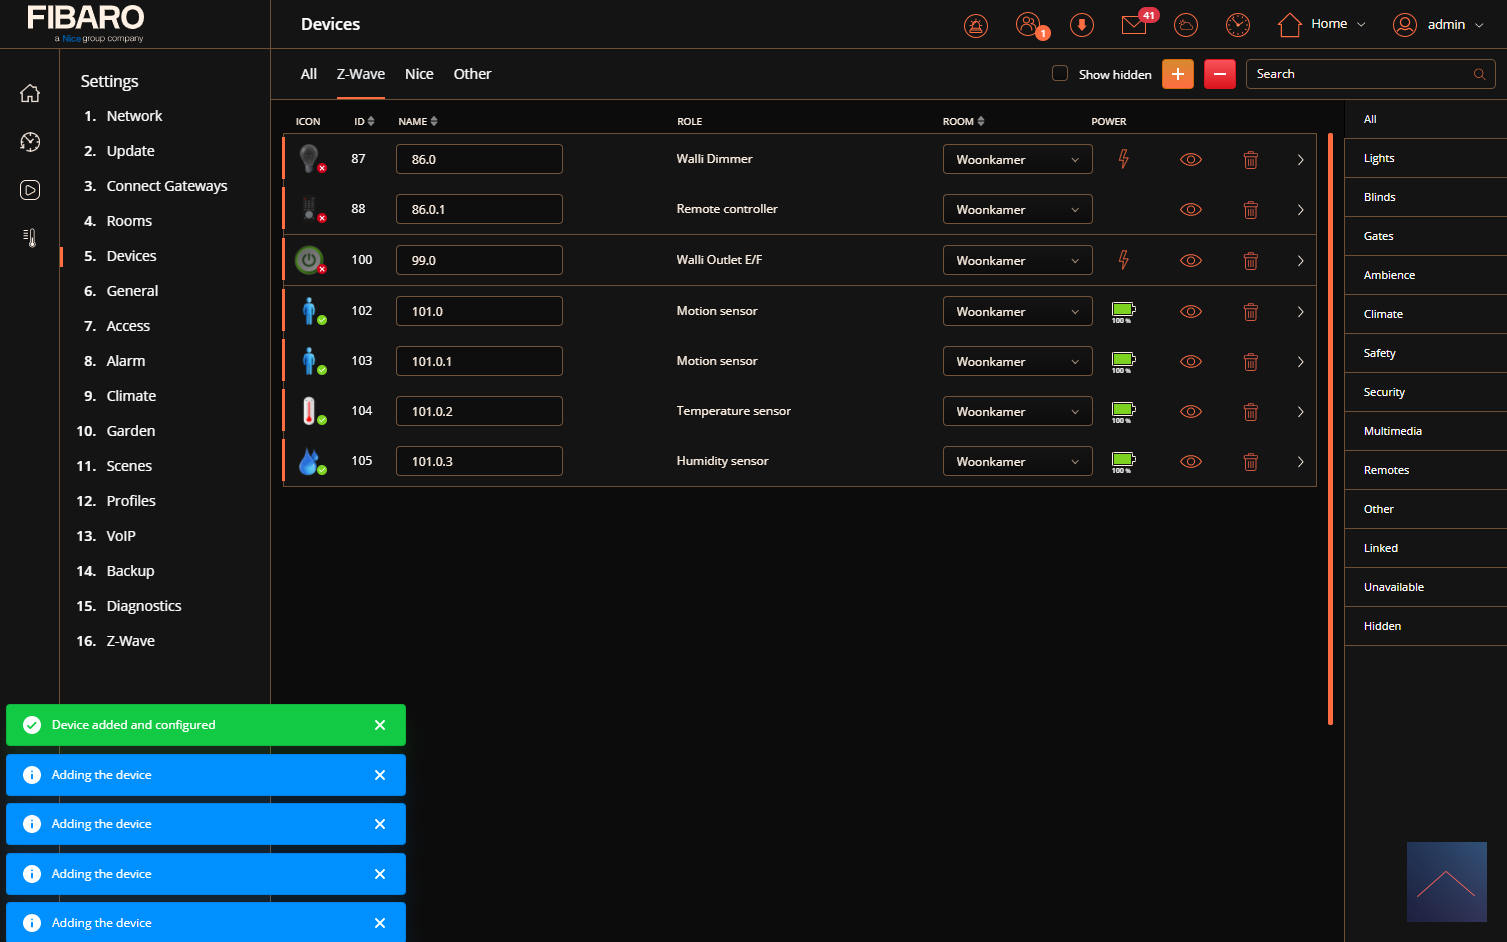
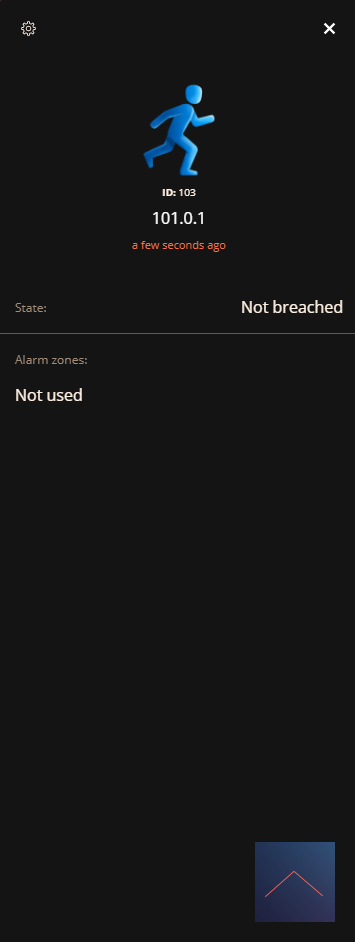
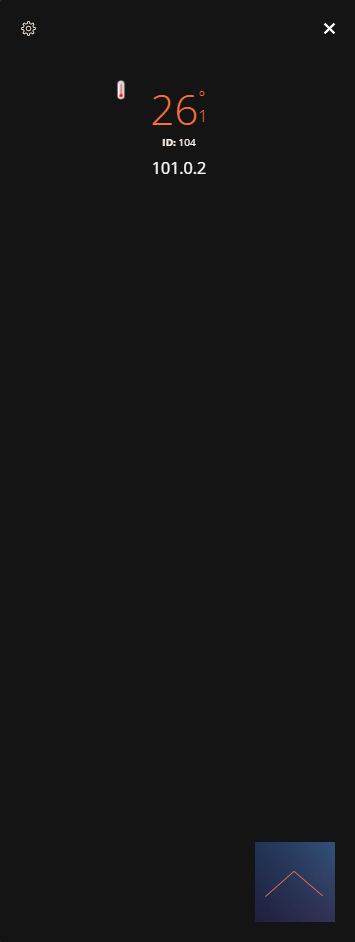
I get a door/window, temperature and humidity sensor. It is noticeable that the sensor reacts very quickly.

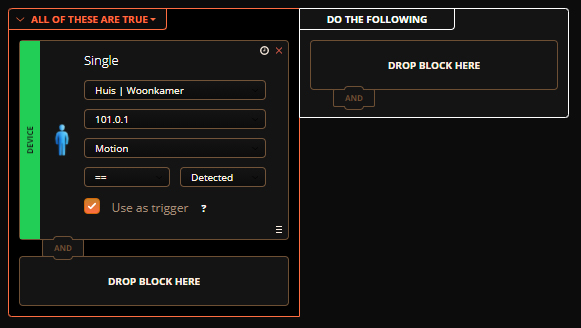
Scene options:
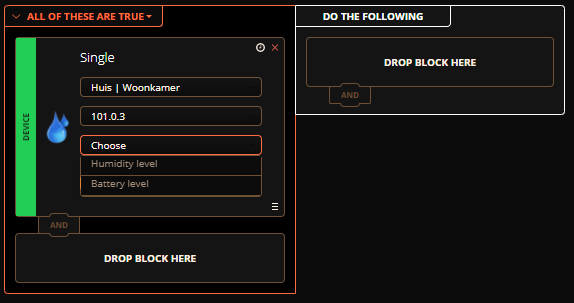
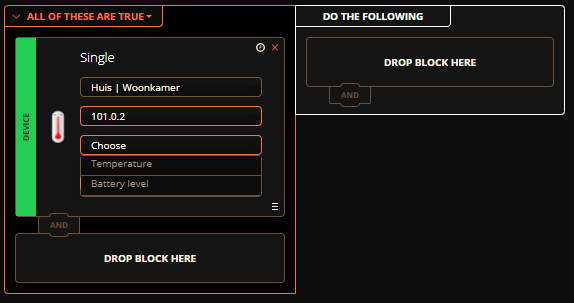
Example scene:
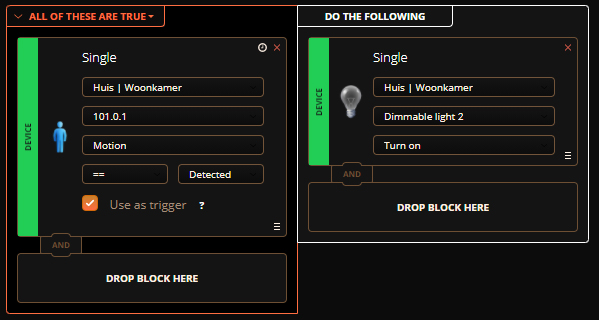
As an example, we ensure that when the door opens, the lamp in the toilet also switches on.
trigger:
TO DO: