Review:
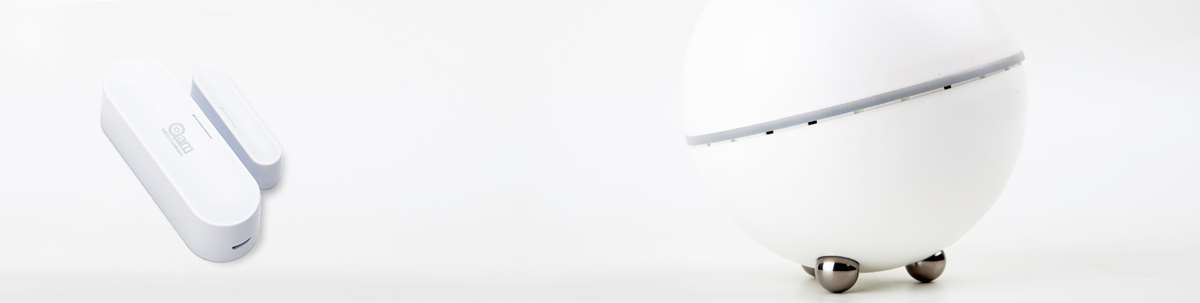
Neo Coolcam Door sensor
Installation via the Homey:
This sensor uses the Z-Wave plus protocol so installing it on the Homey shouldn't be too much of a problem. I also see that there is an APP and that the sensor is listed so that looks good.
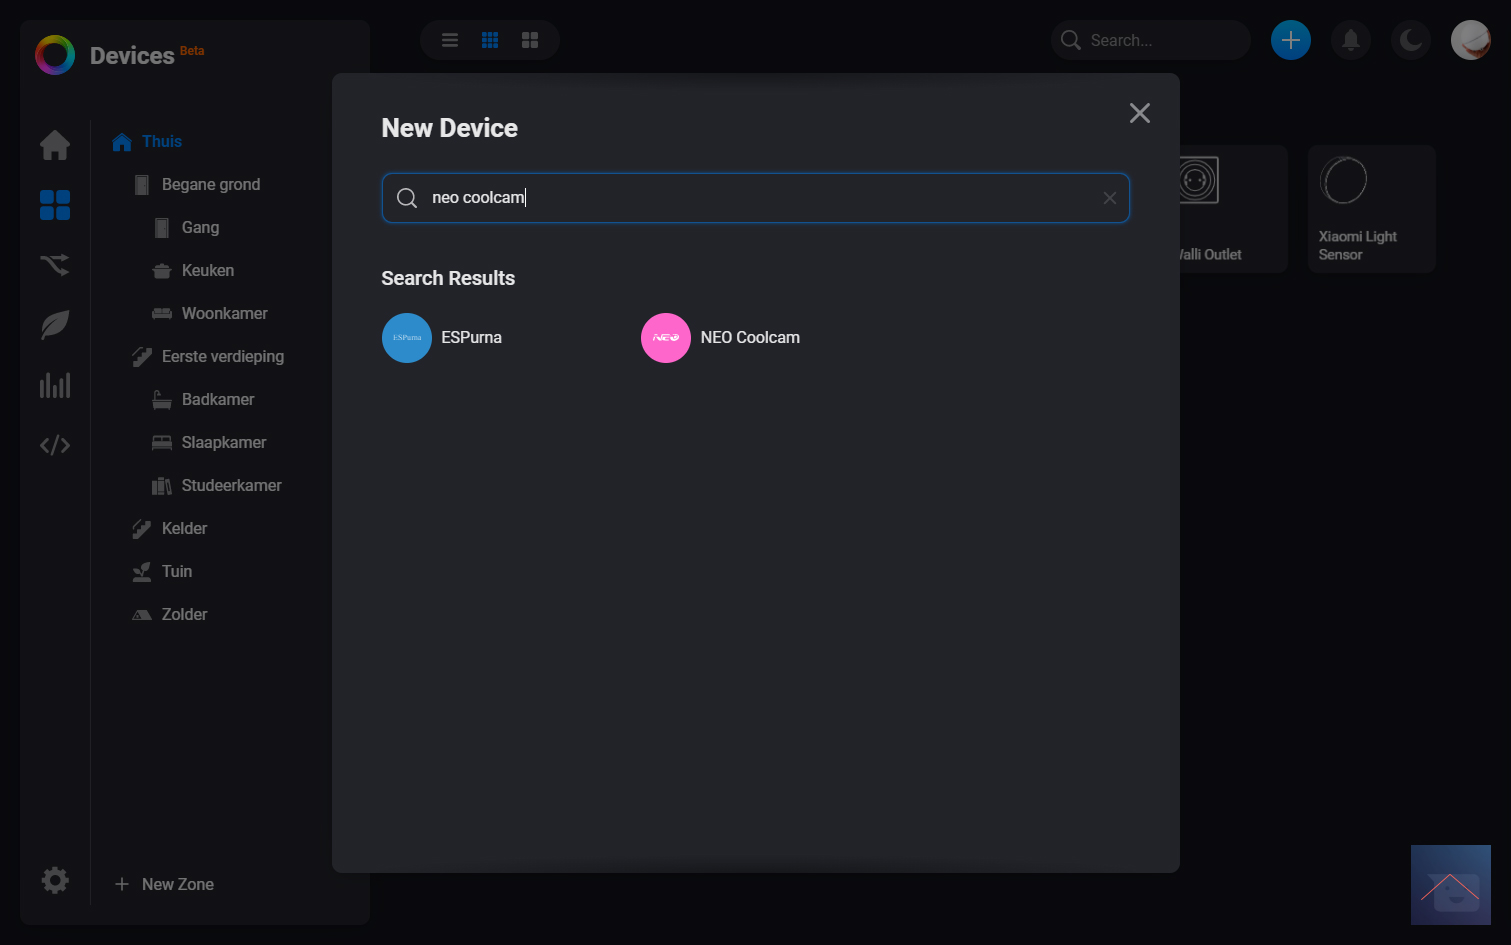
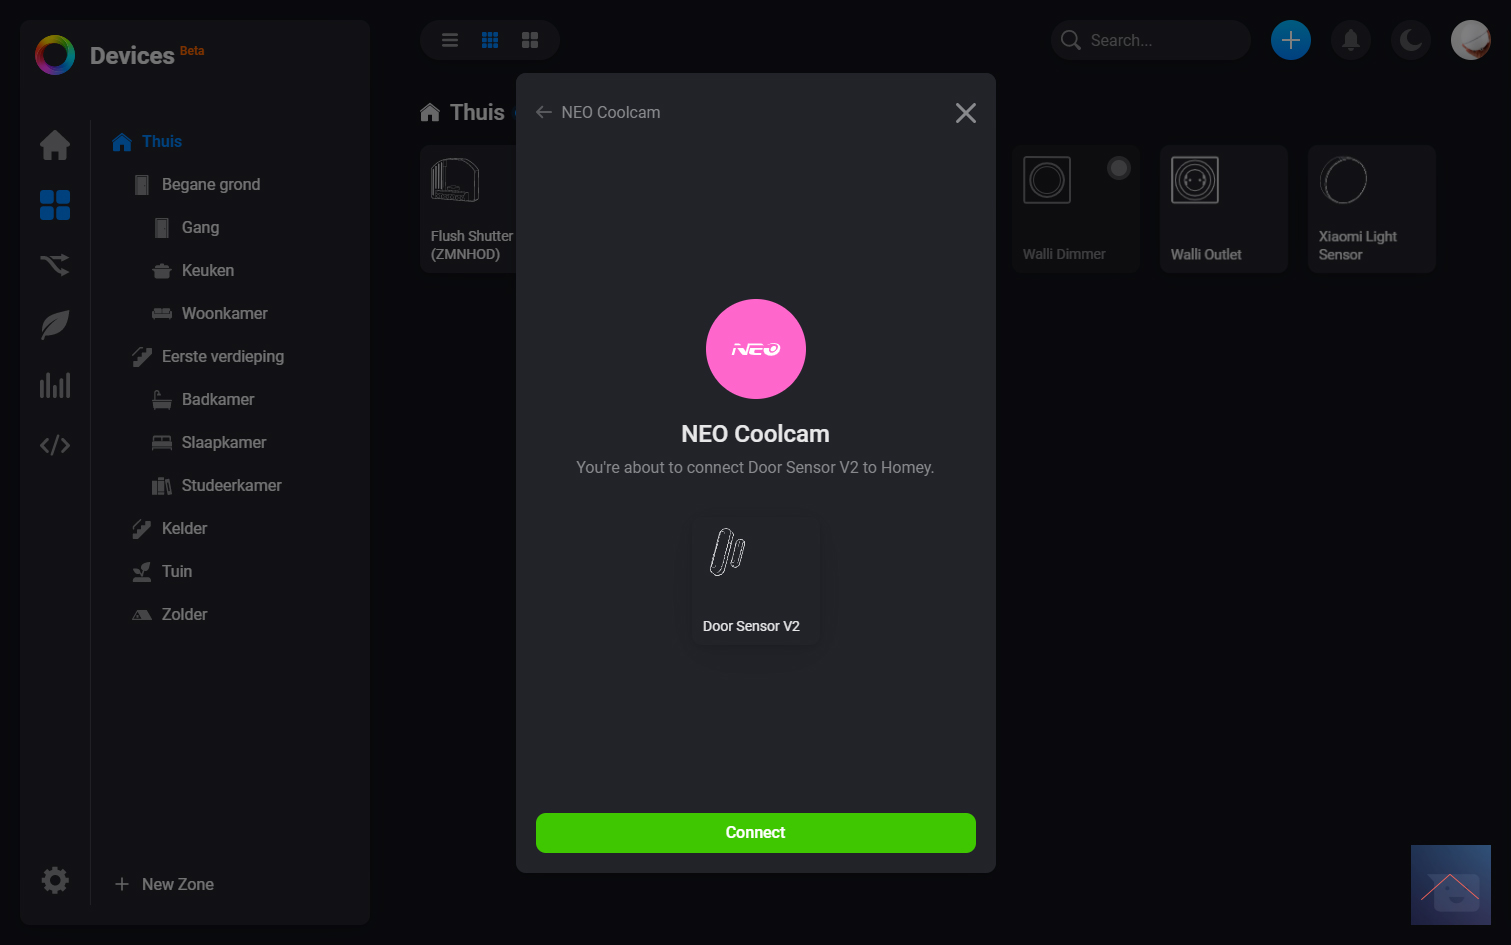
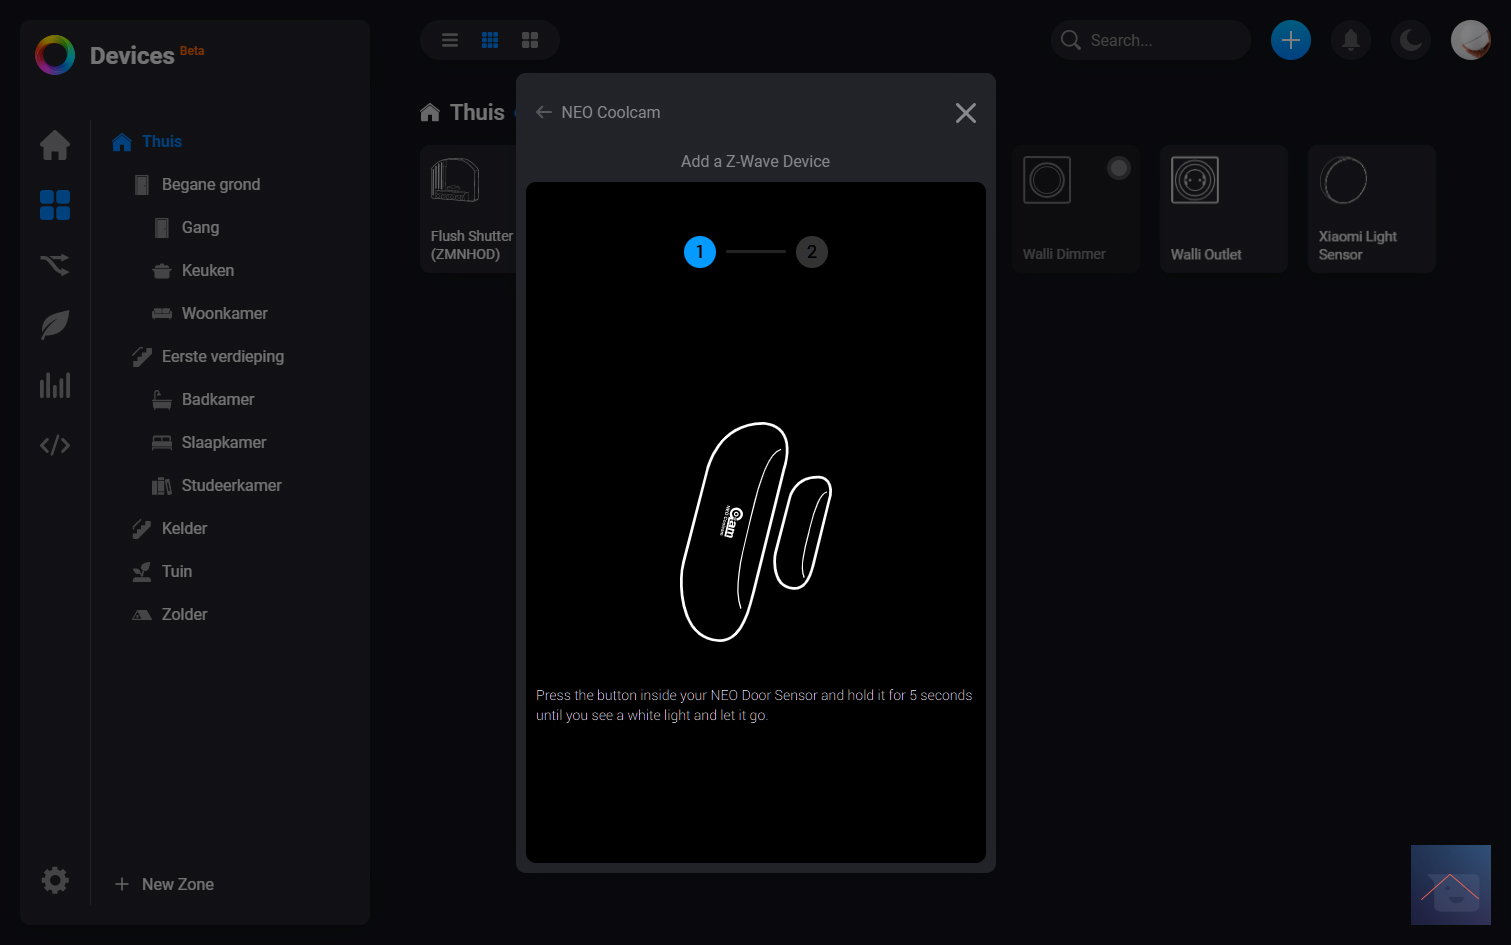
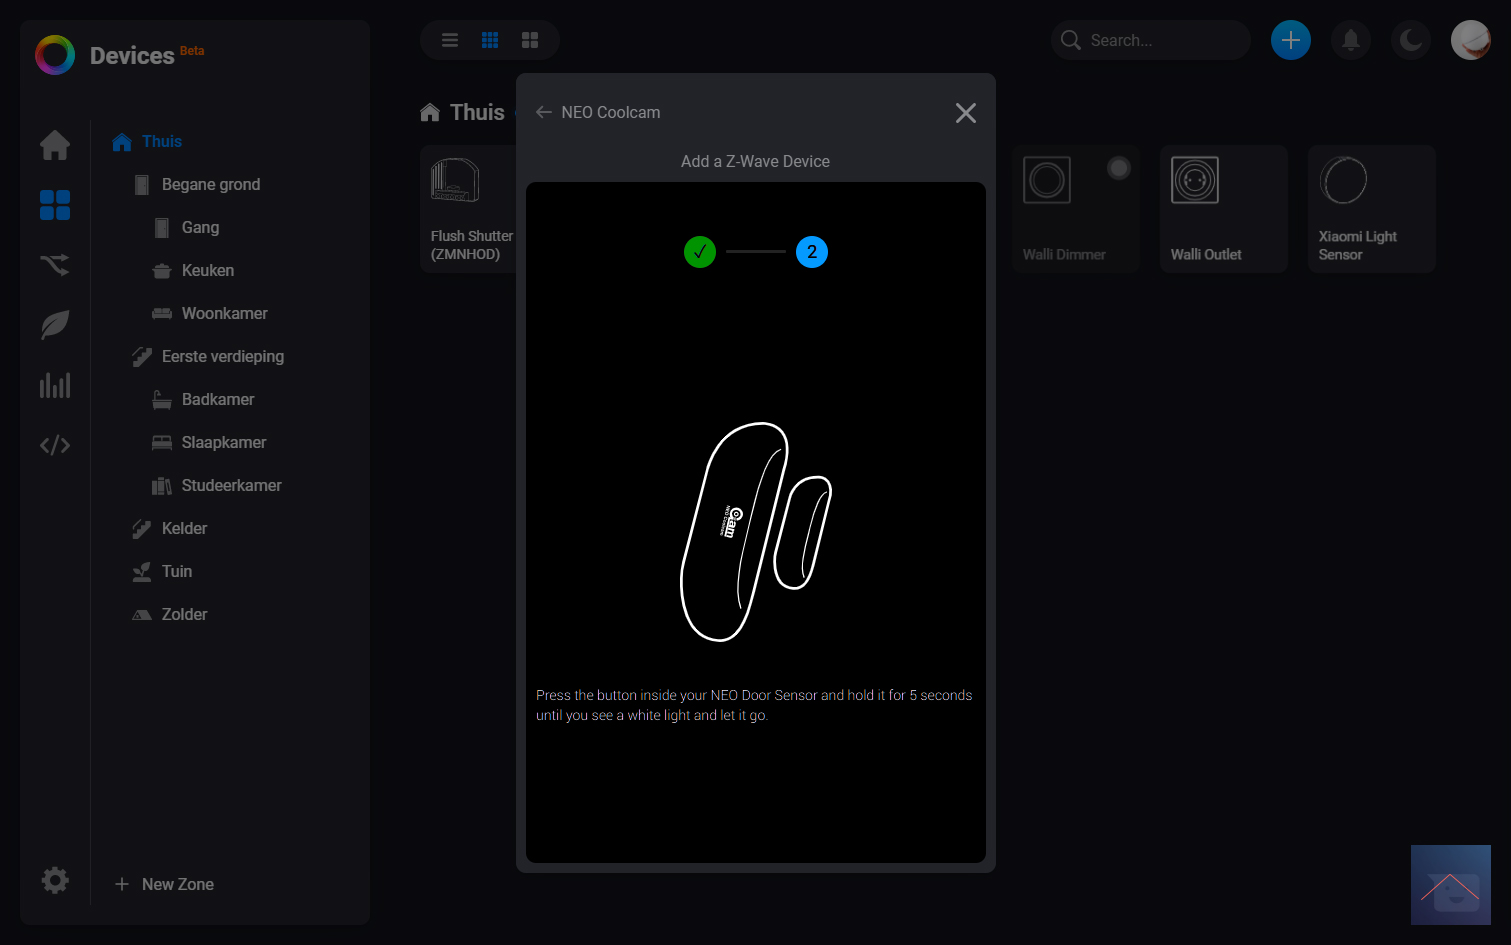
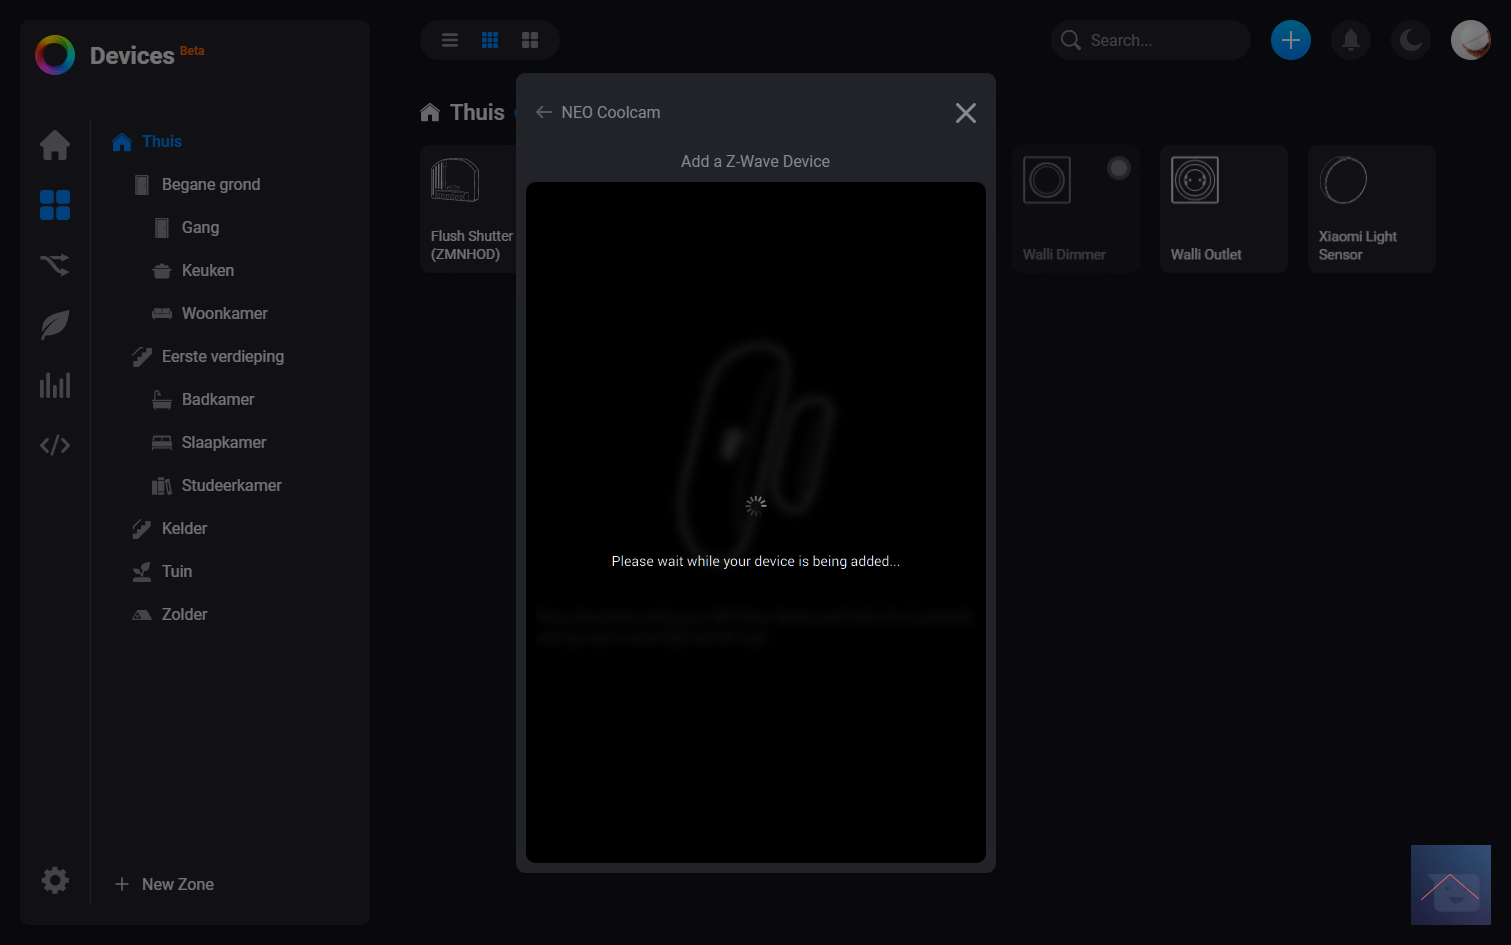
To install it, go to my.homey.app (or you use the APP) and click on the plus at the top right. Now you search for Neo Coolcam and click on Doorsensor v2. Now we need to remove the tab by the battery and hold the add button for 5 seconds until the LED turns white. When I release it I see the LED flashing red and the Homey indicates that it has been deleted/reset. Now we have to hold the button again for 5 seconds. After releasing I see the LED now flashing blue indicating that it is being added and I also see this confirmed on the Homey.
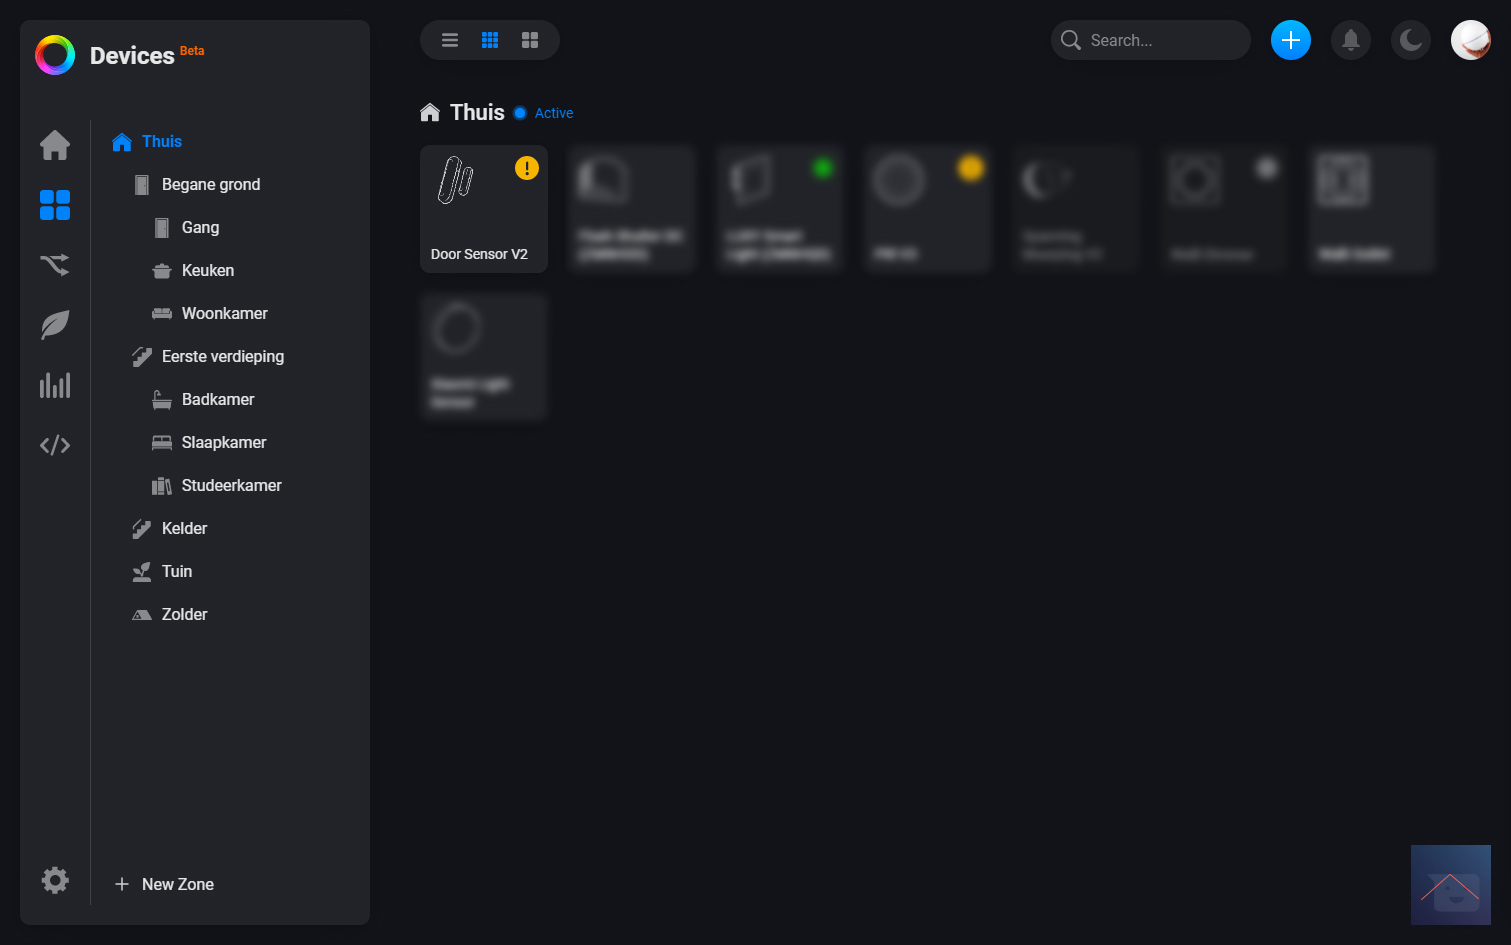
After a few seconds I see the sensor with my devices and it does what it's supposed to do. Now I can install the sensor in its final location. Make sure that the distance between the sensor and the magnet is no more than 2 cm apart.
A few more tips make sure you are close to the Homey and press the right button to add. This is in the top right and not on the left (this is the tamper button).
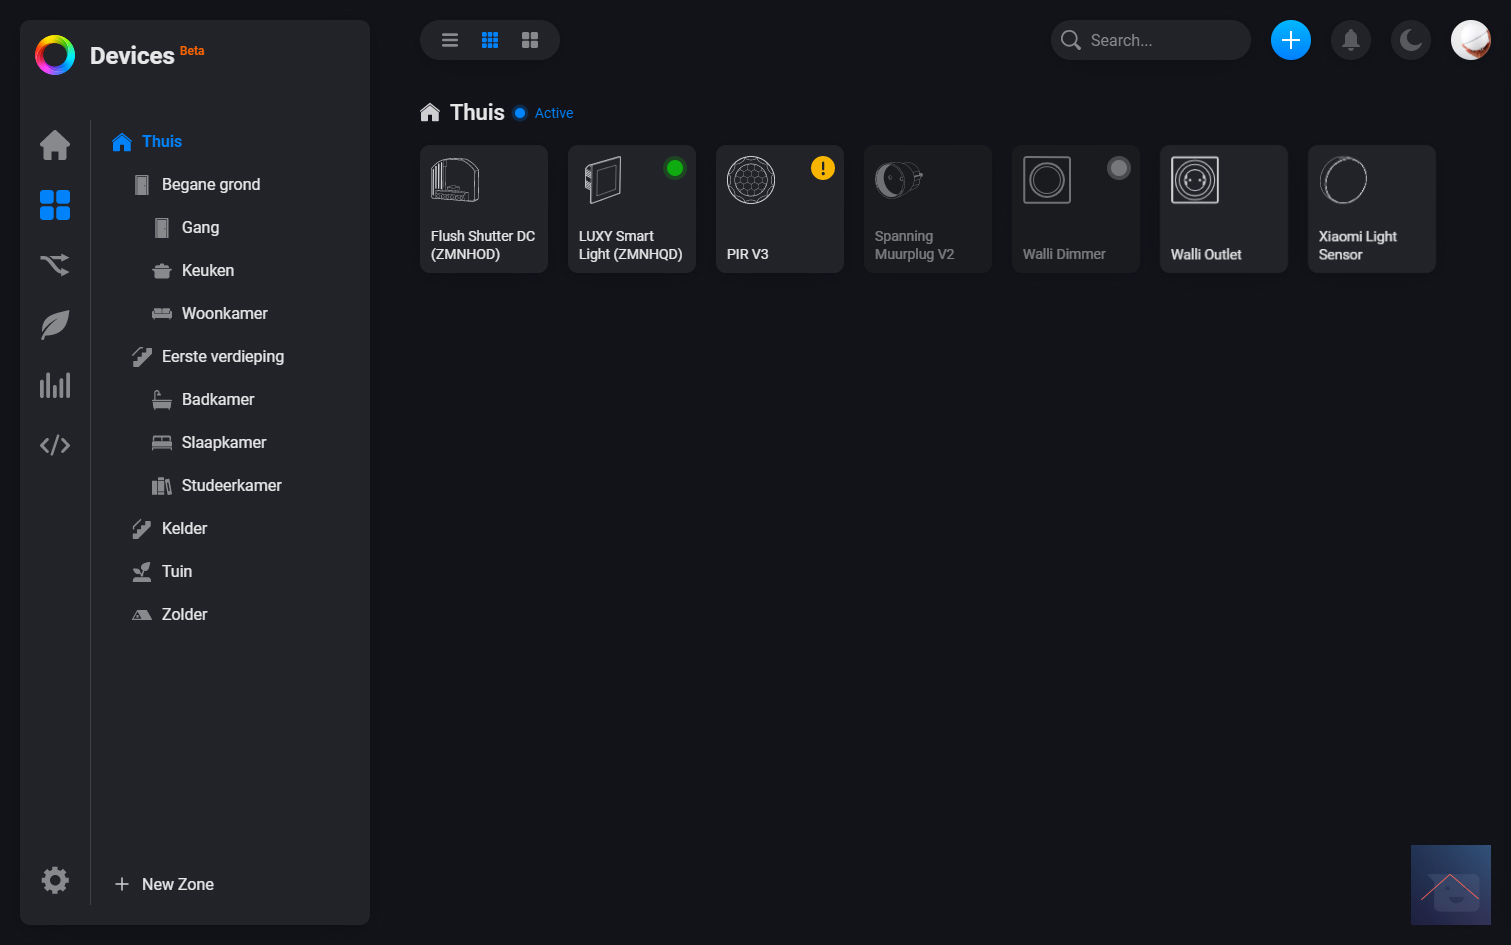
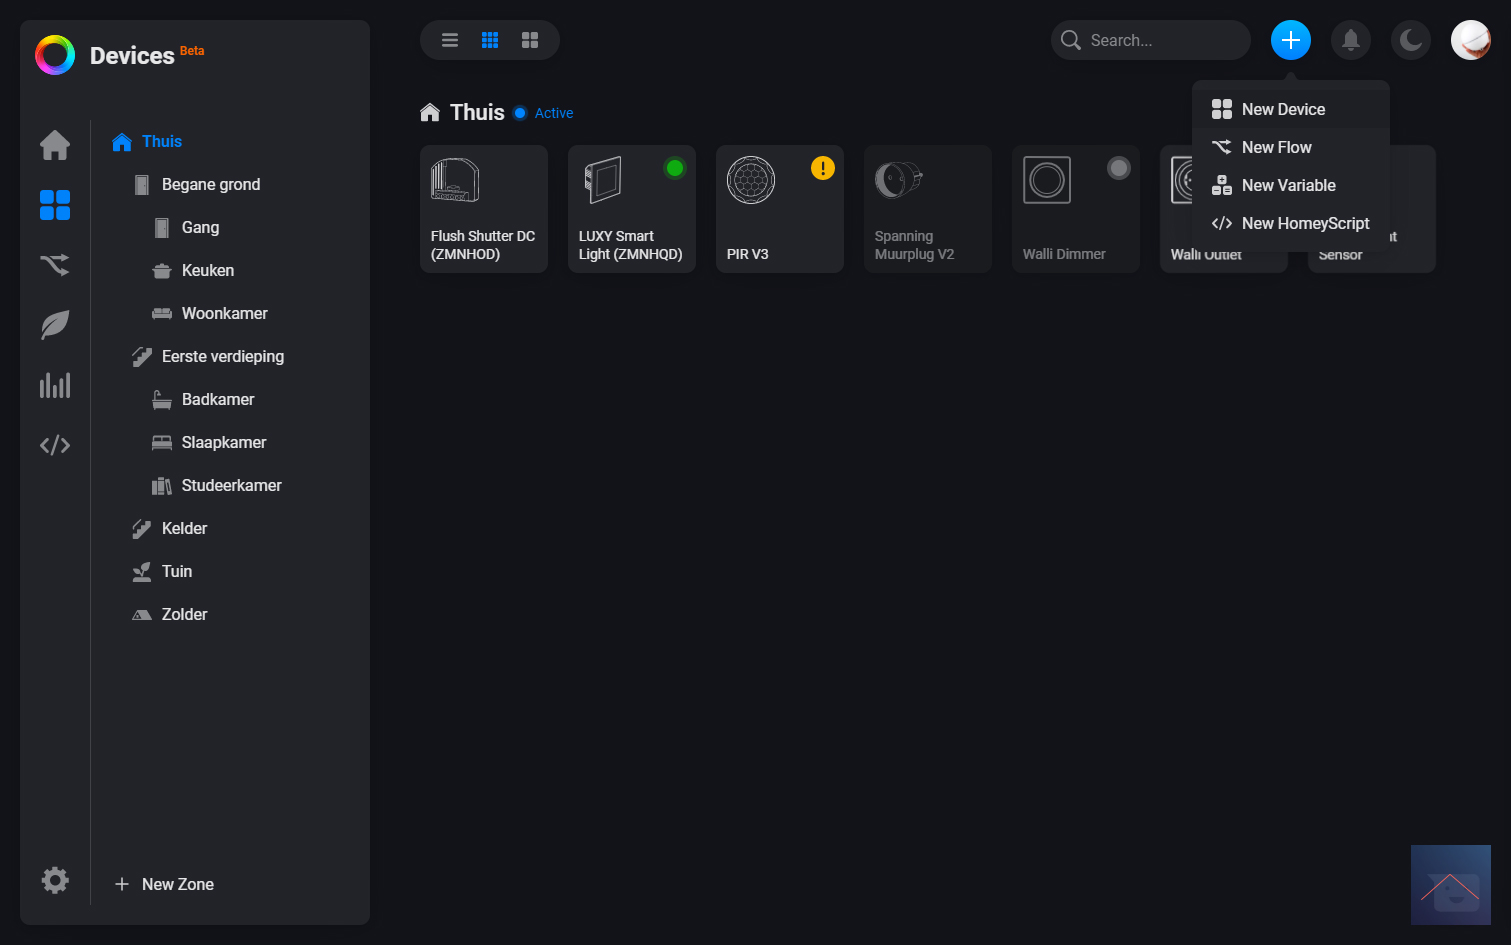
Installation screens:
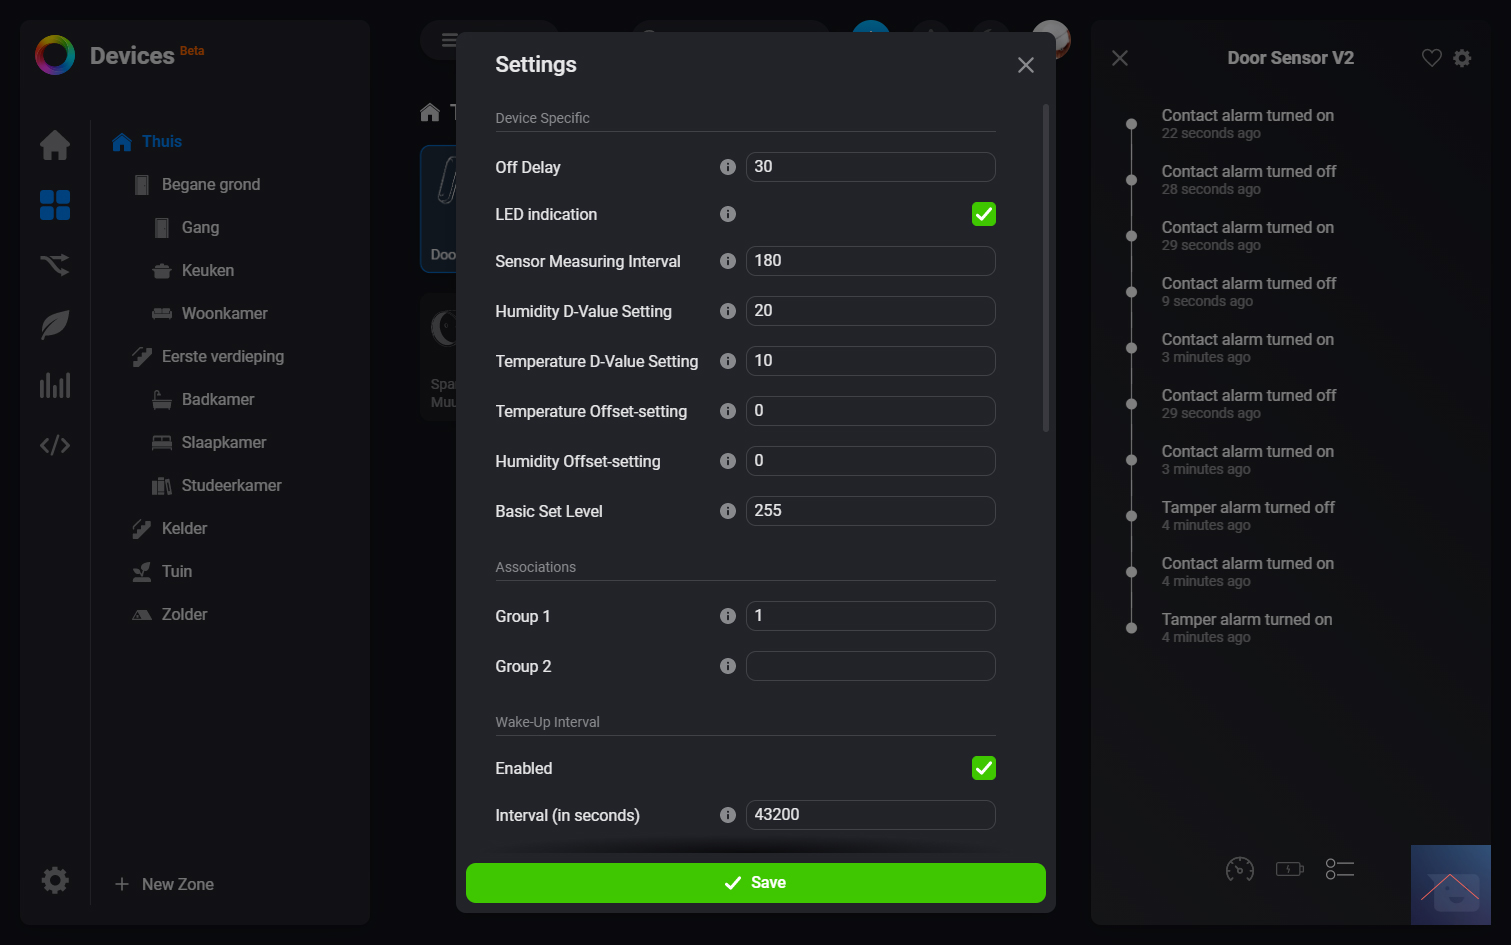
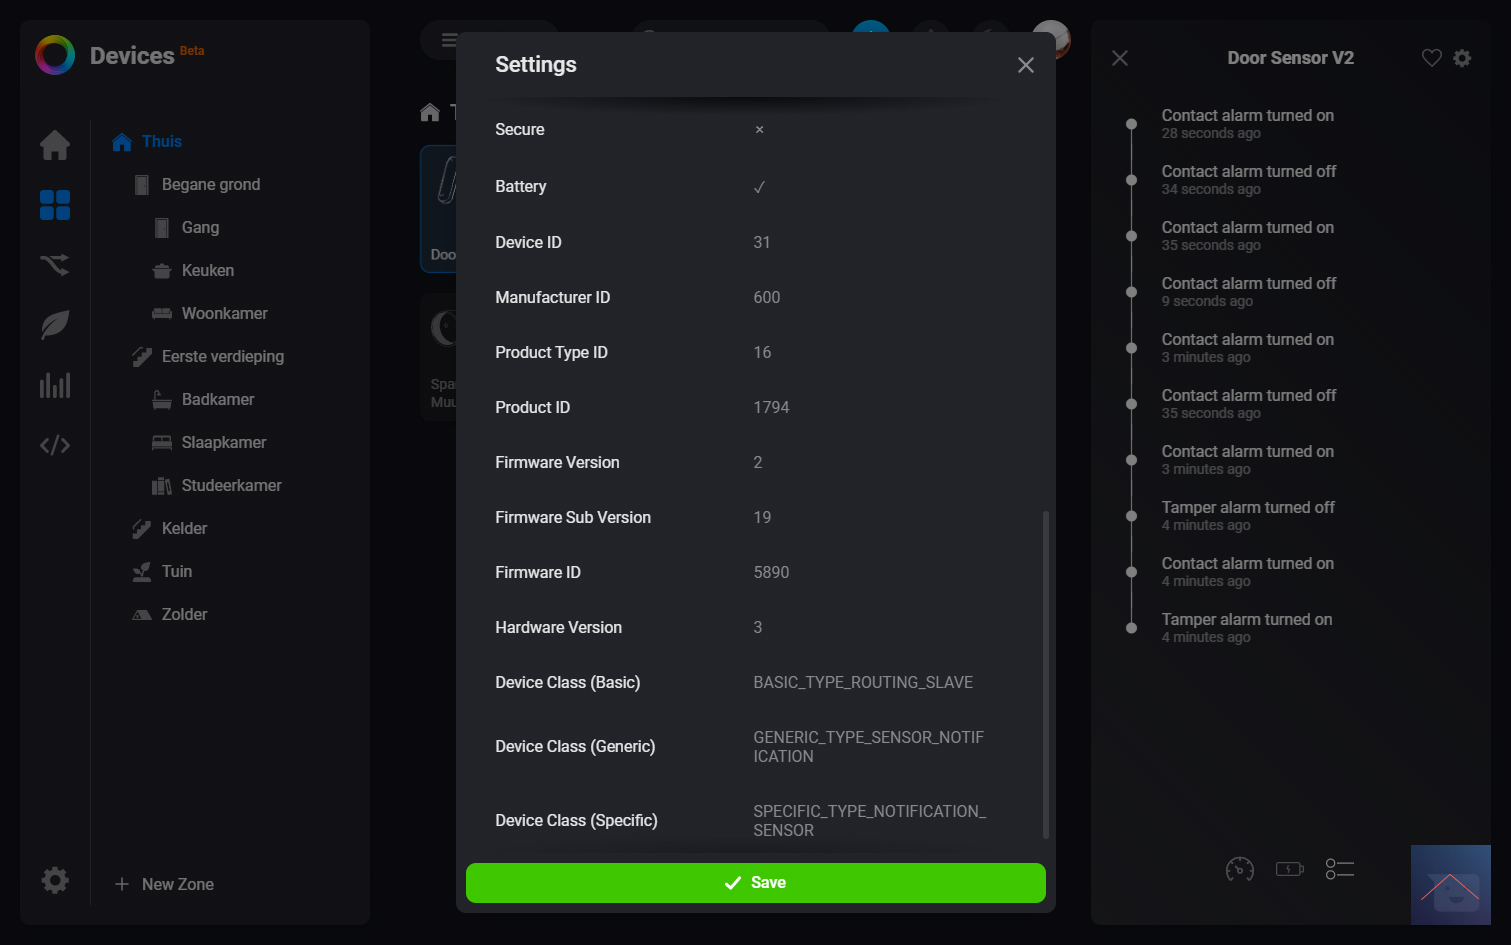
Configuration:
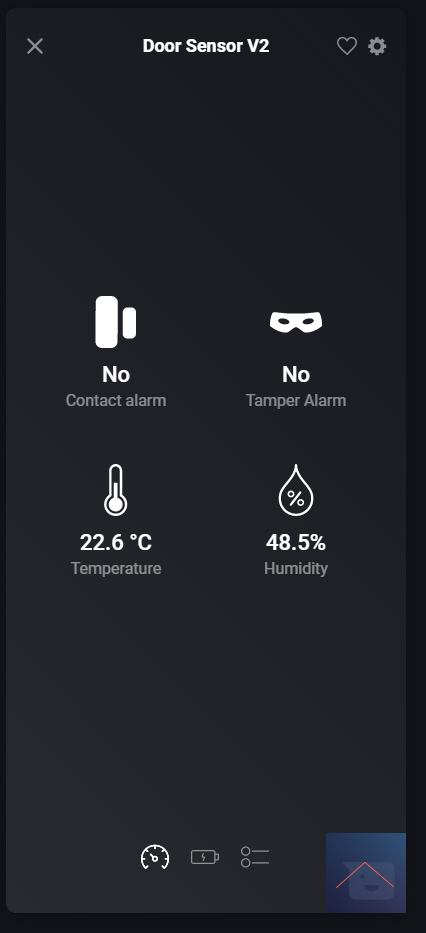
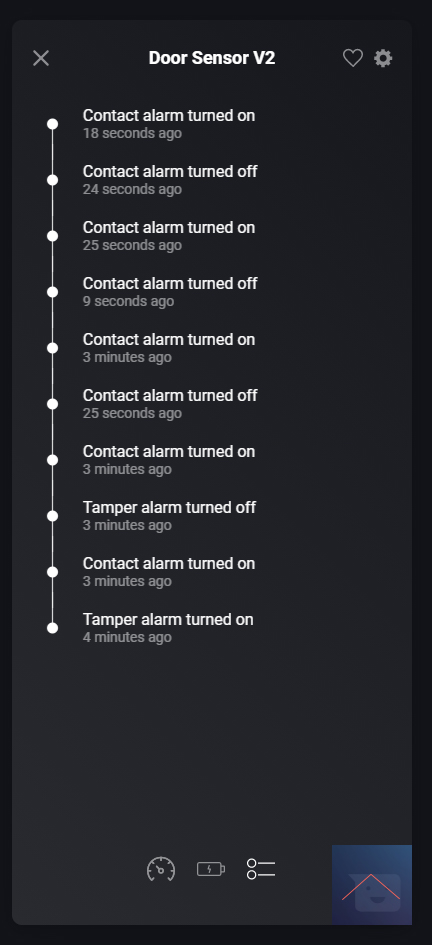
Operation:
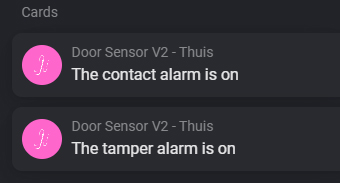
I get a door/window, temperature and humidity sensor. It is noticeable that the sensor reacts very quickly.

Flow options:
The following options are available to you to create a flow:
IF:
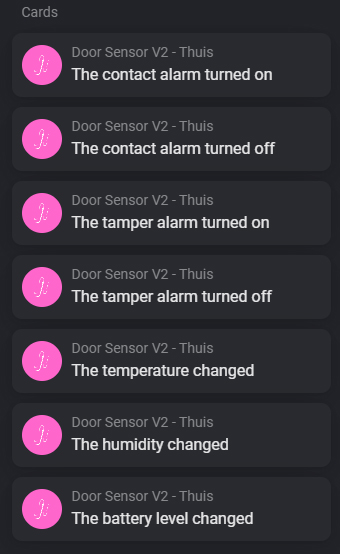
AND:
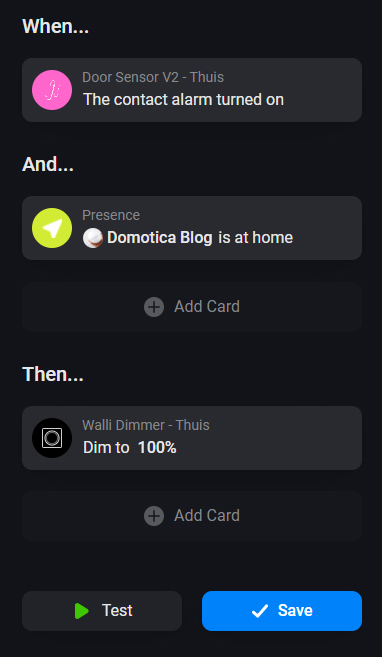
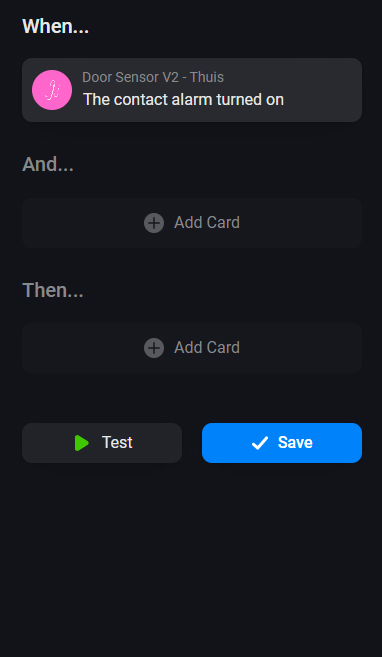
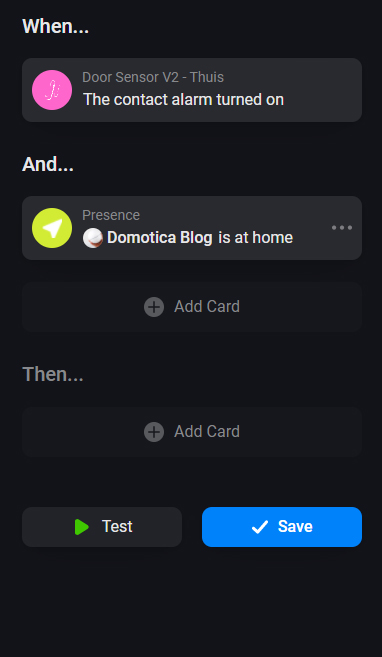
Flow example:
We create a flow that when the front door opens and I'm home, the lamp in the hall turns on.
IF:
AND:
THEN: