Review:
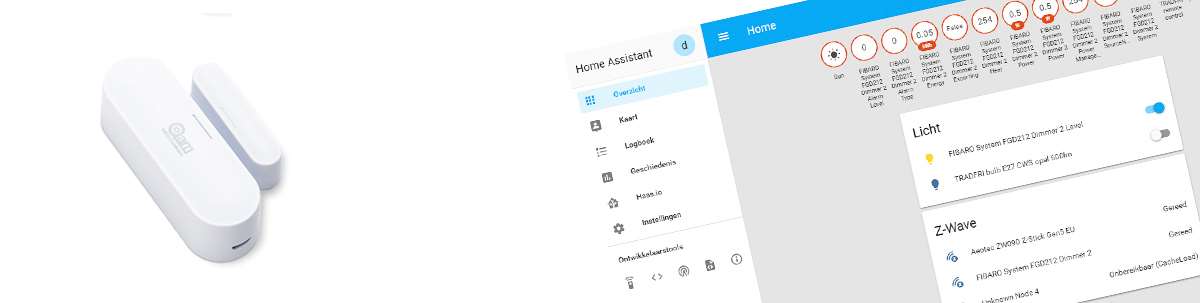
Neo Coolcam Door sensor
Installation on Home Assistant (HASS):
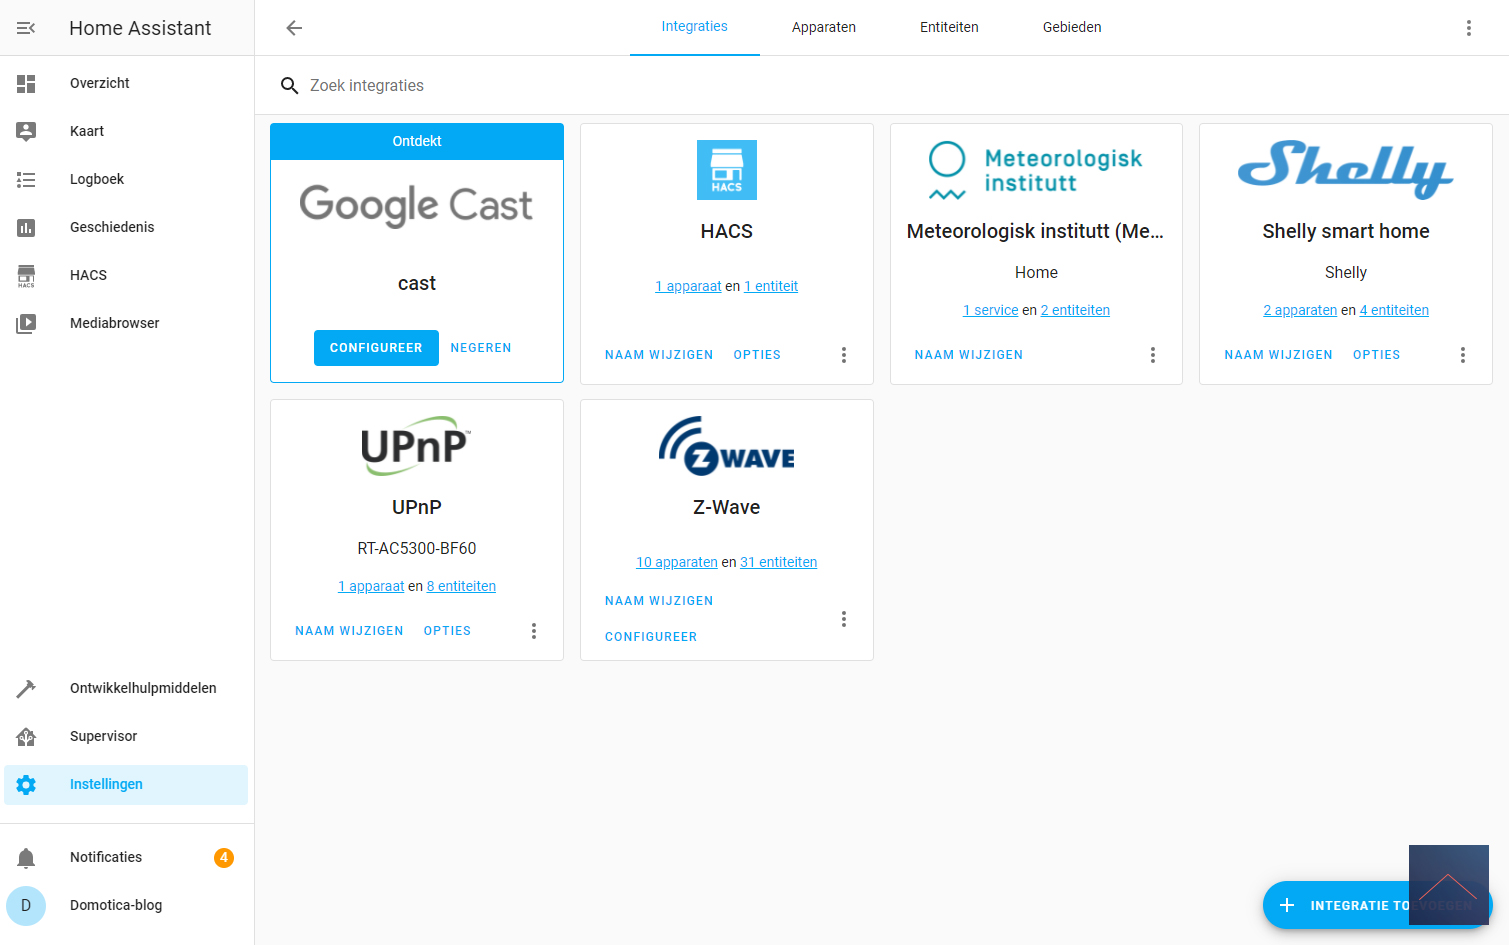
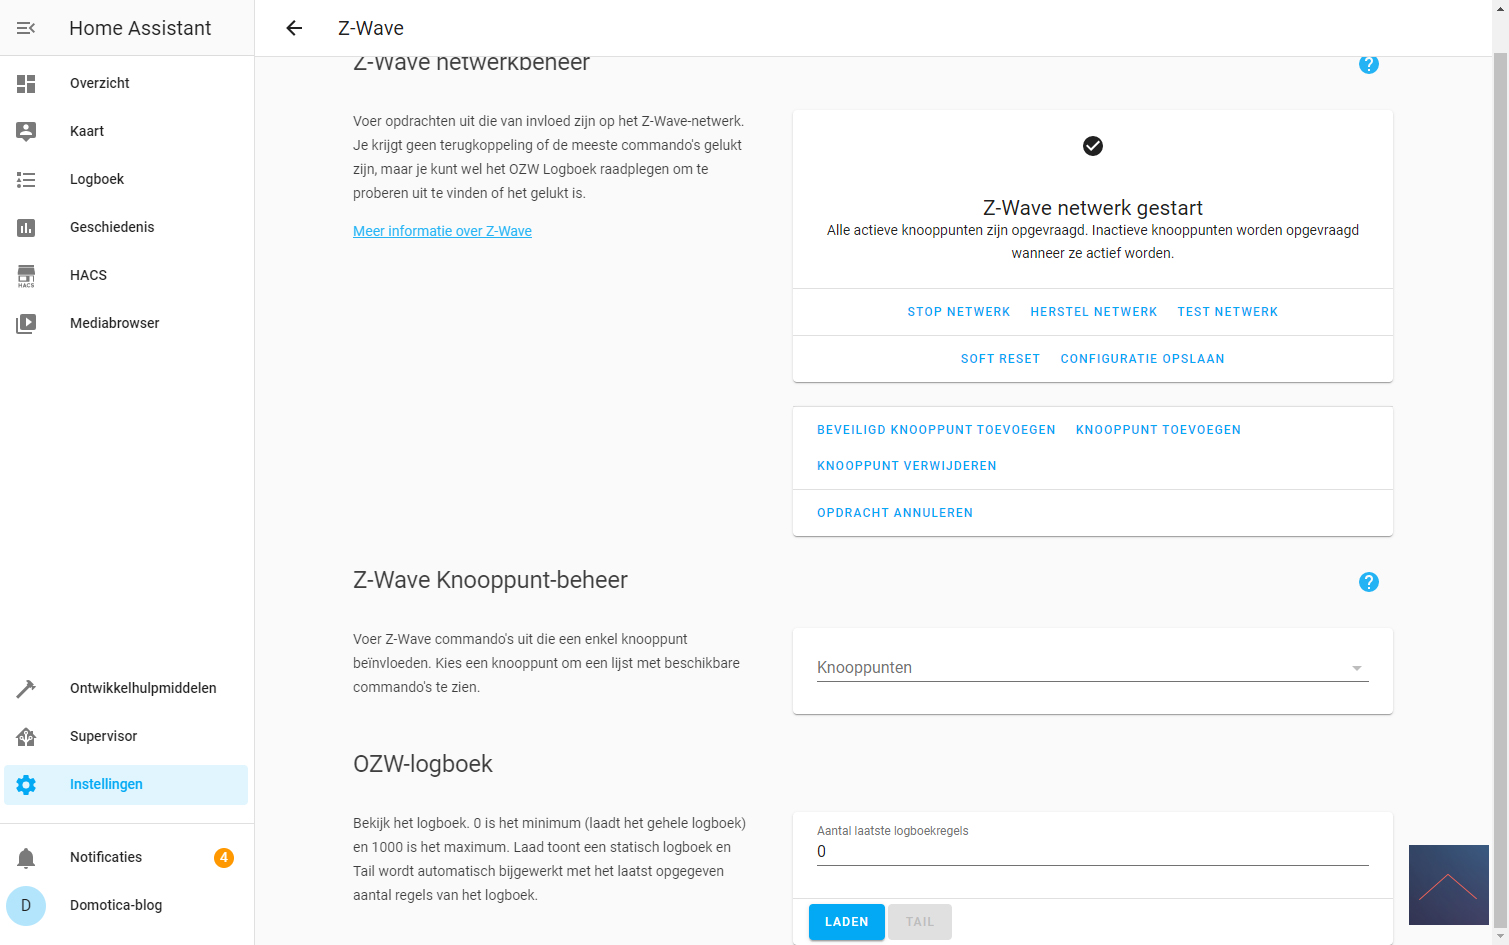
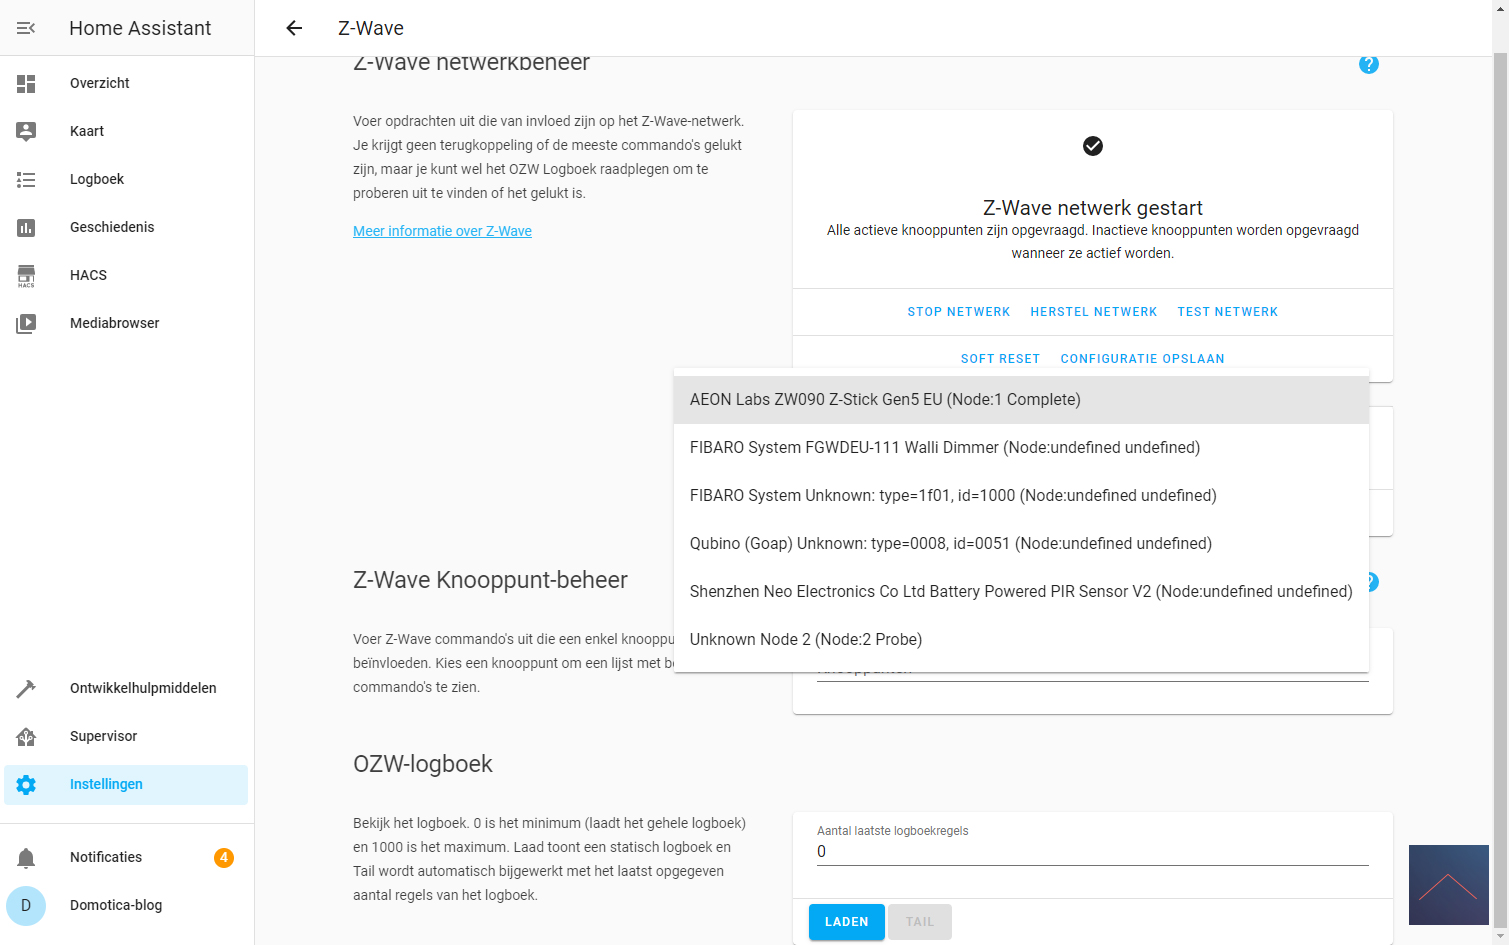
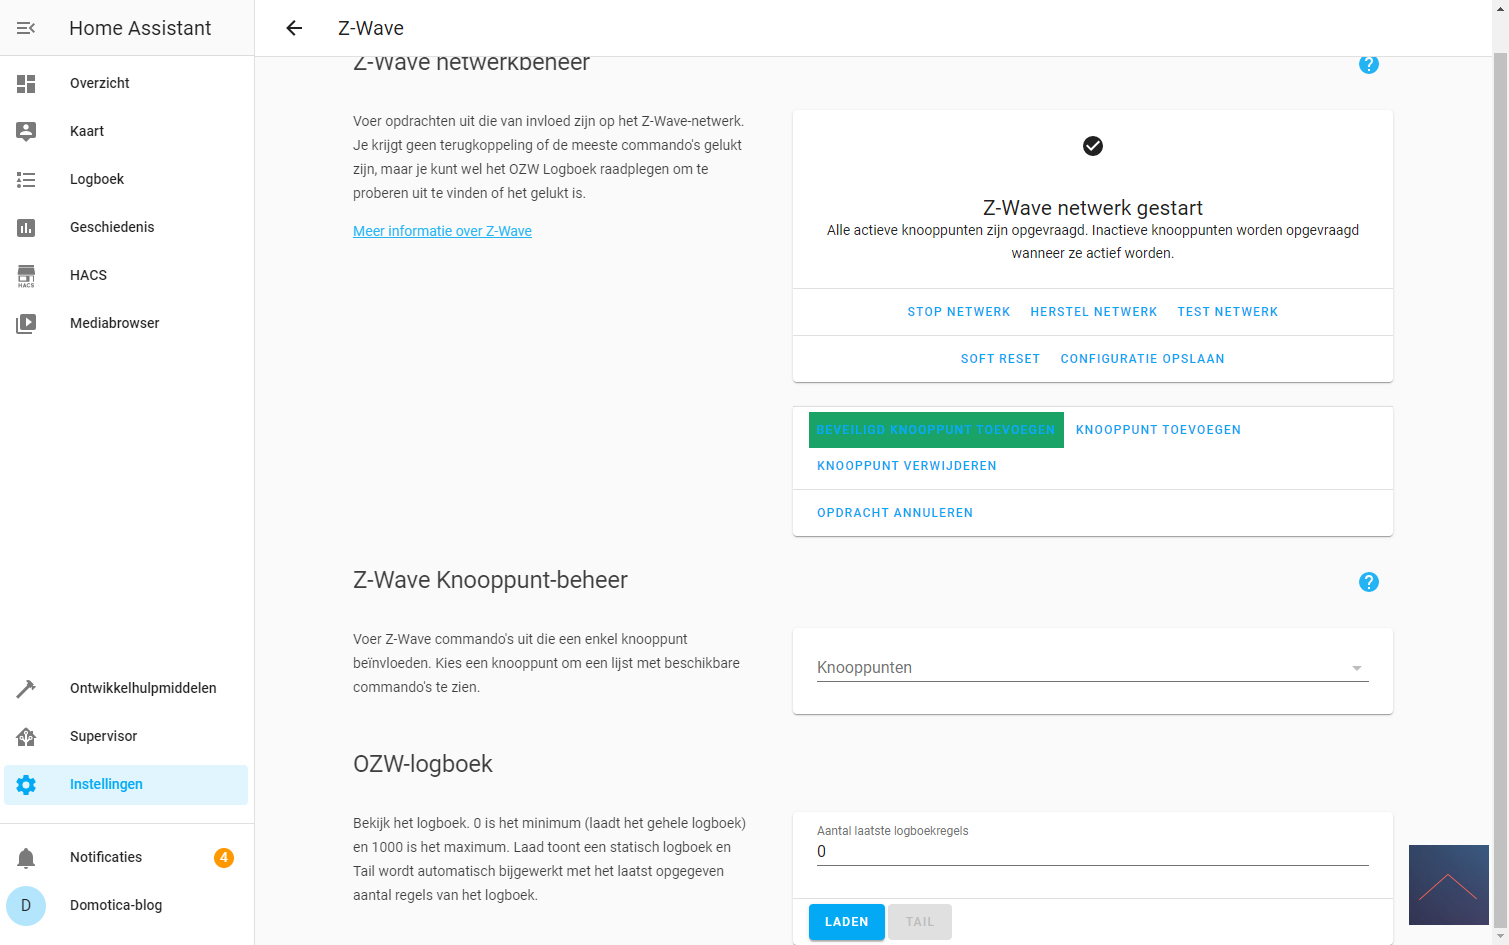
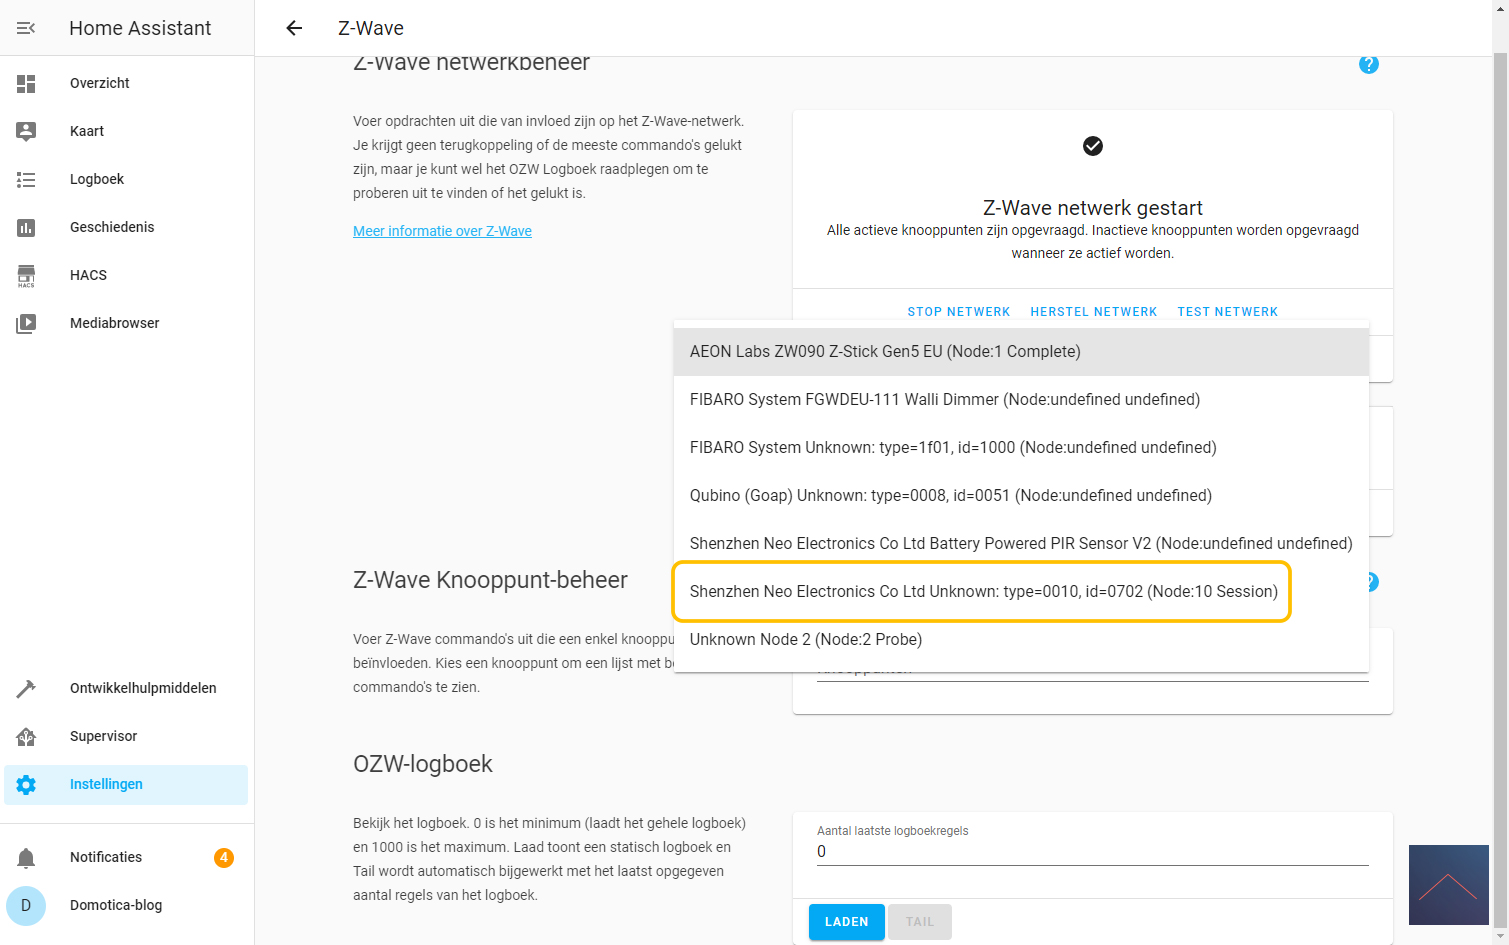
The last controller is HASS's turn. I use the Aeon Labs Z-Wave USB stick to add it. You can start adding it by going to the configuration and then clicking on Z-Wave. Then click on "add node secure" to start adding. HASS gives a very short message that the adding has started.
After this you have to make sure that the add mode is started on the sensor. You can do this by removing the cap and the tab near the battery. Then we press the add button for 5 seconds until the LED lights up white. The LED will then flash blue to indicate that the addition was successful.
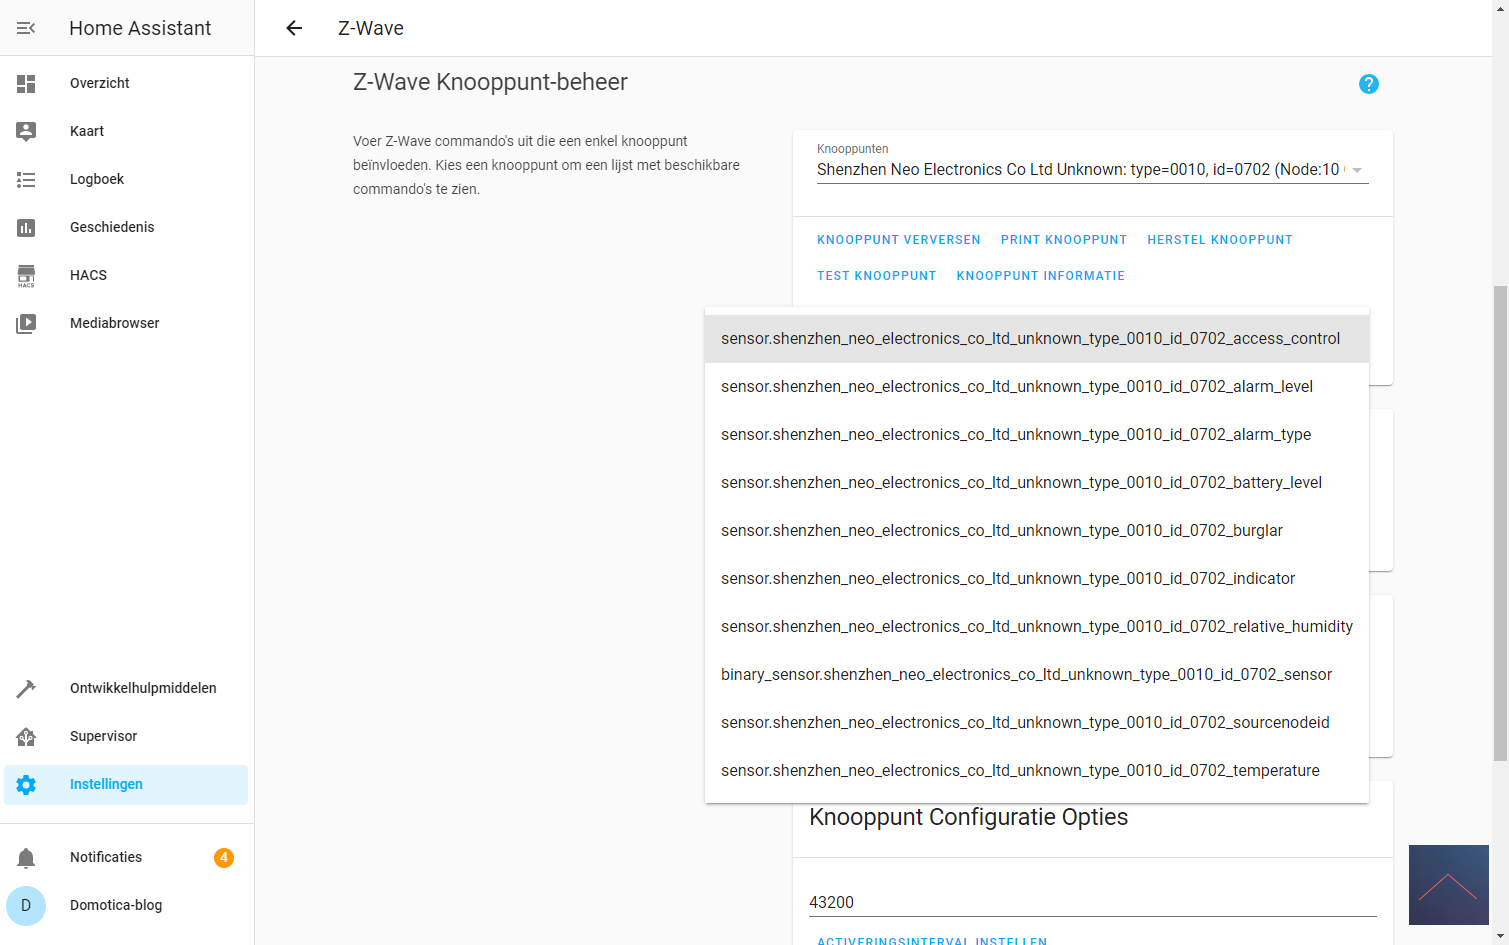
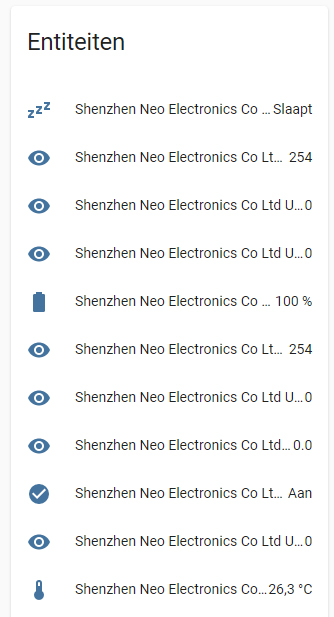
When I look at my identities I see it indeed appear, so adding it was successful. There is no "device configuration" present but this can also be added manually (see later in this article). Now I can install the sensor in its final location. Make sure that the distance between the sensor and the magnet is no more than 2 cm apart.
Installation screens:
Operation:
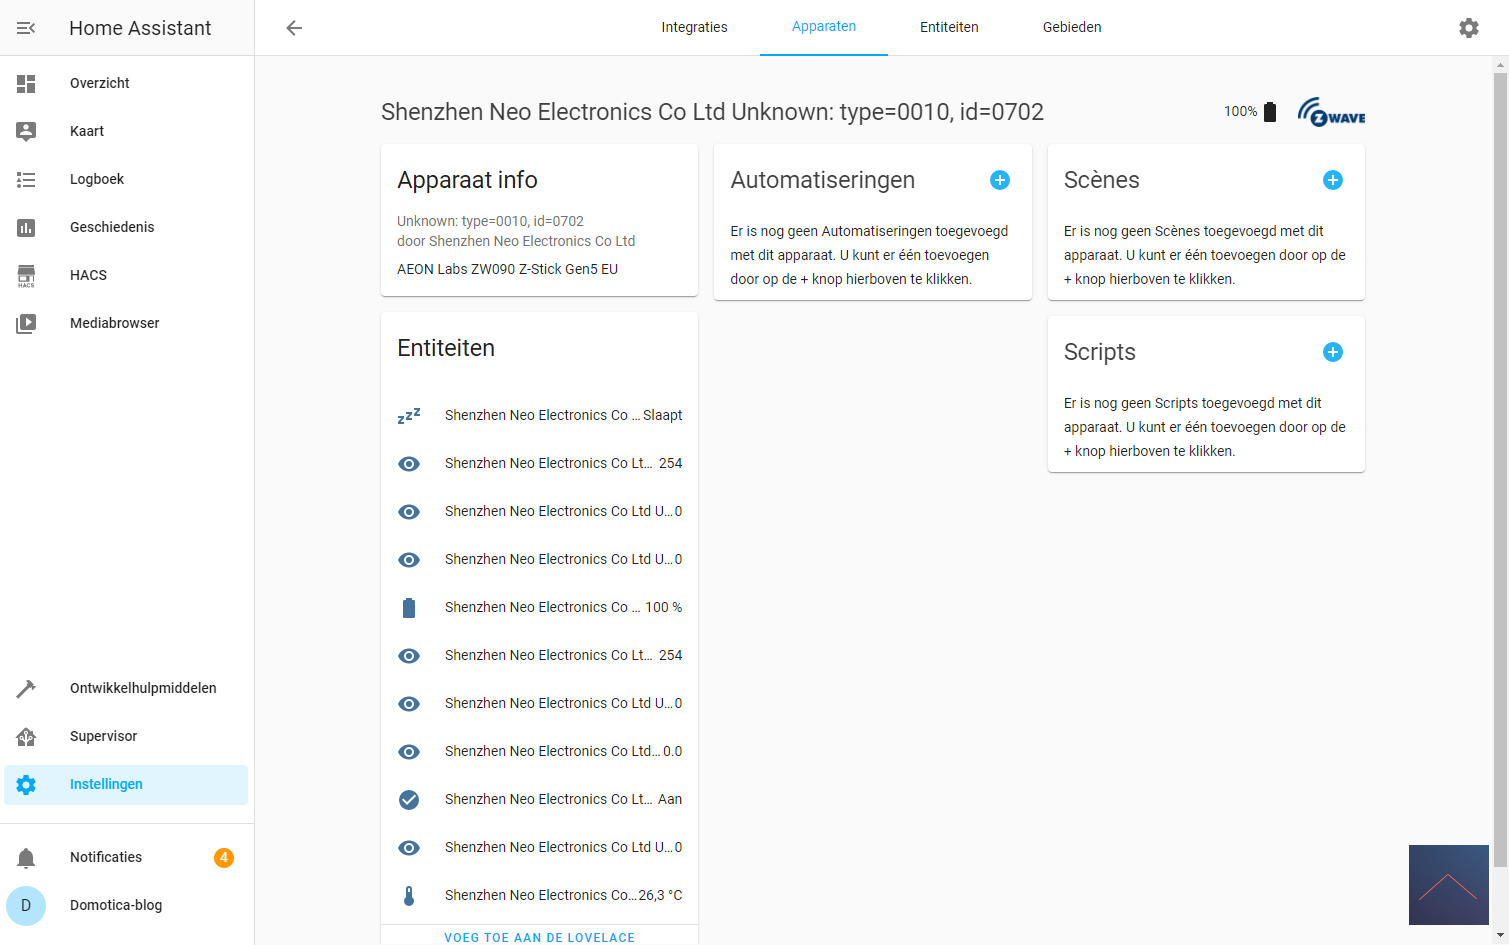
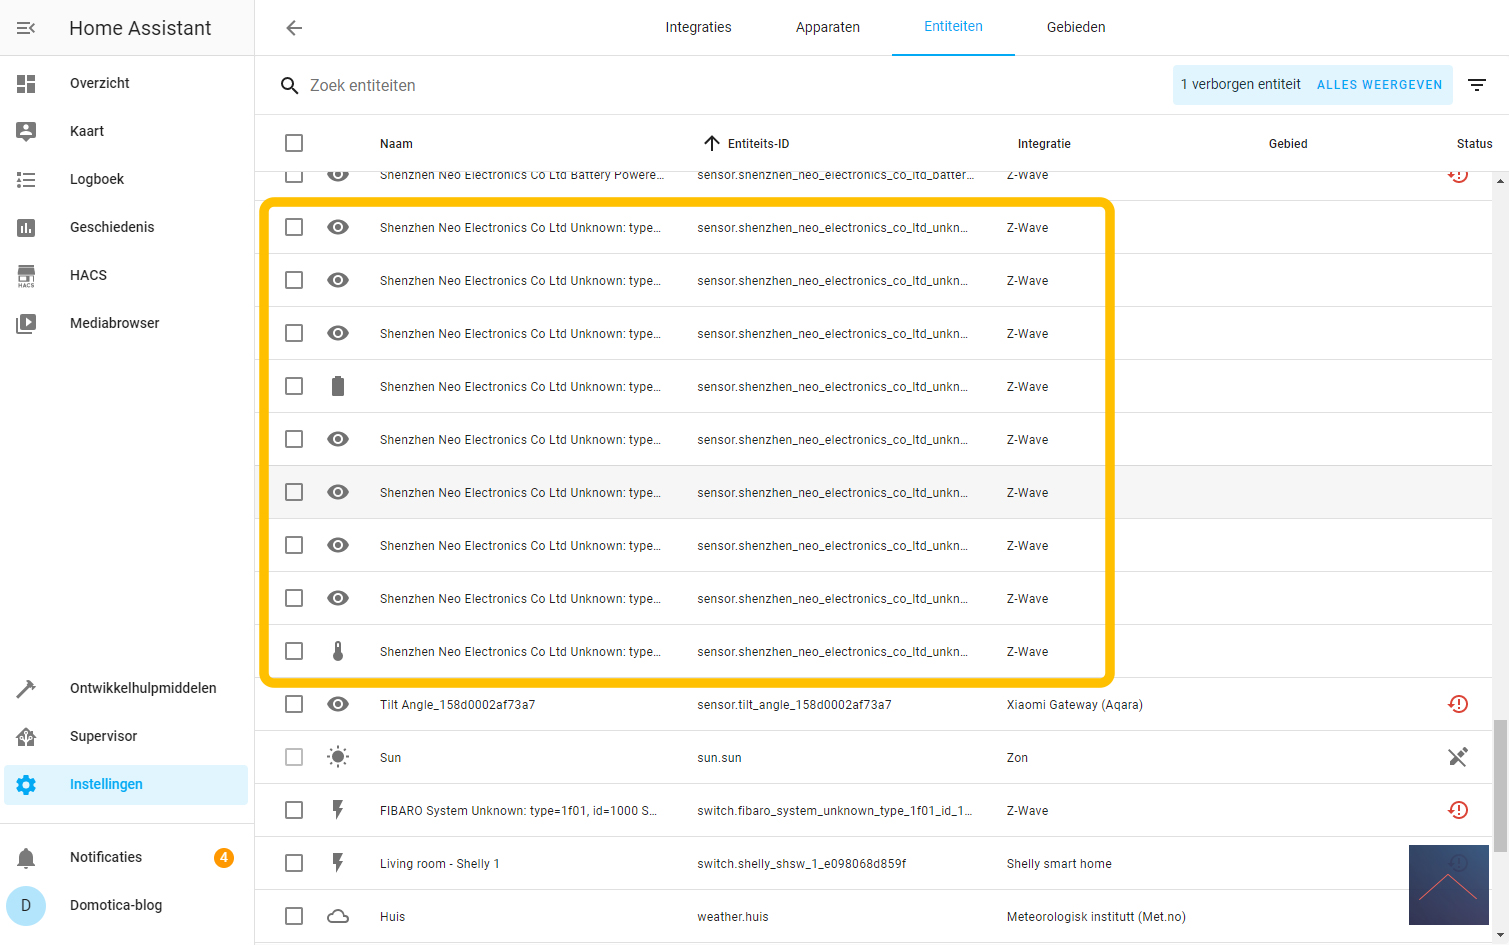
I get a door/window, temperature and humidity sensor. It strikes me that the door/window sensor does not indicate open or closed but 22 for open and 23 for closed. You can also create a custom template for this. See here for an explanation.
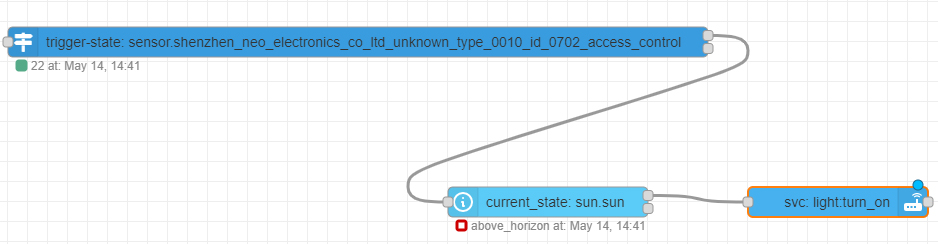
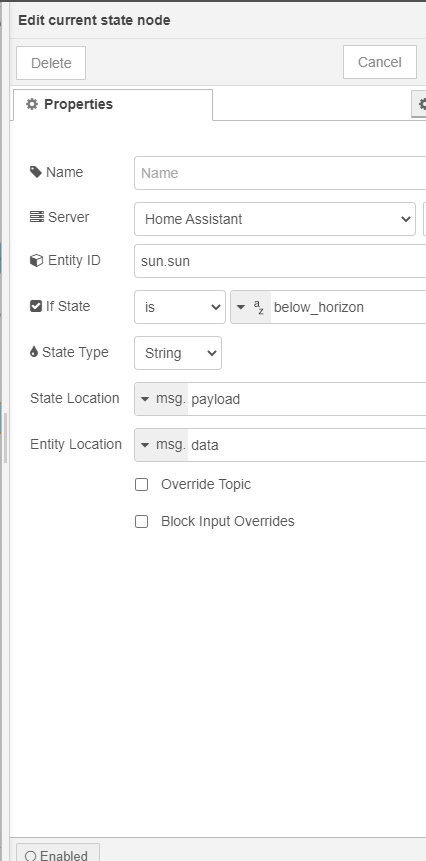
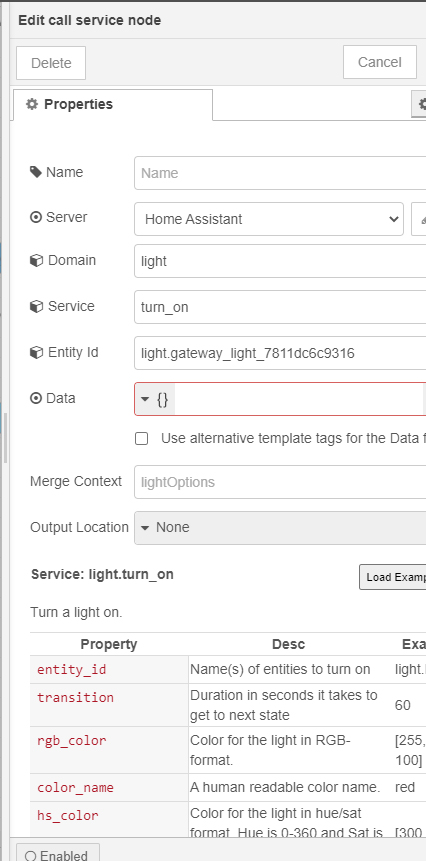
Example flow:
As an example, let's say that when the door opens and the sun has set, the Wallie dimmer is switched on.