Review:
Eco-DIM.10 - Smart LED Dimmer Module - Z-Wave

Installation via the Homey:
The first smart home controller on which we will test the Eco-DIM is the Homey. This hub supports Z-wave so adding it shouldn't be too difficult.
We first make sure that we get the power from the current wall switch and then we unscrew it. Then we reconnect the Eco-DIM. You can use the supplied schedule for this. You can connect this dimmer both 2-wire and 3-wire. So without blue (N) wire or with. It is best to use a pulse switch to operate it.
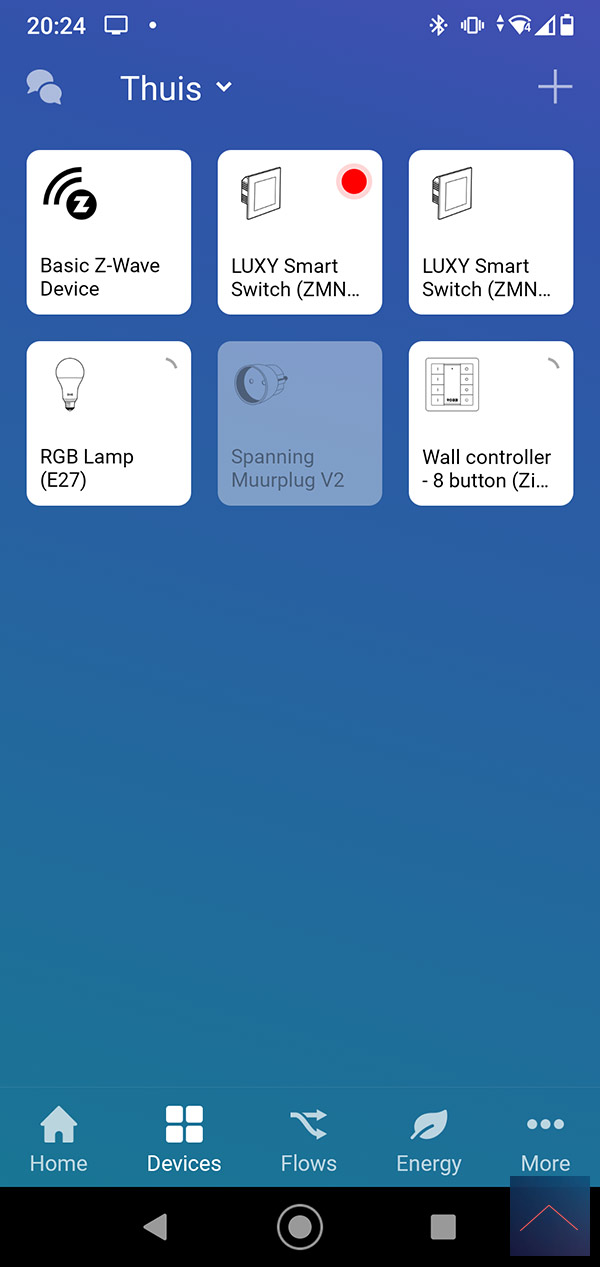
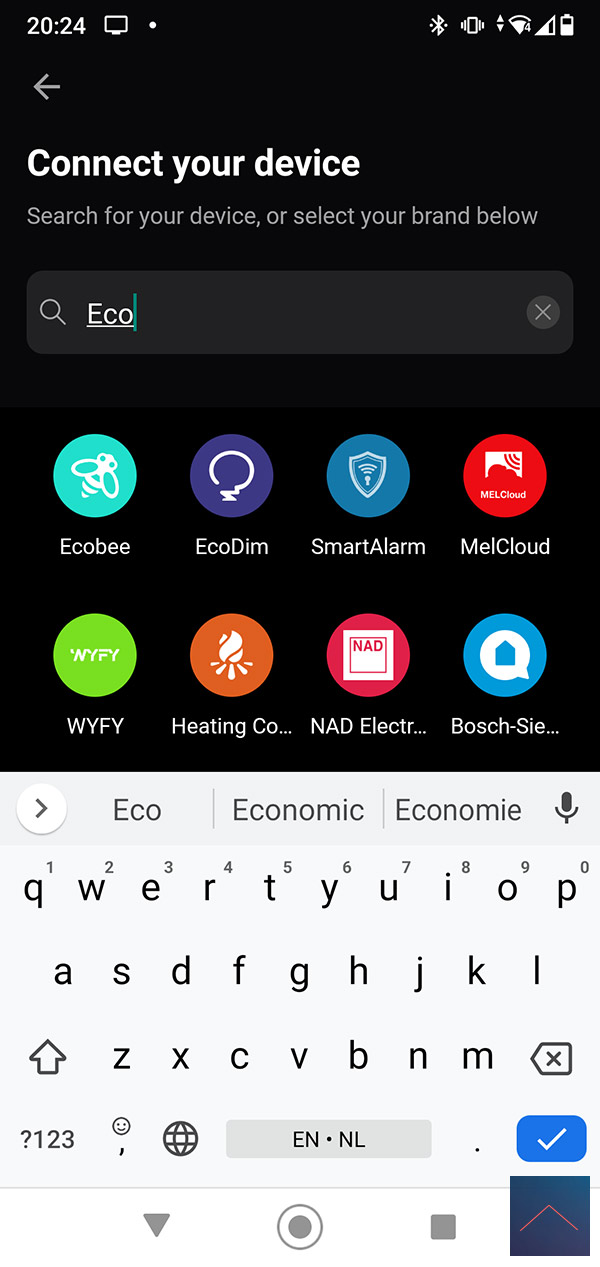
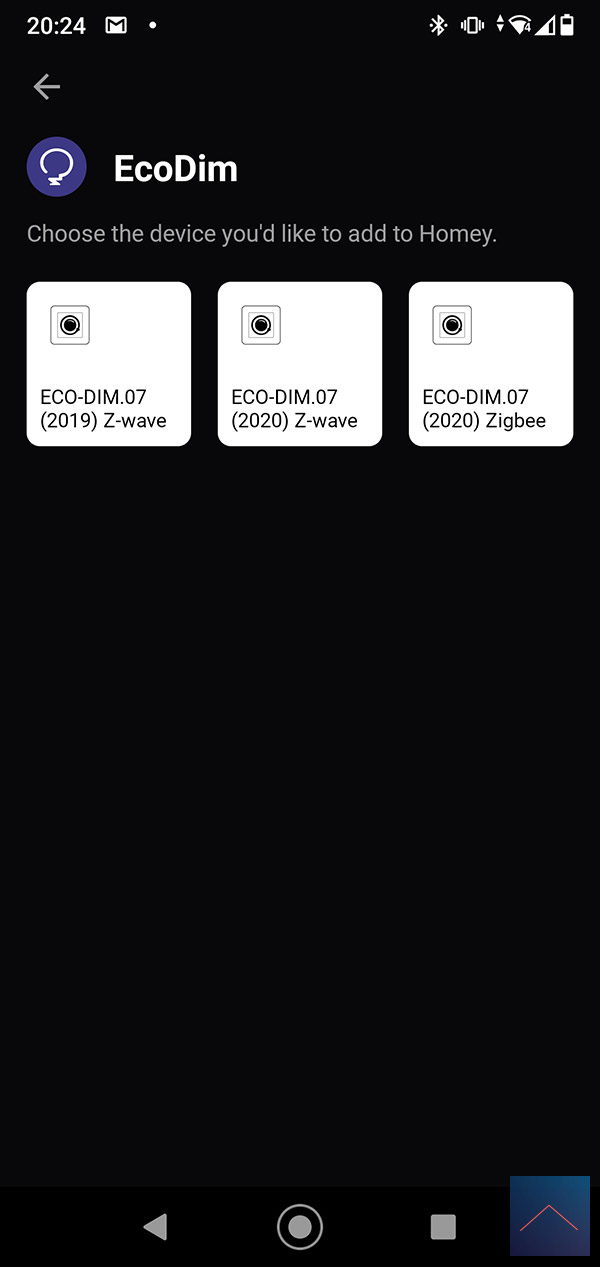
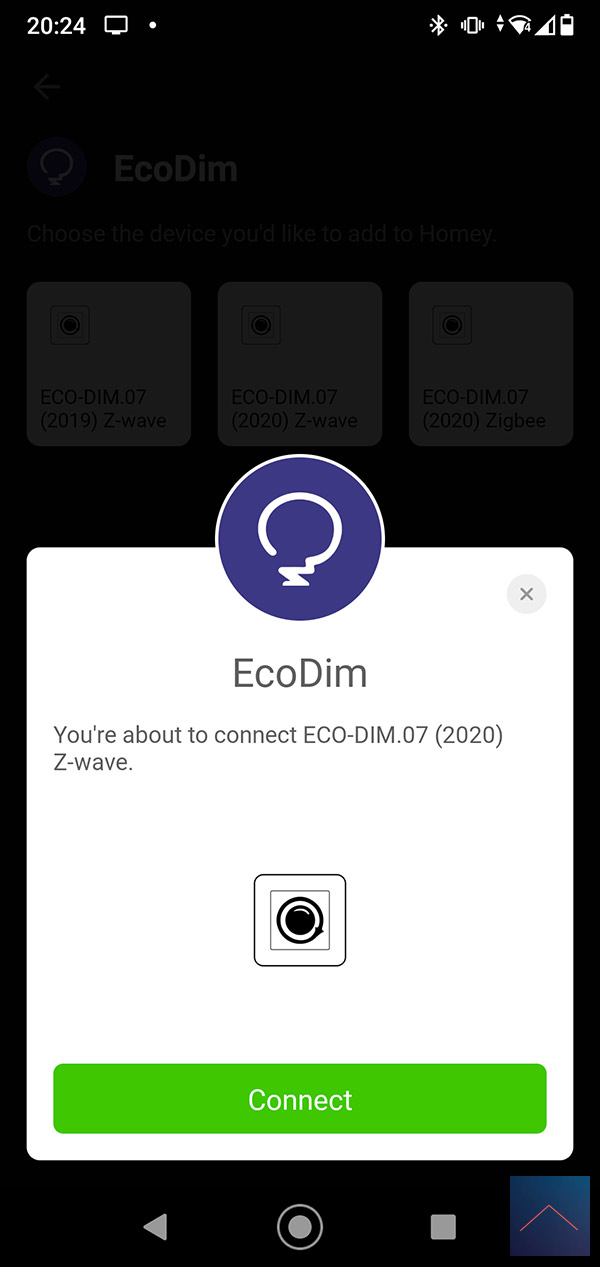
Now we start the Homey APP and go to our devices and press the plus sign. The next step is to locate the Eco-DIM. Unfortunately I don't see a .10 version yet, but this 10 is the same as 07 so we'll try this one.
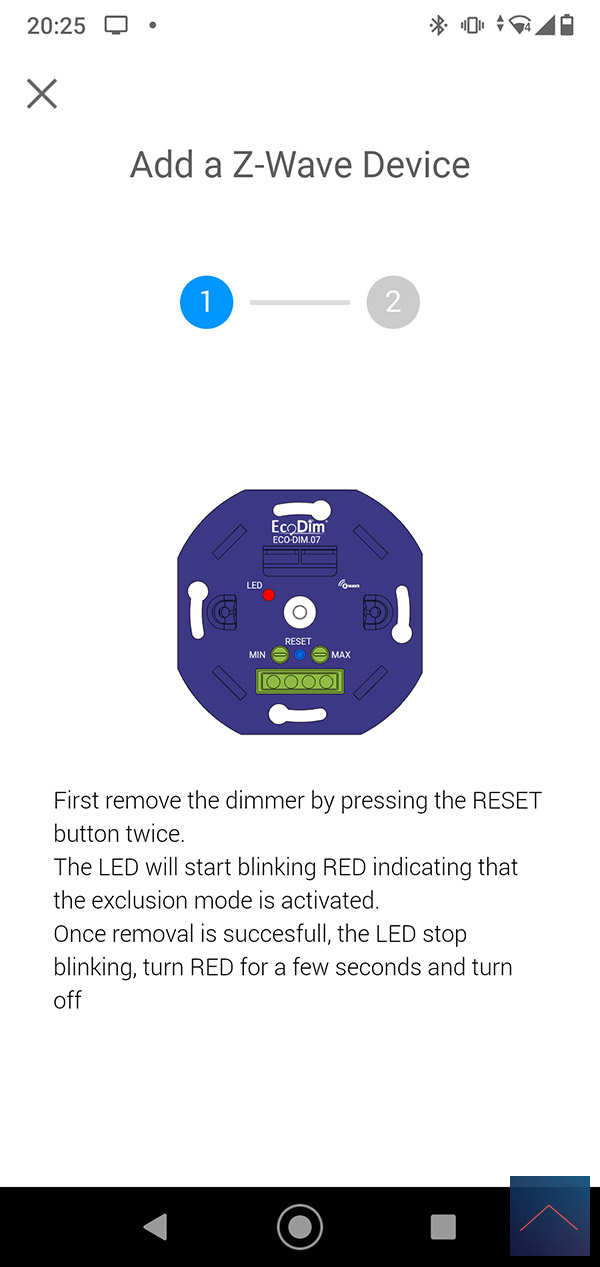
You will then be asked to reset the dimmer, you can do this by pressing the button on the front of the dimmer twice in quick succession. The LED will flash and then for 10 sec. turn blue.
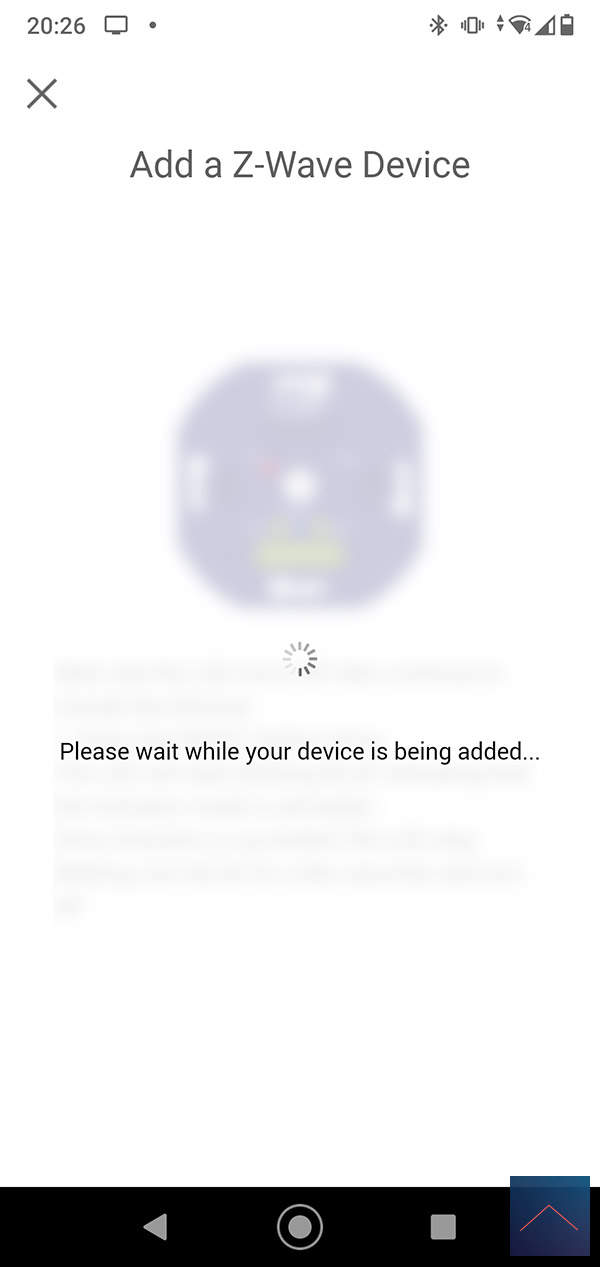
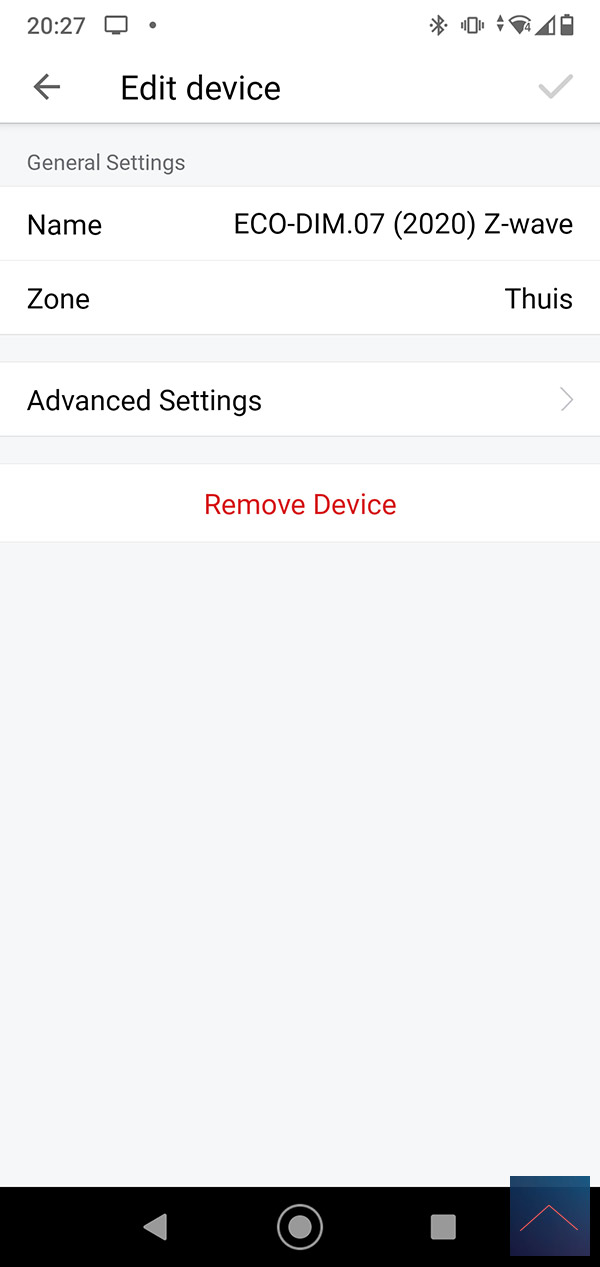
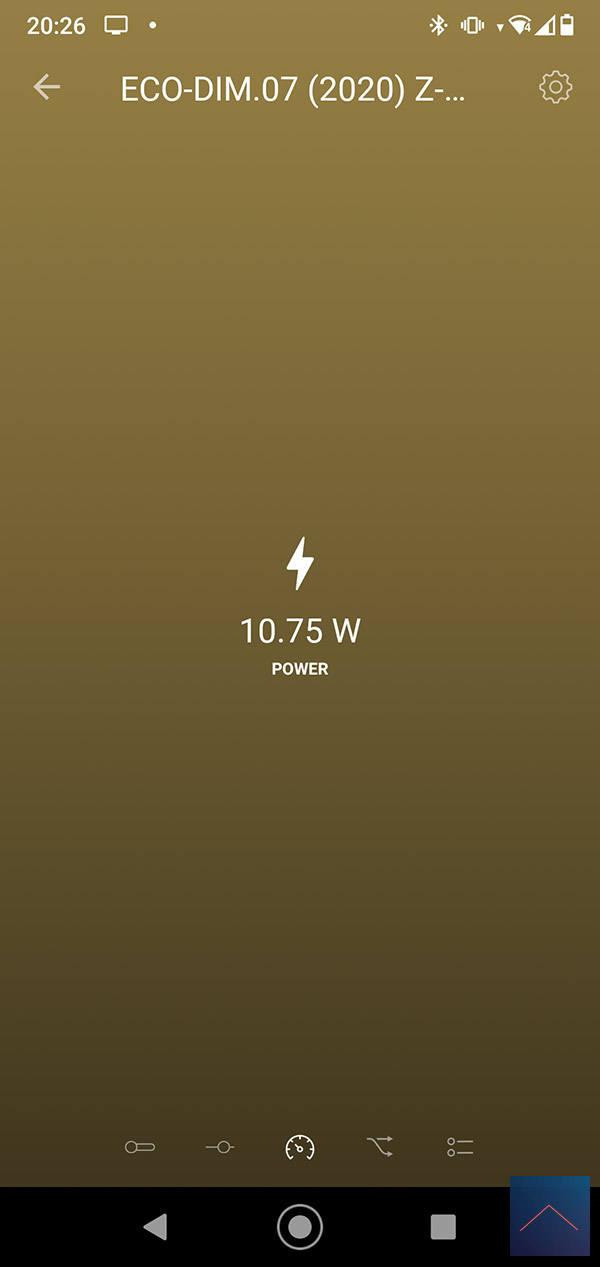
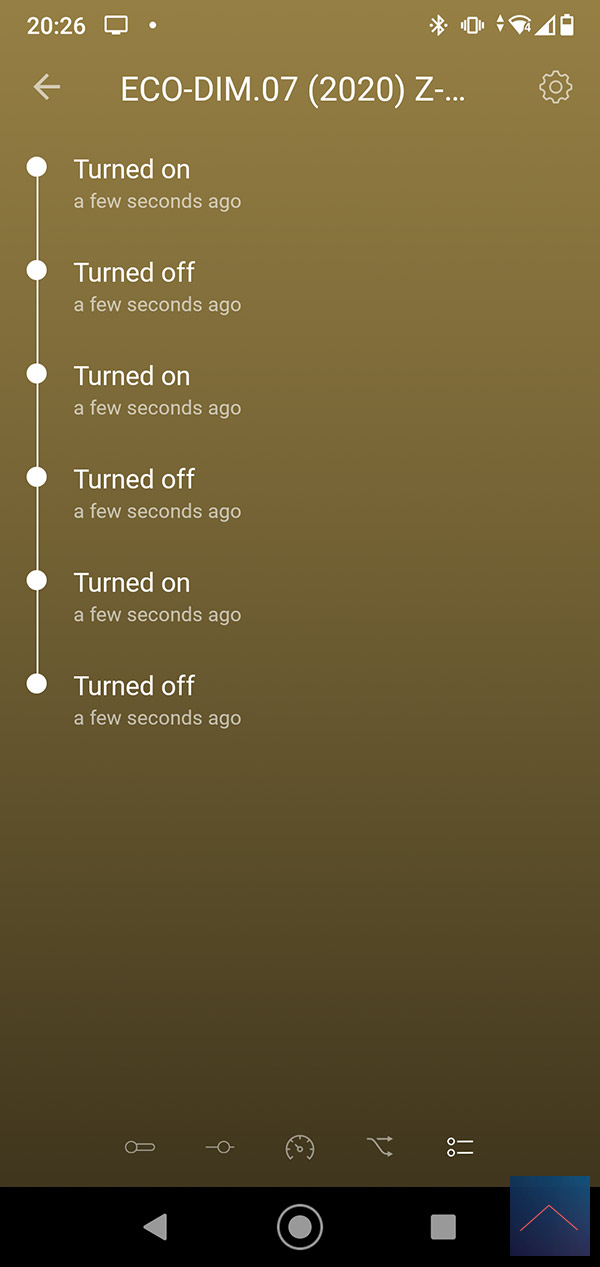
We then repeat this step 1x to really add it. It was neatly found by the Homey and I get an on/off switch, dimmer and I see the total consumption and current consumption.
As a last step, we screw the Eco-DIM back on and mount the cover plate.
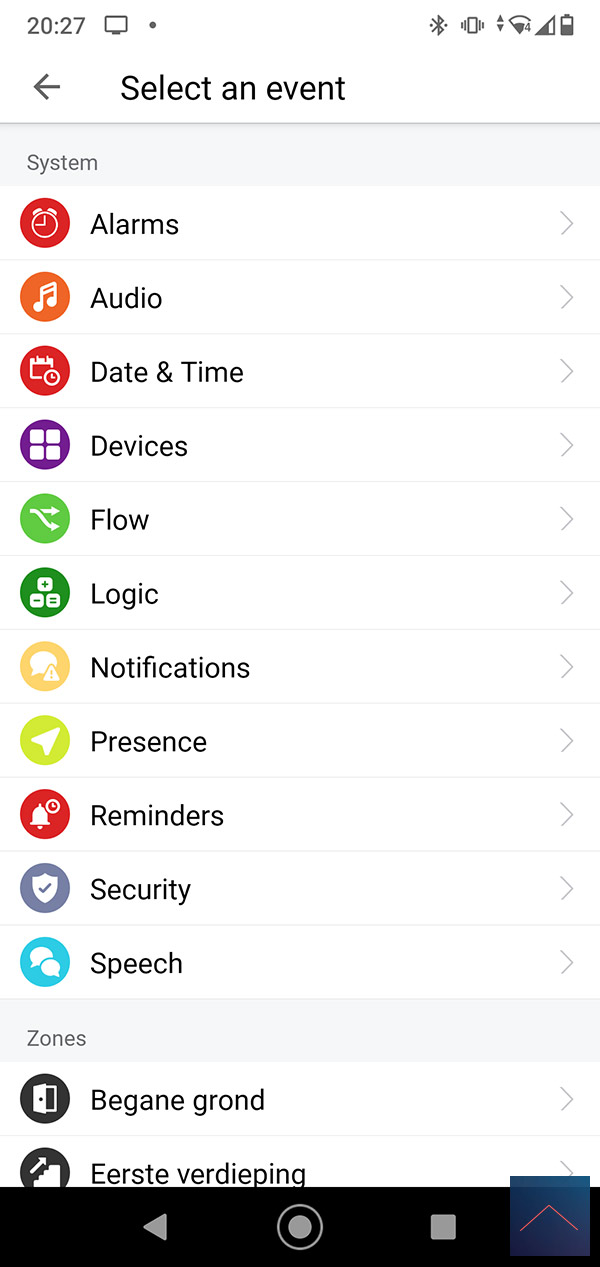
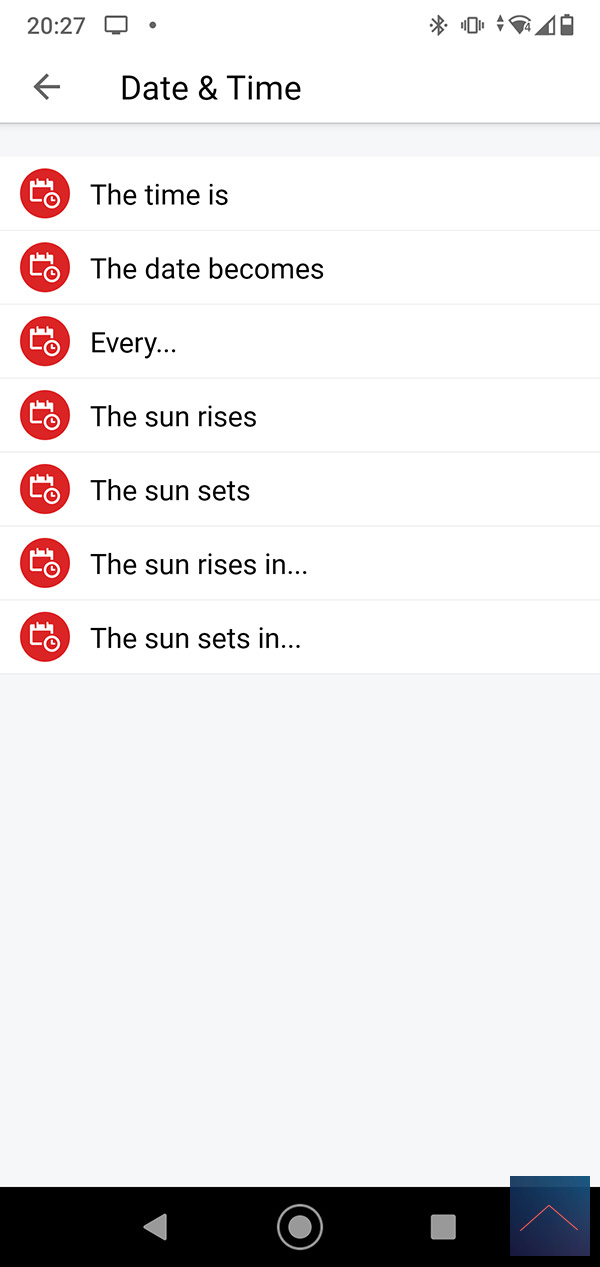
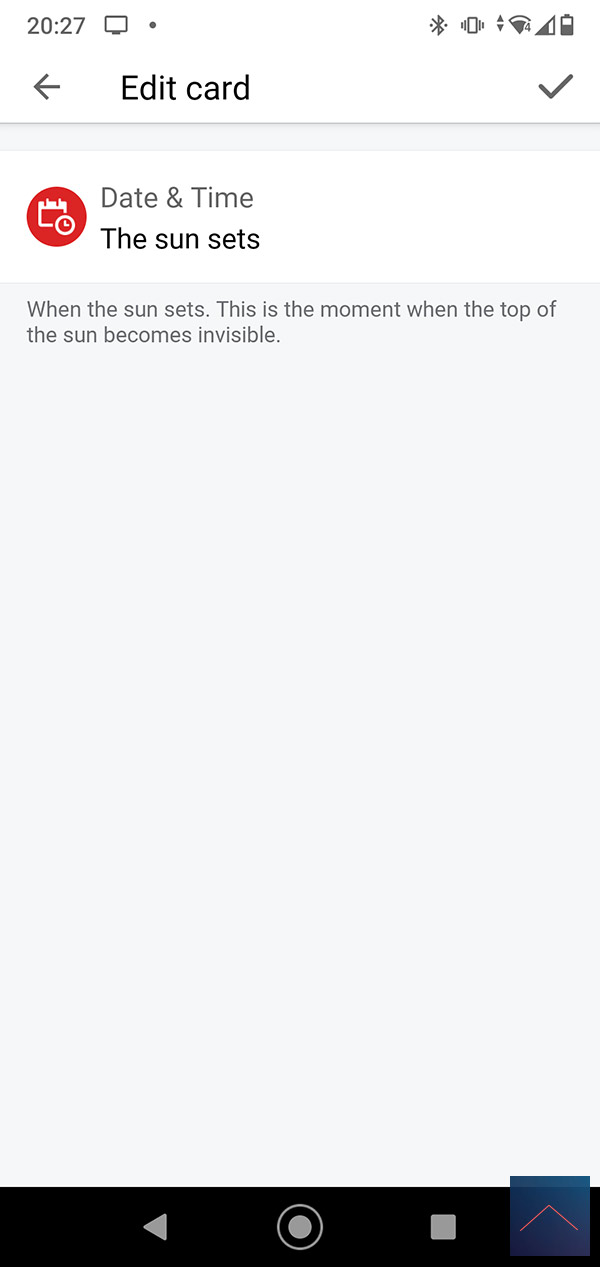
Installation screens:


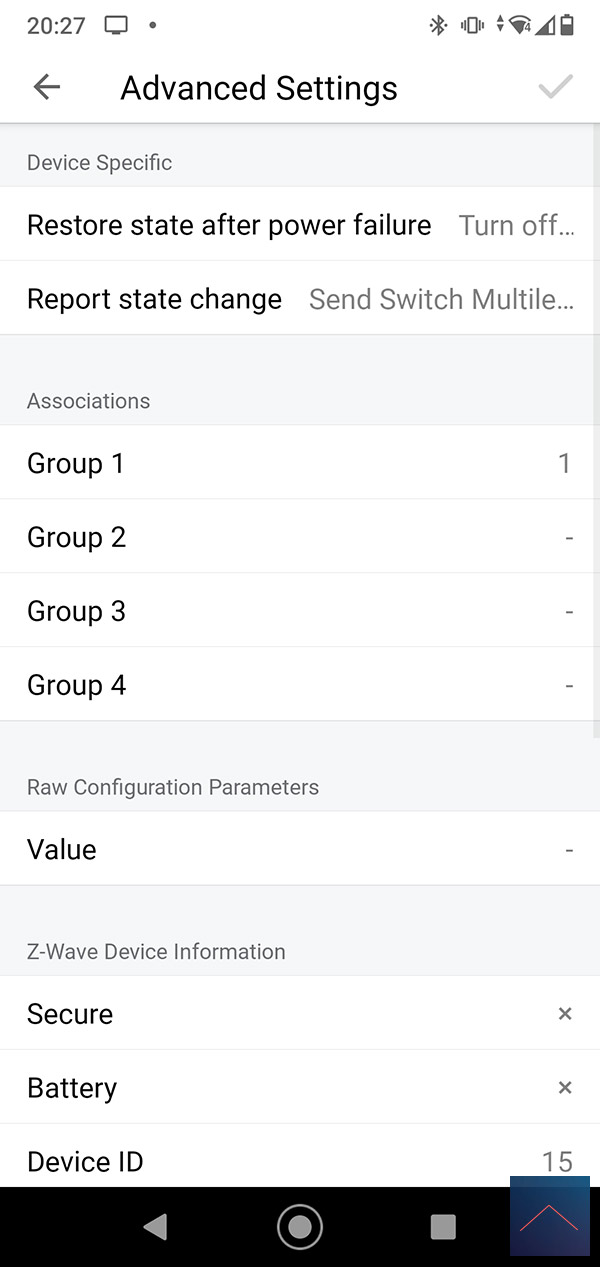
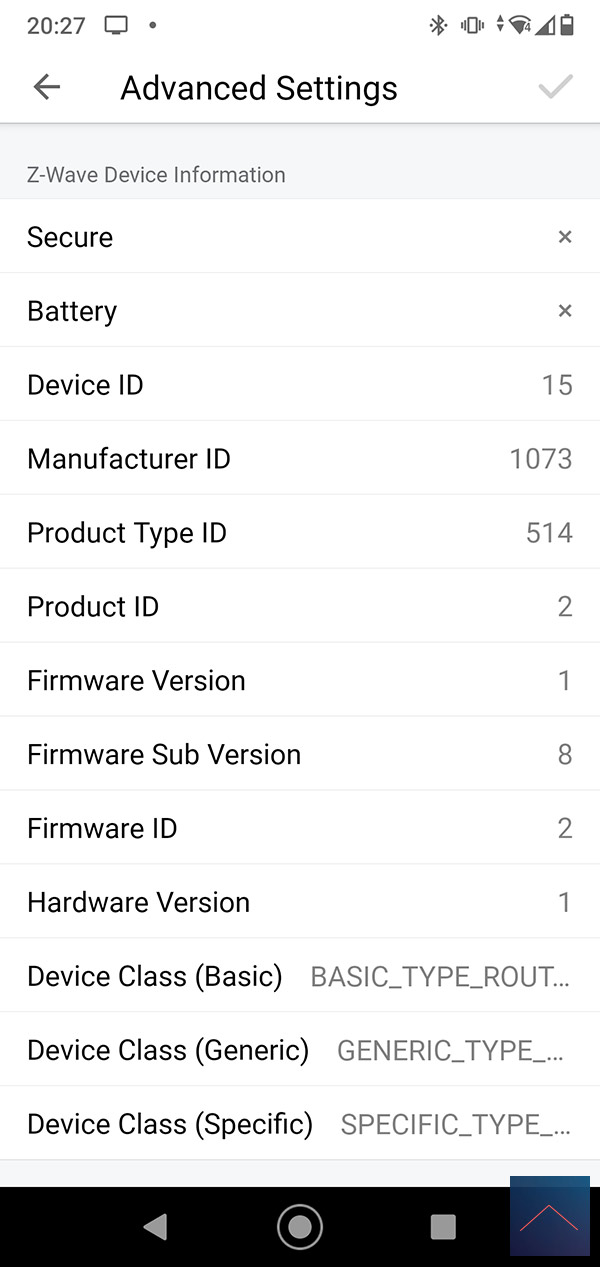
Configuration:
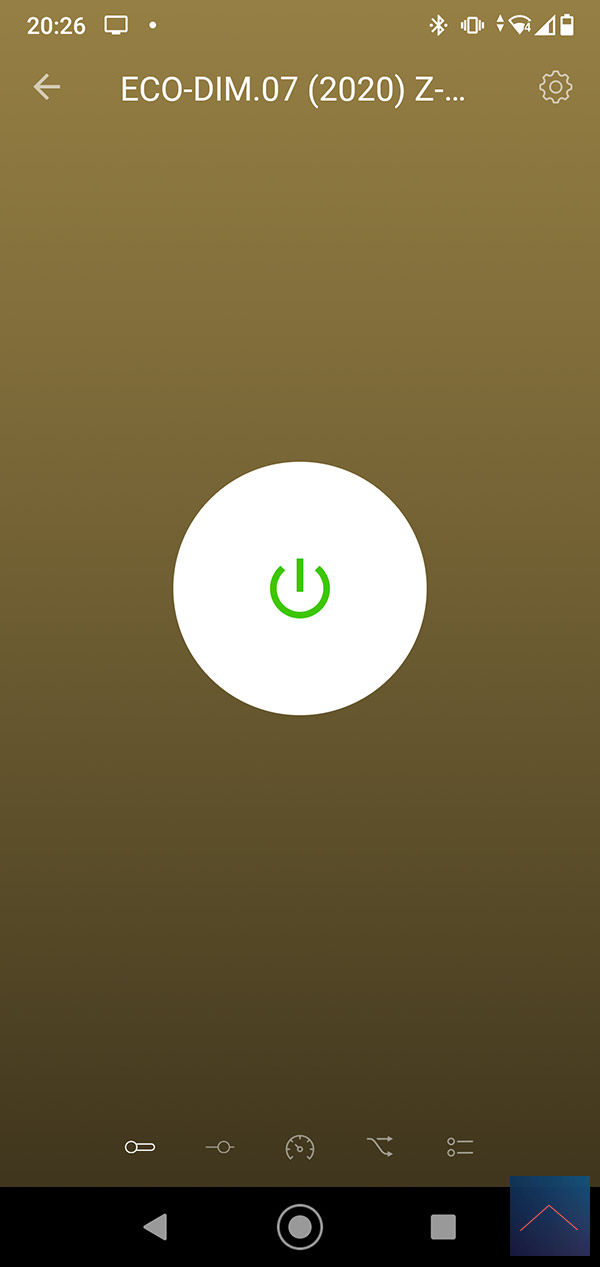
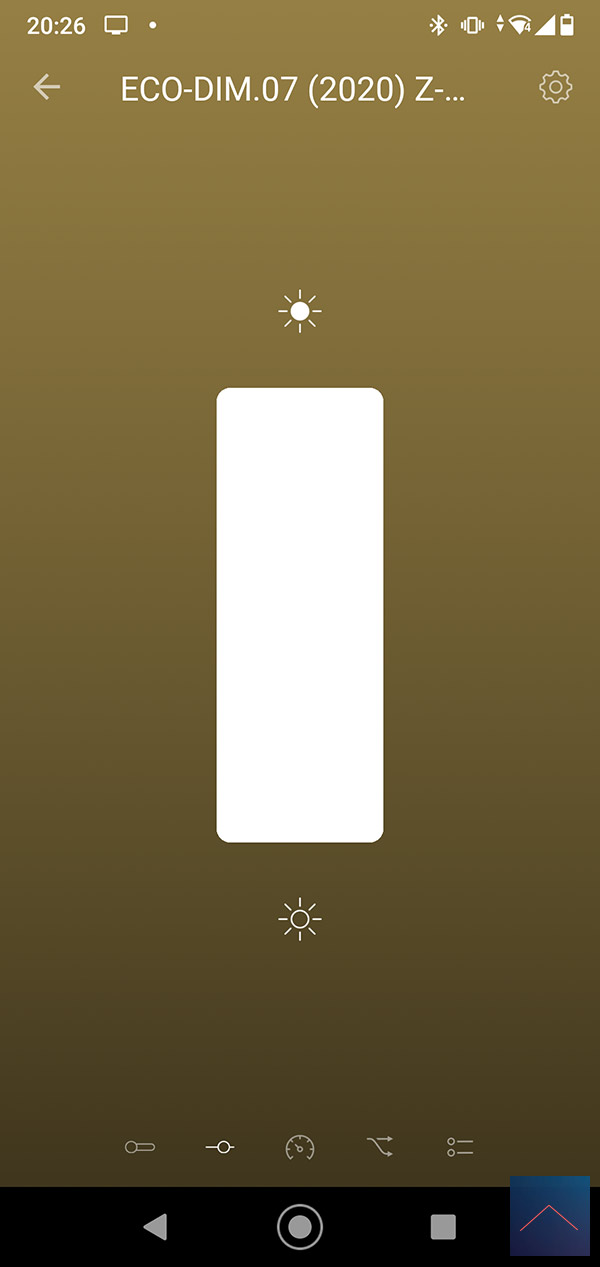
Control:
You get an on / off switch and a dimmer. You can also view the total consumption and the current consumption.
Flow options:
To create a flow you will have the following options available:
IF:
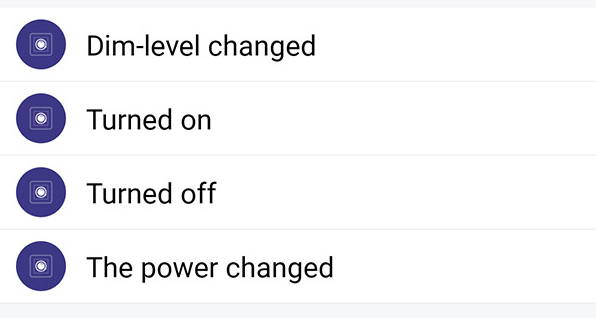
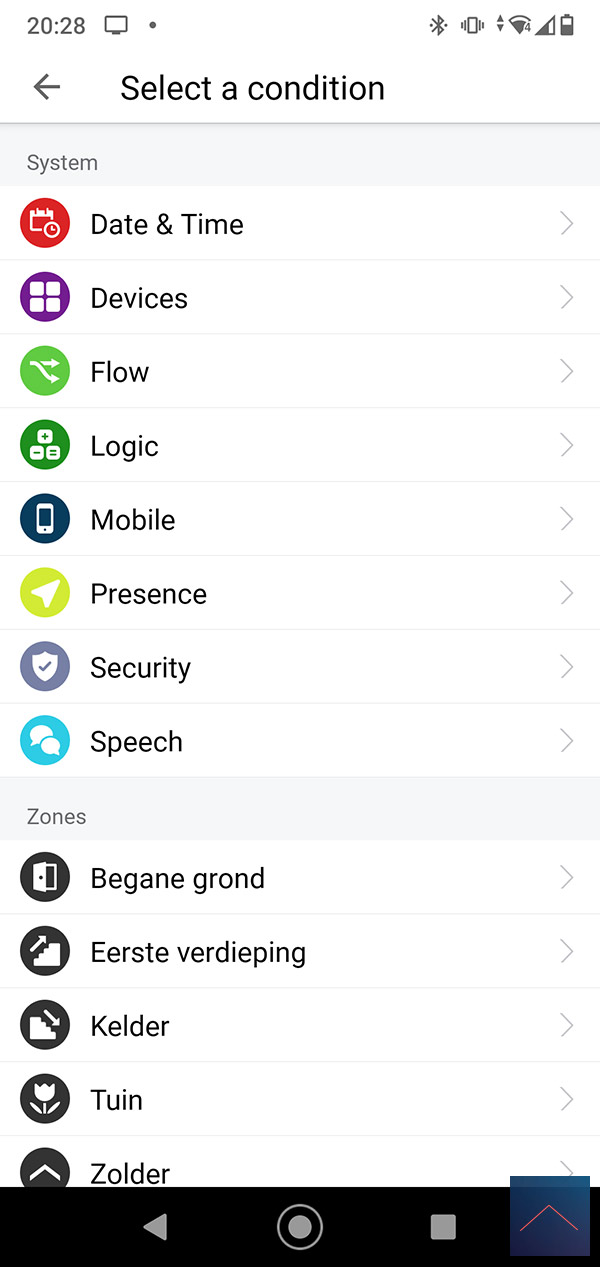
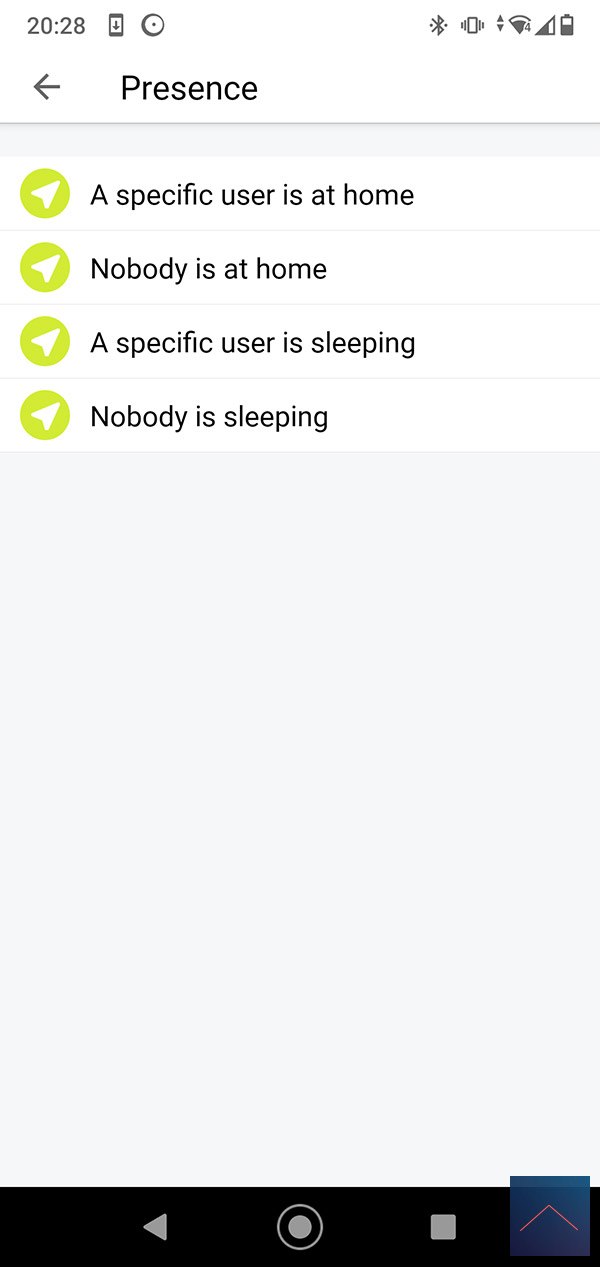
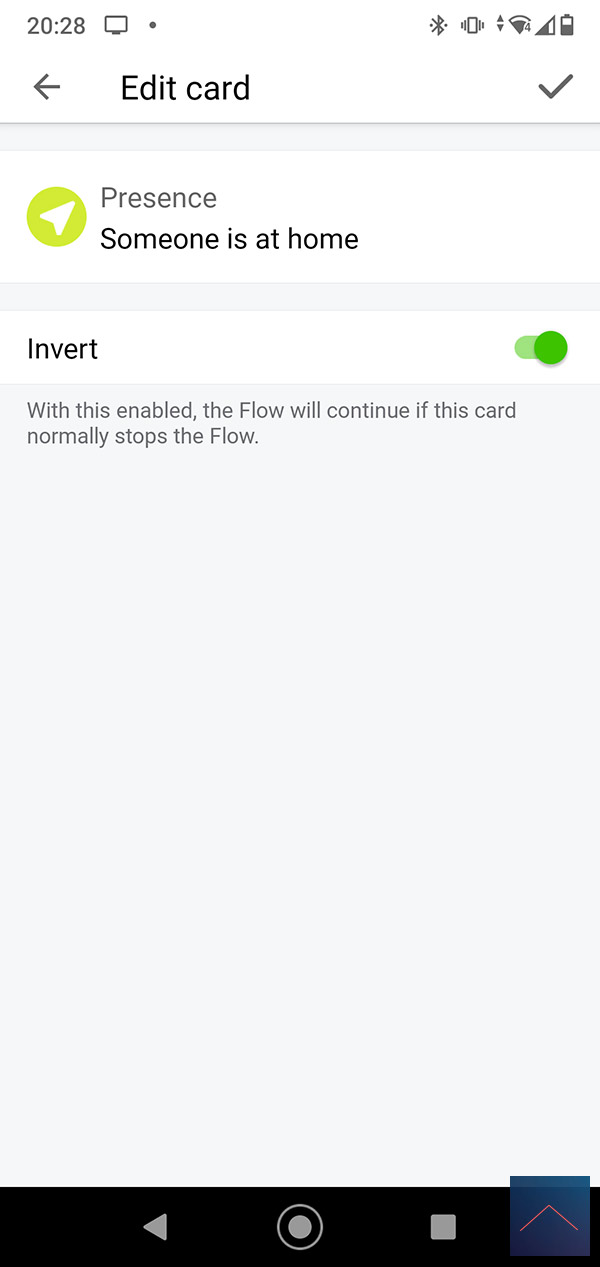
AND:

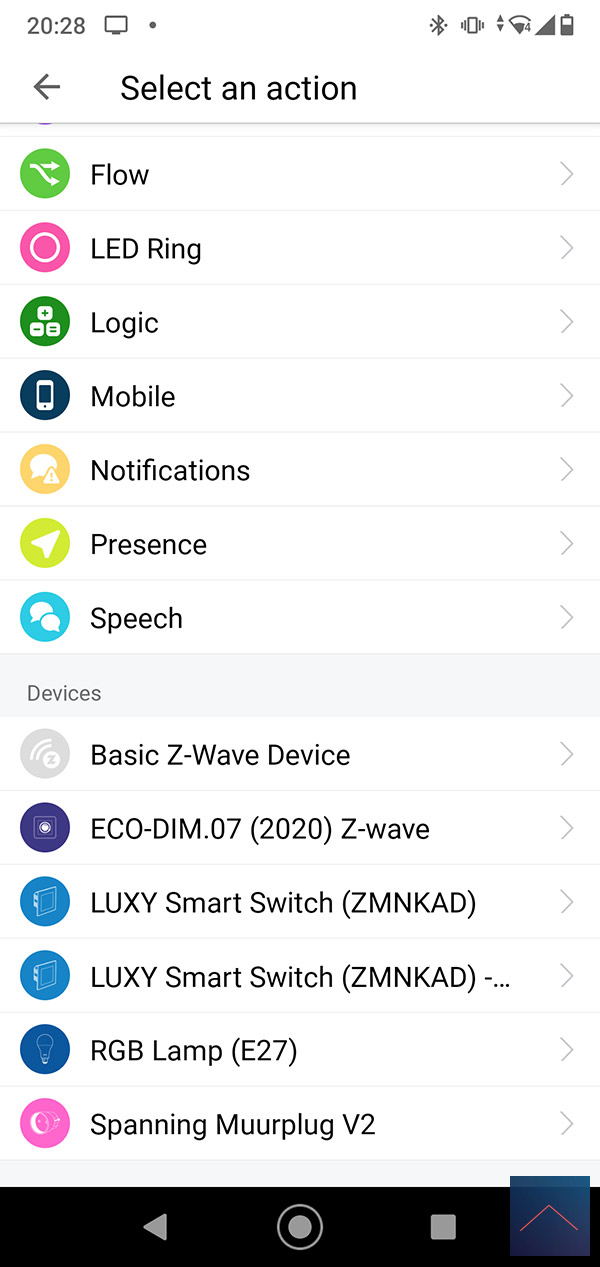
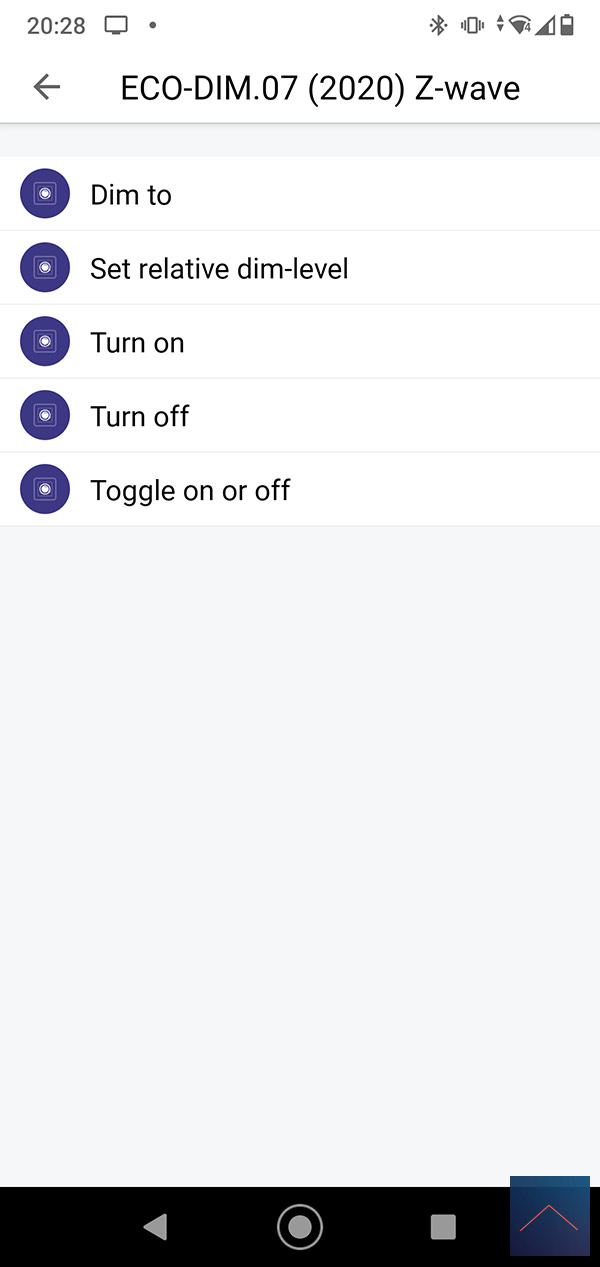
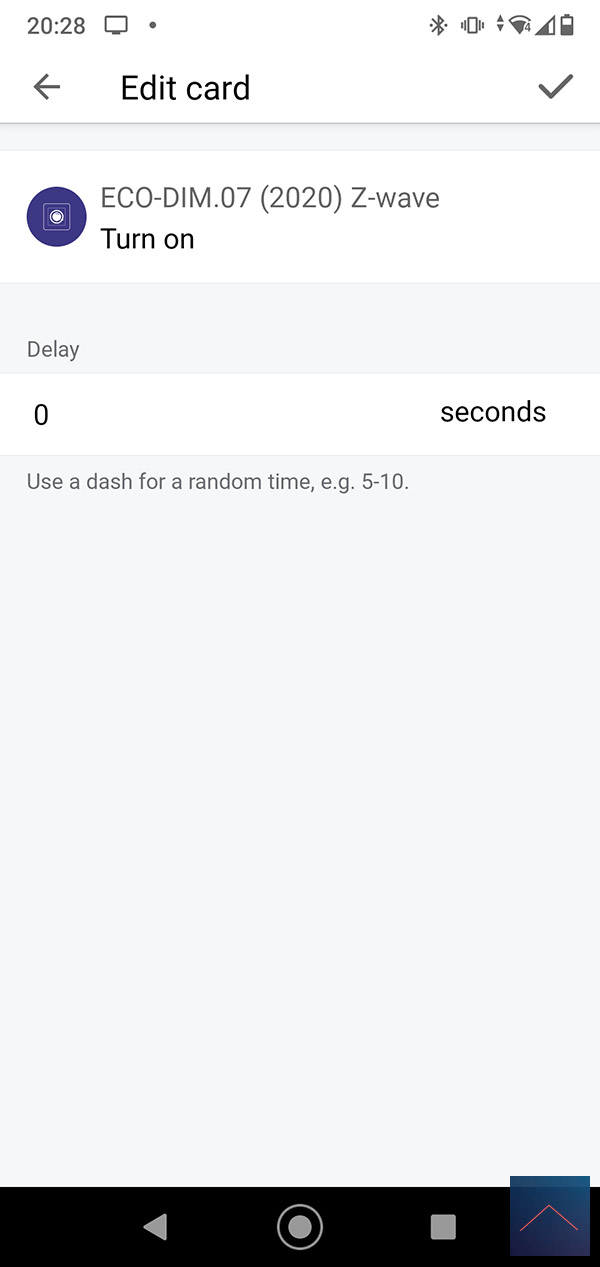
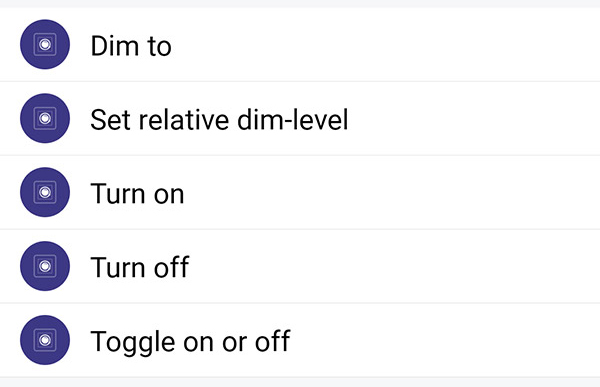
THEN:
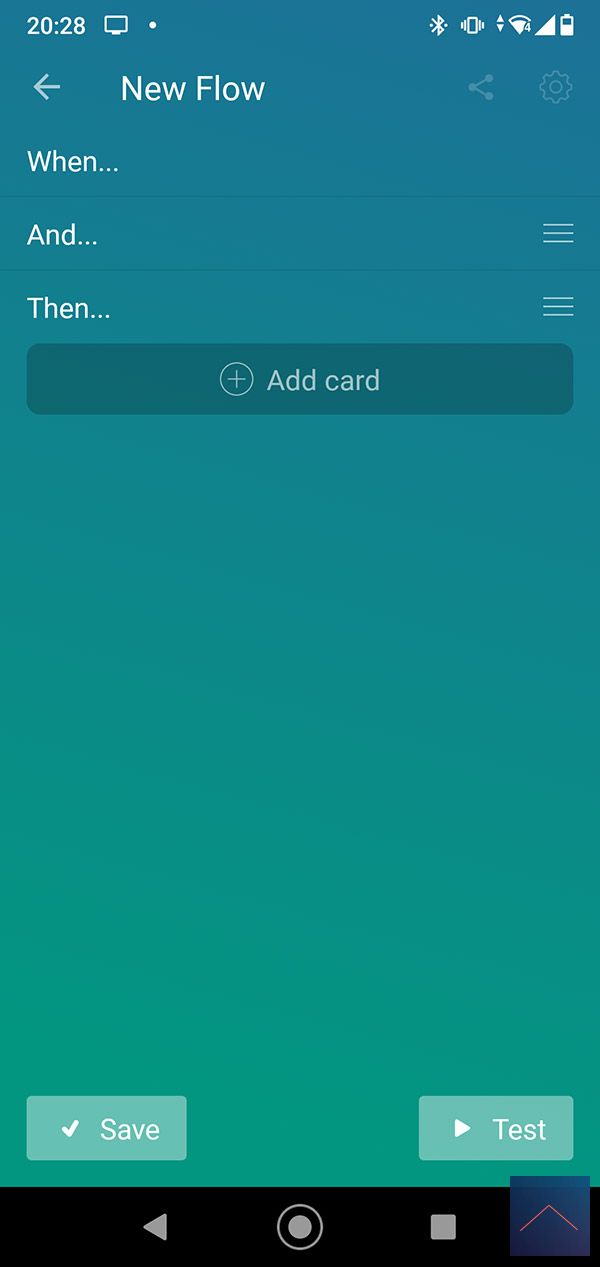
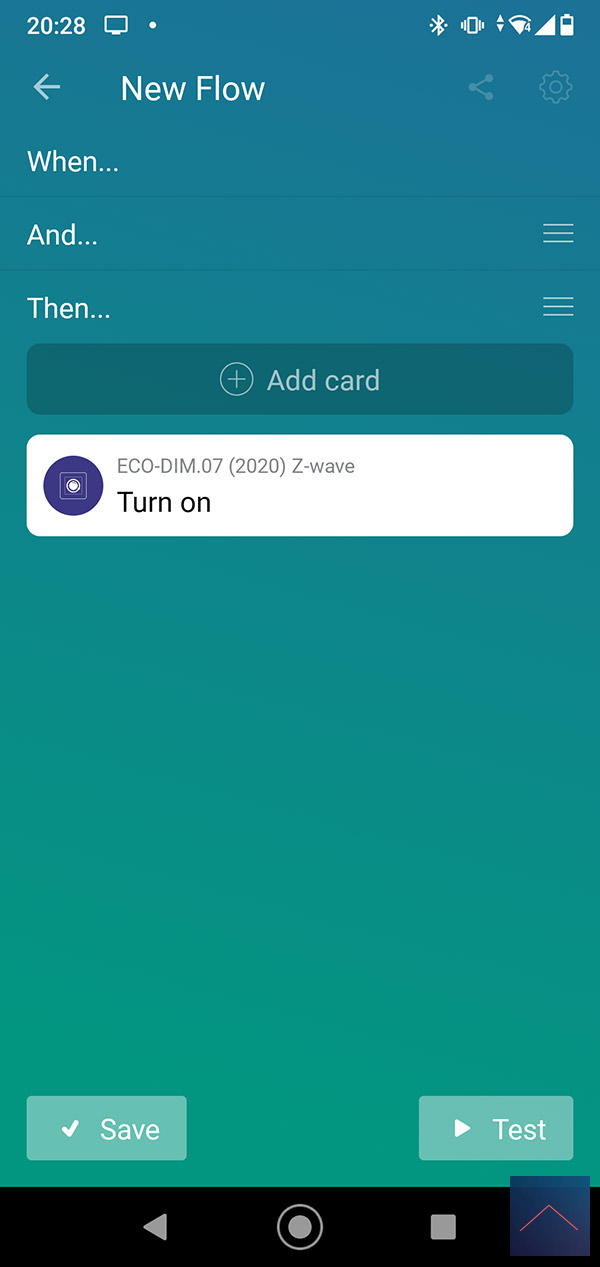
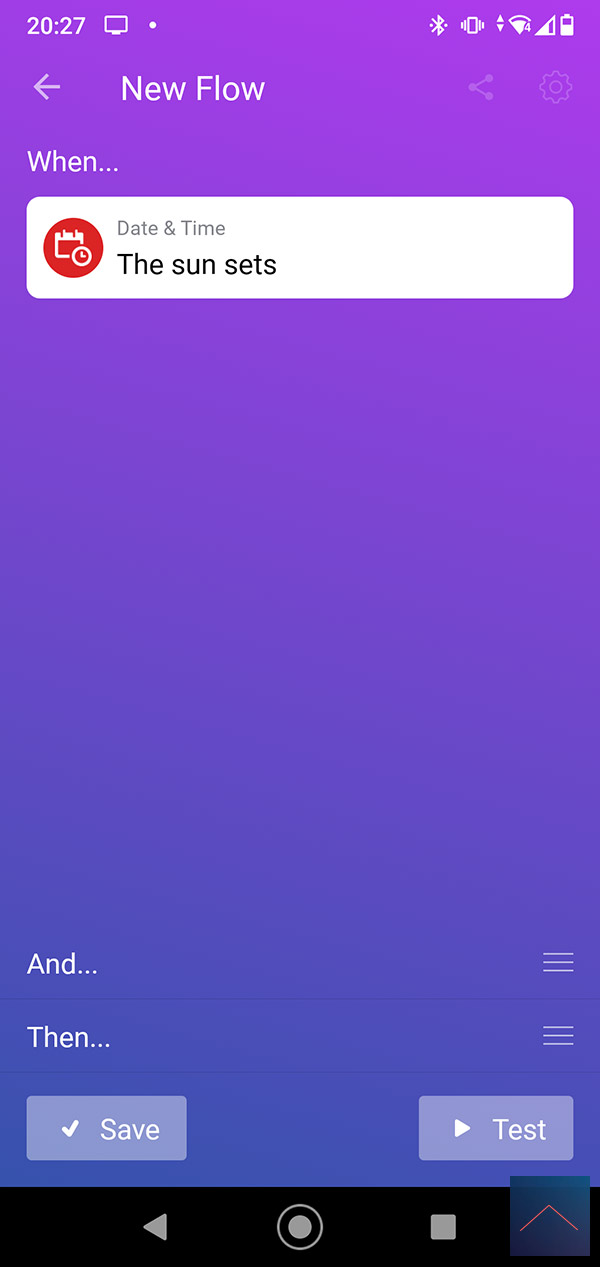
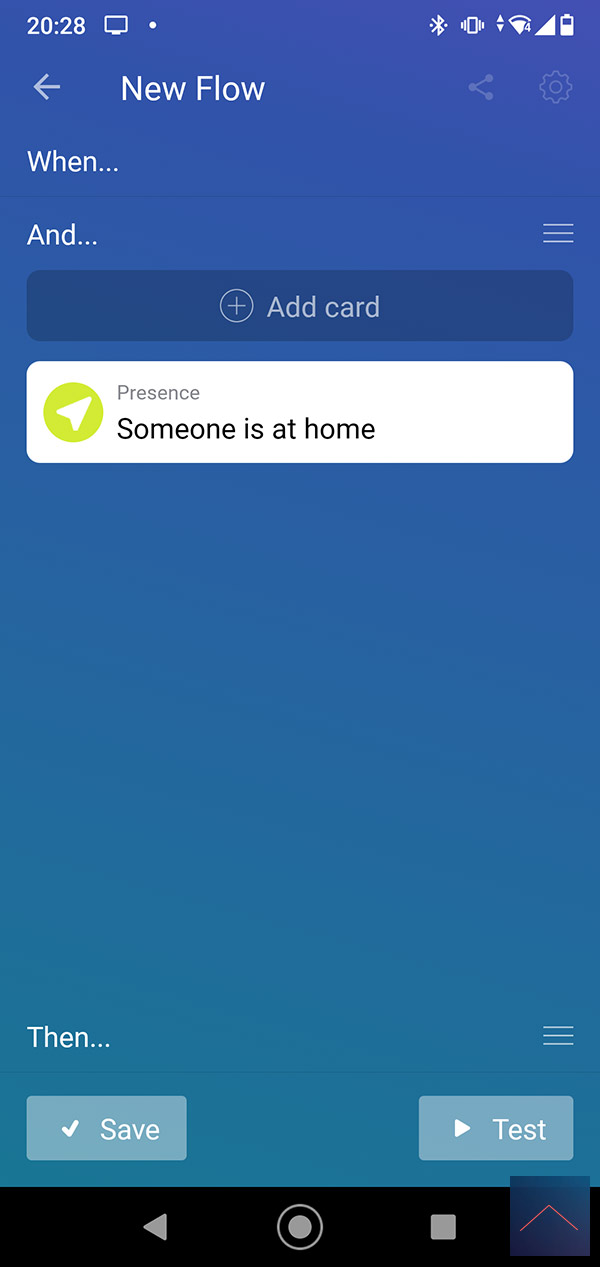
Flow example:
We want the dimmer to be turned on when the sun goes down. To make sure this doesn't happen when we are not at home, we put these conditions in the "and" column. This saves some electricity.
IF:
AND:
THEN: