Review
Neo Coolcam Repeater
Installation on Home Assistant:
We are also going to install this repeater via Home Assistant's free open source system. The nice thing about this package is that you can run it on different hardware. We test it on an RPI3 with an Aeotec Z-Wave Stick.
To make the Z-Wave part work, the open Z-Wave standard is used. Quite a few products are included in this database, but sometimes the support leaves something to be desired. But let's not immediately see bears in the road.
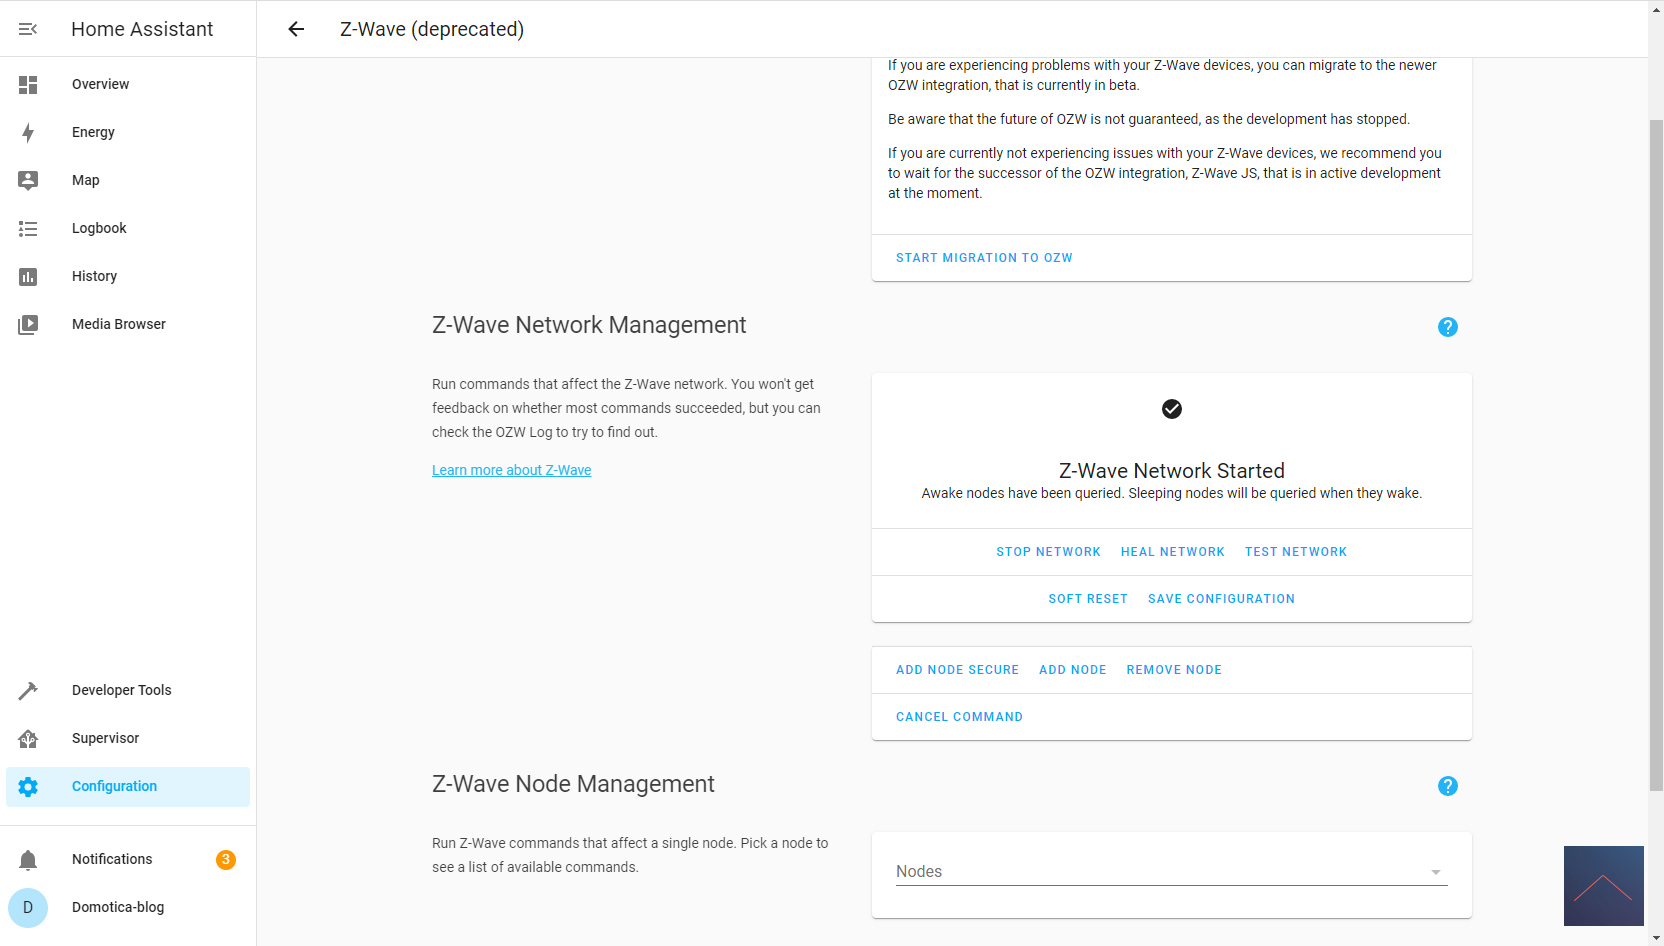
To install it, we start HASS and go to your configuration and then to Z-Wave. Then click on "add node secure" to start adding. HASS gives a very short message that the adding has started.
Now we need to put it into learning mode, this can be done by holding down the side button for 5 seconds and releasing it when the LED lights up. Do not wait too long because then the addition will not succeed. I'm going to blink the sensor's LED blue for a few seconds and then green to indicate that the add was successful.
Installation screens:
Operation:
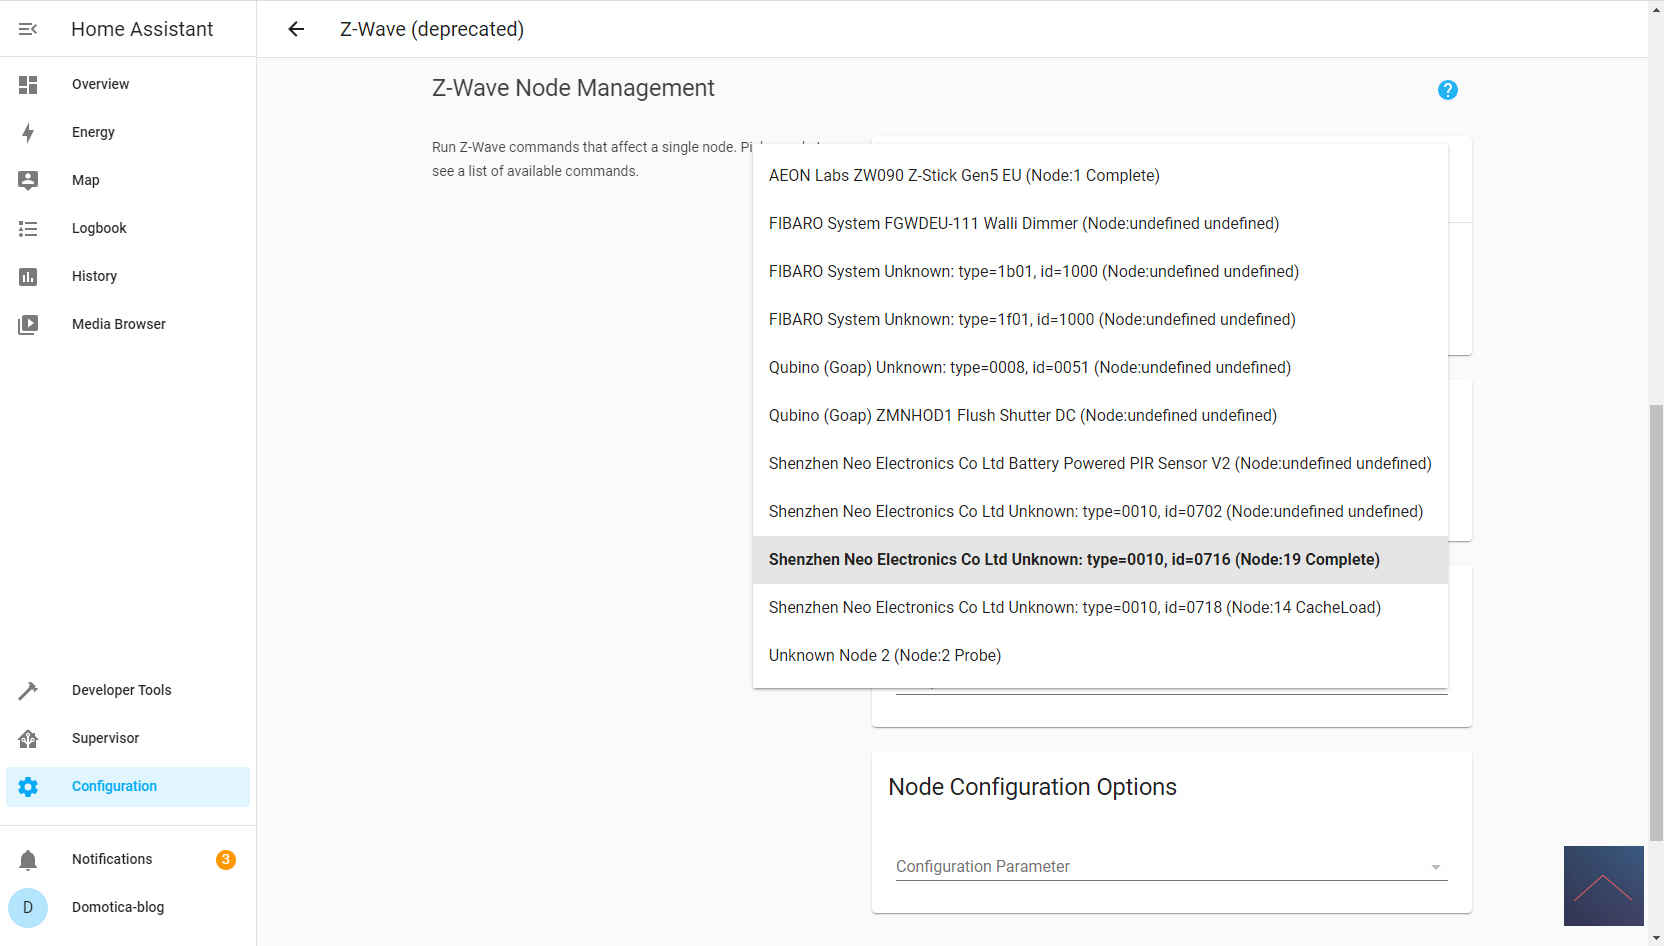
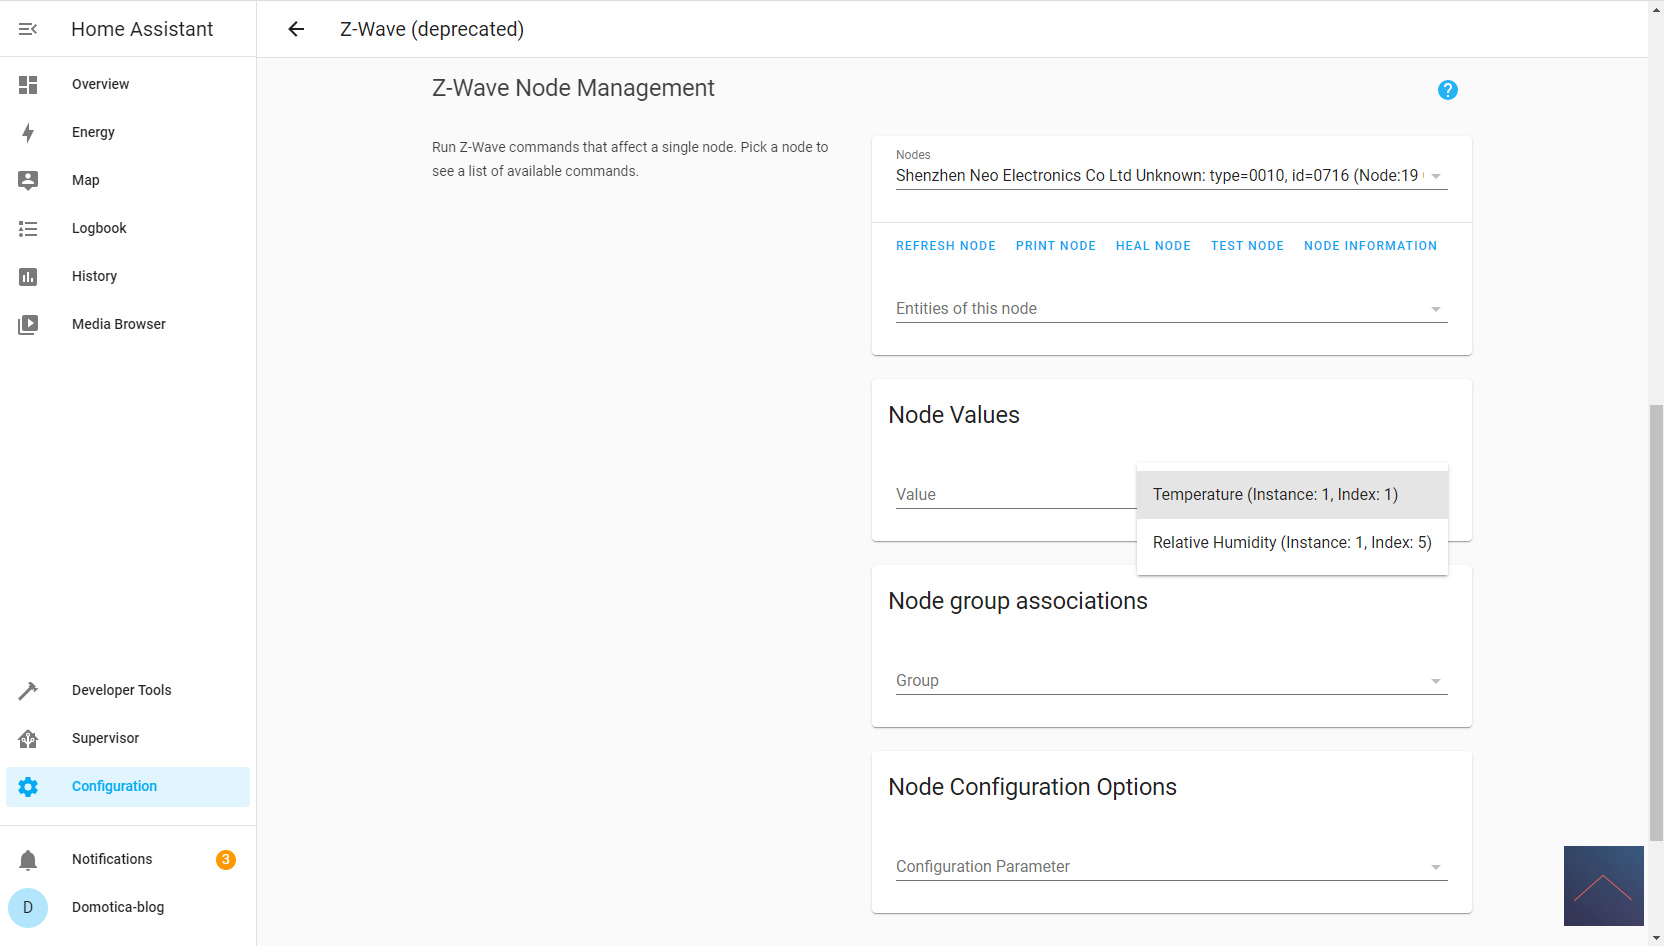
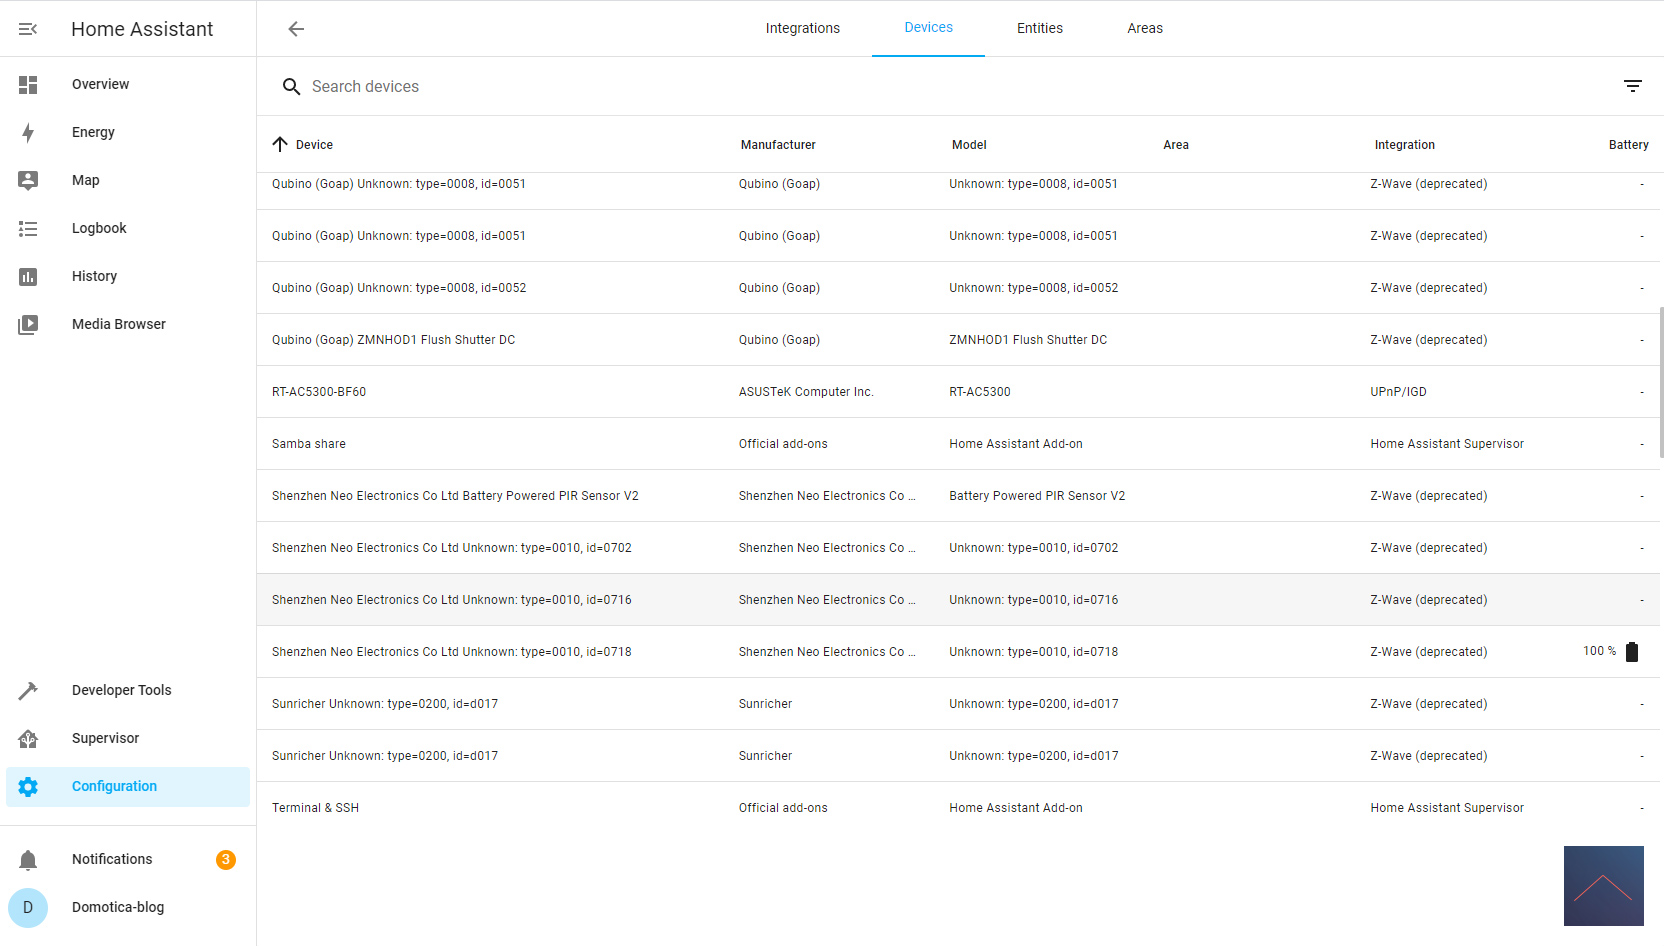
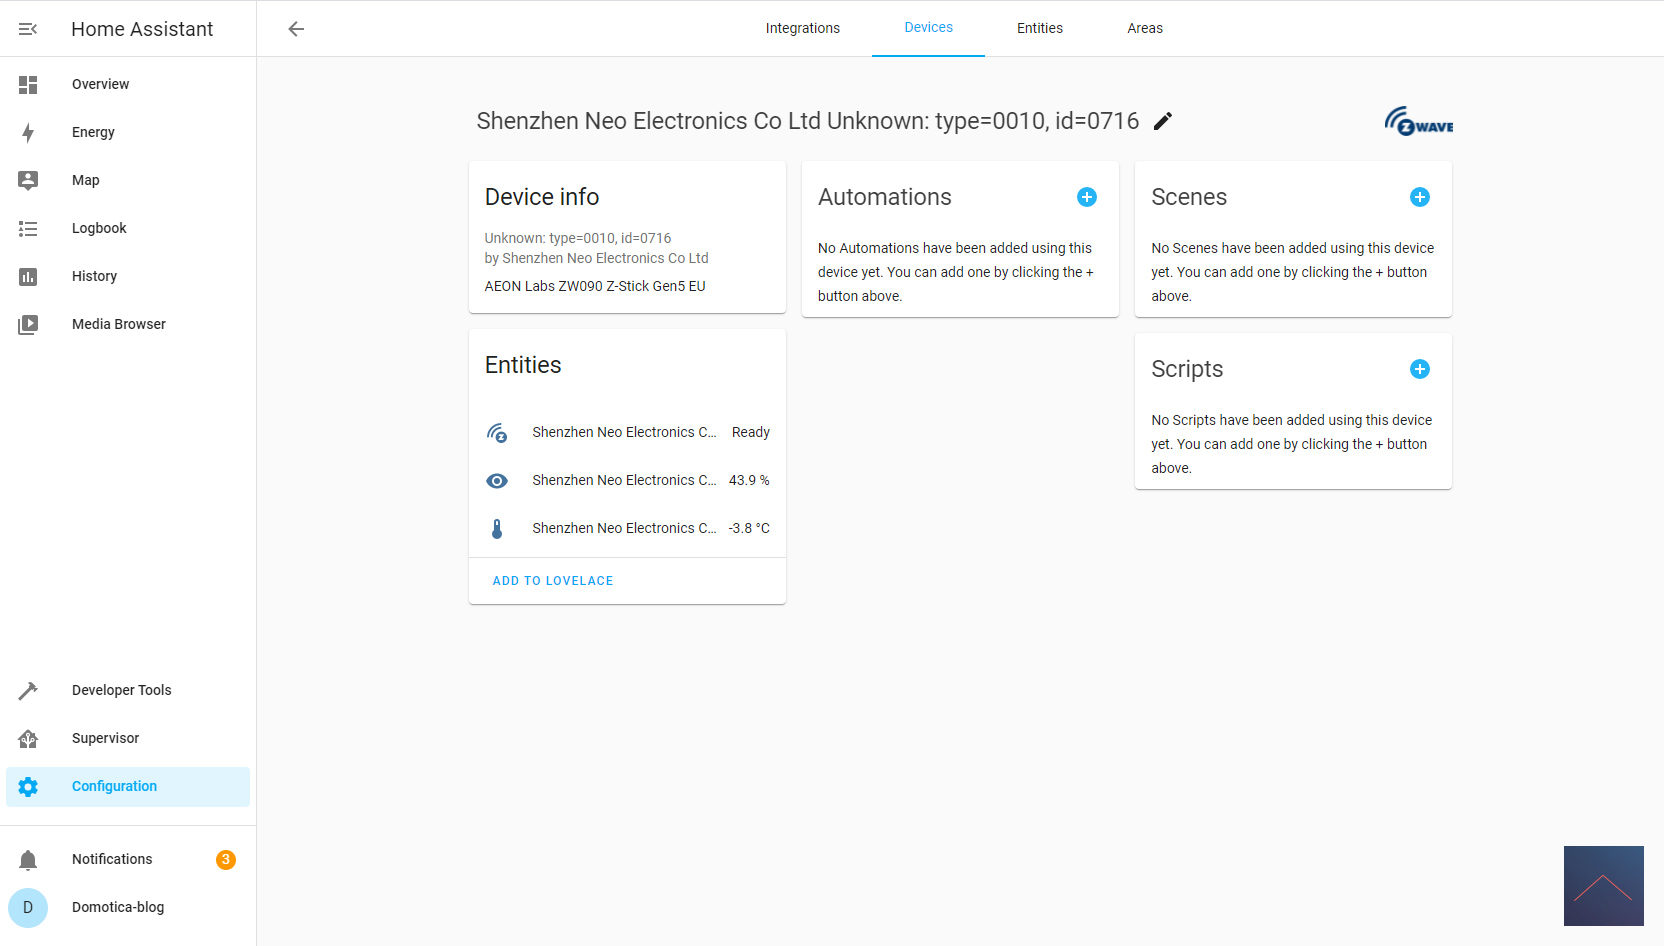
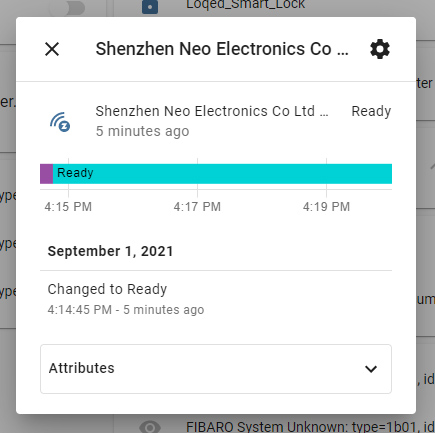
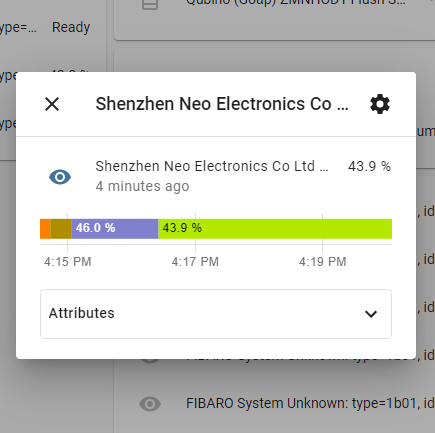
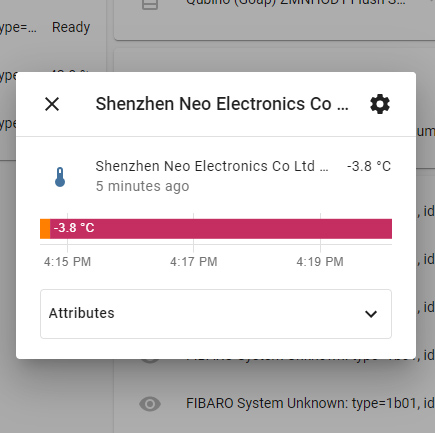
At the nodes I see a whole row including the temperature, humidity sensor and the repeater. So completely complete. Unfortunately I can't see if the repeater works. It also falls on the temperature gauge indicating a - 4.4 degrees. So this doesn't seem quite right. Fortunately, you can correct this via the parameters.
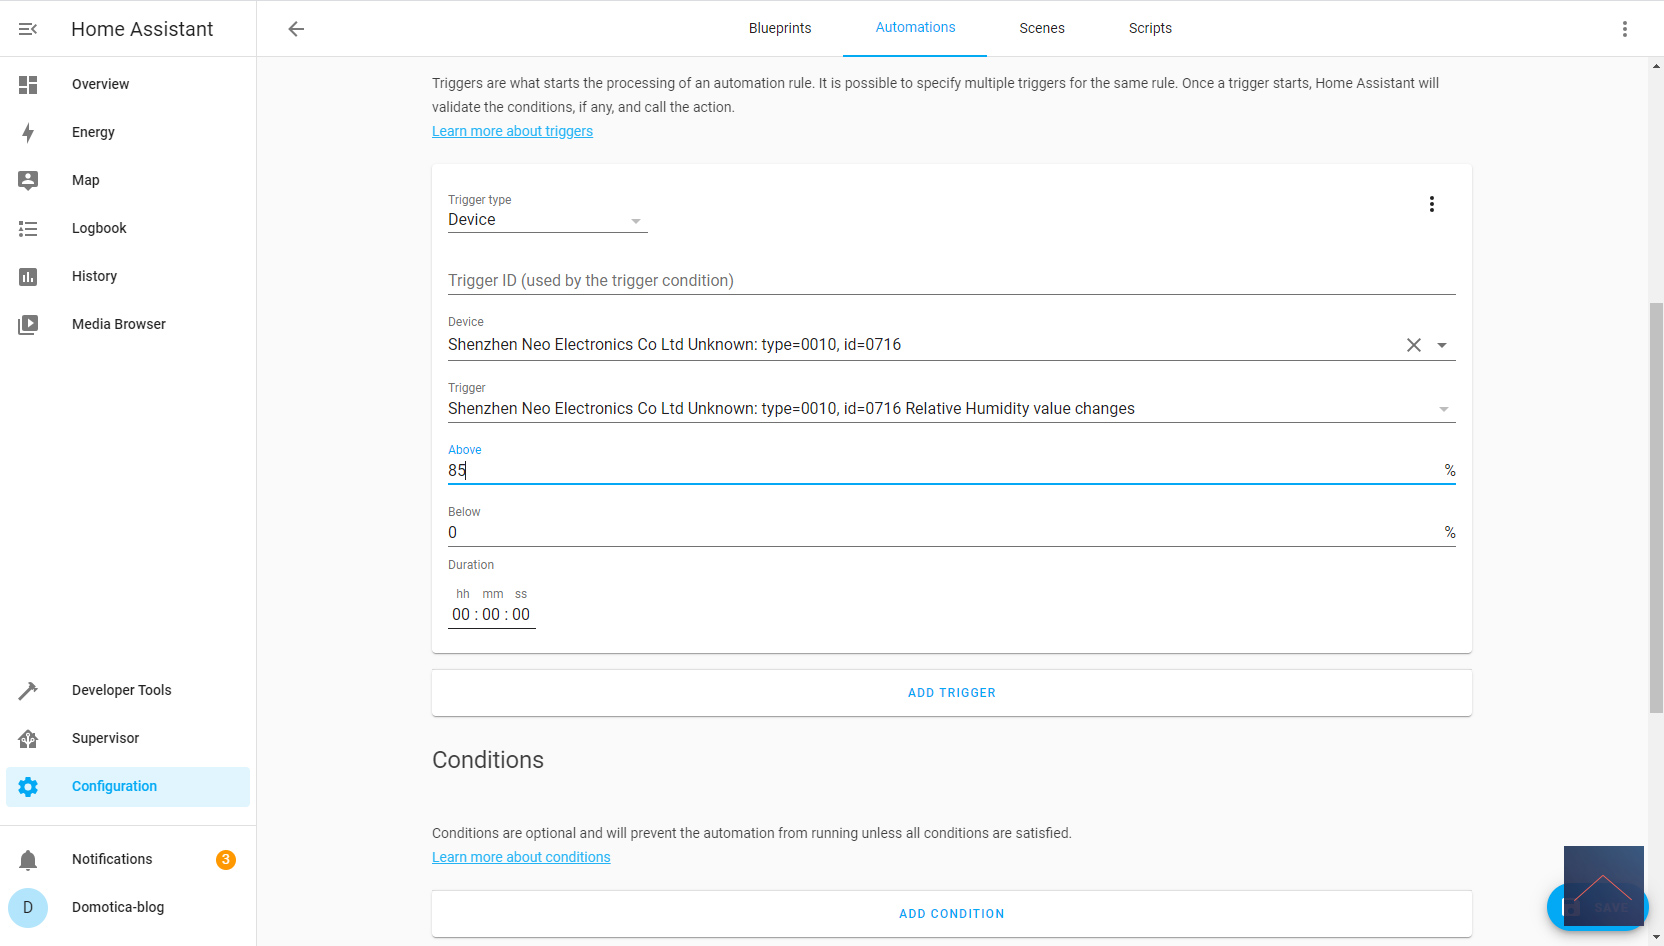
Example scene:
It is of course impossible to create a scene with the repeater function. So let's make an example with the humidity sensor. If it exceeds 85%, we turn on the fan. In this way we can ensure that it does not become too damp in the bathroom.