

Review
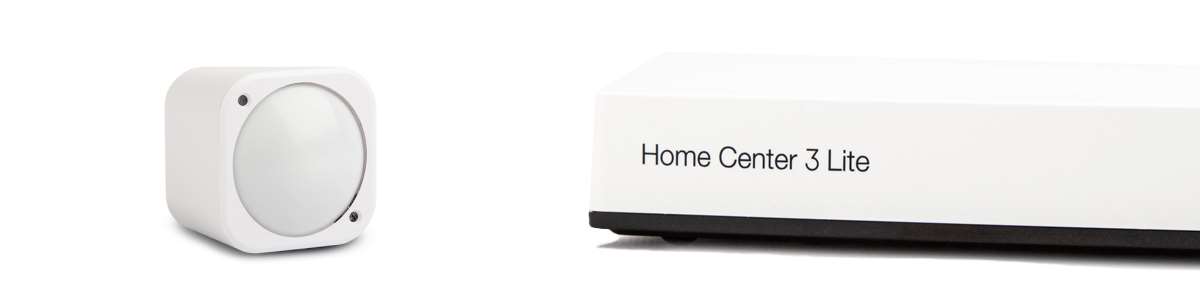
Fibaro Home Center 3 Lite

Installation of a device:
Now that we have everything installed, let's add some devices. The HC3 Lite has support for the Z-Wave plus protocol. So this is where we start.
To add a device:
We are going to add several devices to see how this is done and whether it works at all. In addition to a Fibaro product, we also add a few other brands.
We start with a device from Fibaro itself, the Walli Dimmer. With this dimmer you can make a stupid lamp smart. It also measures the energy of the connected lamps. This system replaces your existing switch and can therefore be installed invisibly. The installation is also not very complicated, it is a matter of removing the old one and connecting the new one. You can view an extensive review of this dimmer via this link.
Add Fibaro Walli Dimmer:
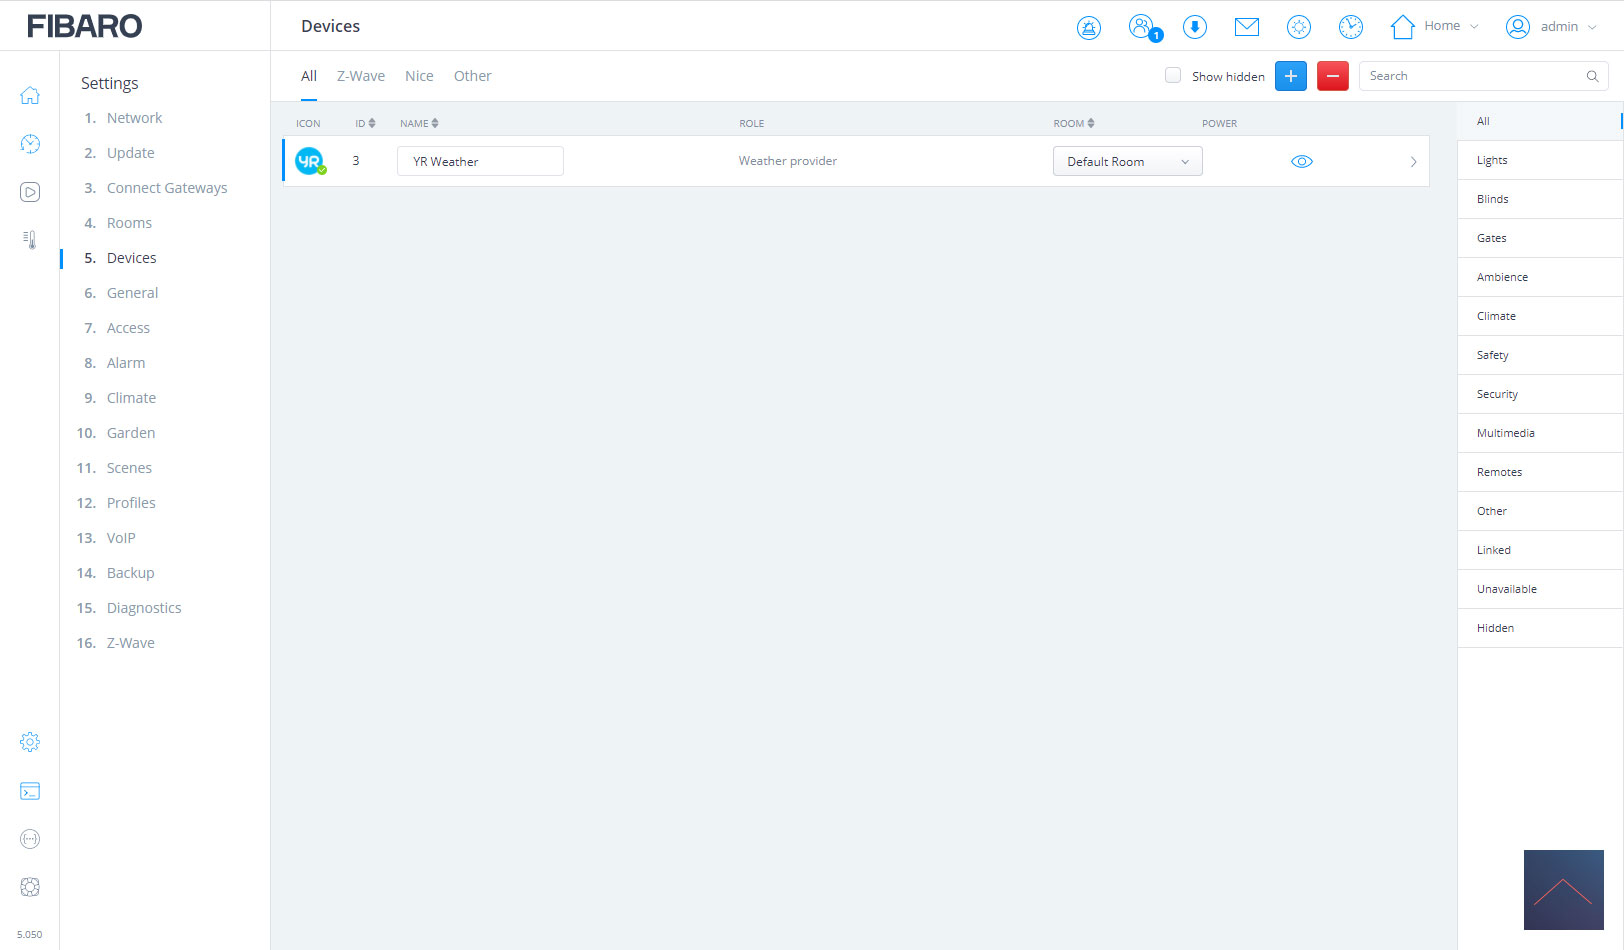
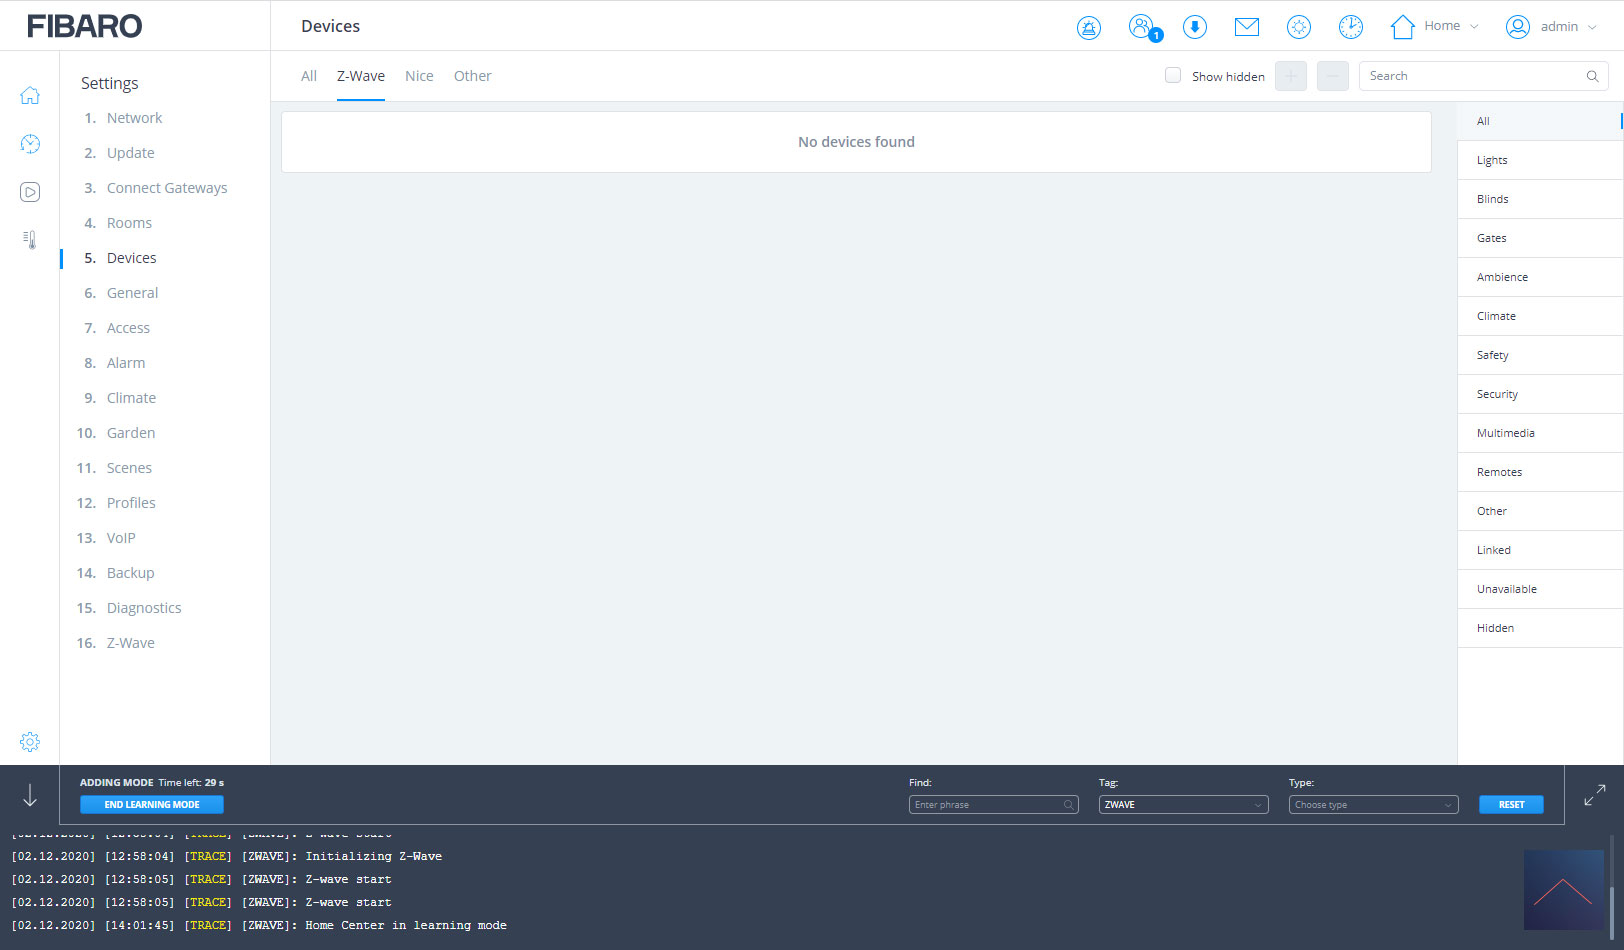
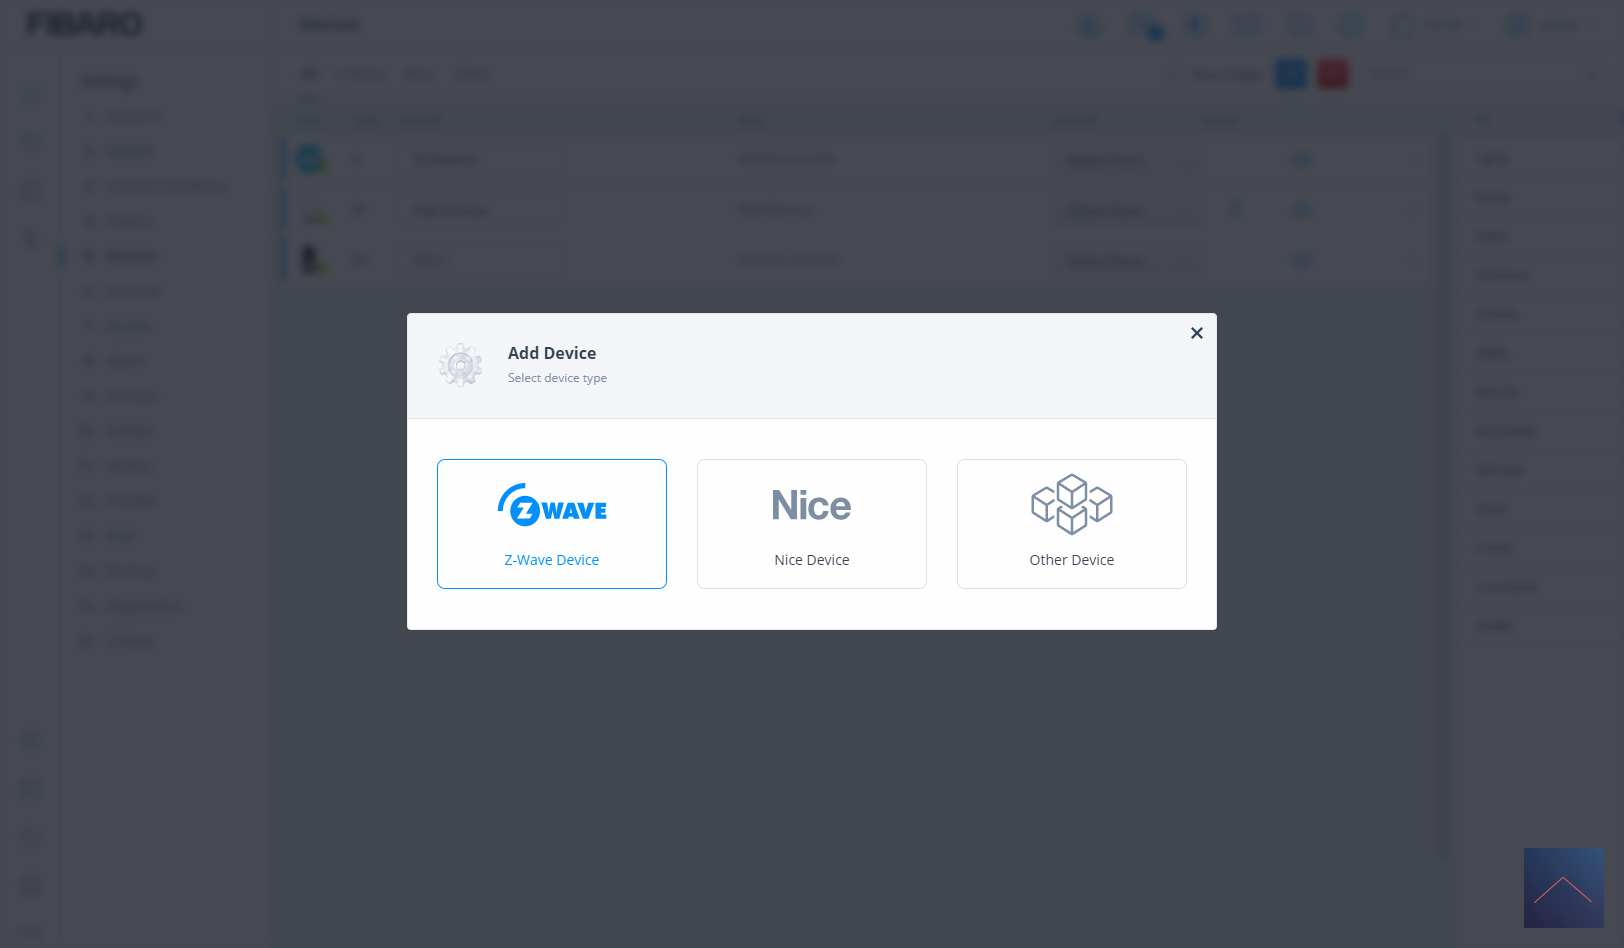
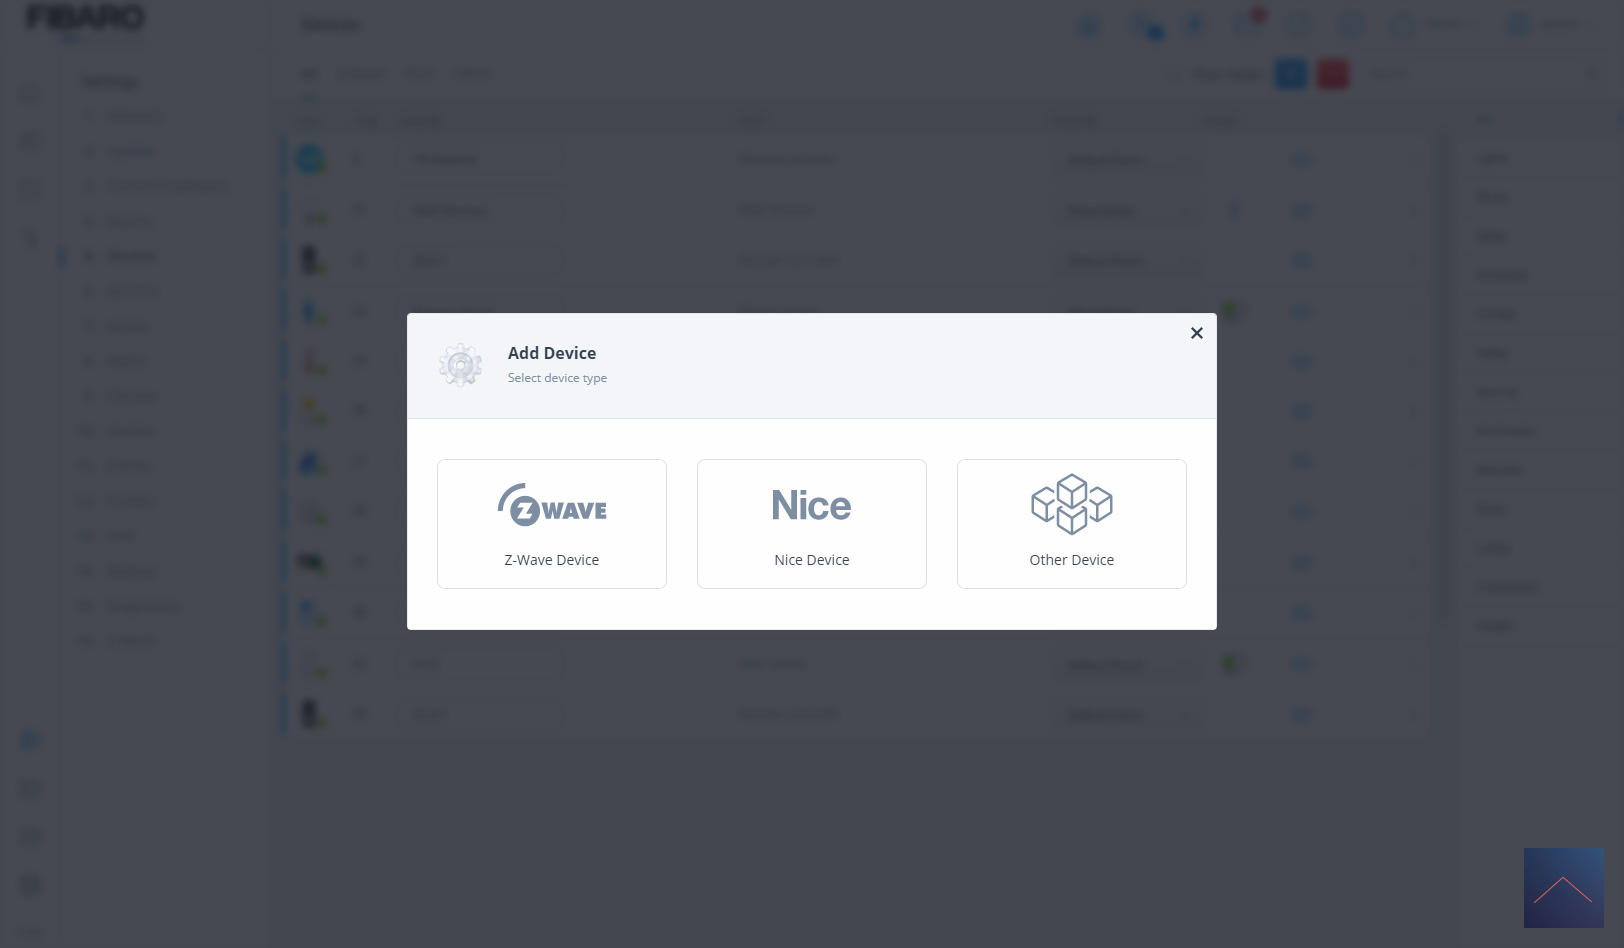
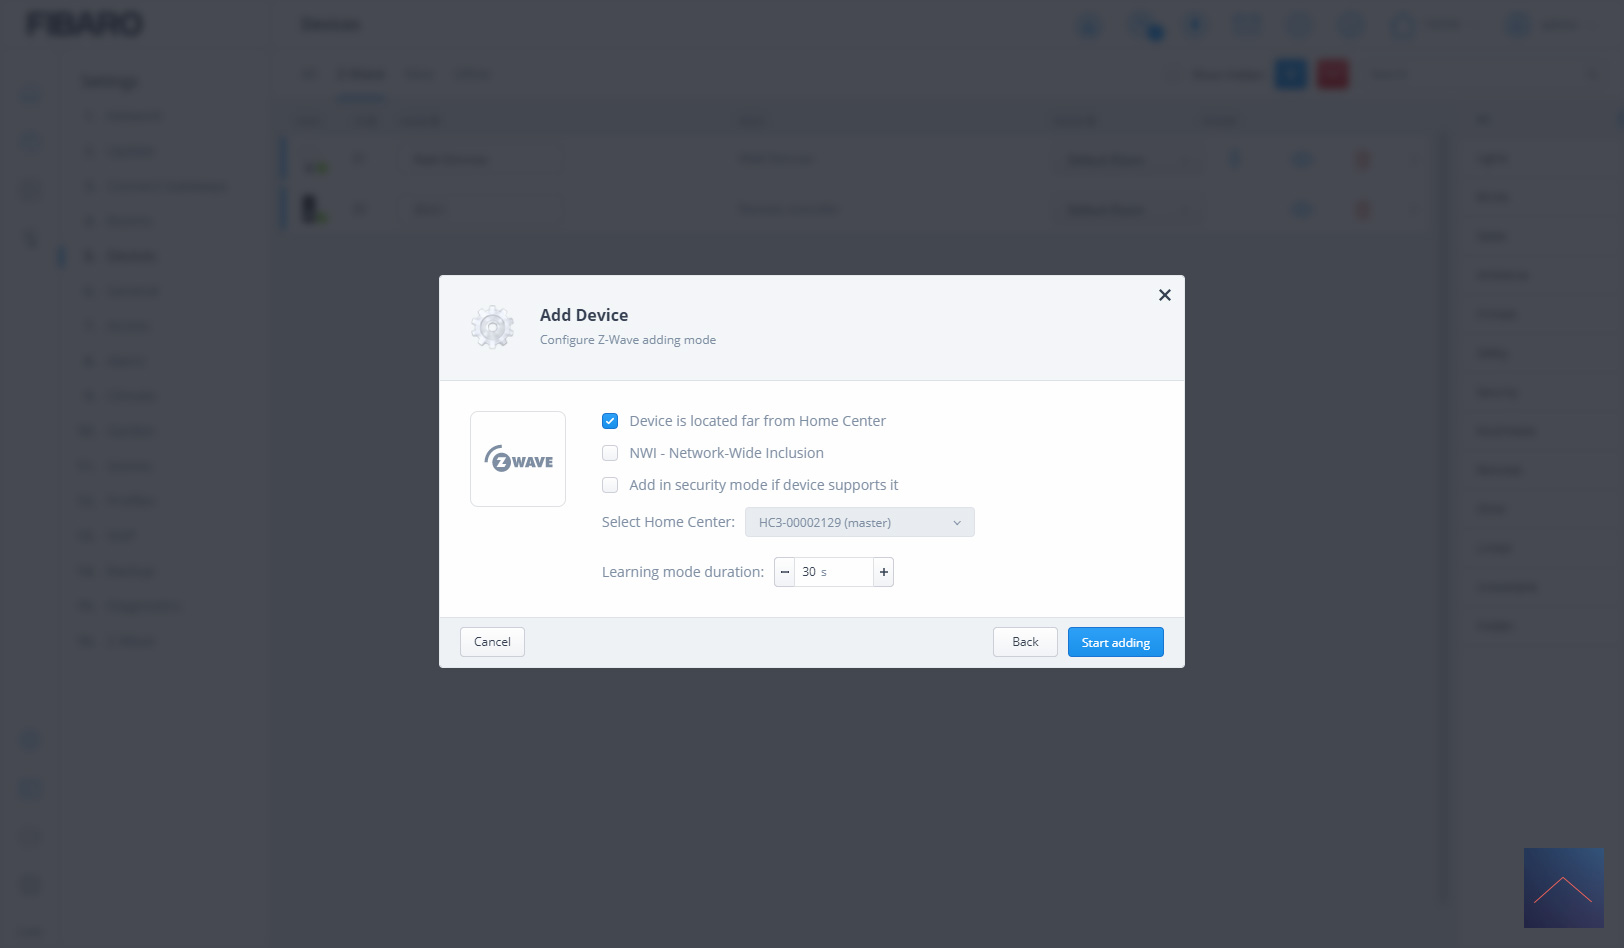
To add a device, go to the configuration (radar icon) section and click on "devices". Then click on the blue plus in the top corner and click on Z-Wave.
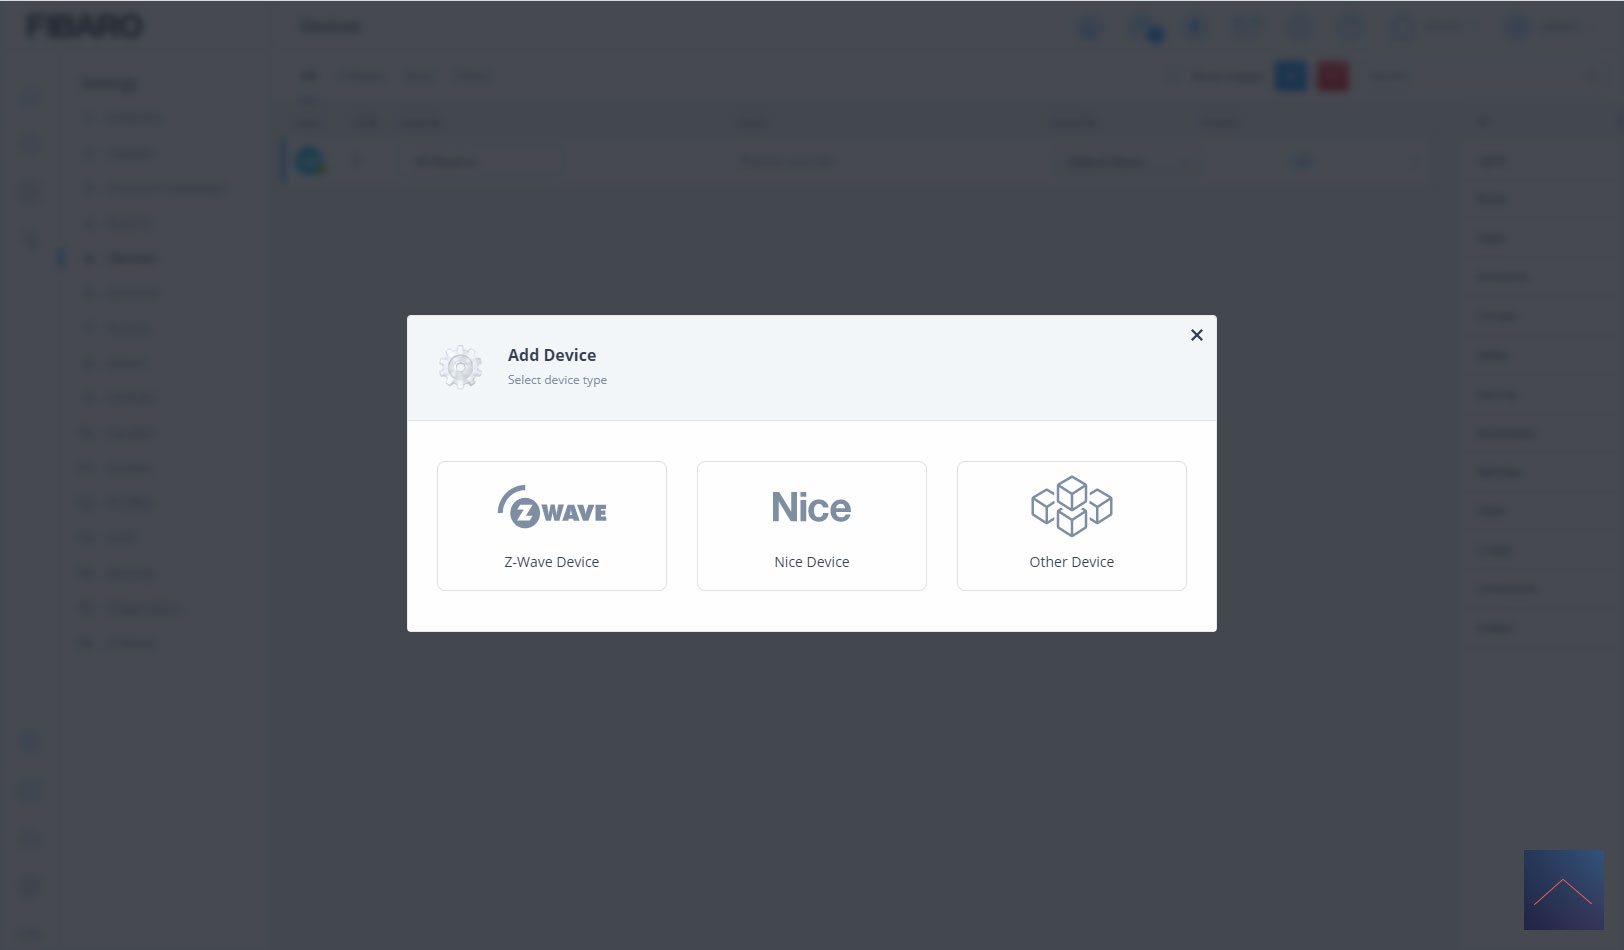
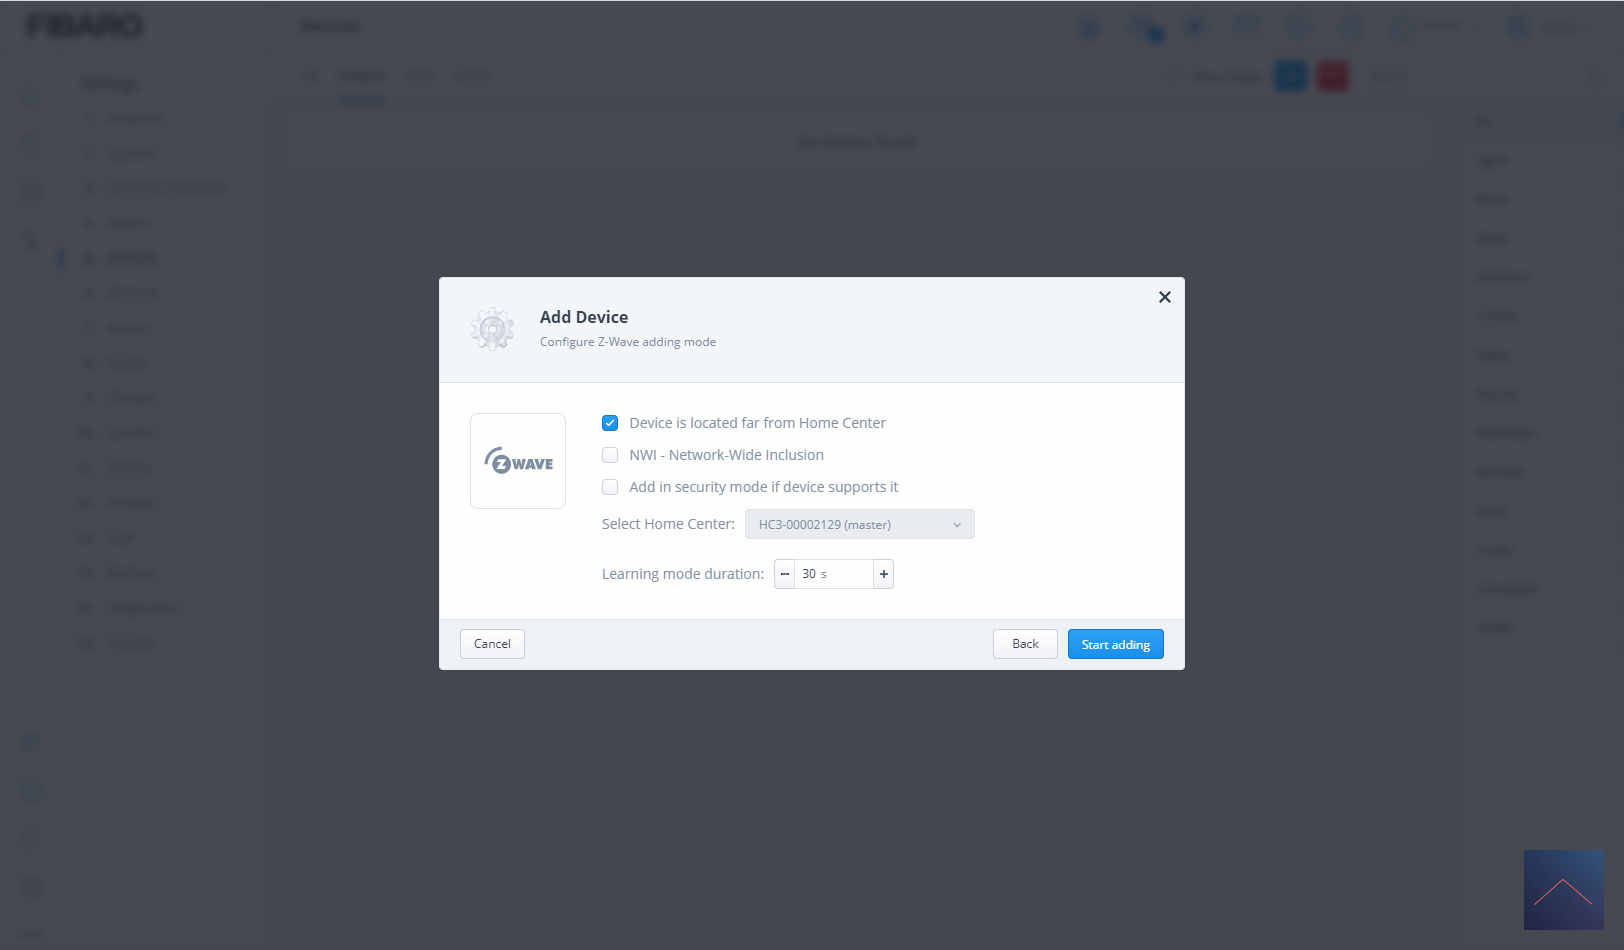
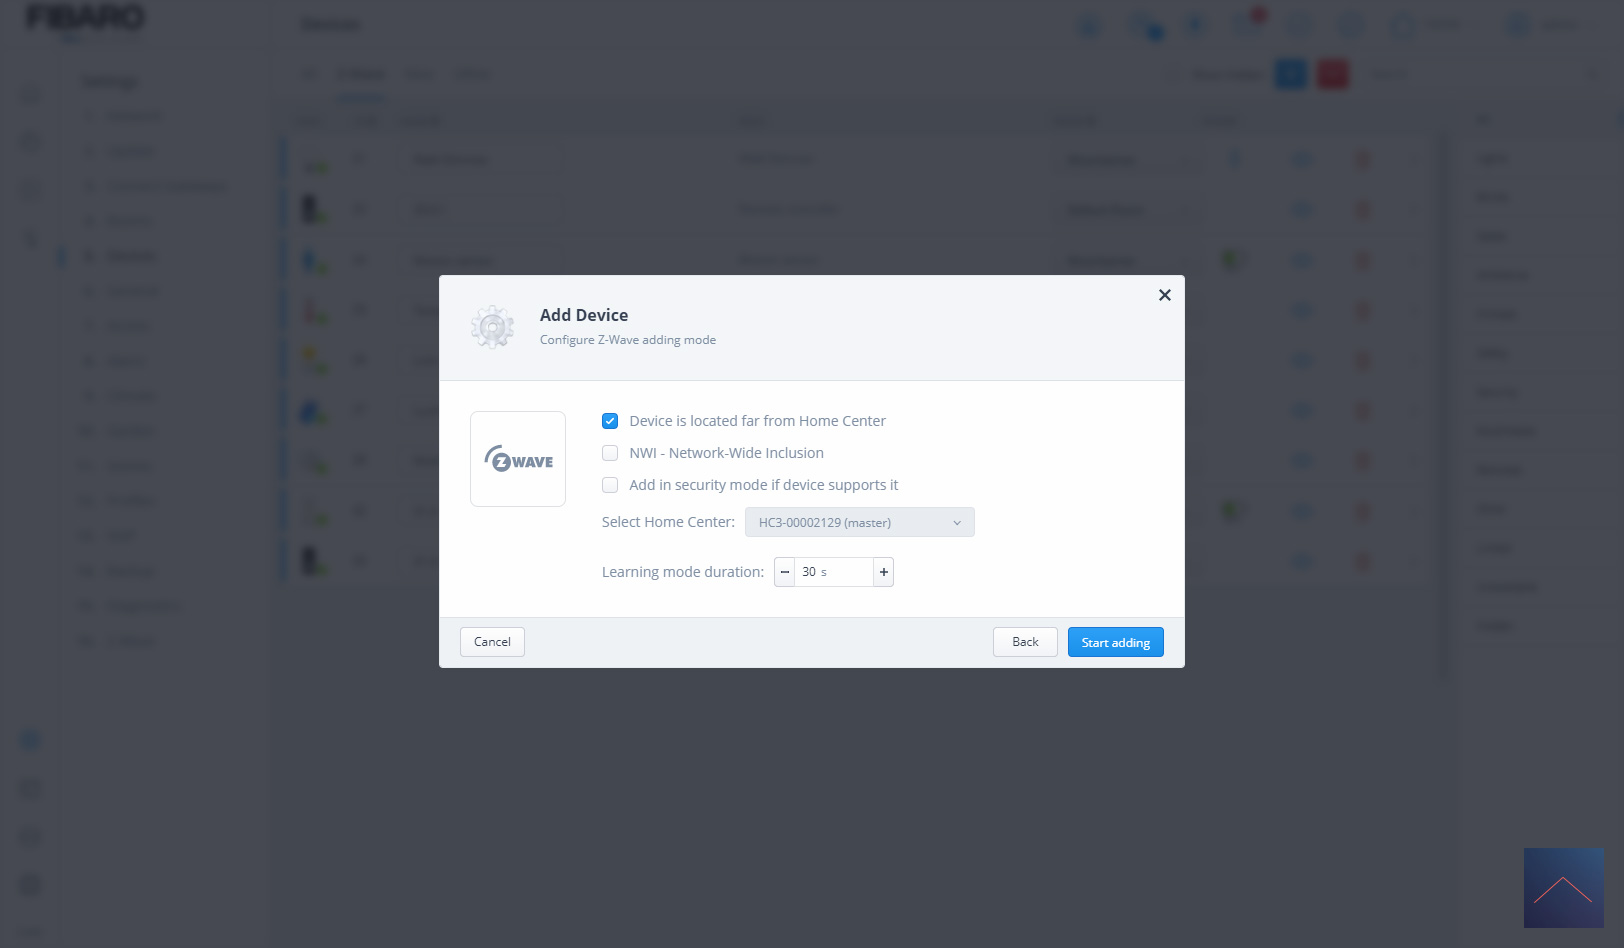
What you will now do by pressing the "start adding" button is that you put the HC3 in learning mode. He's getting ready to pick up this signal. We must also do the same on the device itself (the Walli). This way they can find each other.
Always keep the HC3 close to the device to be added. The fact is that the signal is not as strong (because of security) than it will be in the end.
Before we actually press the button in the HC3, we first supply the Walli with power. A diagram is included on how to do this. You can connect it with 2 wires and 3 wires (with and without ZERO). When you're done, screw everything back on and provide the whole with power again.
The Walli will first do a calibration of the connected lamp to ensure that it works properly. The LED on the front will change color and the lamp will flash. If successful, the LED on the switch will glow green.
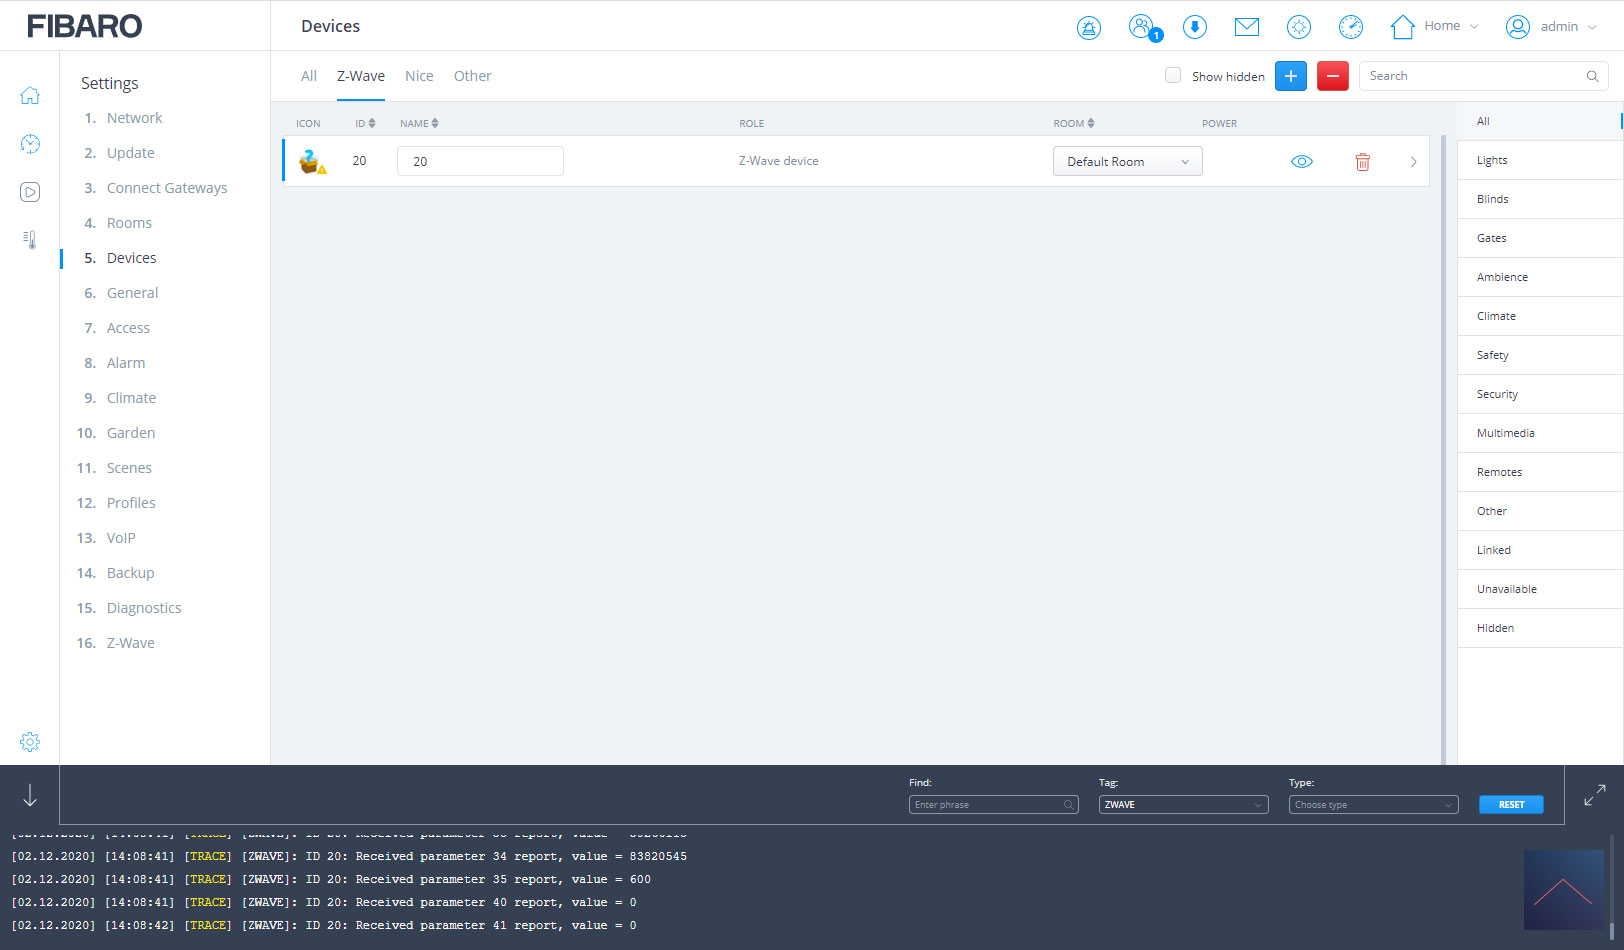
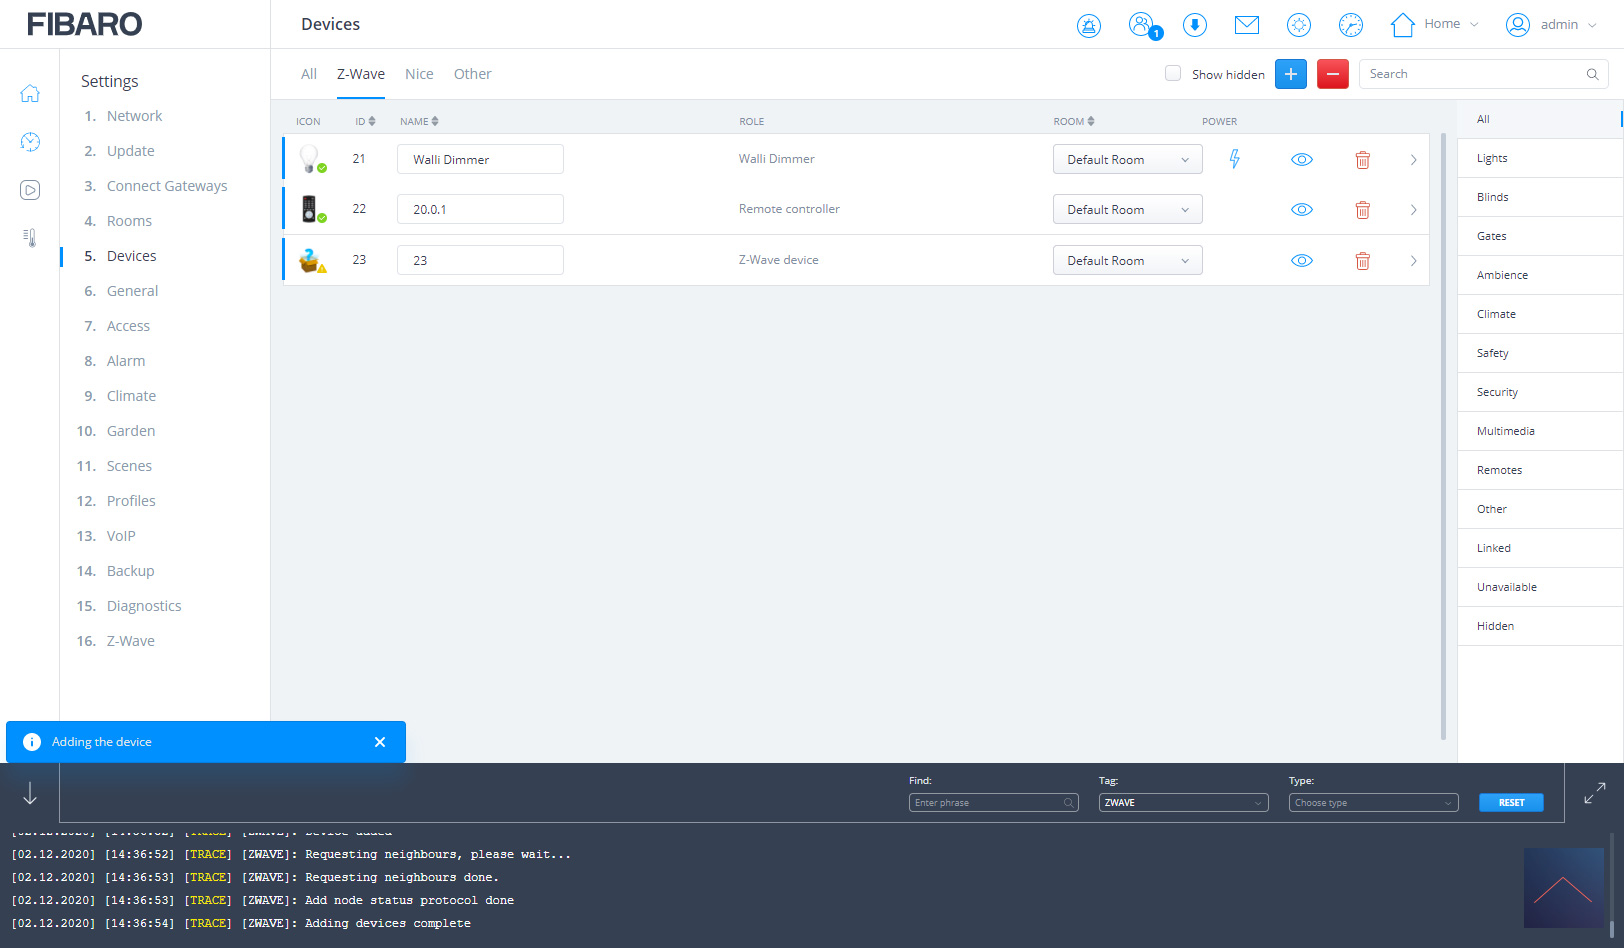
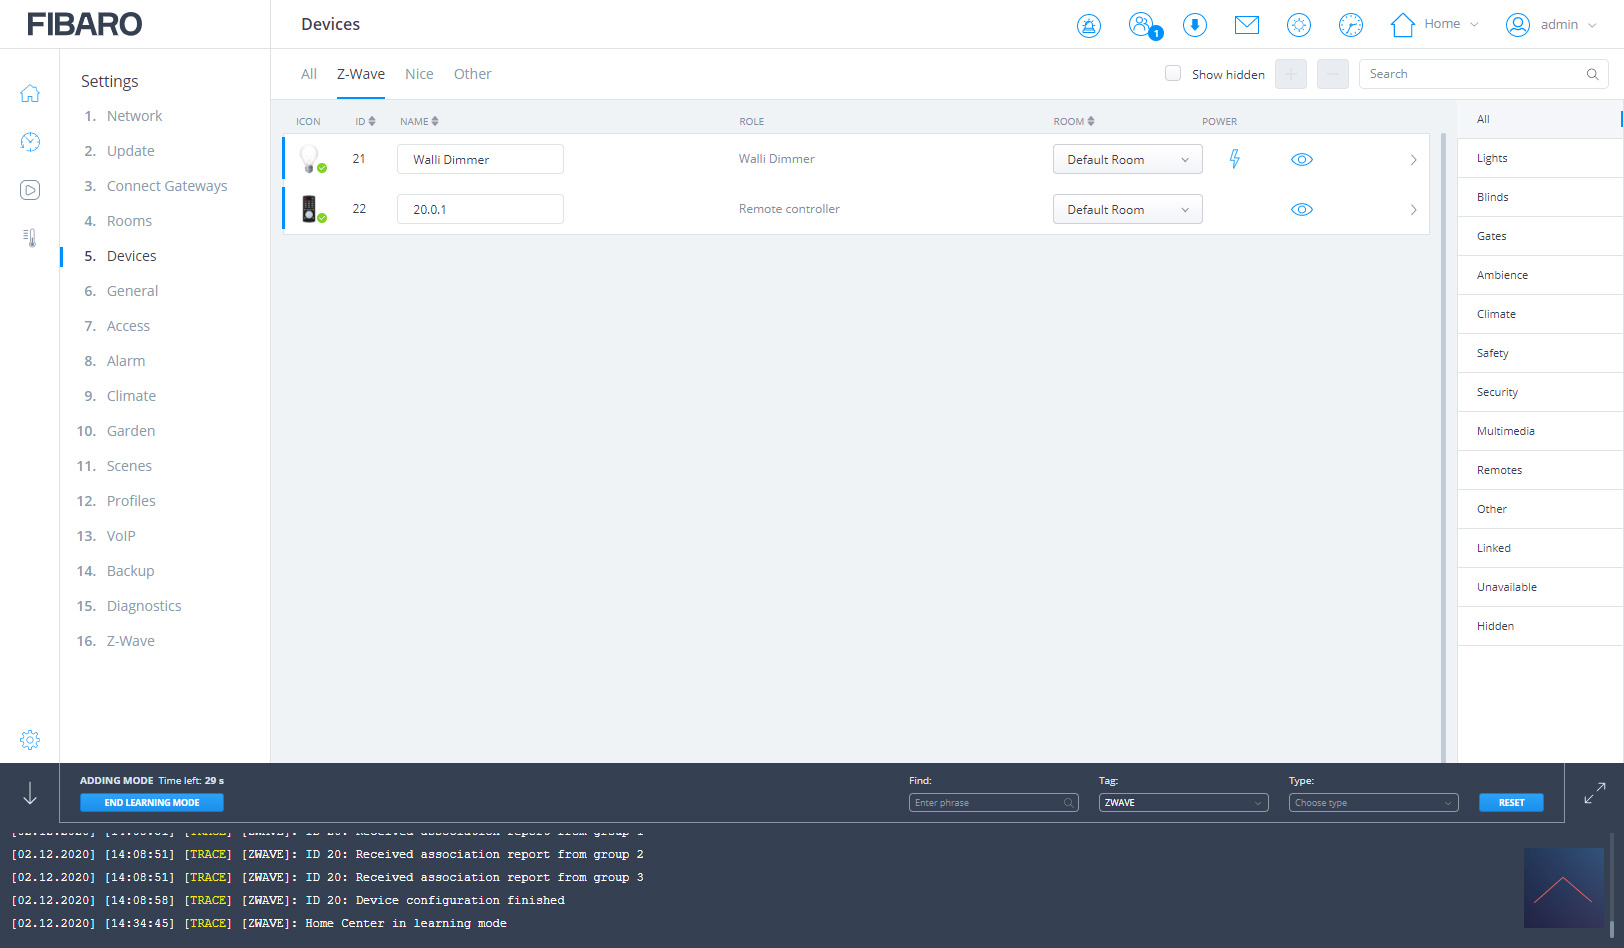
Now we can press the "start adding" button in the HC3 Lite. To start adding on the Walli we press the switch 3x. You will see the LED start flashing yellow and I see all additions starting in the console of the hub.
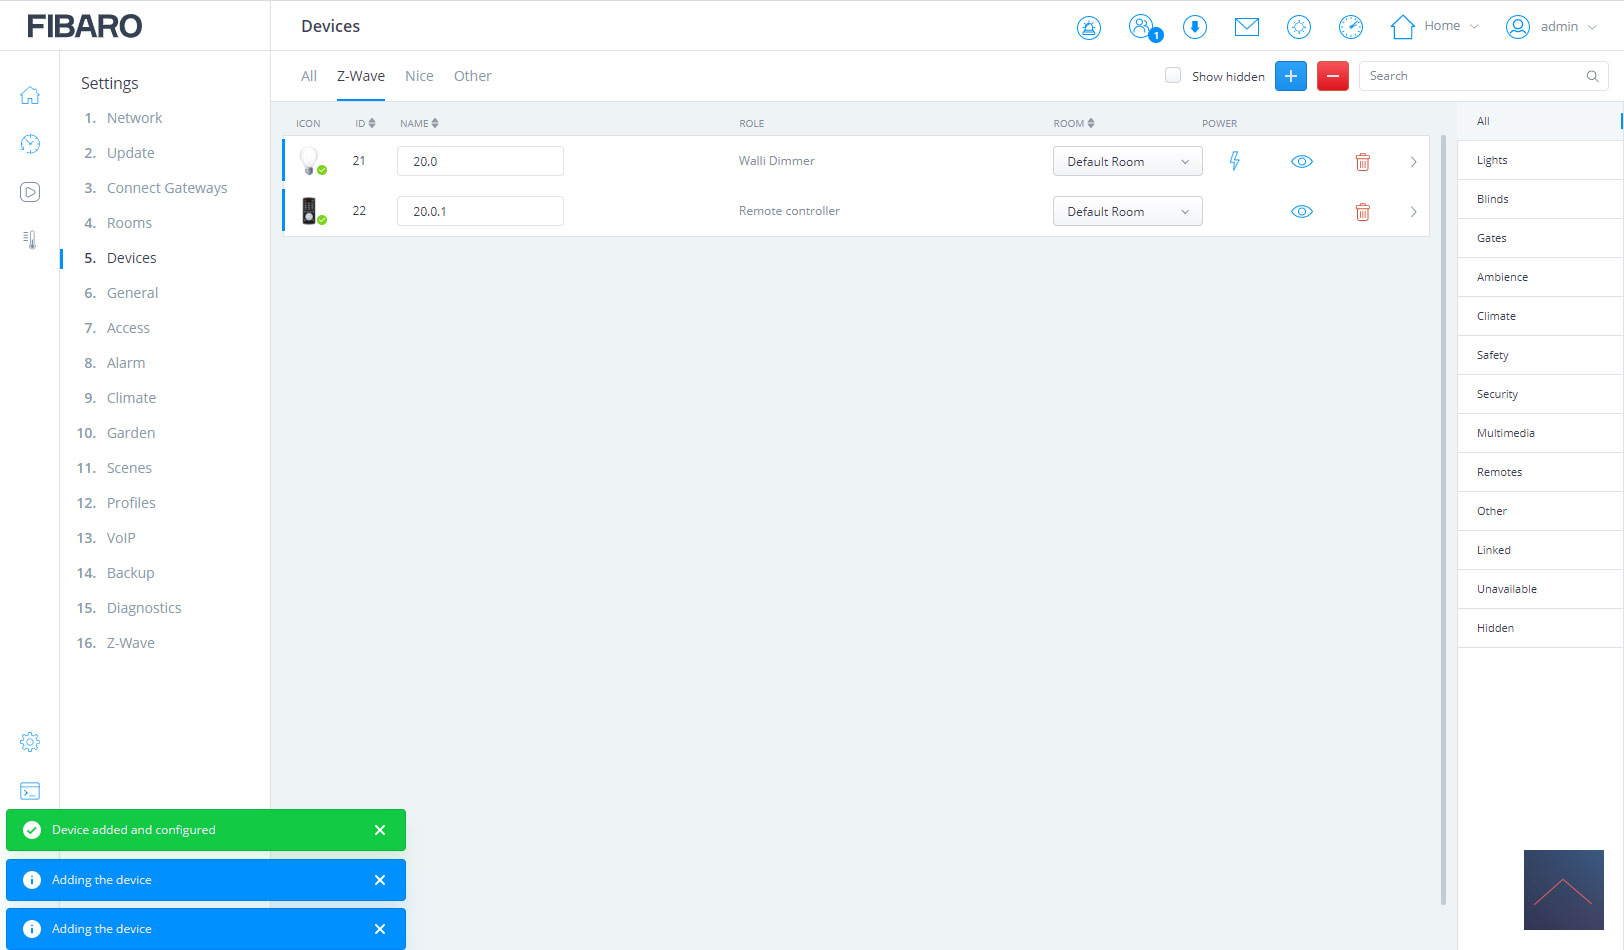
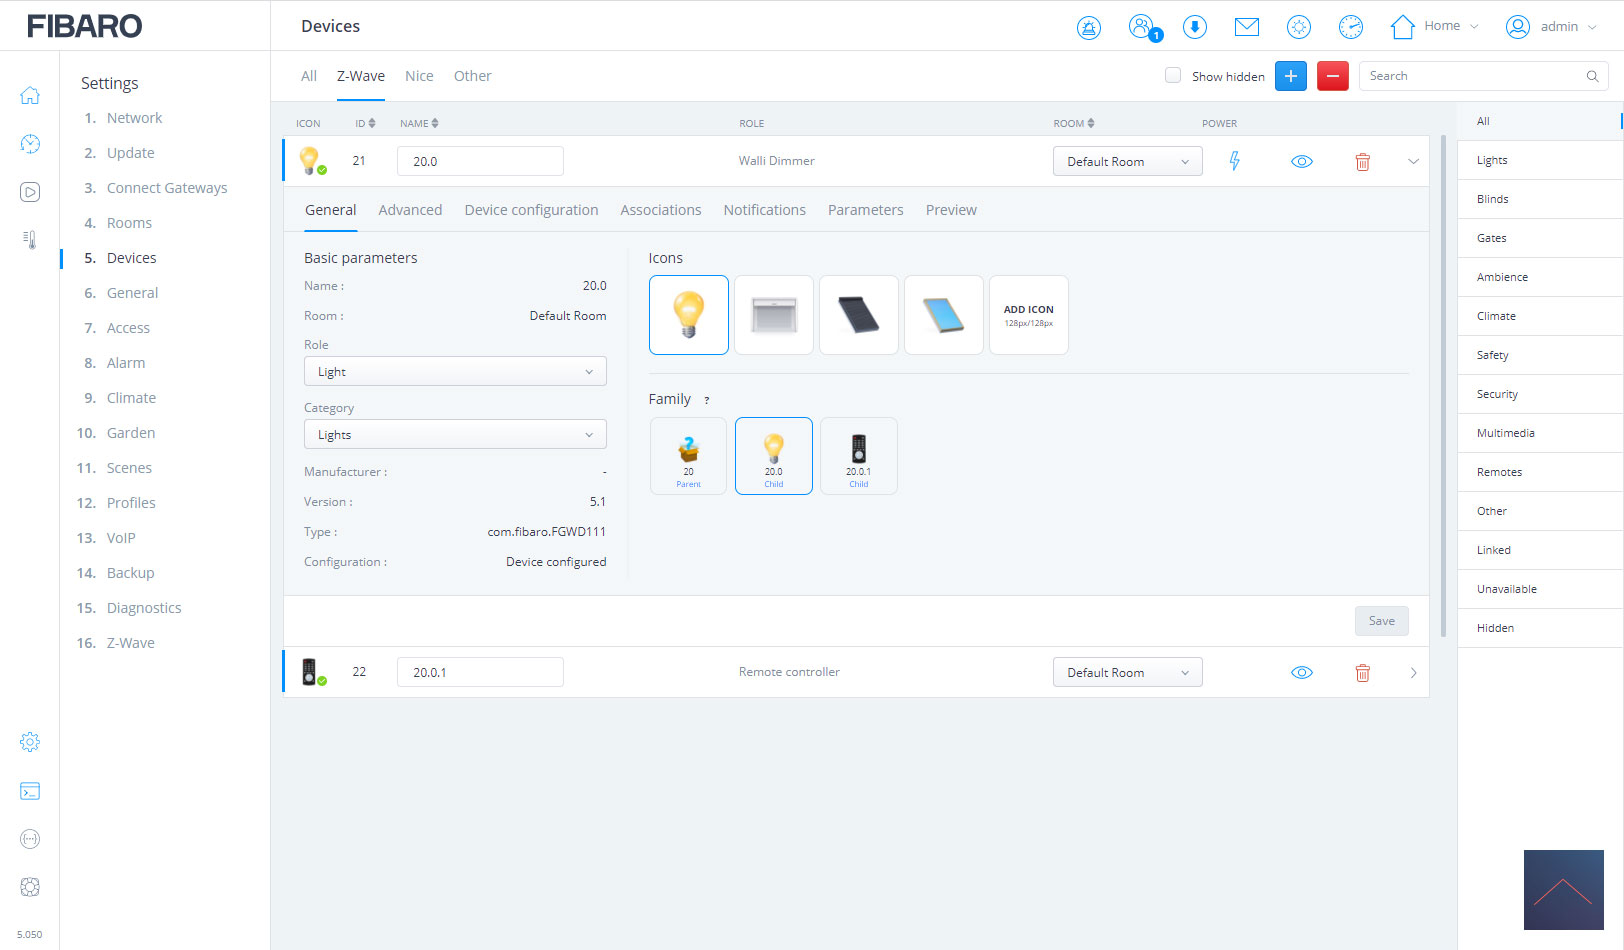
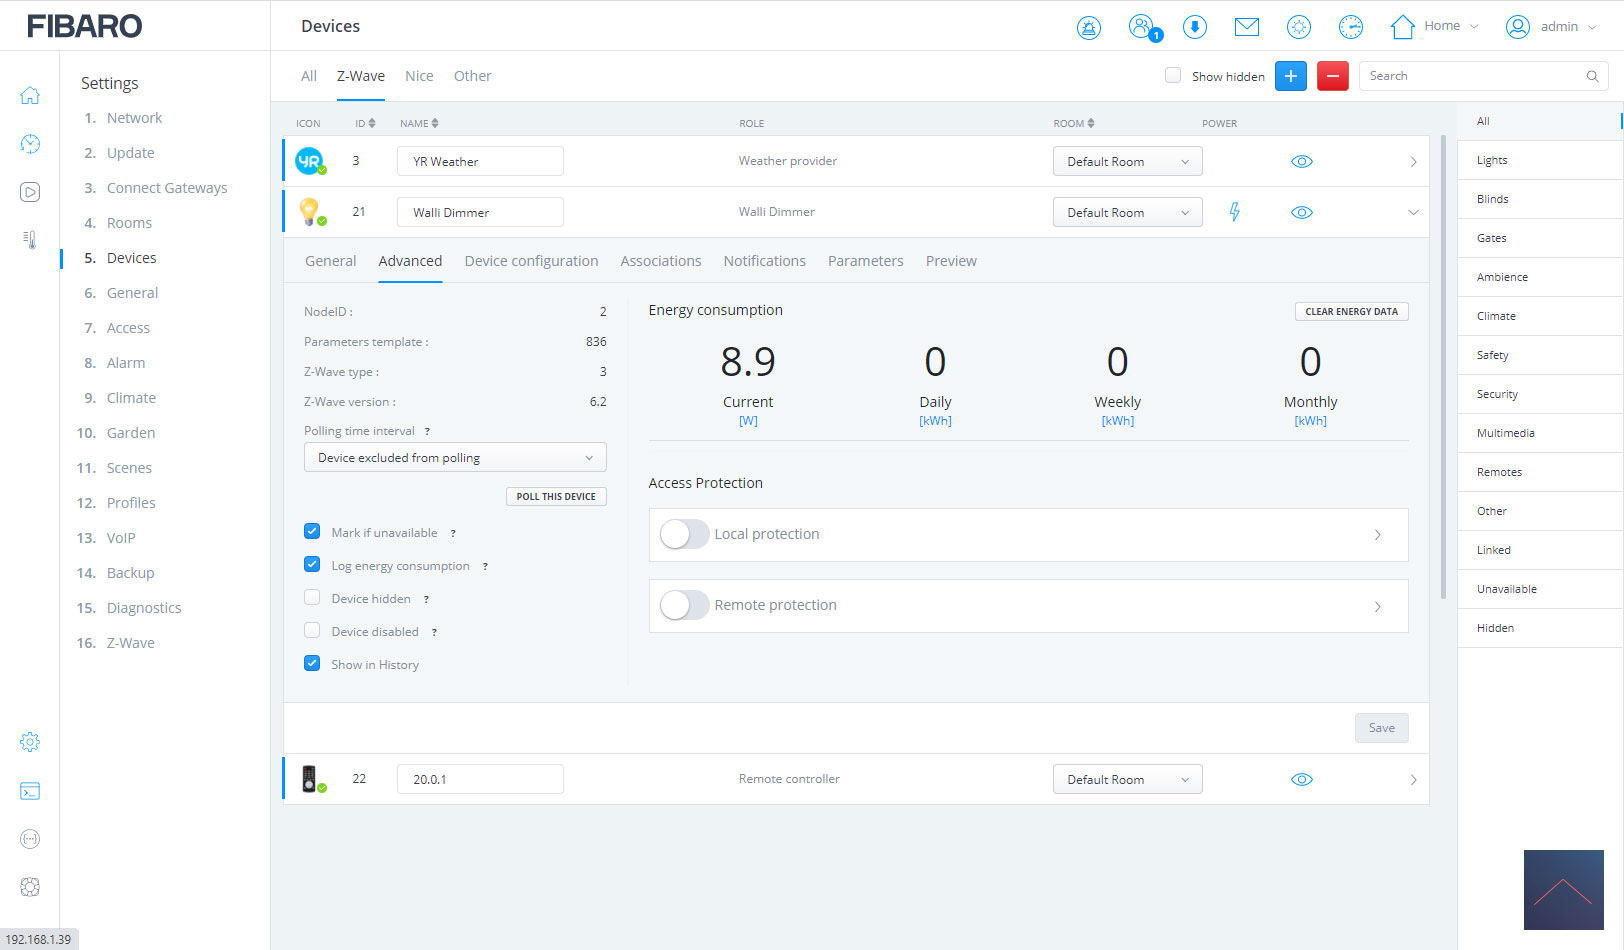
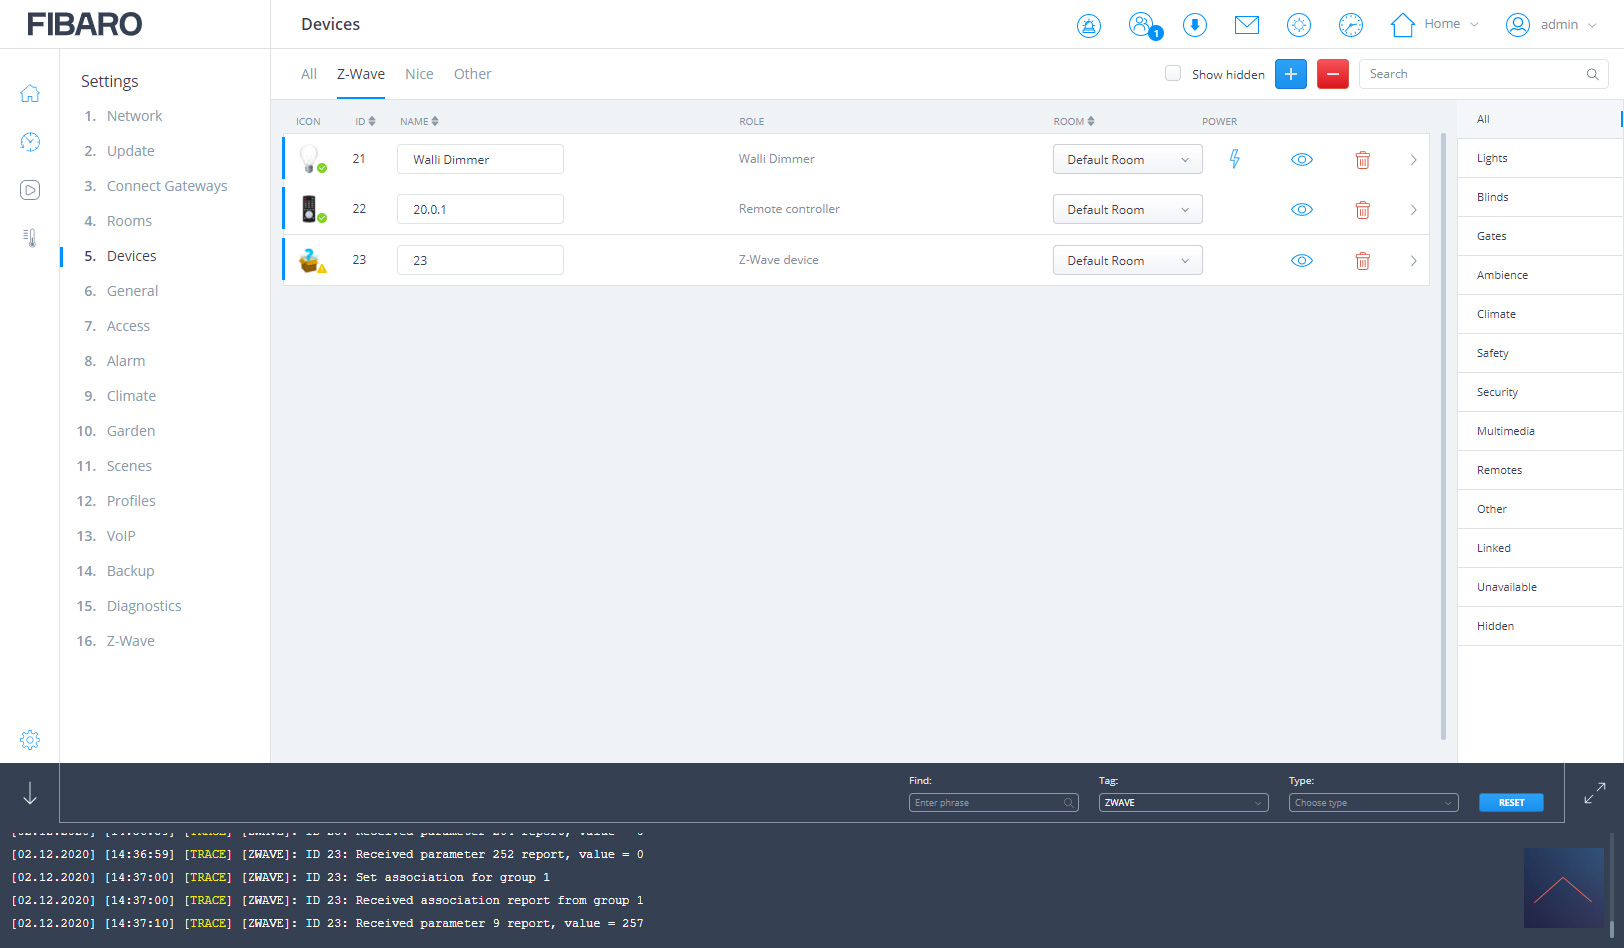
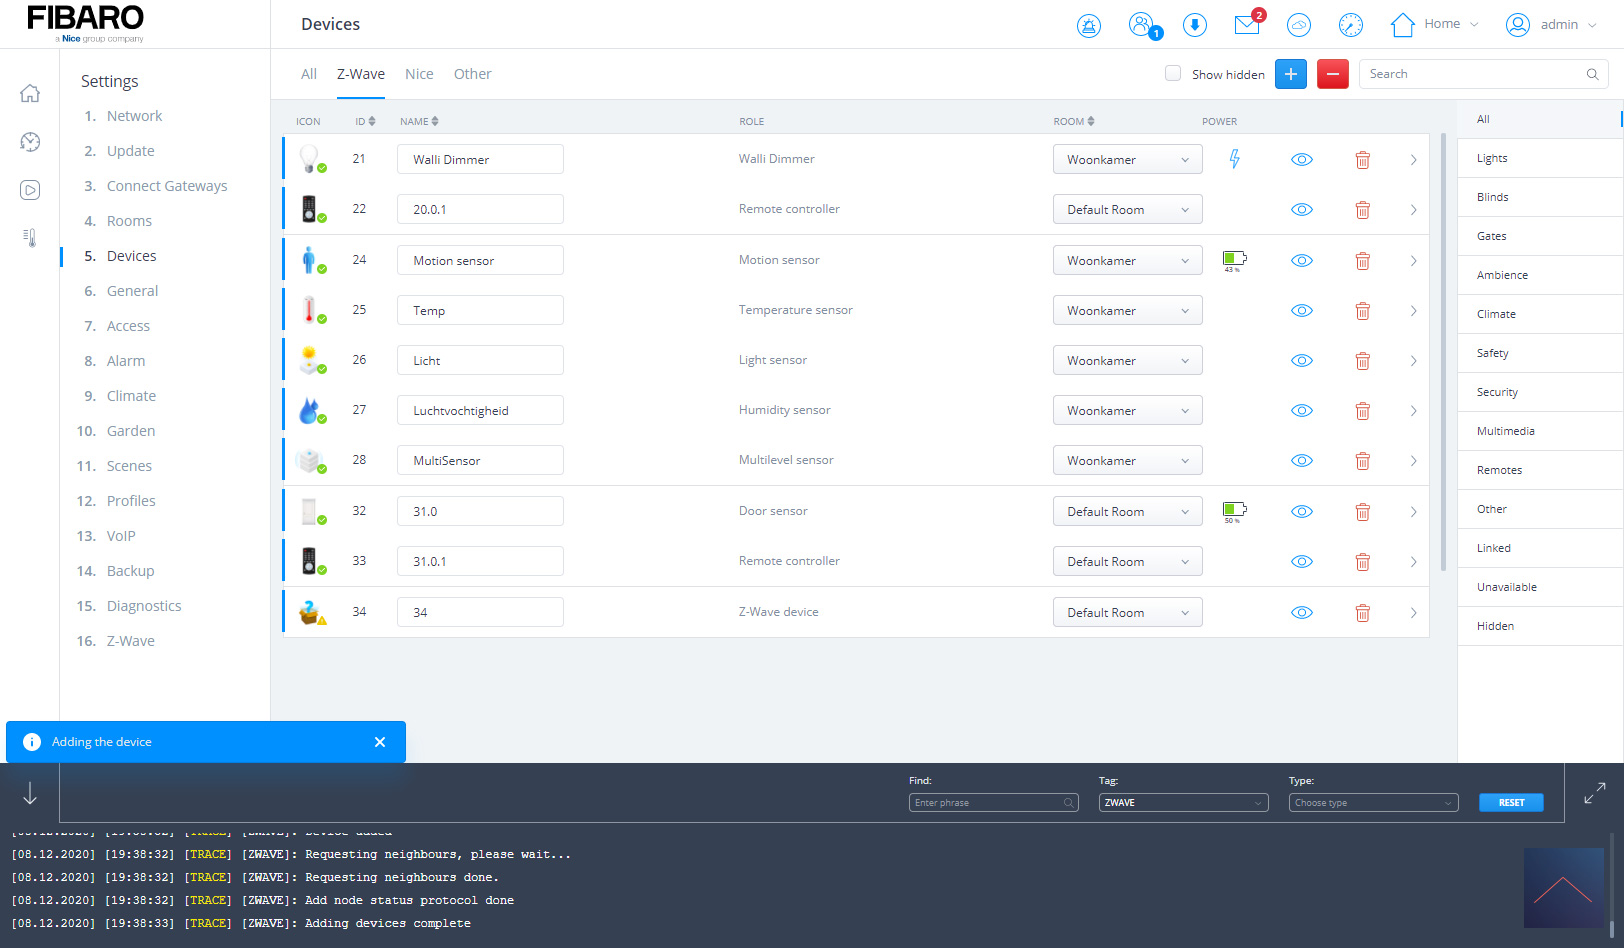
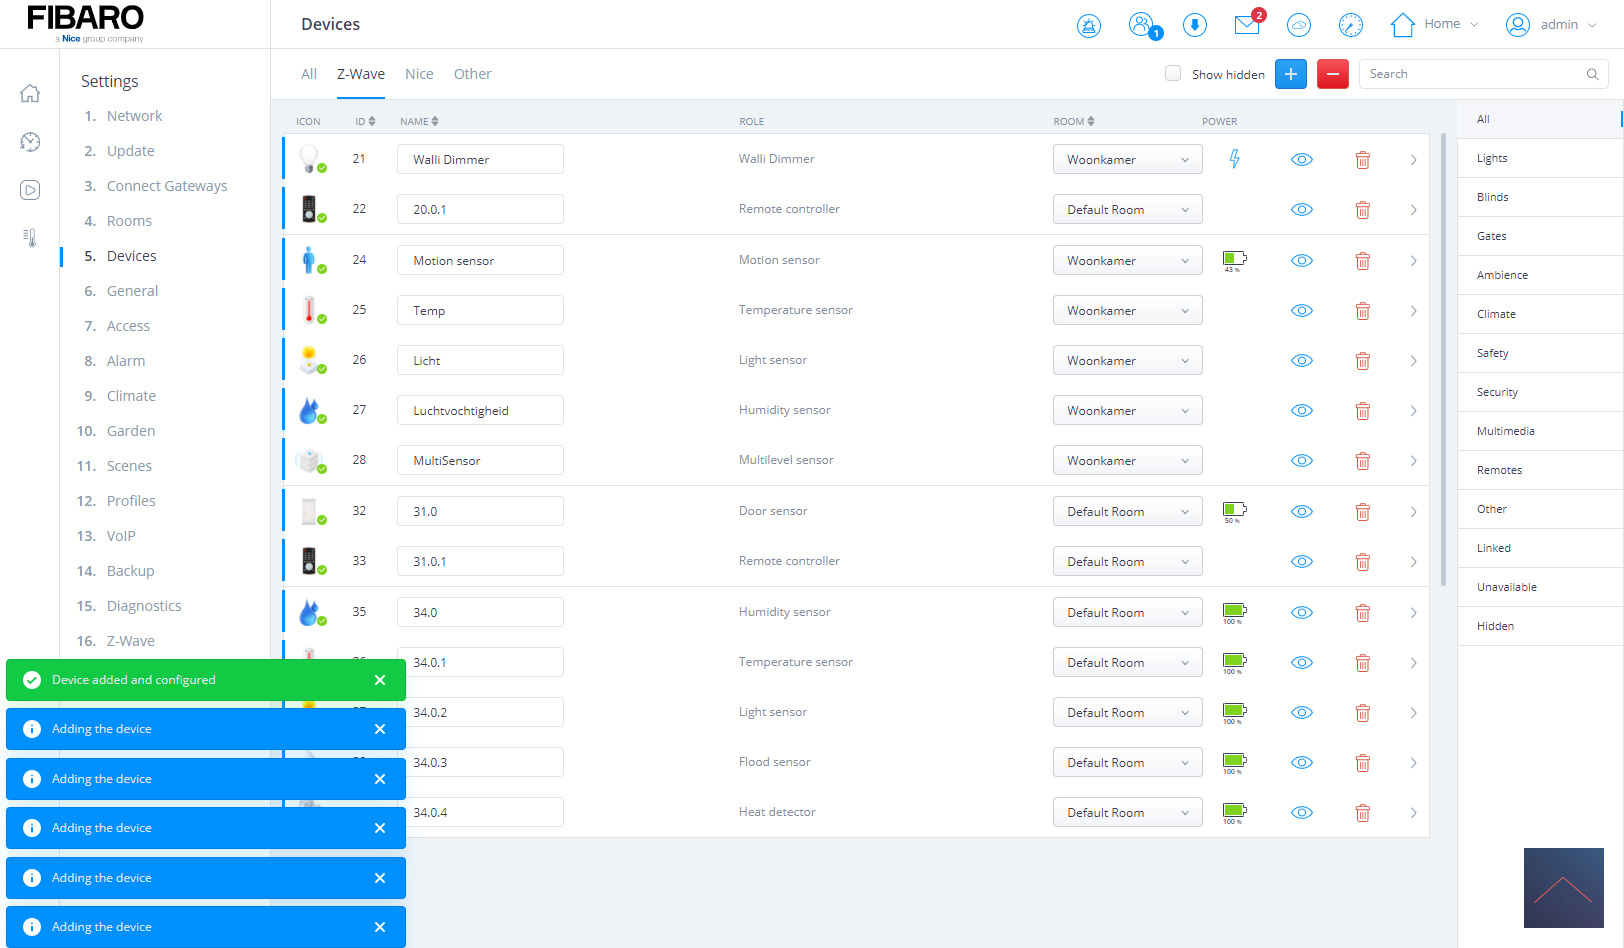
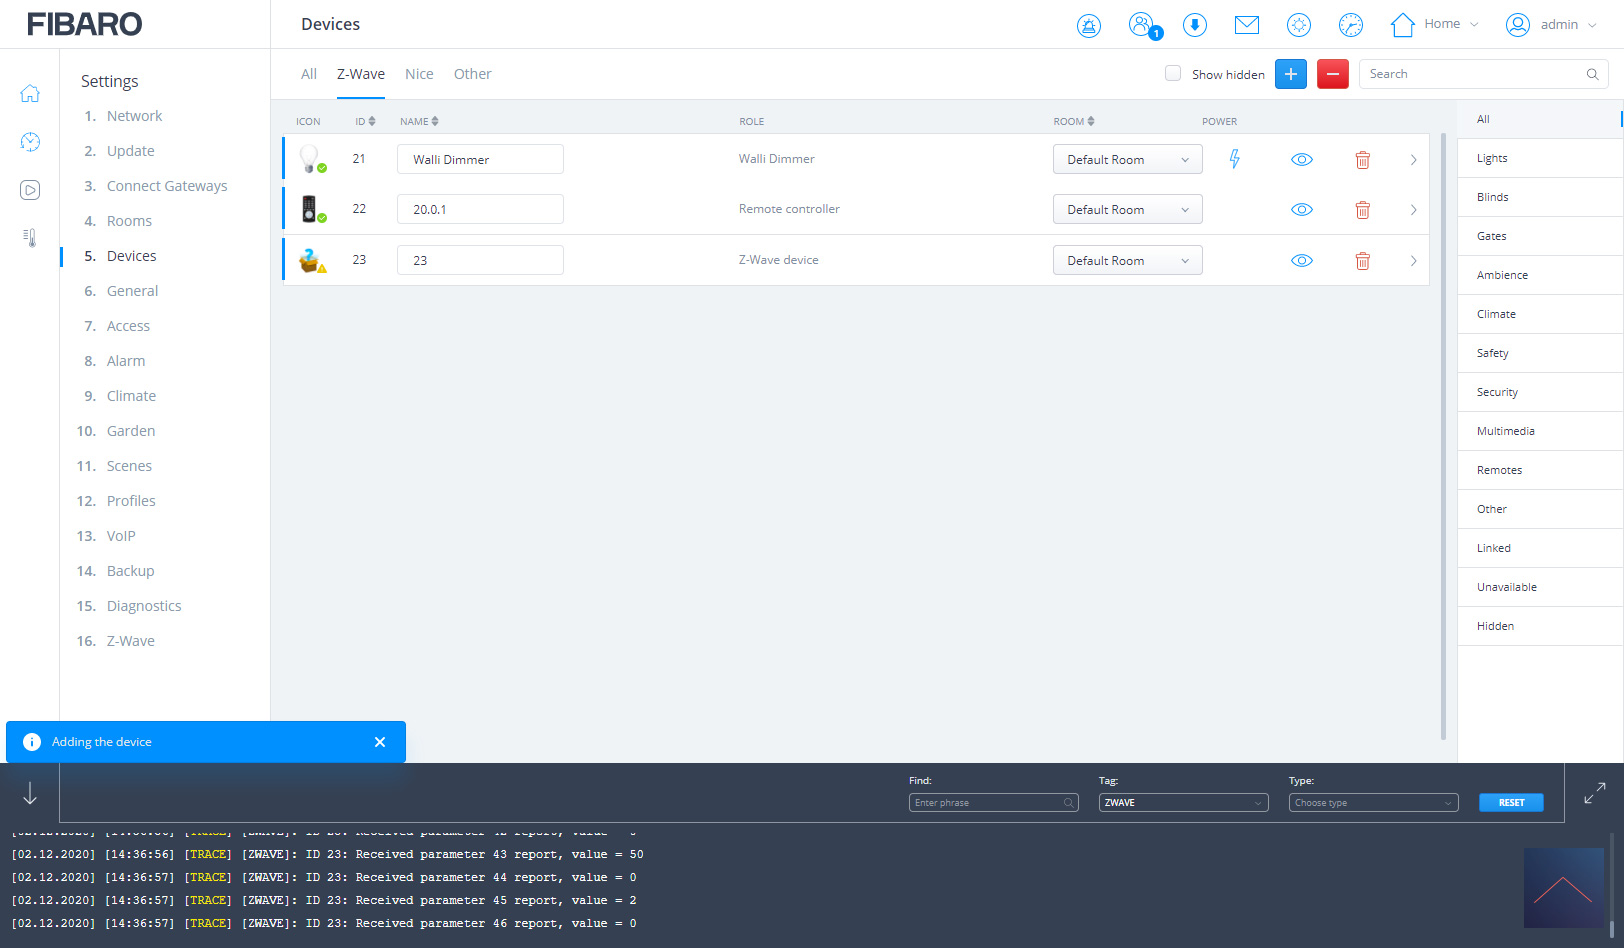
After a few seconds I get a message that the add was successful and on the switch I see the LED light up green. As expected, completely as it should be. The nice thing that this is a product of Fibaro itself is that all configuration options are available. So you don't have to look in the manual for this.
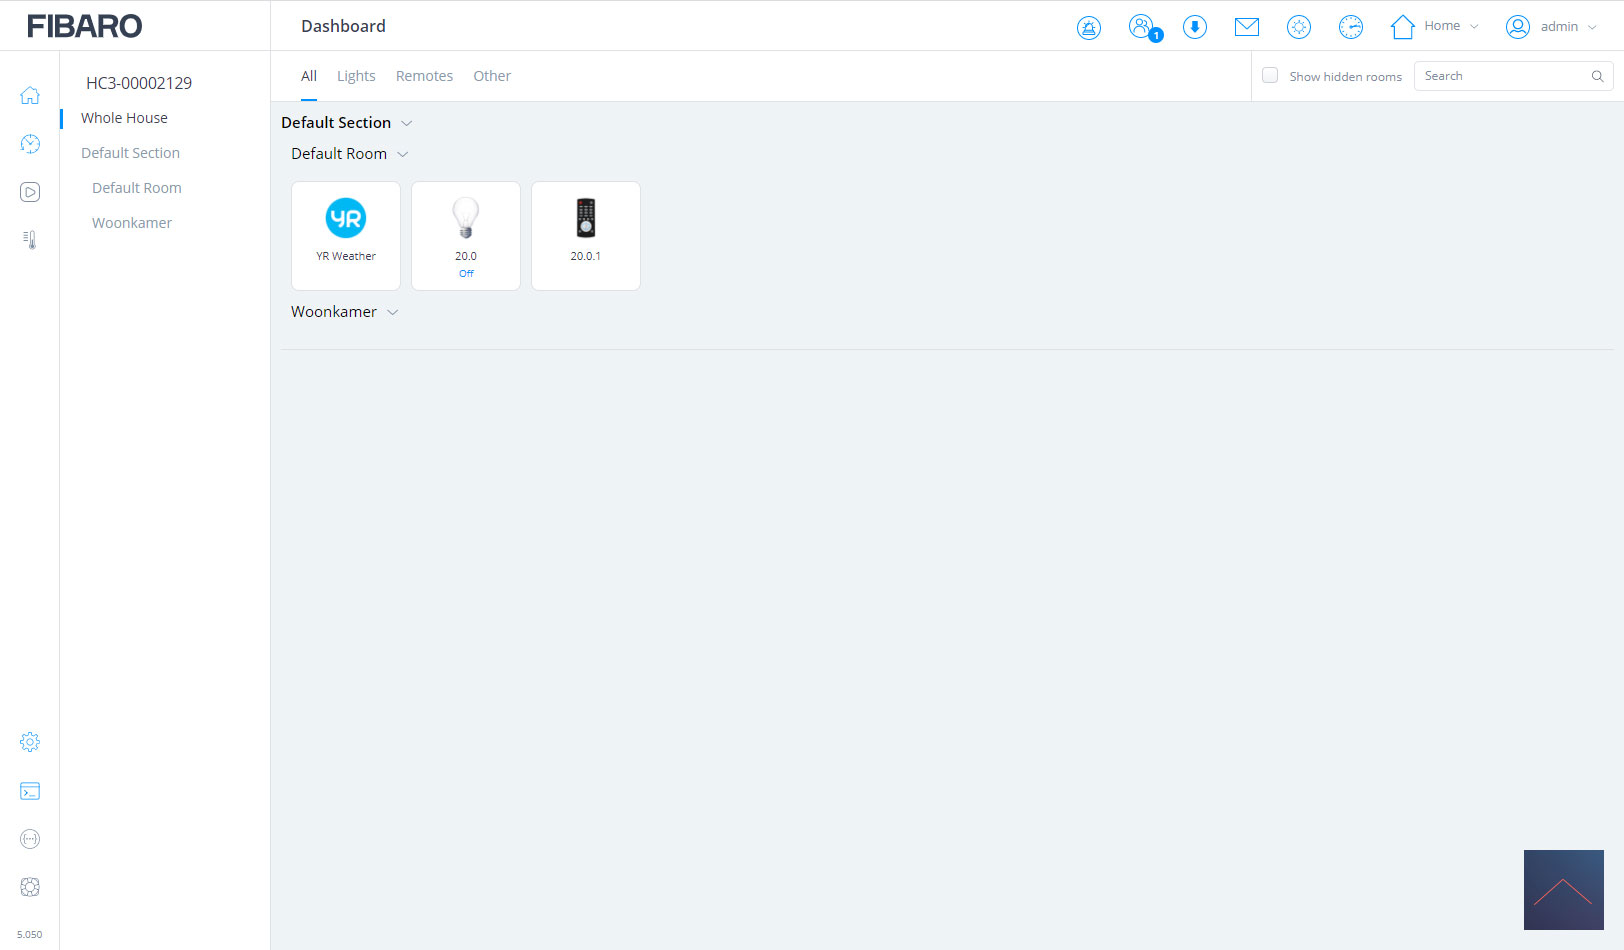
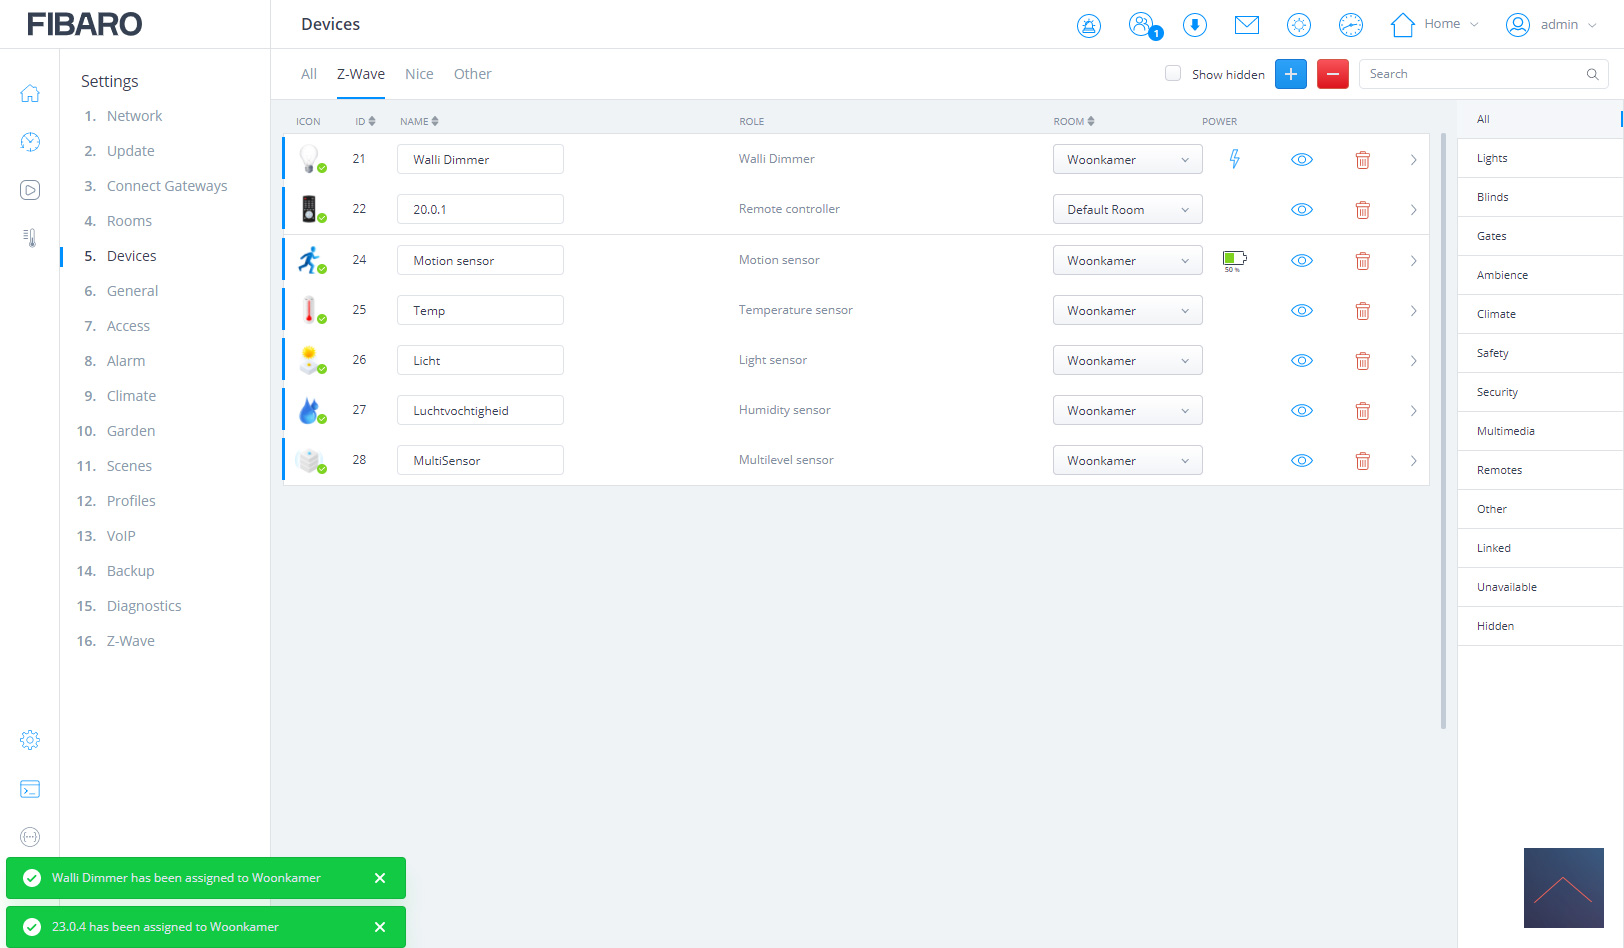
We can now give the lamp a name and put it in a room so that we can easily find it again.
Installation screens:

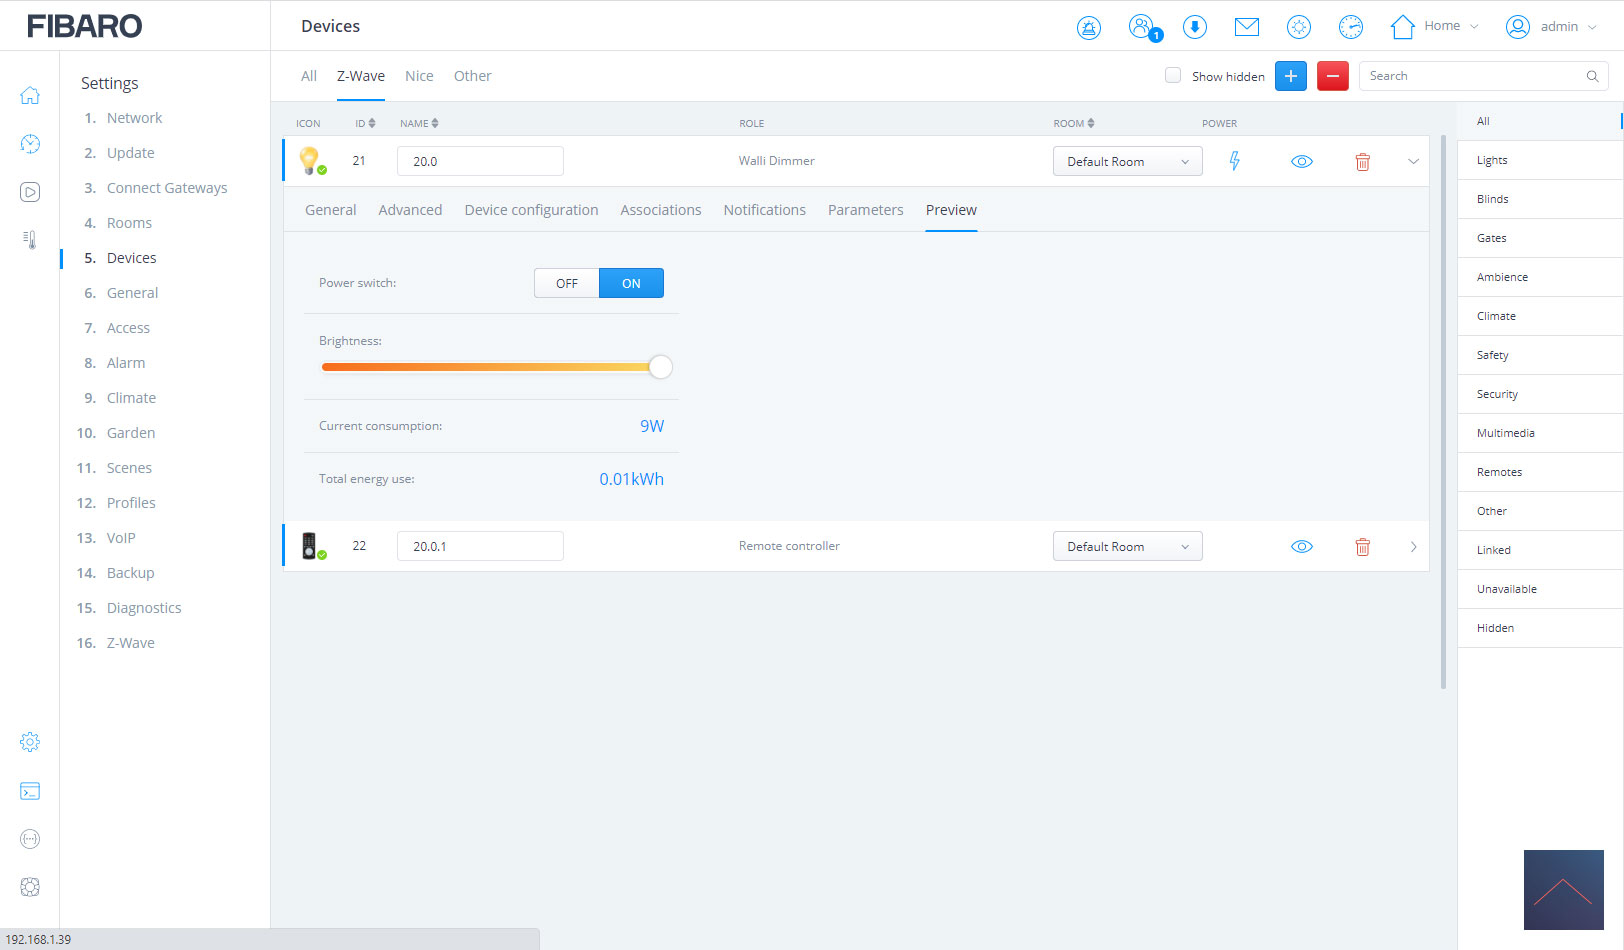
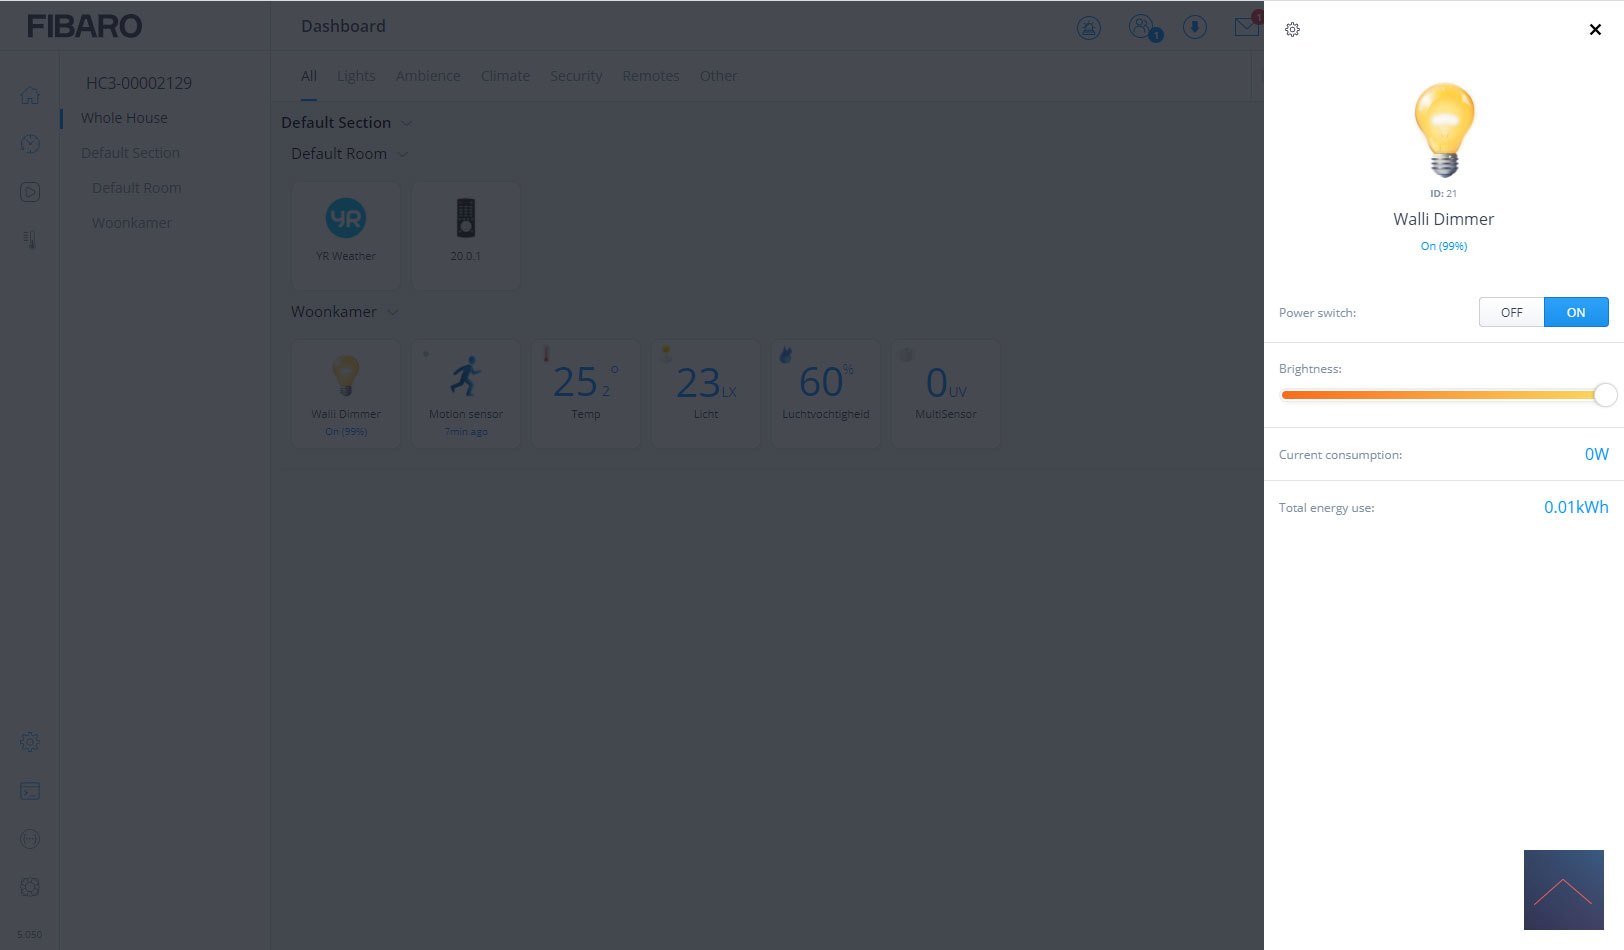
Control:
Now that we have added it, the connected lamp can be operated via the switch as well as via the HC3. The status is kept in both places. We can switch the lamp on and off, dim it and see the energy consumption.
We are going to make an extensive review of this switch. Keep an eye on our blog.

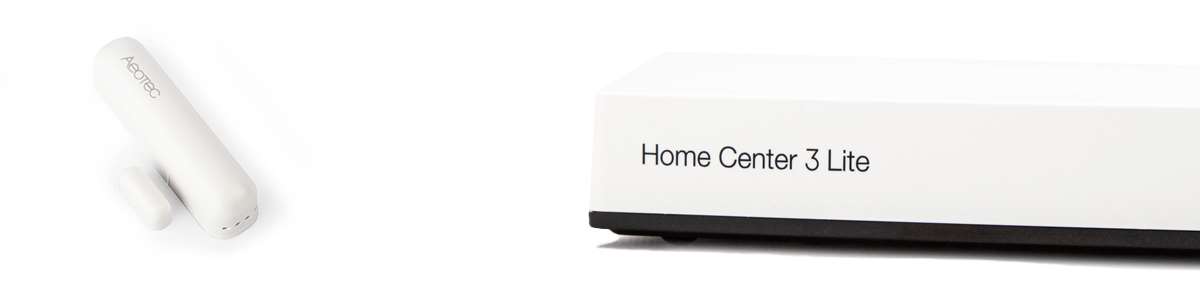
Aeotec Door/window Sensor 7
We now have 1 device, but let's add a few more. We are now going to add the Aeotec Door/window Sensor 7 which works via the wireless protocol Z-Wave Plus. With this device you can detect if, for example, a window is open.
Fibaro did not make this sensor itself, so it is interesting to see what it does on the HC3 Lite.
The addition is again done in the same way as the Walli. We go back to our configuration of your devices clicking on the plus sign. We now have to make sure that the sensor is in learning mode.
You can do this by removing the tab near the battery. The front LED will flash red to indicate that the adding process has started. If this does not work, you have to press the tamper switch 3x within 1.5 seconds. This is located on the inside and next to the spring. In this case, the LED will light up twice.
It is found almost immediately and I see some devices appearing on my dashboard. So completely complete.
Installation screens:


Operation:
As soon as someone opens a door/window, the sensor will send a signal to the controller. From here you can then make a smart rule to switch on the alarm or, for example, a lamp. We will discuss exactly how this works in the next chapter.
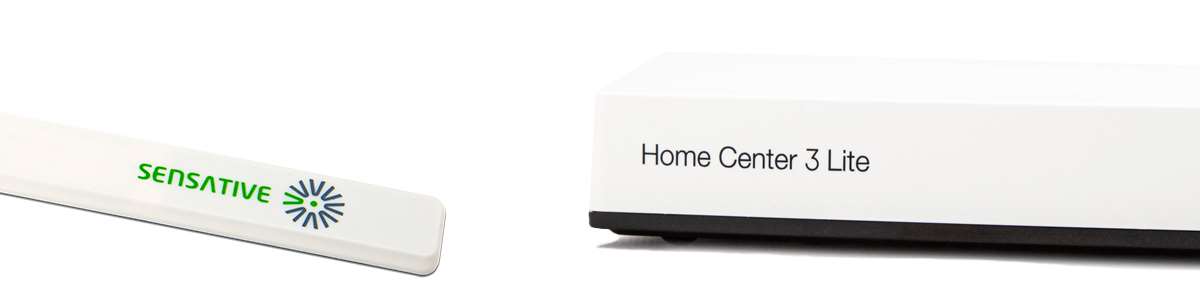
Sensative Comfort
We have now successfully added a dimmer, door sensor and motion sensor. Let's add another device just for fun. This time we take the Sensative Comfort, this is a sensor that can measure temperature and light. We could, for example, combine this with the dimmer and door sensor to determine whether the dimmer can be switched on.
We'll start just like last time by going to our devices and clicking the plus sign. We click on Z-Wave again and now go over the sensor 3x from right to left with the supplied magnet. So this is a slightly different method for adding than the other 2 devices.
After a few seconds I see the LED on the sensor will light up.
It was indeed found and I see a temperature sensor, lux meter. If I cover the sensor for a while, I see a different value come in quite quickly. So everything works as it should.
Installation screens:

Aeotec MultiSensor 6
Finally, it is nice to add a motion sensor. We take another device from Aeotec; the multisensor 6. In addition to a motion detector, this sensor has a temperature sensor, lux meter, humidity meter, shock sensor and it can measure the UV level. A real all-in-one device and a fairly unique sensor. This sensor is especially useful if you want to combine rules with each other. So if there is movement and it is dark in the room (lux value is low), you have to turn on a lamp.
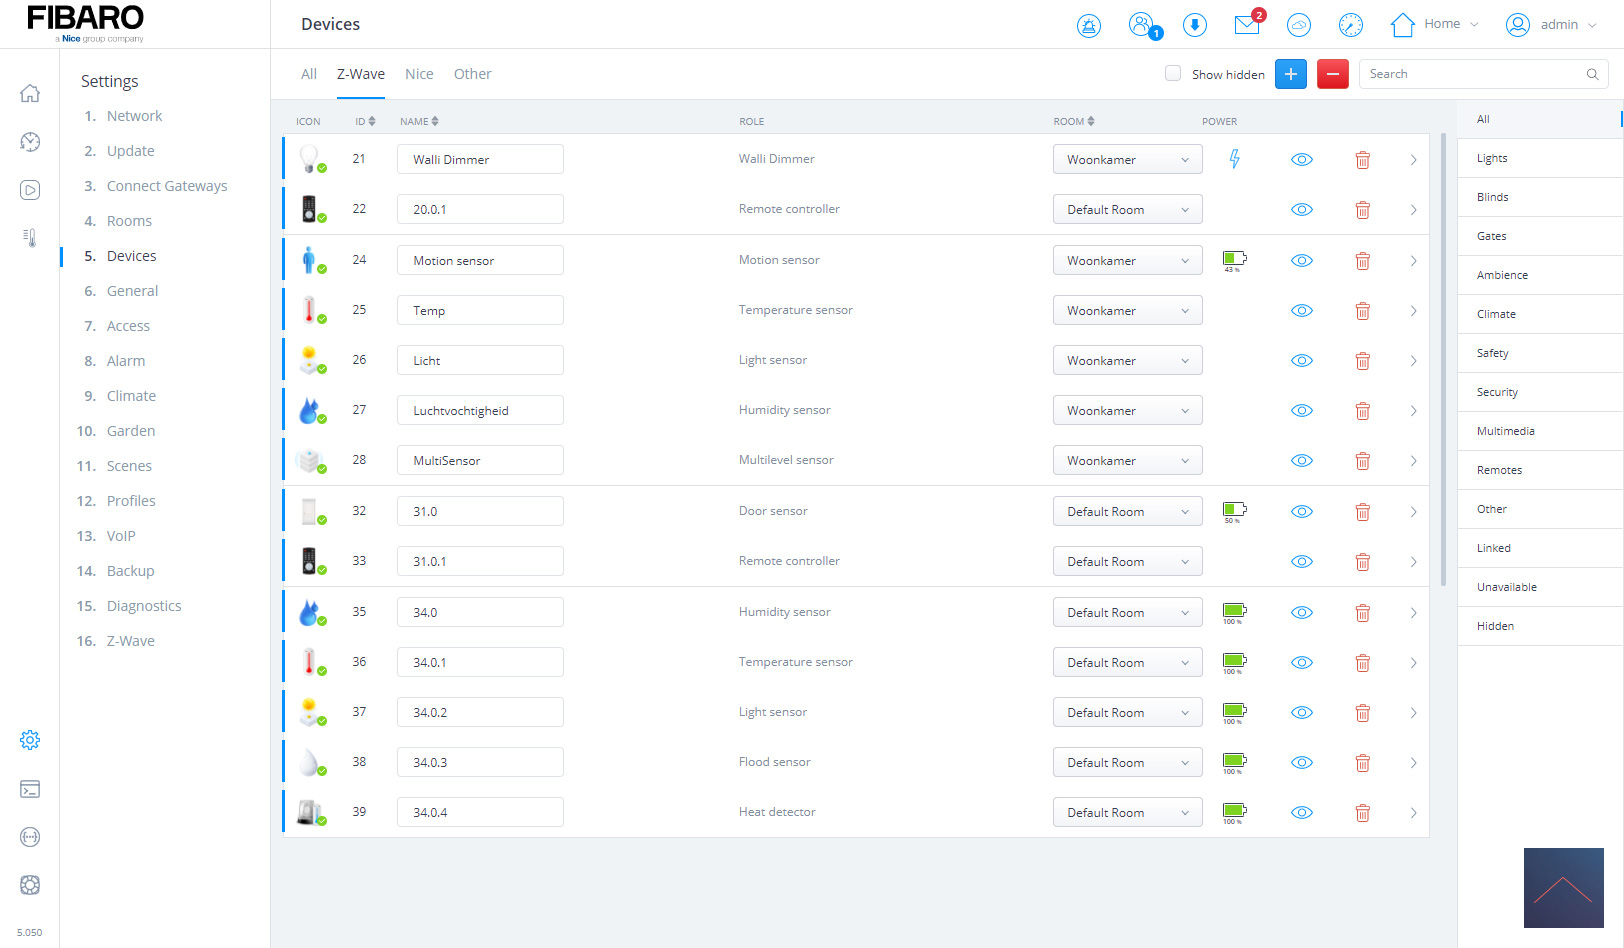
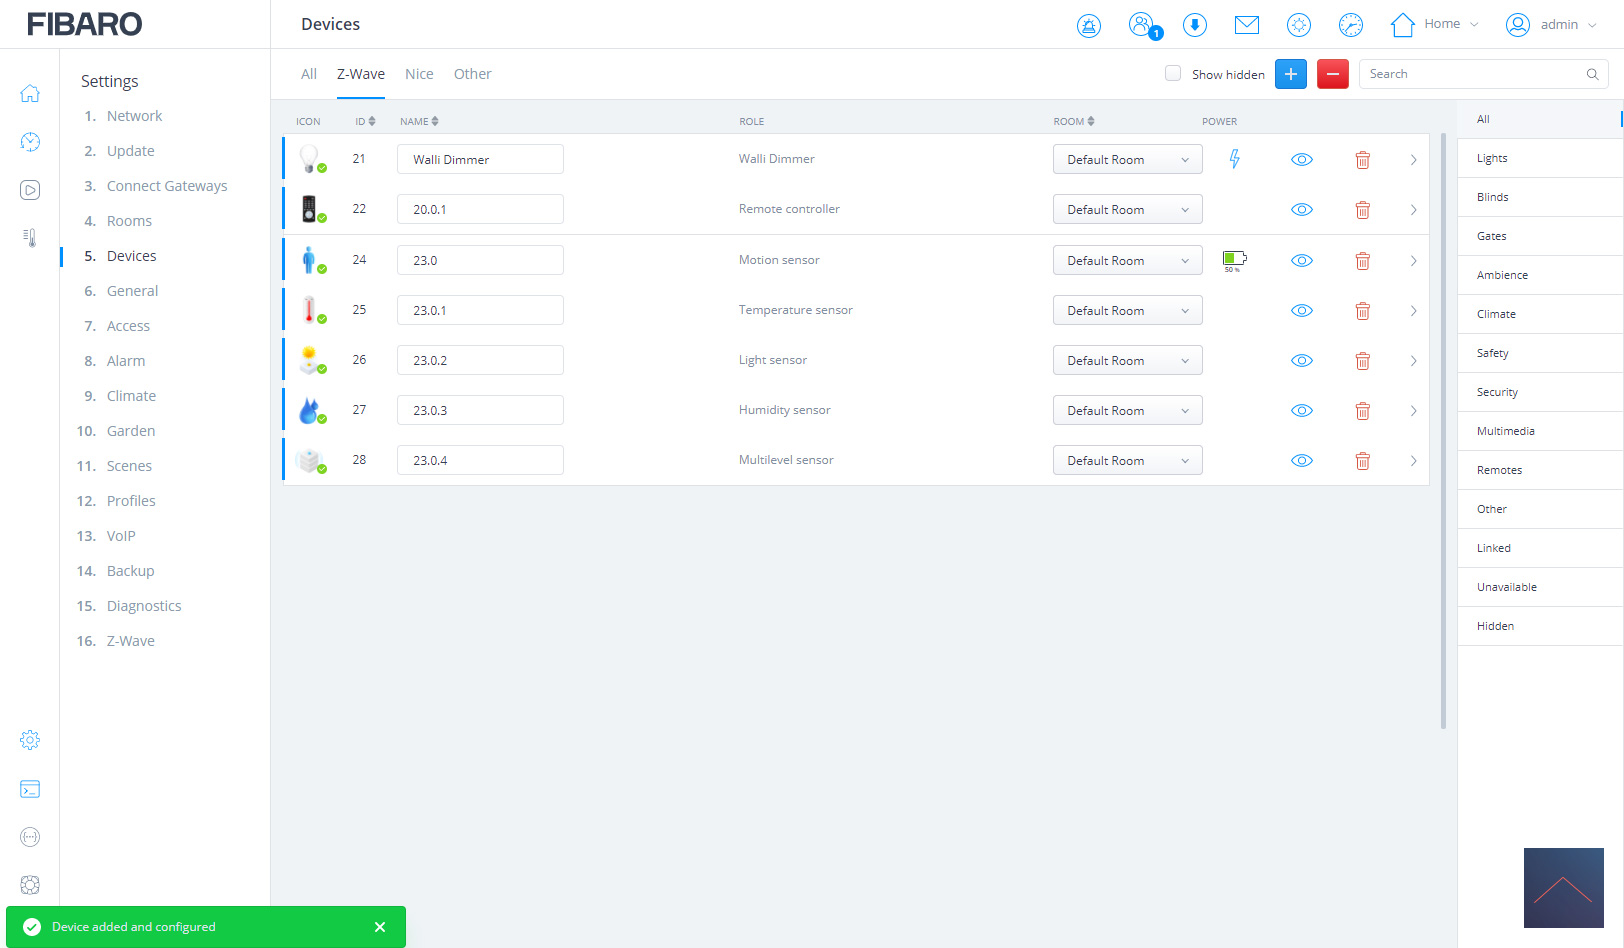
Adding is done in the same way as with the other devices. We go back to our configuration of your devices clicking on the plus sign. To ensure that the MutlSensor goes into learning mode, we press the button on the back 3x. The LED on the front side starts to blink yellow and I see that it is found by the HC3. Finally the LED turns green and I see a lot of new devices.
I immediately give them all a name and place them in the room, so that I can easily find them again.
Installation screens:


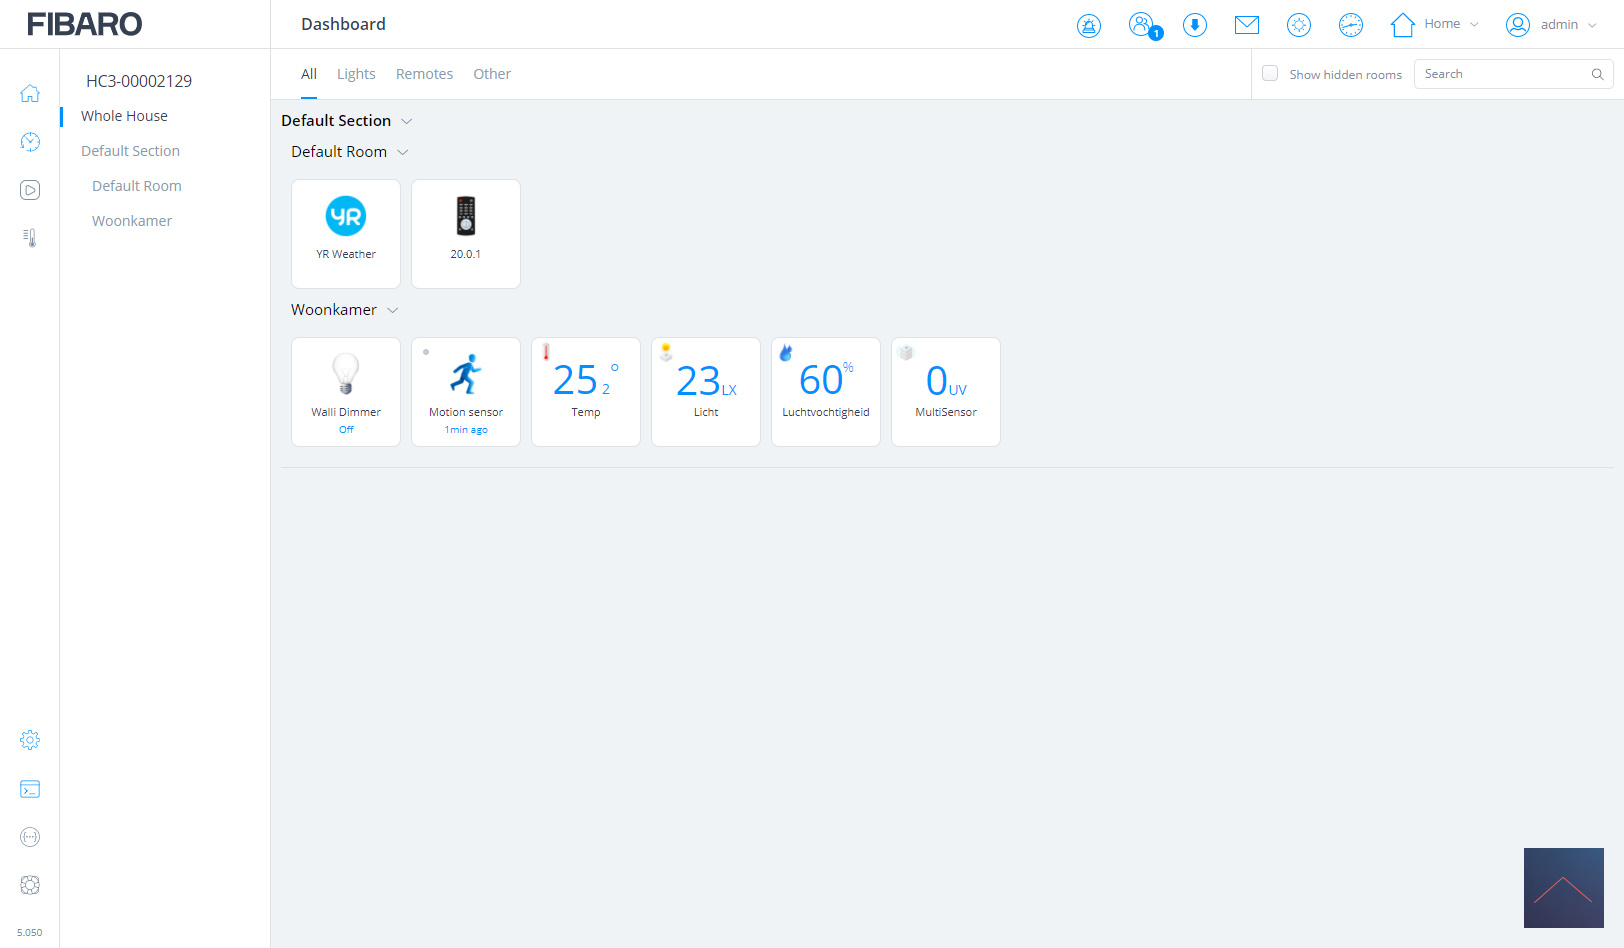
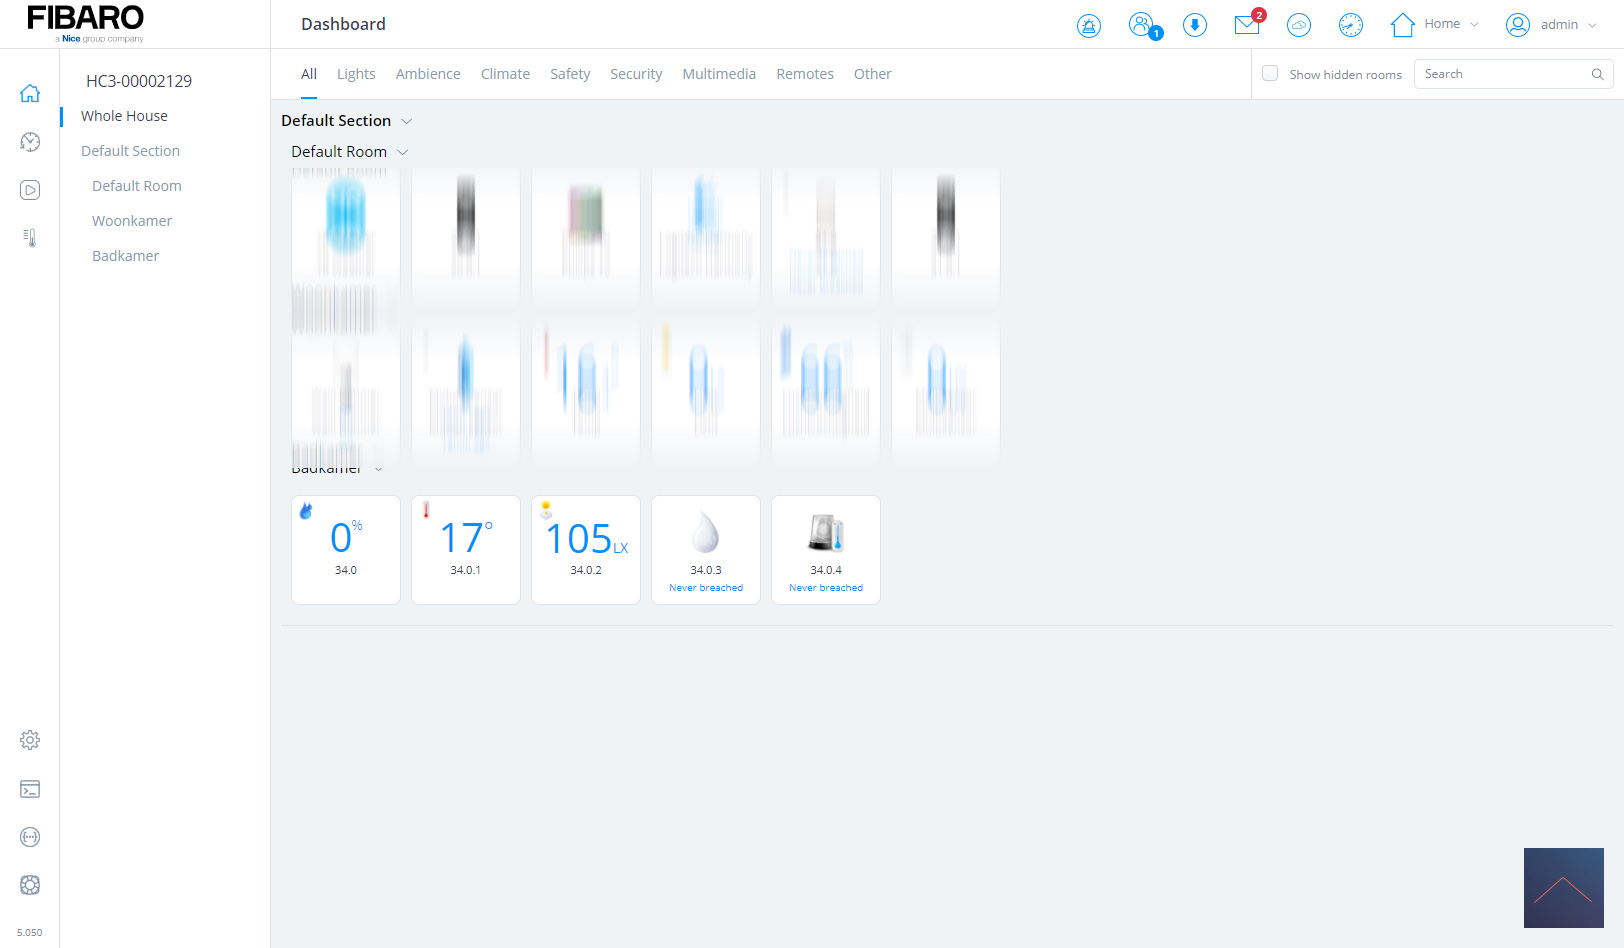
Operation:
This sensor controls everything itself and ensures that the values of the various sensors are entered automatically. You can, for example, view the temperature. When something comes in you can set it in the parameters of this device.
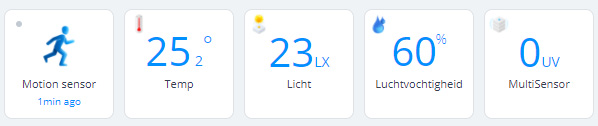
When someone walks past the sensor, it sends a signal to the HC3. This registers that there is movement and from this you can, for example, switch on a lamp. We will discuss exactly how this works in the next chapter.
