Review
Fibaro Home Center 3 Lite
Installation:
To get started with the HC3 Lite, we must first install it. The first step is to power the hub through the power supply. the supplied adaptor. After connecting, the LED will flash on the front of the hub, and then (please wait) will light up red. This means it is ready to be configured. The HC3 lite works via WiFi so the next step is to make sure it is connected to your own network. He does this by opening a WiFi hotspot. So you have to connect your computer to this hotspot. So make sure you have a laptop/computer with a WiFi connection. During the installation you will be asked for the WiFi password of the HC3 Lite, which you can find at the bottom of the hub. Once connected, use your browser to go to find.fibaro.com to find the hub. In my case, it couldn't find it, so I went to the local address and it's 10.42.0.1. He did find him this way. Now we log in with: Login name: admin Password: admin You can change this later. Even more strongly, it is actually recommended that you change this one, as this is a rather obvious combination. By the way, these are your local login details. You can also use it externally, more on this later.
To get started with the HC3 Lite, we must first install it. The first step is to power the hub through the power supply. the supplied adaptor. After connecting, the LED will flash on the front of the hub, and then (please wait) will light up red. This means it is ready to be configured. The HC3 lite works via WiFi so the next step is to make sure it is connected to your own network. He does this by opening a WiFi hotspot. So you have to connect your computer to this hotspot. So make sure you have a laptop/computer with a WiFi connection. During the installation you will be asked for the WiFi password of the HC3 Lite, which you can find at the bottom of the hub.
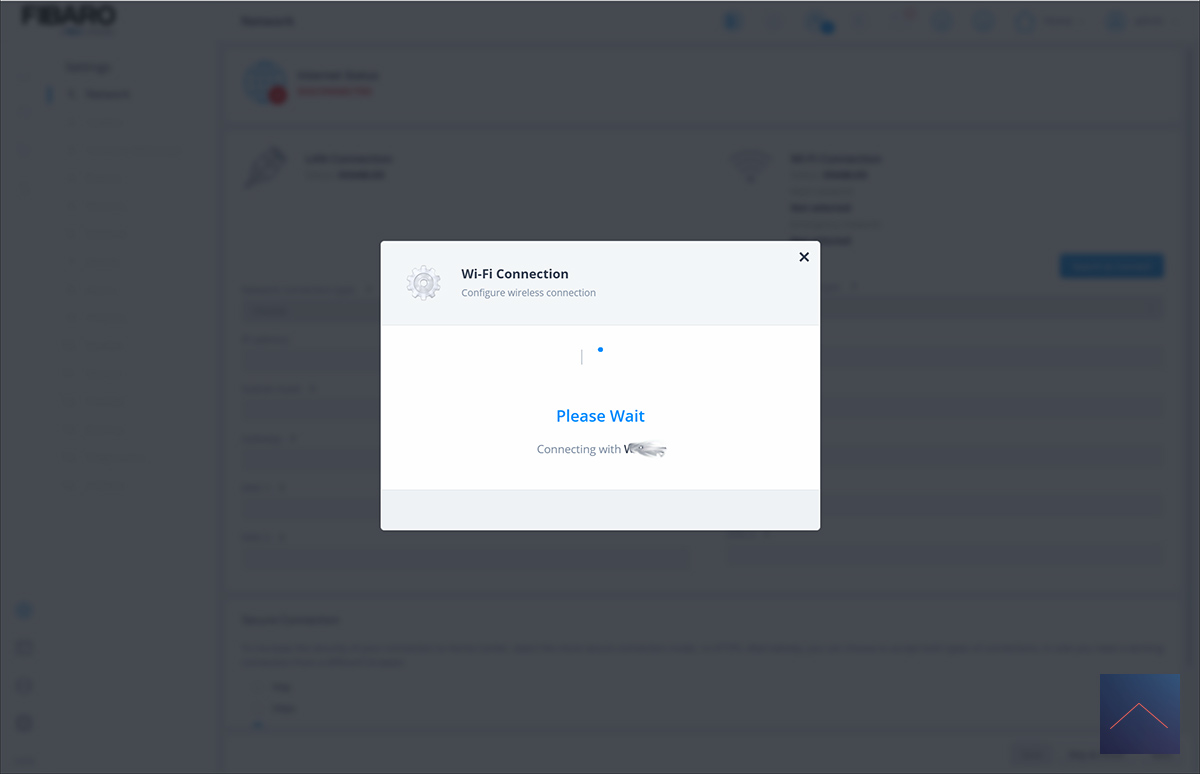
Once connected, use your browser to go to find.fibaro.com to find the hub. In my case, it couldn't find it, so I went to the local address and it's 10.42.0.1. He did find him this way.
Now we log in with:
Login name: admin
Password: admin
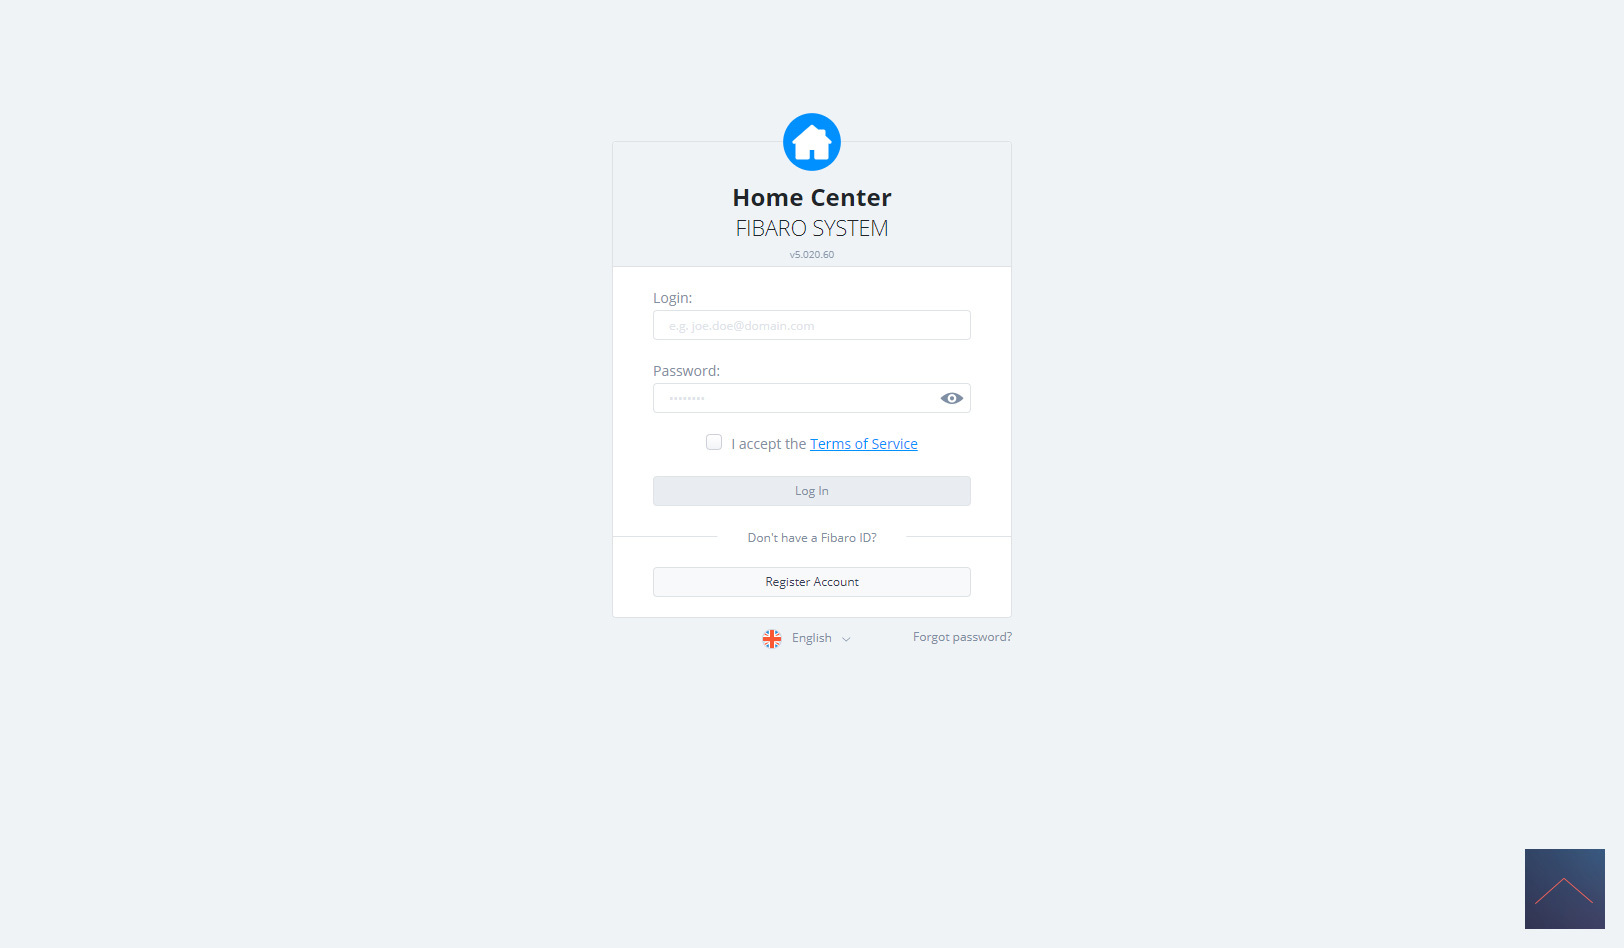
You can change this later. Even more strongly, it is actually recommended that you change this one, as this is a rather obvious combination. By the way, these are your local login details. You can also use it externally, more on this later.
We are in...
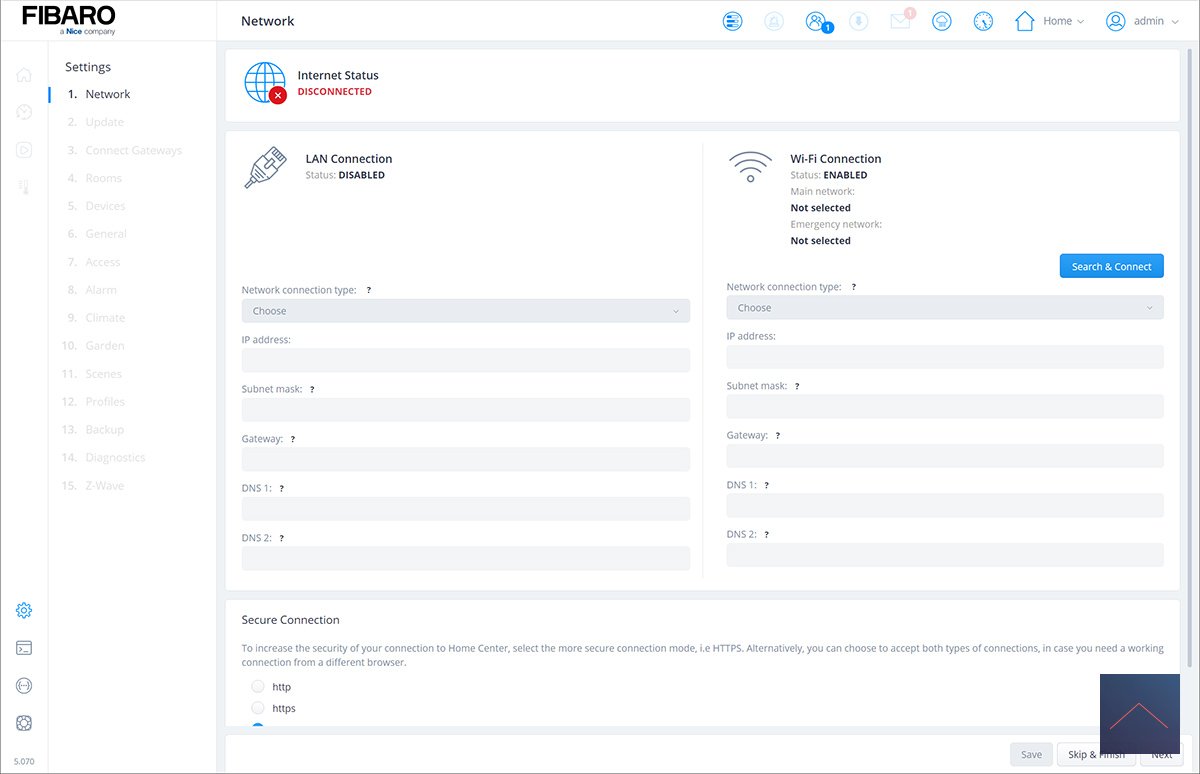
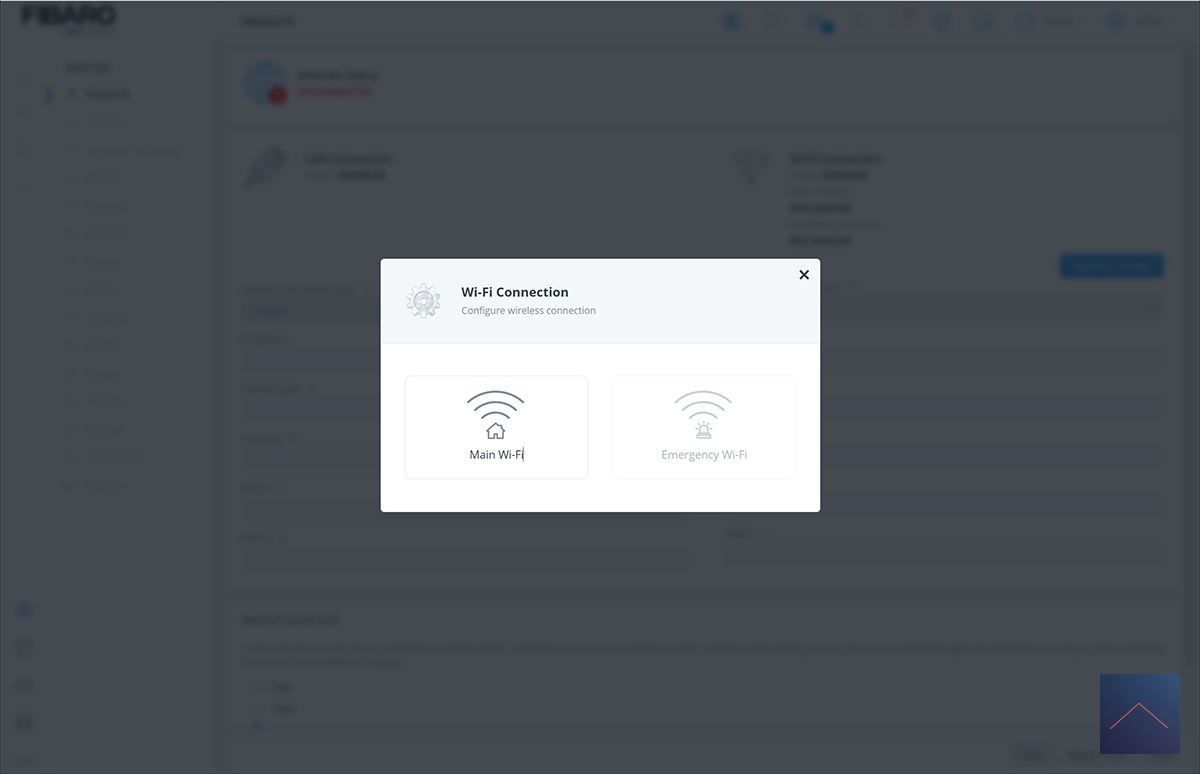
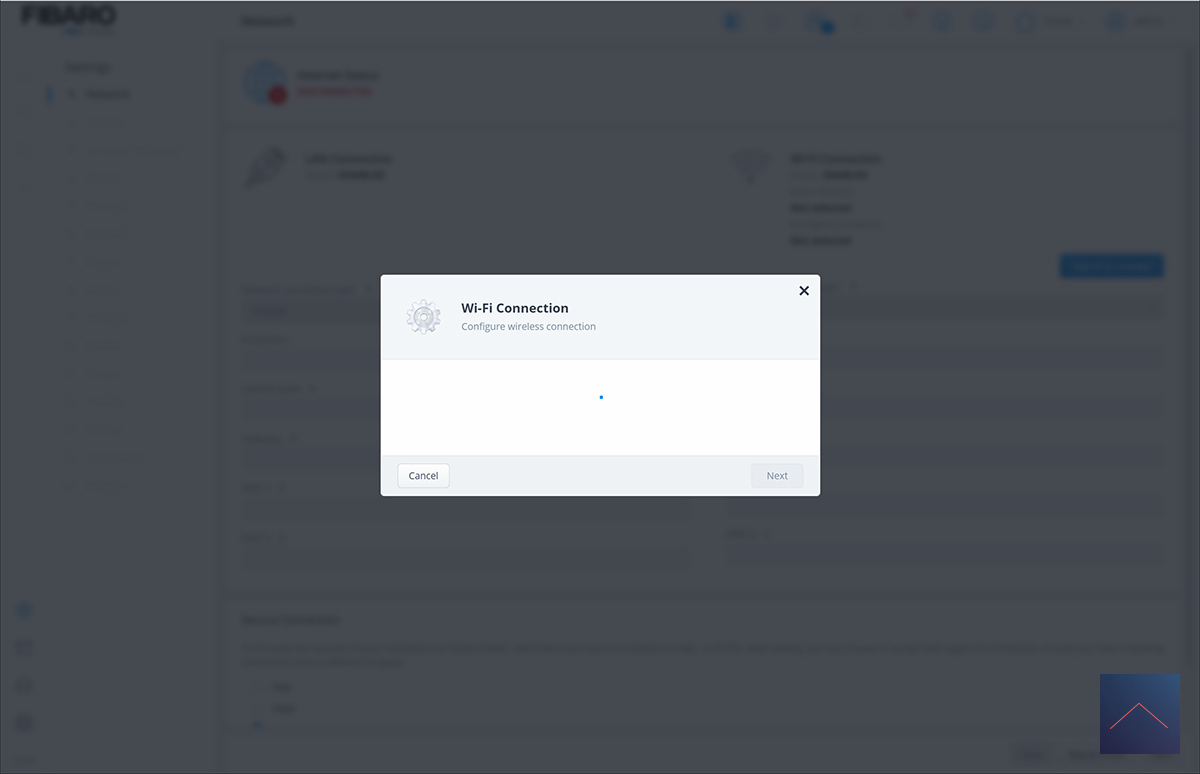
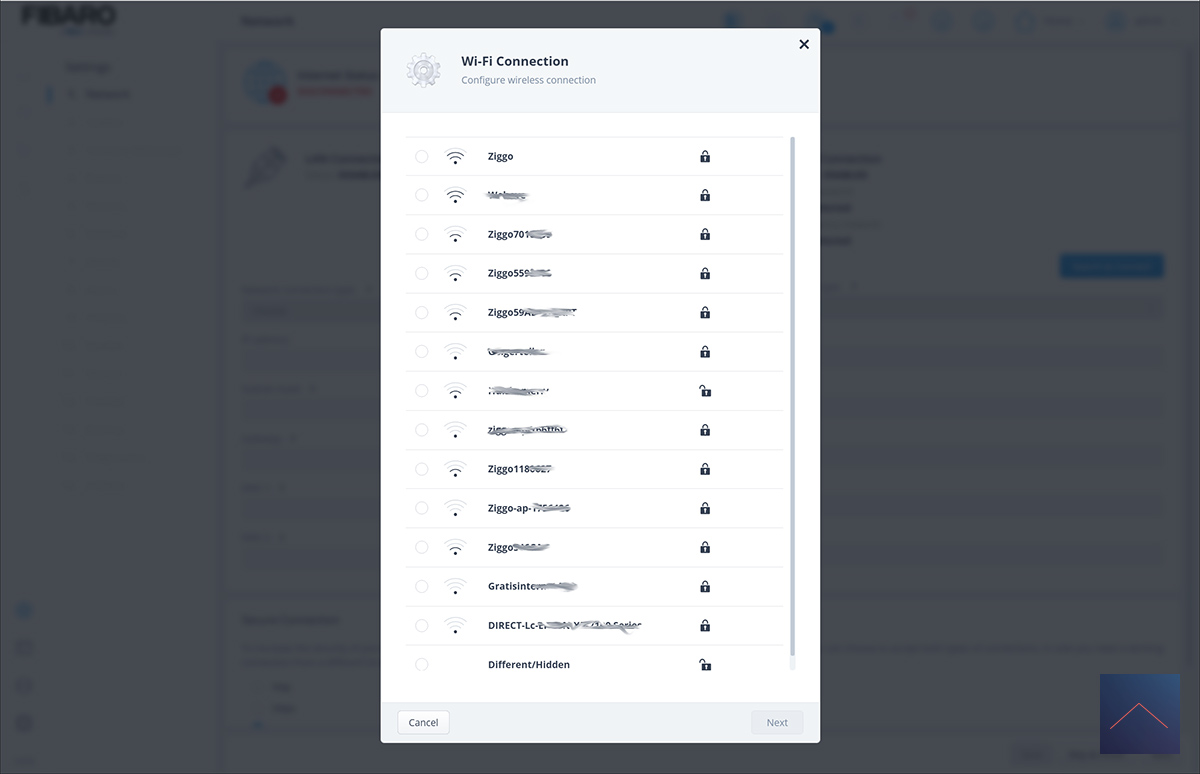
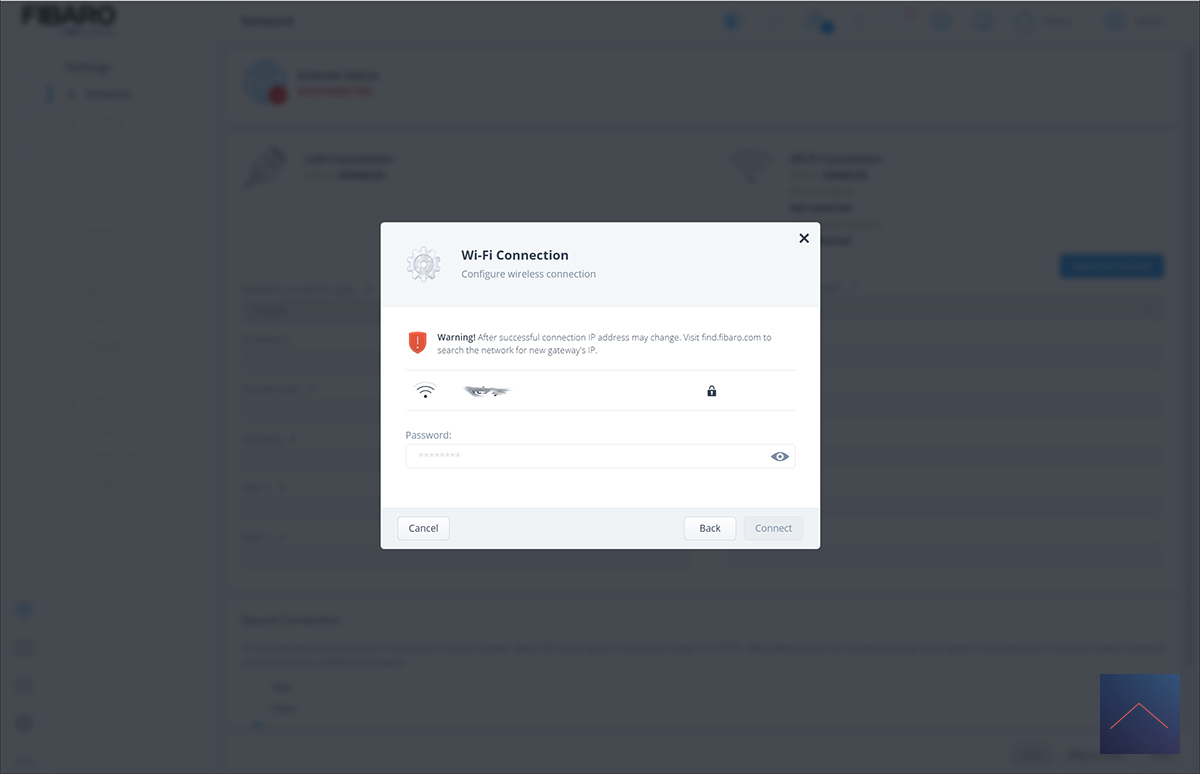
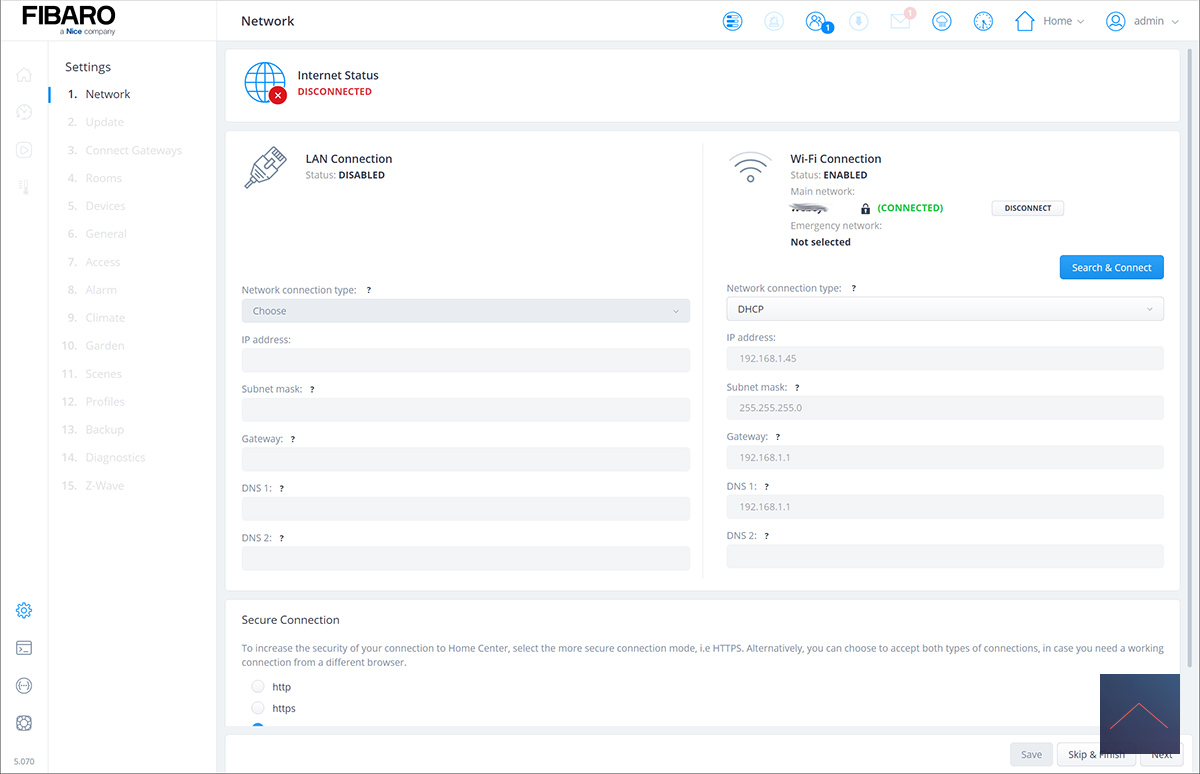
Now that we are logged in, we have to make sure that he will be connected to our own network. You can do this by pressing the "search & connect" button. You will then receive a list of WiFi connections. We then select our own network and make connections with the correct data. The connection goes well and we can now further configure the HC3 Lite.
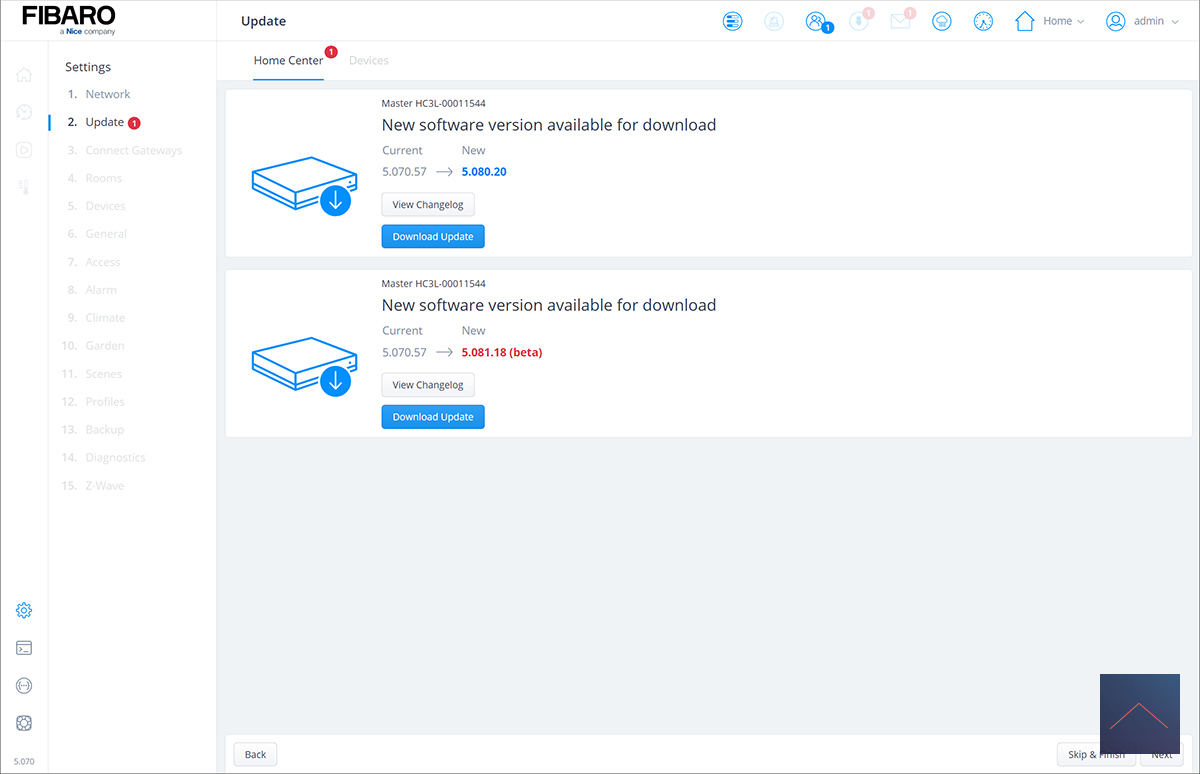
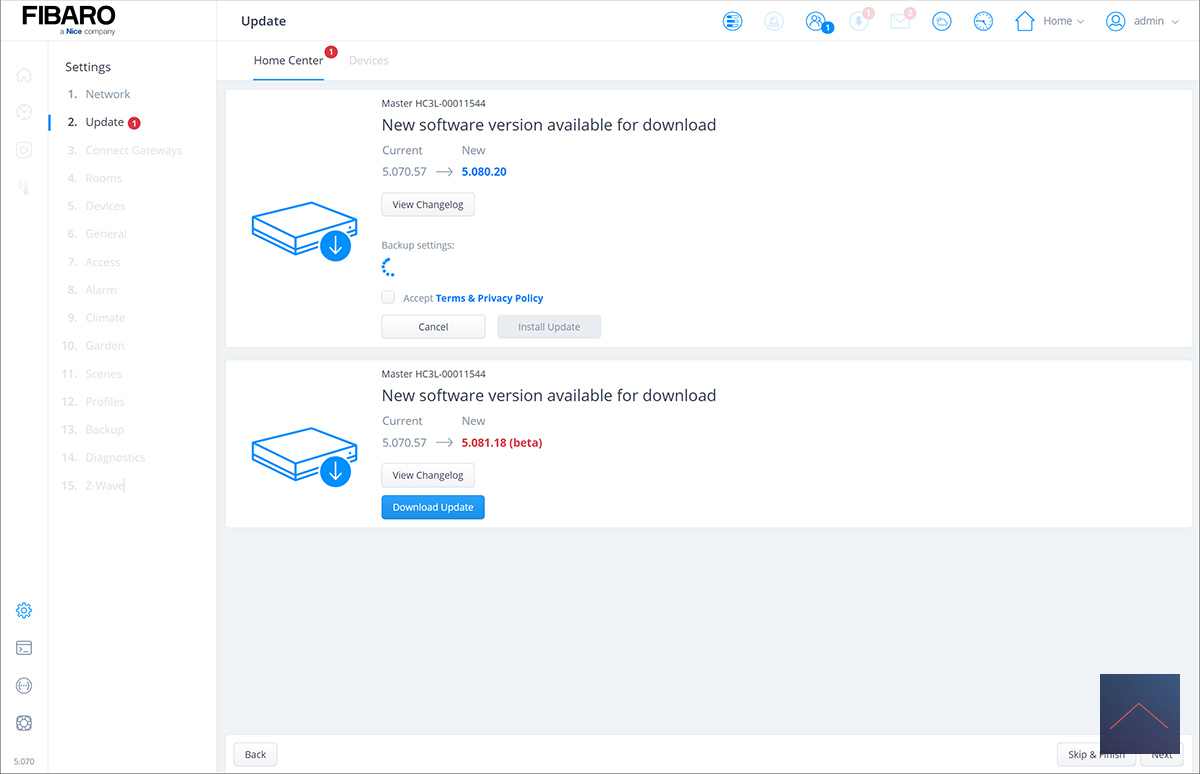
If we click through, we see that an update is available. Fibaro also has beta firmwares available. These are offered for testing. So keep in mind that certain things may no longer work. If you want a stable and well-functioning system, I wouldn't install it.
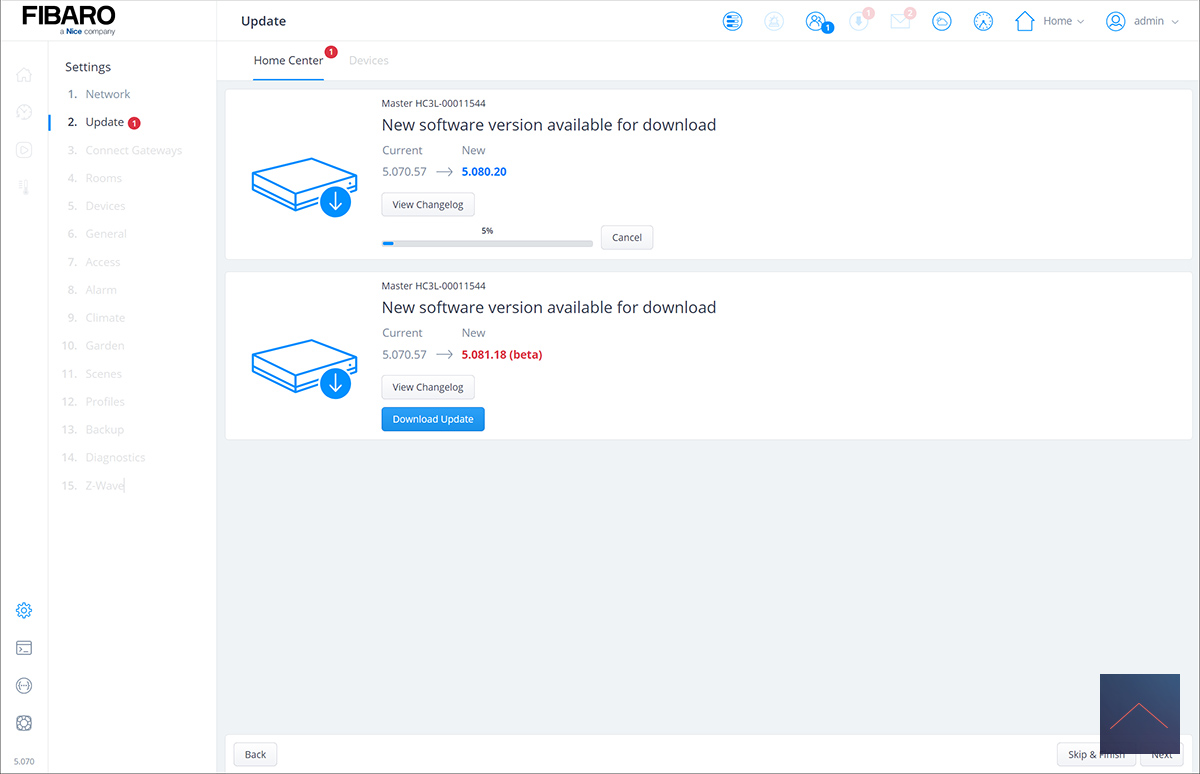
We immediately install the latest firmware because then that's it.
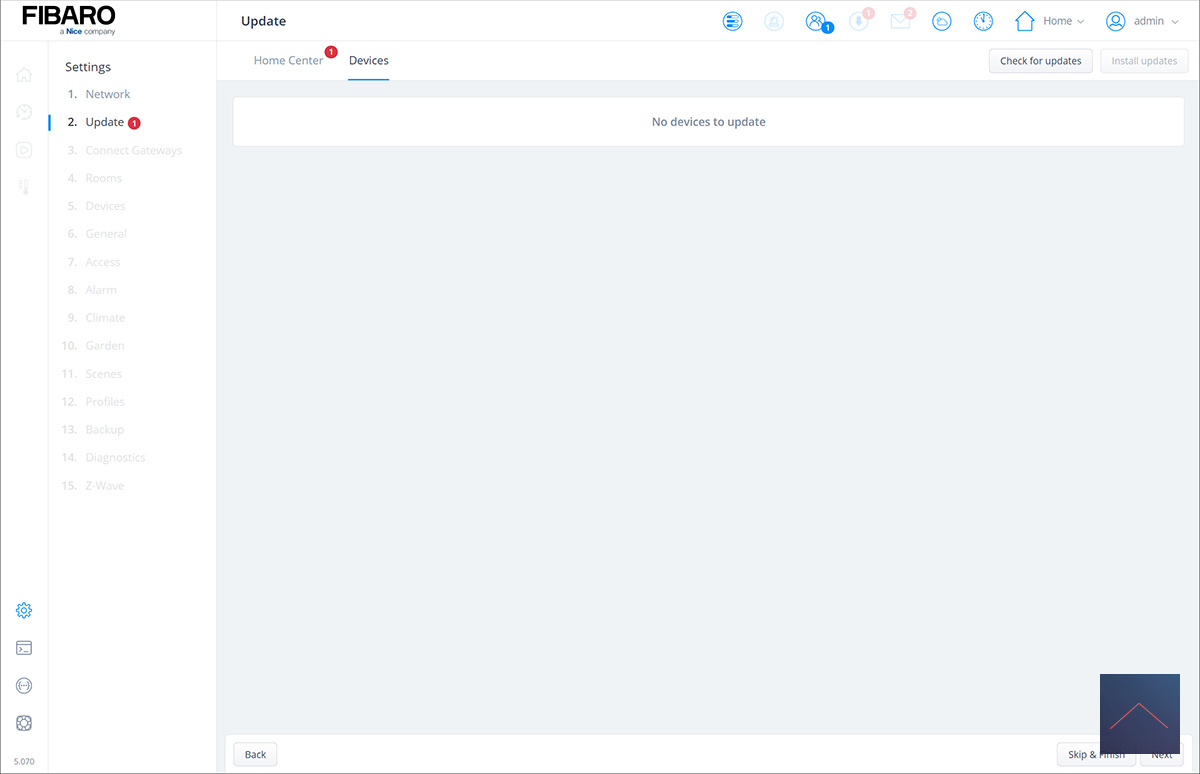
Part of the update is that the HC3 Lite will check for updates for your devices, which I personally find a bit odd as I haven't paired any device with this controller yet.
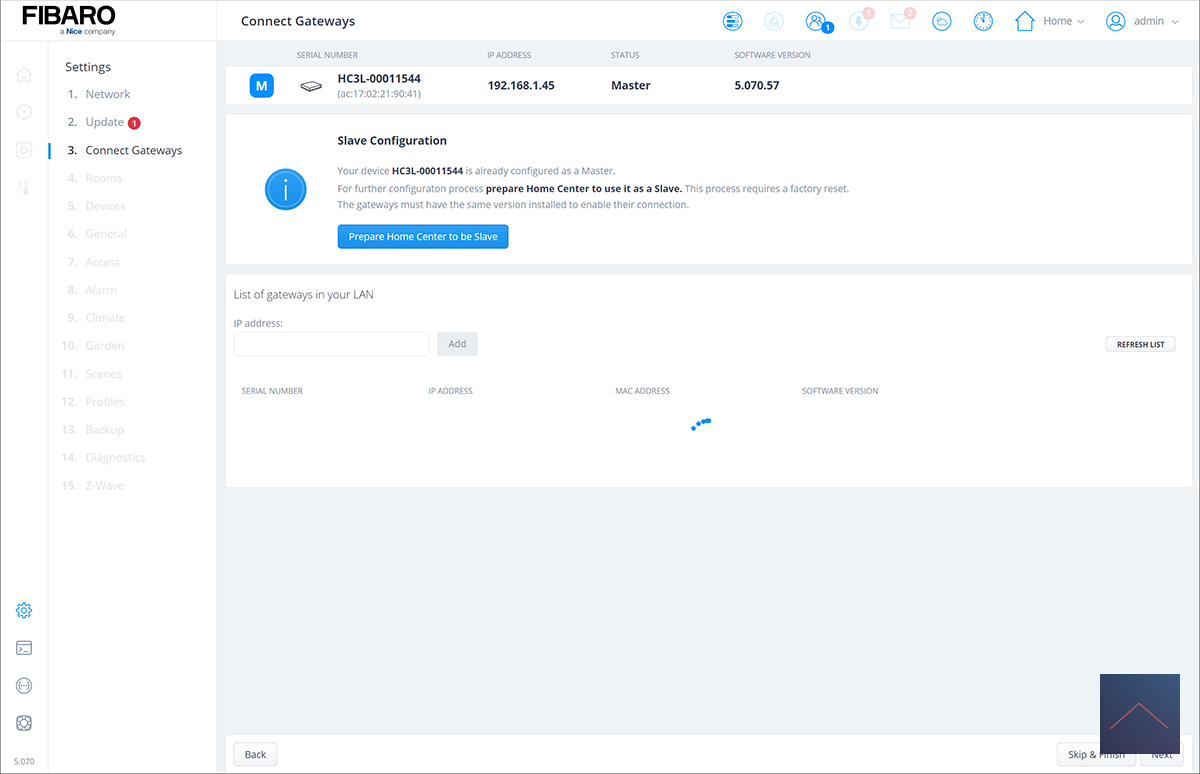
After I clicked on "next" the HC3 Lite will check if there are more gateways in my network. You can link these together to build a large network. You can use the HC3 Lite as a slave (extender). Very nice if you have a large house or a garden house that is further away from your house. In our case this is not the case and we proceed to the next screen.
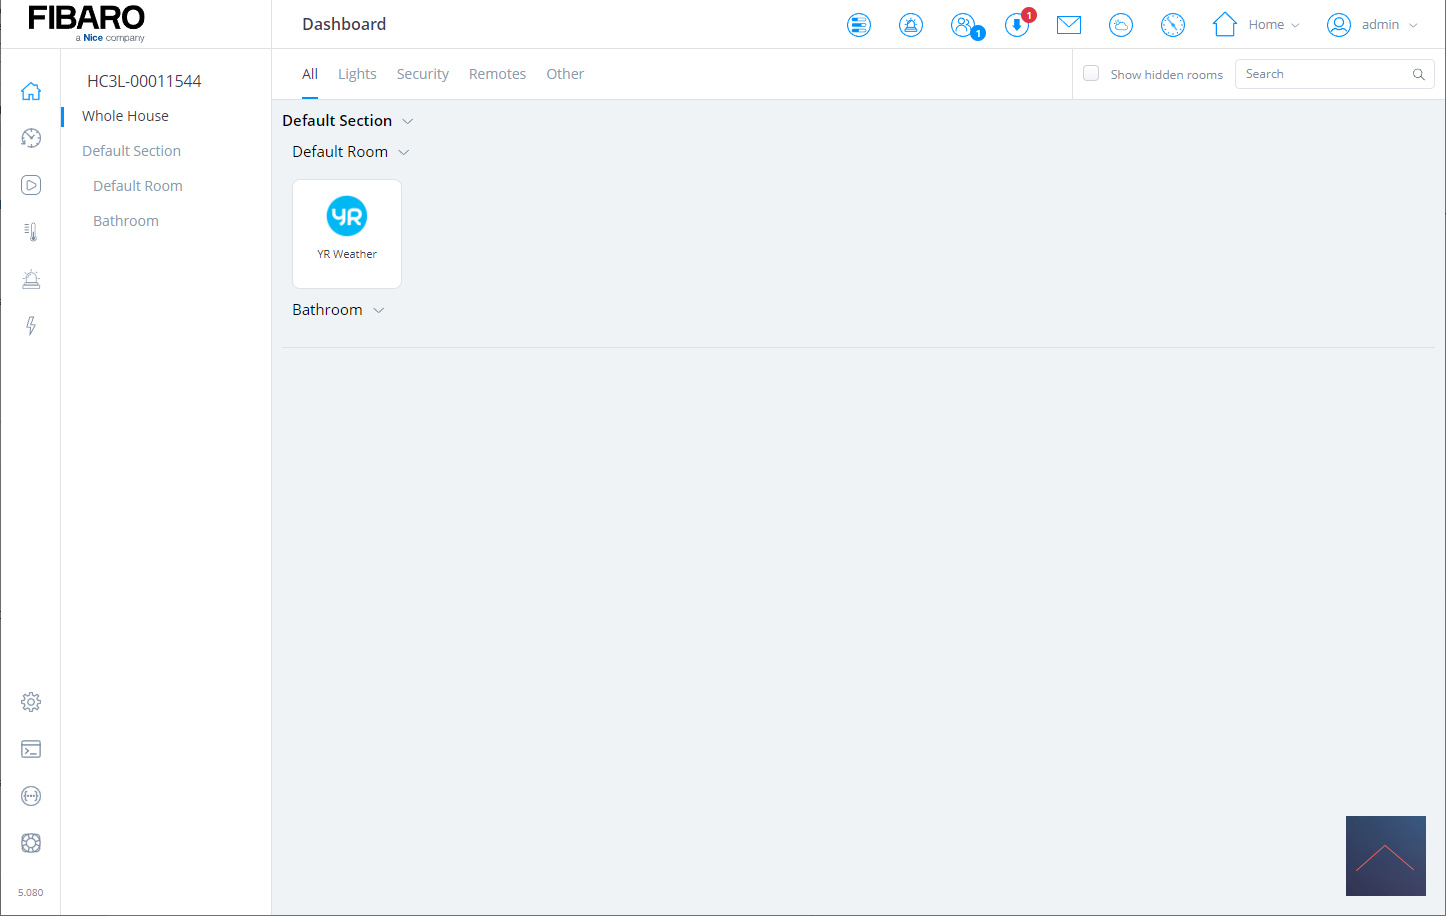
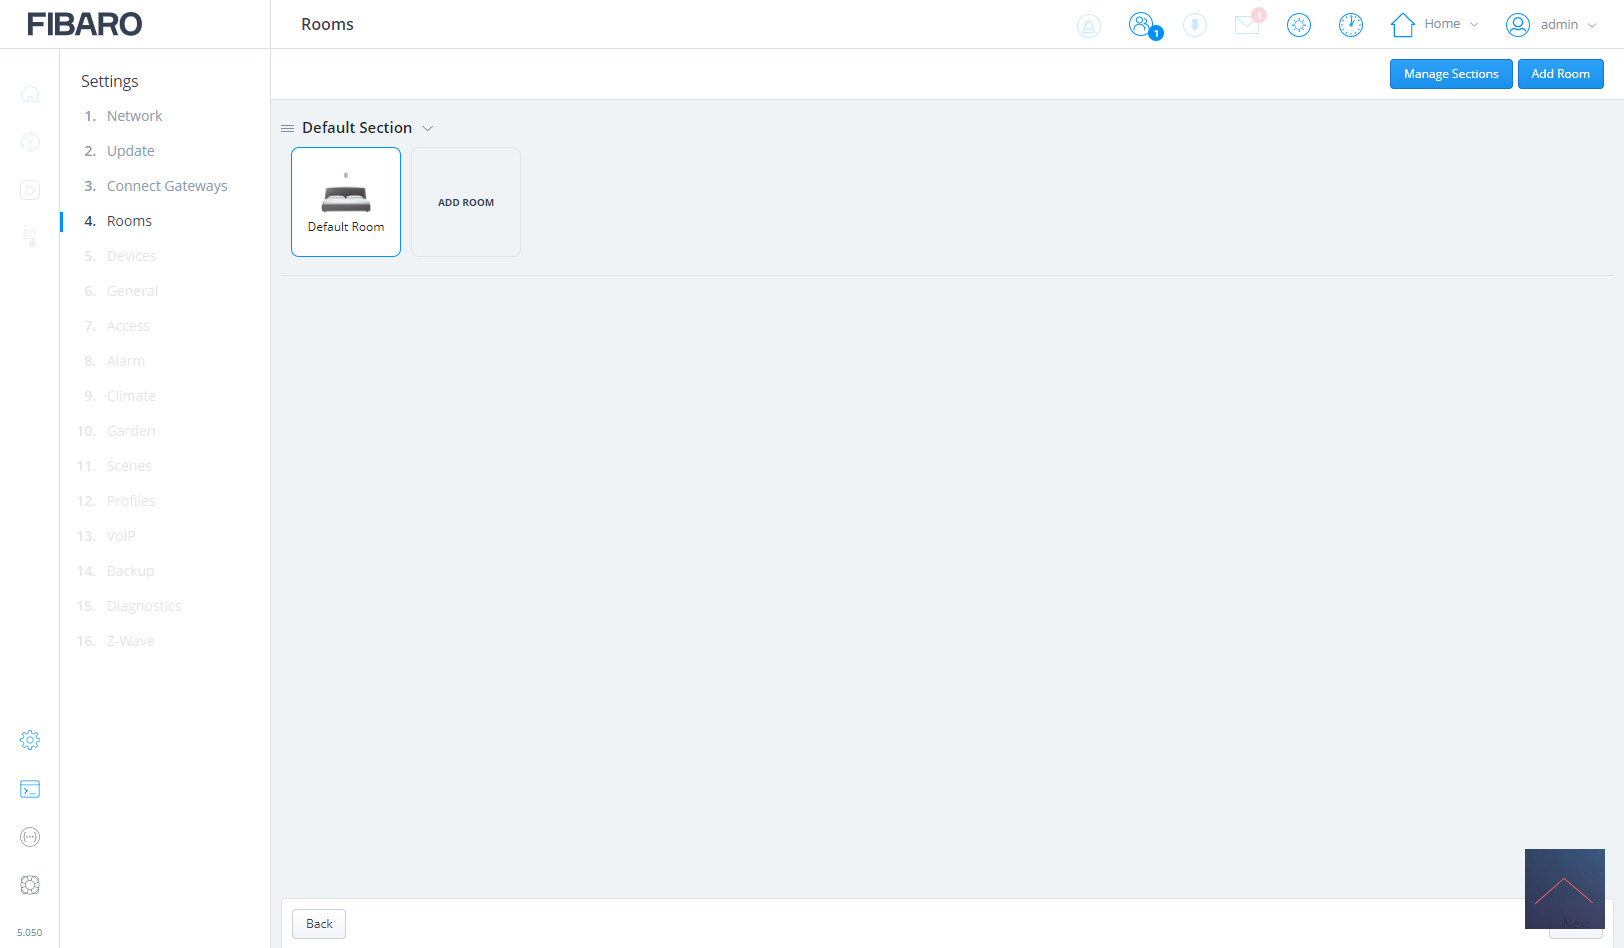
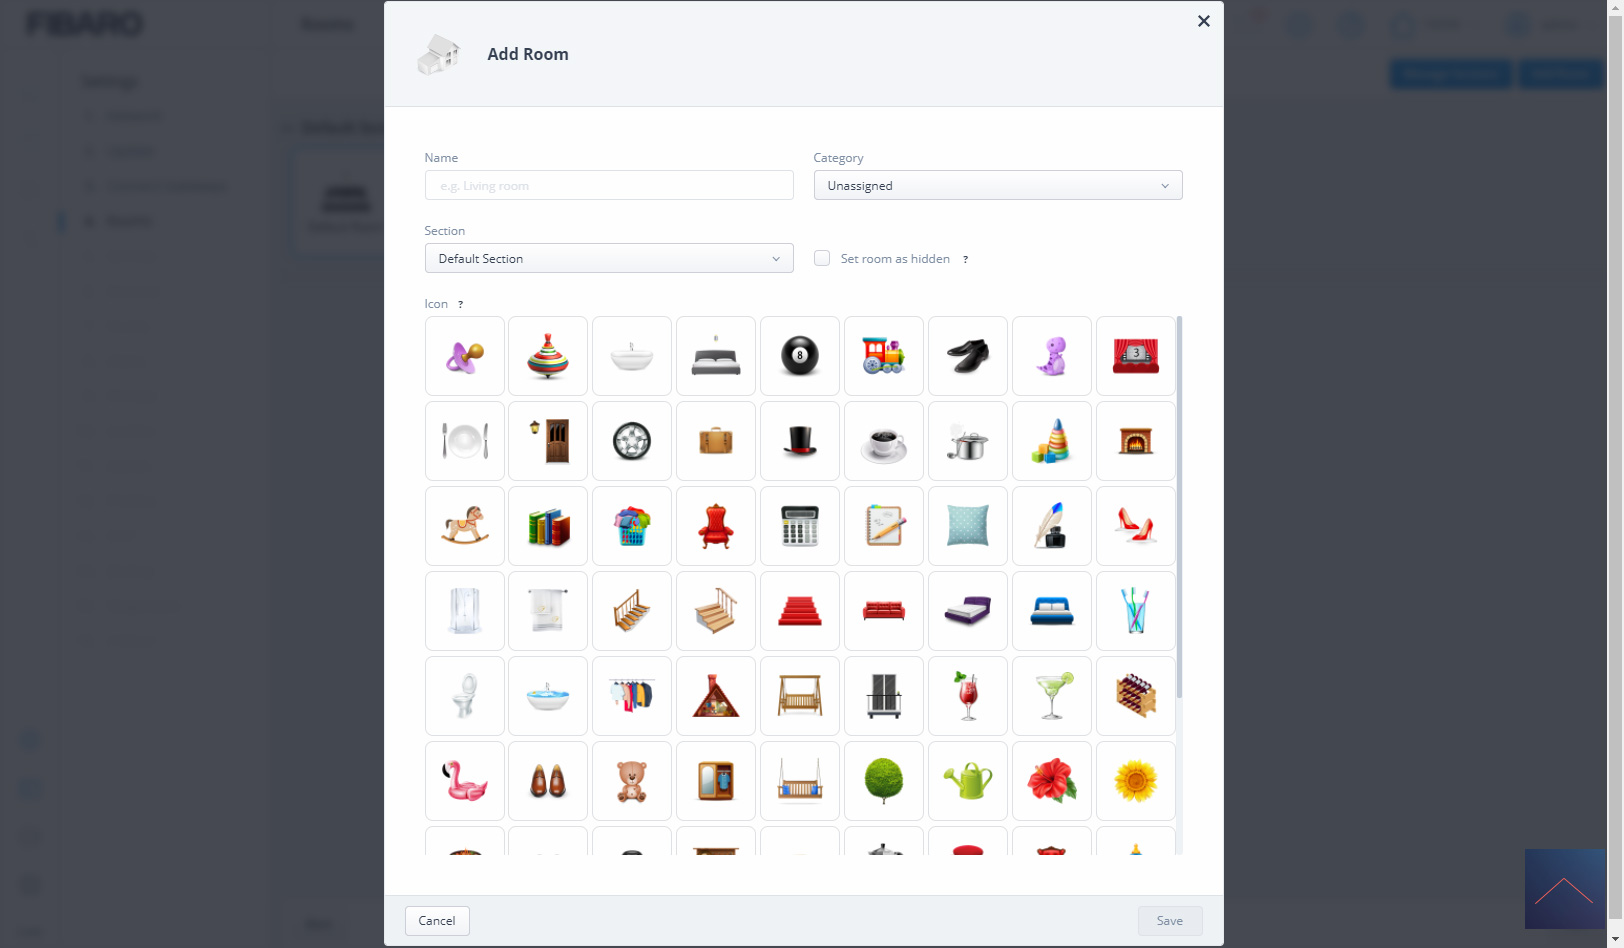
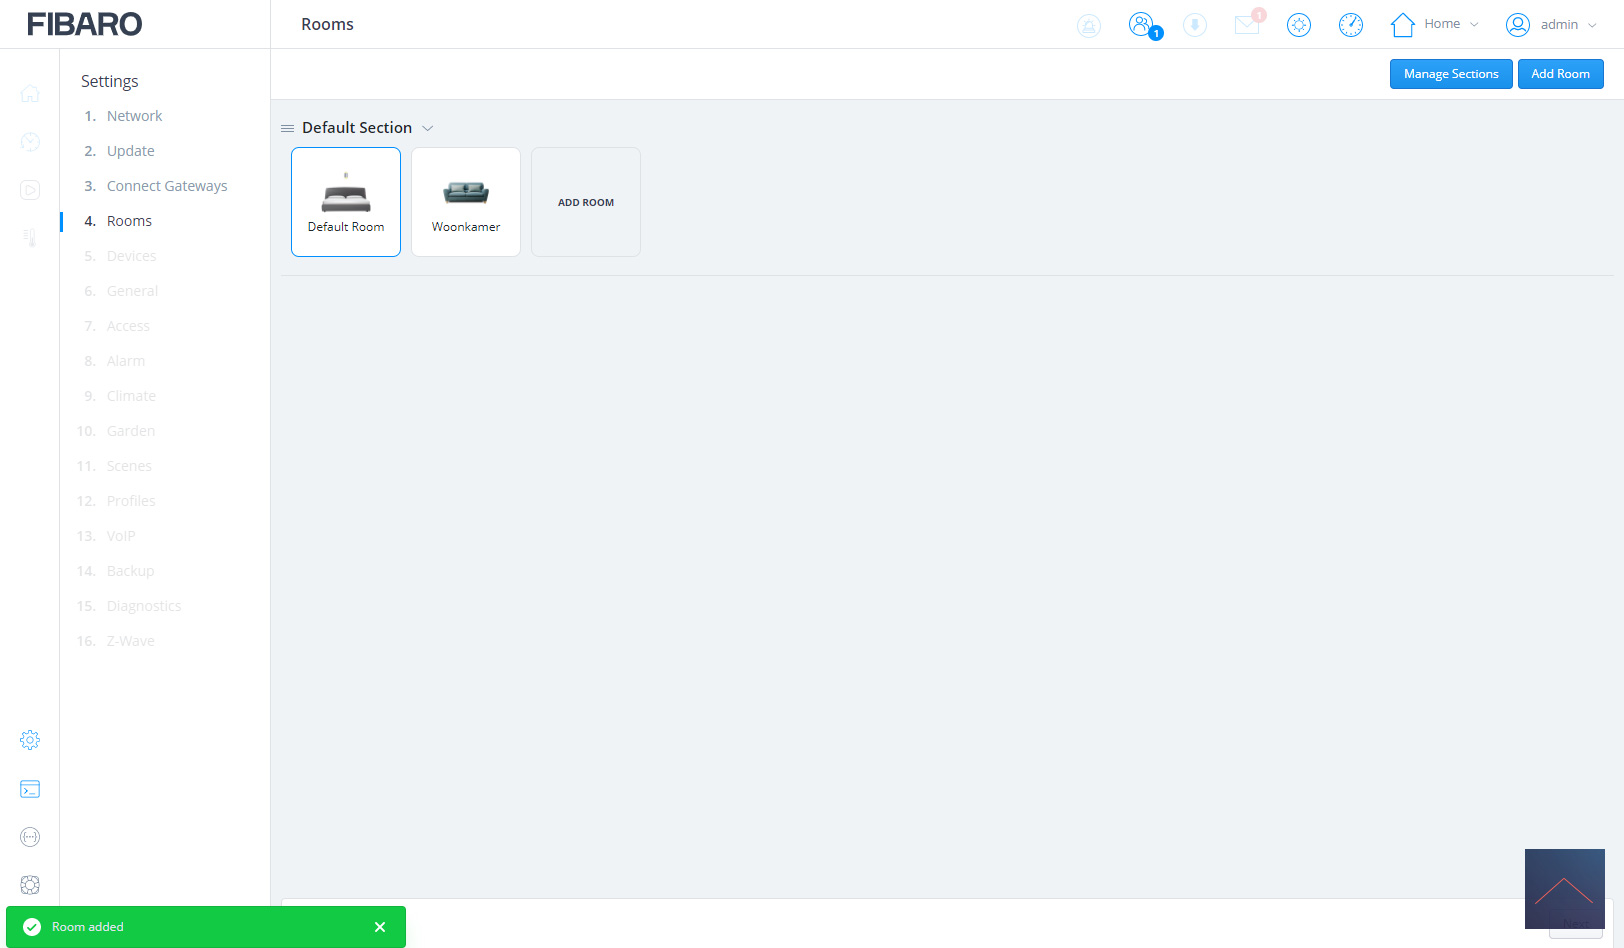
At the next screen we can add rooms. I'll make a few right away because it's nice to be able to quickly find your devices later. Nice that you can hang an icon on a room. Small detail but makes it just that little bit more lively.
You can also add a category to a room. And to top it off, you can also link a section to a room. This is useful if you have a large living room, for example. Then you can say "audio angle" or "lighting angle" etc.
To add devices:
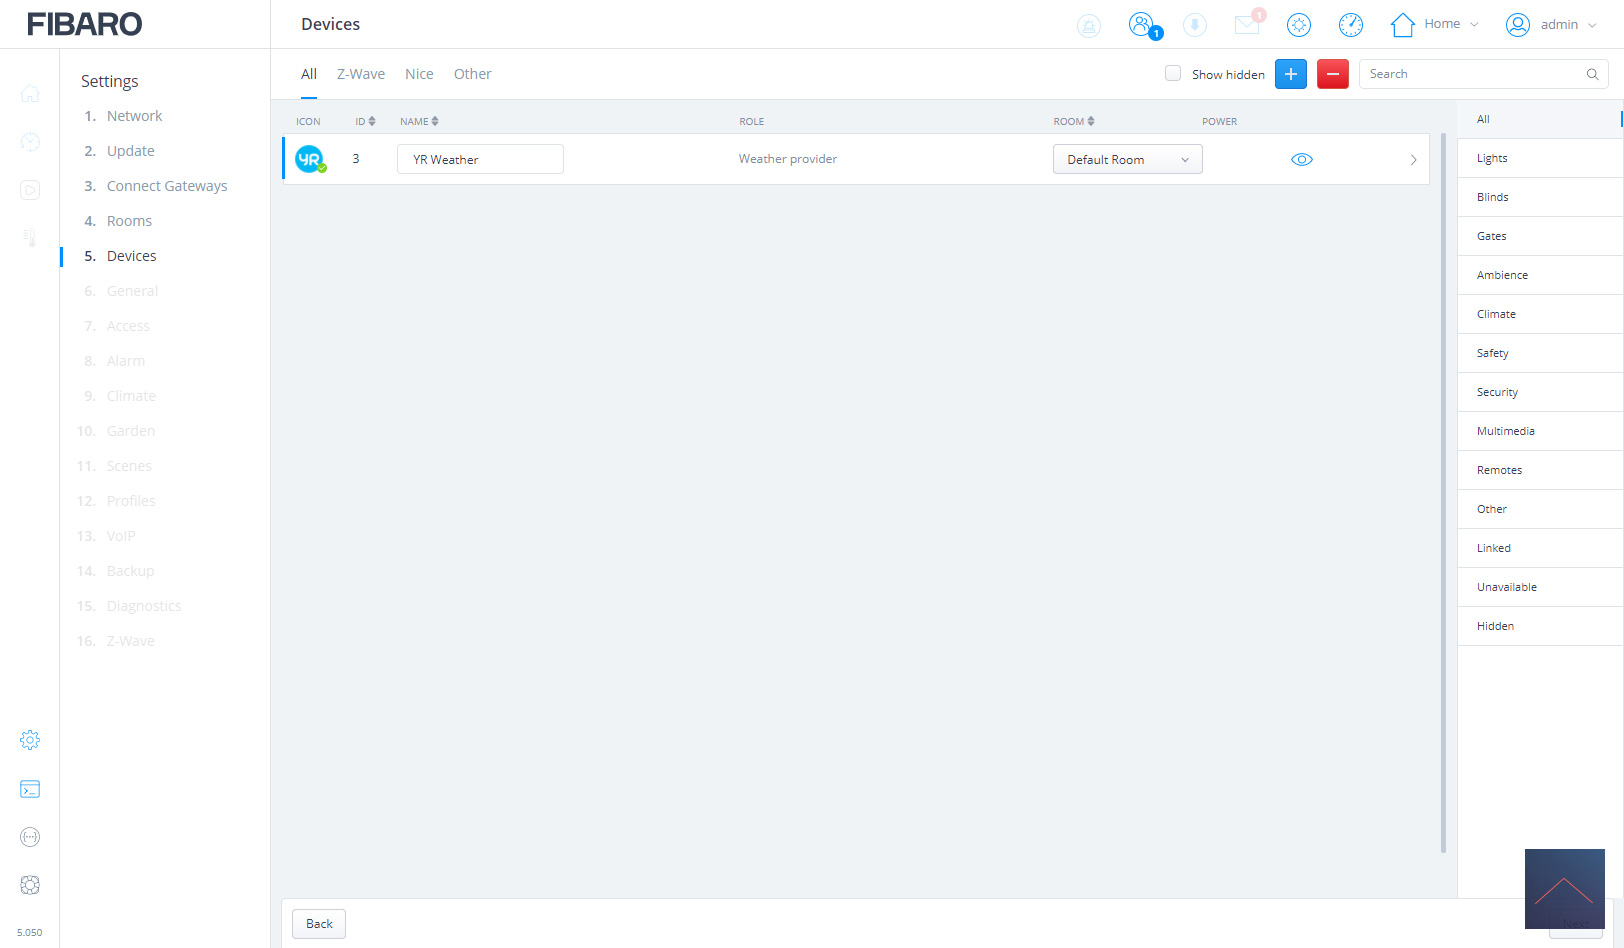
Now that we have done the basic configuration, we can start adding devices. You can do this in the next section. A weather station is already installed for you by default. We'll skip this part for a while because we'll cover this in a separate chapter.
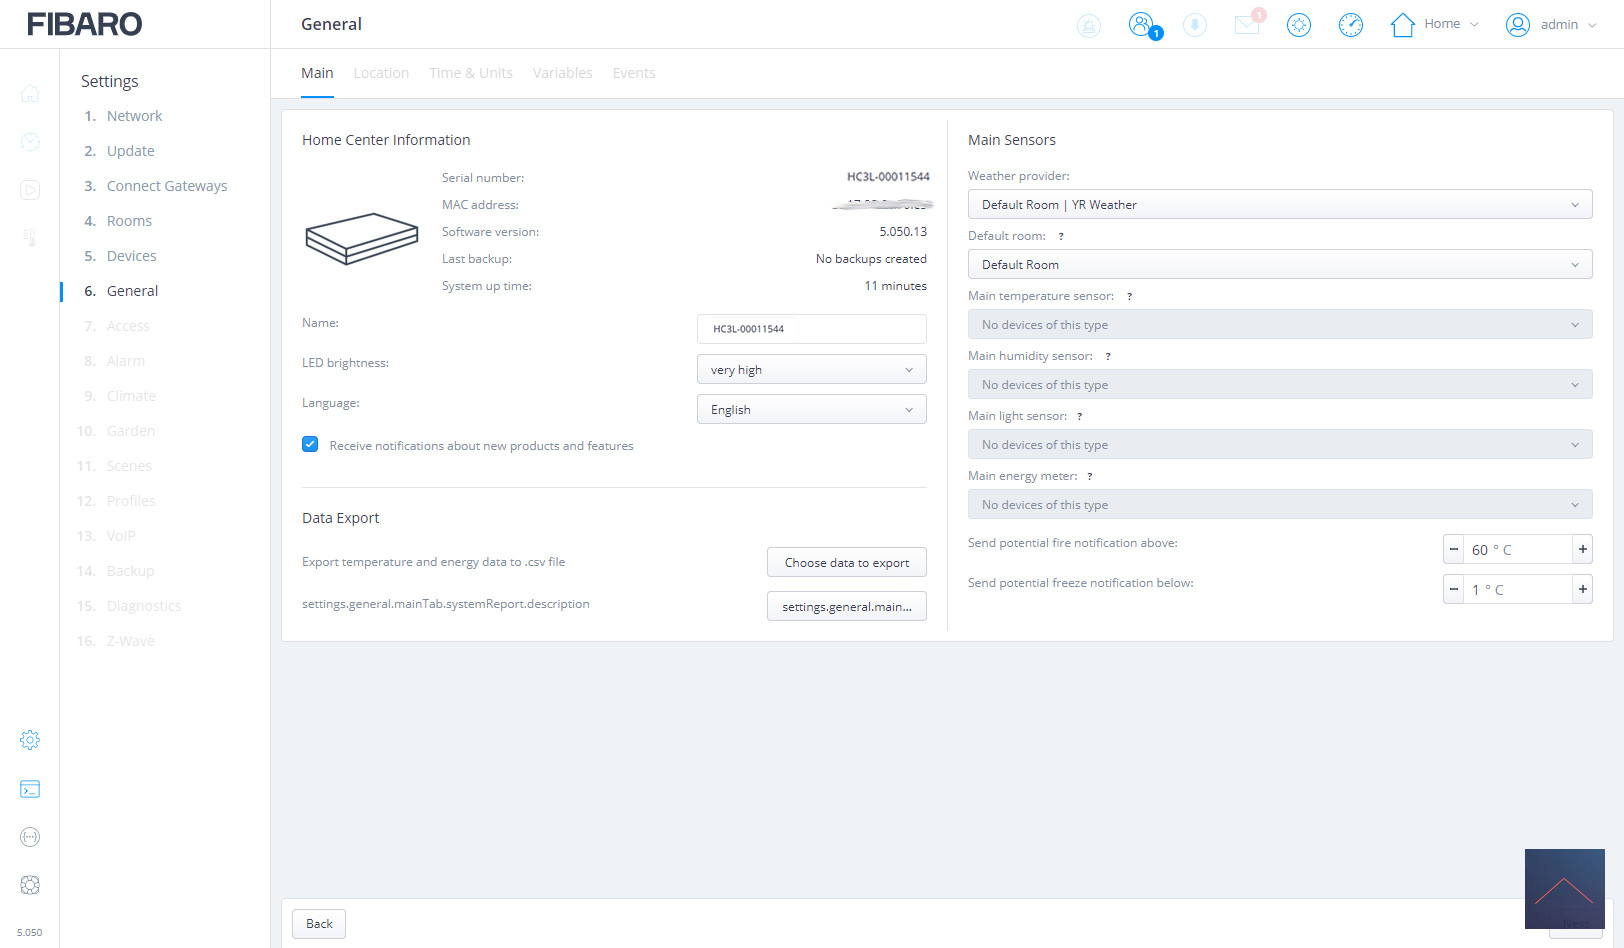
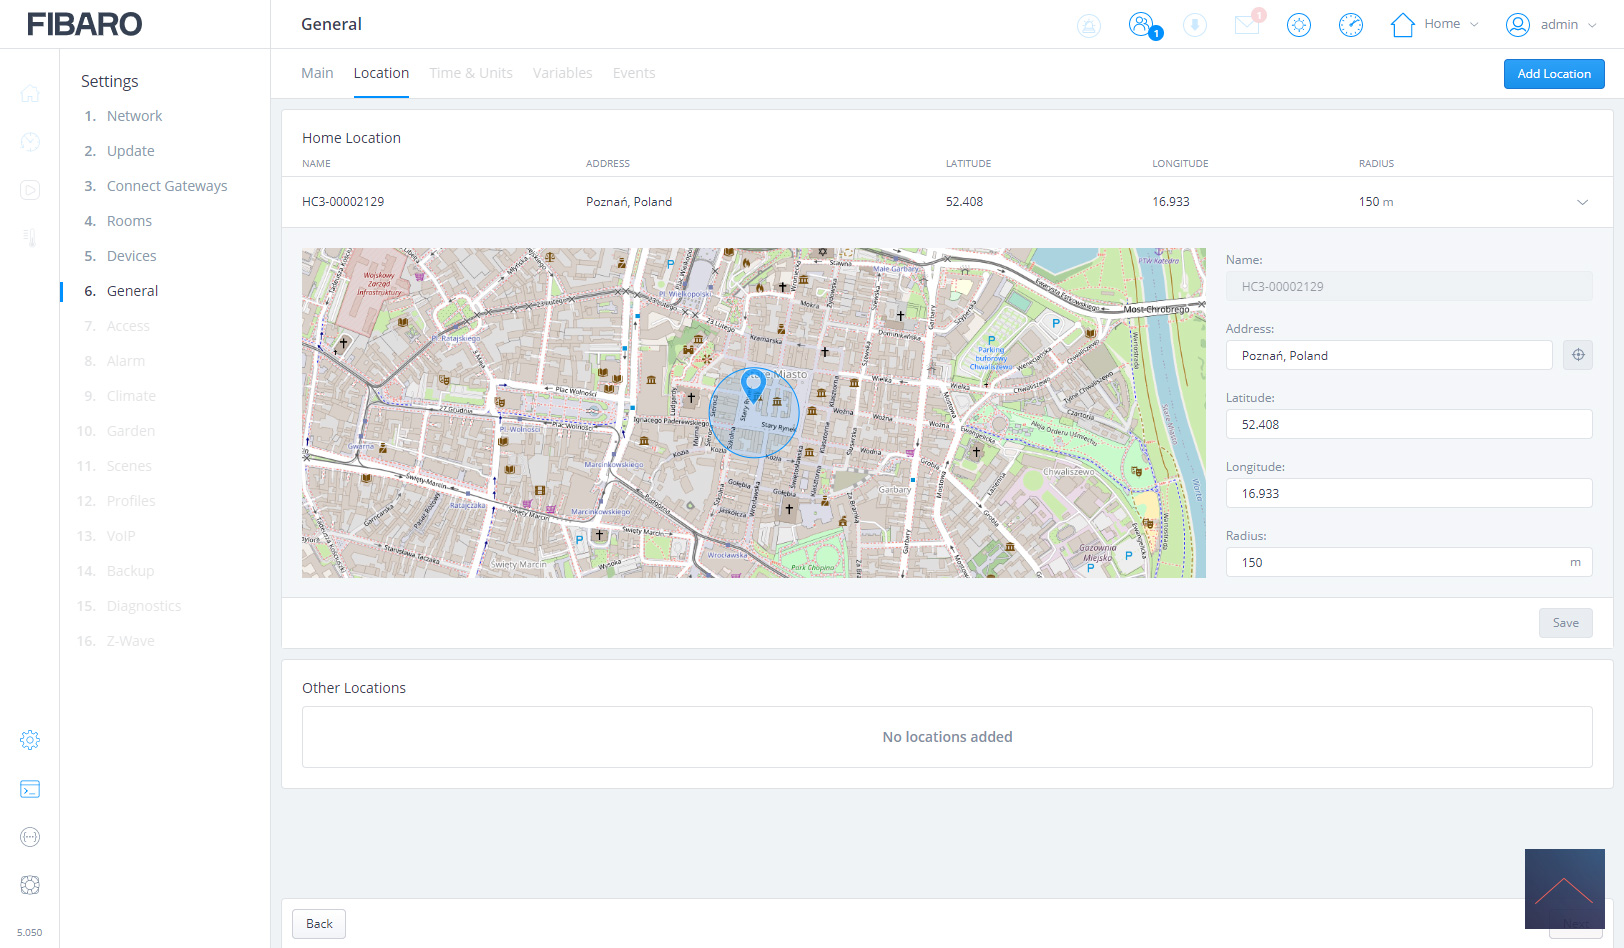
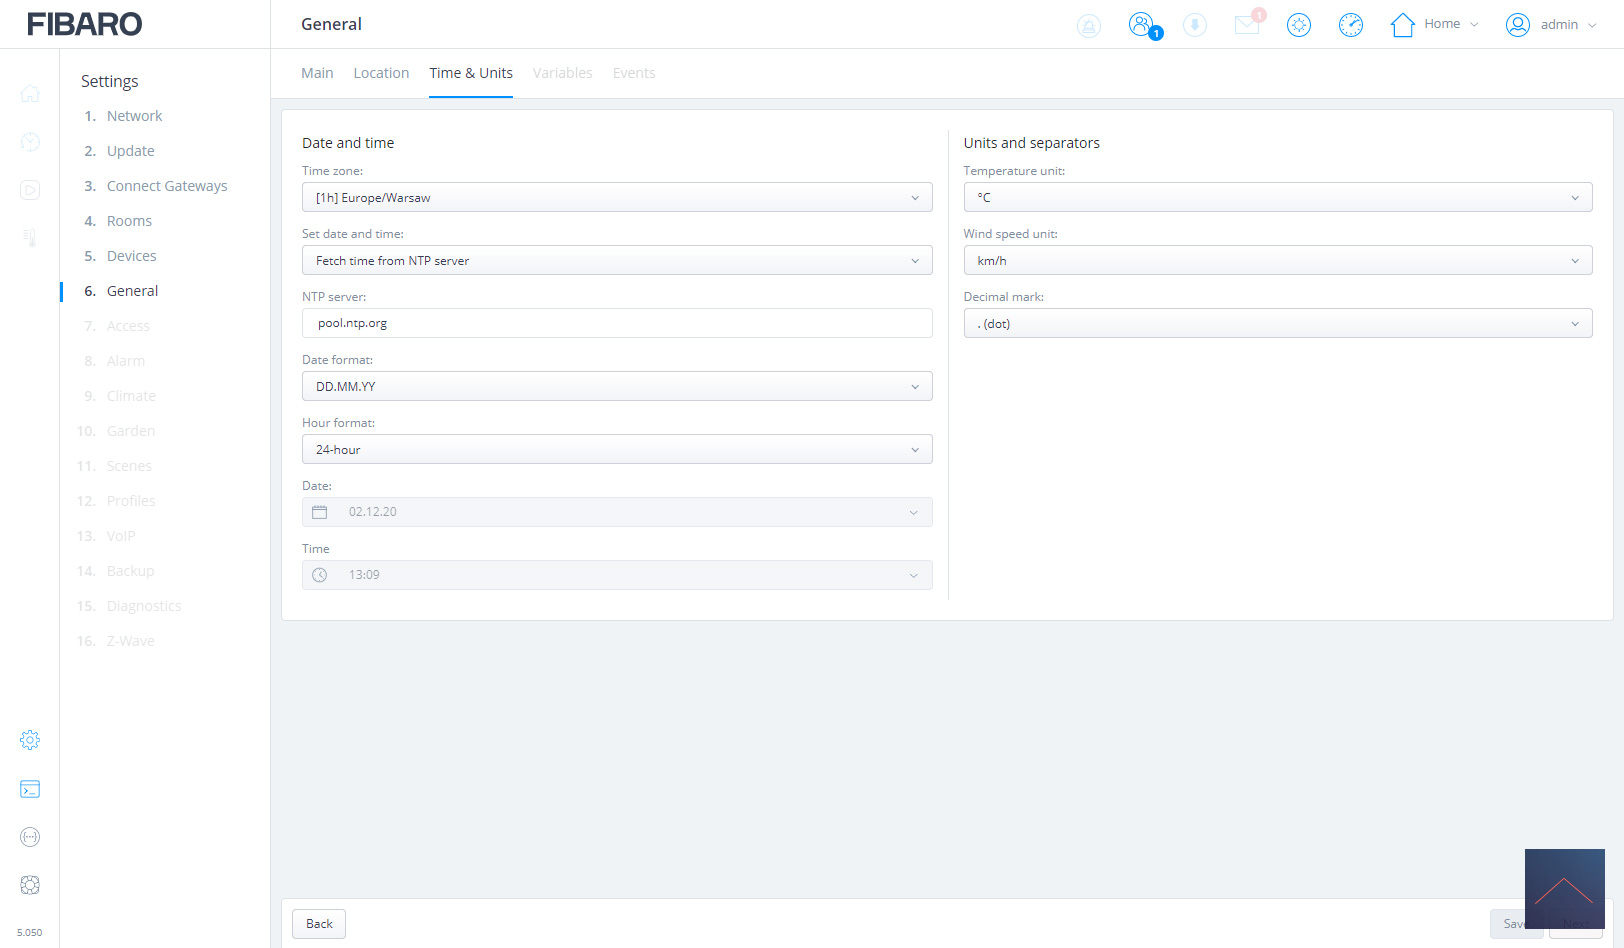
We now come to the general part. Here you can indicate, among other things, what your main devices are, what the location of the HC3 Light is, what units and time indication should be used.
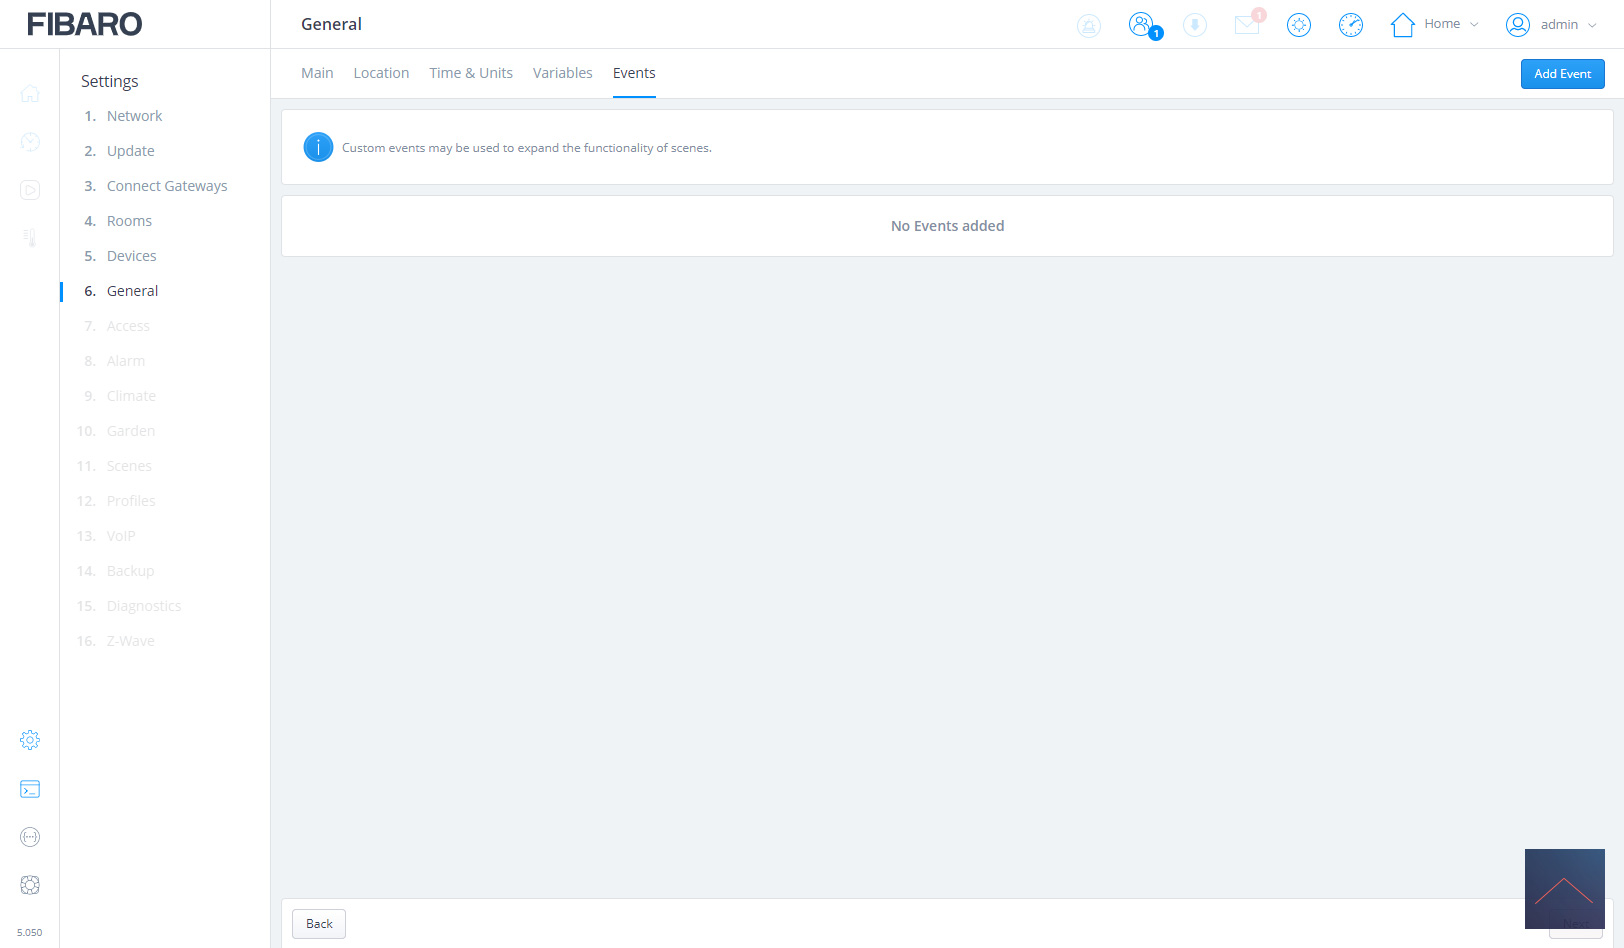
In short: all general settings.

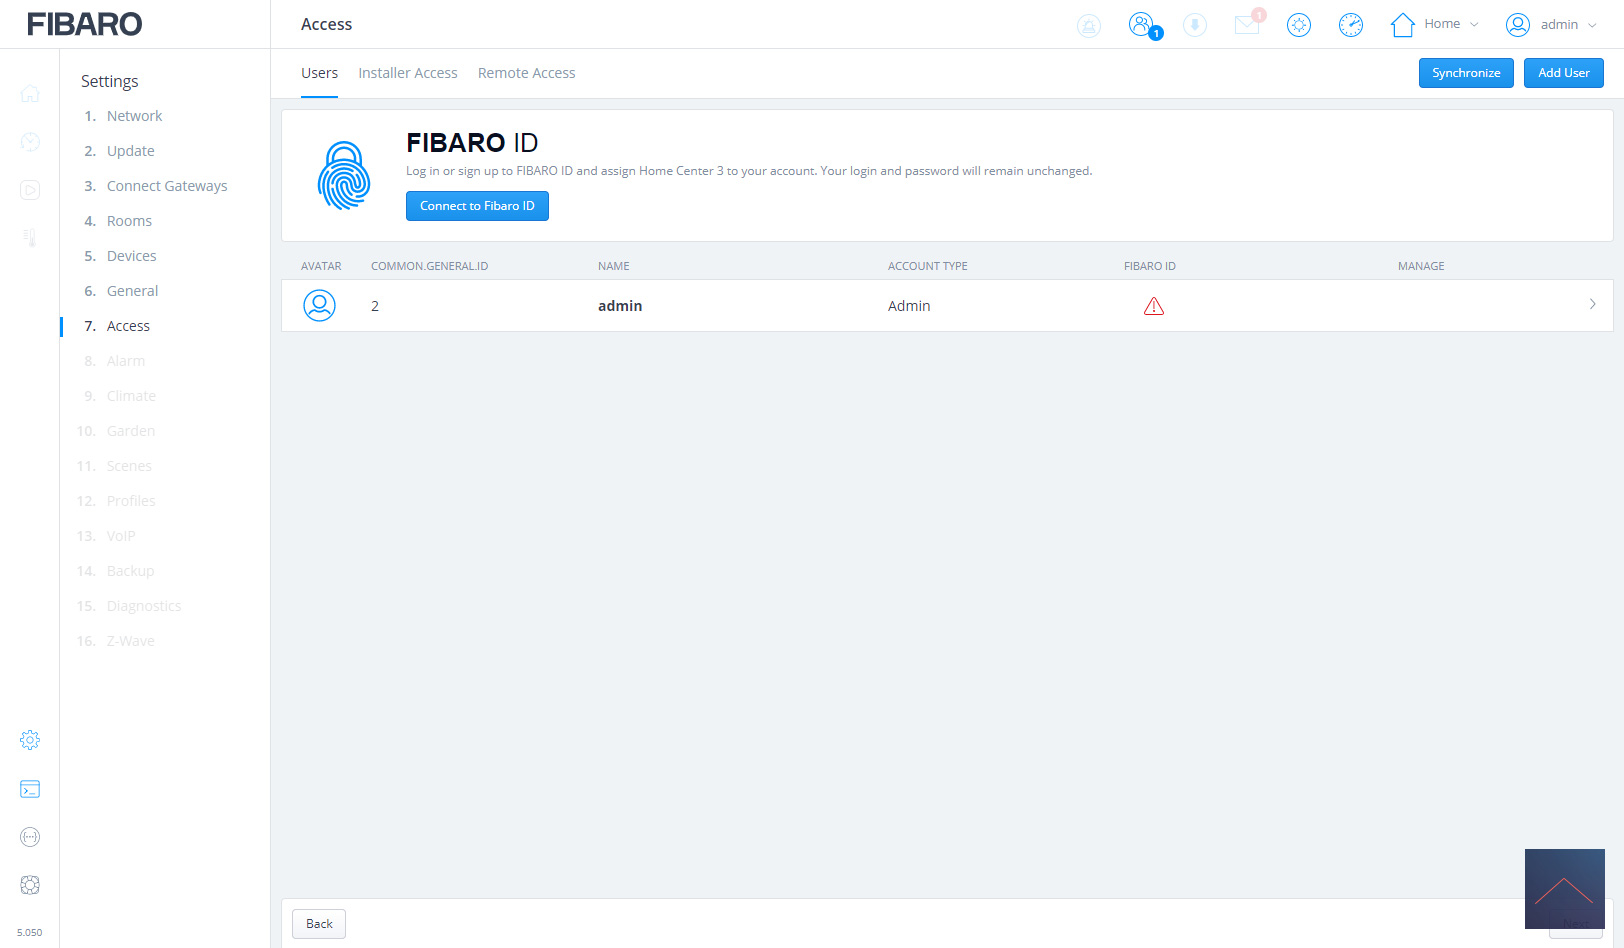
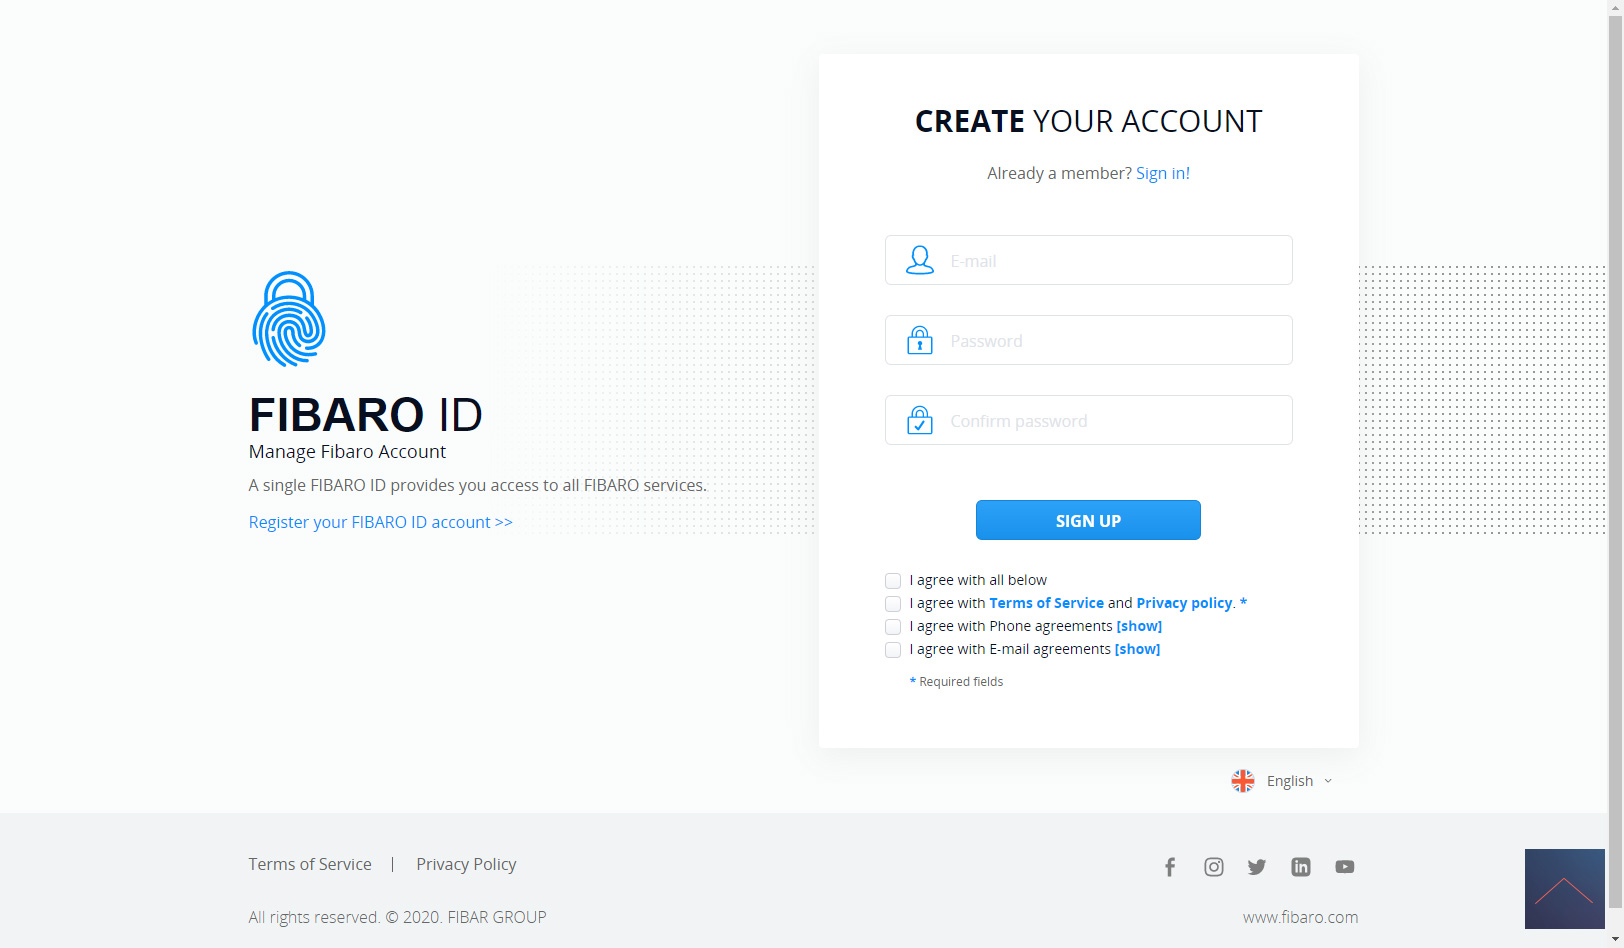
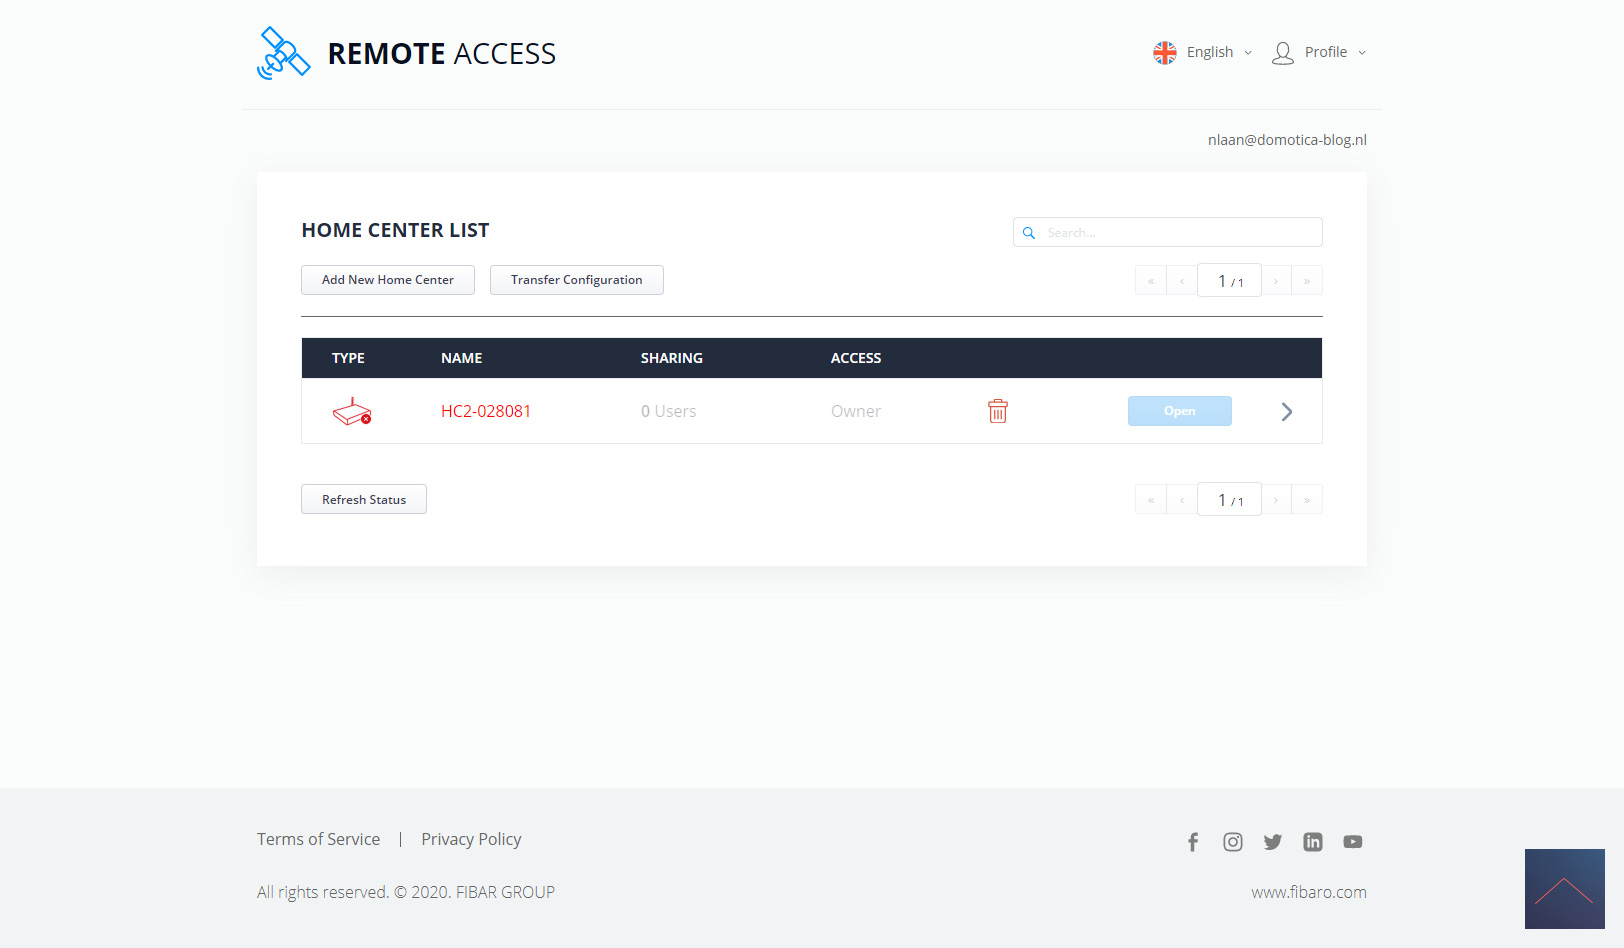
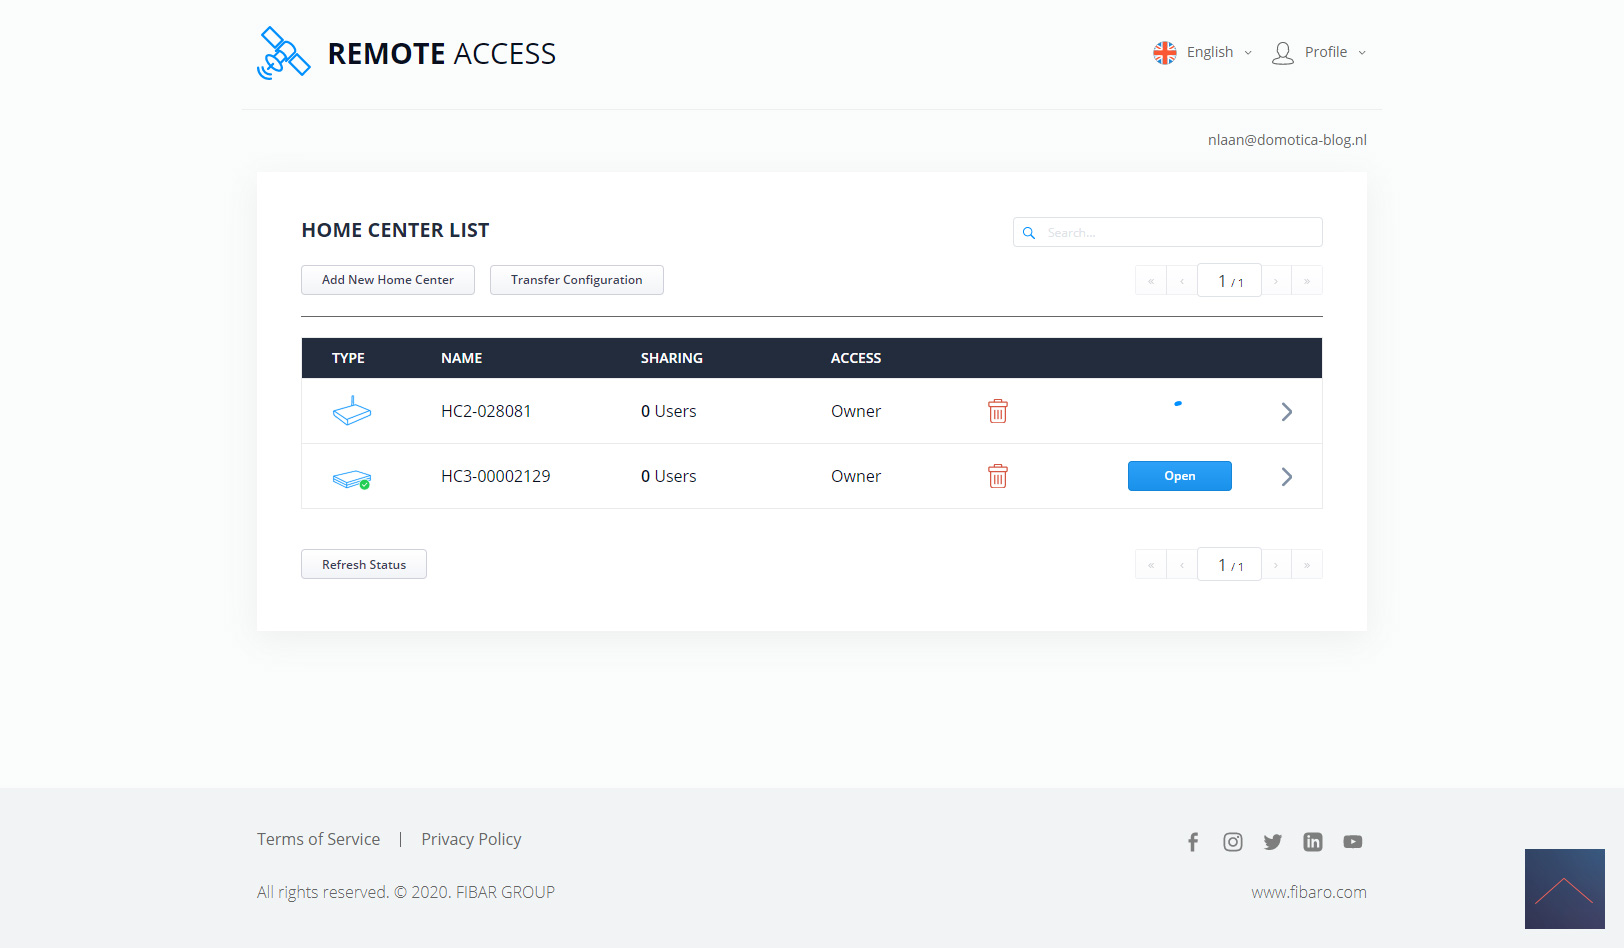
At the beginning of this review I mentioned that you are now logged in locally. You can also log in externally and the configuration of this can be found in the next section.
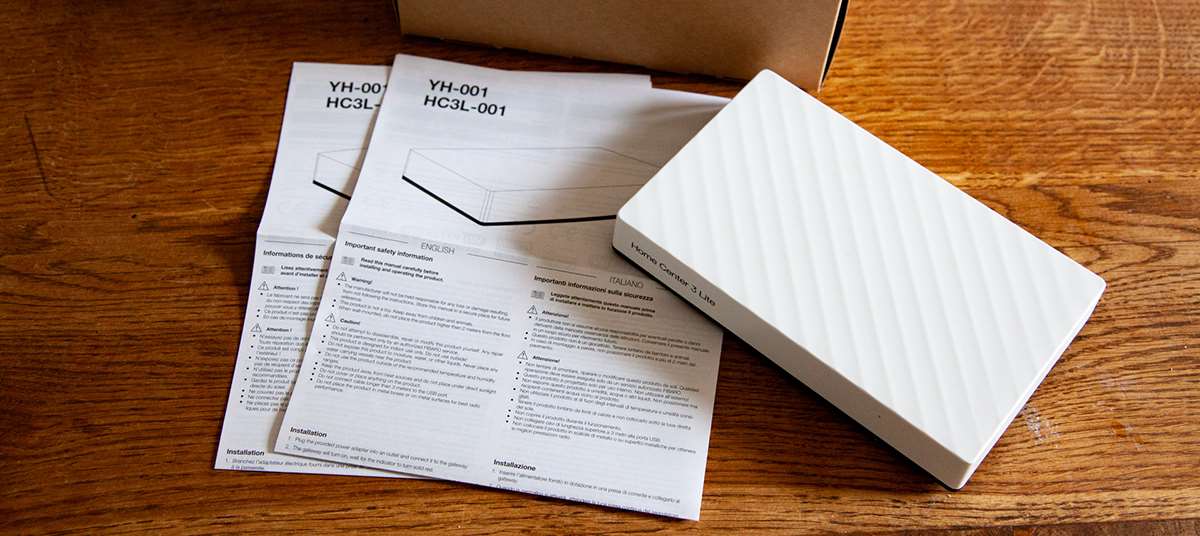
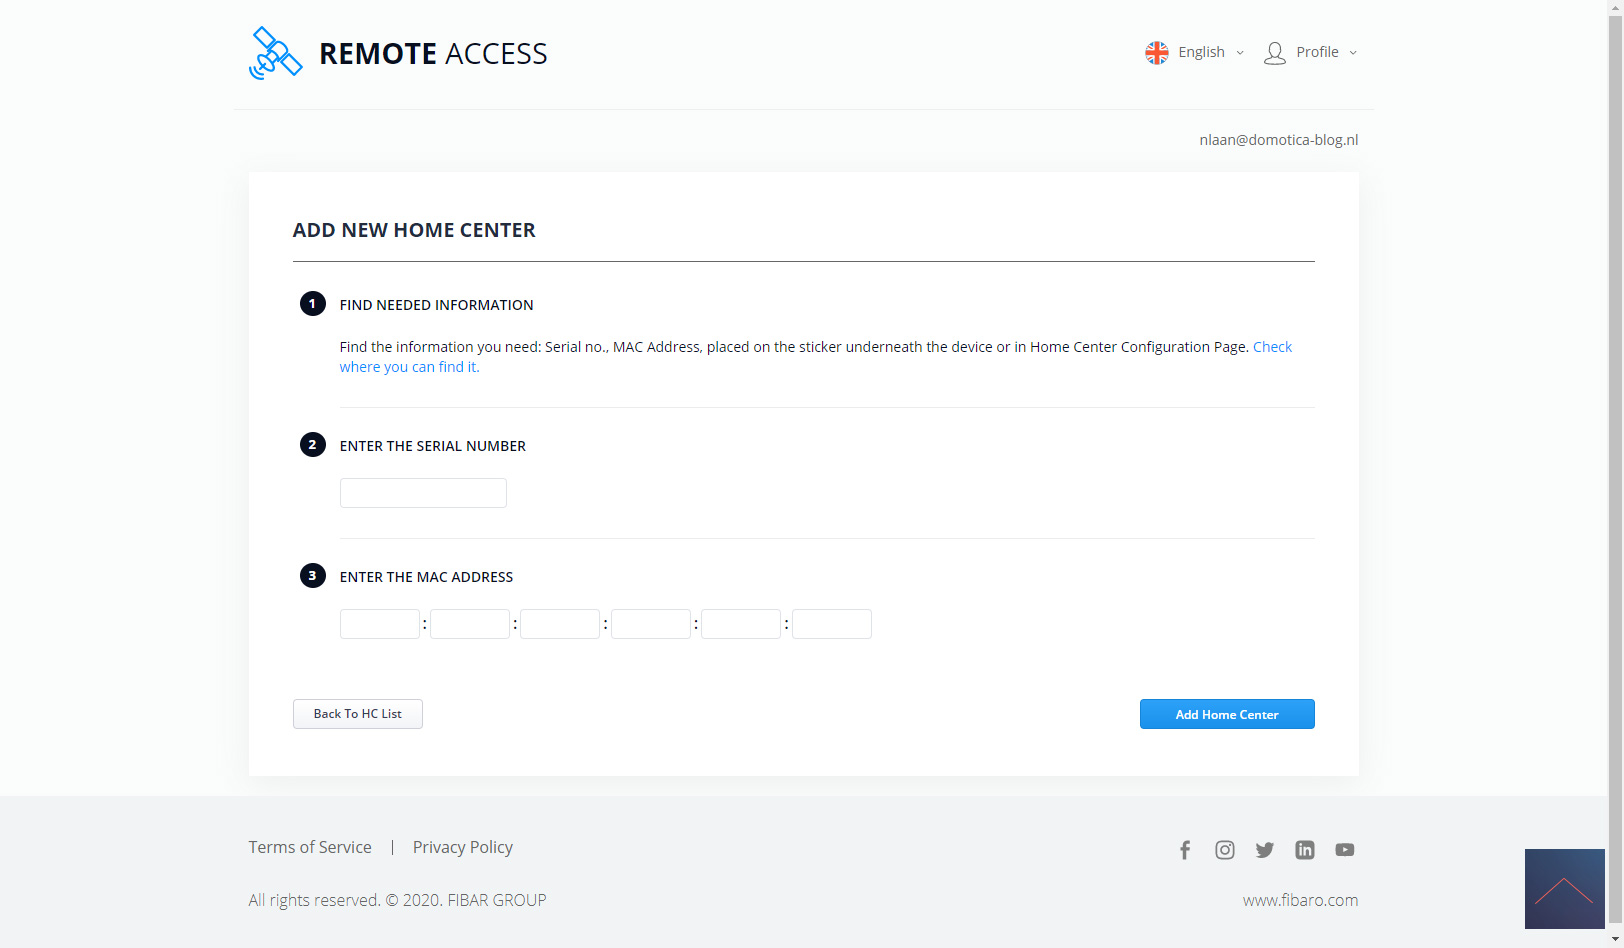
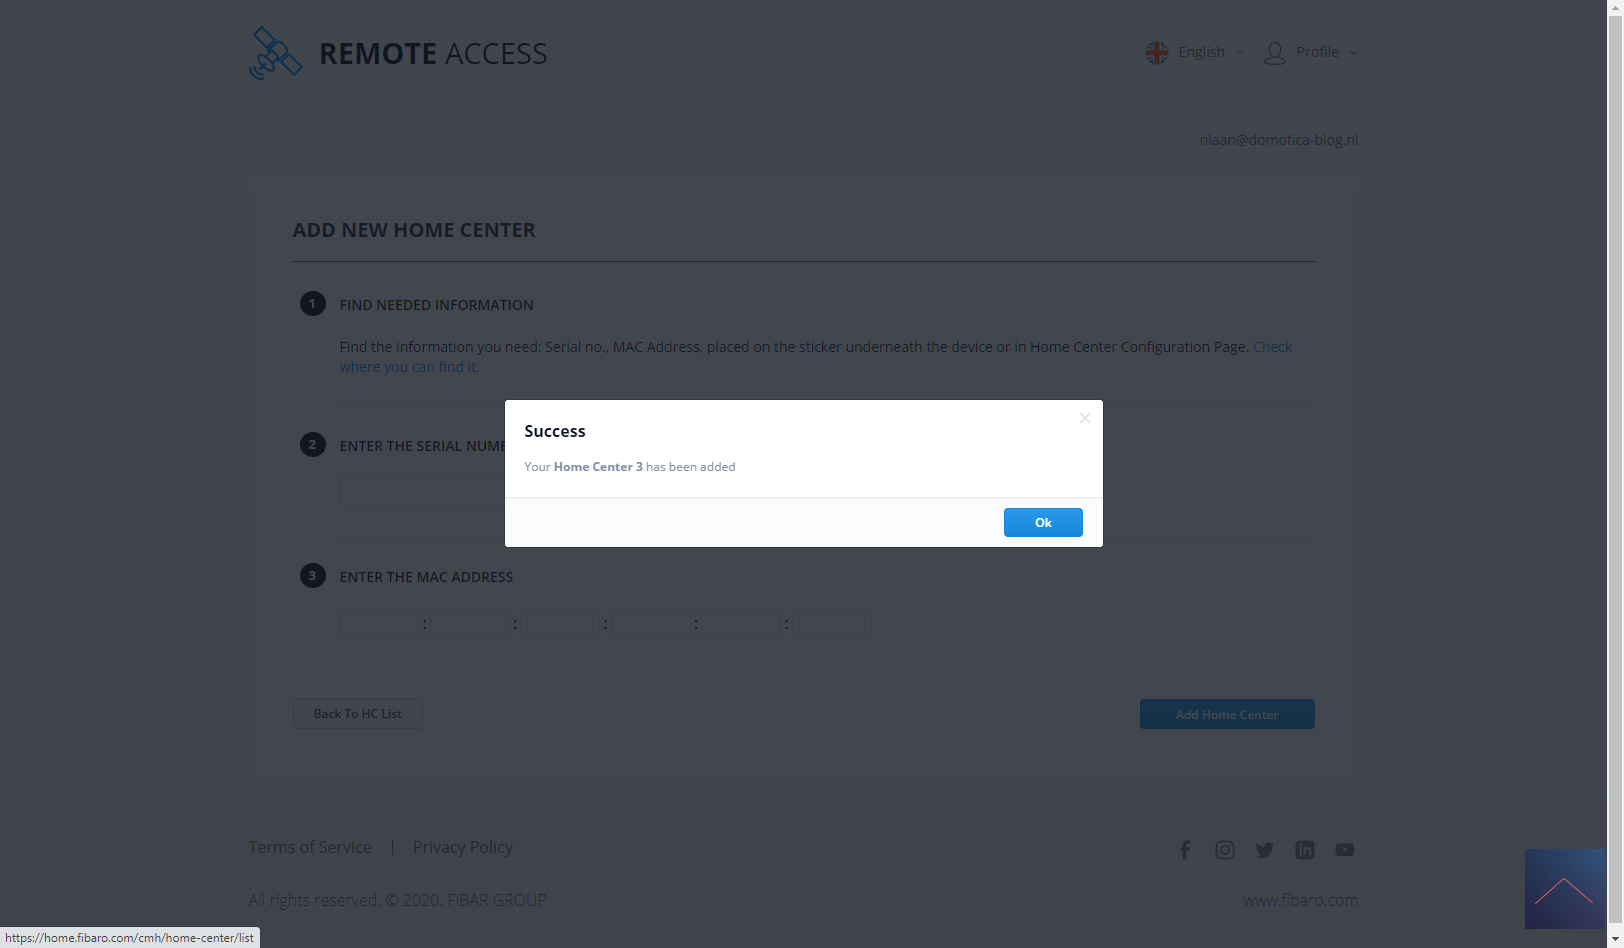
To make this possible, you need to create a Fibaro ID. You have to follow the steps during registration for this. You will be asked for a serial number and MAC address, which you can find on the bottom of the hub.
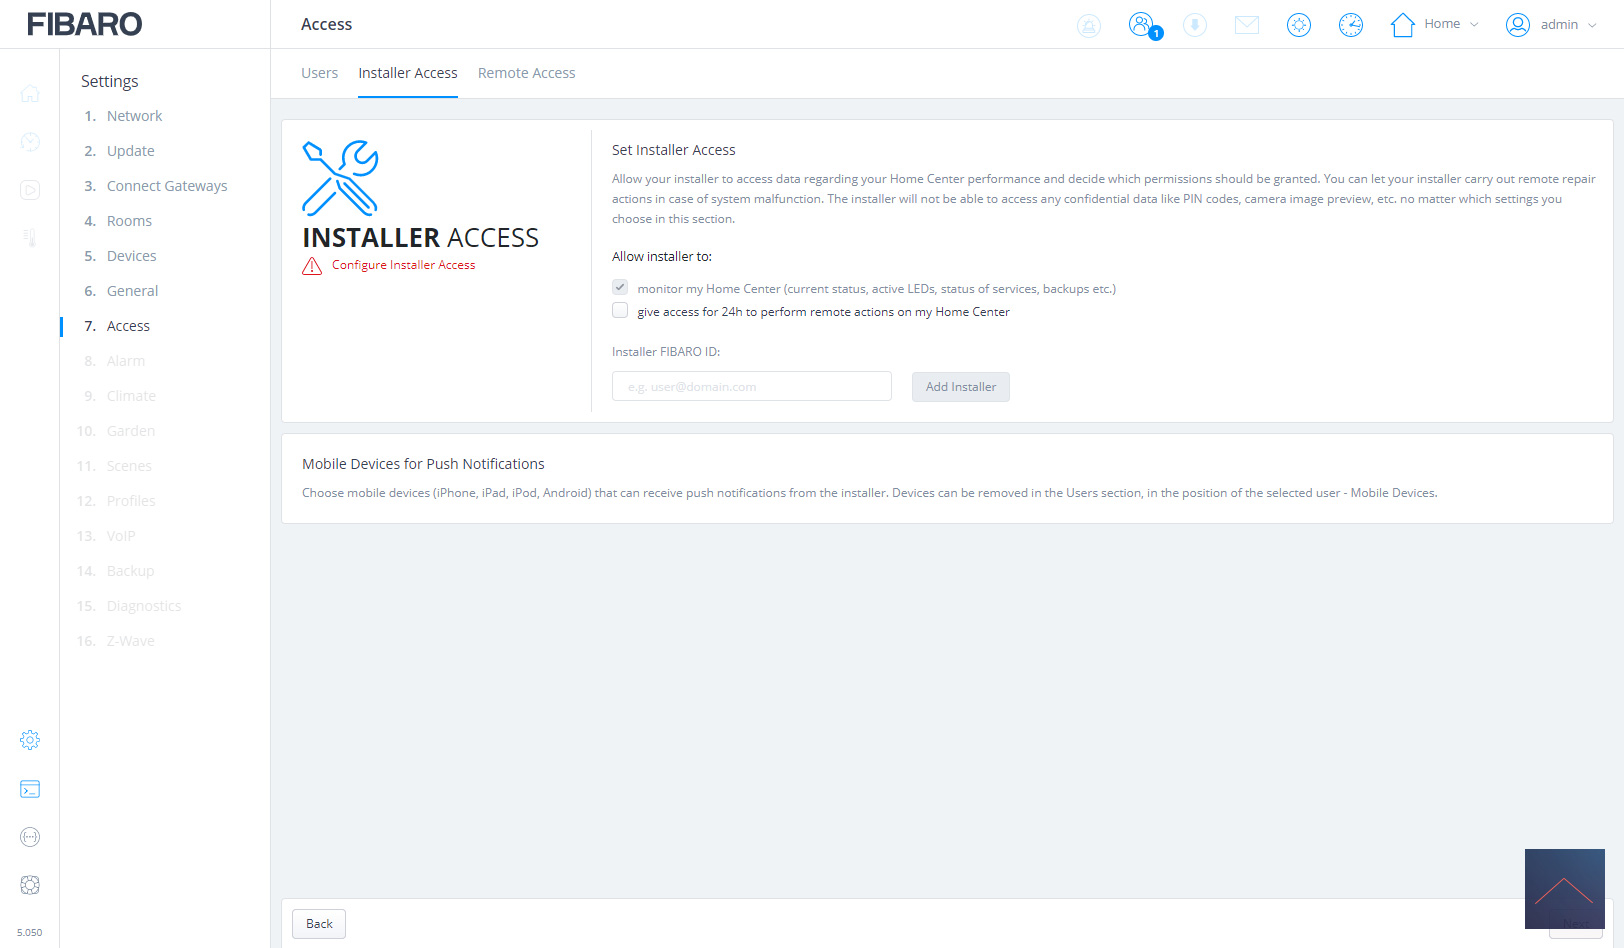
In this section you can also change the local admin password and add users. There is even an option to grant temporary access to an external installer.


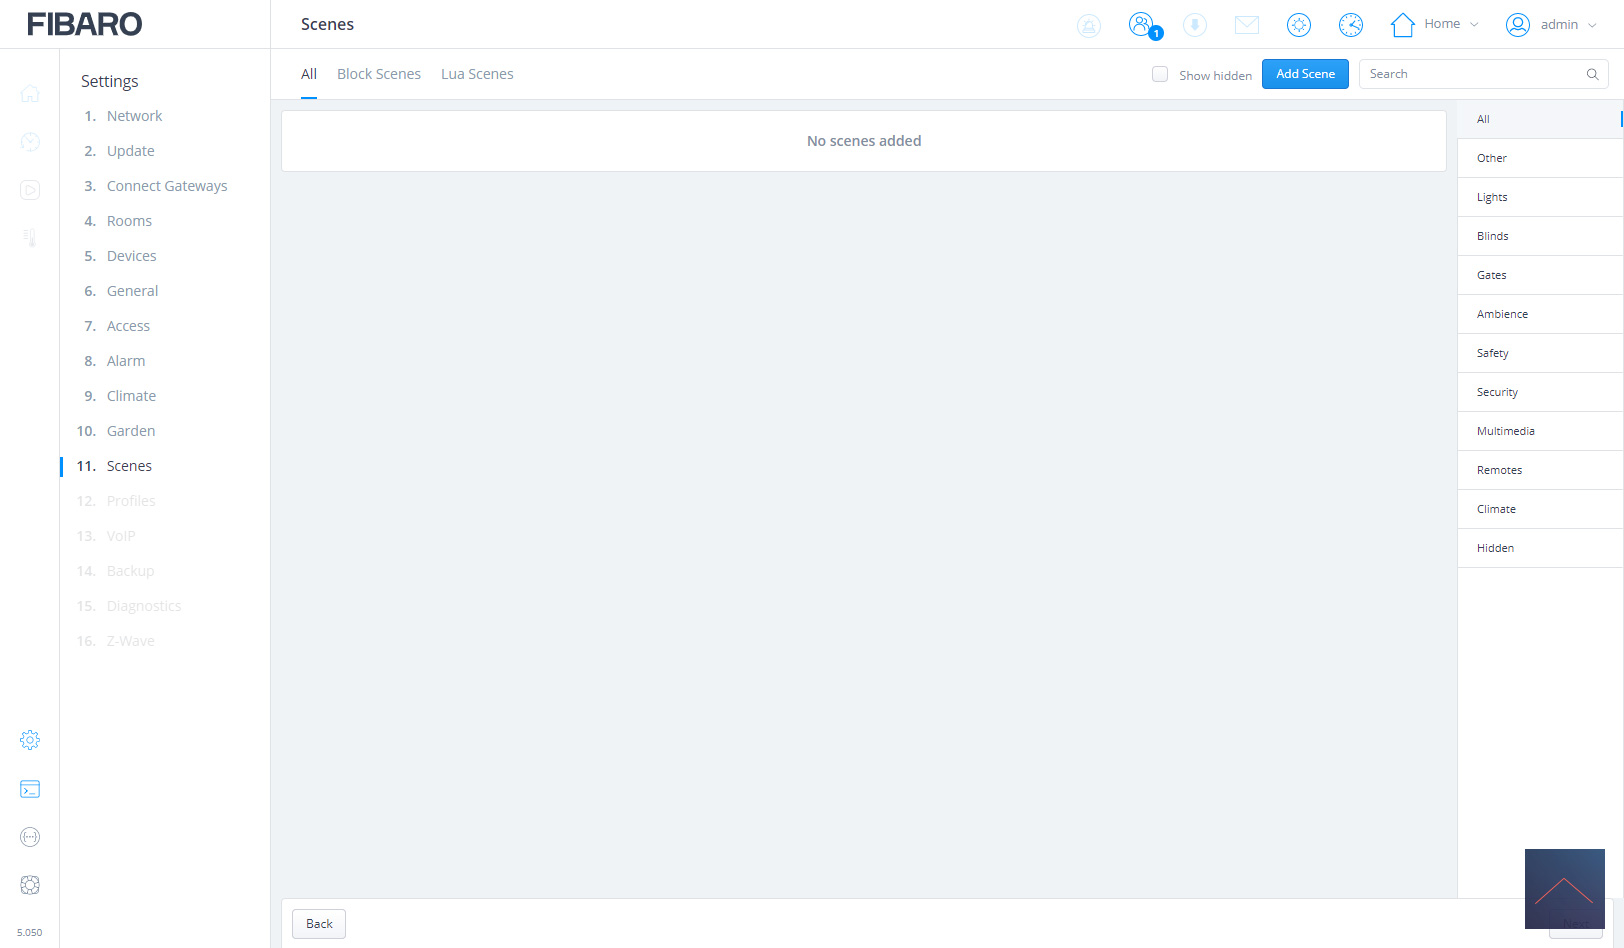
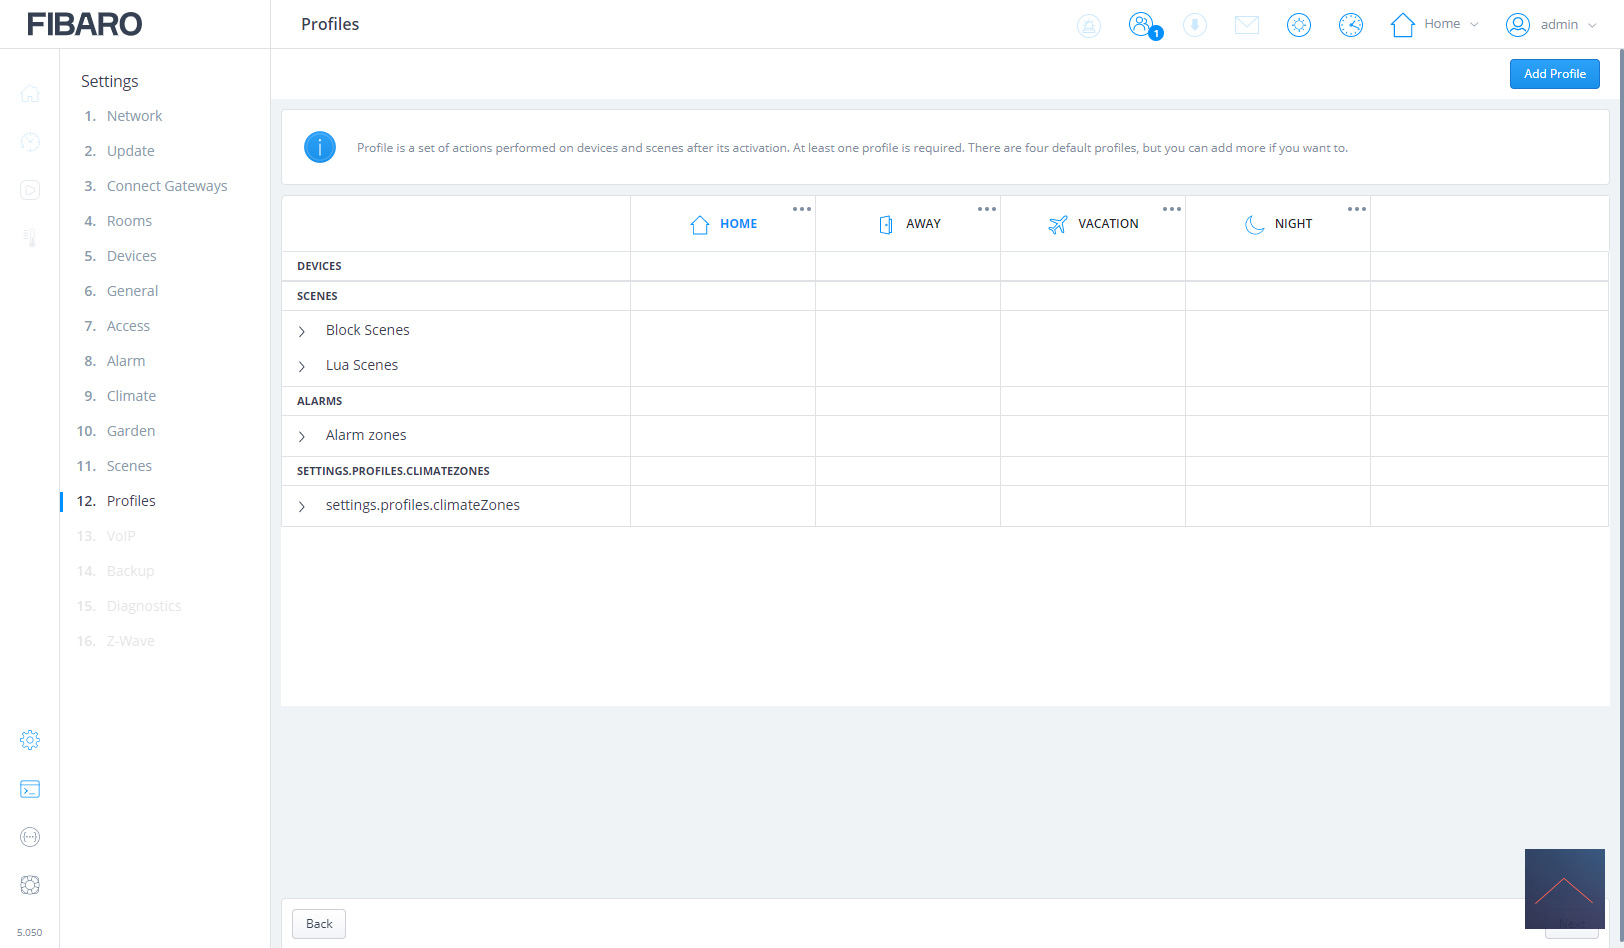
We will skip the next 5 parts (alarm, climate, garden, scenes and profiles) and we will come back to them later.

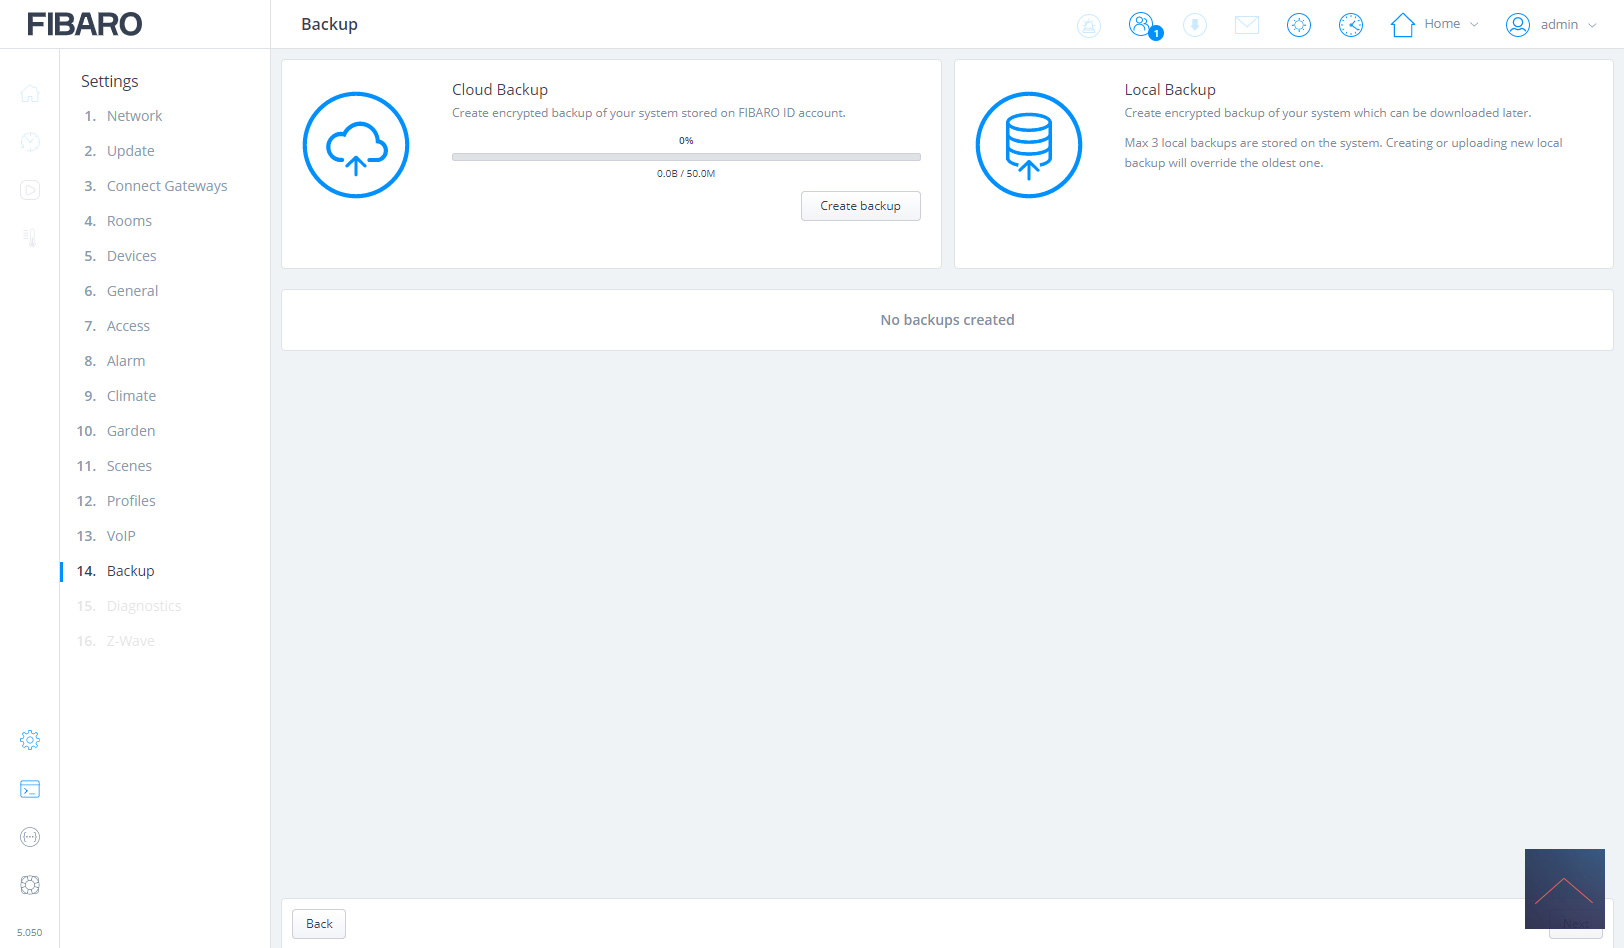
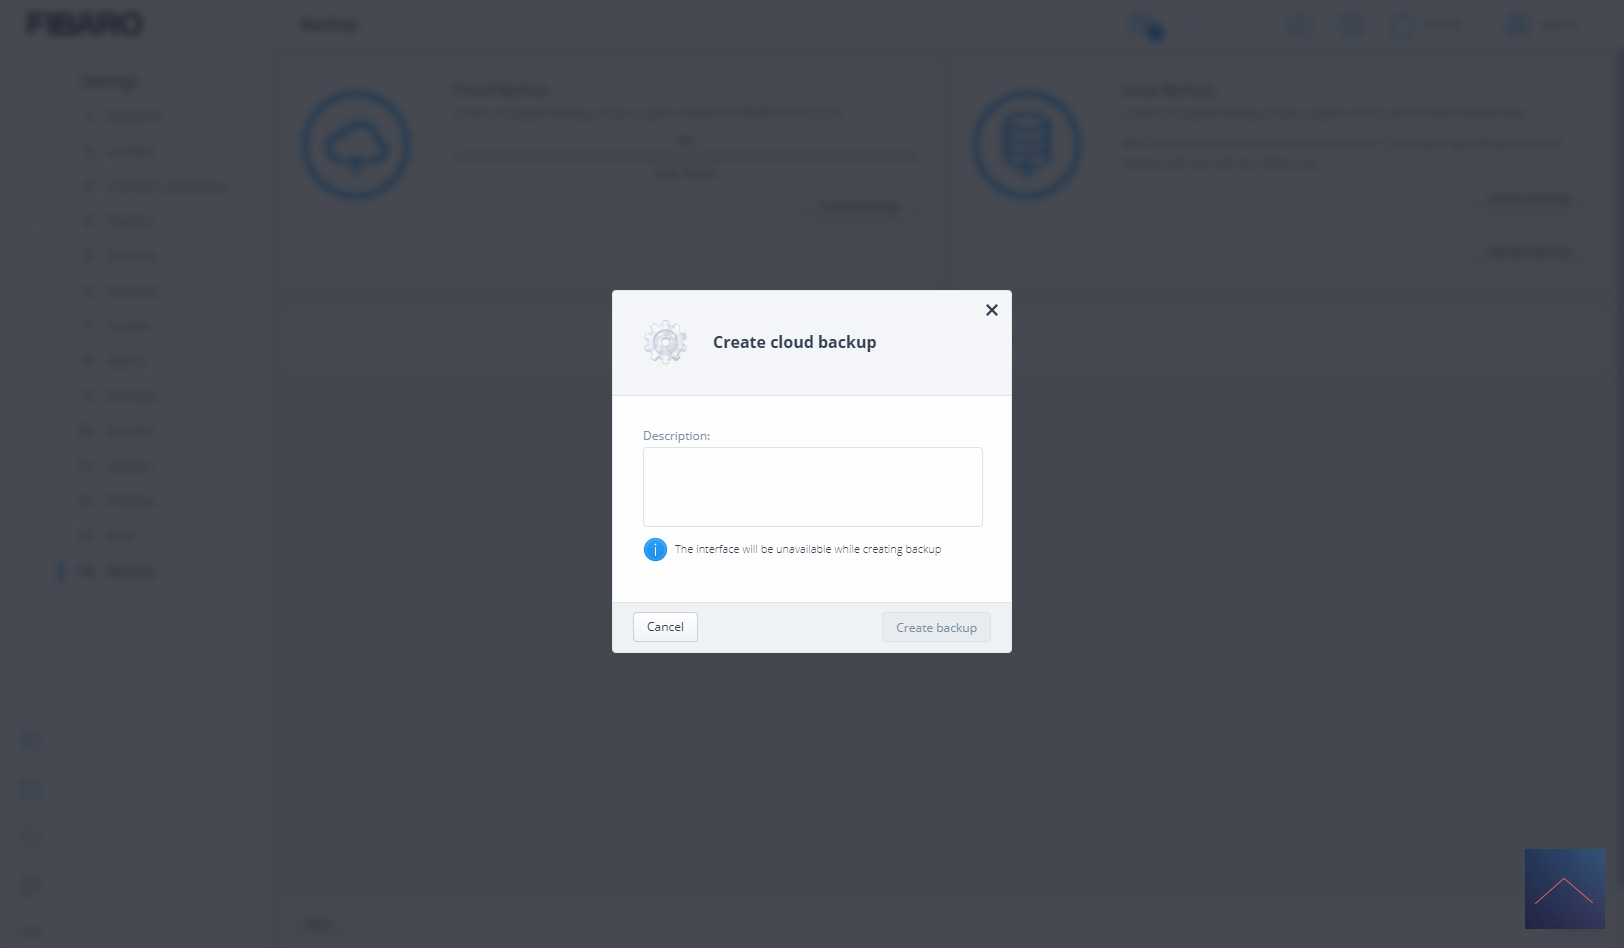
We have almost reached the last steps. The next part are backups, something that should of course not be missing in a Smart Home system. Cloud backups and local backups can be made. Where the first 50mb of disk space is available and with the last a maximum of 3 versions are stored.
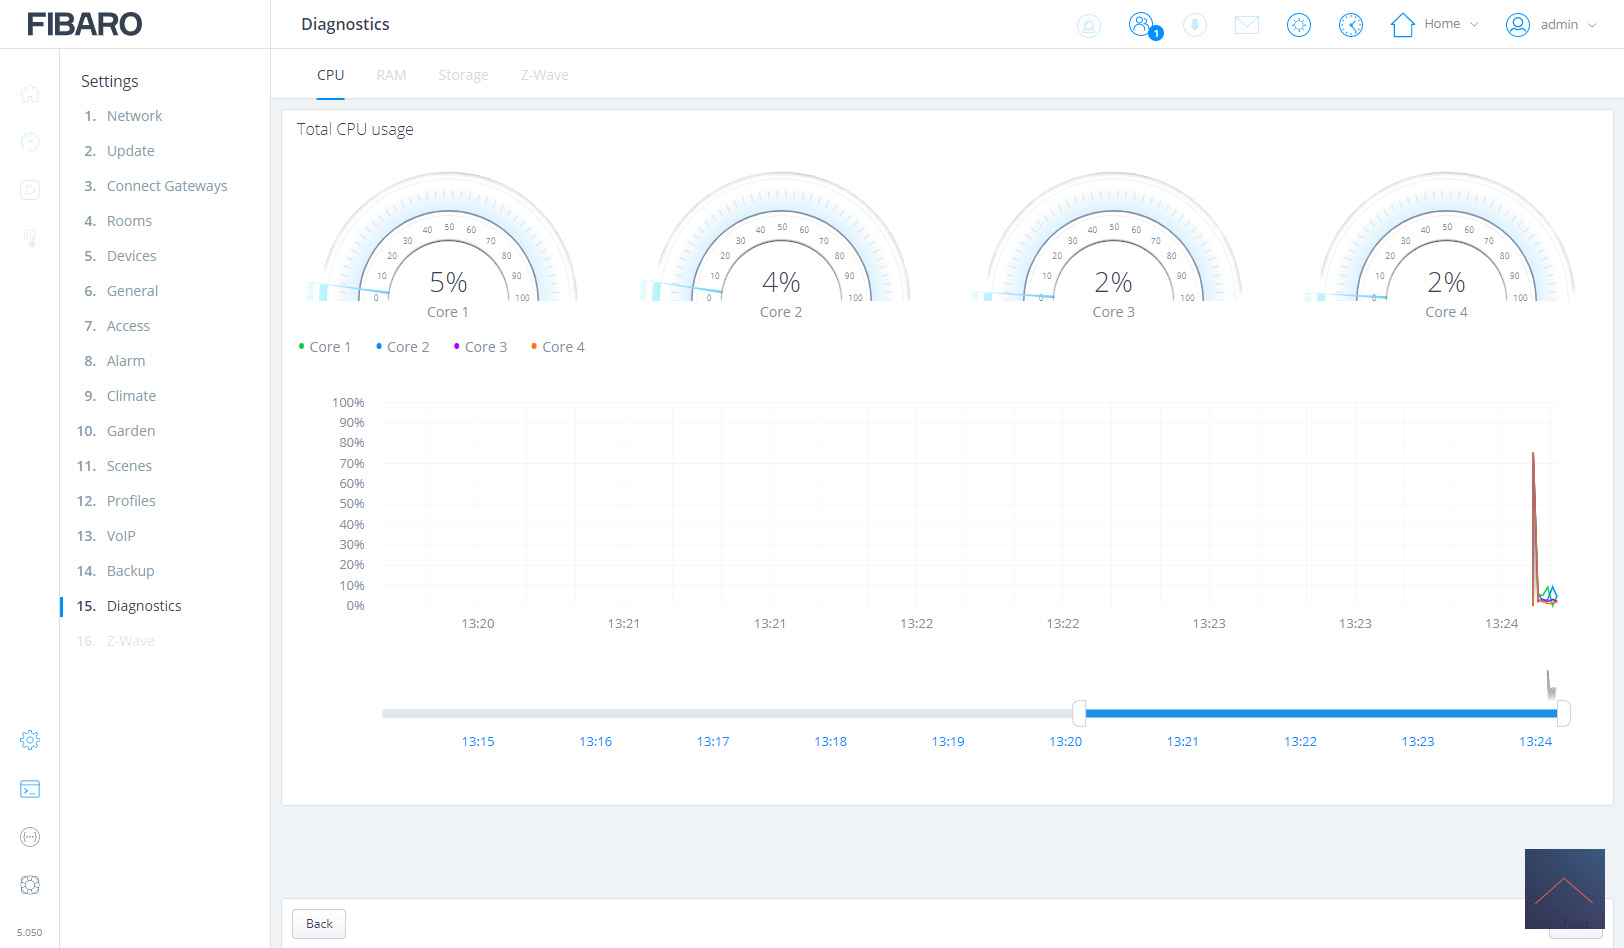
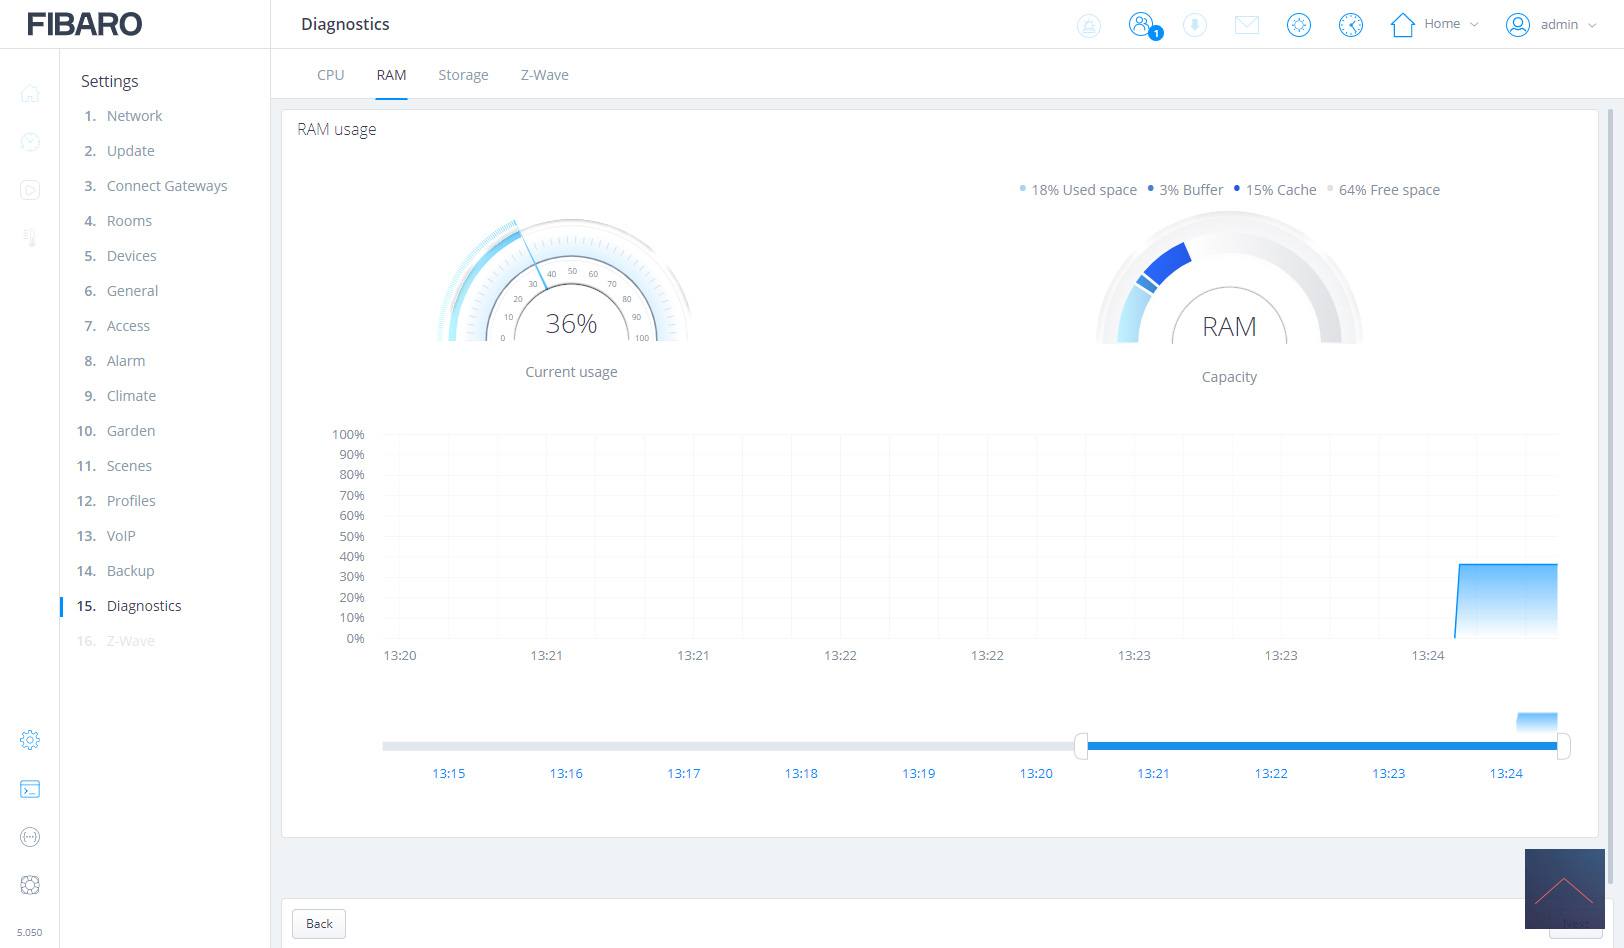
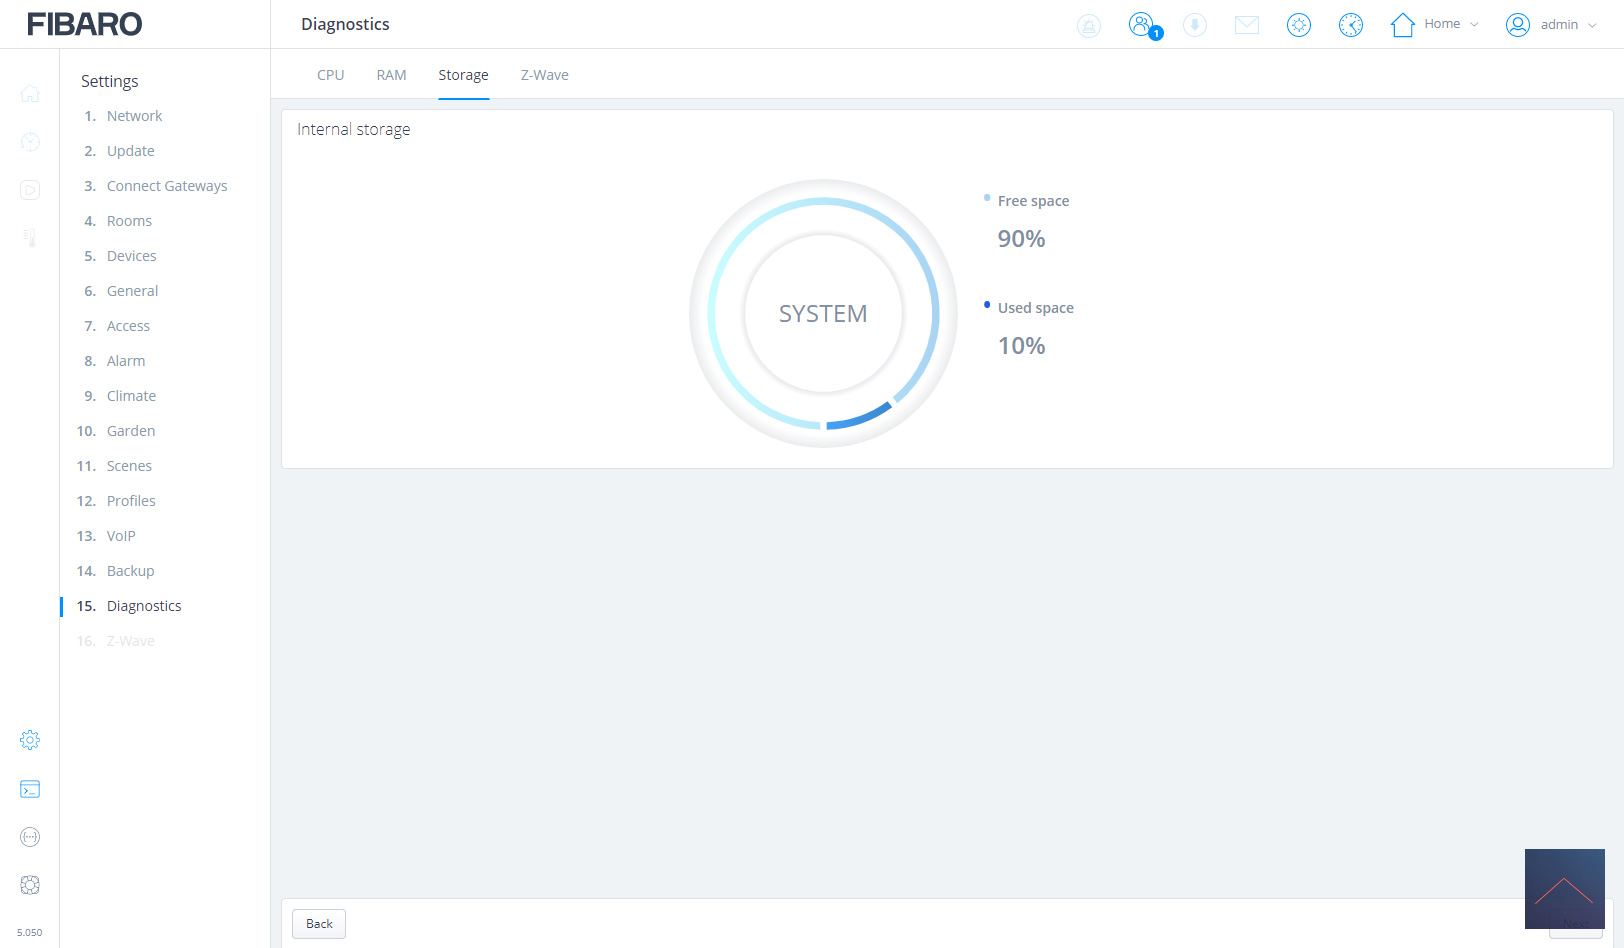
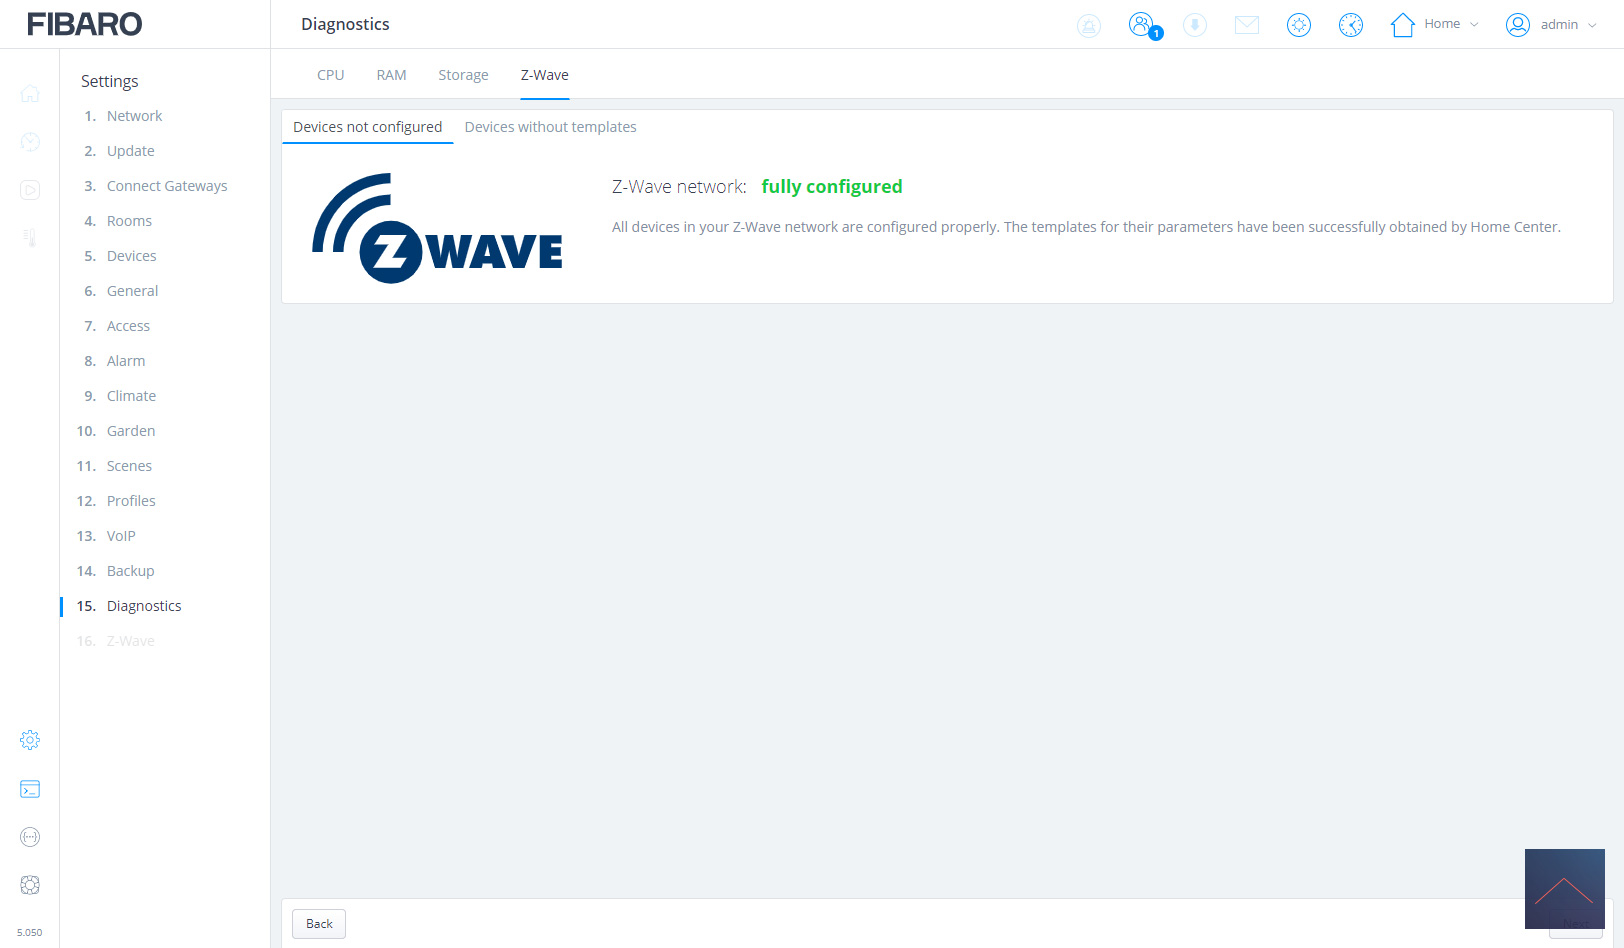
In the last 2 parts you will find a diagnosis of the system and your Z-wave part. Now we are done with the setup and we can start playing with the controller.
Arriving in the main screen we find our rooms and devices.