

Review:
RobbSmarrt Rotary dimmer Z-Wave 2-wire

Installation with Domoticz:
The installation of this dimmer starts by replacing your old dimmer with this new one. Make sure you first remove the power and determine whether you will connect it with 2 or 3 wires. With this last variant you need a blue wire. Immediately ensure that the correct lamp is screwed into the luminaire. The dimmer does a calibration. After this, wait a while before turning the power back on.
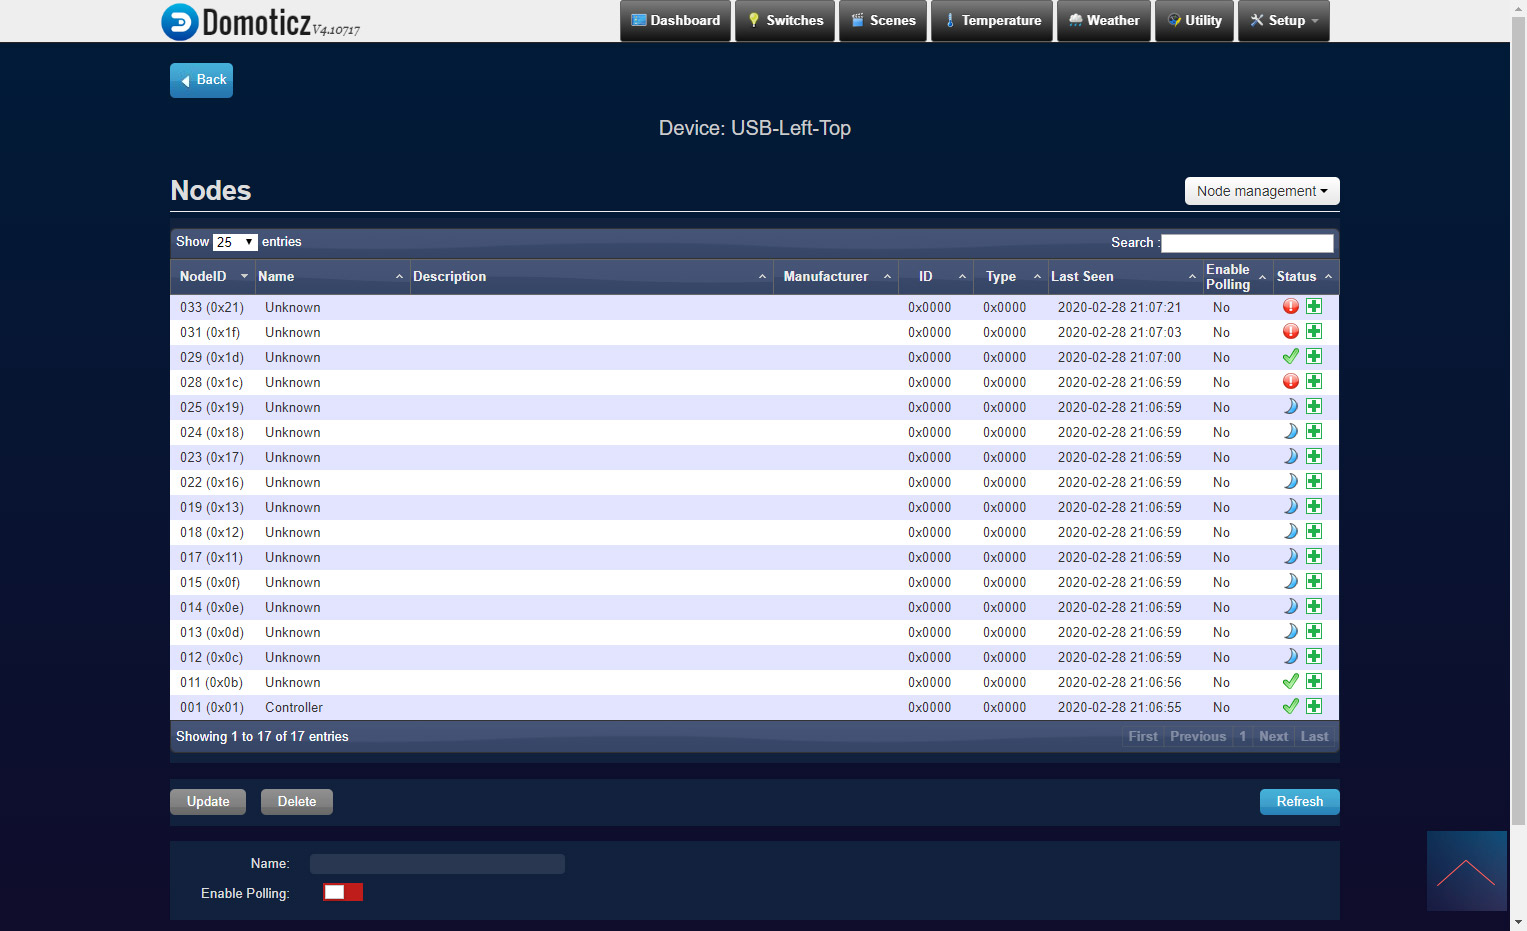
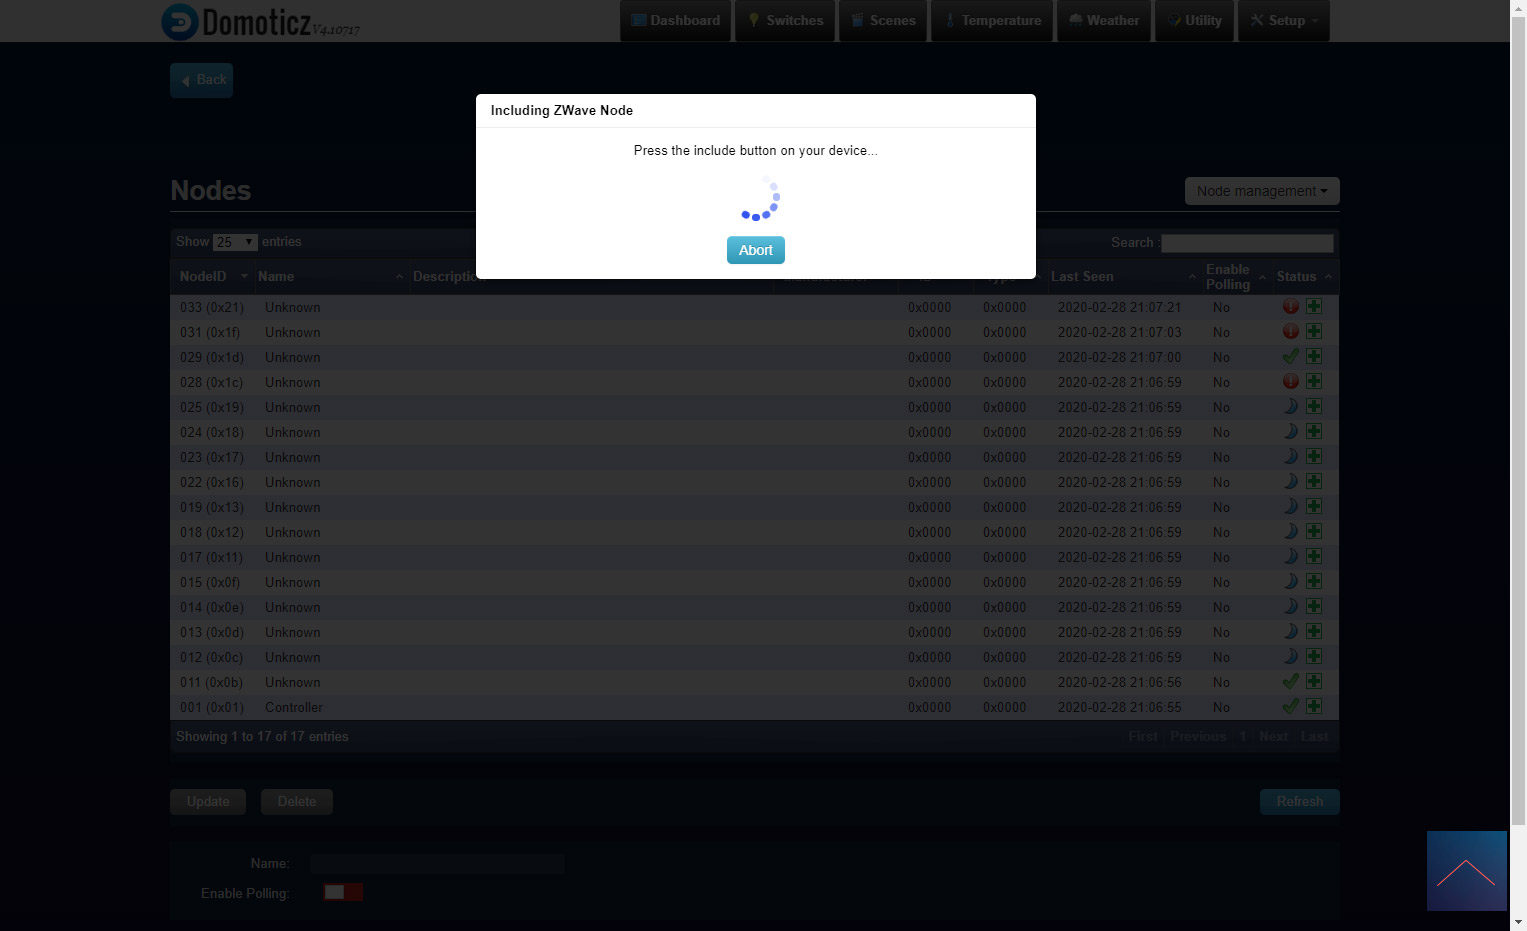
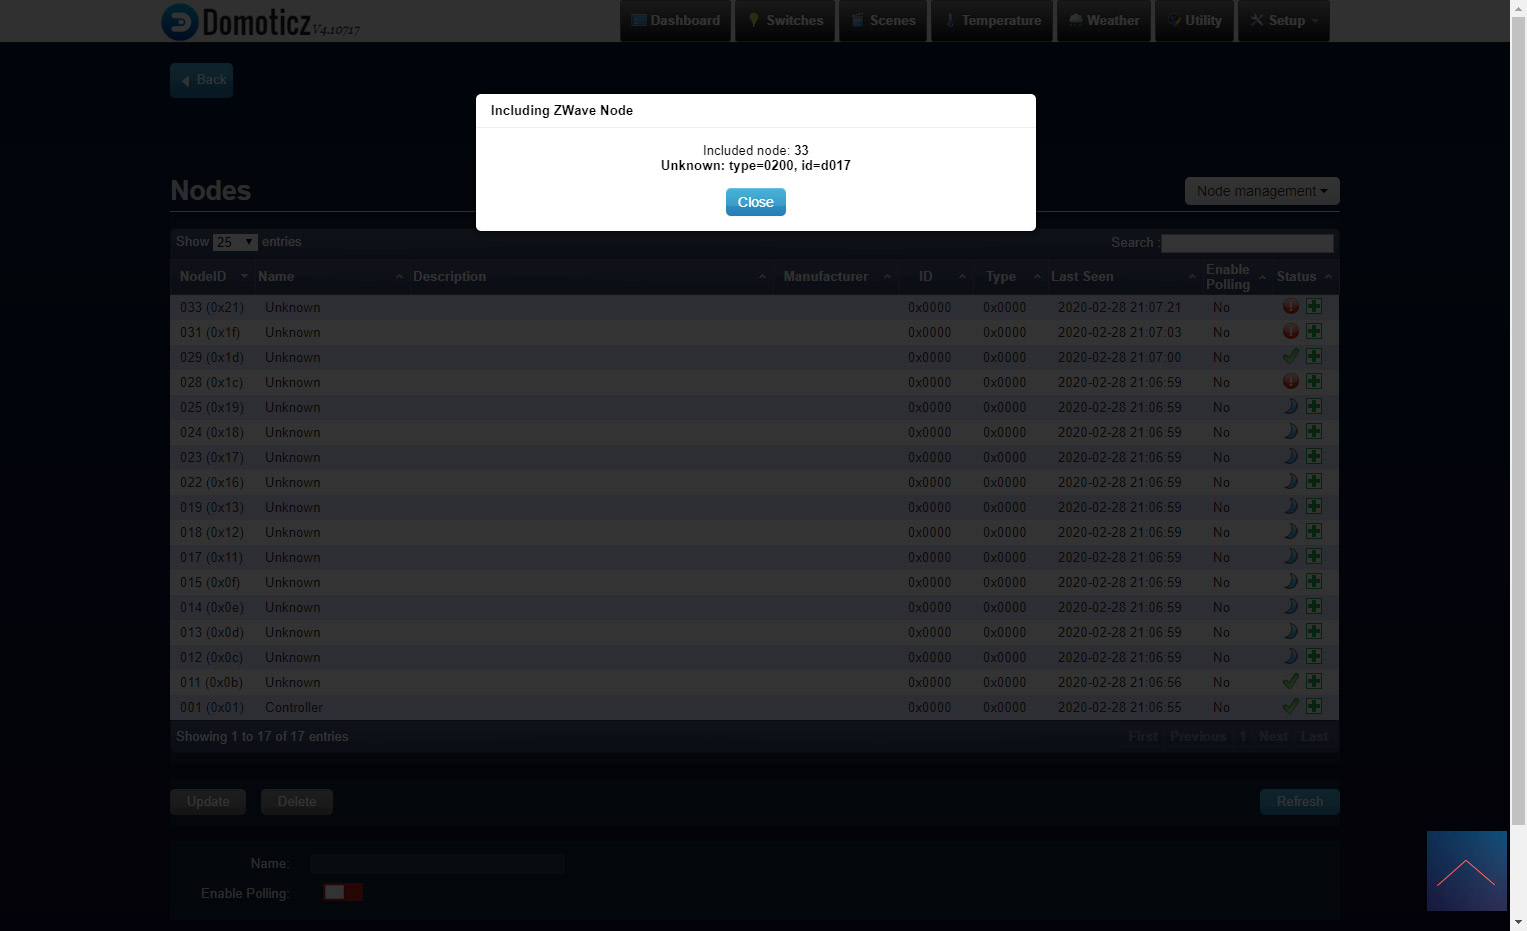
Then log in to Domoticz and go to the menu item "setup" and to "hardware". Then press the setup on the Aeon Labs controller and press include node secure. A pop-up will appear that the controller is in learning mode. Then supply the dimmer with power and press a small screwdriver 3x into the reset hole. The LED will illuminate red and then flash rapidly to indicate that the addition has been successful and that the calibration has started.
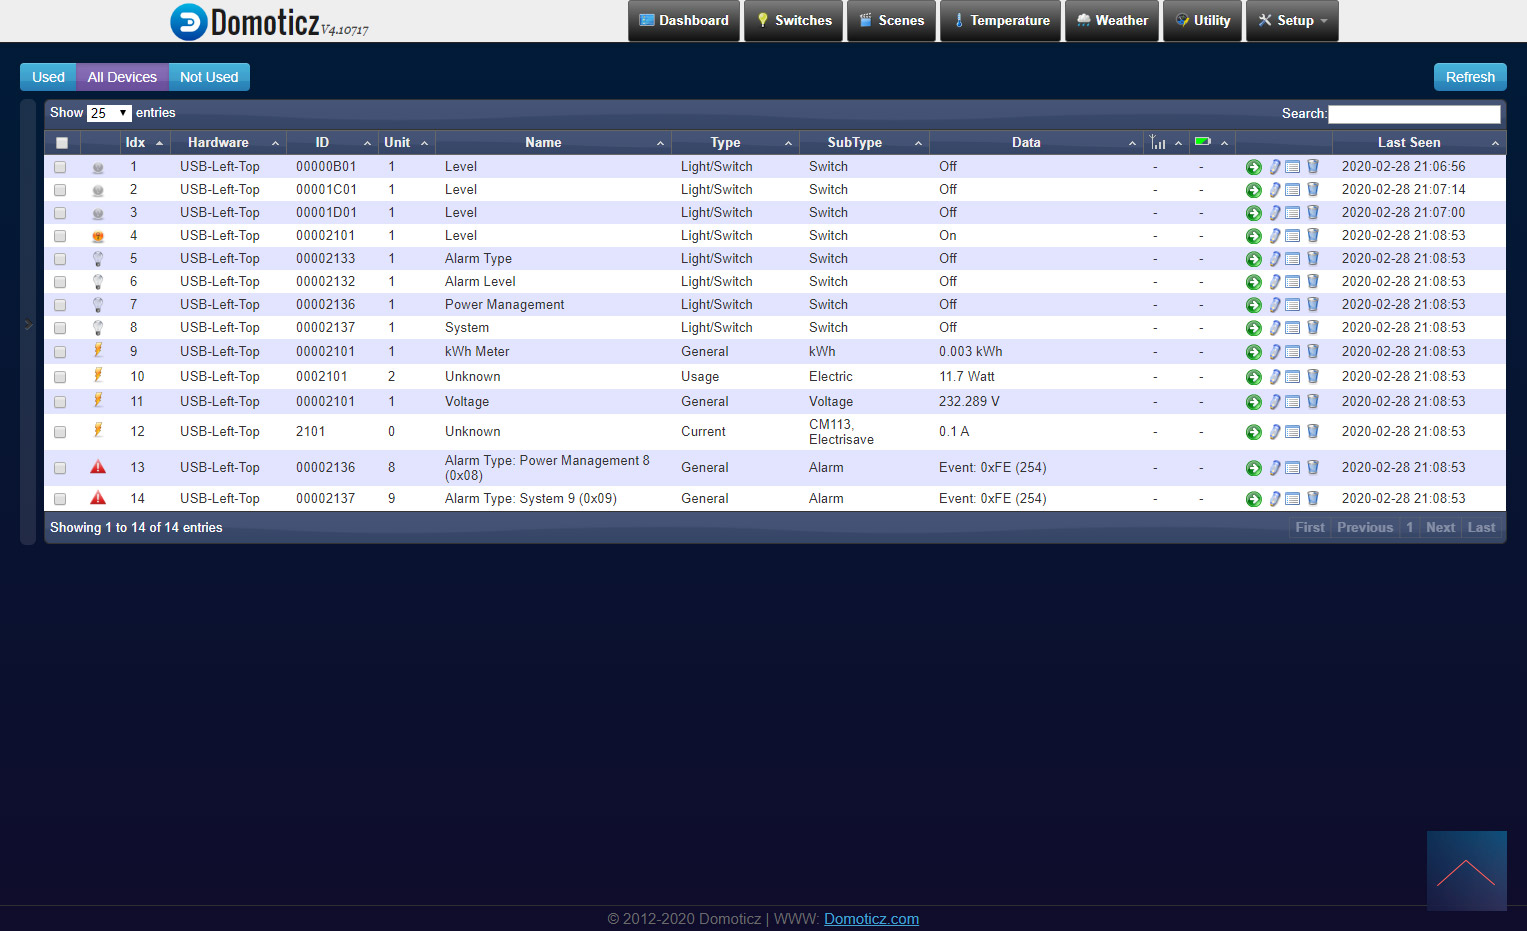
I see all end nodes appear including current consumption, total consumption an on / off button and the possibility to set the dimming level. So completely complete.
Installation screens:
Configuration:
Configuration options are available. You will have to enter this yourself. You can find the settings further on in this article.
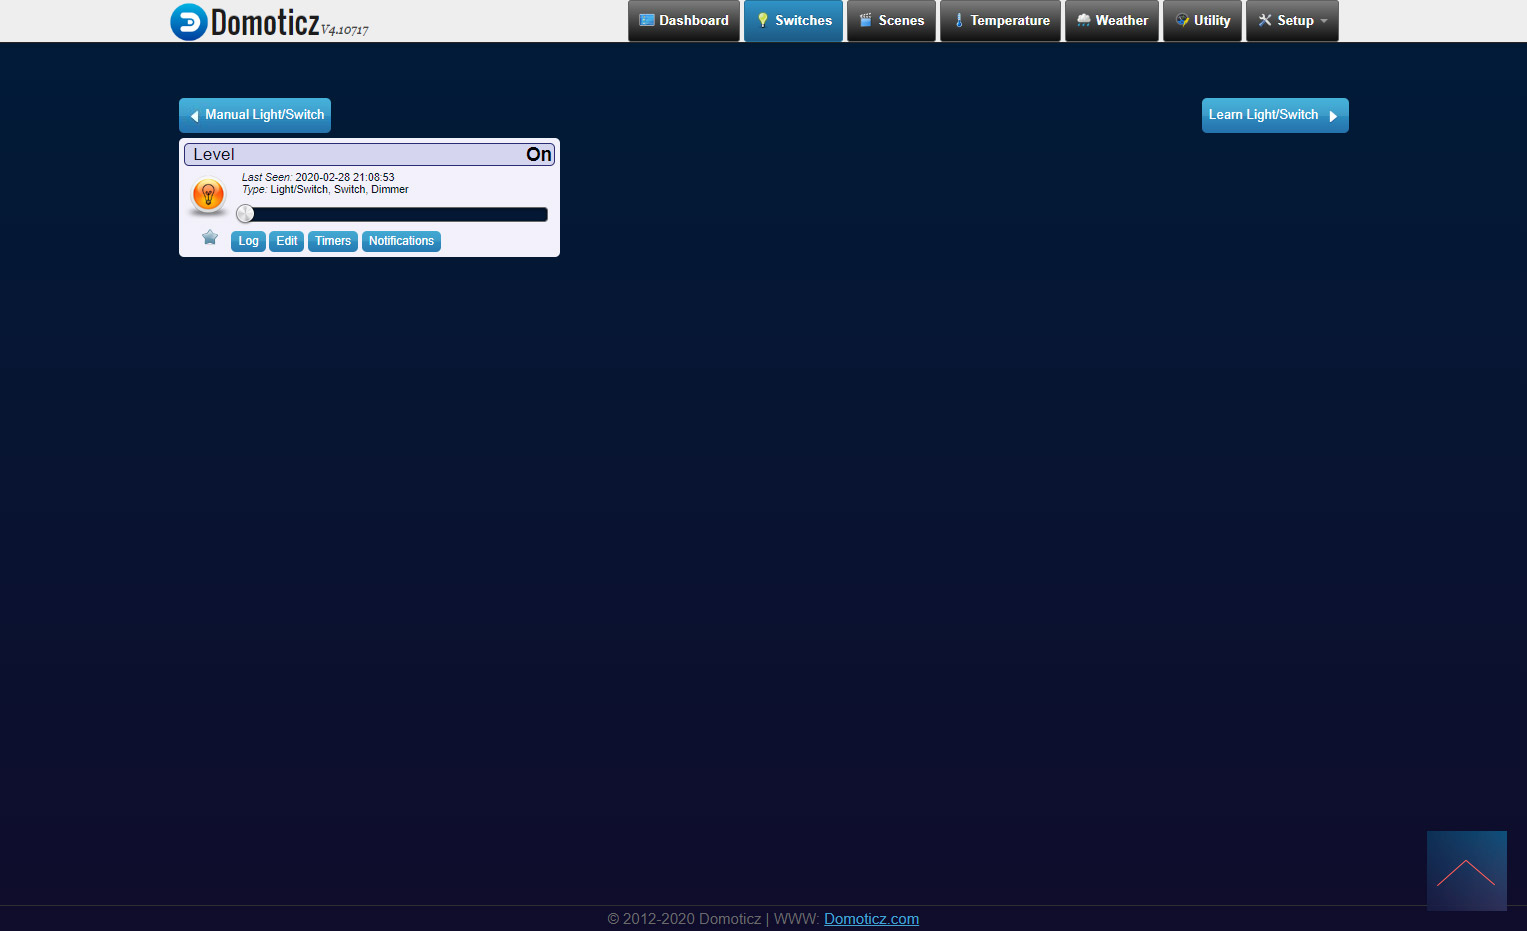
Devices:
On/off & Dimmer: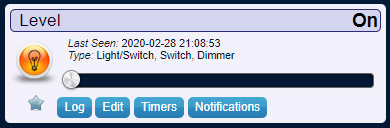
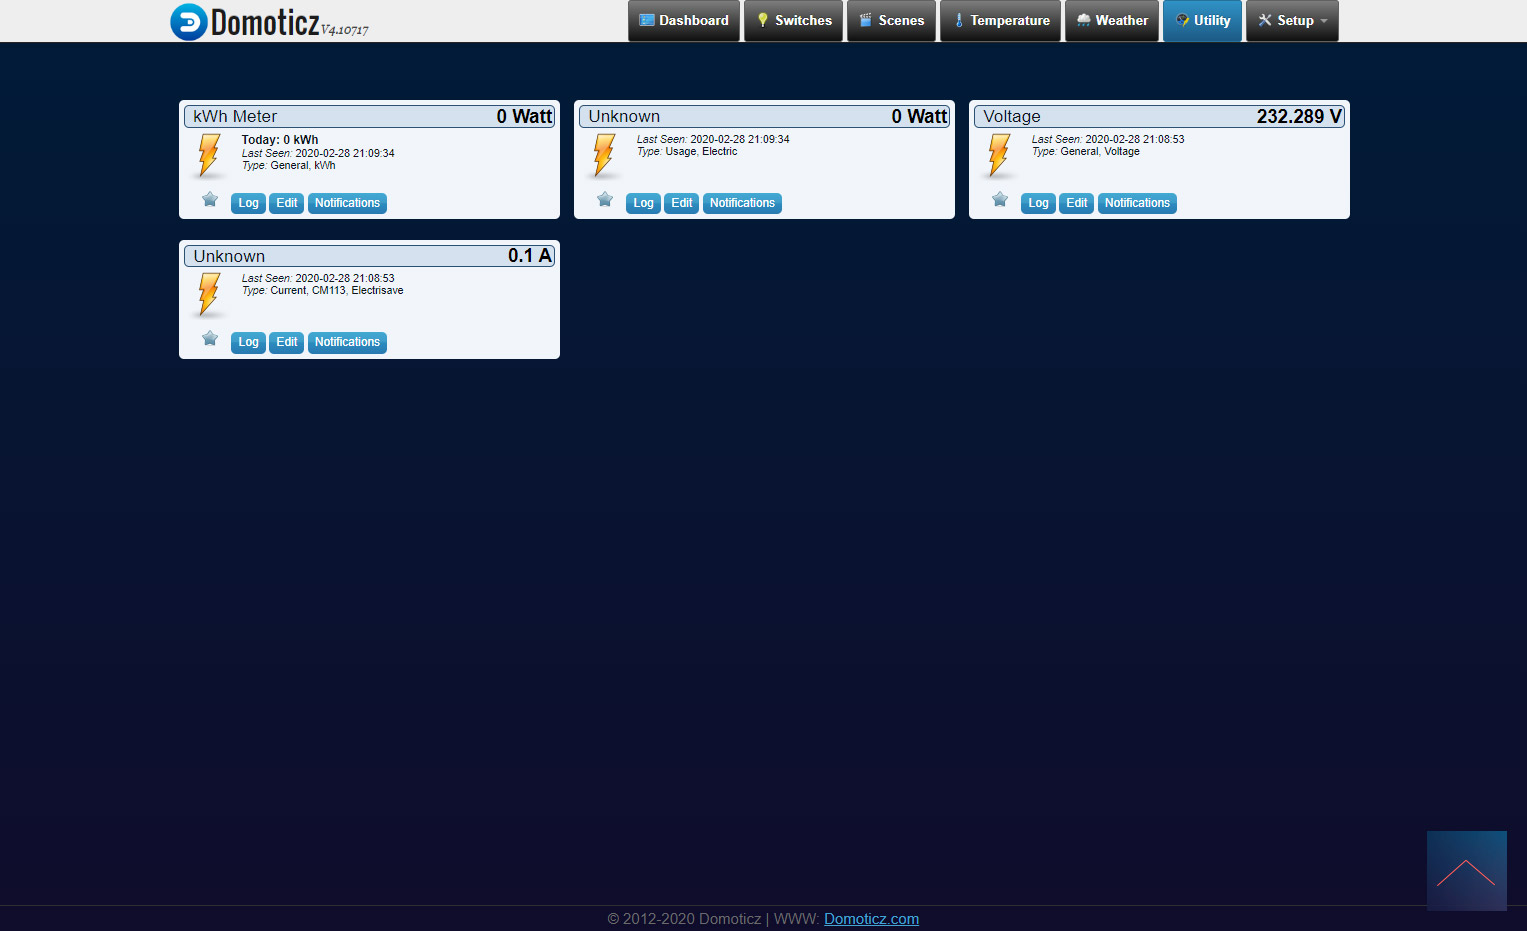
Total consumption and current consumption: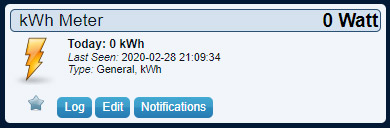
Current consumption: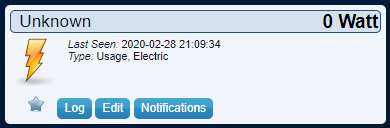
Voltage: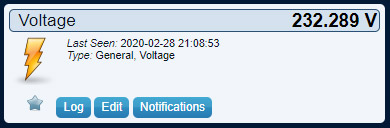
Power: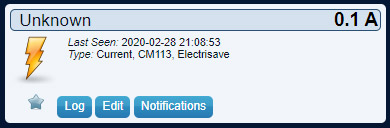
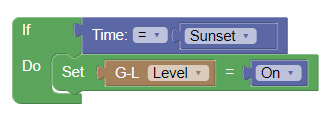
Example event:
When the sun goes down, the dimmer must be switched on.
Conclusion Domoticz:
This dimmer works fine. As usual with Domoticz, it is a bit of a search to determine which endpoints you have to switch on to make the right devices visible.
Table of content
- Intro
- Homey
- Zipato (ZipaTile/ZipaBox)
- Fibaro Home Center 2
- Vera (Plus/Edge)
- Domoticz
- Conclusion Domoticz: This dimmer works fine. As usual with Domoticz, it is a bit of a search to determine which endpoints you have to switch on to make the right devices visible.
- Parameters
- Competition
- Frequently Asked Questions
- Lamp test
- Conclusion