

Review:
RobbSmarrt Rotary dimmer Z-Wave 2-wire

Installation via the Vera (Plus/Edge):
We will of course also test this rotary dimmer on the Vera. The first step is to remove your old dimmer and install the new one. Obviously make sure you take the power off. Such a shock is a bit annoying. A connection diagram is supplied with the dimmer to connect it with and without blue. It is recommended to install it with the blue one. If all goes well, please wait a while before switching the power back on.
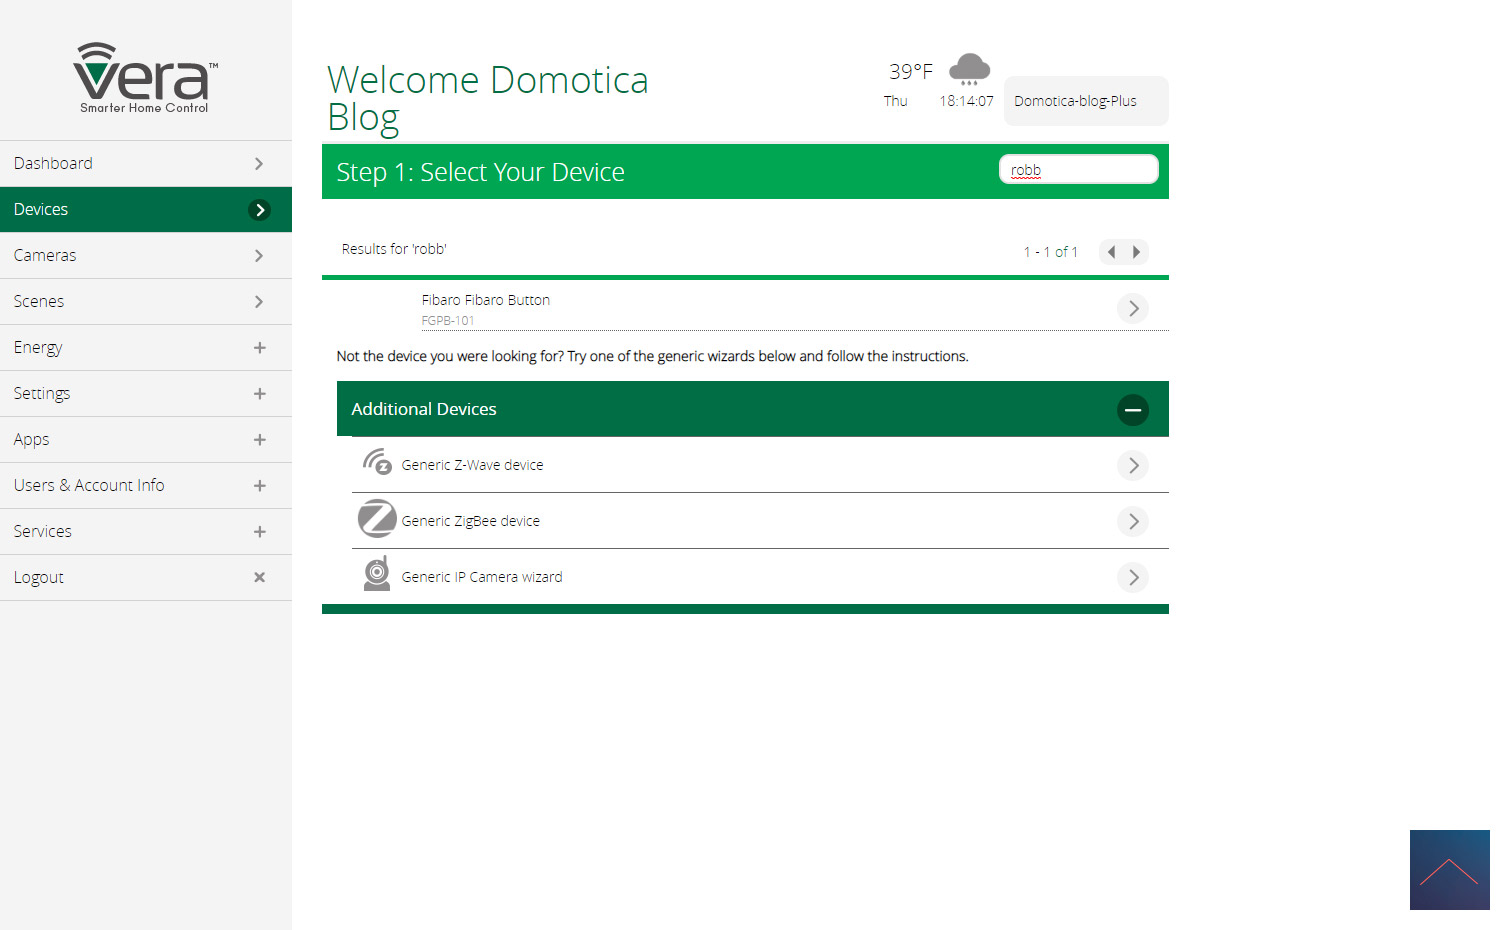
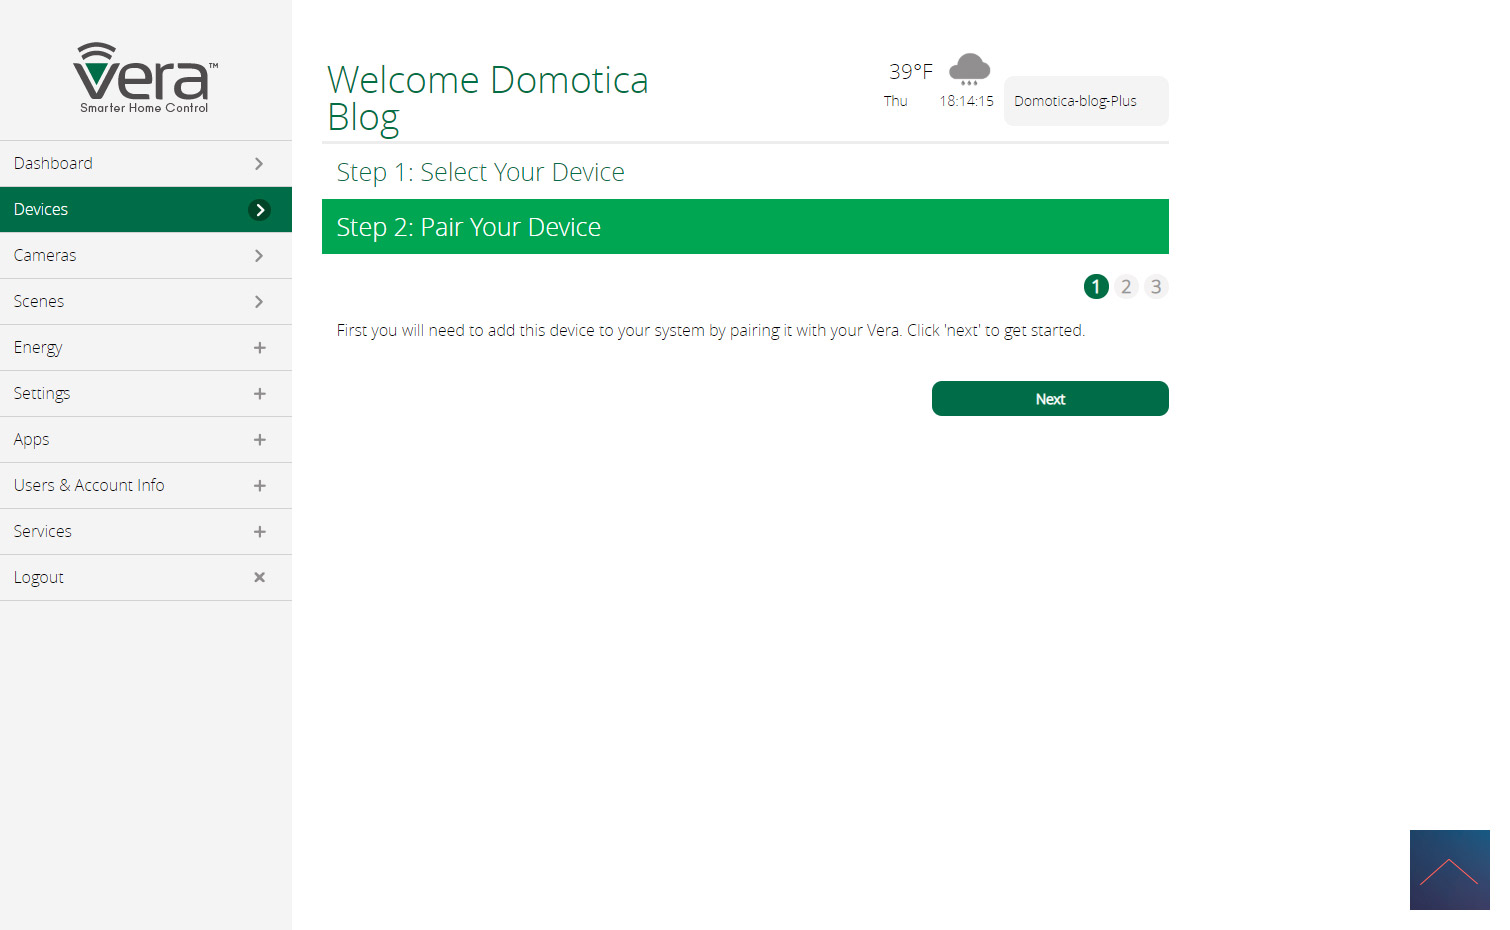
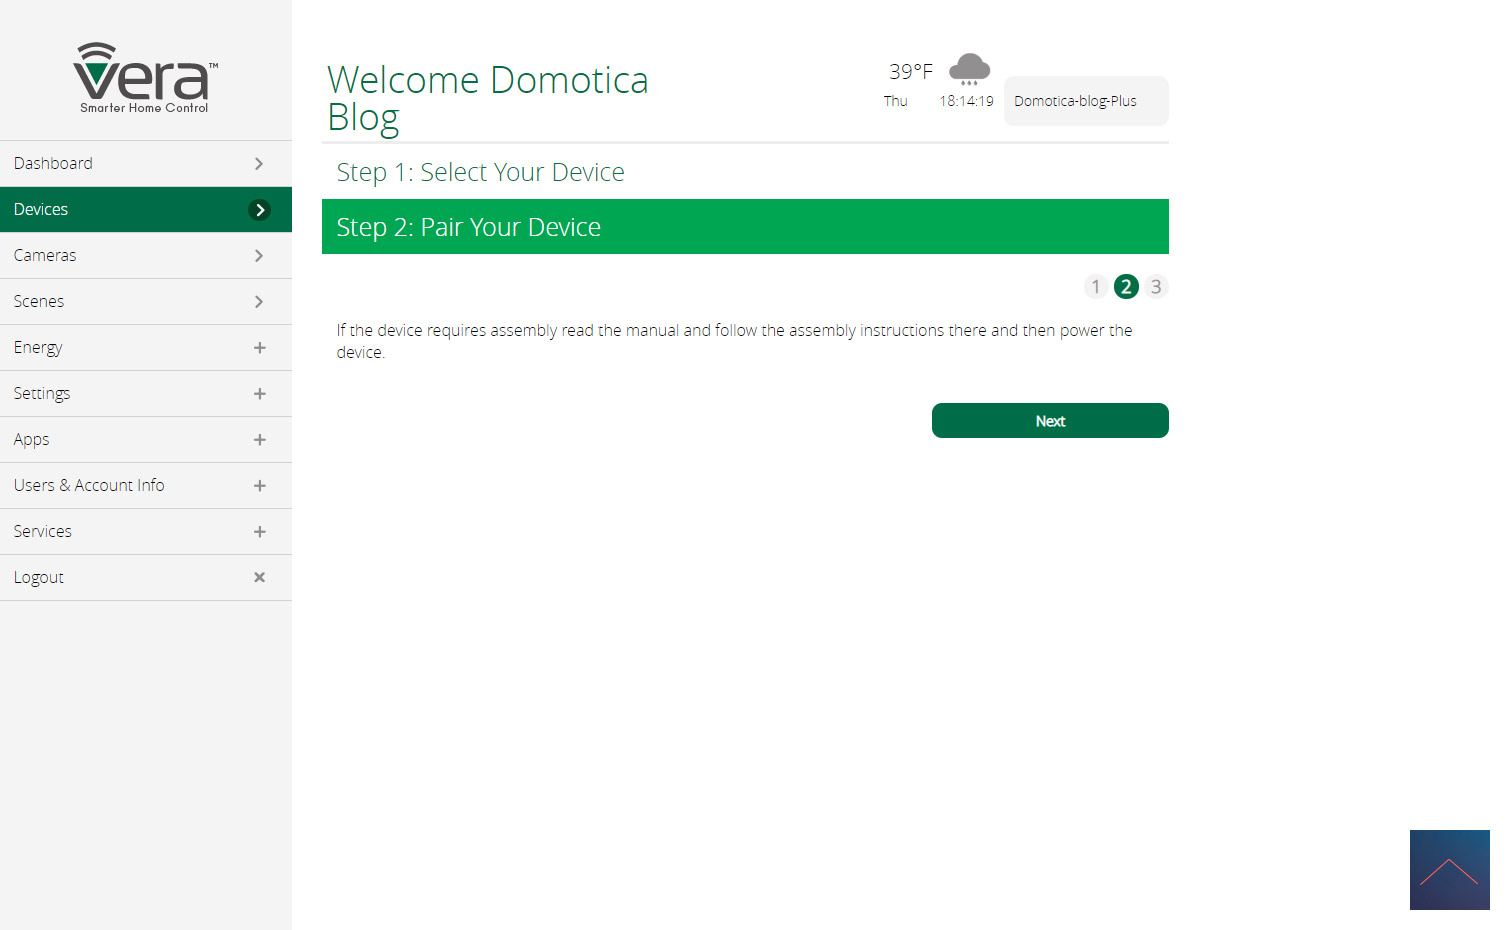
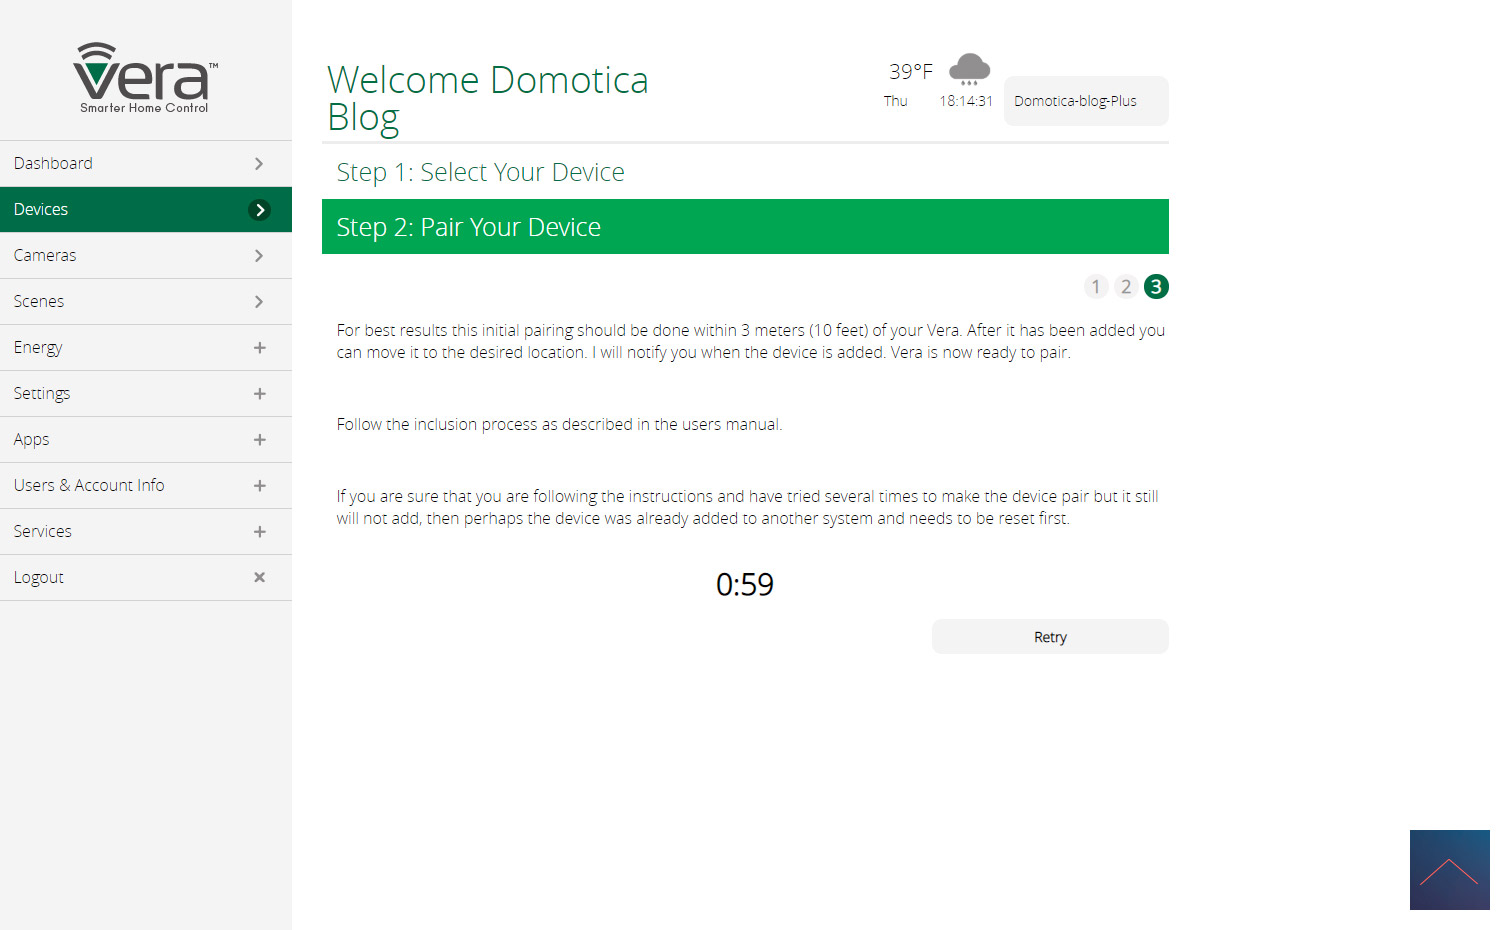
It is better to first log in to the Vera and go to your devices. Then click on generic z-wave device because a search on robbsmarrt will yield nothing. After clicking through a few times, you supply power to the dimmer. Then press 3x quickly with a small screwdriver in the reset hole on the dimmer. The LED will light up and flash to indicate that adding has started. The dimmer will also do a calibration.
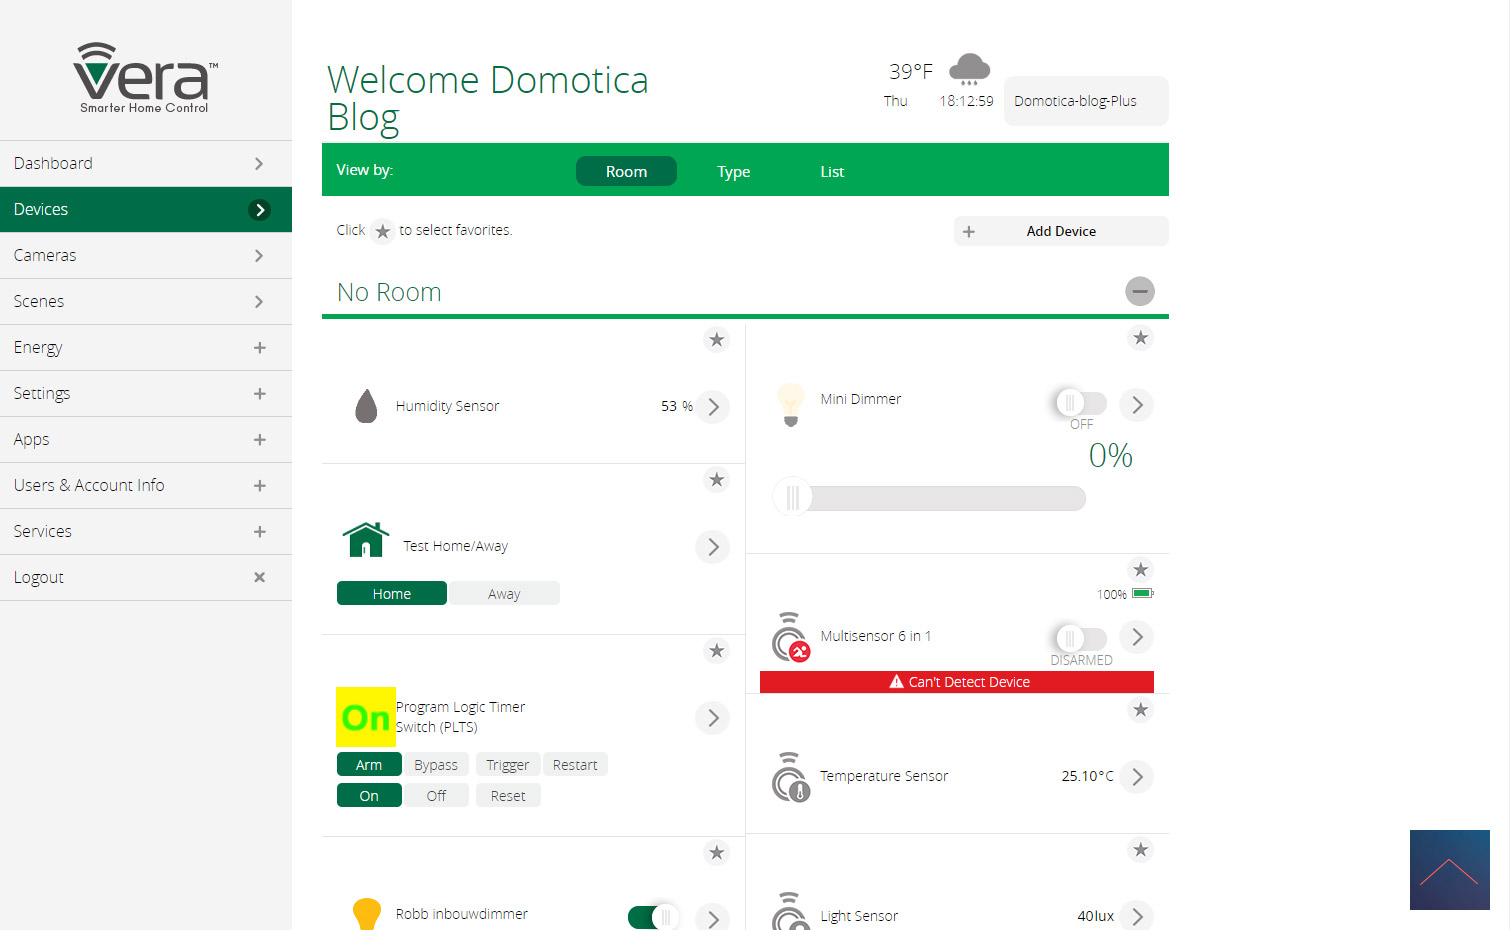
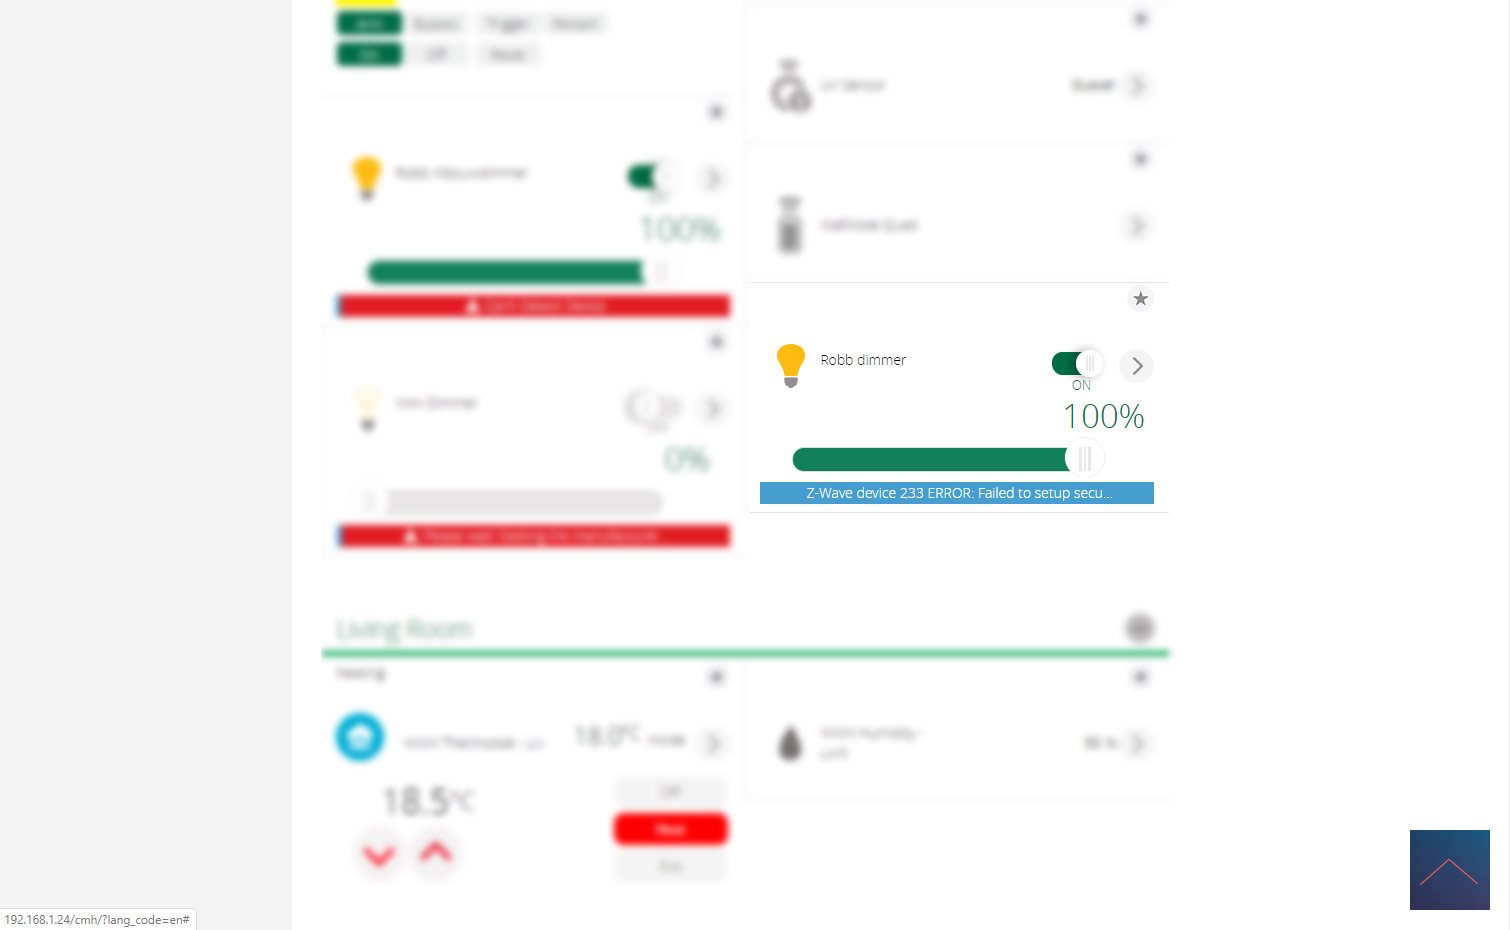
After this I saw it appear on my dashboard (on/off, dimmer and current consumption). All messages came up, but after a few times on and off, these disappear.
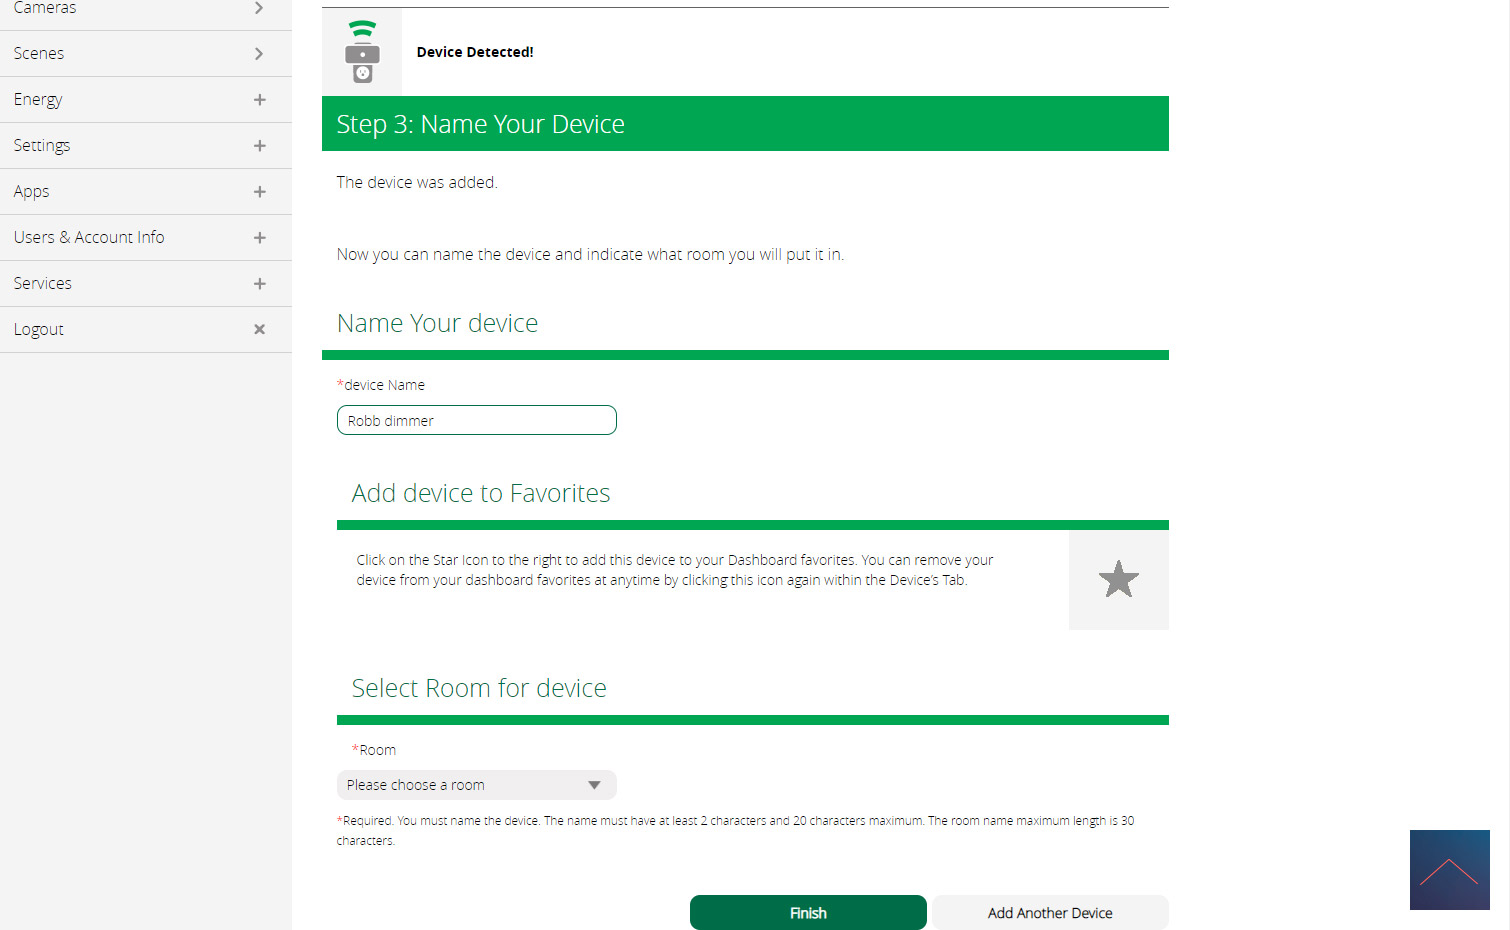
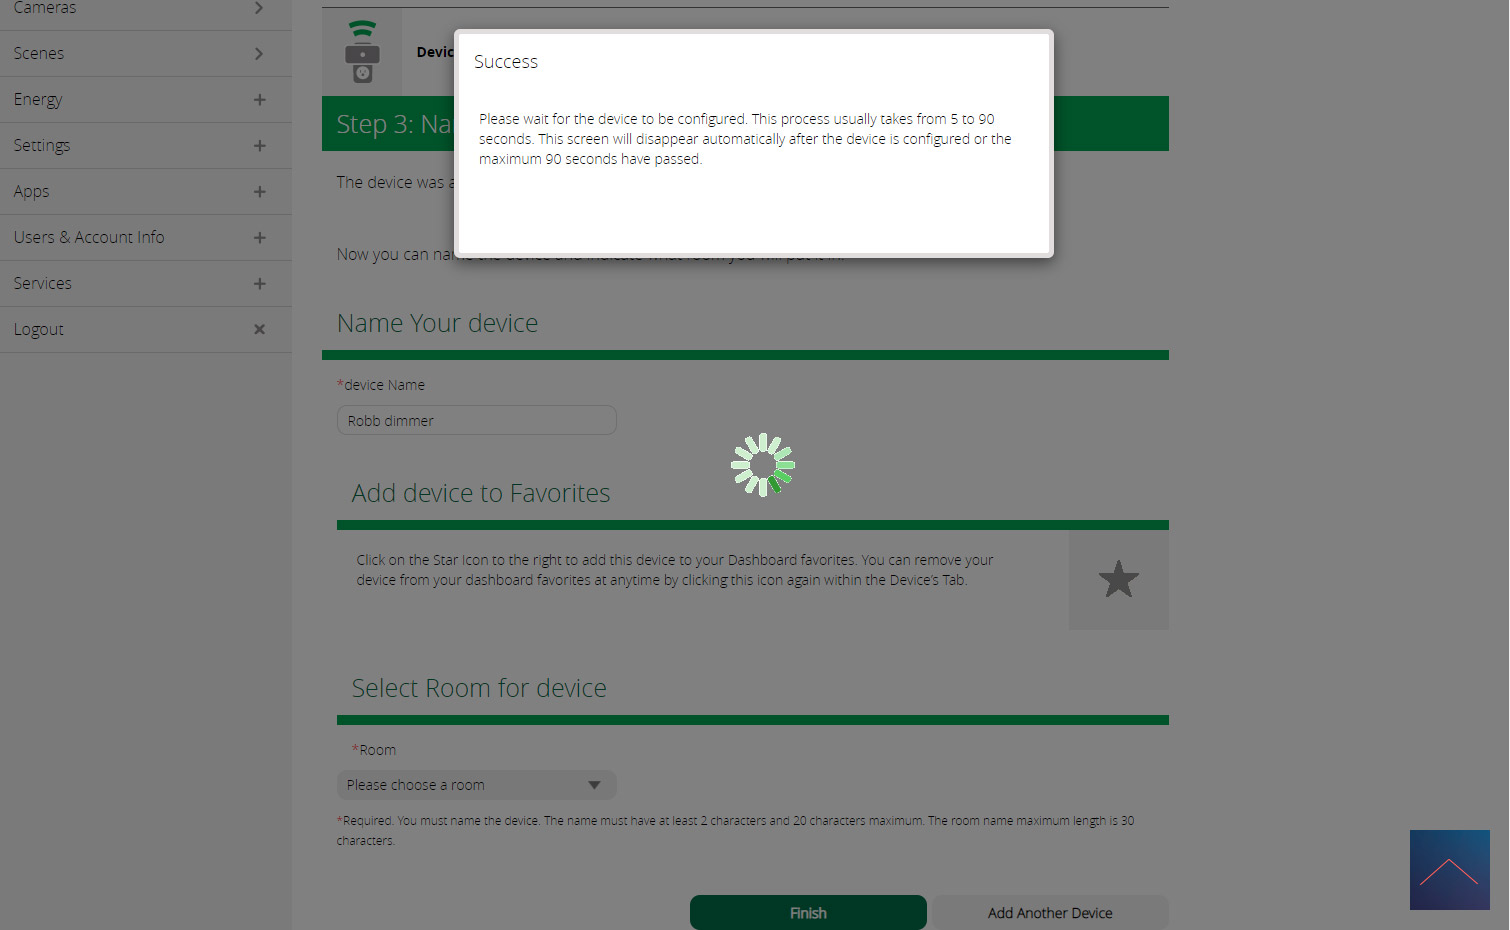
Installation screens:
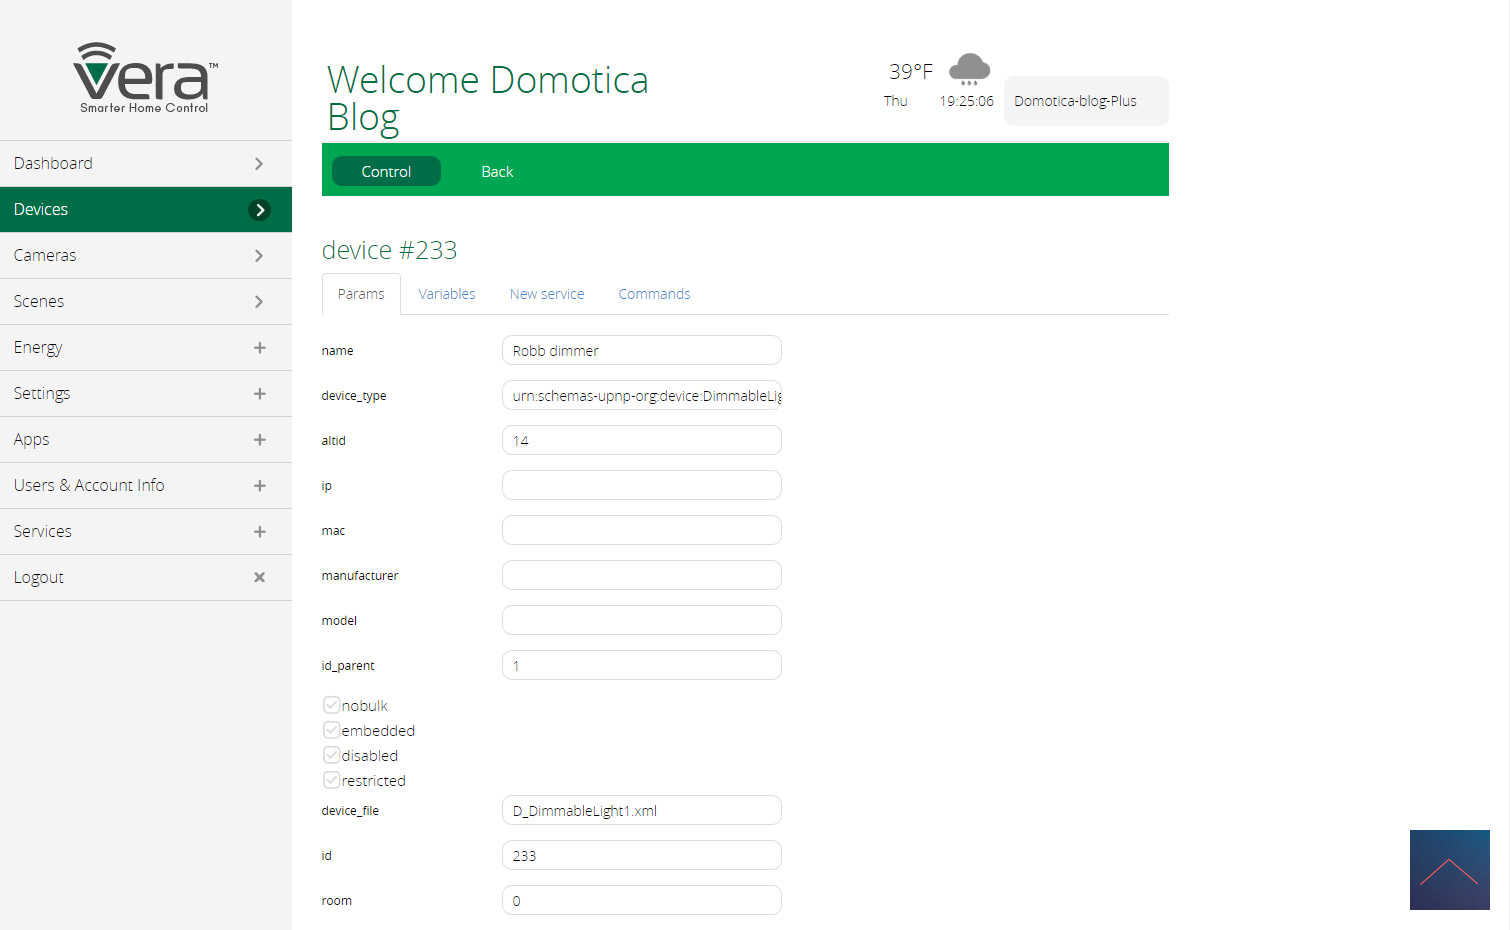
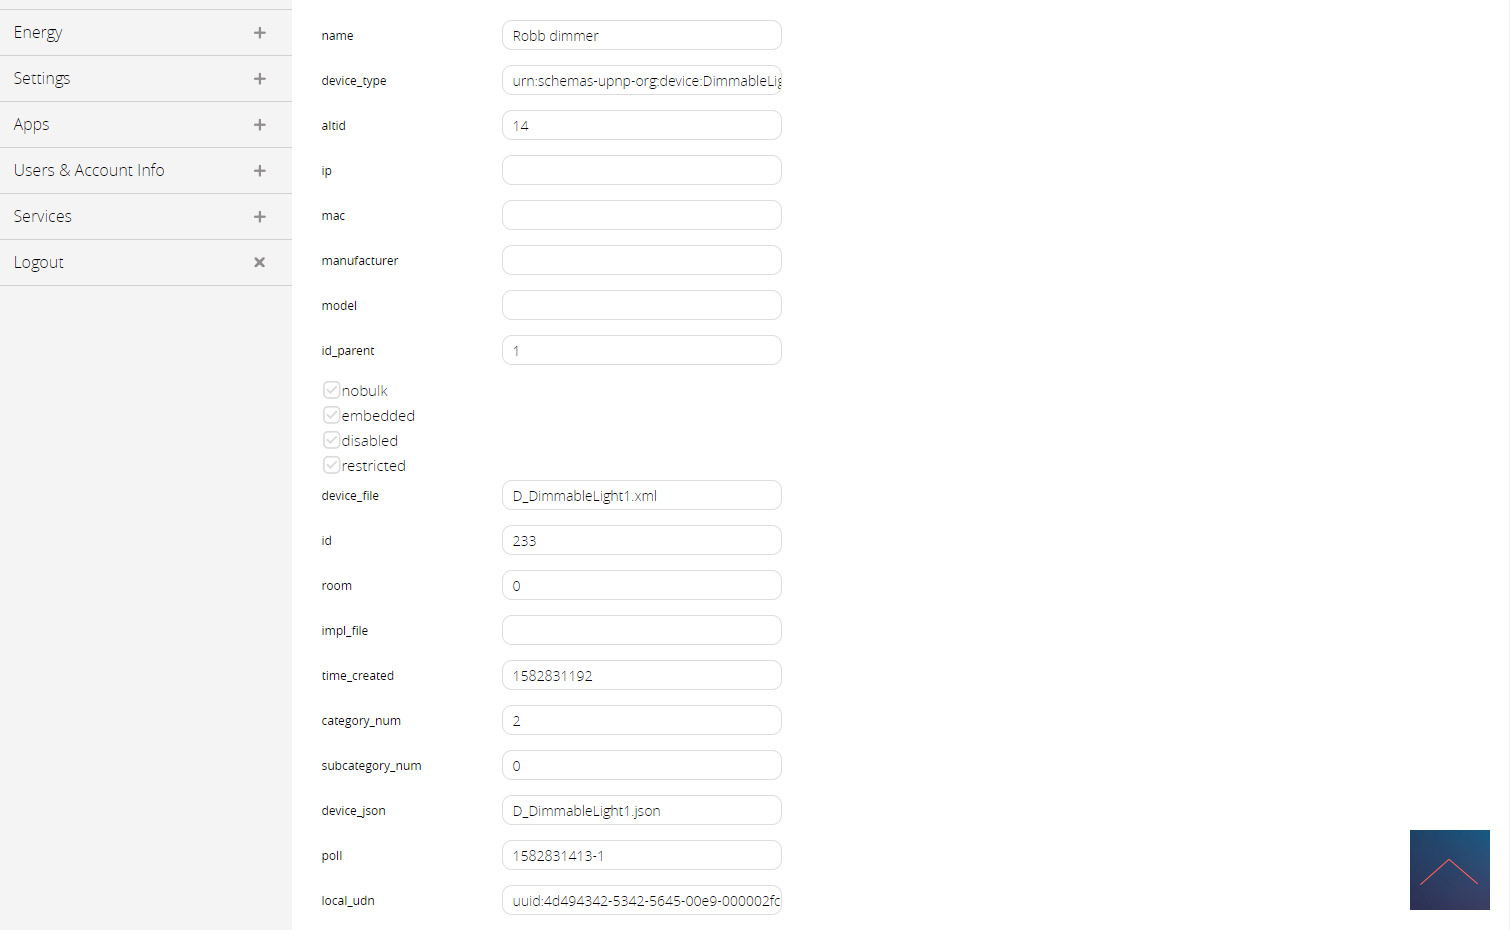
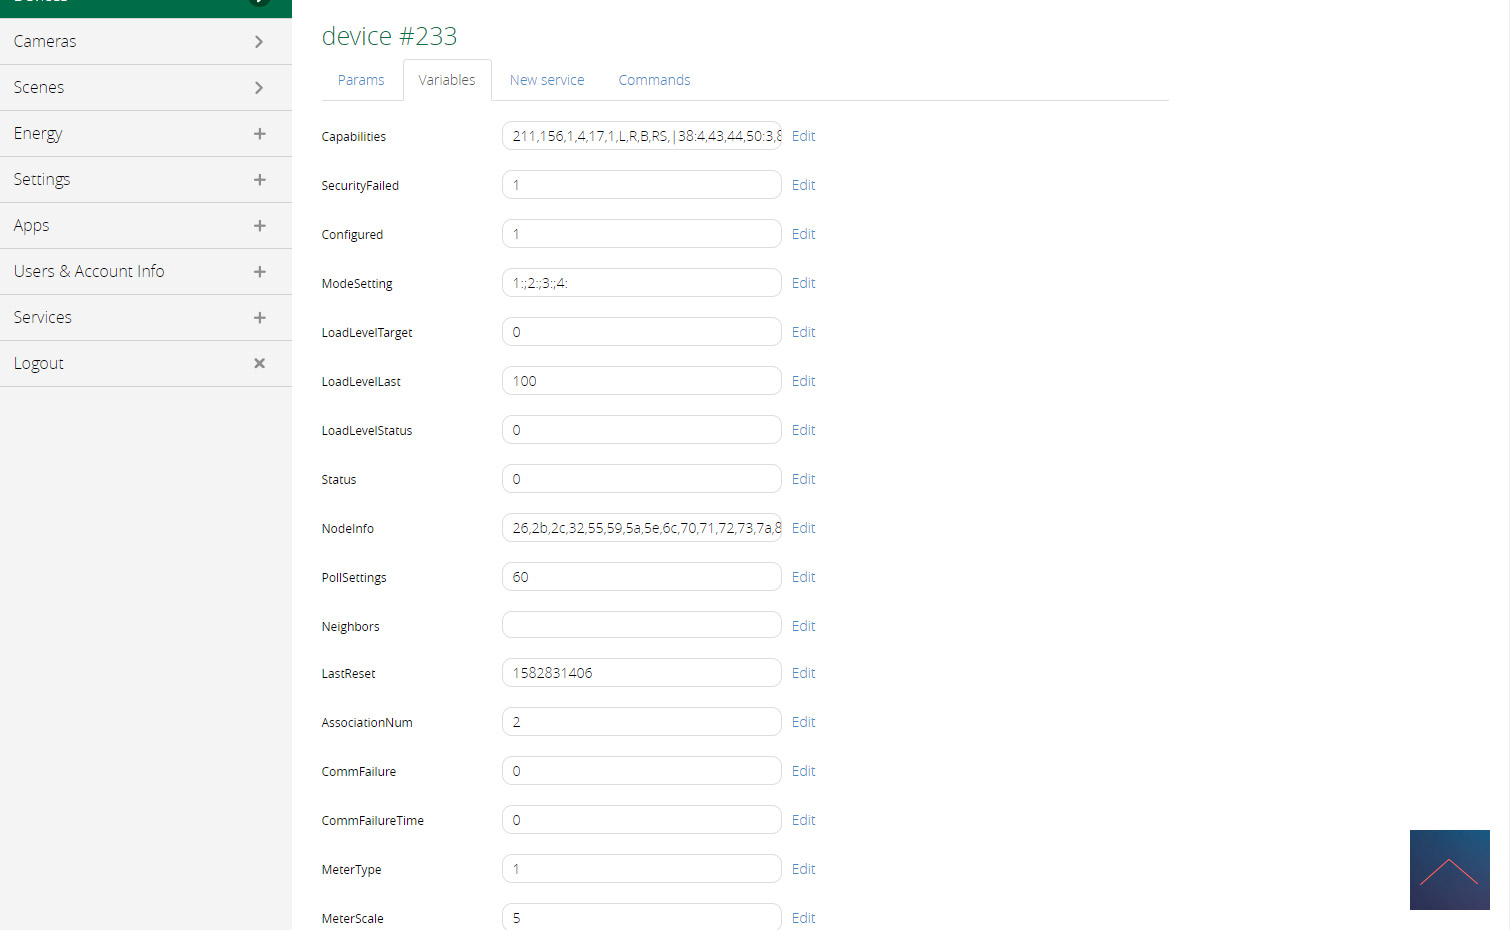
Configuration:
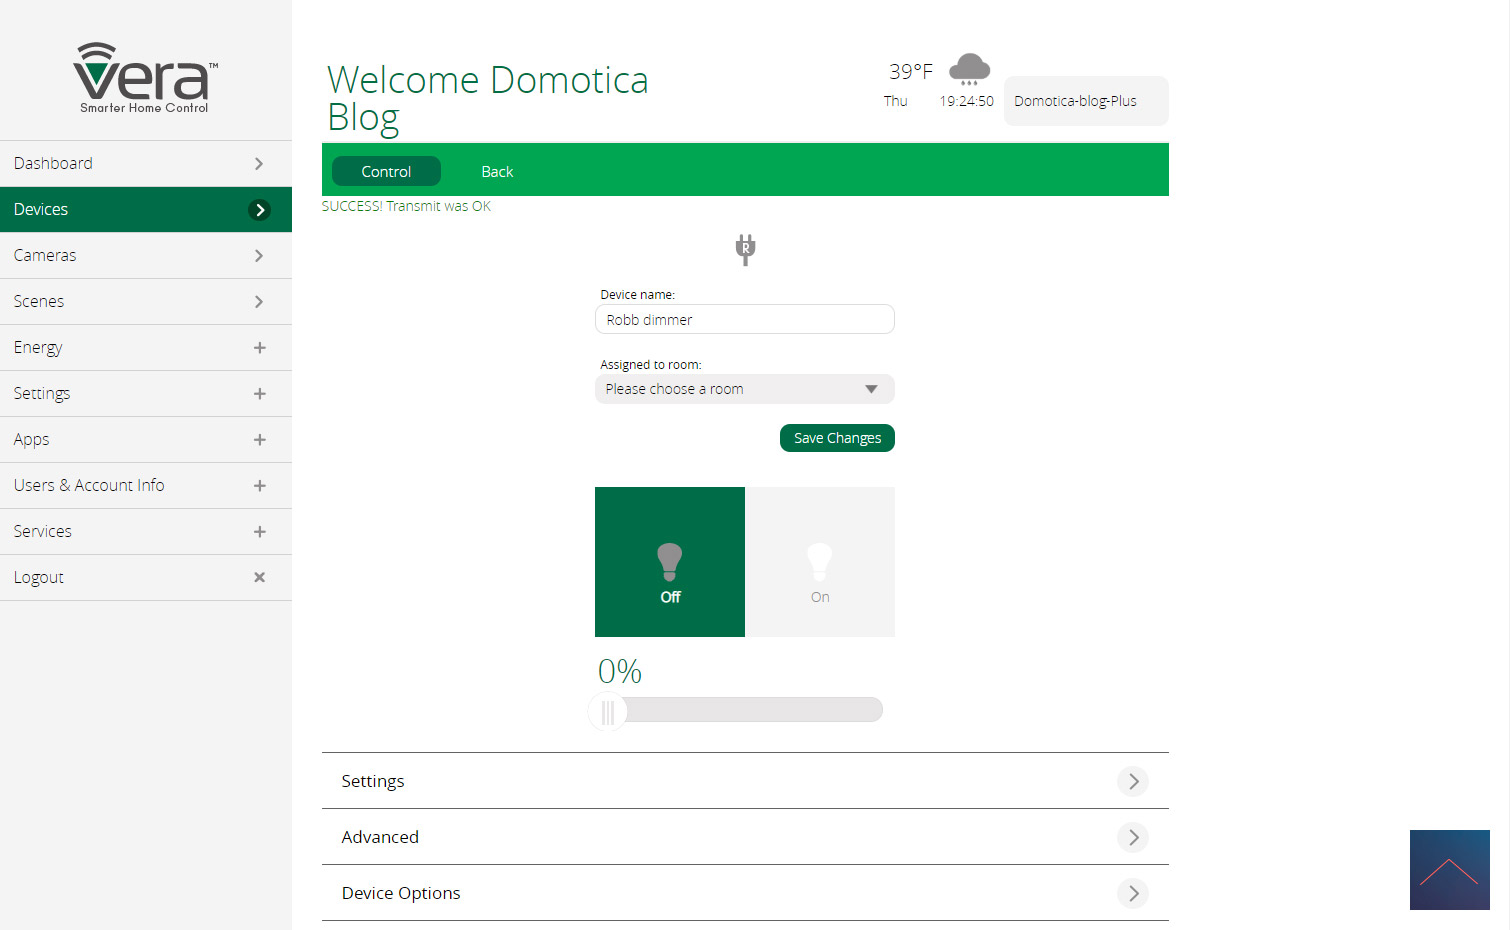

Devices:
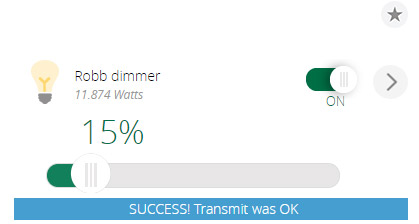
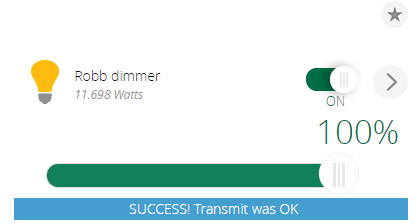
I see the current consumption and can switch the dimmer on and off and of course determine the dim level.
Example scene:
I would like the dimmer to be turned off when I am away. We use the location position which is ingrained in the Vera as a starting point. This looks at your phone's location. If this indicates that we are gone, we turn off the lamp.
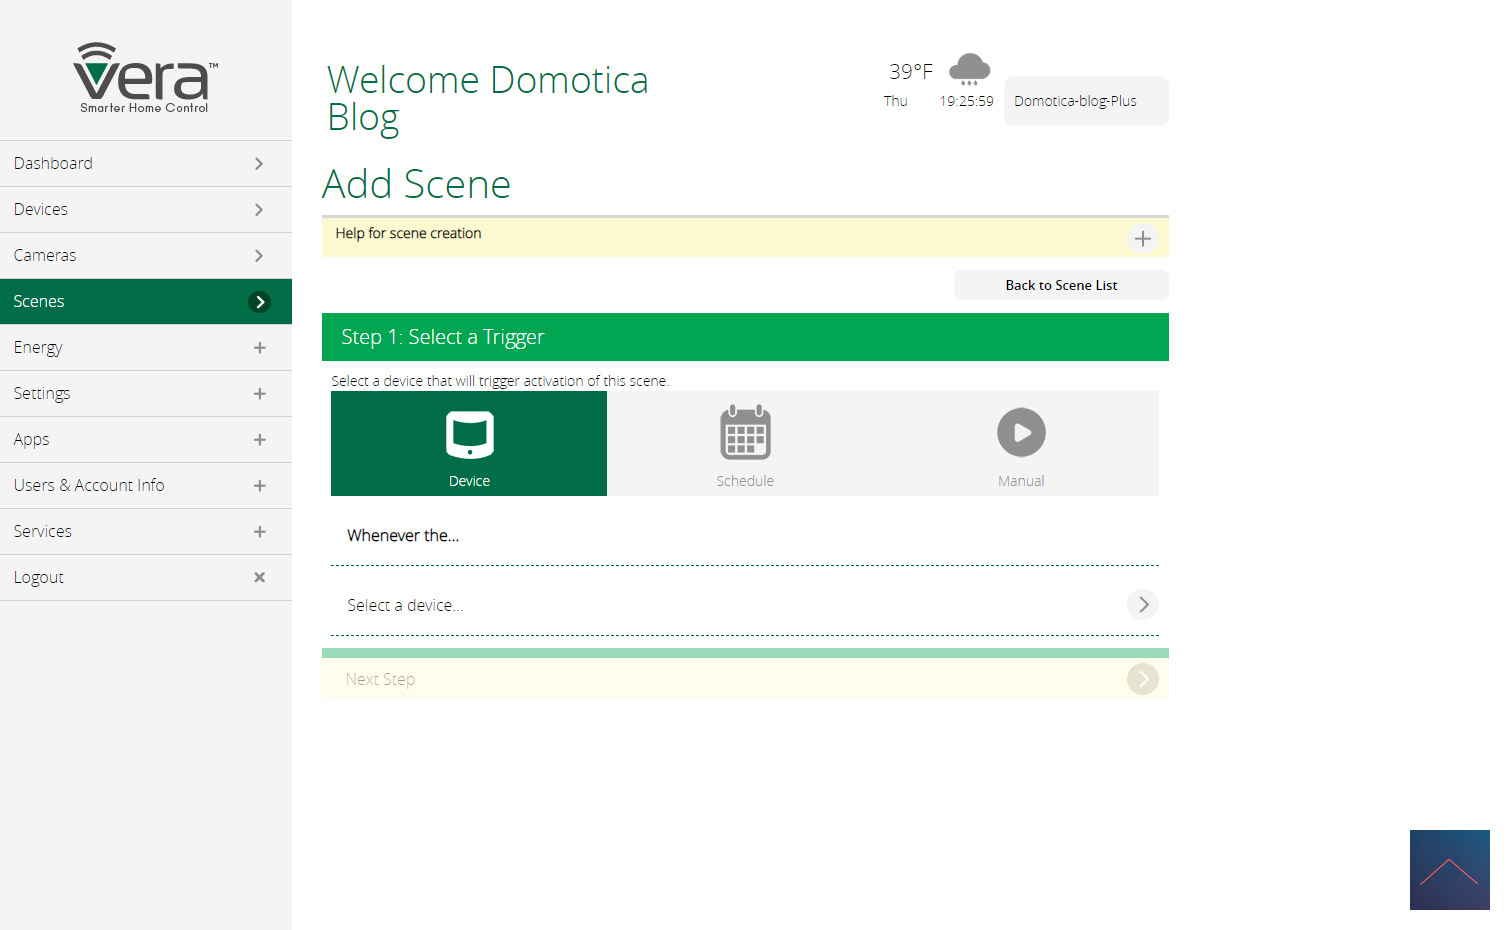
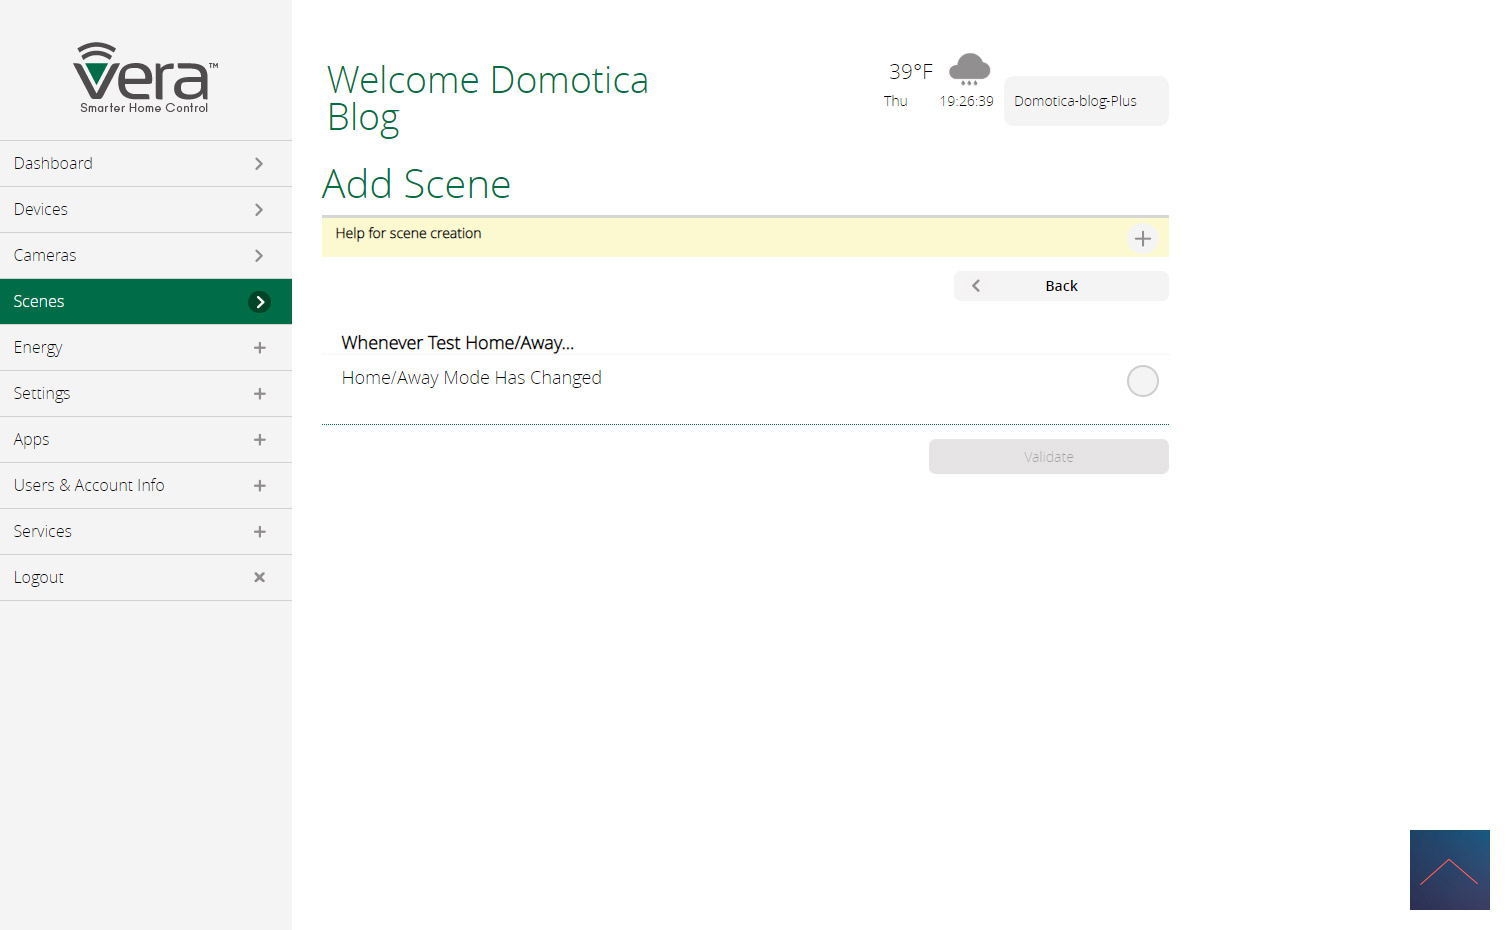
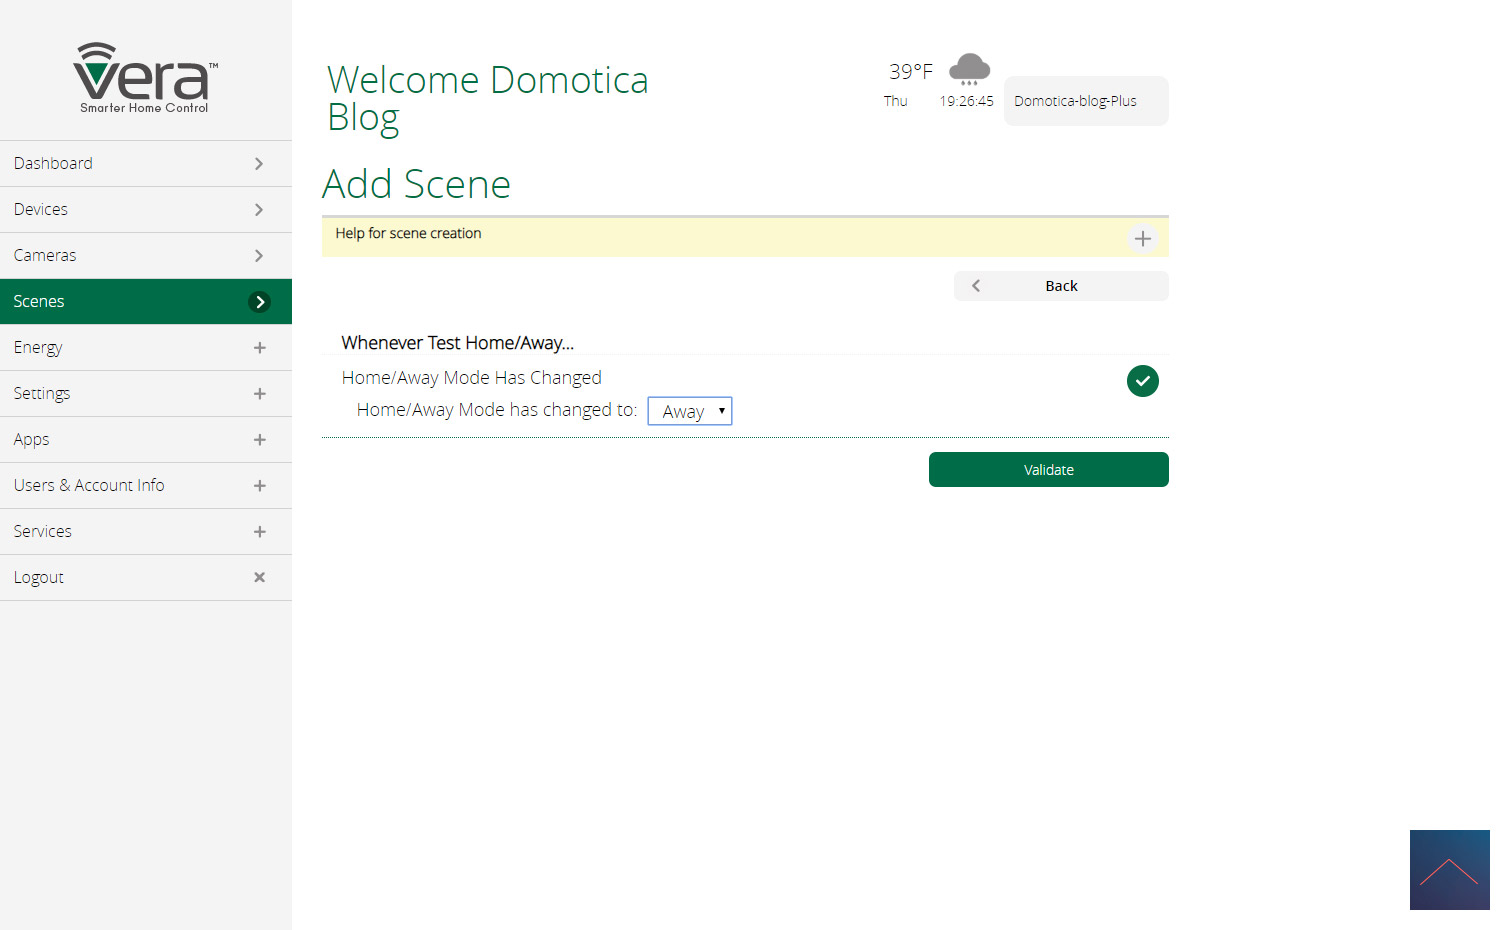

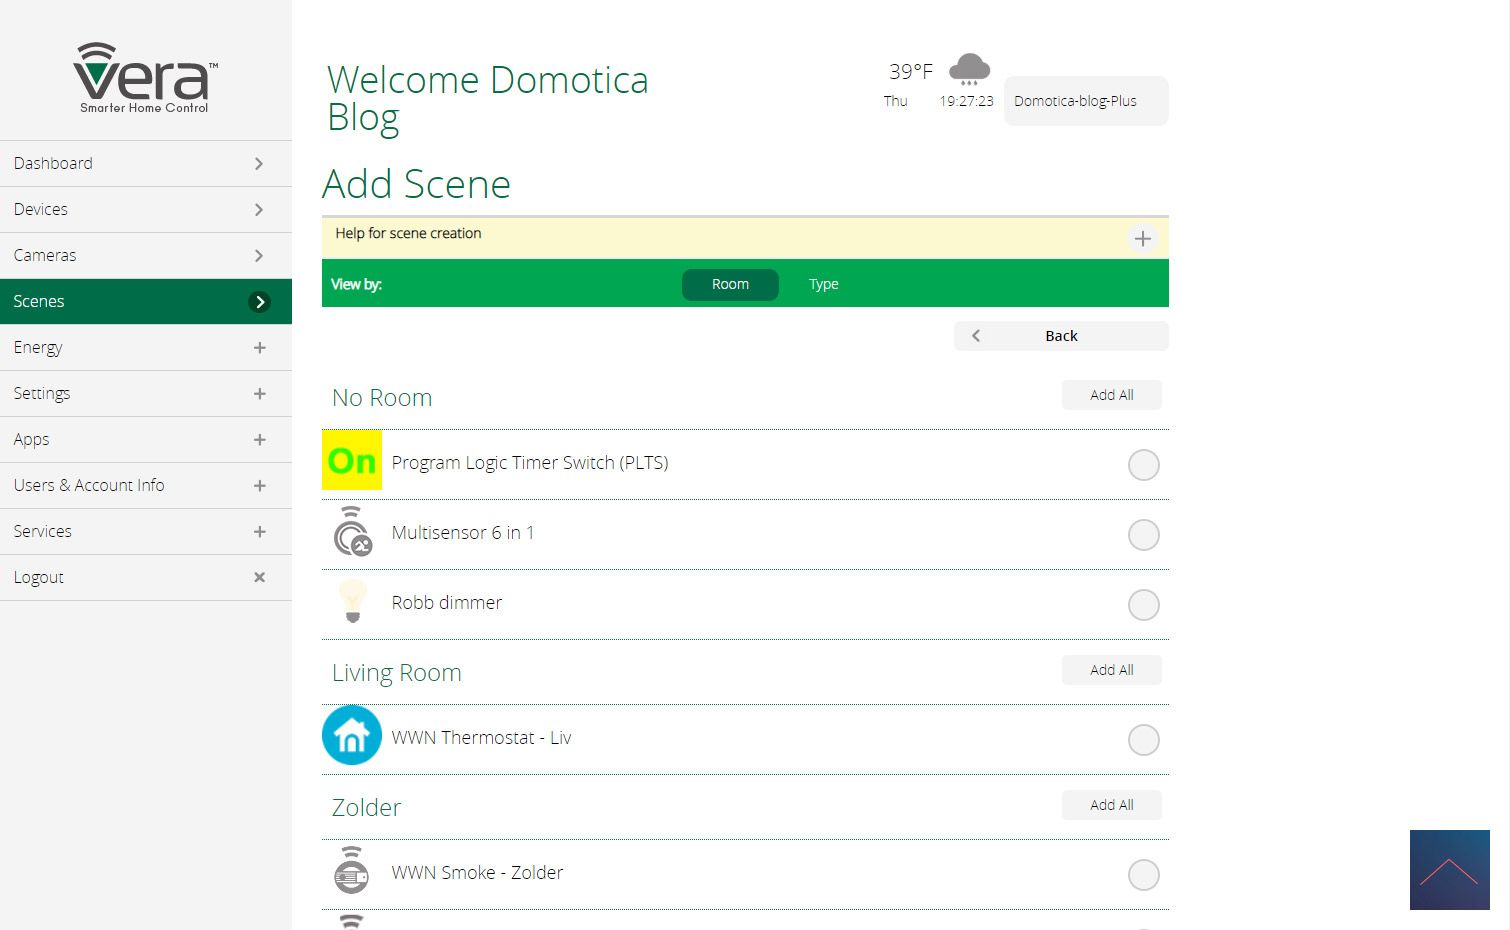
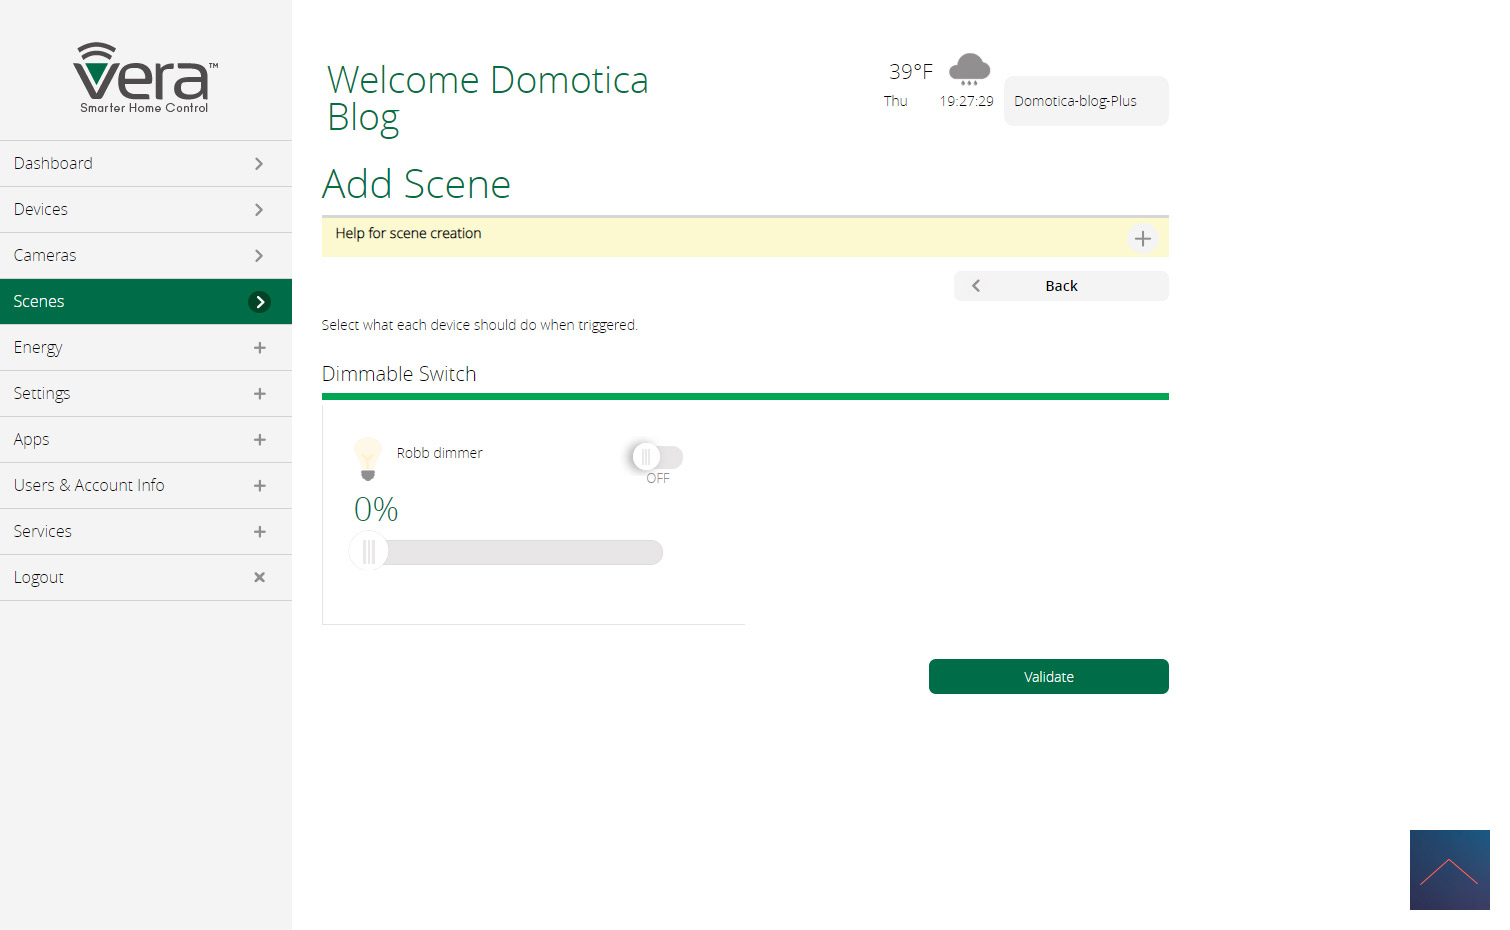
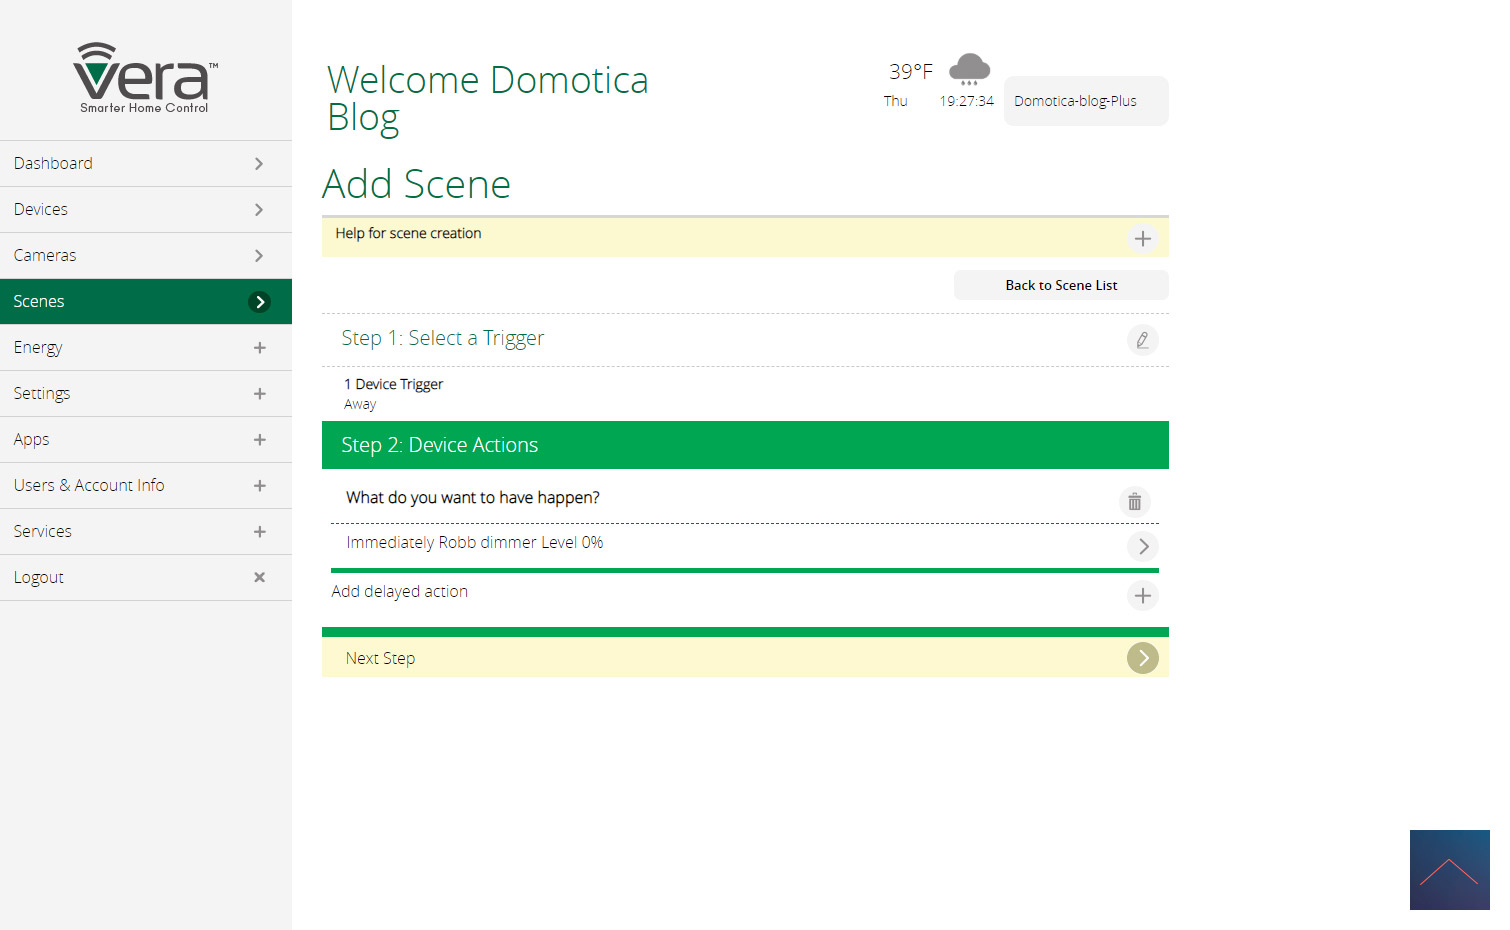
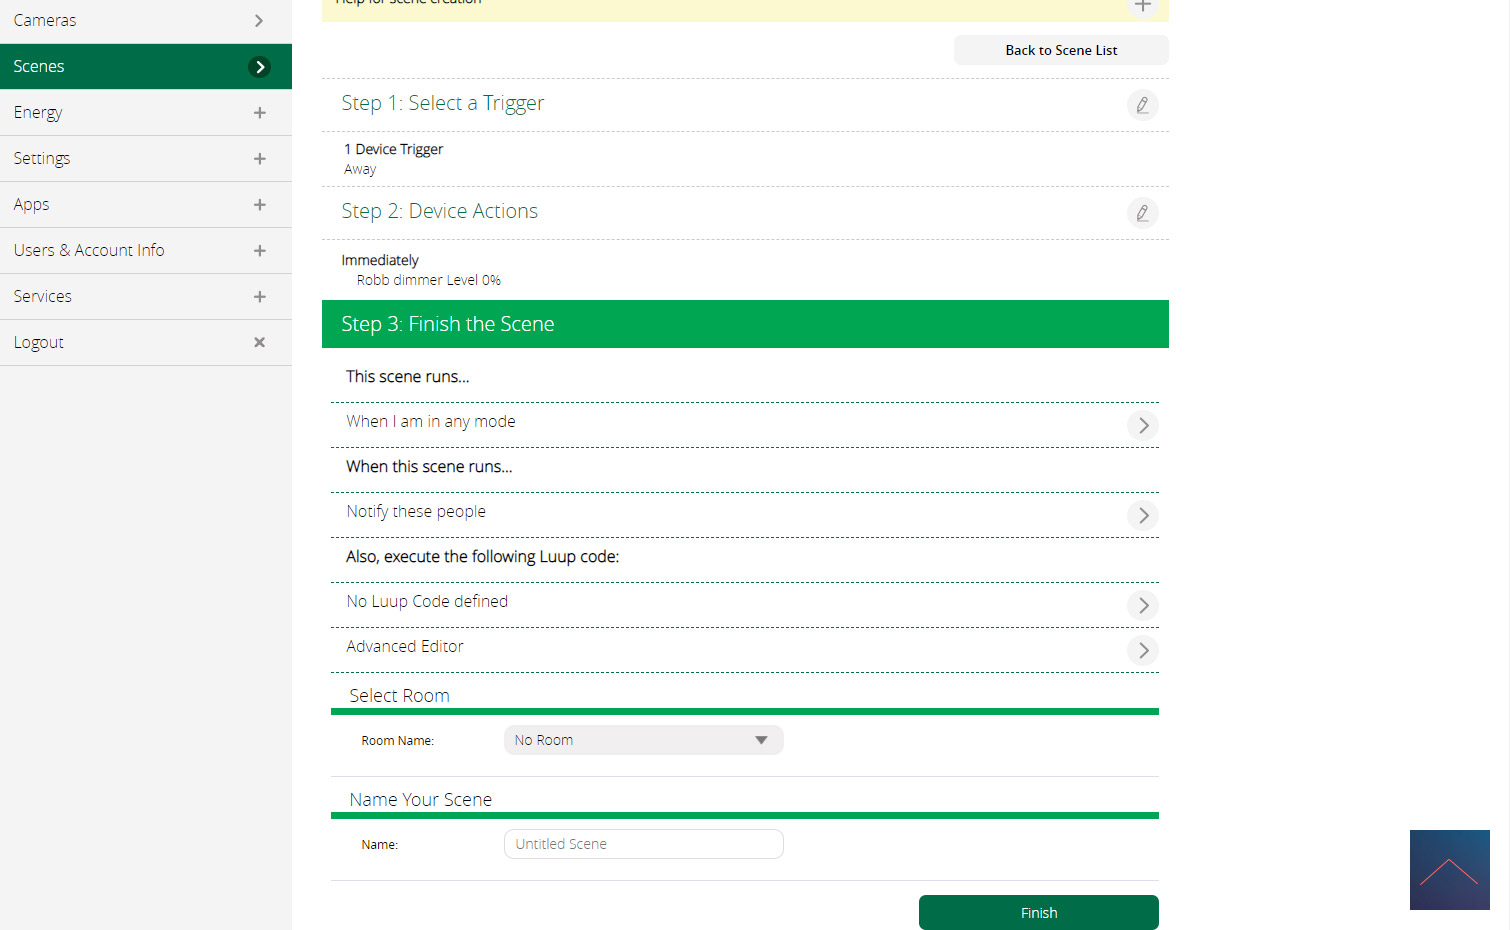
Table of content
- Intro
- Homey
- Zipato (ZipaTile/ZipaBox)
- Fibaro Home Center 2
- Vera (Plus/Edge)
- Domoticz
- Conclusion Domoticz: This dimmer works fine. As usual with Domoticz, it is a bit of a search to determine which endpoints you have to switch on to make the right devices visible.
- Parameters
- Competition
- Frequently Asked Questions
- Lamp test
- Conclusion