

Review:
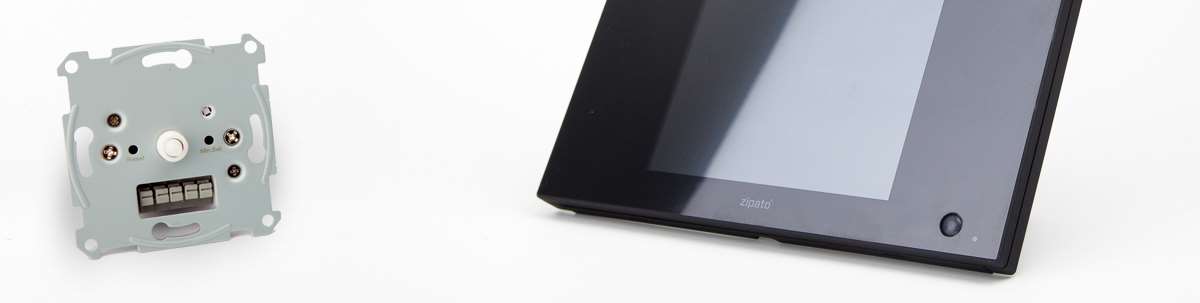
RobbSmarrt Rotary dimmer Z-Wave 2-wire
Installation via the ZipaTile/ZipaBox:
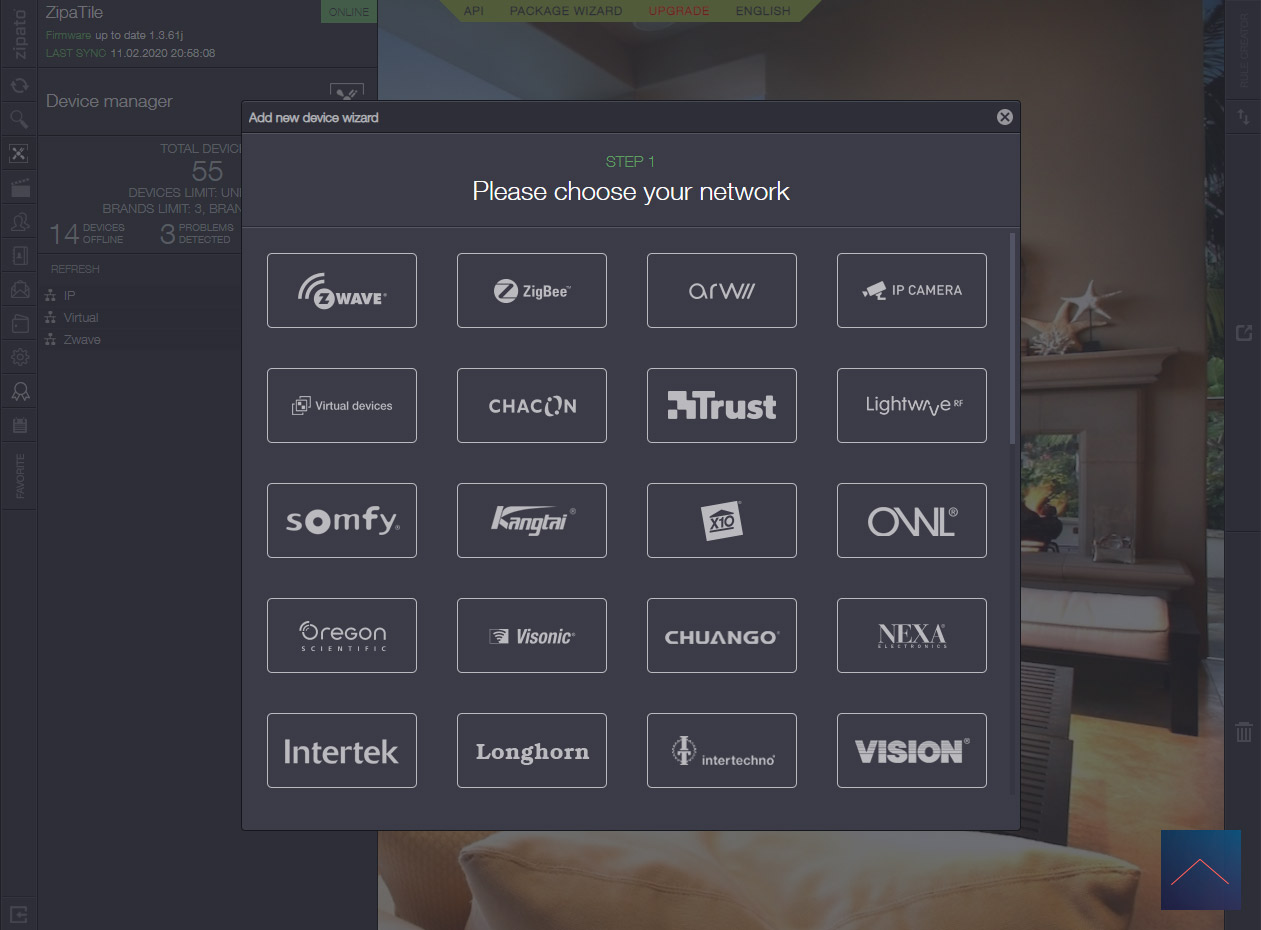
The first step is to power the dimmer. You can connect it both 2-wire and 3-wire. You can find a diagram of this on the back of the manual. If you have powered it, log in to the ZipaTile via your browser to install this dimmer. Then we go to our devices and click on "add new device" and then on Z-Wave.
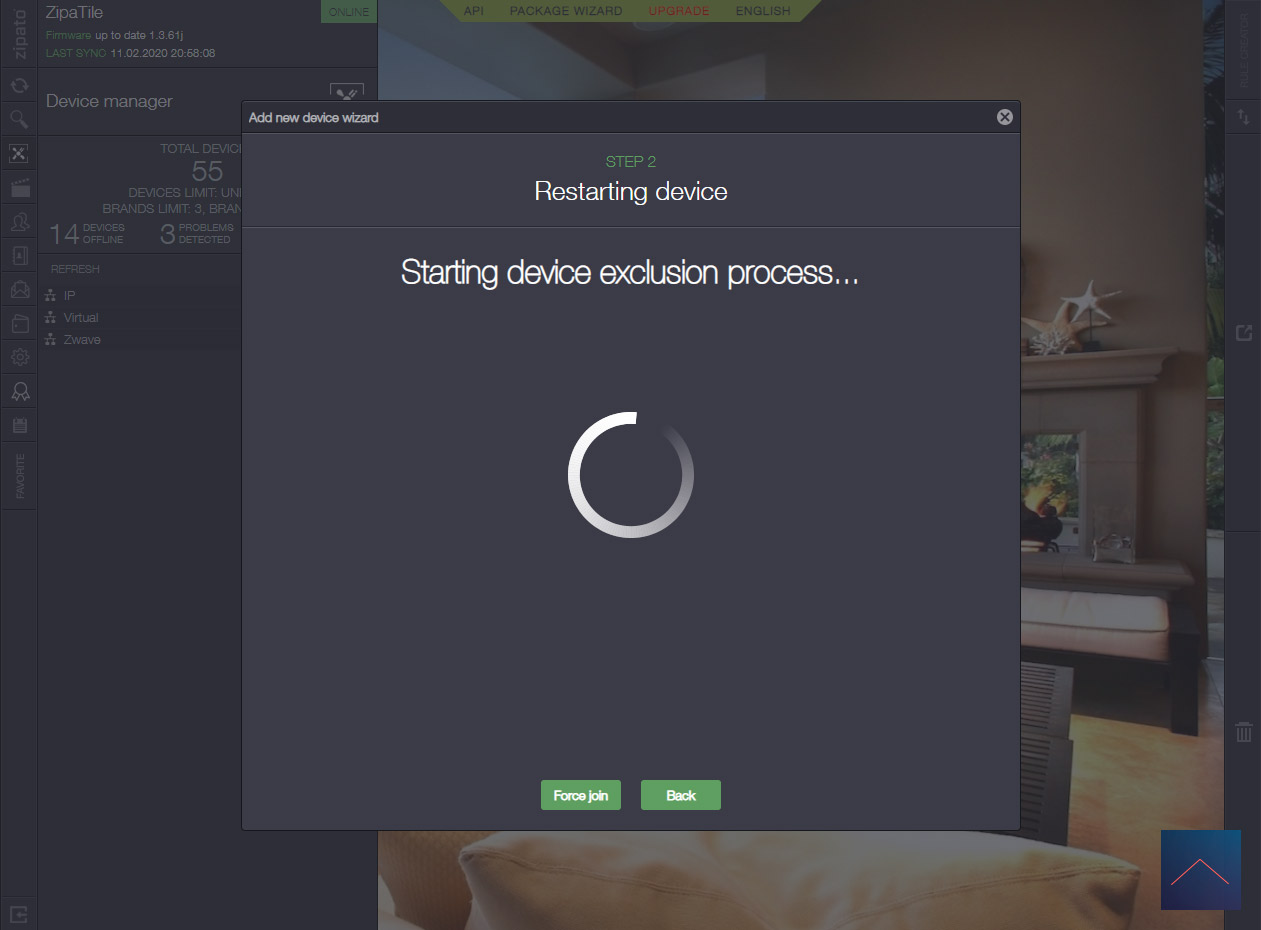
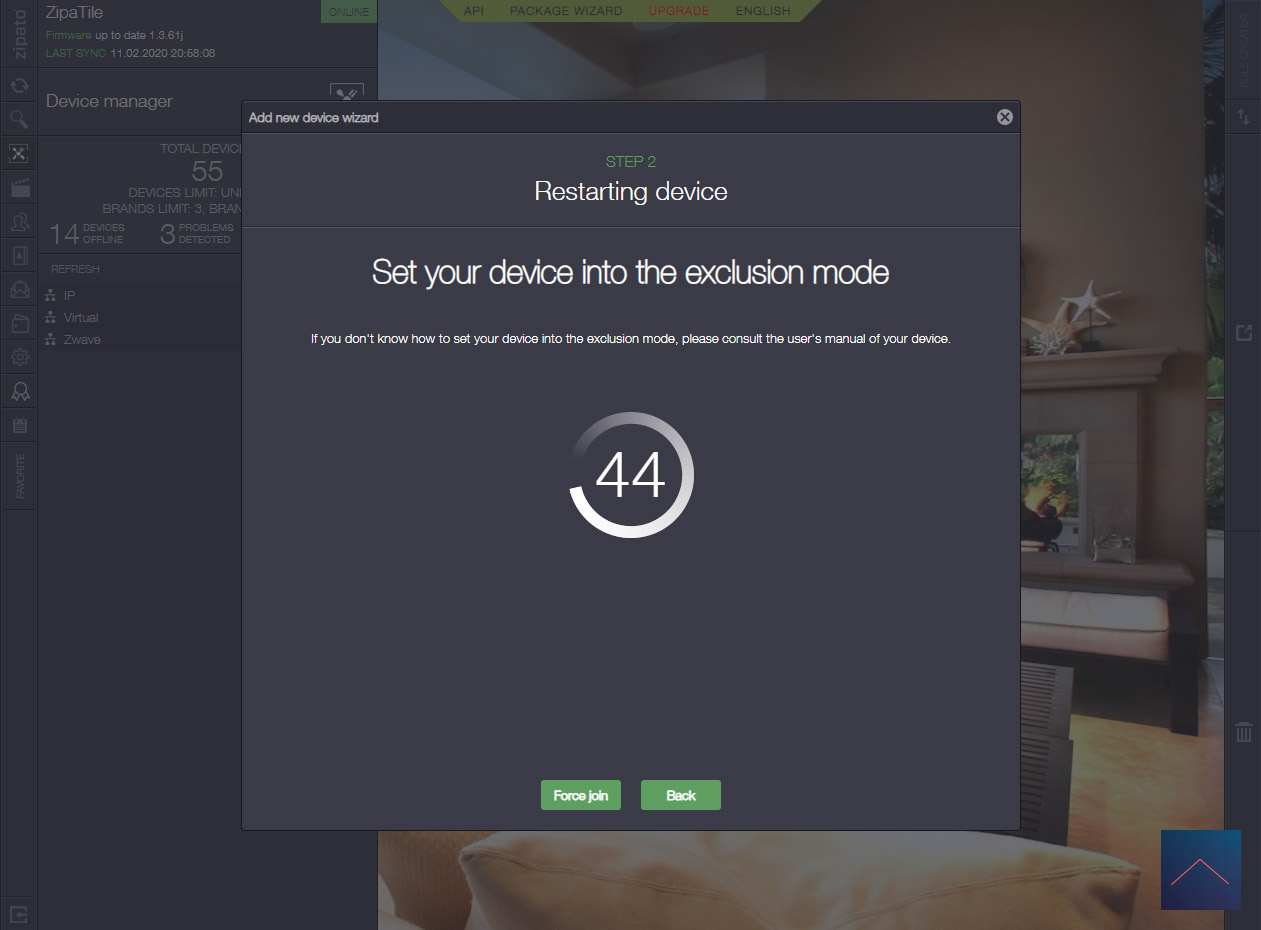
The dimmer's LED dimmer will initially flash red to indicate that it is not yet ready to be added. You can start this by pressing the reset button 3x quickly. It is best to use a small screwdriver for this.
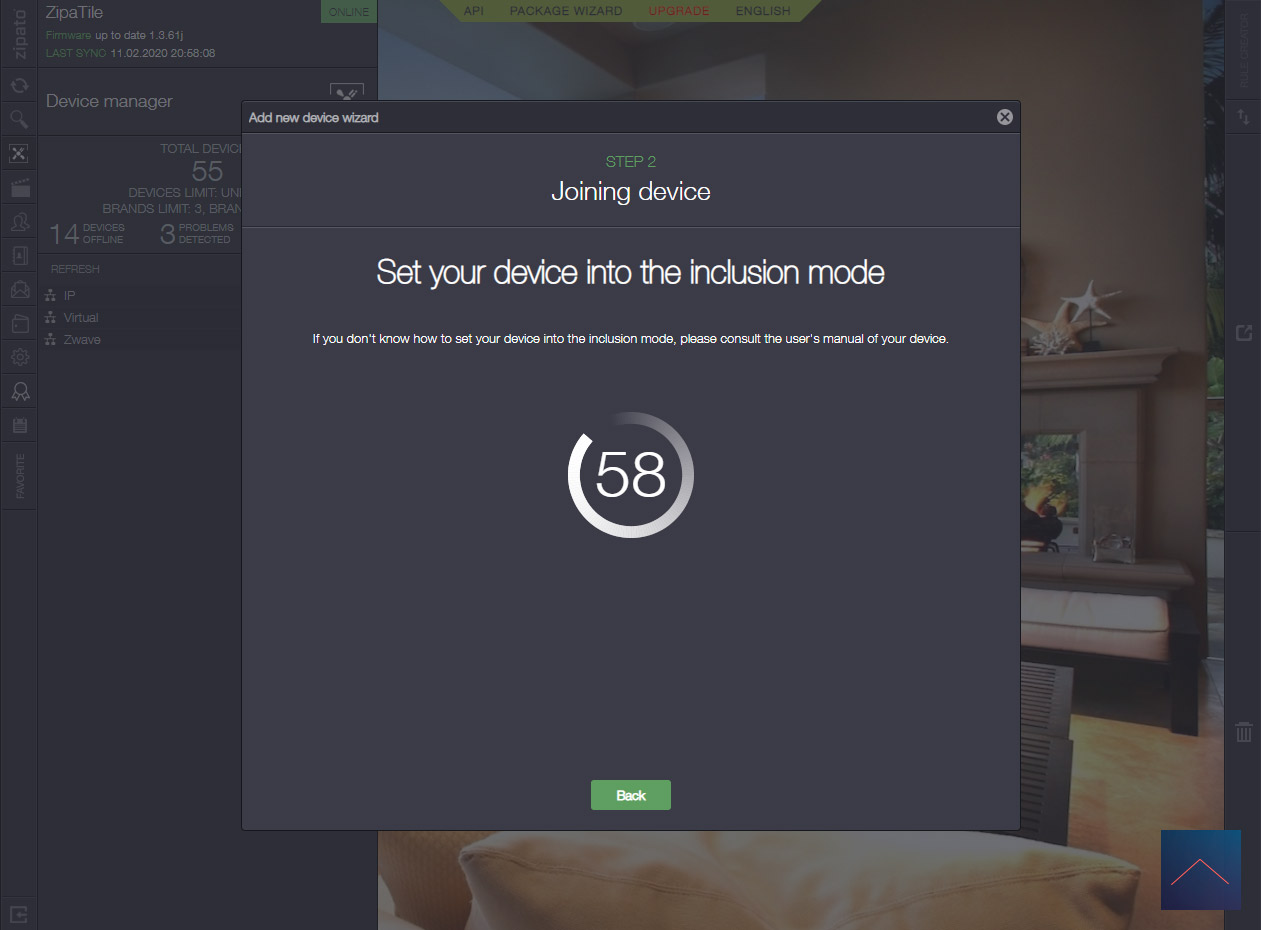
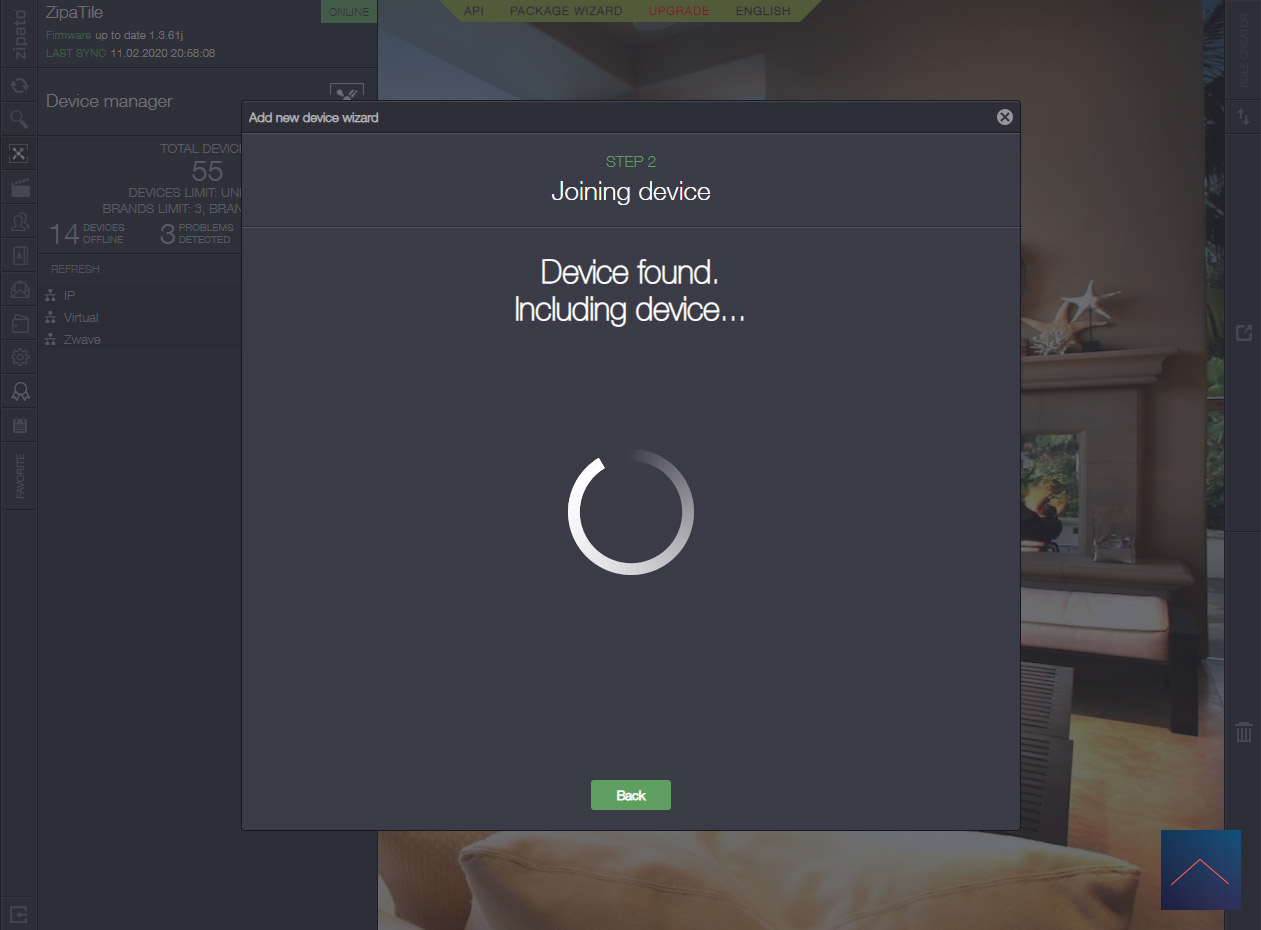
Then the LED will flash a little faster and then continue to light up red. After this, it is first reset by the ZipaTile. To really add it, press the reset button 3x again. He was found immediately after this.
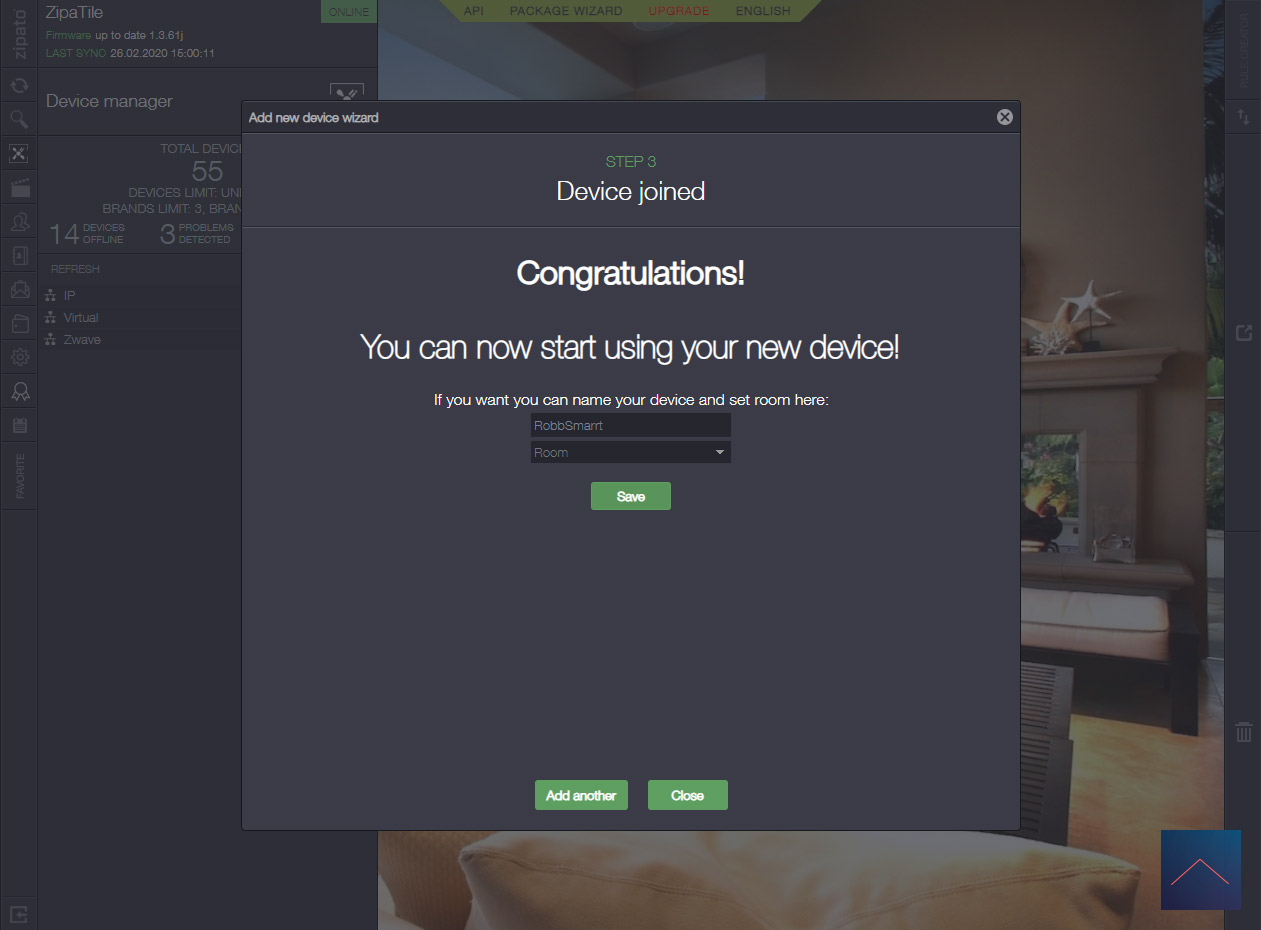
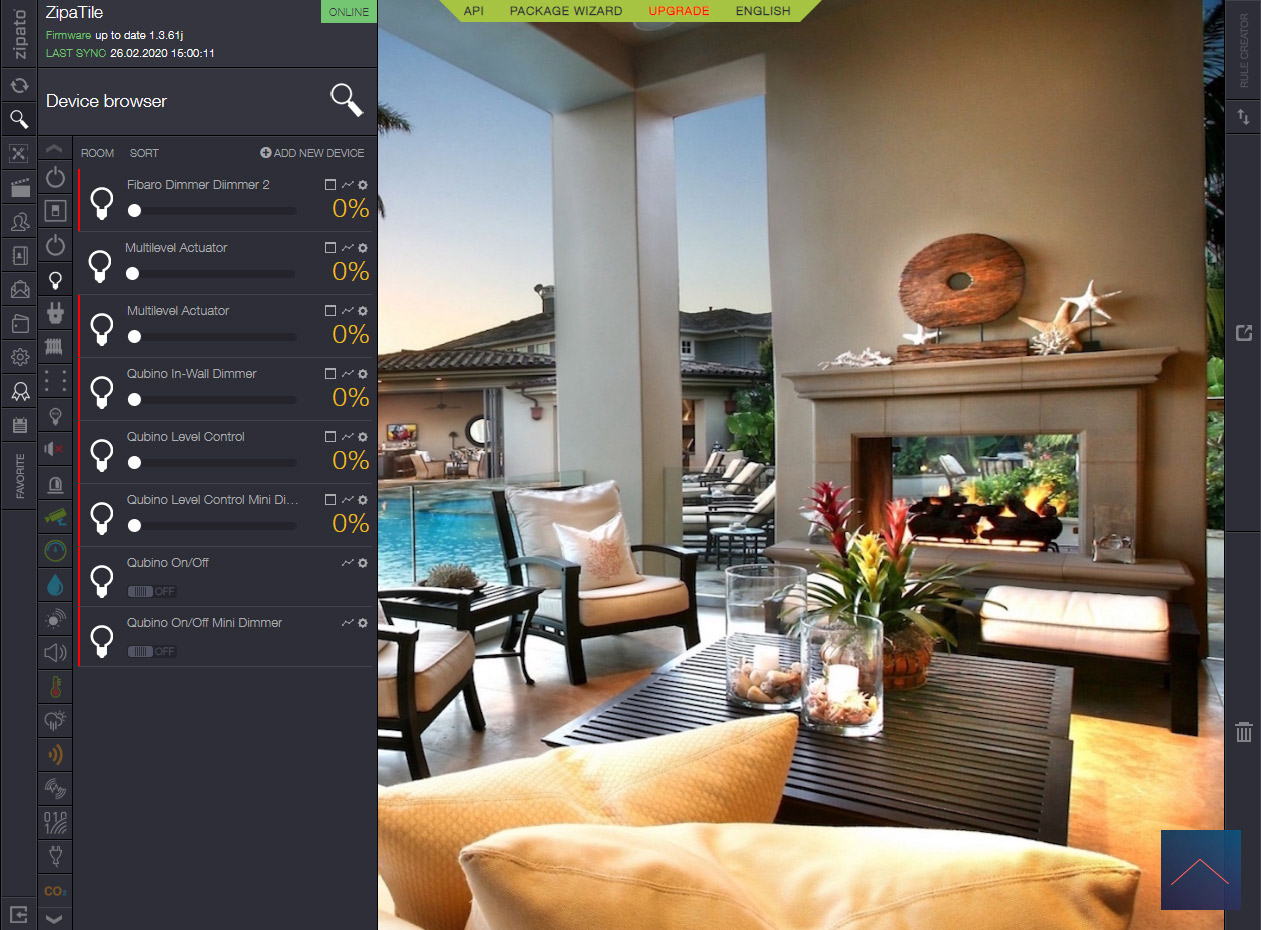
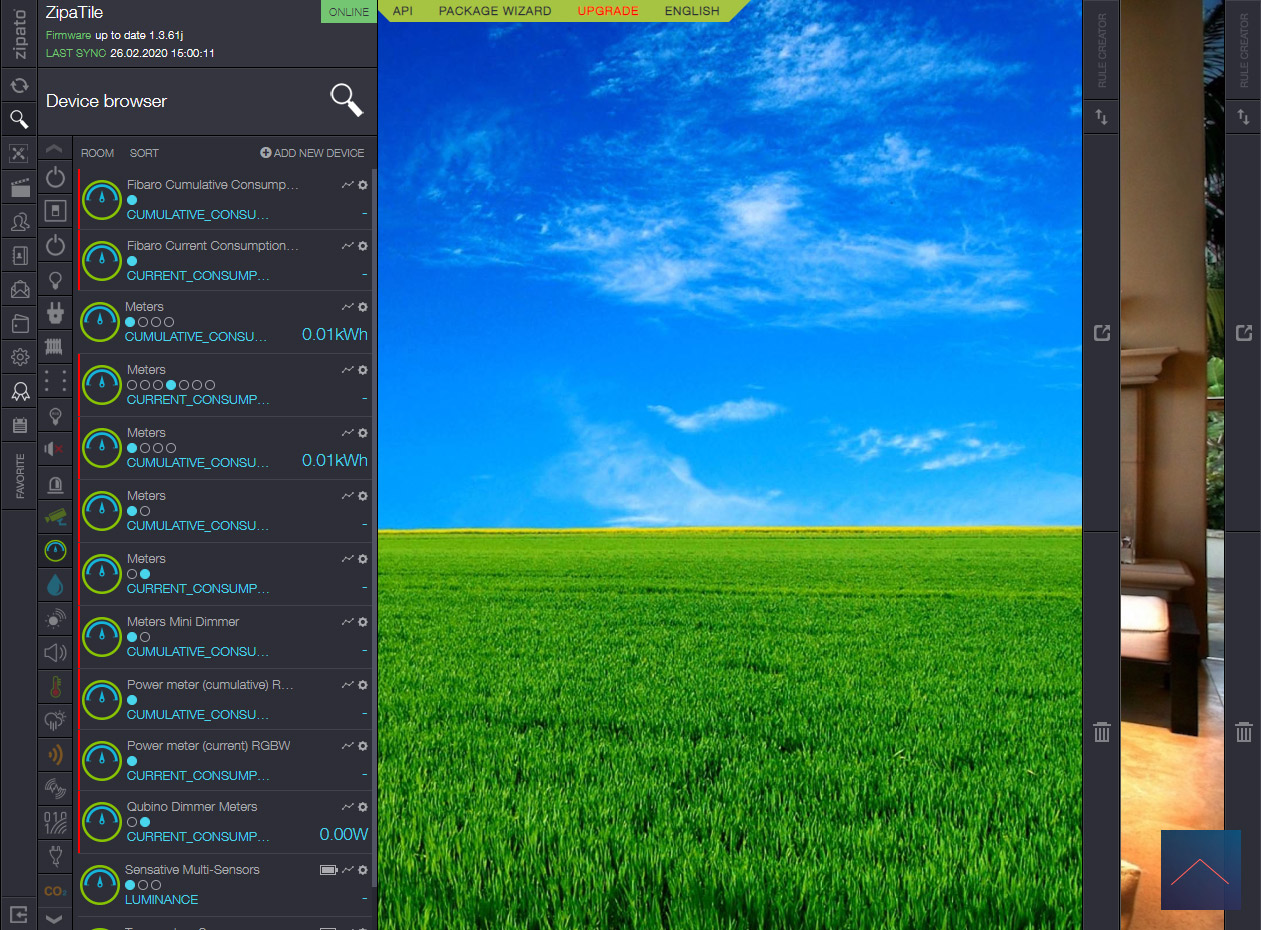
In the ZipaTile I get to see a dimmer, the current consumption, total consumption, power and voltage.
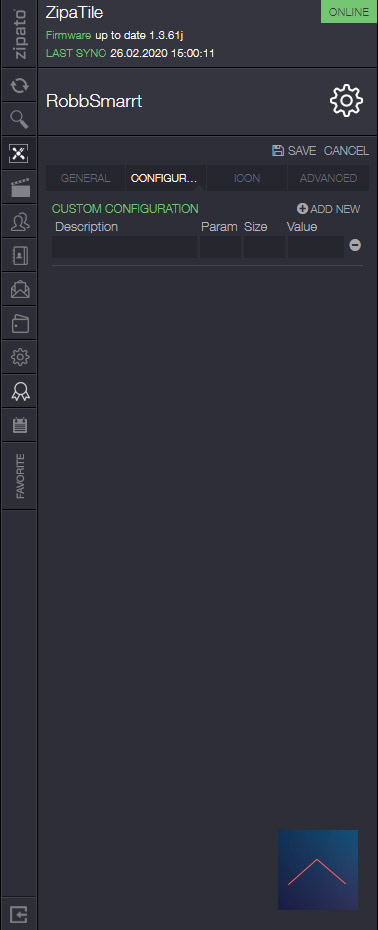
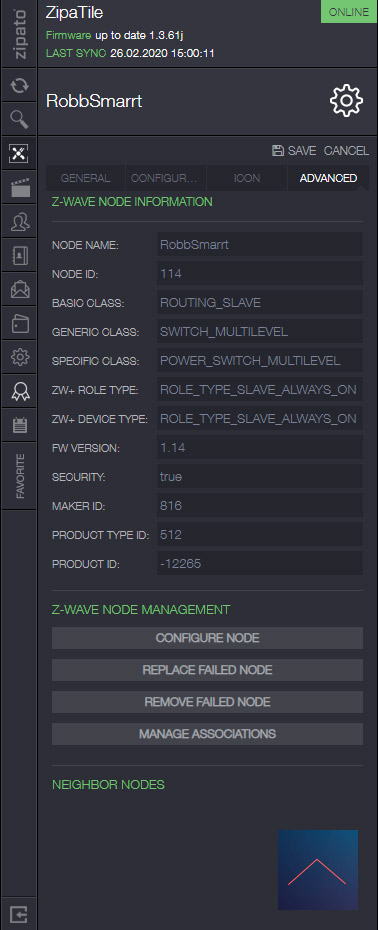
Installation screens:
Configuration:
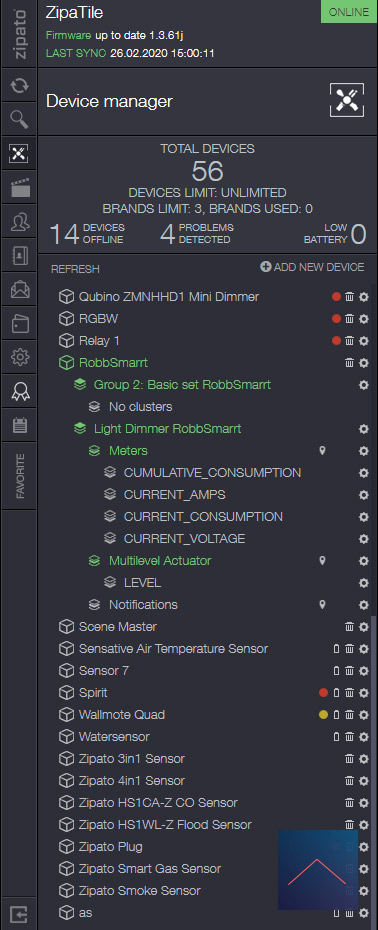

Apparaten:
Dimmer & on/off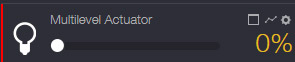
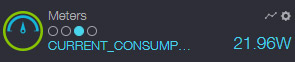
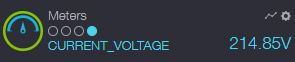
Meters: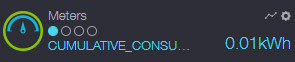

Flow options:
You will have the following lines at your disposal when you make a rule.
Meter:
As you can see with the meter, I do not get options to switch on consumption.
Sensor:
Action: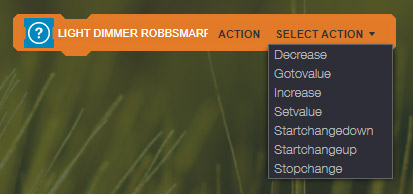
Example rule:
I want the dimmer to be set to 50% at sunset.
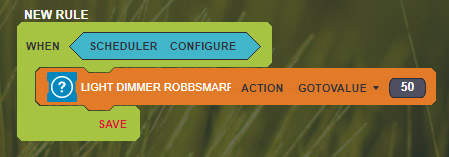
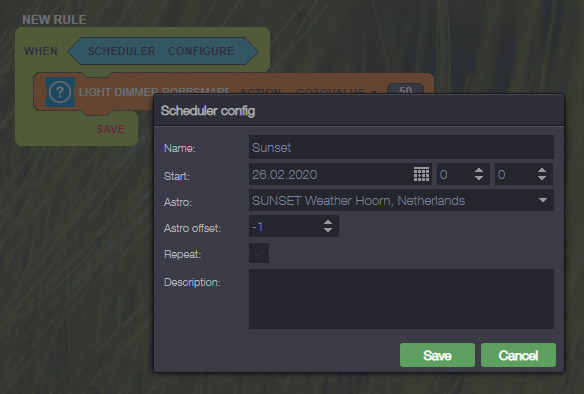
Table of content
- Intro
- Homey
- Zipato (ZipaTile/ZipaBox)
- Fibaro Home Center 2
- Vera (Plus/Edge)
- Domoticz
- Conclusion Domoticz: This dimmer works fine. As usual with Domoticz, it is a bit of a search to determine which endpoints you have to switch on to make the right devices visible.
- Parameters
- Competition
- Frequently Asked Questions
- Lamp test
- Conclusion