

Review:
Fibaro Home Center 3
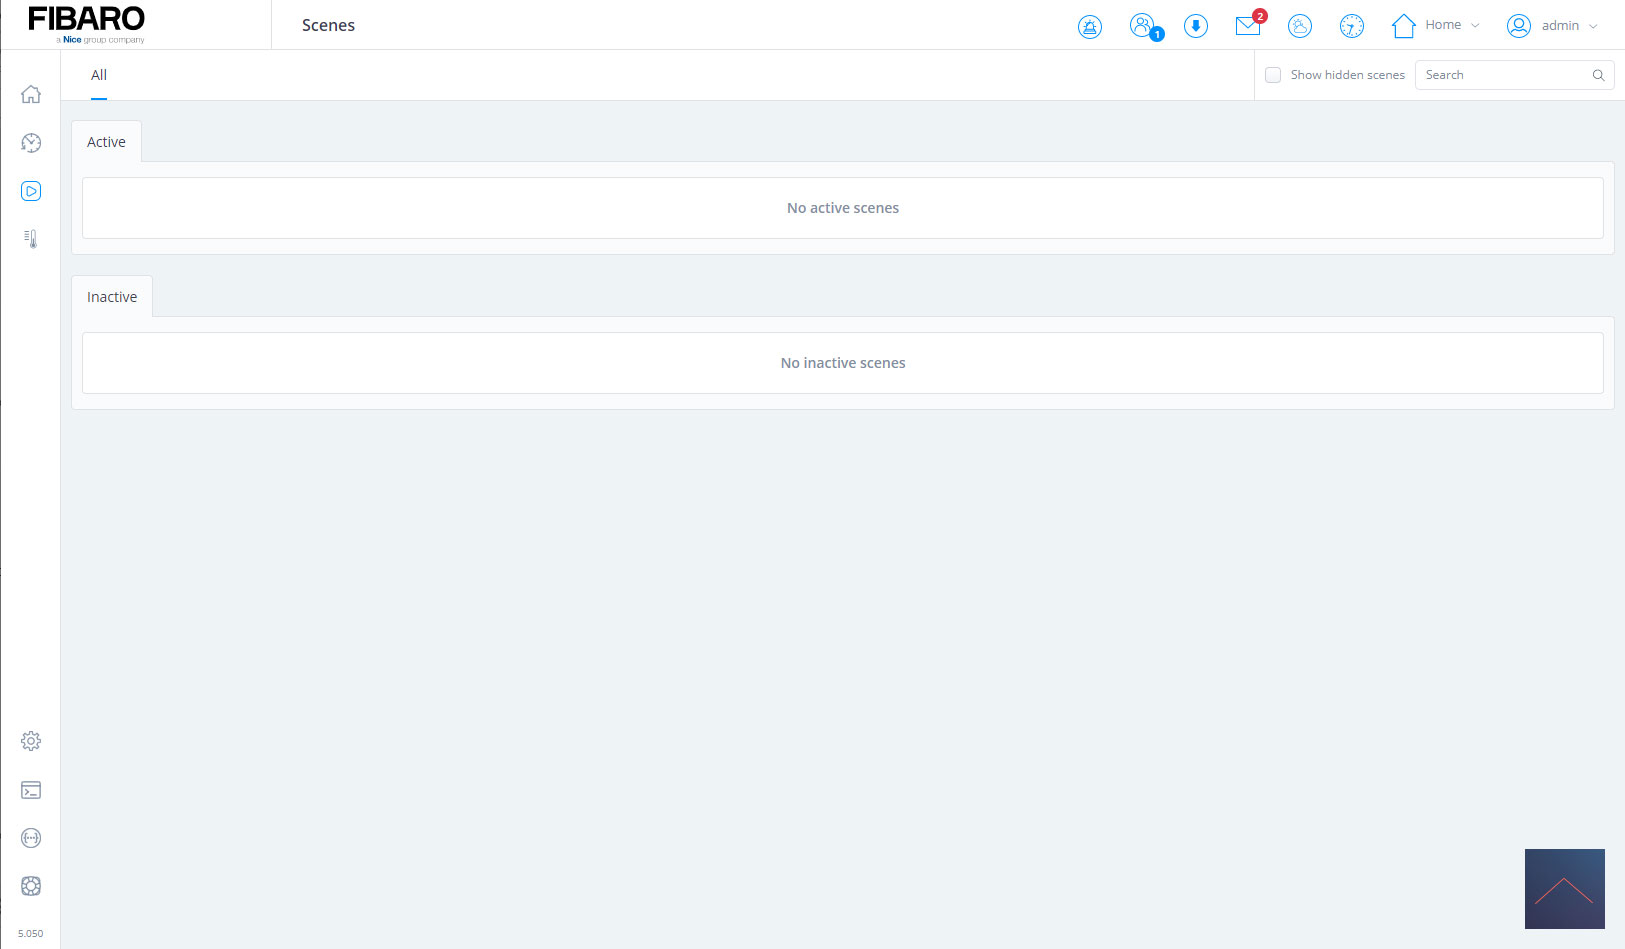
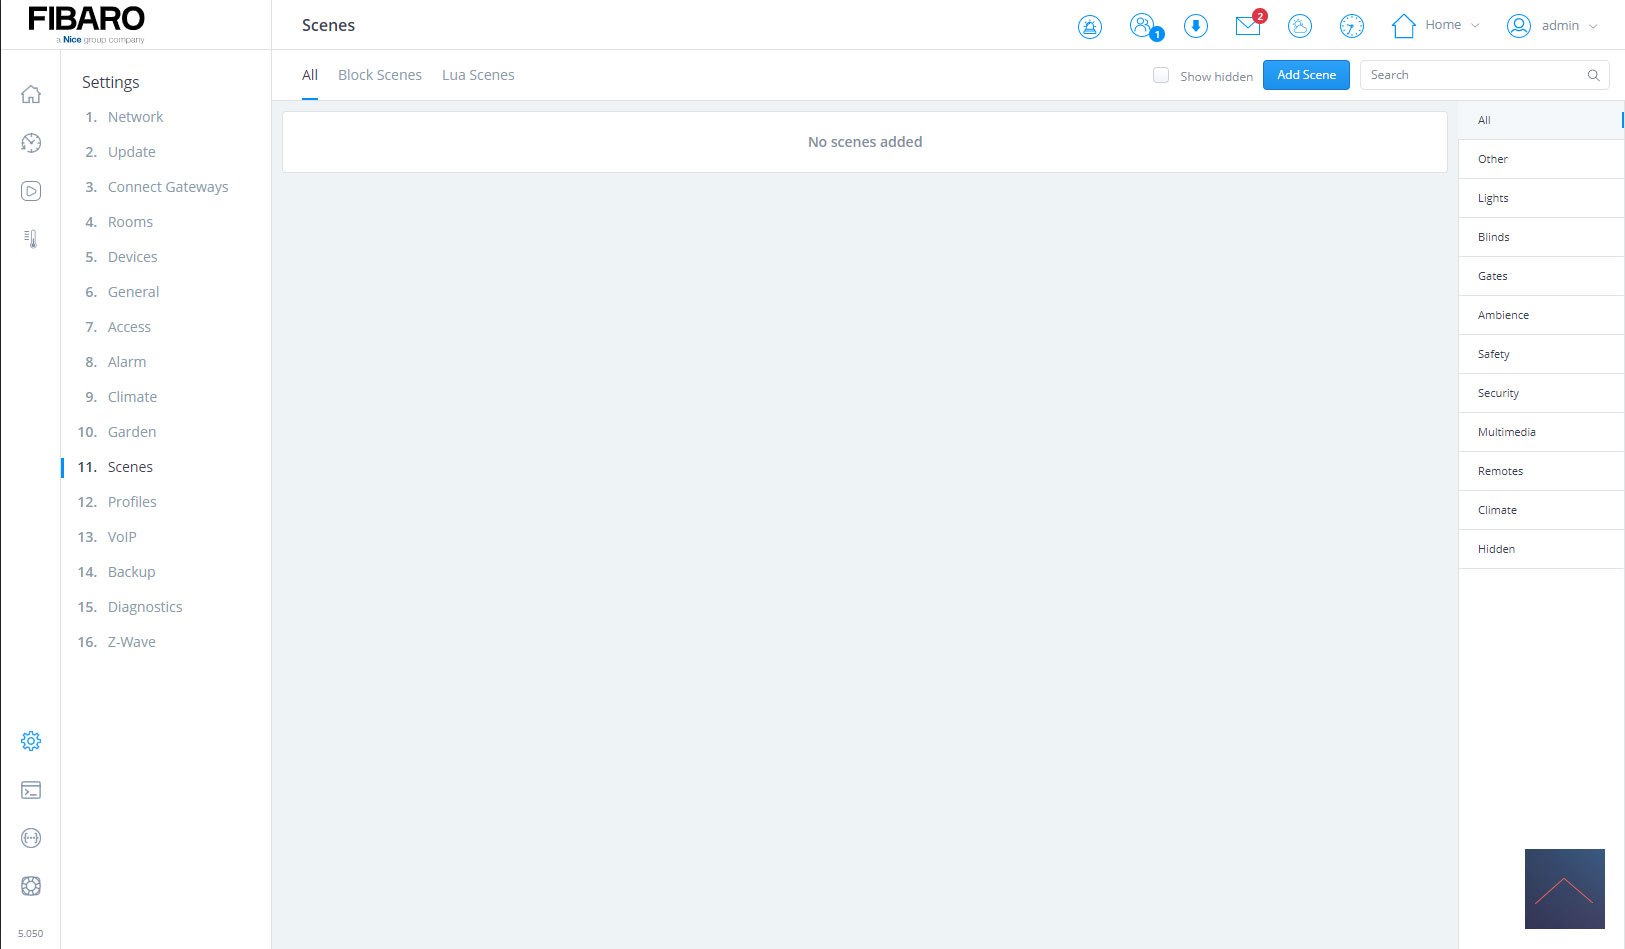
Scenes (automate):
Now that we've added a number of devices, it's time to make our home really smart. You can do this through scenes. These are rules with conditions that must be carried out.
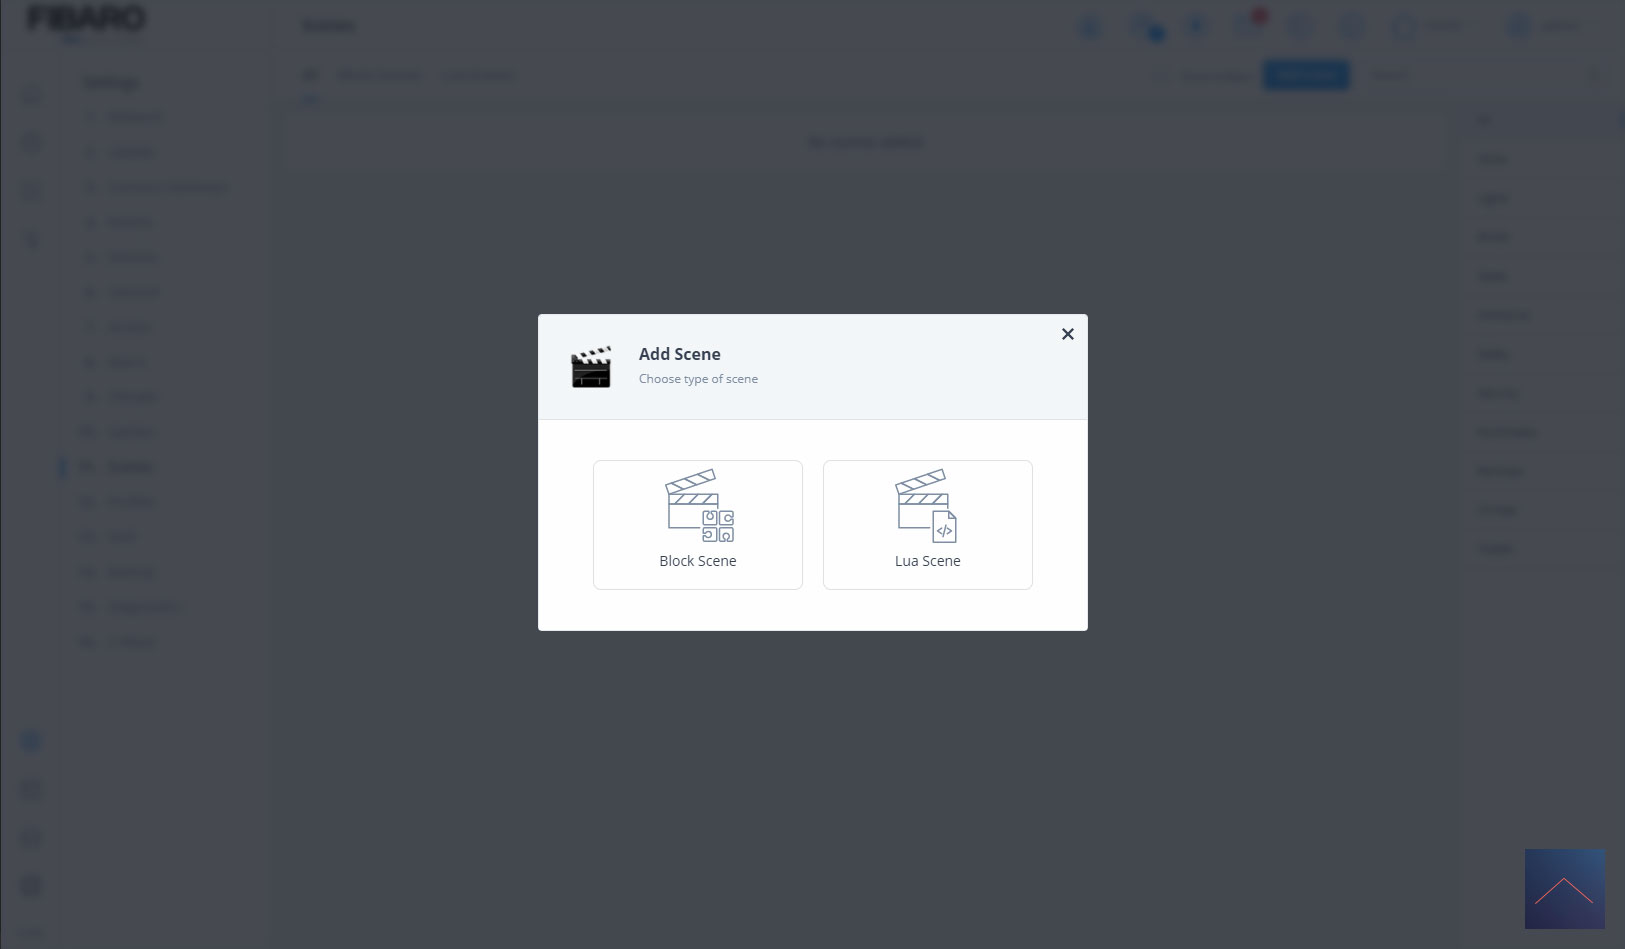
You can make these rules yourself. There are 2 ways to make rules. This is via a block system and via the programming language LUA. The latter is mainly aimed at the somewhat experienced users. The less experienced users (or those who cannot program) will use the block variant. It is nice that these 2 options are available. With the block variant it is possible that you will run into some limitations, this is not the case with the LUA variant because basically everything is possible. In the HC3 an option if you have made something in blocks is to convert this from LUA. This way you don't have to redo everything and you can familiarize yourself with this programming language.
We will show you some sample scenes.
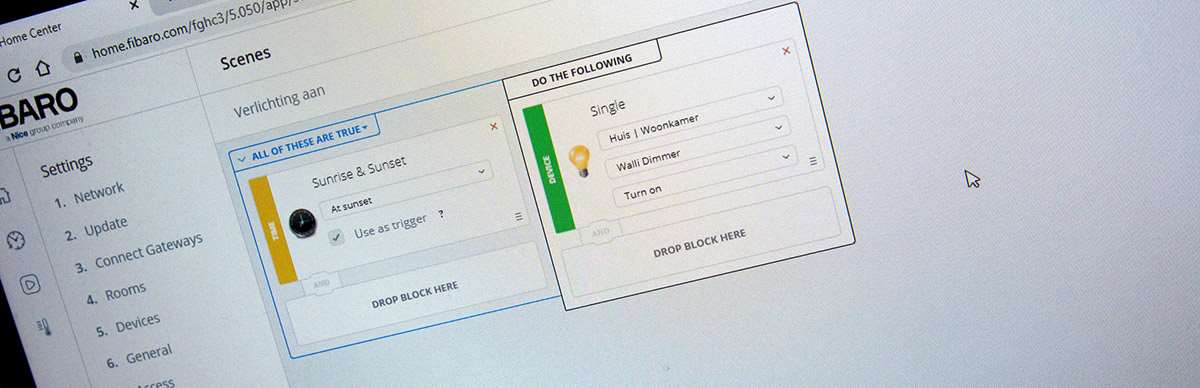
Example lighting on at sunset:
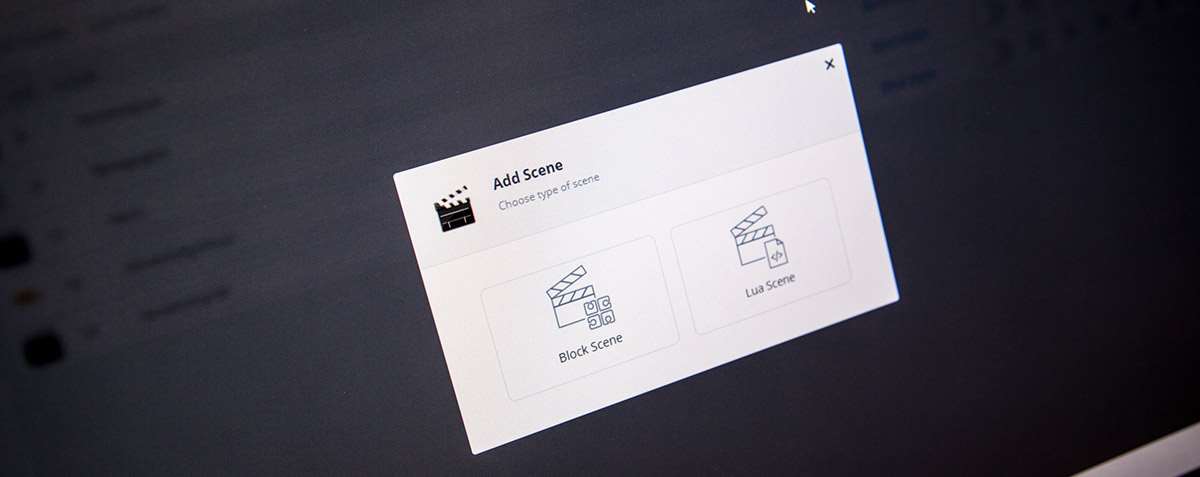
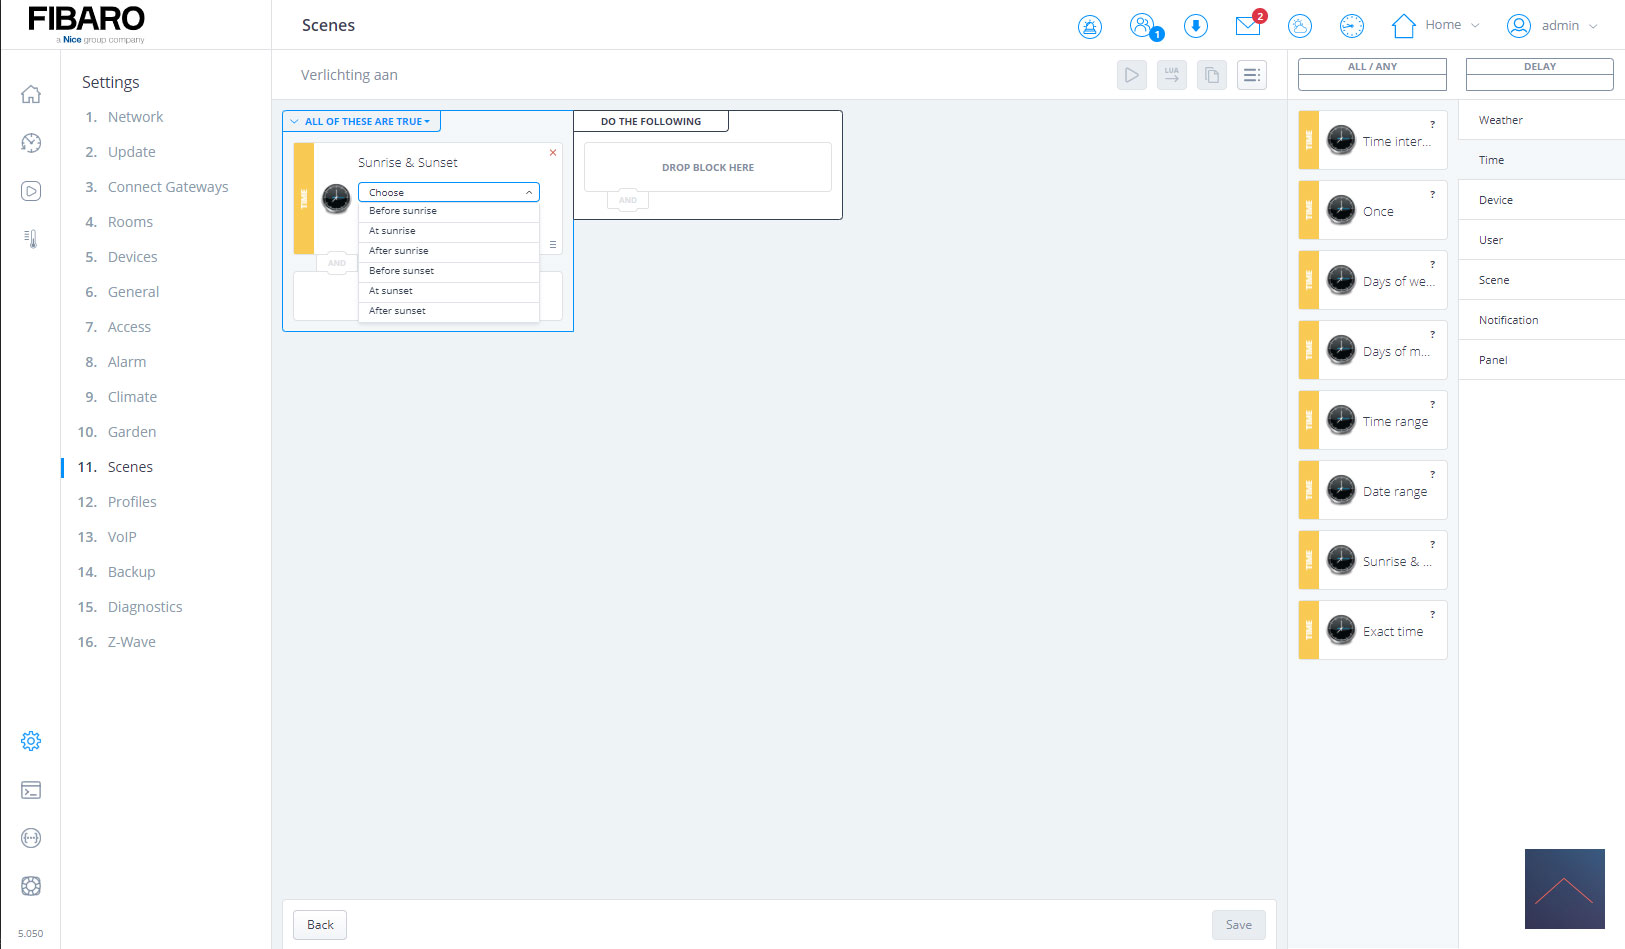
Let's start simple to make sure that when the sun goes down the lights are turned on automatically. We go to our settings (radar icon) and click on scenes and then on "add scene". We choose the block scenes below because this will be a fairly simple scene.
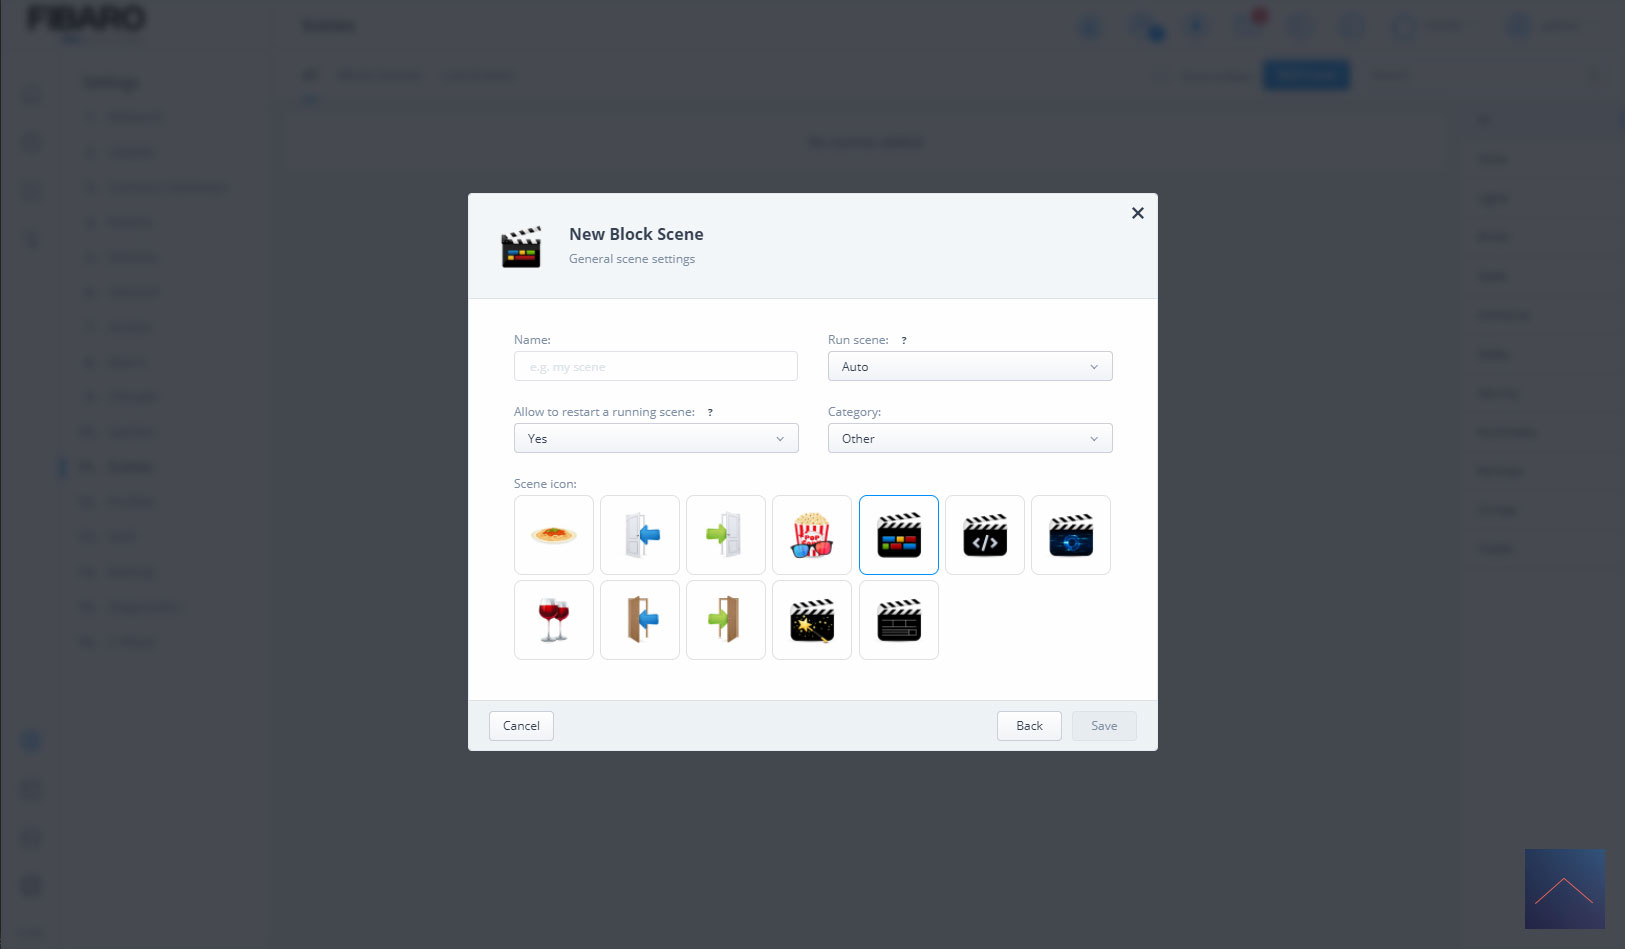
We give the scene a name and choose an icon (too bad there are only a few). Then we get 2 columns. A trigger (if) column and a do column.
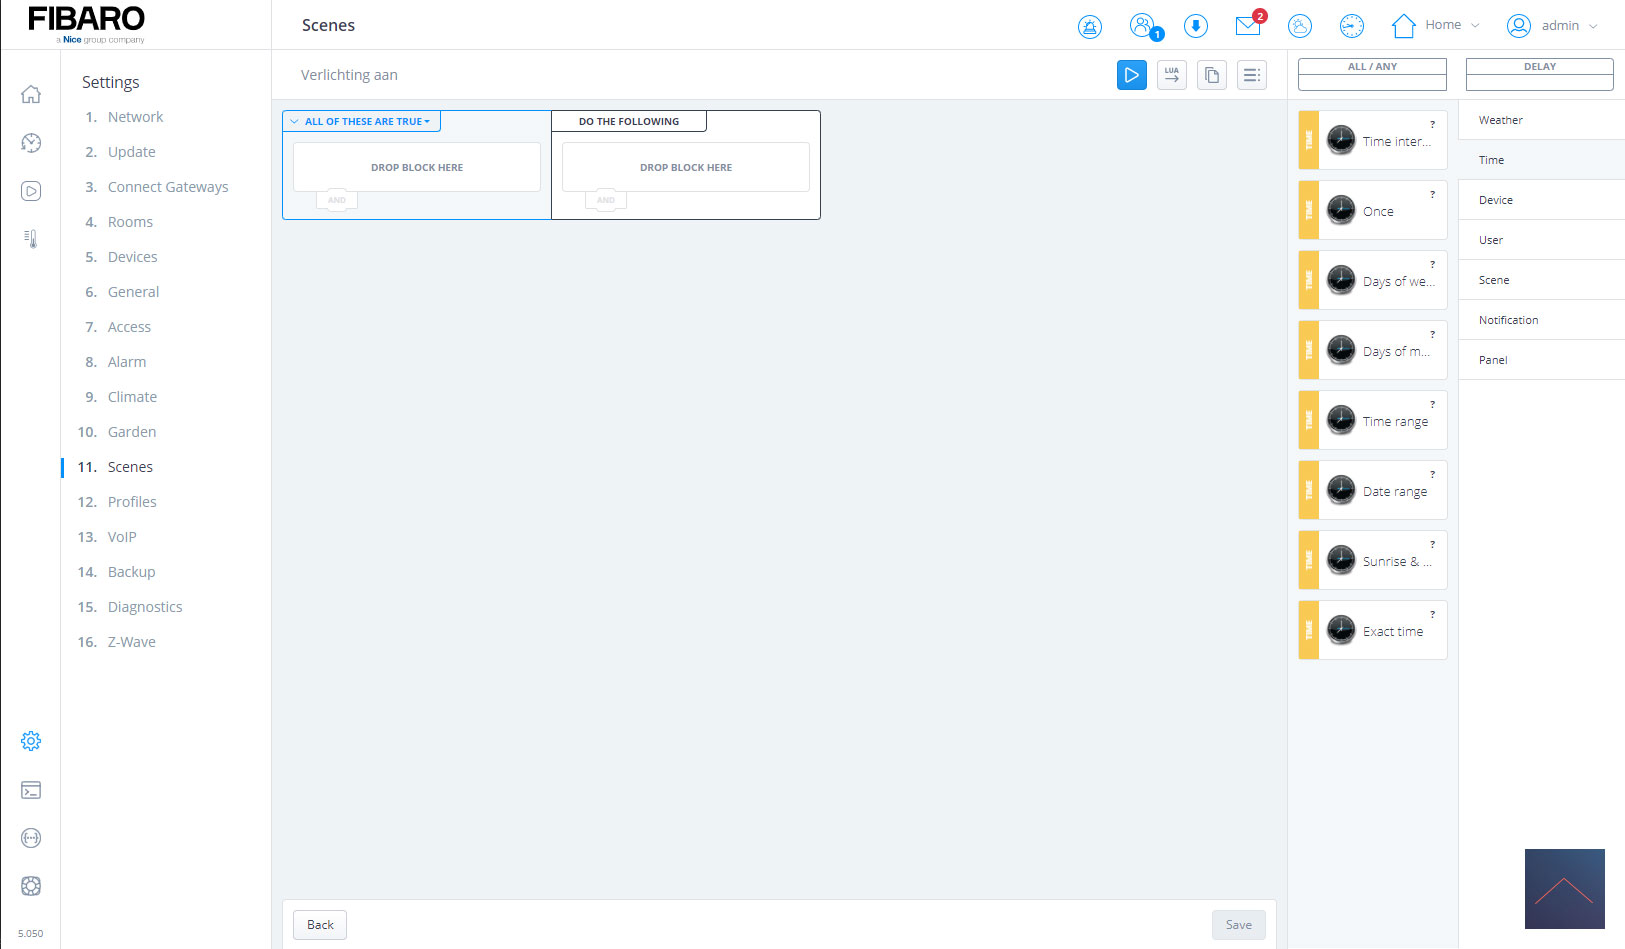
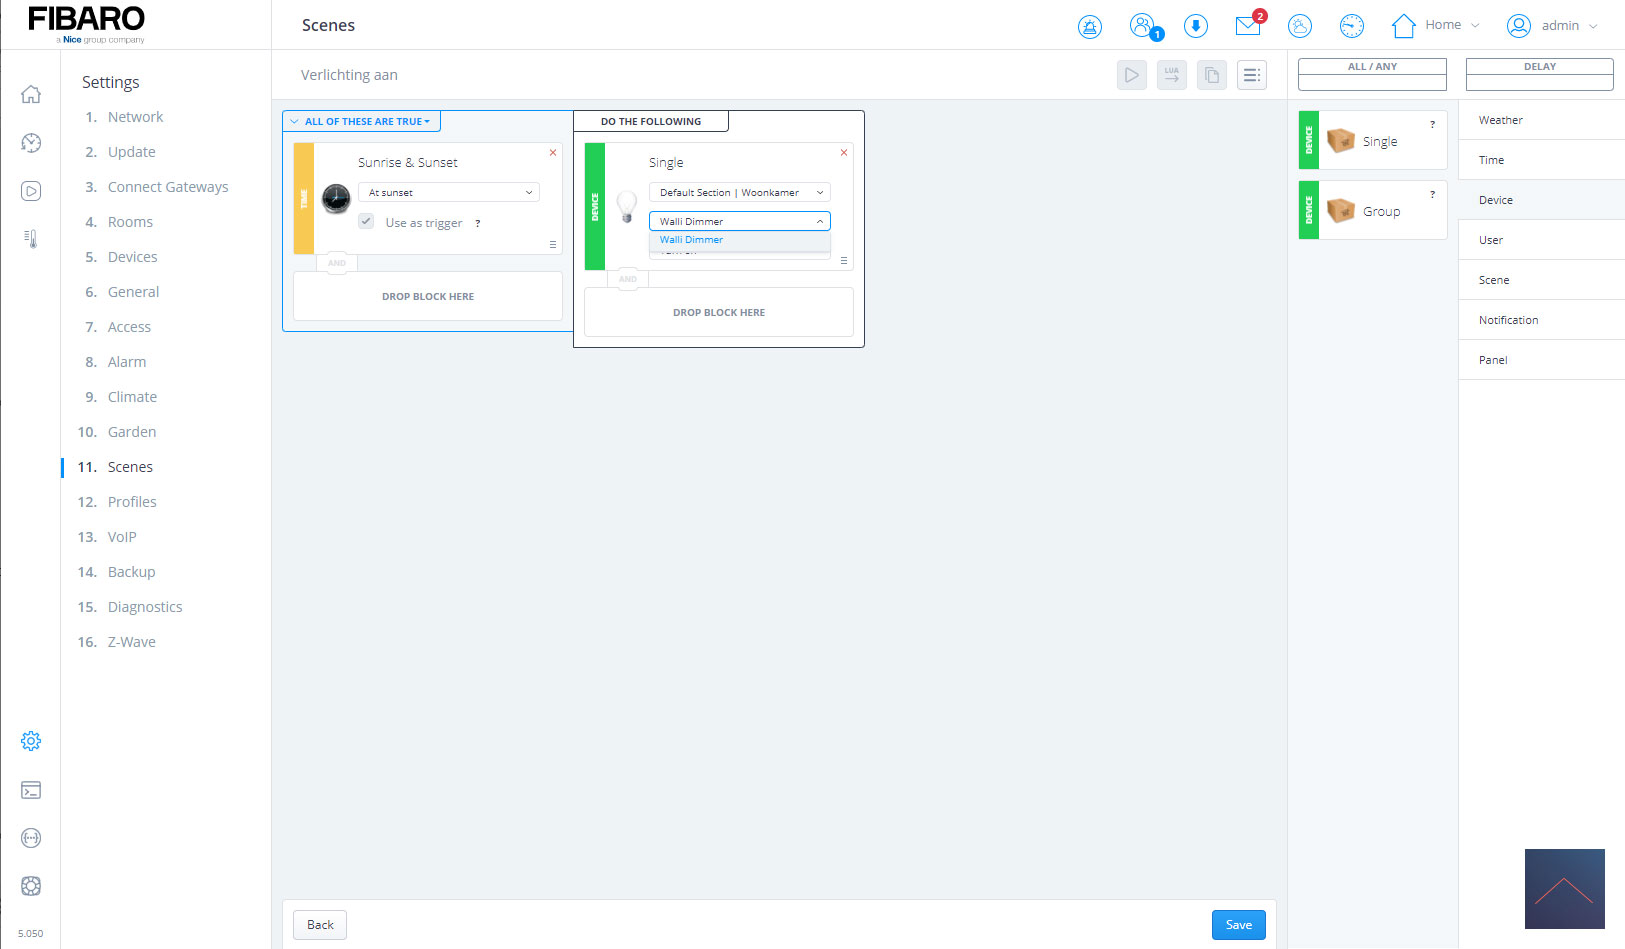
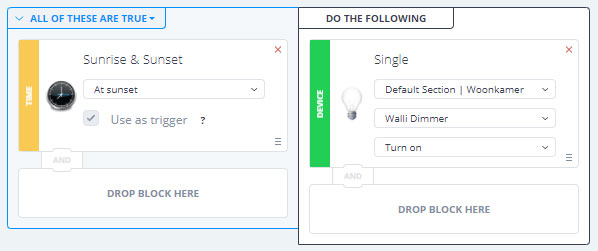
On the right side see the option to select a device. This is divided into single devices and groups of devices. On the far right you have some general triggers. Like the weather, your location, another scene, etc. In our case we choose the "time" and the sunrise / sunset block, which we drag into the first column. We want the lights to turn on after sunset, so select "at sunset". So now we have made the trigger when the sun sets that it should start. Now we are going to make sure that the lights are turned on.
Trigger:
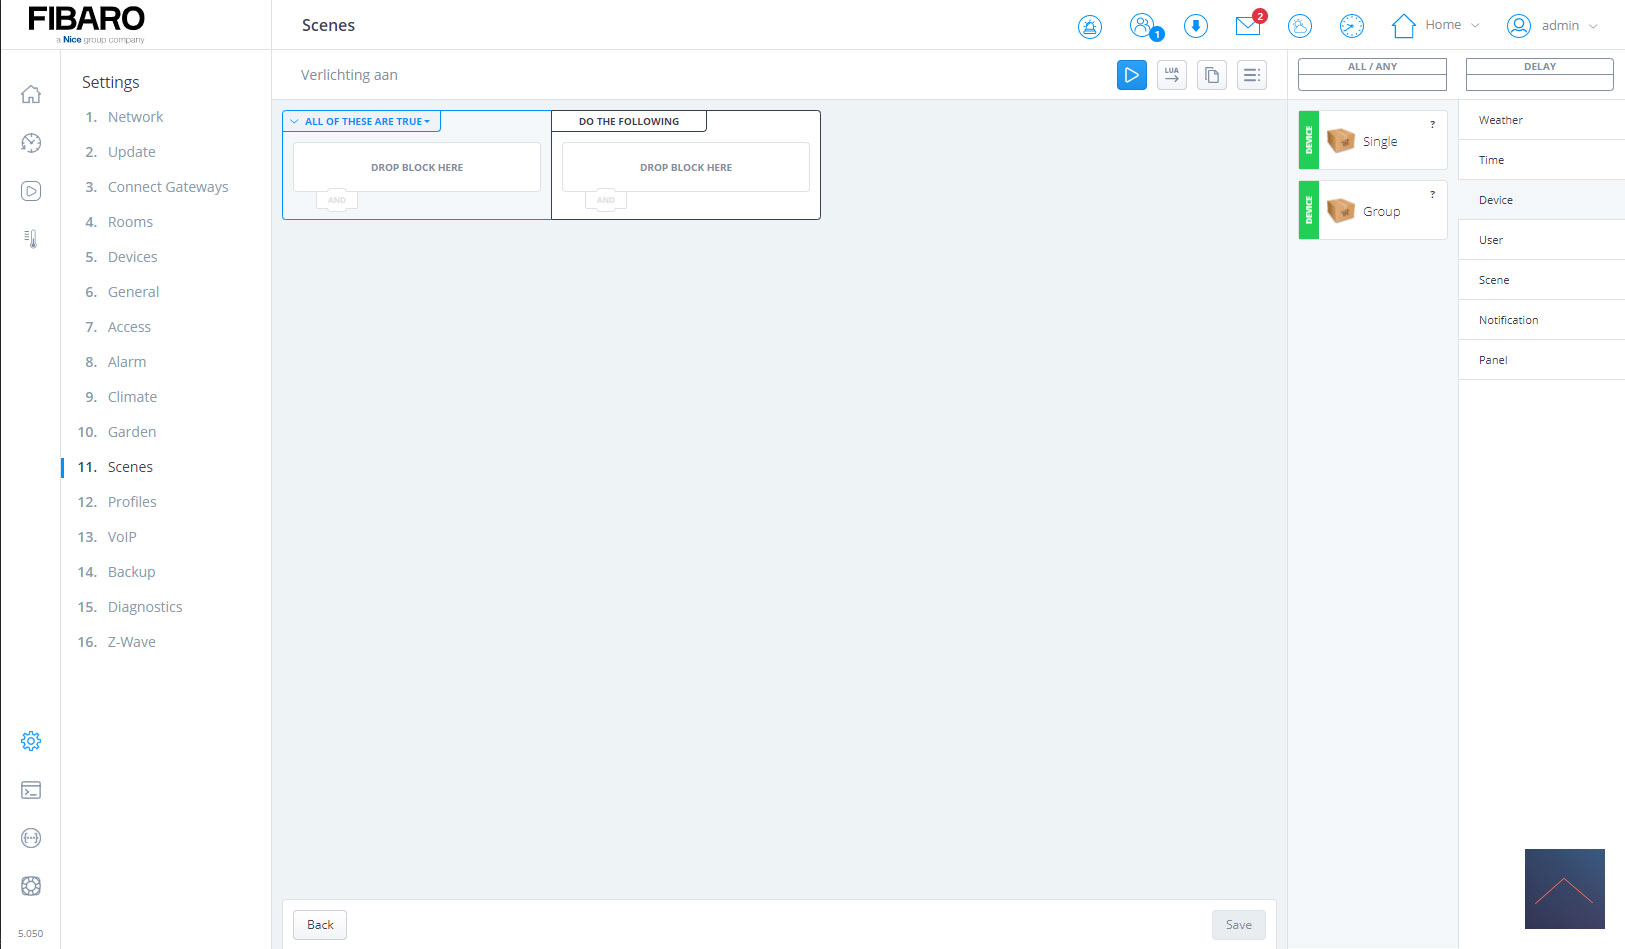
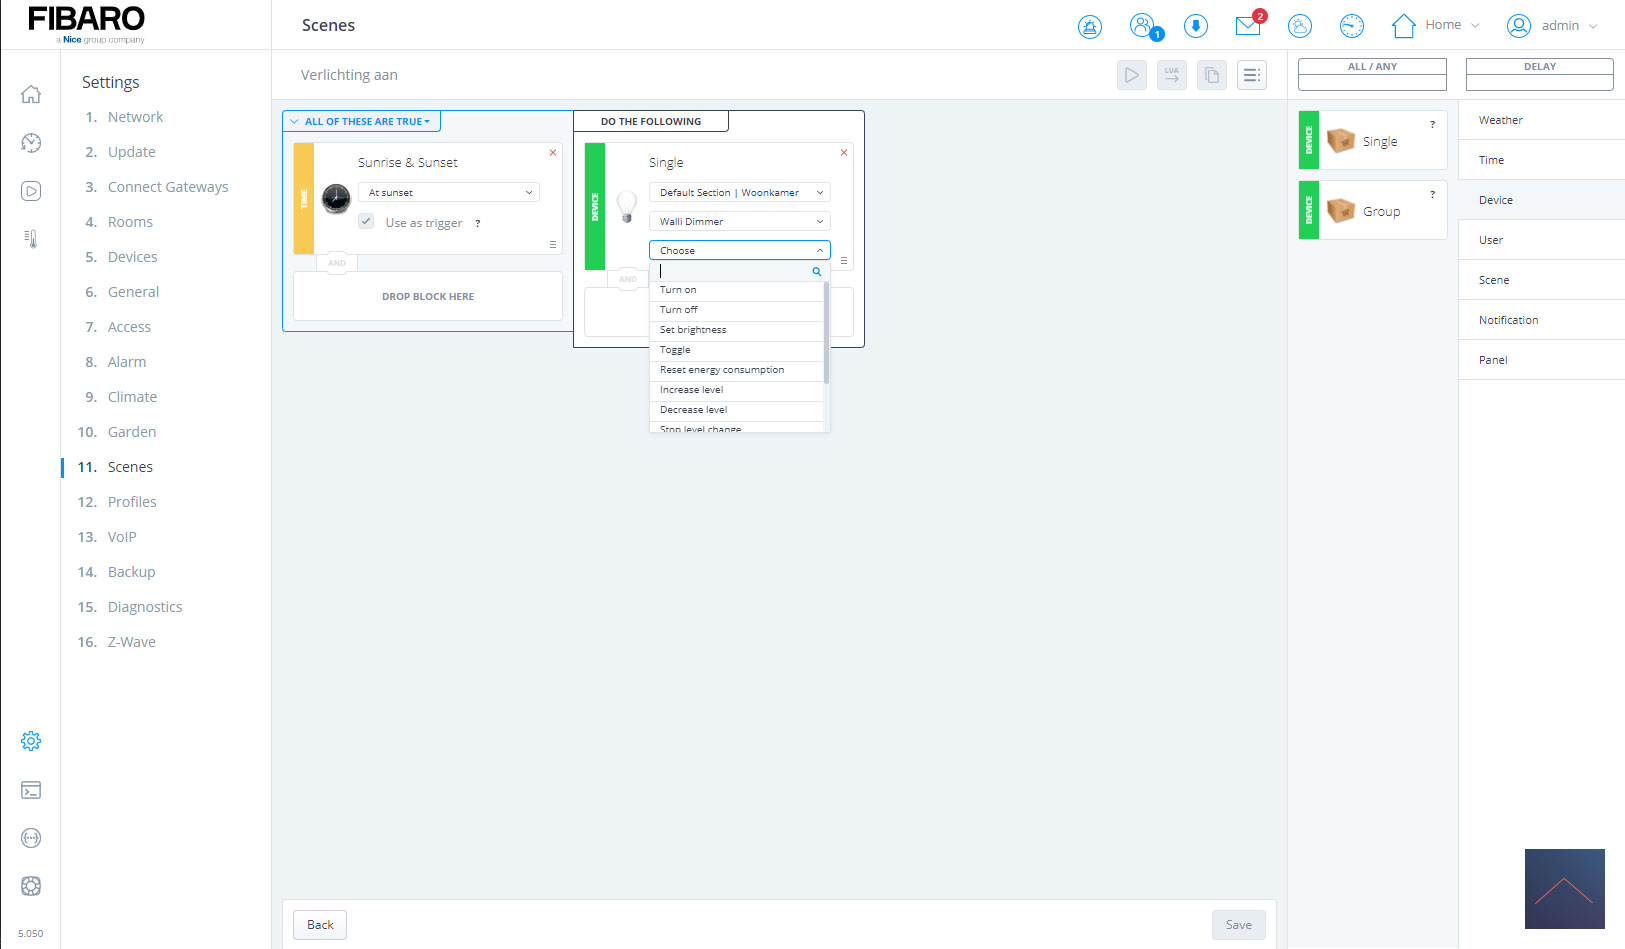
To select the lamps we click on "device" on the far right and drag the single option in the "do" column. You will see a selection of your rooms and can select a lamp in this room. Then we say to enable it and press save.
Now we can wait until dark to test whether this scene works, but that will take a while. Fortunately, the HC3 has a test button and when we press it, we see the light come on.
In the example we could also use the group option to turn on multiple lamps at the same time.
Action
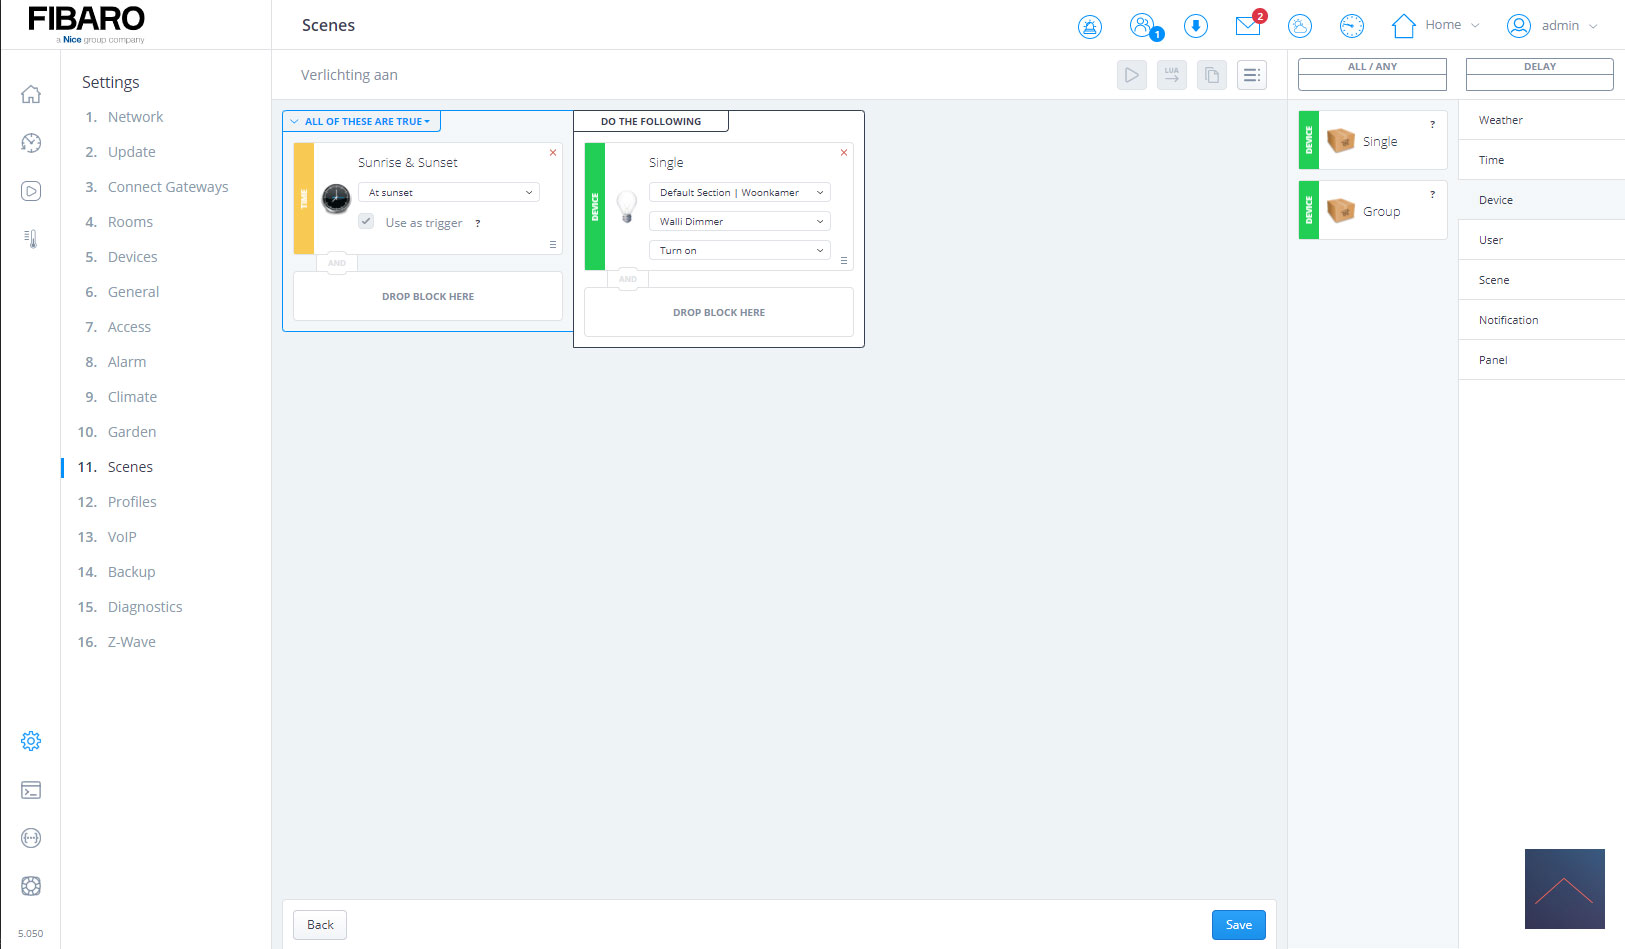

The final scene looks like this:
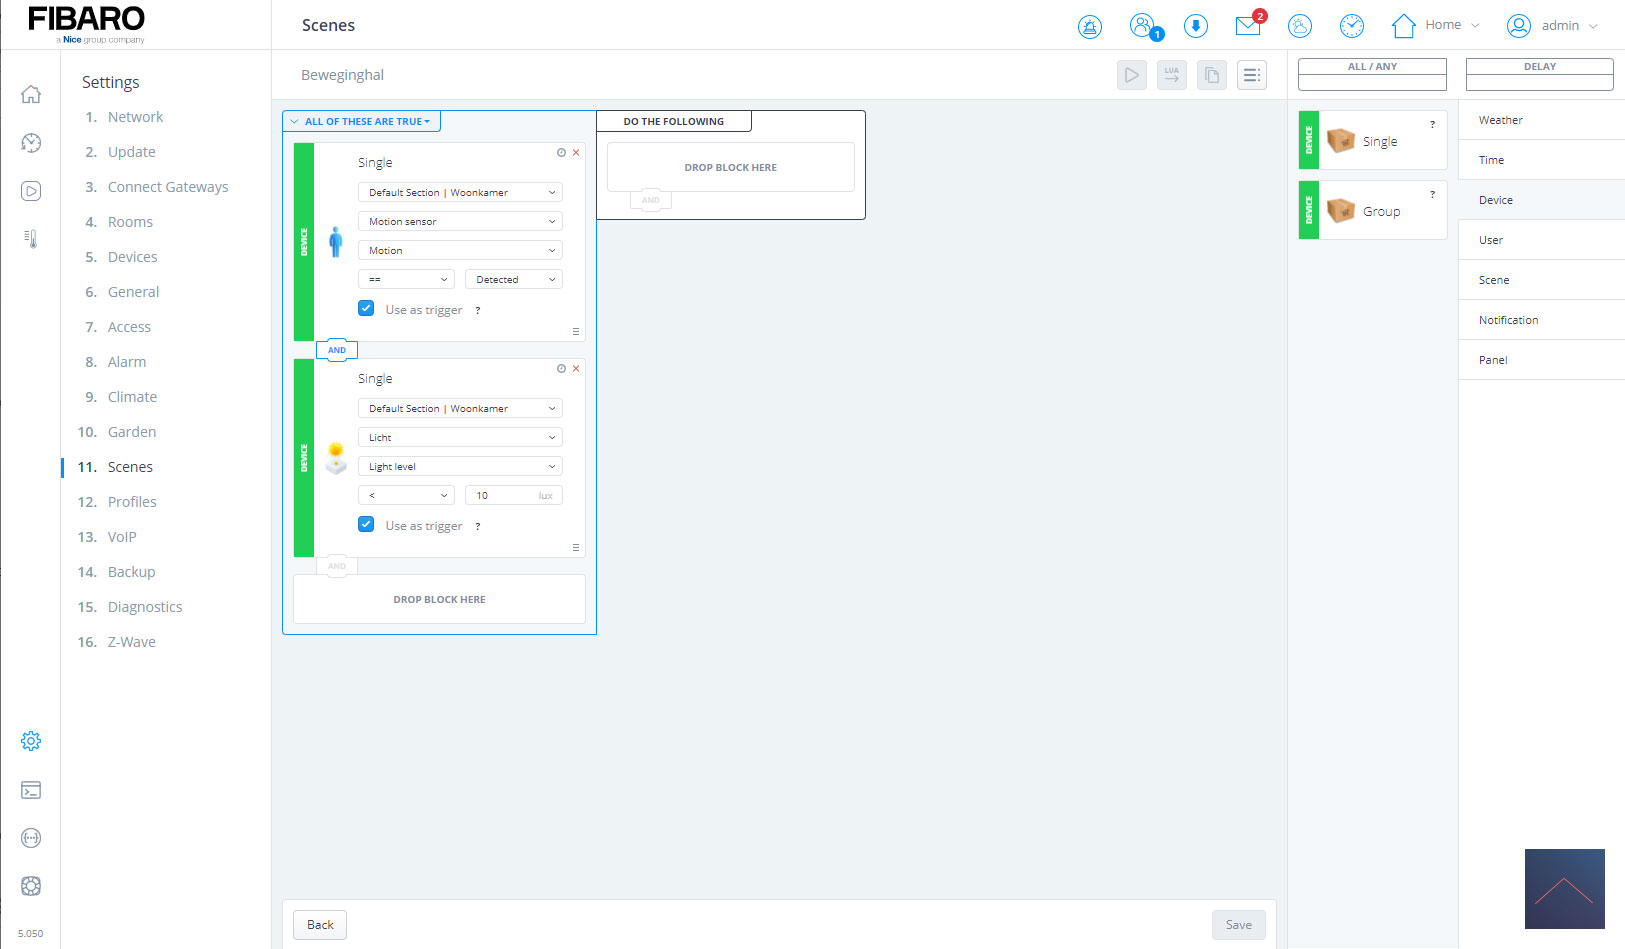
Example motion sensor and lux value:
Now that we have shown a somewhat simple example, we will also show a somewhat more complex scene. We are going to make that if there is movement and it is dark, that the lamp must be switched on.
We use the Aeotec multisensor for this which we had added. We use the built-in lux meter to determine whether it is dark. The advantage of this way of working compared to the sunset function is that you measure the light in the room itself. This also allows you to take cloud/dark day into account.
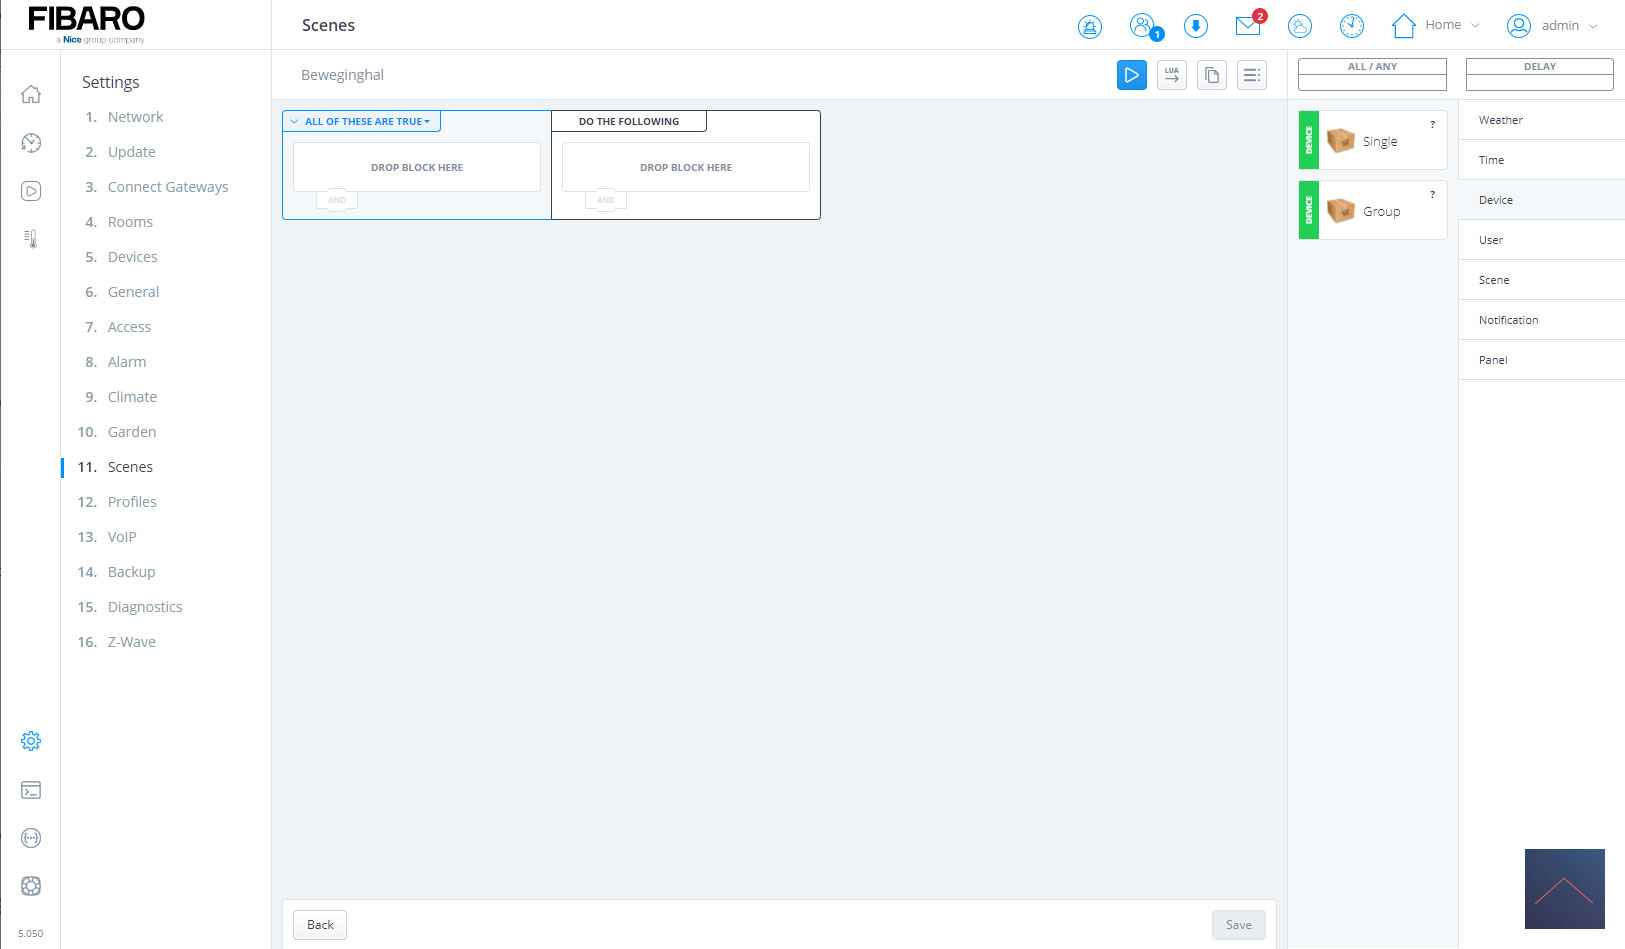
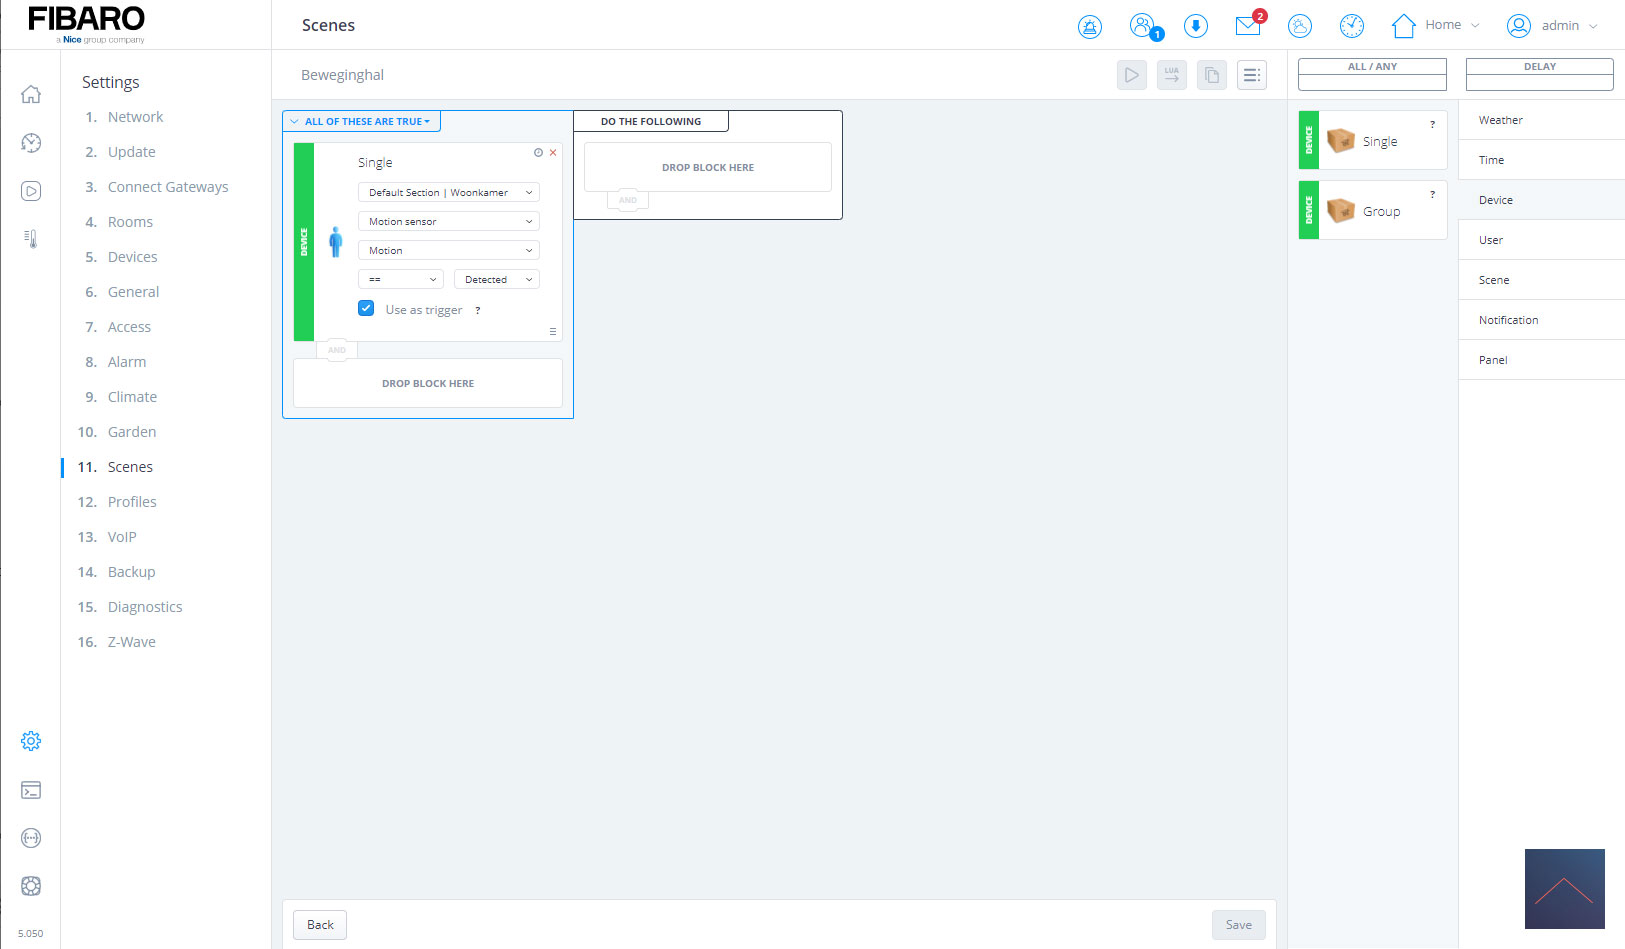
We start again by going to the scene section and creating a new scene. We use the motion detector as a trigger. So for devices we drag "single" device in the trigger column. Then we select: the room, motion sensor and under what conditions it should start. In our case, we want that when motion is detected.
Trigger
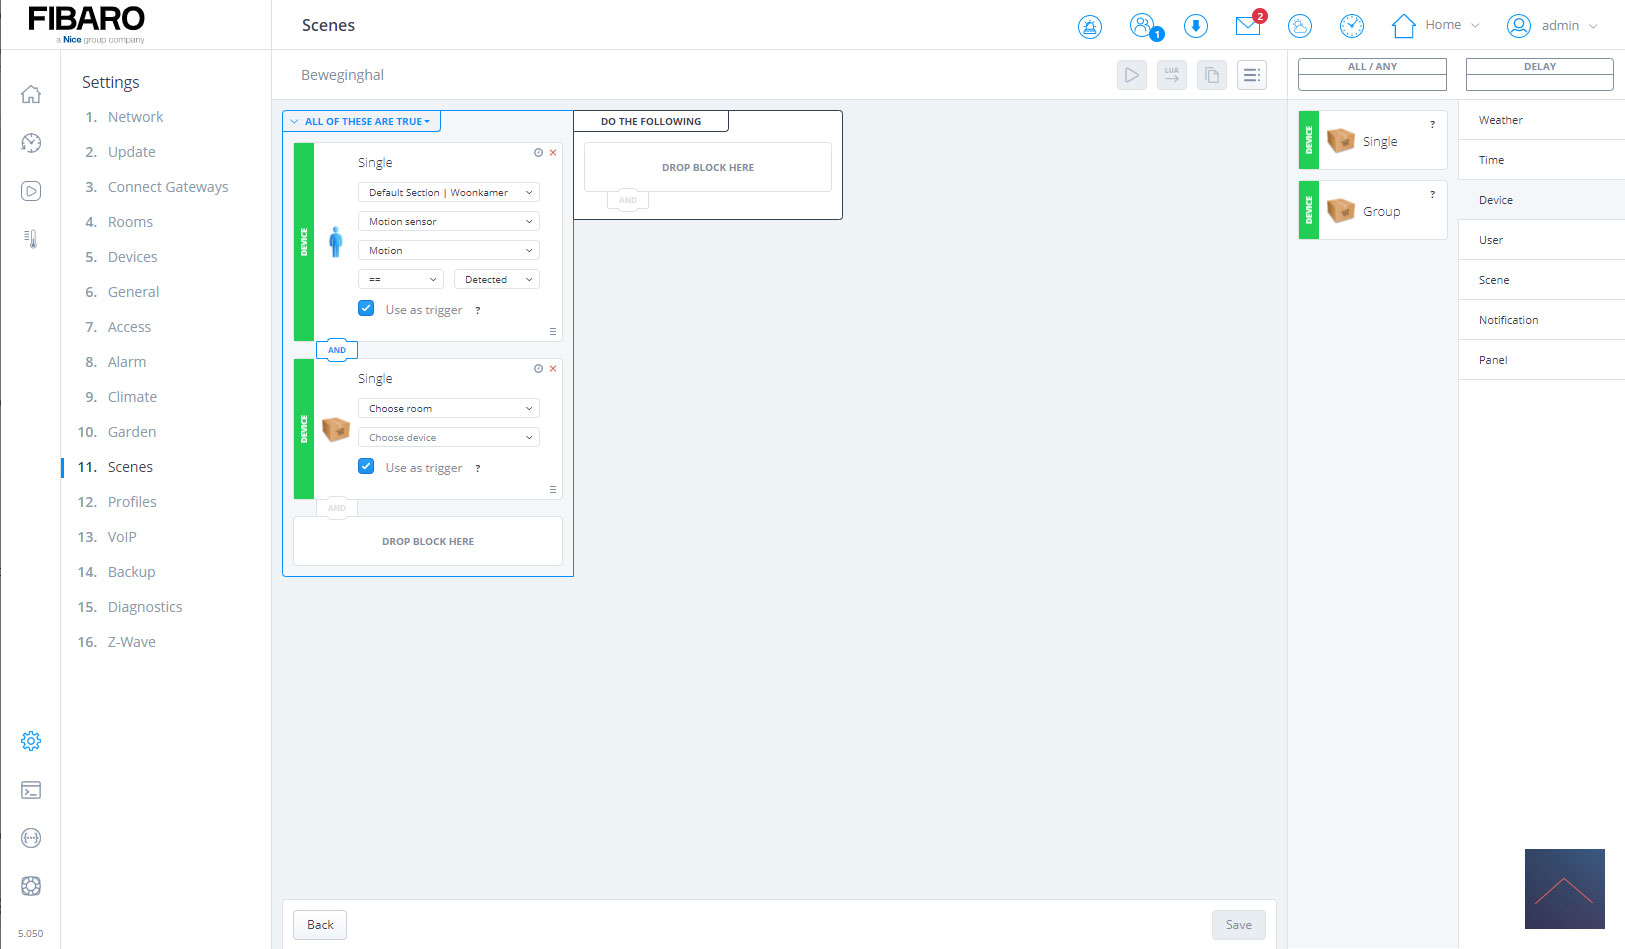
We still want the lux value to be included as a condition. For this we use the "and" option. We can also place a block below. We drag the single device into this block again and select the light sensor. We can now indicate under which conditions this must be done. In our case, if the lux value is lower than 10, we want the lamp to be allowed to switch on. In the pull-down menu you can choose <(smaller than) to do this.
And

So now we have created the triggers and we have to turn on the lamp. This is done in the same way as with the sunset example.
Action

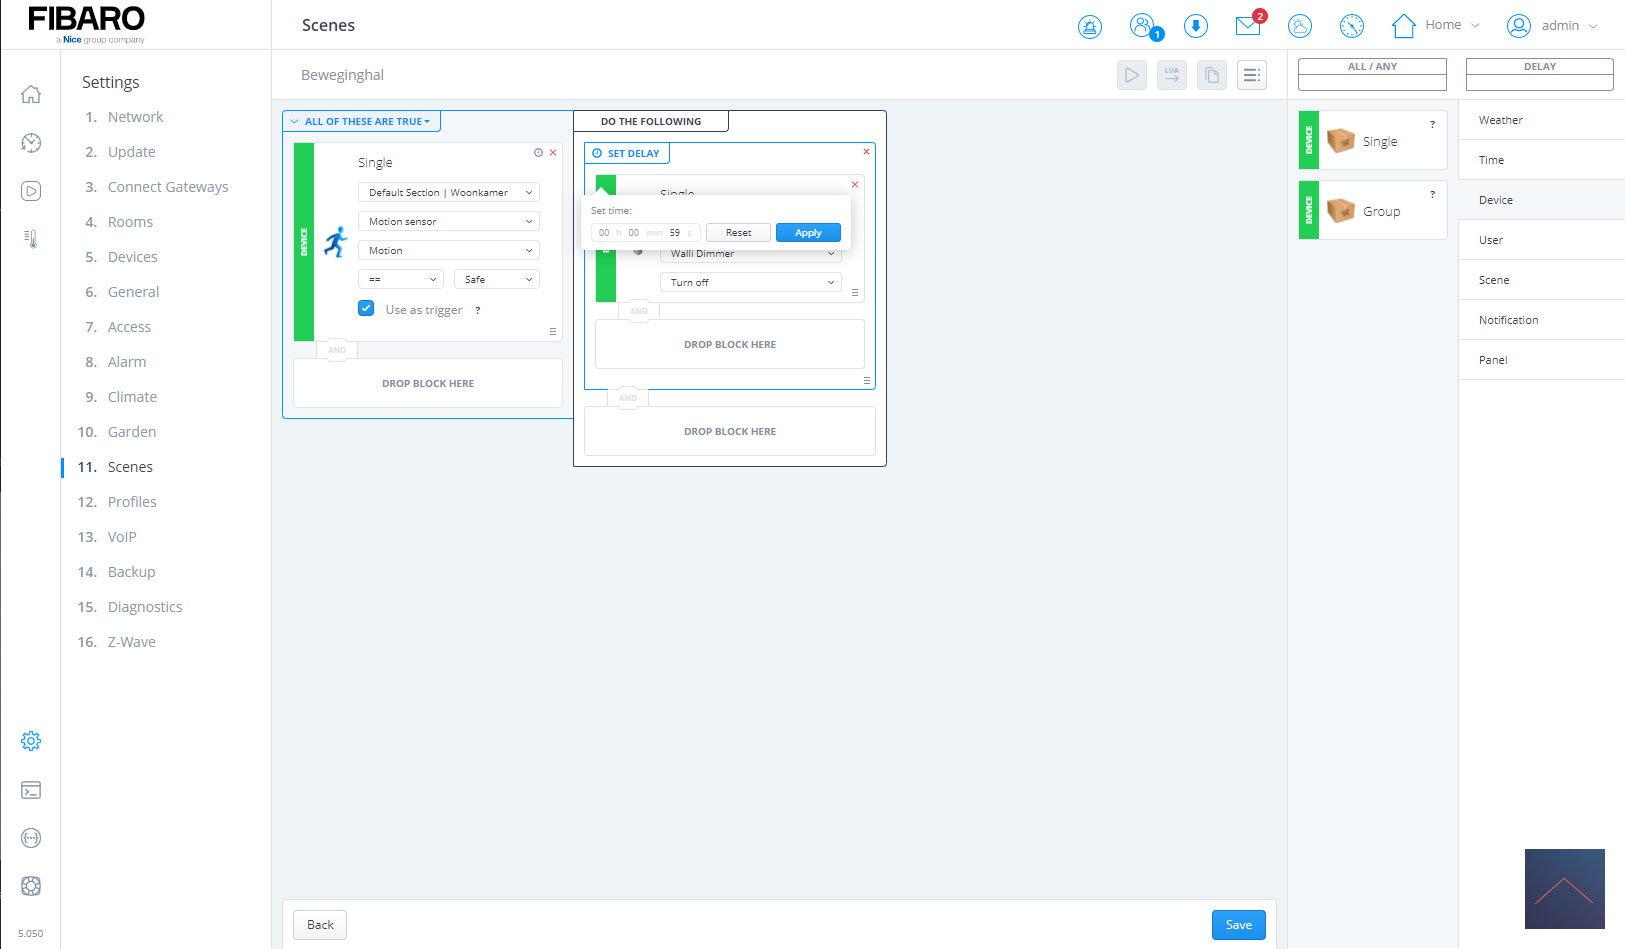
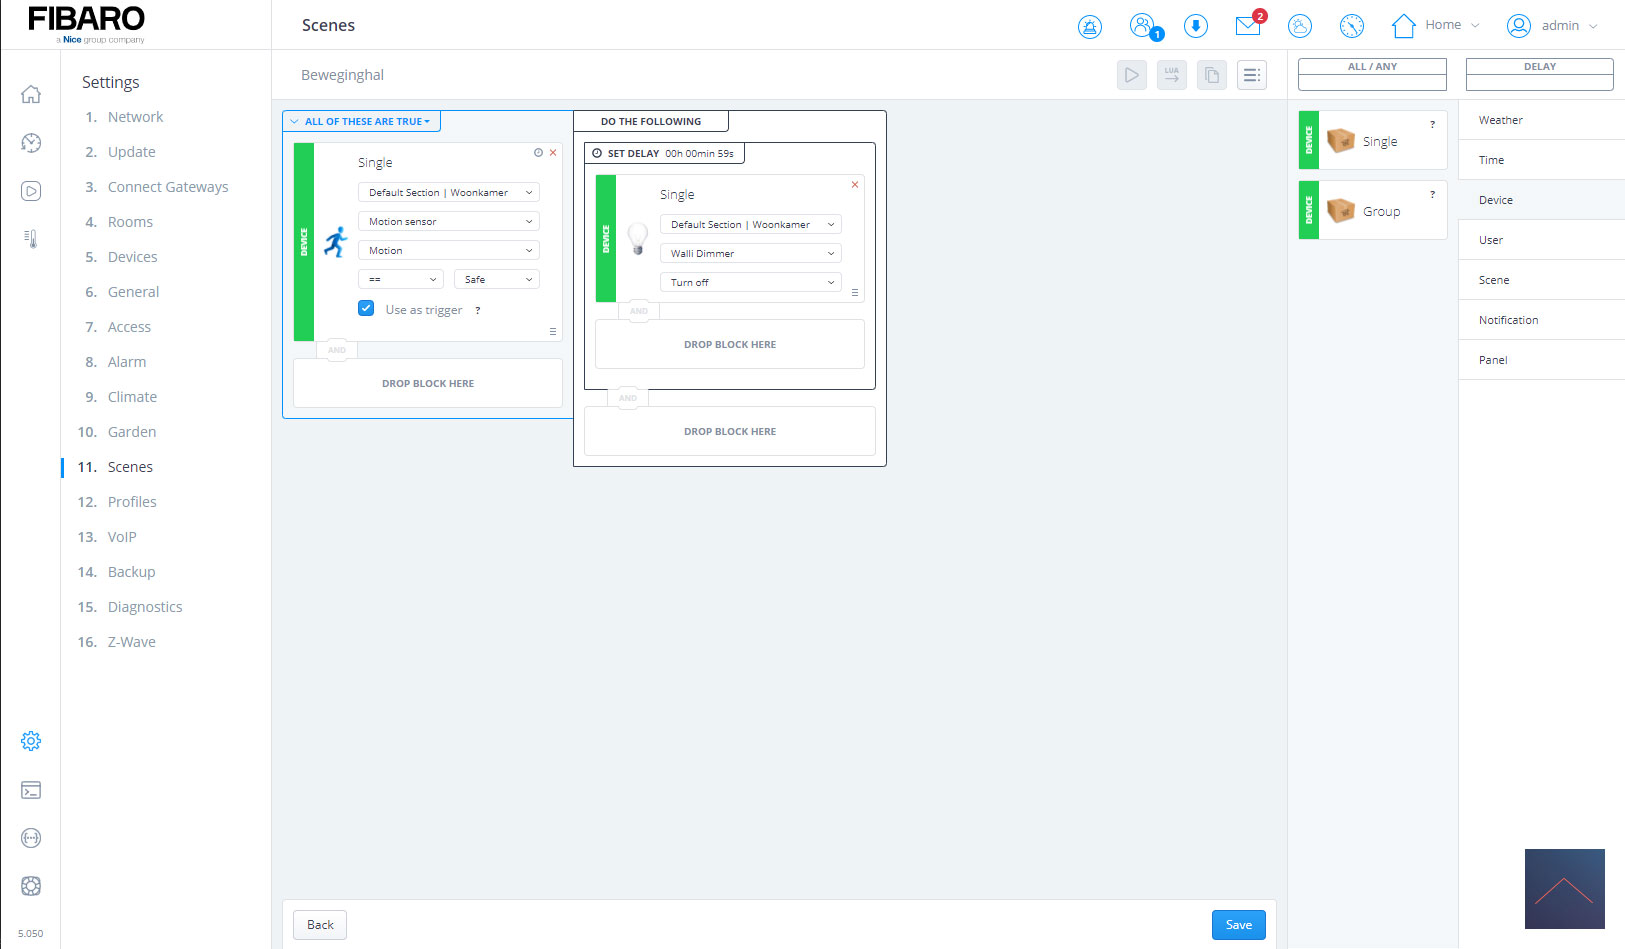
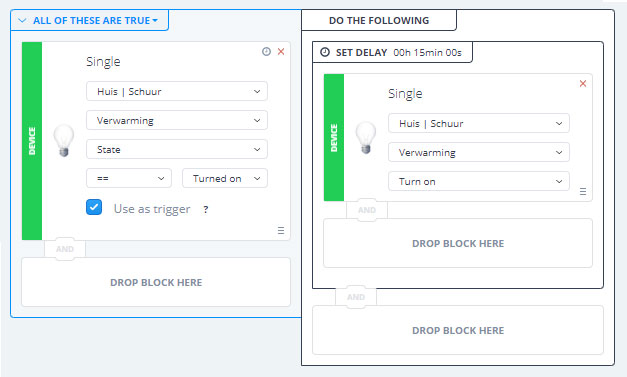
And what if we want to turn the lamp off again? You can imagine that we then turn the scene around by turning off the lamp when there is no movement. To ensure that the lamp does not go out immediately, we use the delay function. This is a block on the right that we can place in the do column.
Trigger & Action
Example with variables:
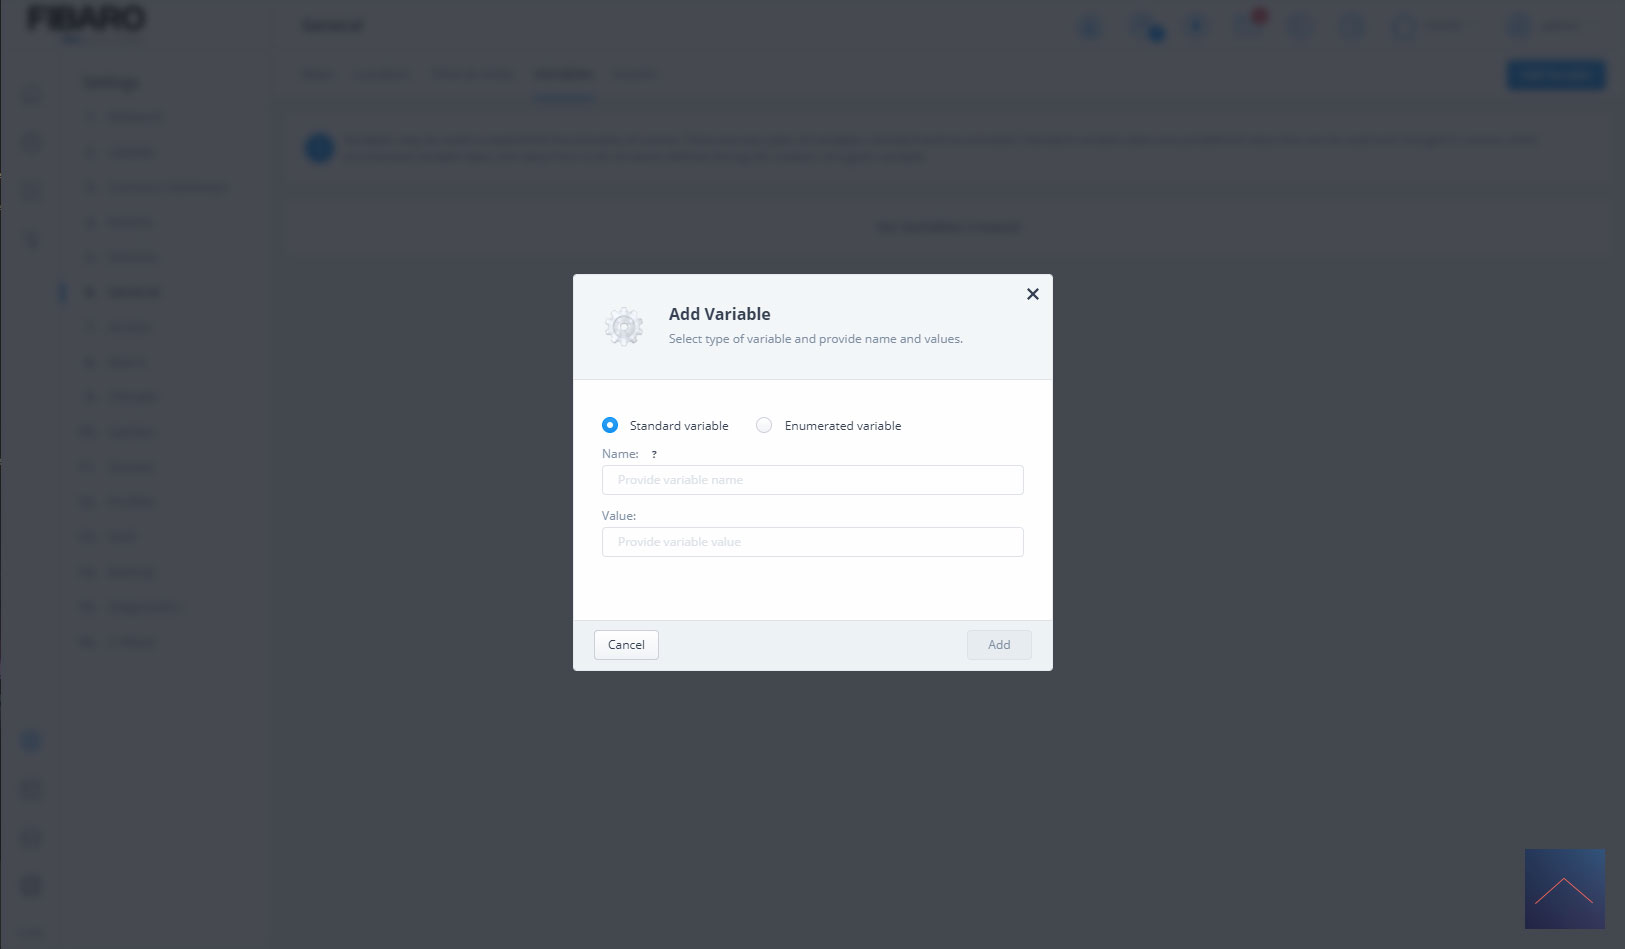
Finally I want to deal with the variables part. This part cannot be missing from some advanced rules. You can store a value in a variable. Think of a text, a number or yes/no.
Now you might wonder but what am I supposed to do with this. I will give an example. Suppose you have a scene that has to turn on the heating in the shed once a day, but you only want this when there is someone/movement in the shed. This one-off heating is sufficient for the whole day. Obviously this is an example because there are several roads to Rome :)
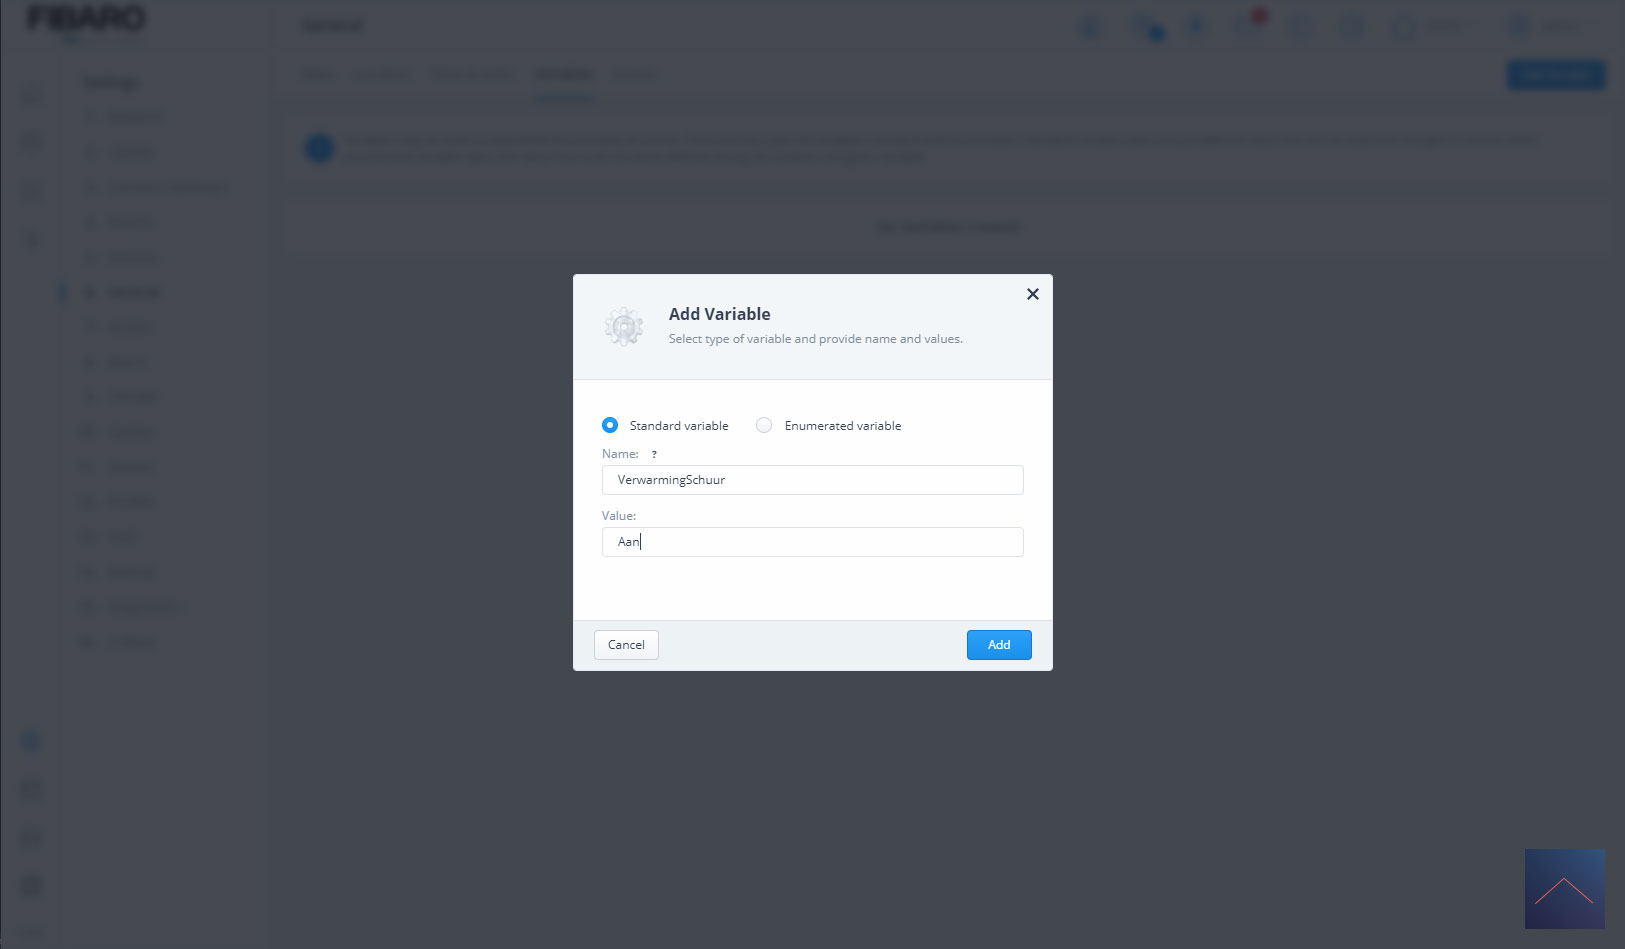
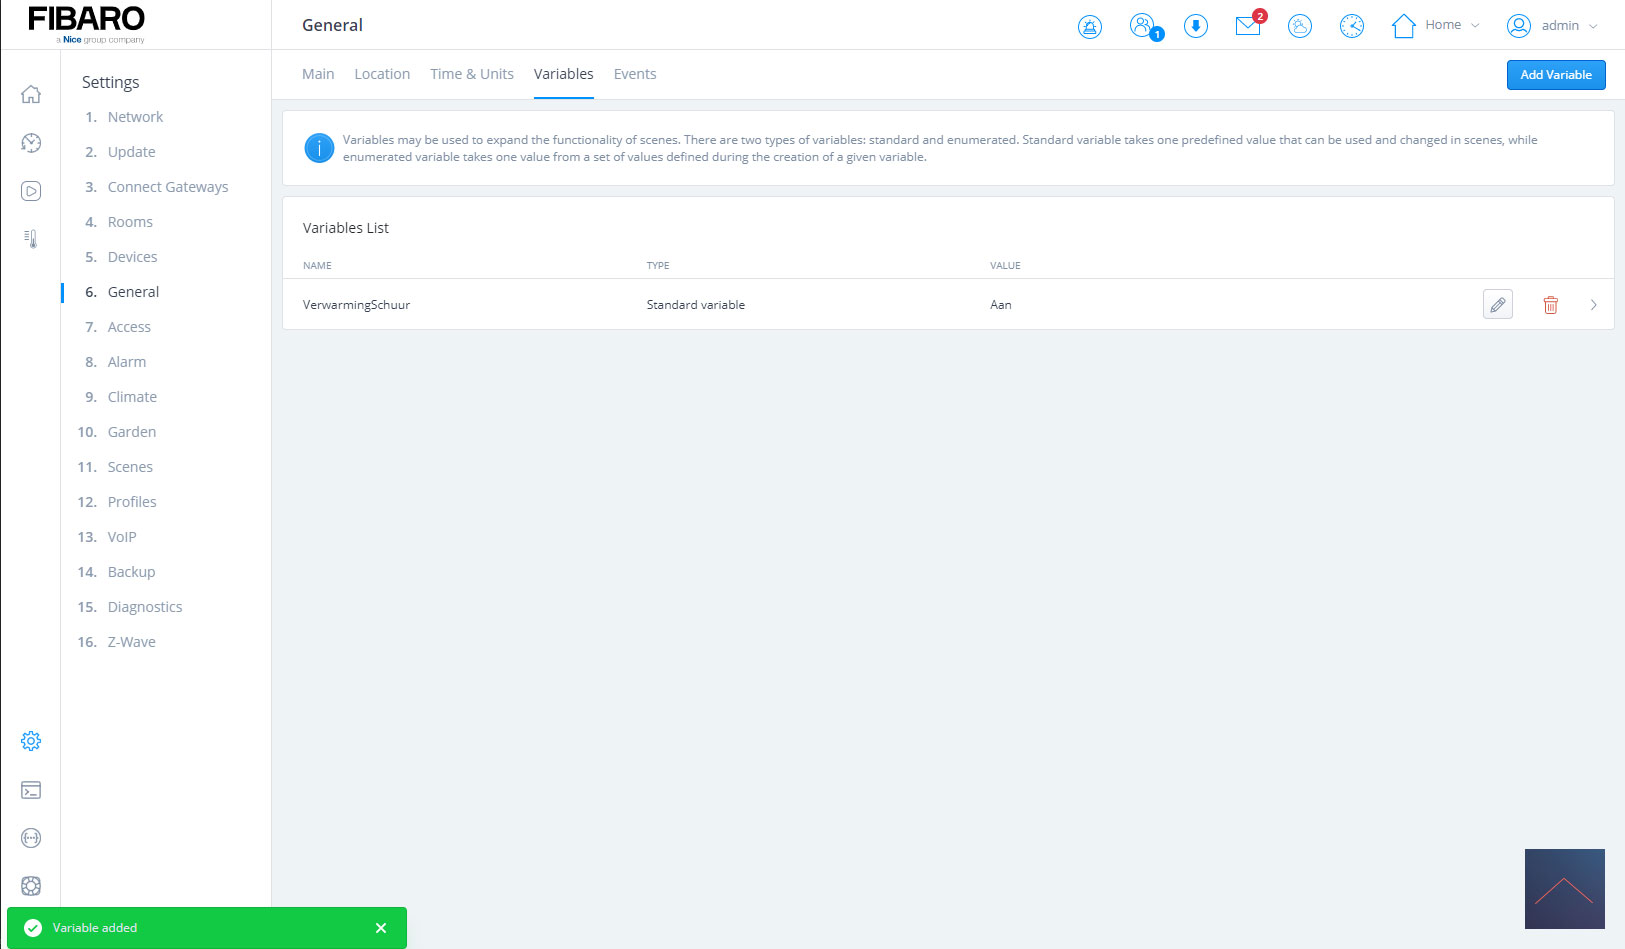
First we create a variable called "Heating Barn" and give it the value "On". You can do this at the settings.
Create variables
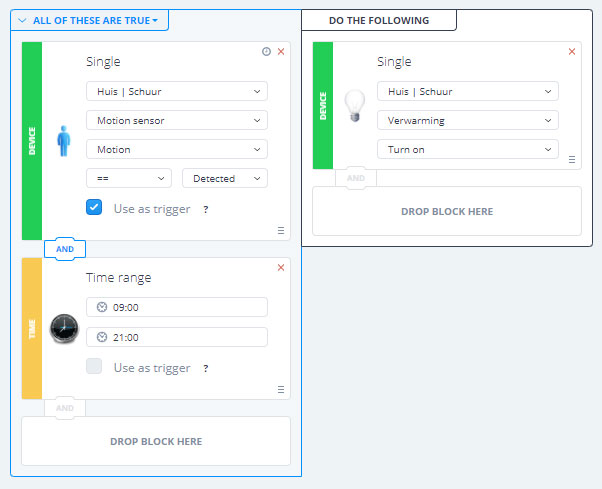
Now that we have the variables we go to the scene editor and create a new scene there. We start with the motion detector and the time and in the "do" column we place the heating and turn it on.
Now we go to the "panel" on the right and drag variables in last column. We then select "Heating shed" and set it to On.
So when this scene is running, we turn on the heating and set the variables.
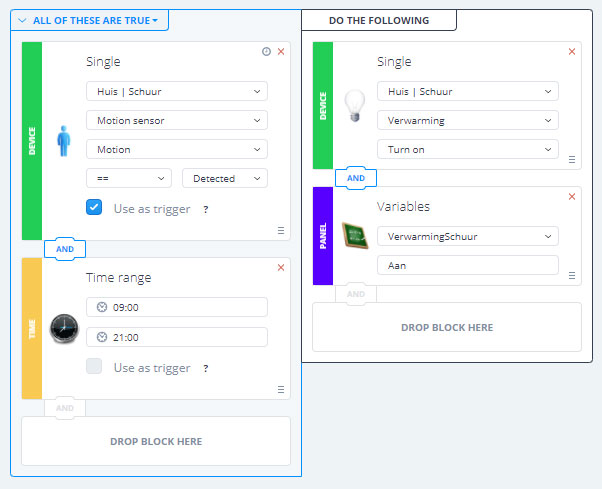
But we are not there yet because now the rule keeps running all the time. So we make sure that the variables are checked in the trigger column.
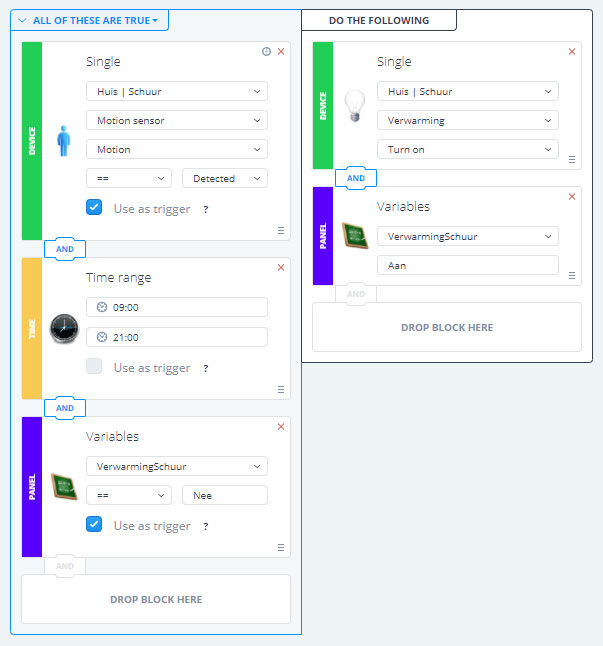
Now the line will not run because it is held back by the variables. Now you just have to make sure that the variables are reset. I create a new scene and say that at 08.30 the variables will be set to No.
Now we still have to make sure that the heating is switched off after 15 minutes. We can control this by checking at the trigger whether the heating is switched on. If this is the case, we set it with a delay of 15min. out again.
With these 3 examples we already show the power of the system, but this is only a small tip of the iceberg because you can imagine that the possibilities are endless. We now move on to the alarm, climate and irrigation system.
