Review
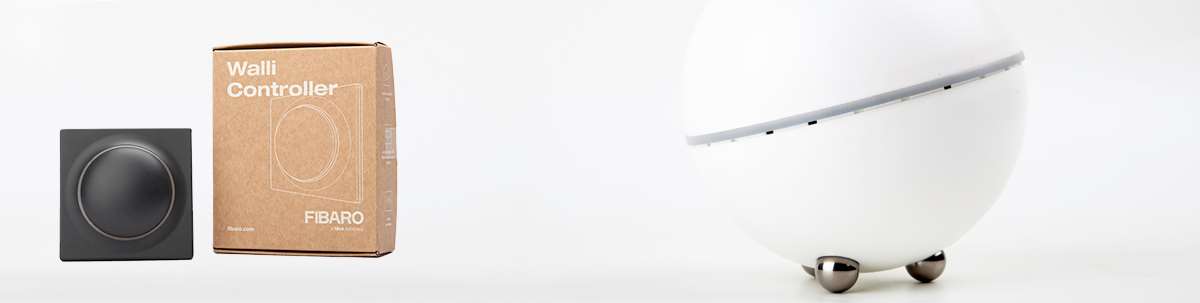
Fibaro Walli Controller
Installation on the Homey:
This Walli Controller uses the Z-Wave plus protocol so installing it on the Homey should not cause too many problems. I also see that there is an APP and that the controller is listed so that looks good.
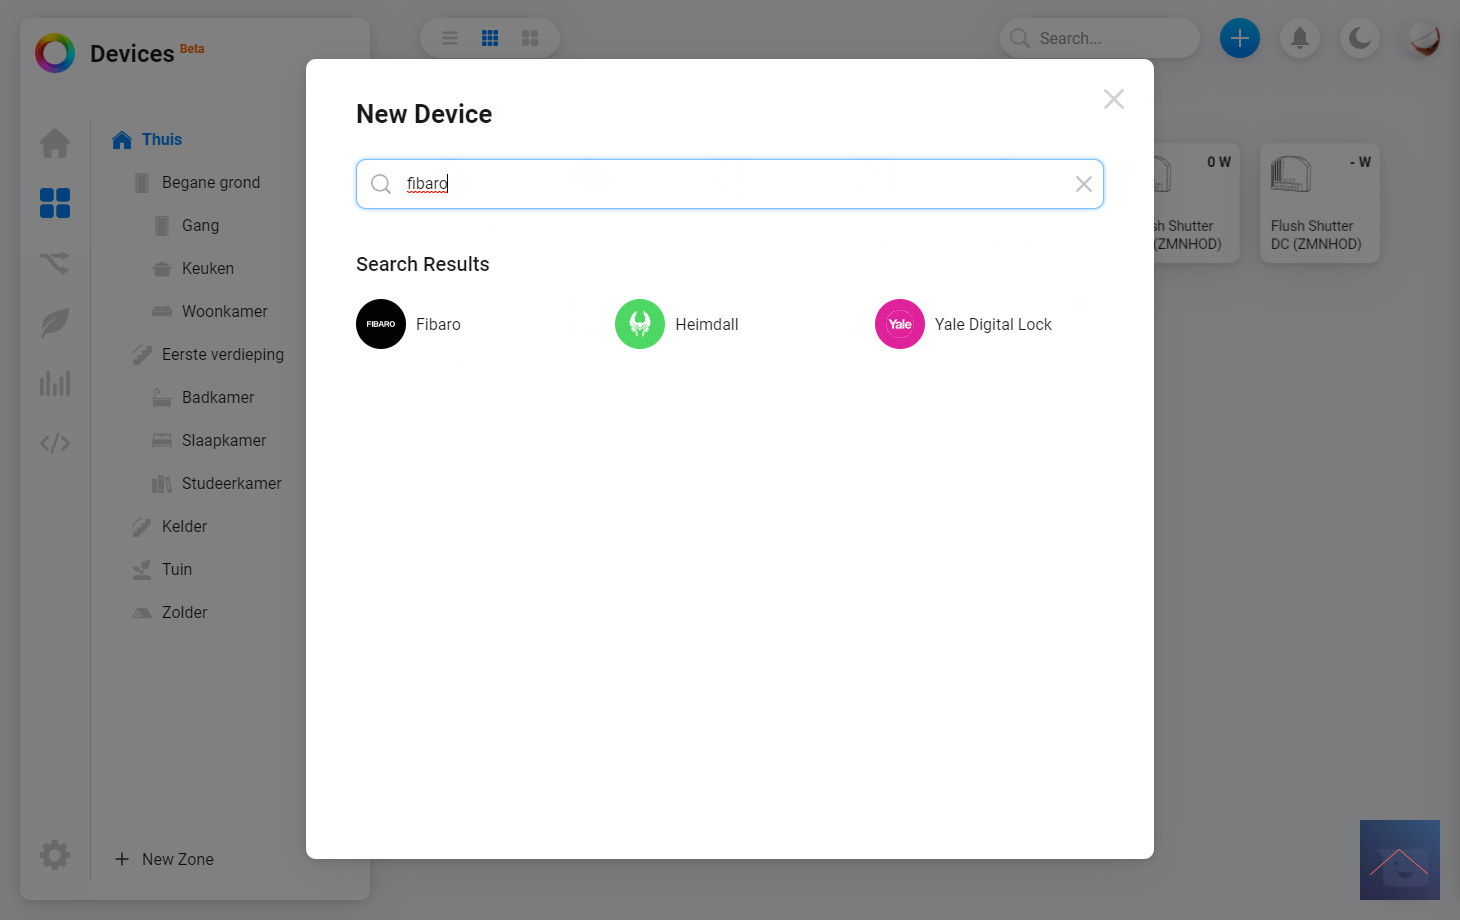
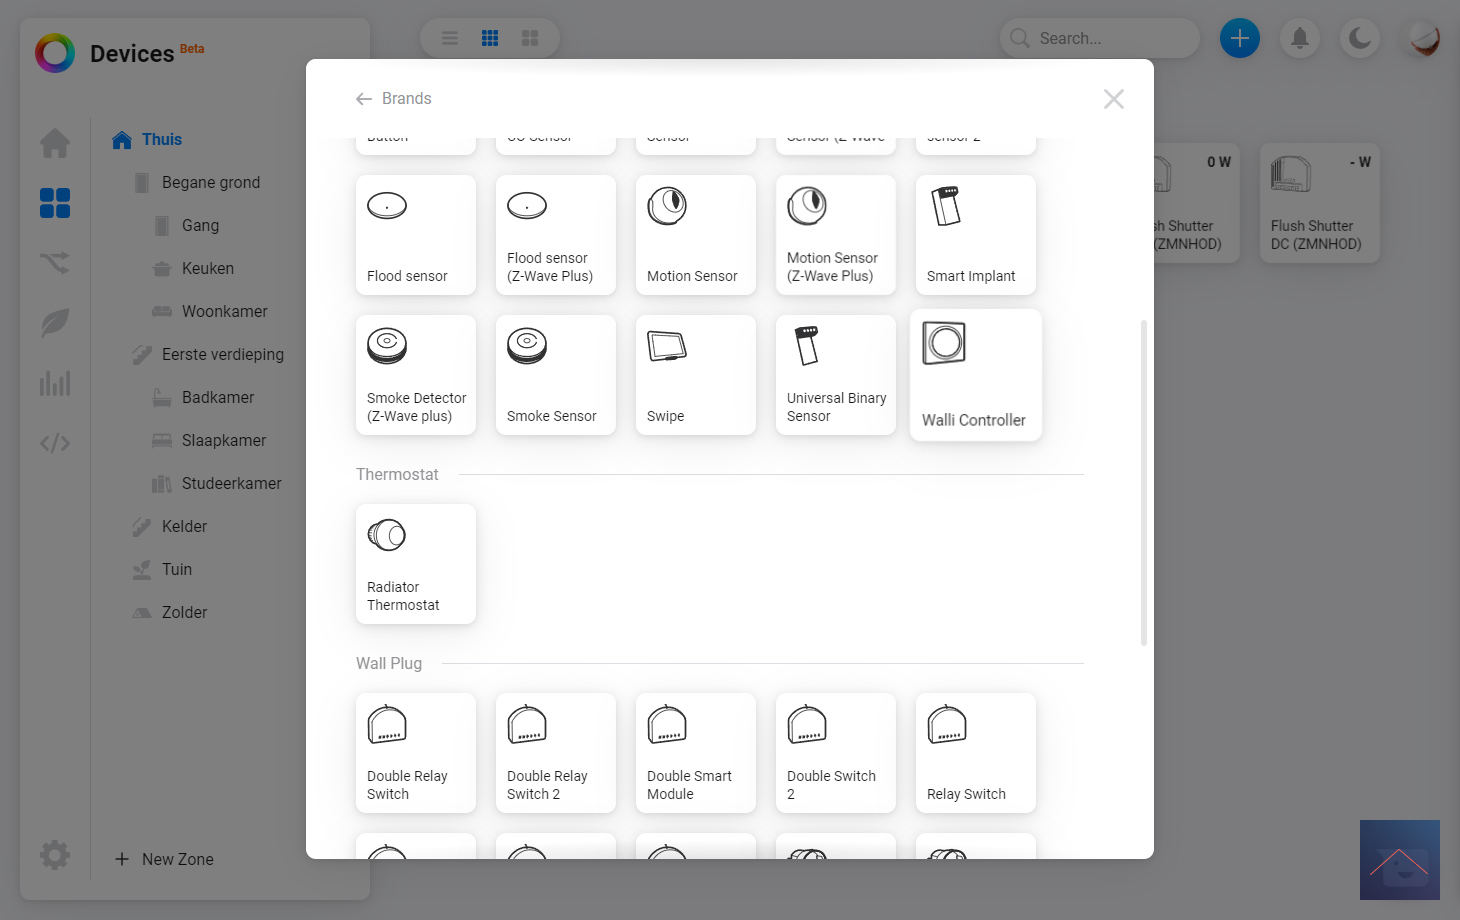
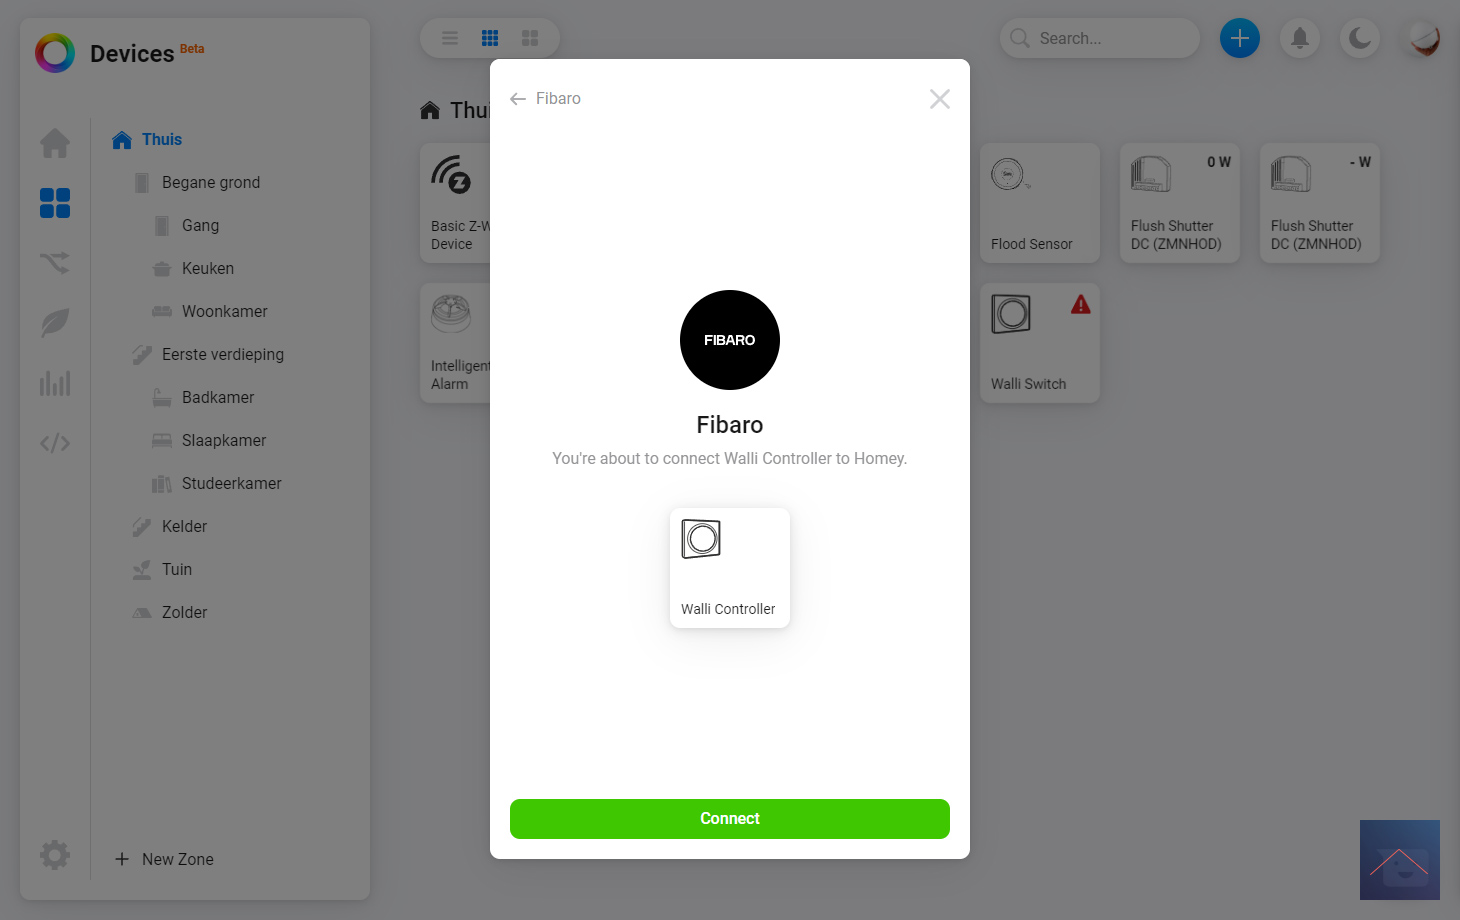
To install it, go to my.homey.app (or you use the APP) and click on the plus at the top right. Now search for Fibaro and click on Walli Controller. Now we need to remove the tab near the battery, you can do this by removing the back of the Walli.
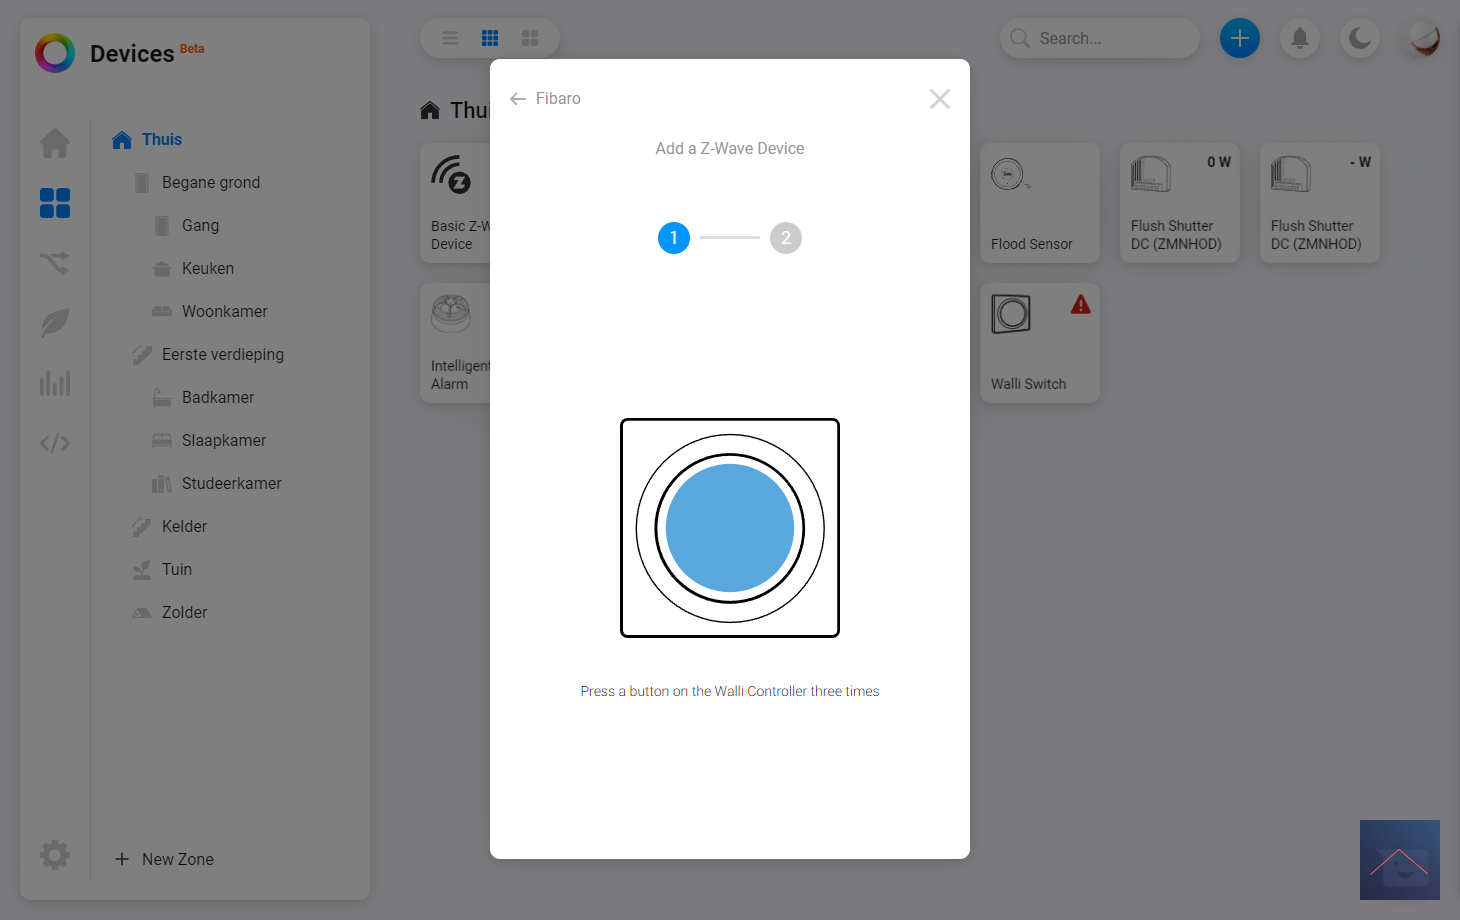
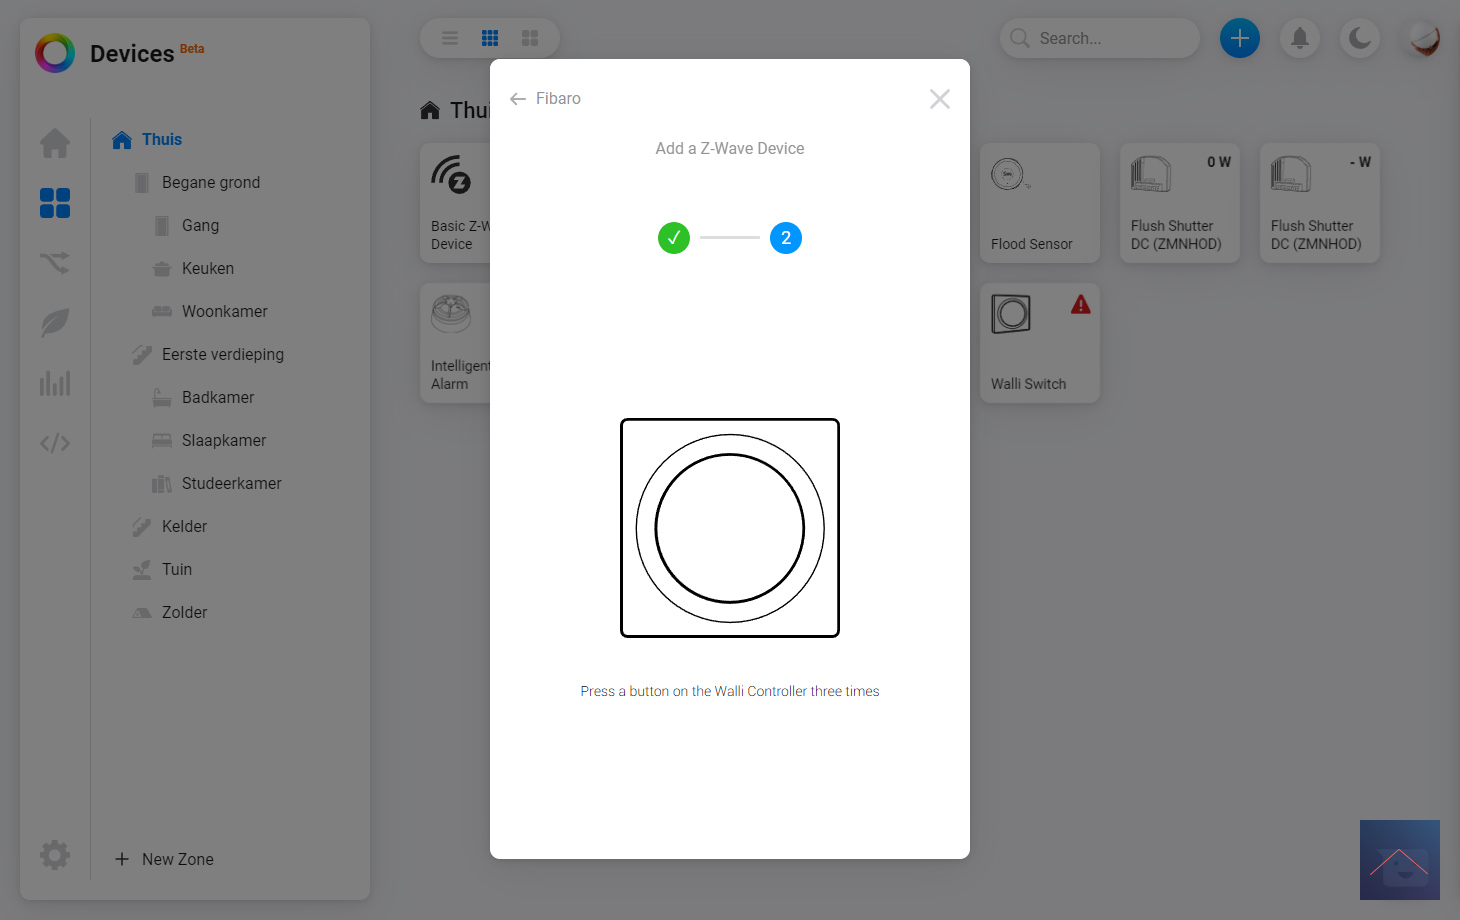
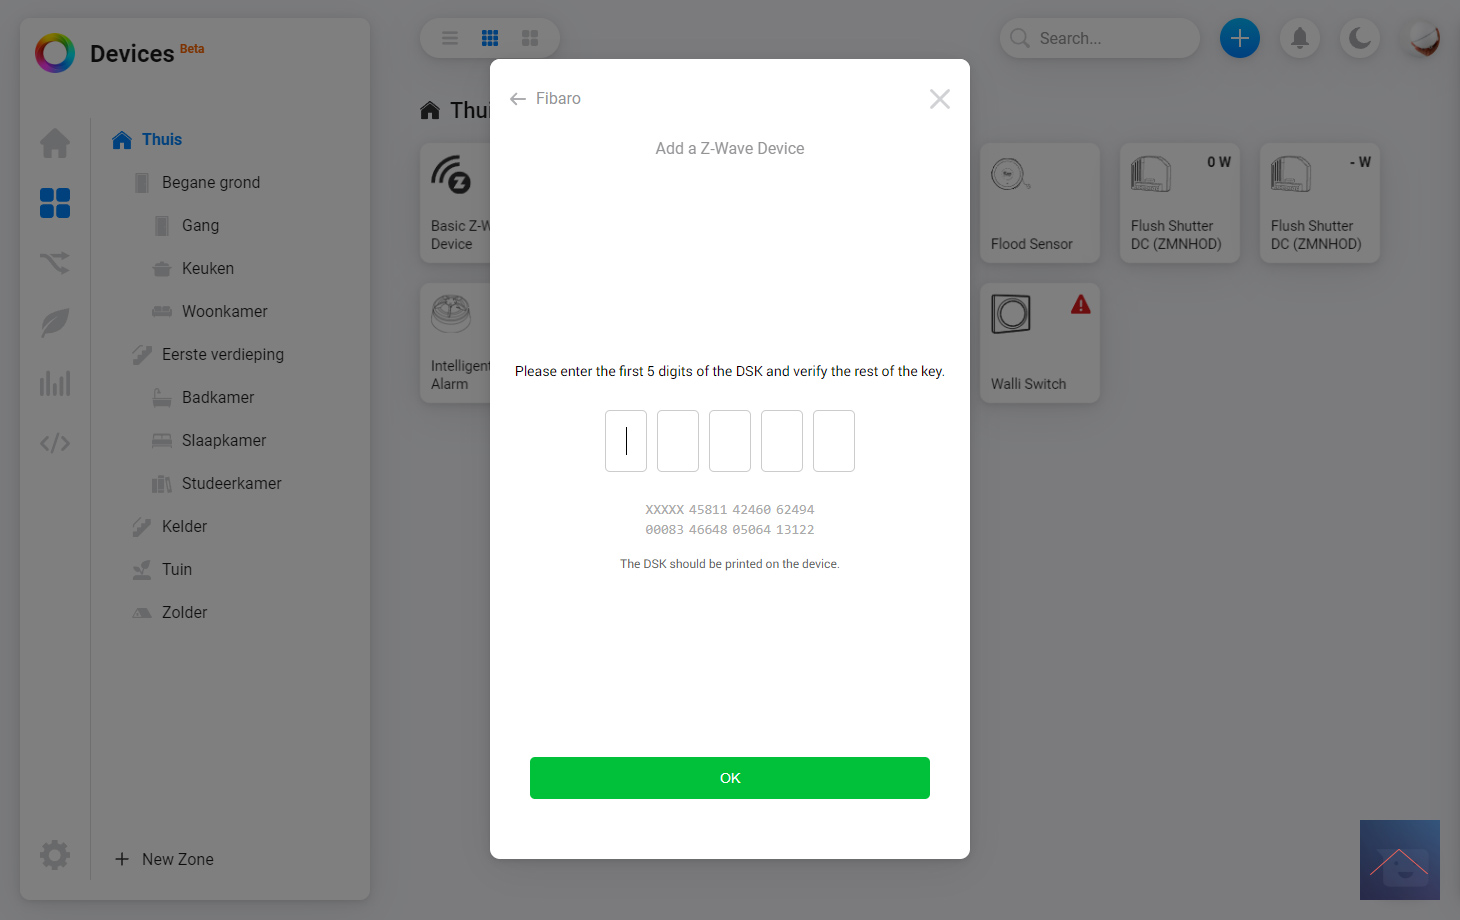
To put the Walli in learning mode, we press the button 3 times. The LED will flash yellow and then red, the Homey indicates that it has been deleted/reset. Now we have to press the button again 3x in a row. Now I see the LED flashing yellow indicating it is being added. After entering the SDK code (which you can find on the packaging), I also see confirmation on the Homey.
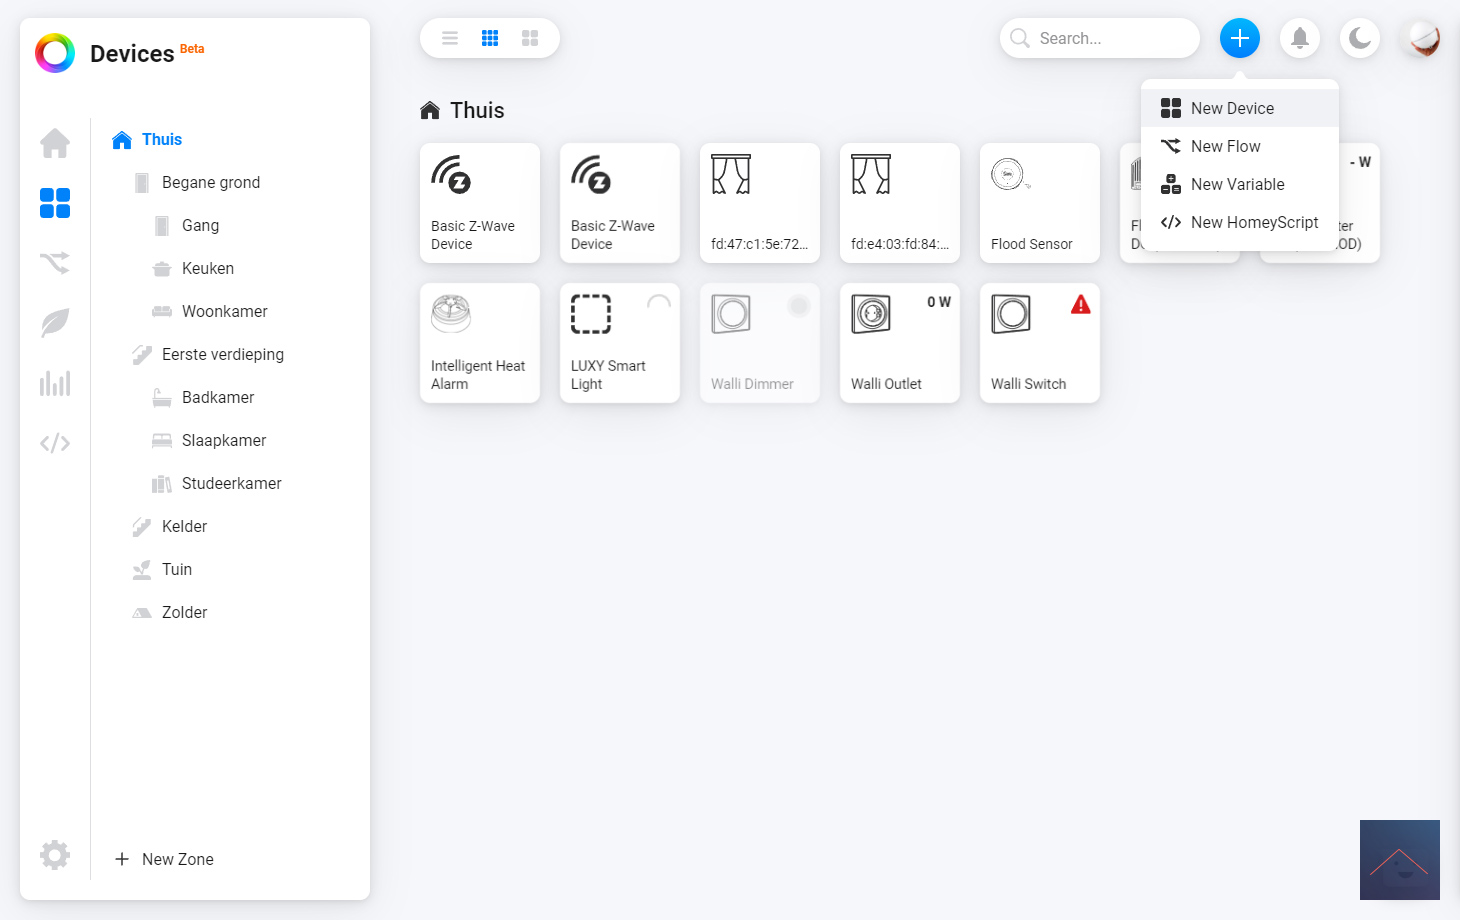
After a few seconds I see the Walli near my devices and he does what he has to do.
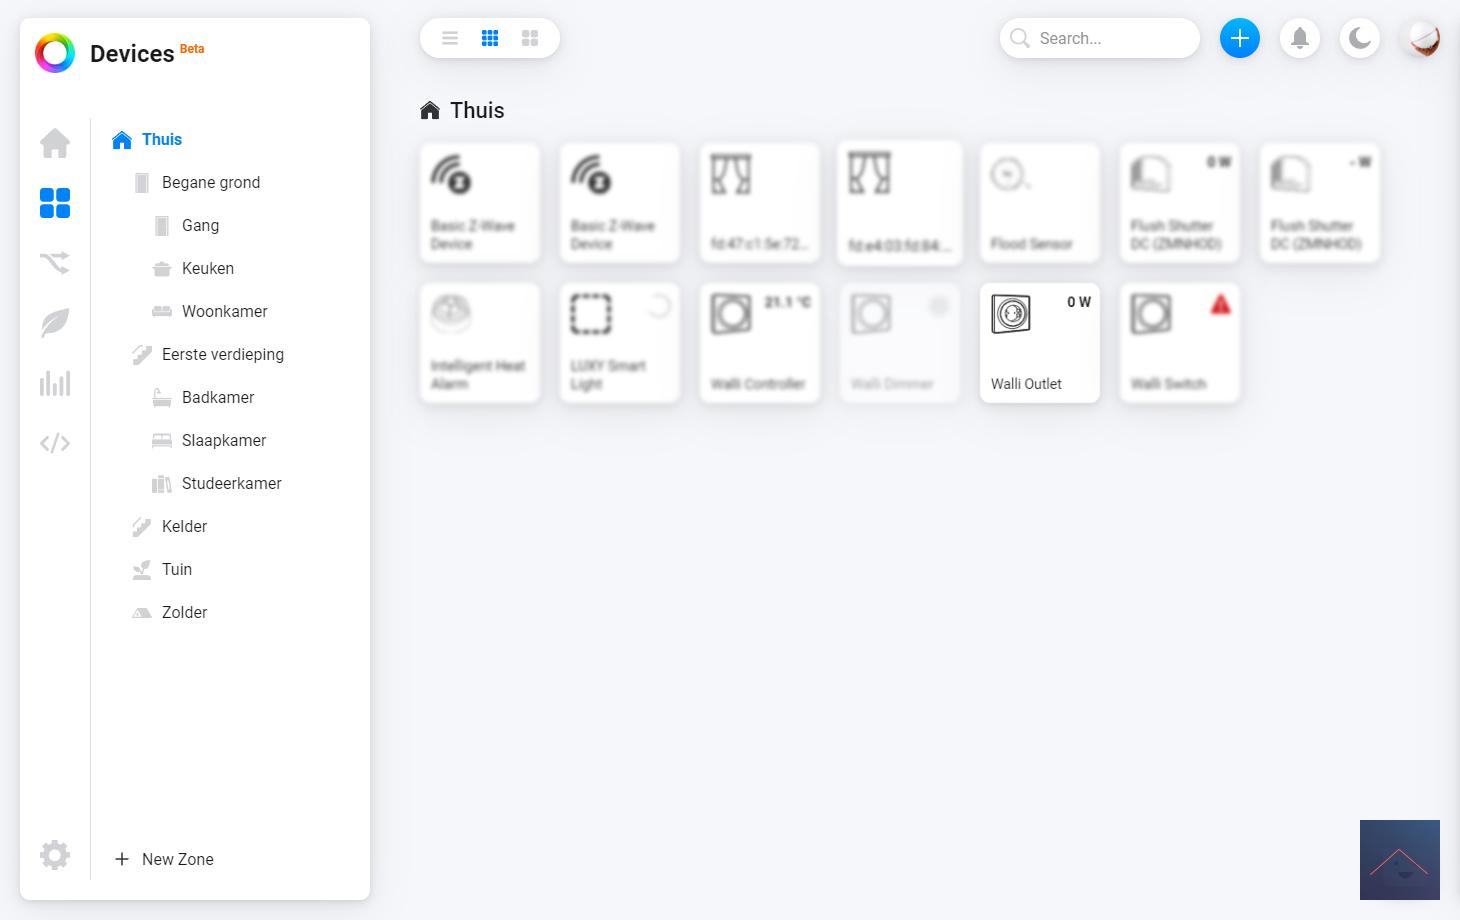
Installation screens:
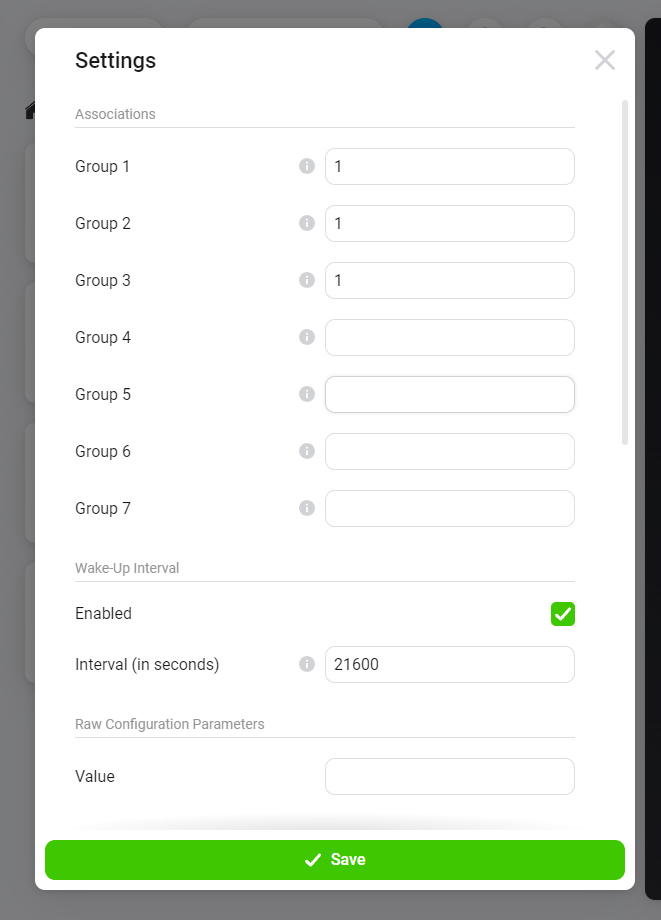
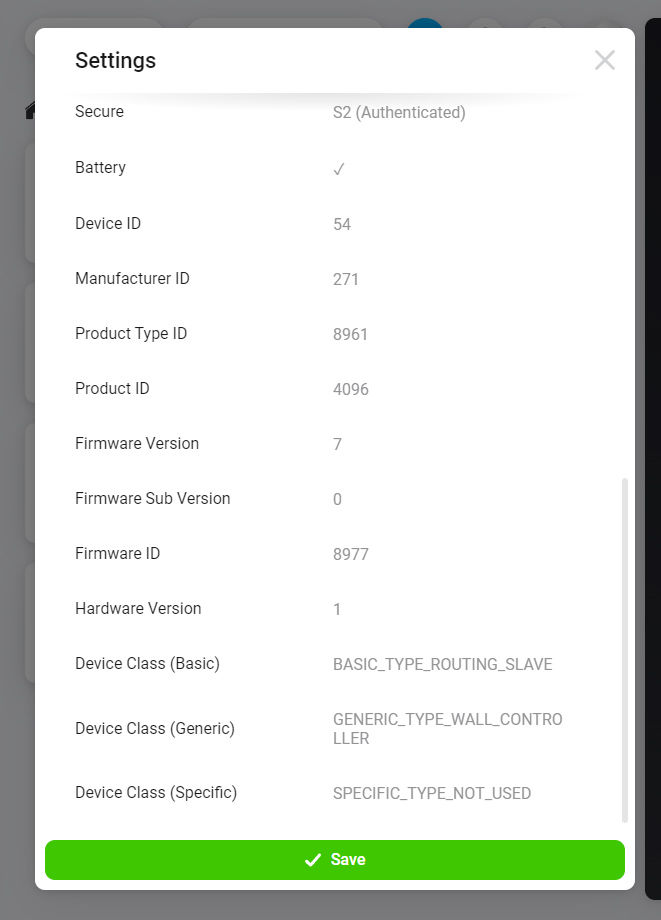
Configuration:
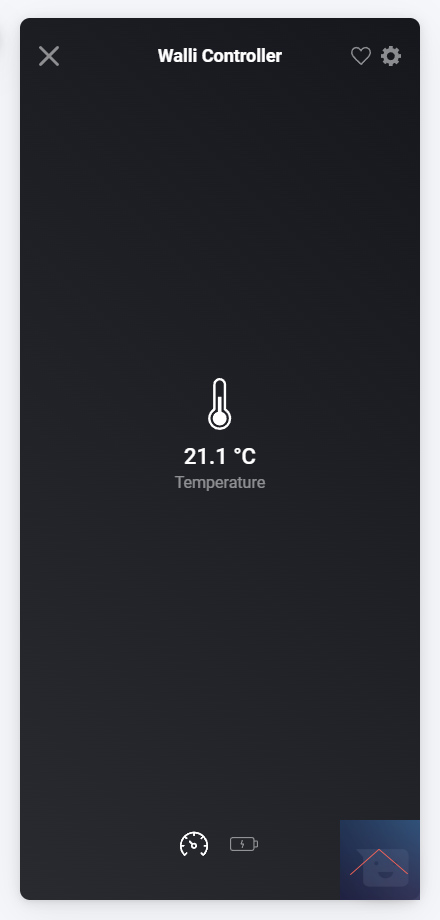
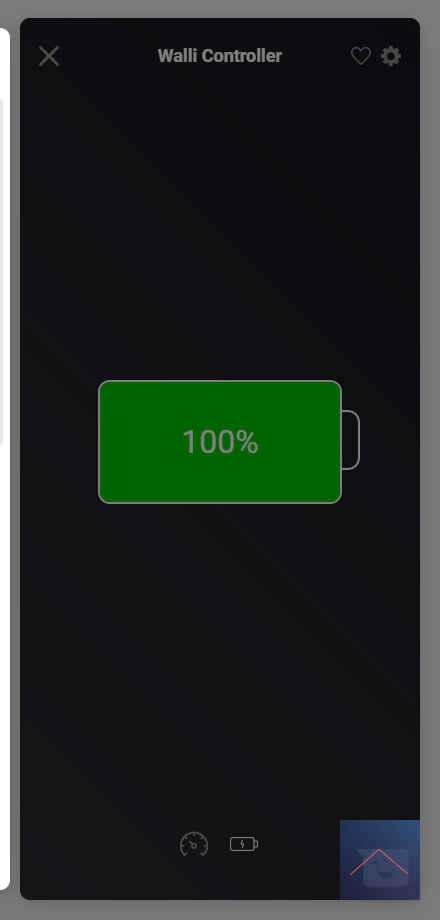
Operation:
You get a scene controller and a temperature sensor with this Walli. To start a scene you can use the following impression options:
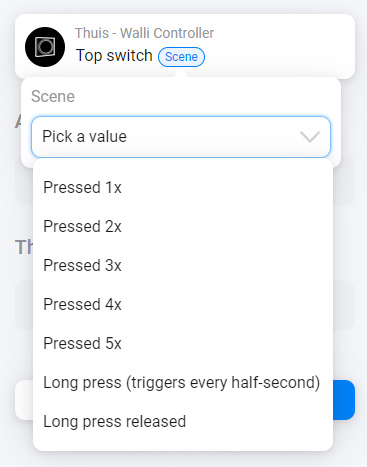
Top button:
Press 1x, 2x, 3x, hold and release
Bottom button:
Press 1x, 2x, 3x, hold and release
Flow options:
To create a flow, you get the following options:
IF:
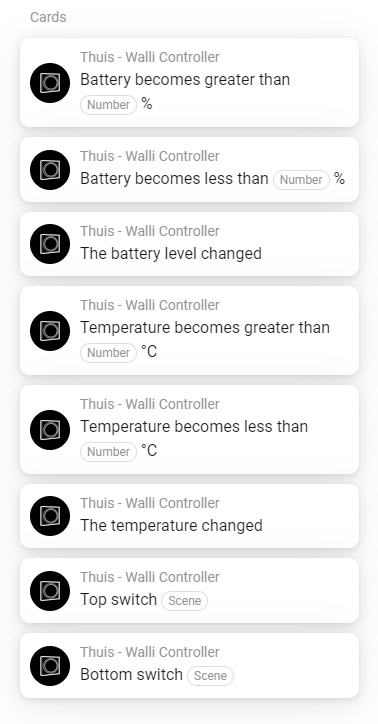
Triggers (button)
AND:
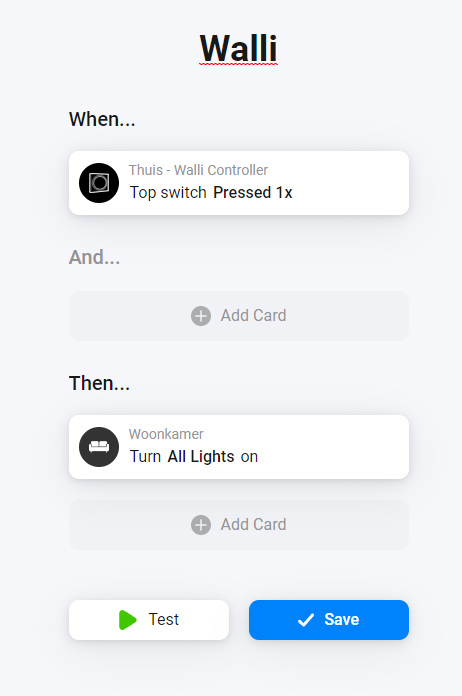
Flow example:
We make when the top button is pressed that you turn on a lamp.