Review
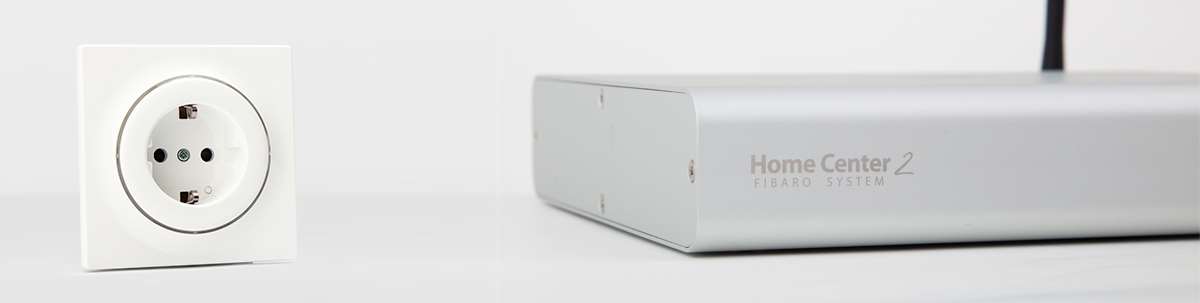
Fibaro Walli Outlet/Power Socket
Installation on Fibaro Home Center 2:
We will of course also install this Walli on the HC2. Of course, this shouldn't pose any problems, because after all, it's their own product.
We are the first to install the Walli in the wall socket. Make sure it is at least 40mm deep. A diagram is included on how to do this. This is not very complicated because only 3 wires need to be connected.
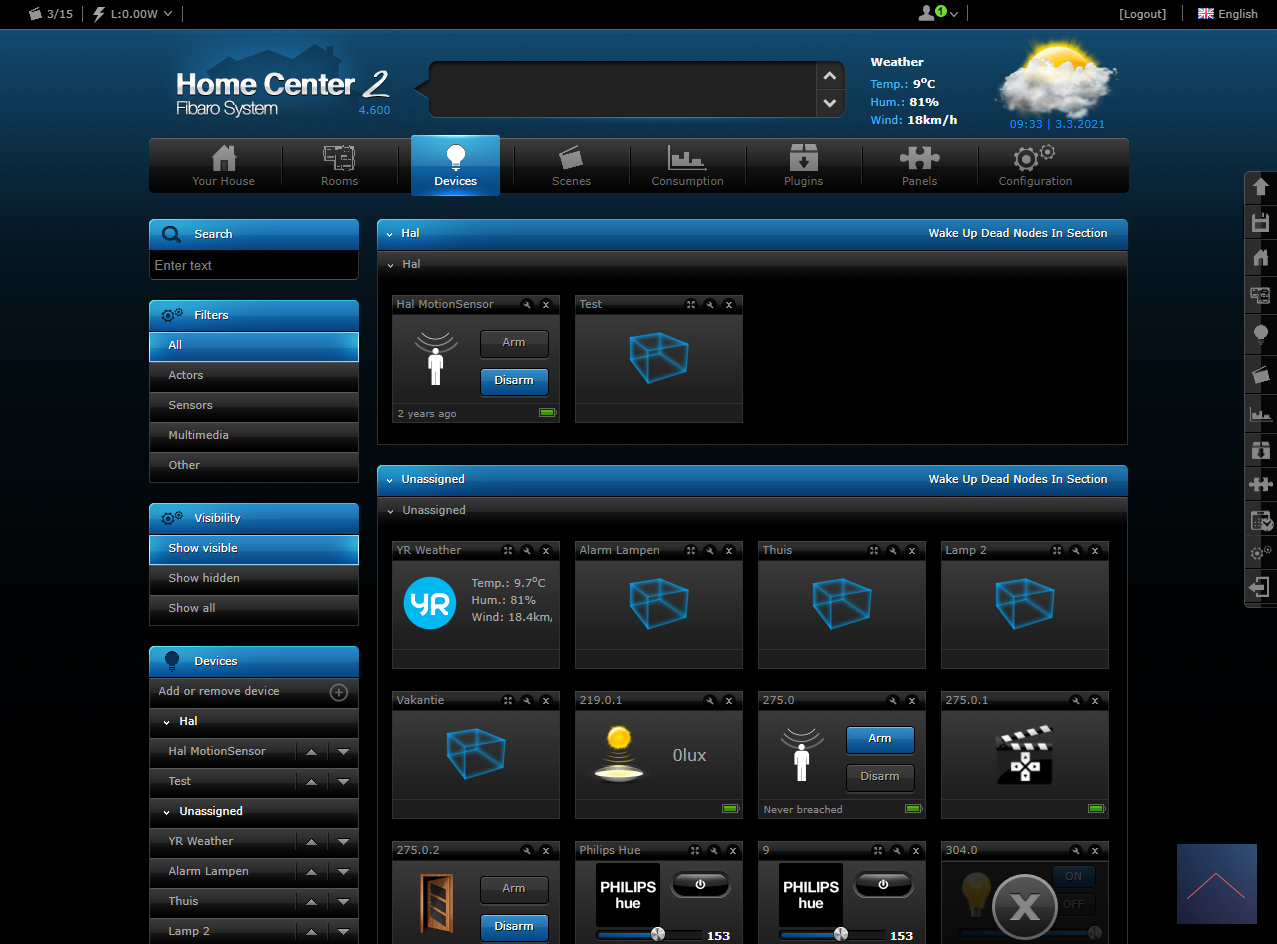
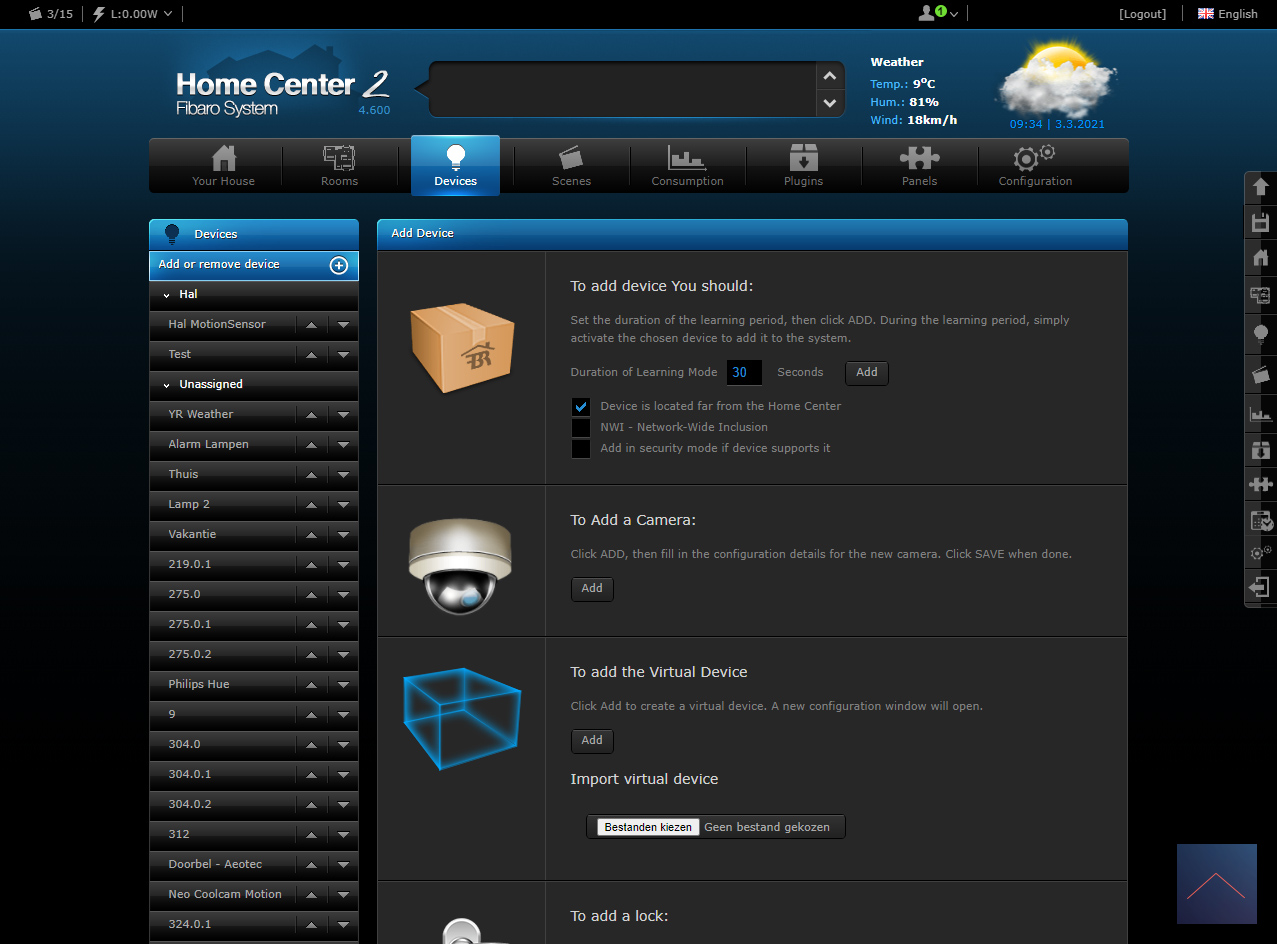
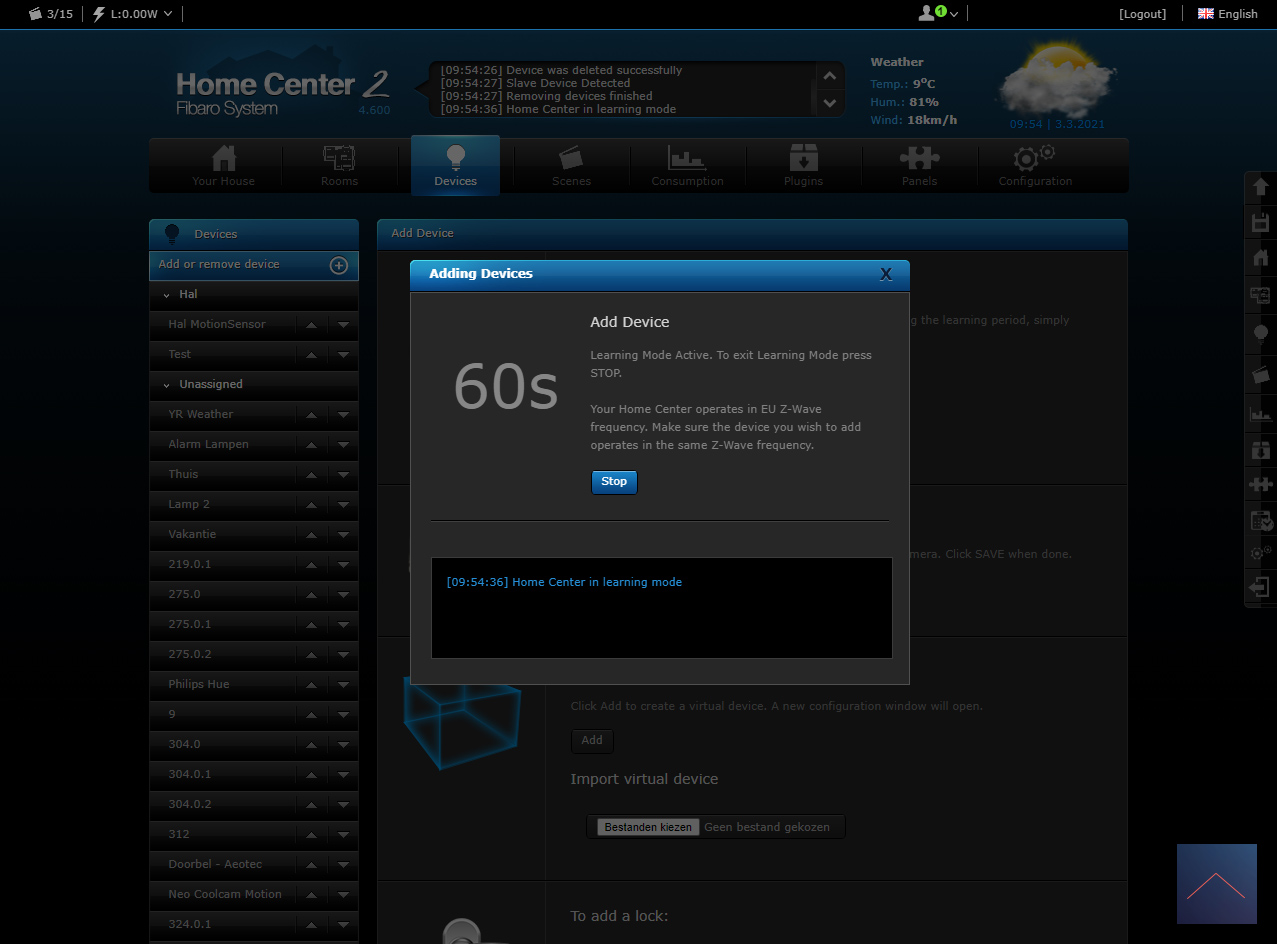
We provide the whole with power and log in to the HC2 and go to our devices. We then click on "Add new device" and then on "Add".
The HC2 will search for the Walli to make sure he finds it, press the button on the front of the Walli 3x. This button is a bit hidden, but it is at the front, bottom right, where you normally put the plug in.
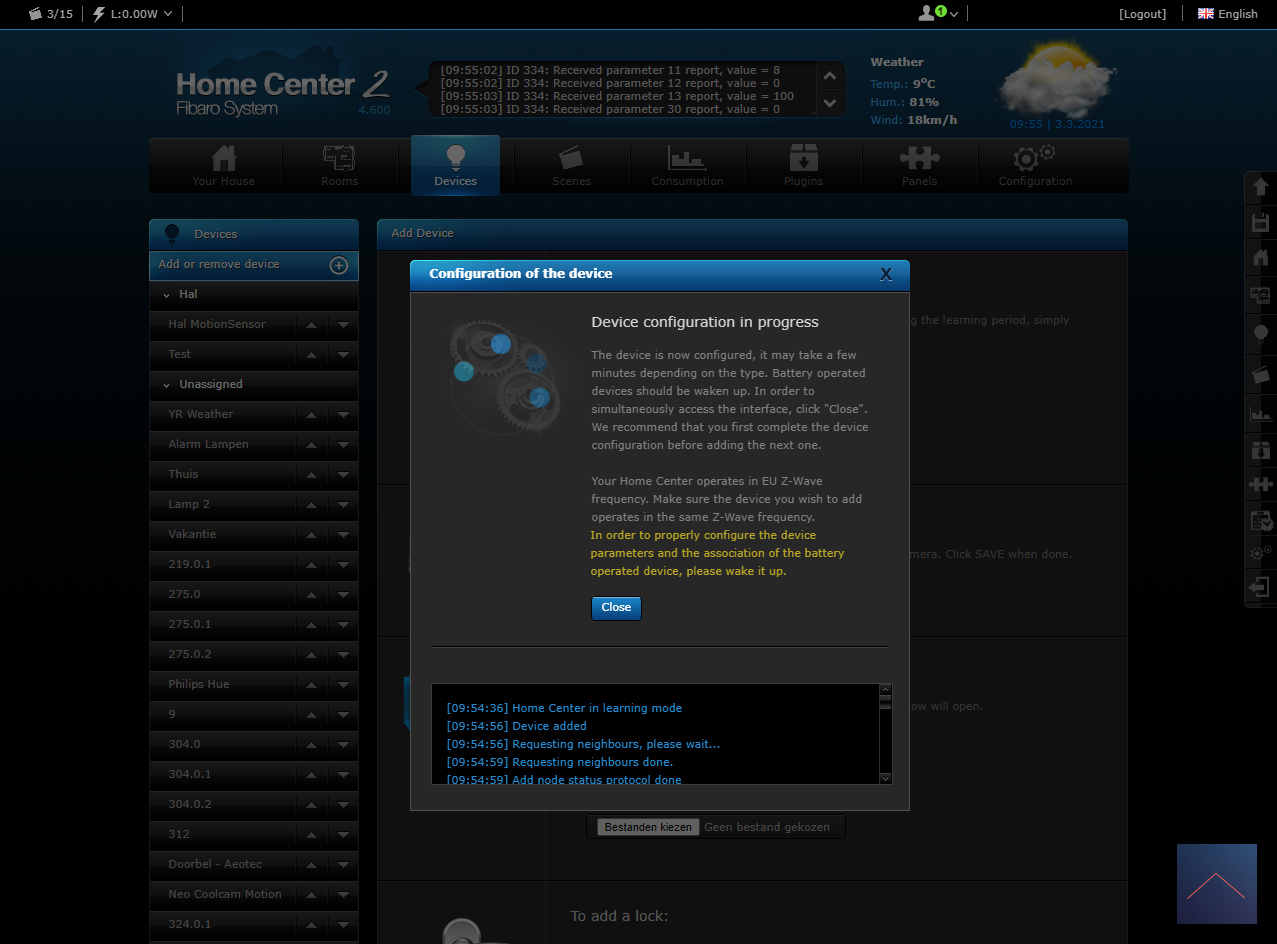
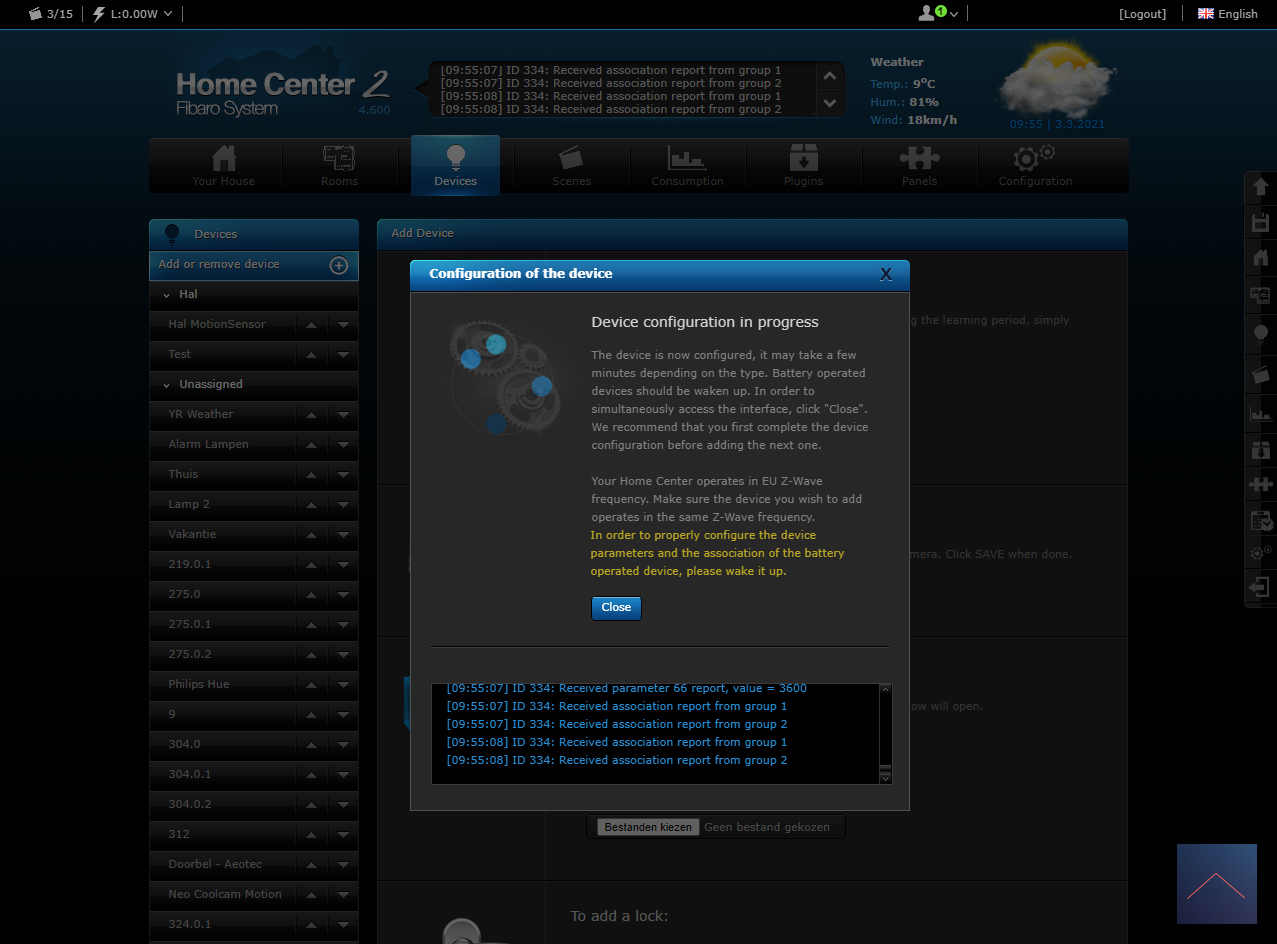
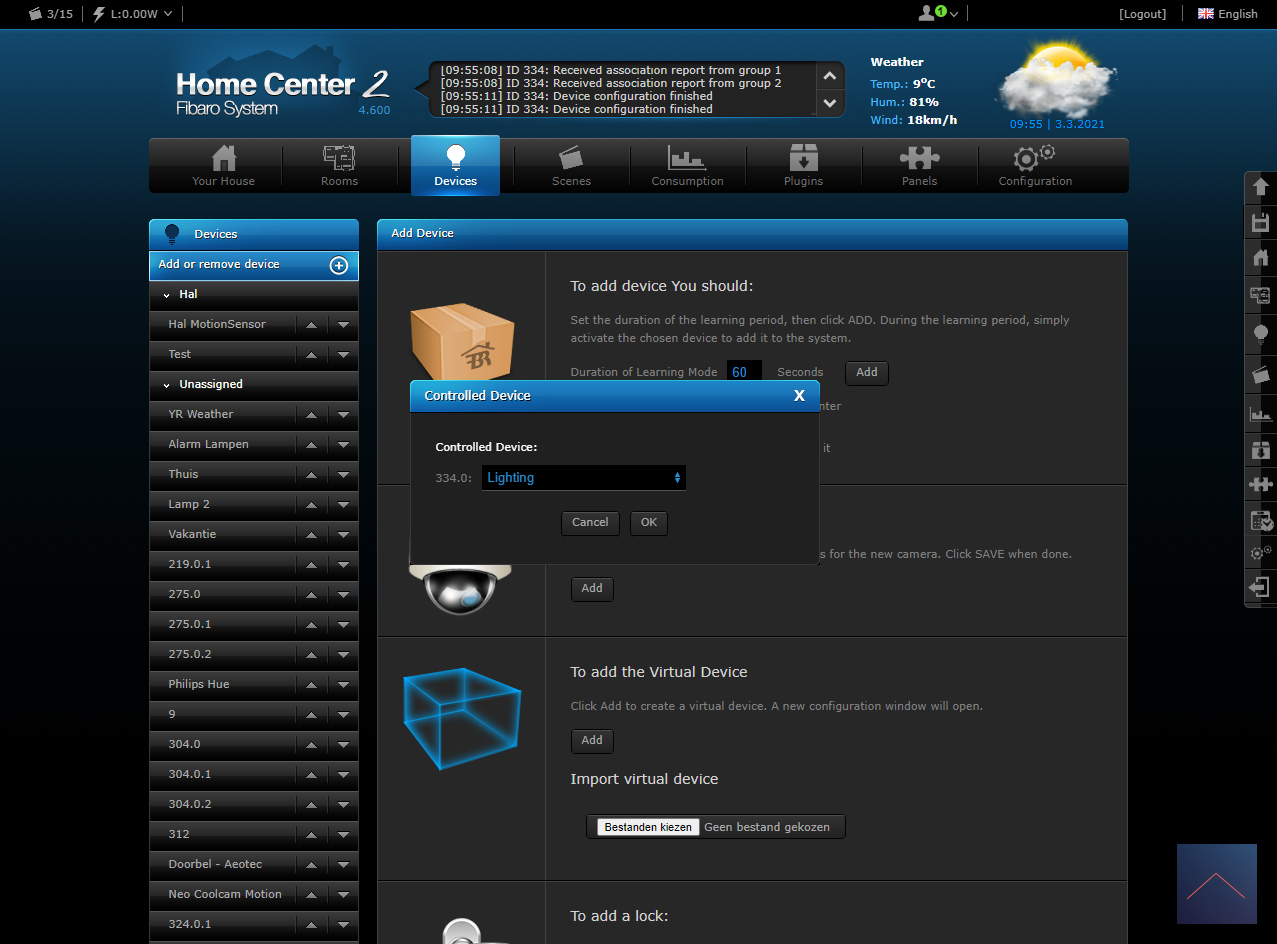
The HC2 finds it almost immediately and I see the endpoints/nodes being added.
Installation screens:
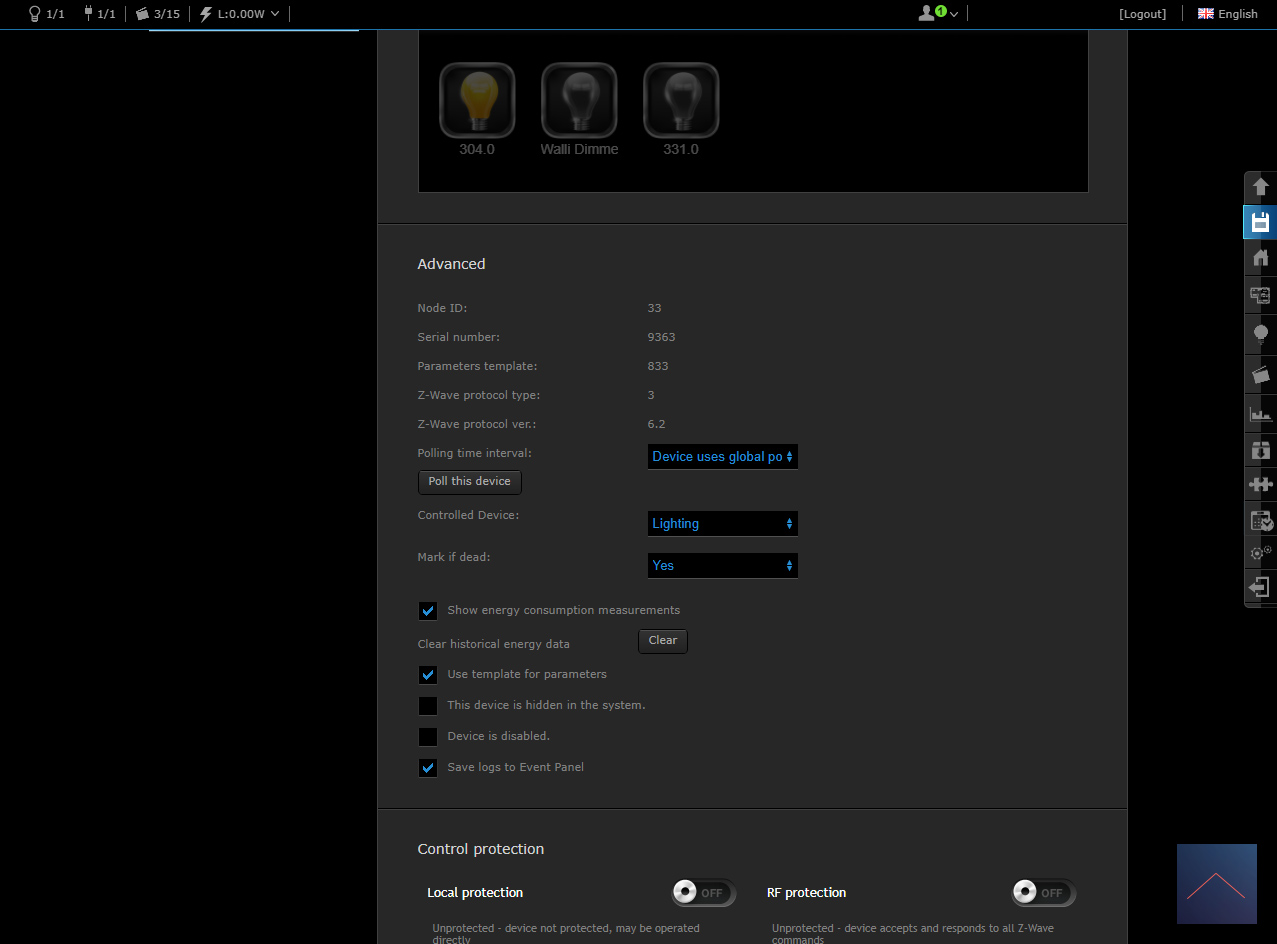
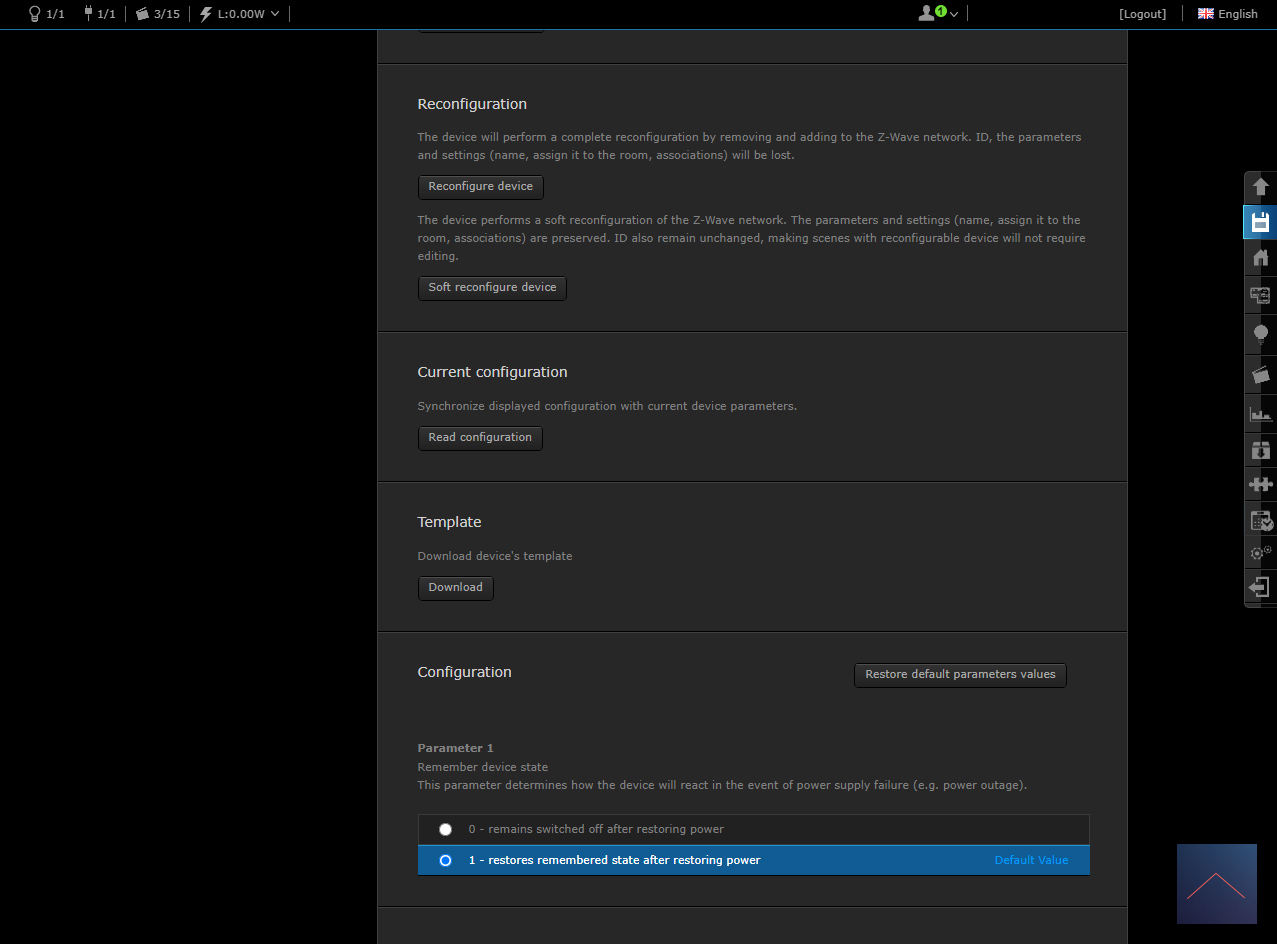
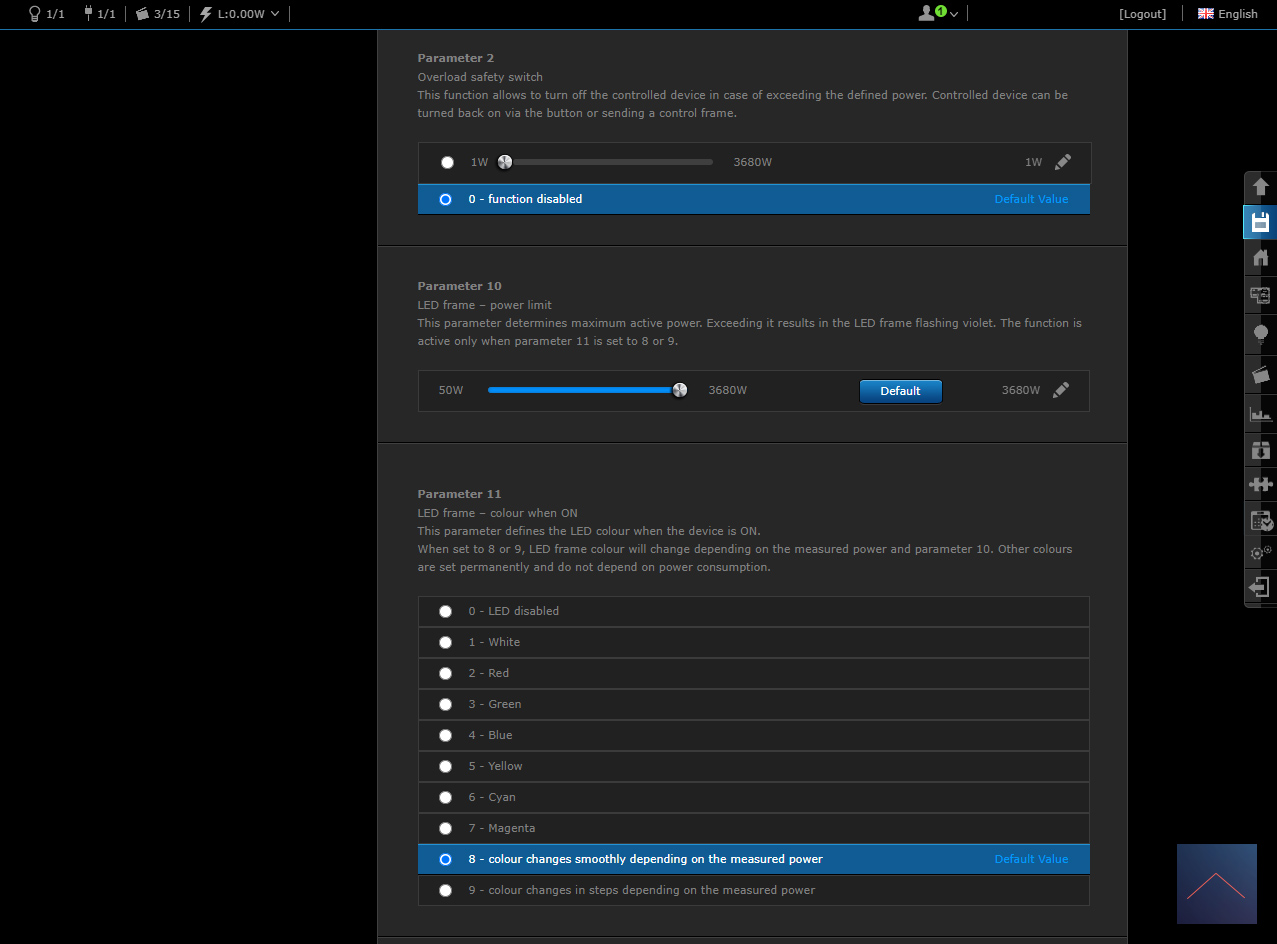
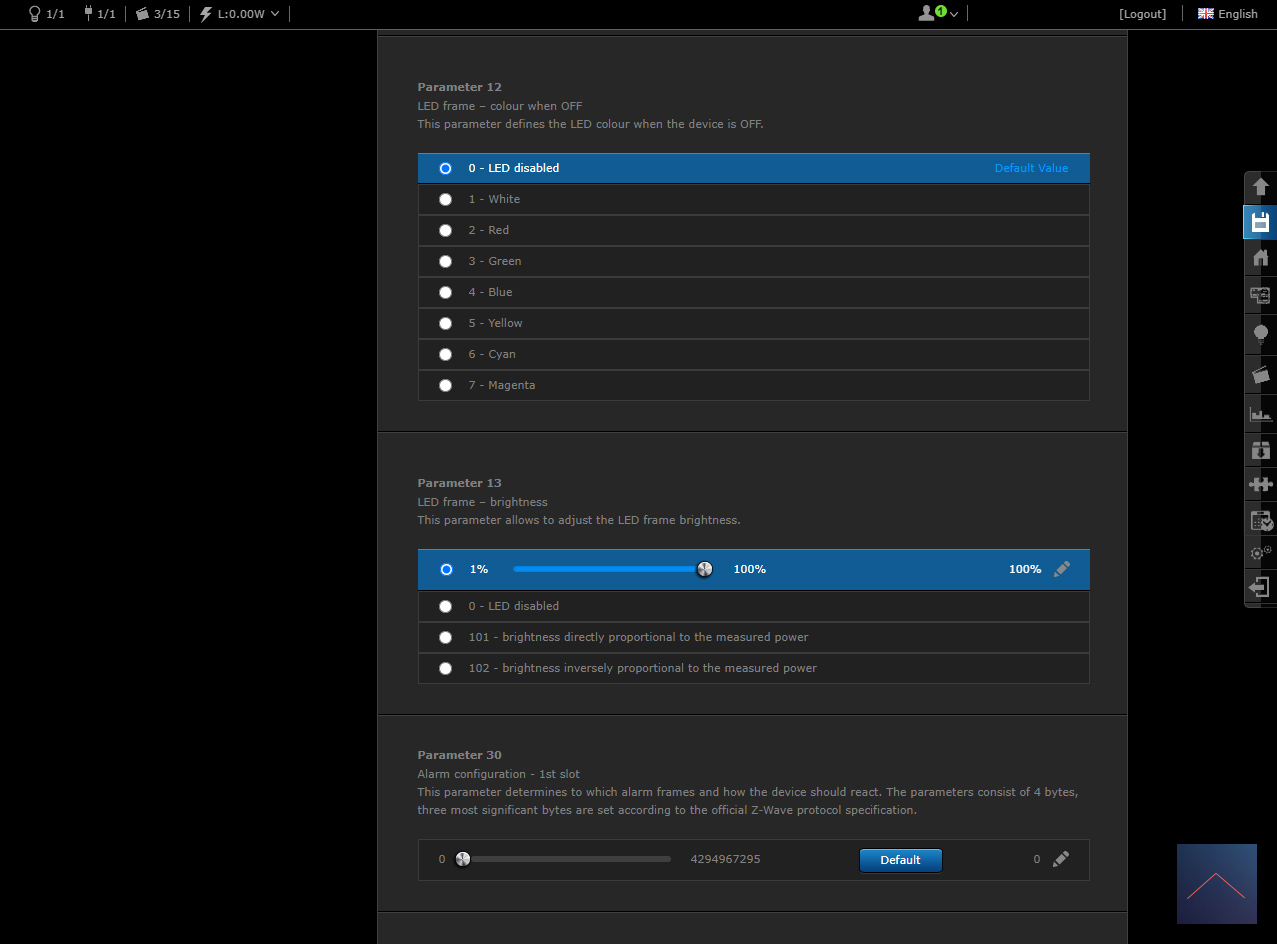
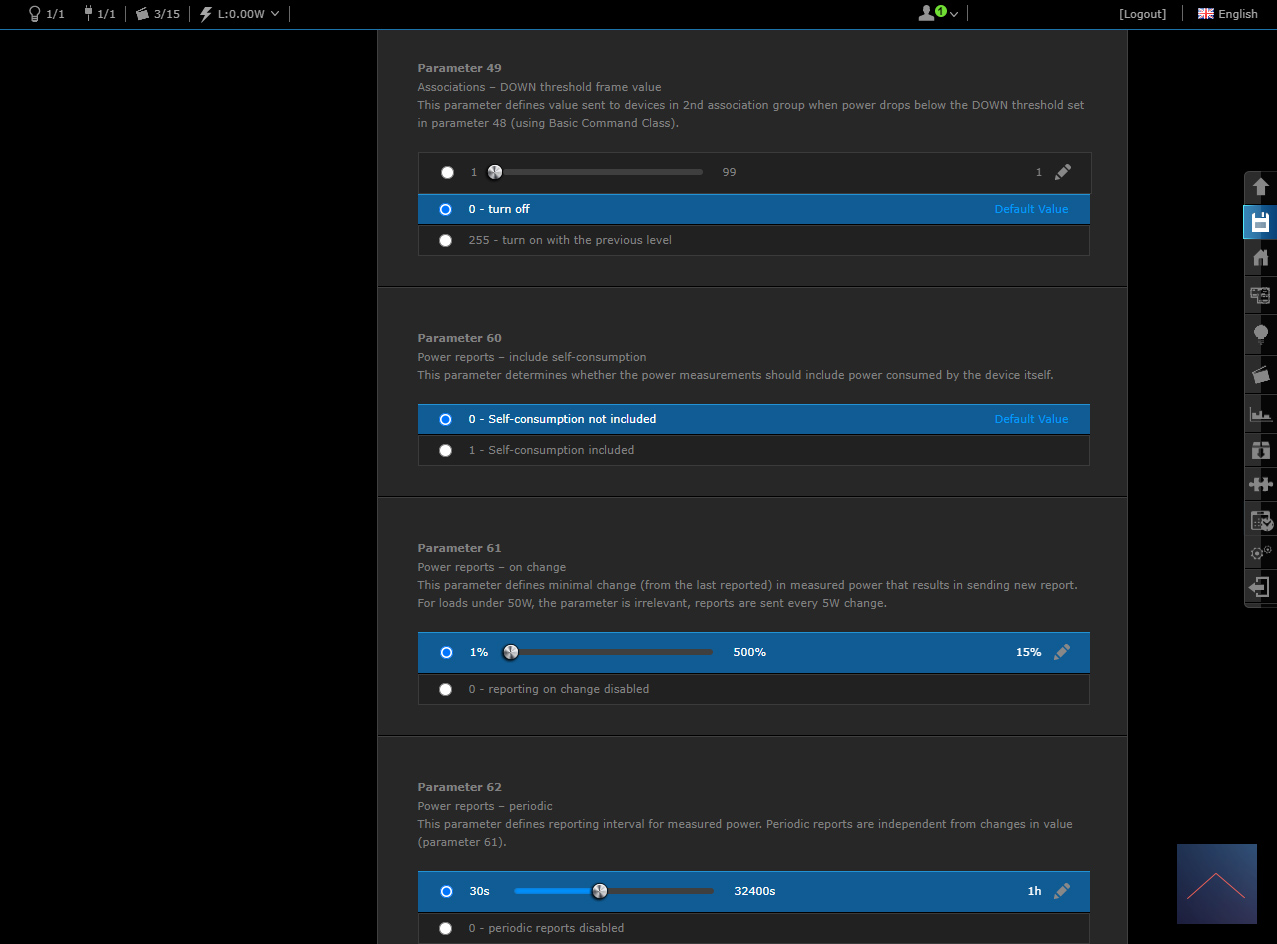
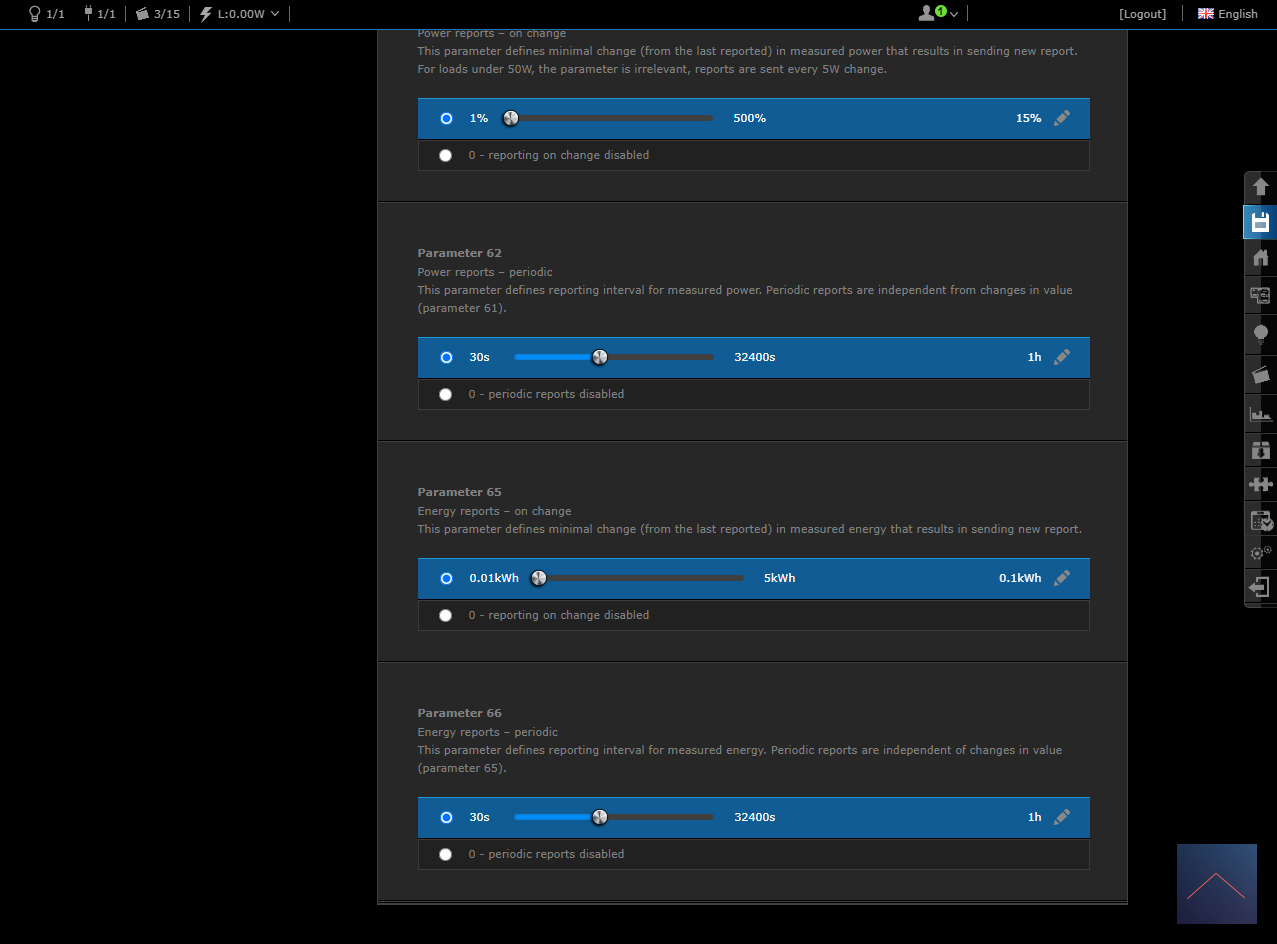
Configuration:
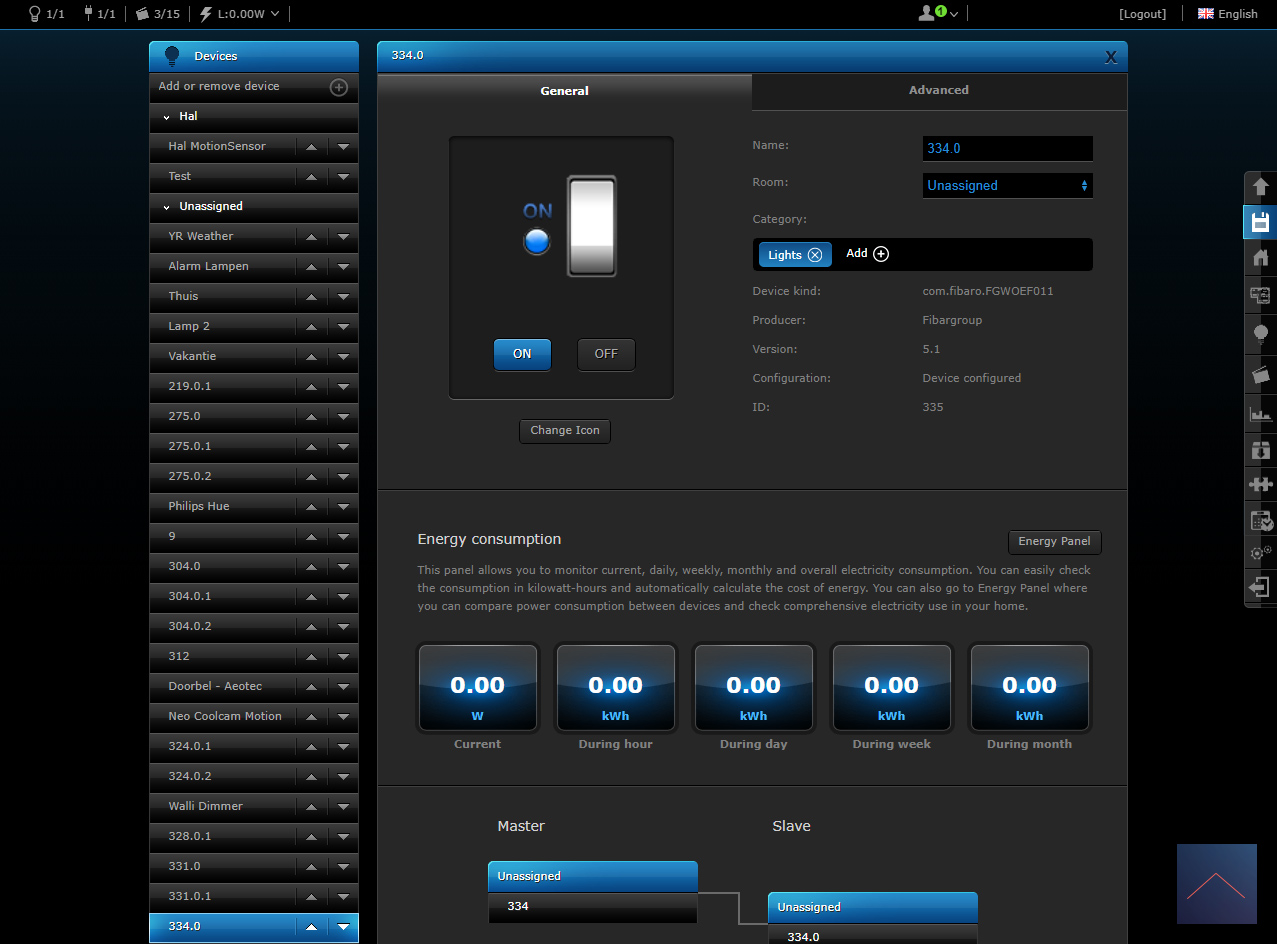


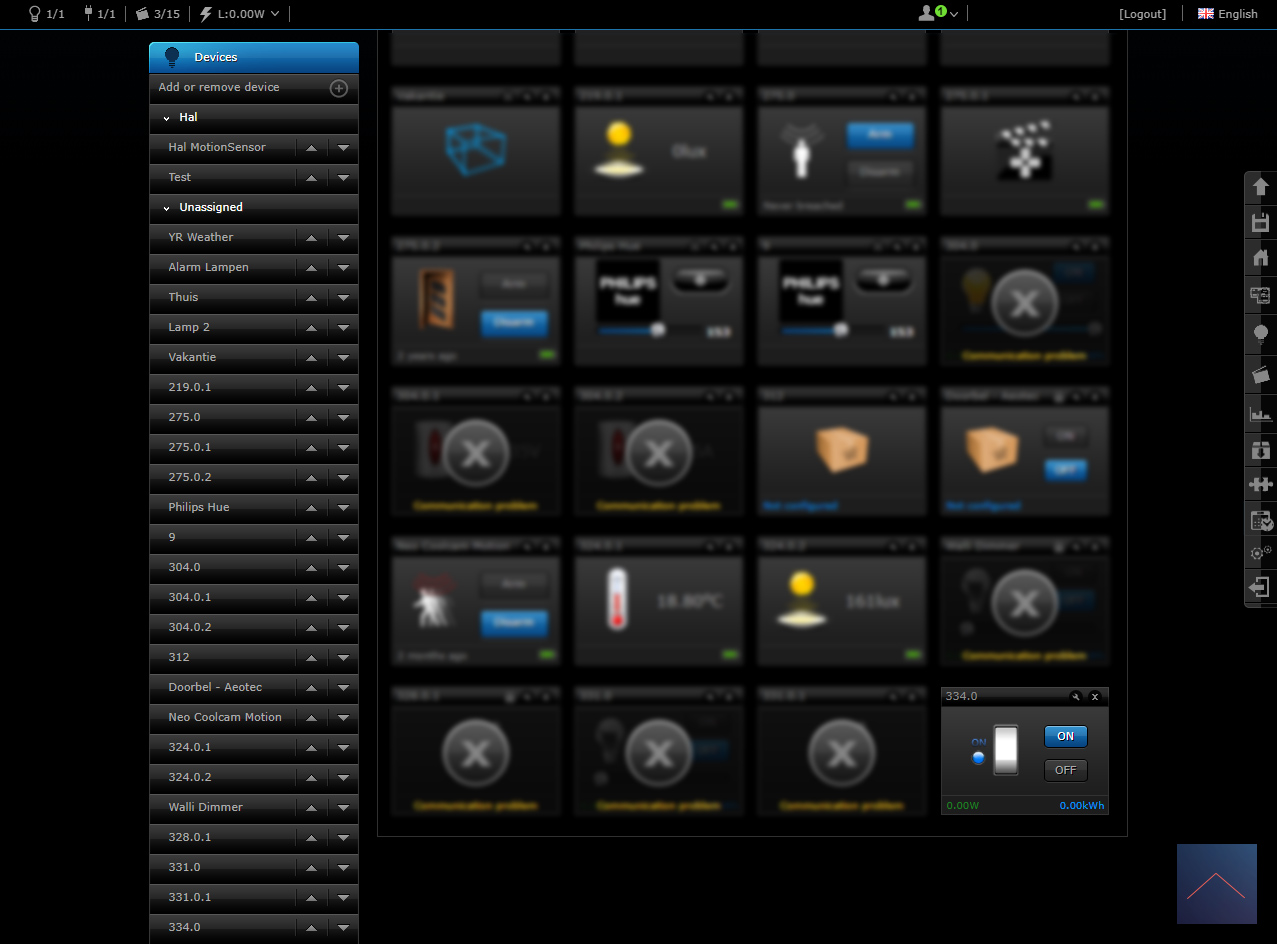
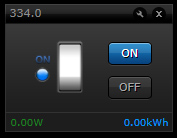
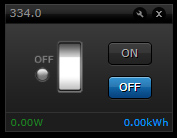
Control:
We get an on/off switch, we see the total consumption and the current consumption. During the configuration see all parameters/configuration possibilities. As expected, completely complete.
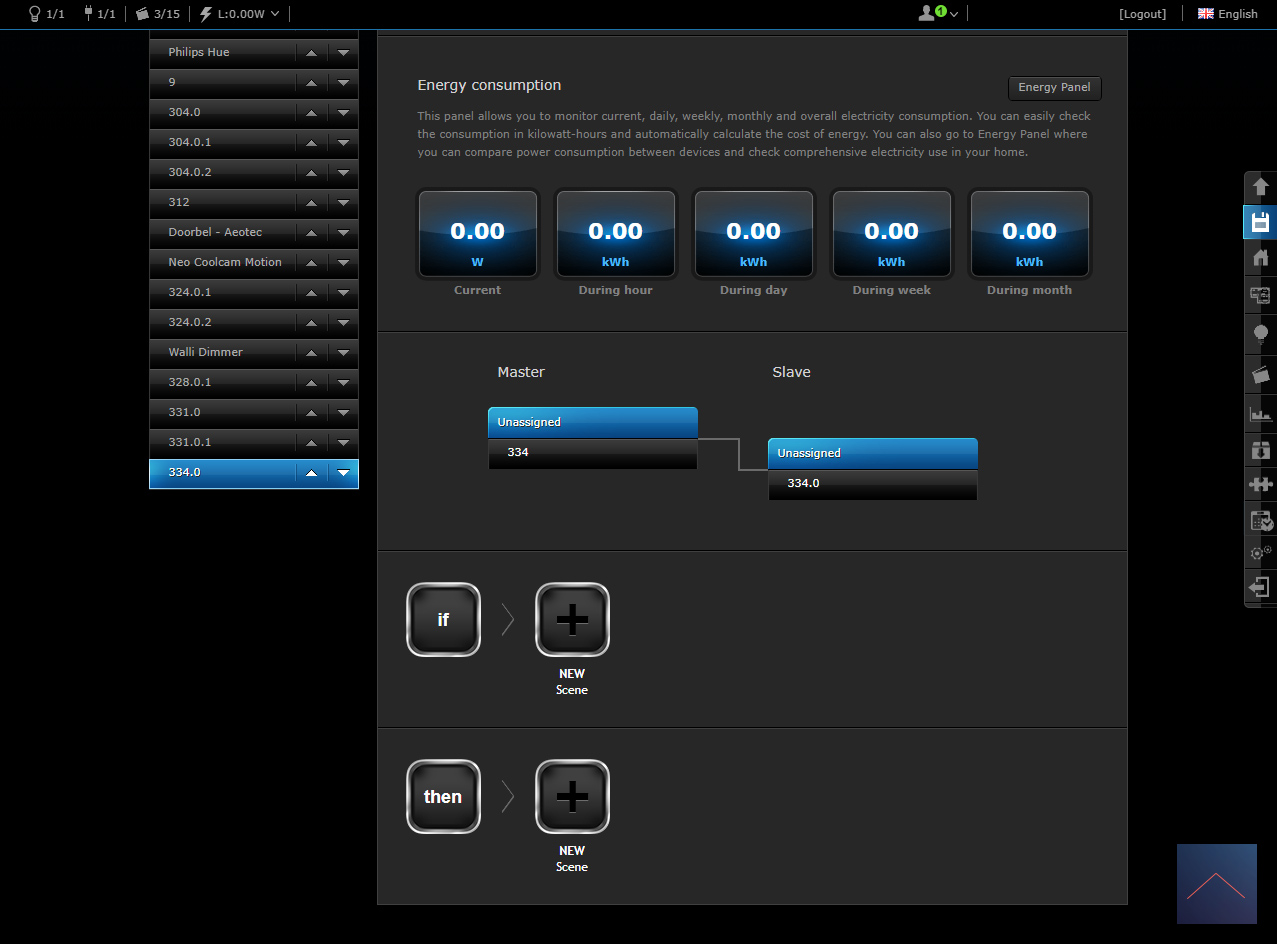
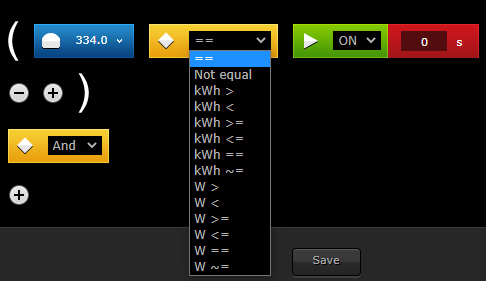
Scene options:
Triggers:
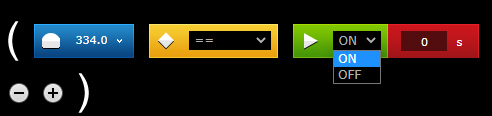
Do:

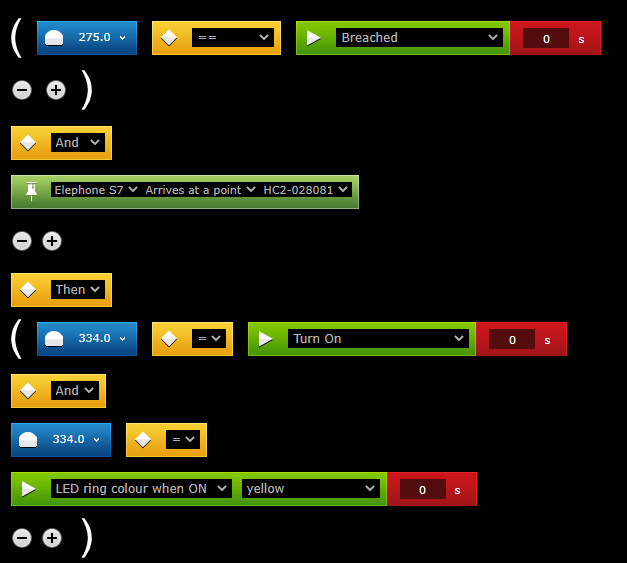
Example scene:
As an example we make that when there is movement in the hall, and I come home, that the Walli is switched on and the LED lights up yellow.