Review
Fibaro Walli Outlet/Power Socket
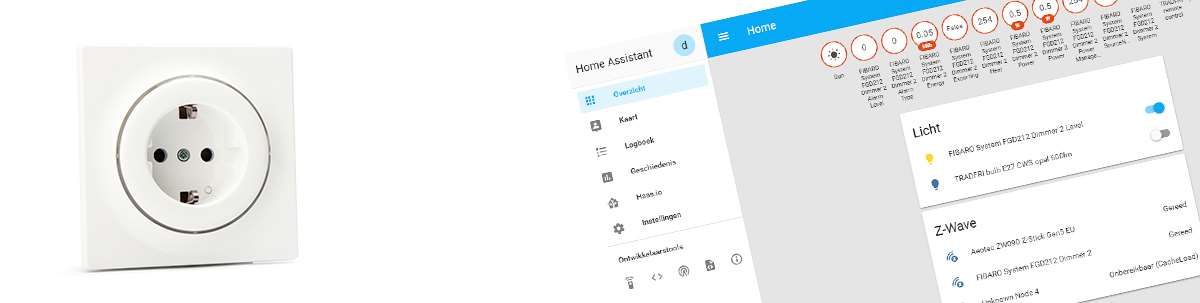
Installation on Home Assistant (HASS):
The last controller we are going to install the Walli on is the free open source software from Hass. We use an RPI 3 with an Aeotec USB Z-wave stick for this.
We are the first to install the Walli in the wall socket. Make sure it is at least 40mm deep. A diagram is included on how to do this. This is not very complicated because only 3 wires need to be connected. If everything is in order, we provide it with electricity.
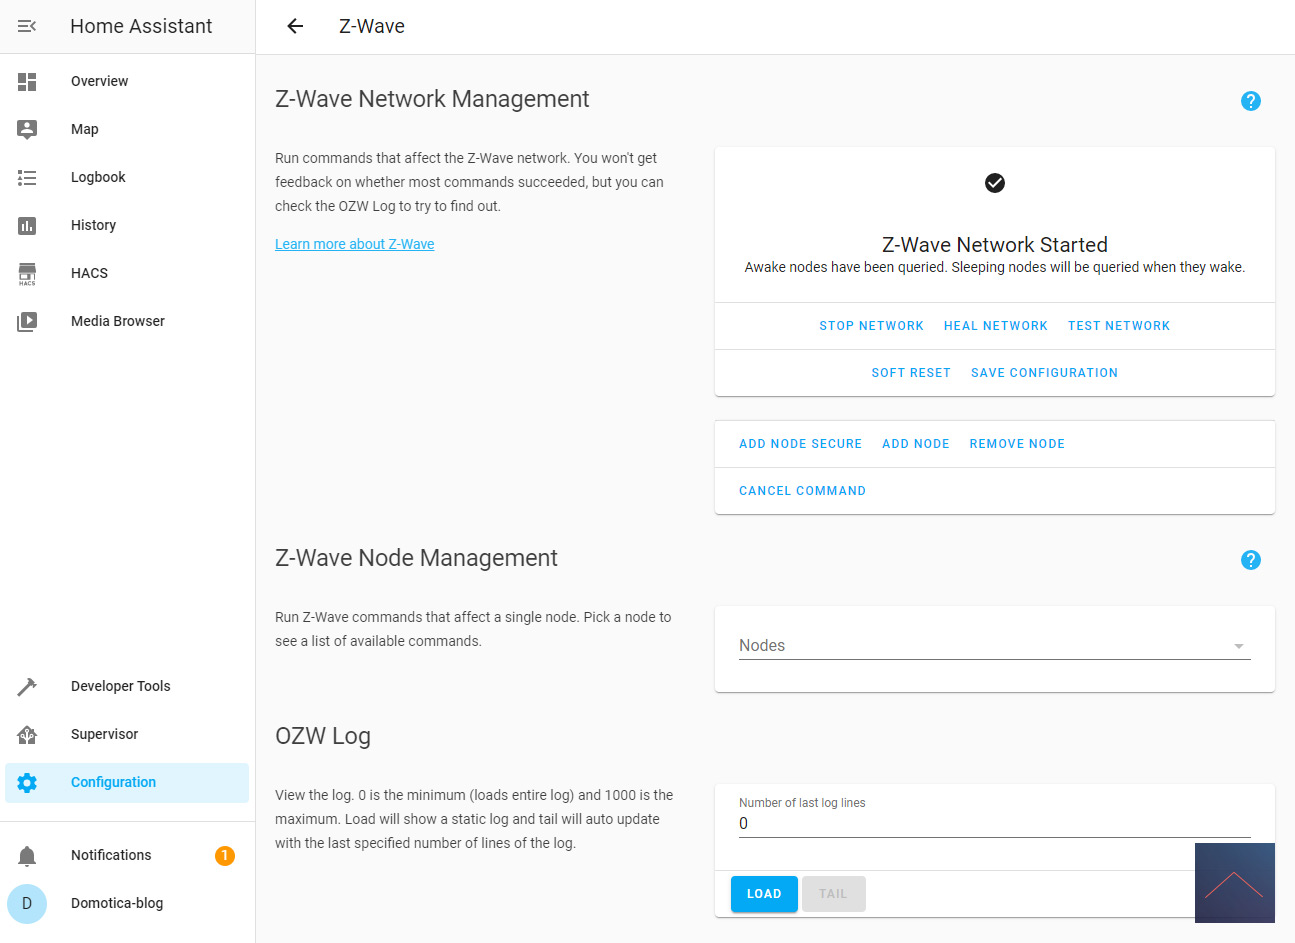
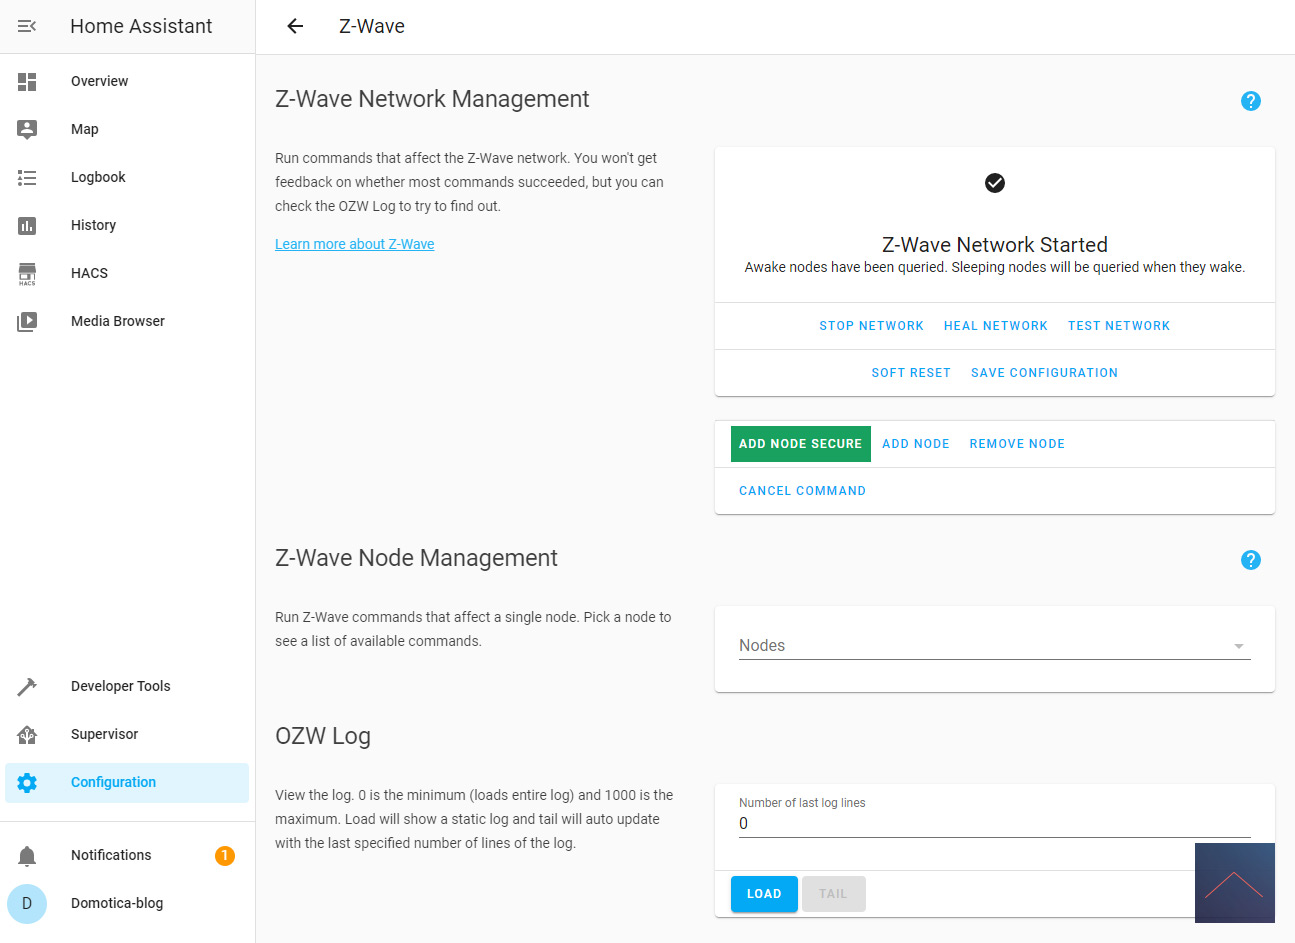
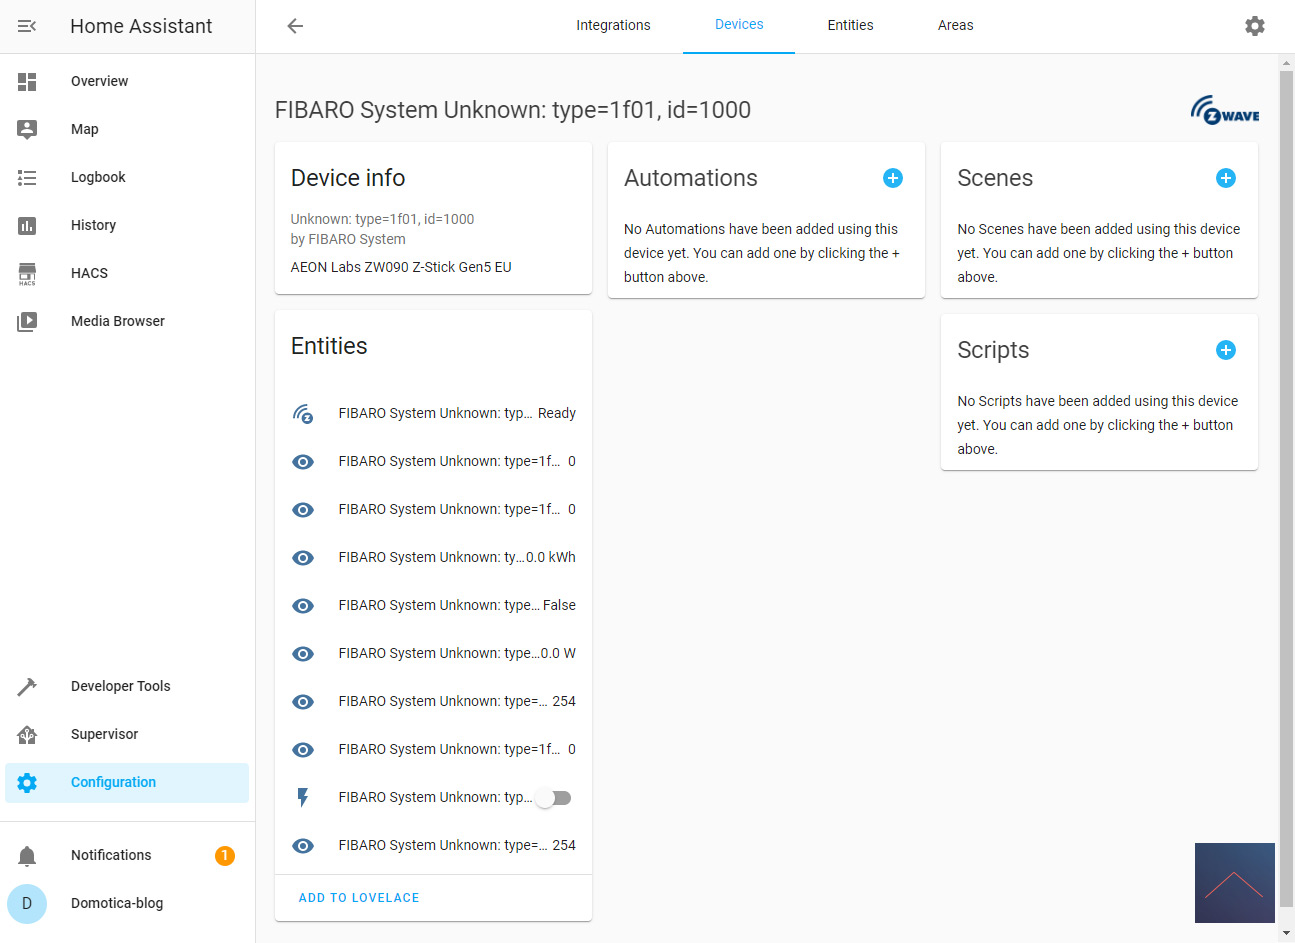
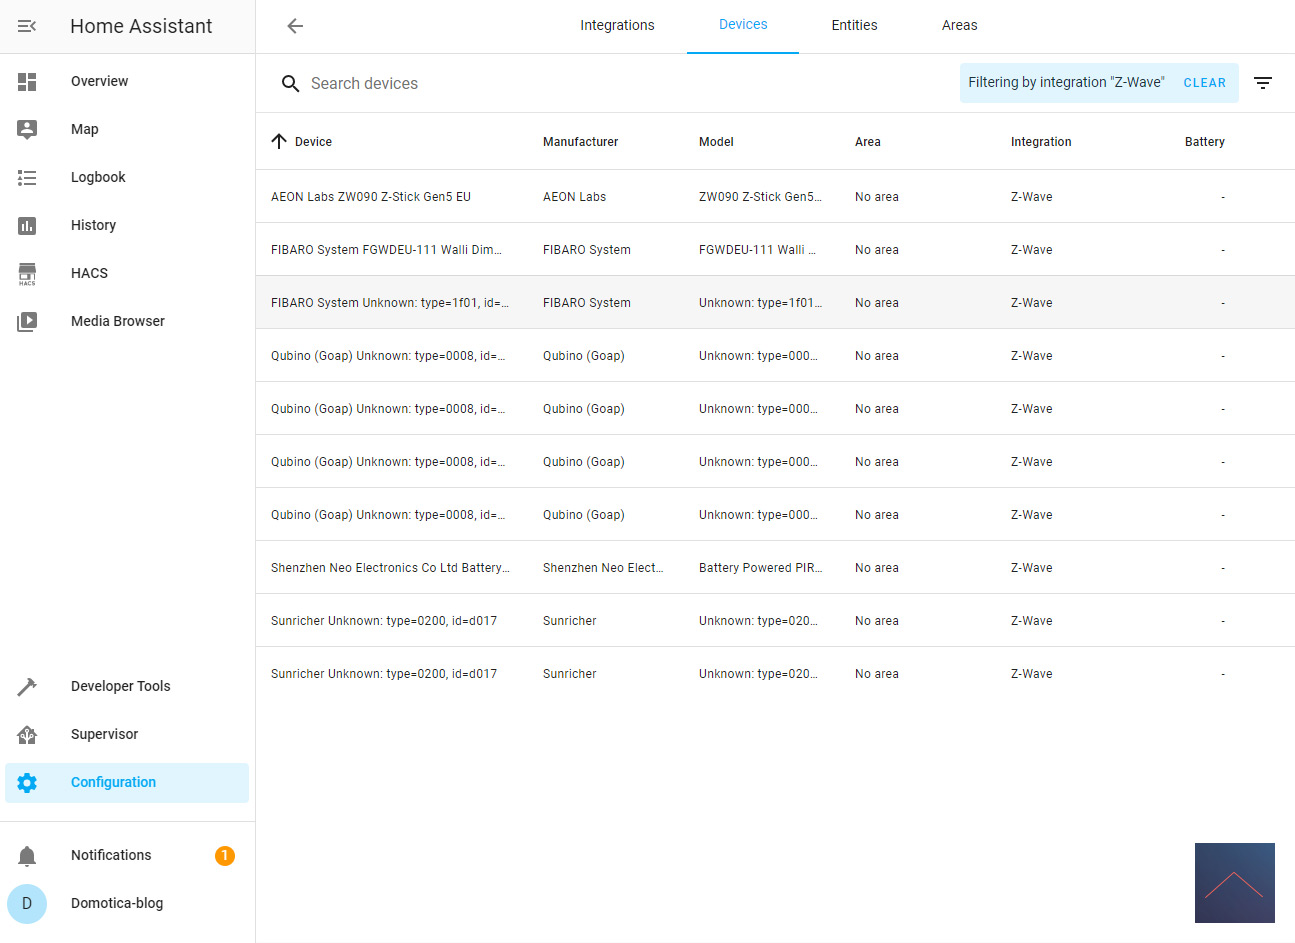
Now we can add it. We first log in to Hass via your browser and go to the configuration. After this we go to "integrations" and press "configure" at the z-wave part. Then click on "add node secure" to start adding. Now we press the button on the front of the socket 3x in quick succession. The LED will light up green and then turn white in color. HASS will give a very brief notification that adding has started. When I look at my devices after a while, I see it.
Installation screens:

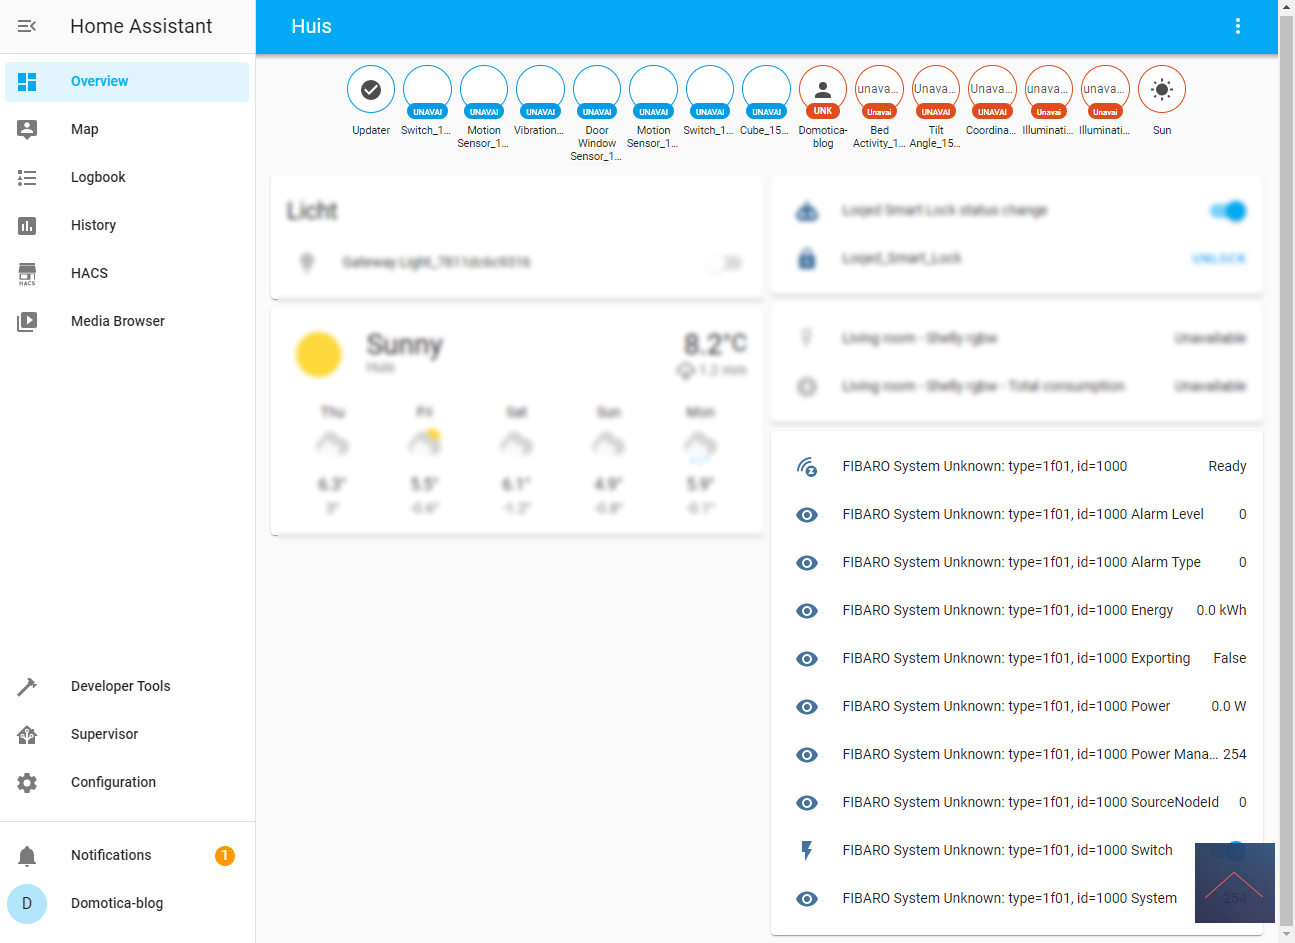
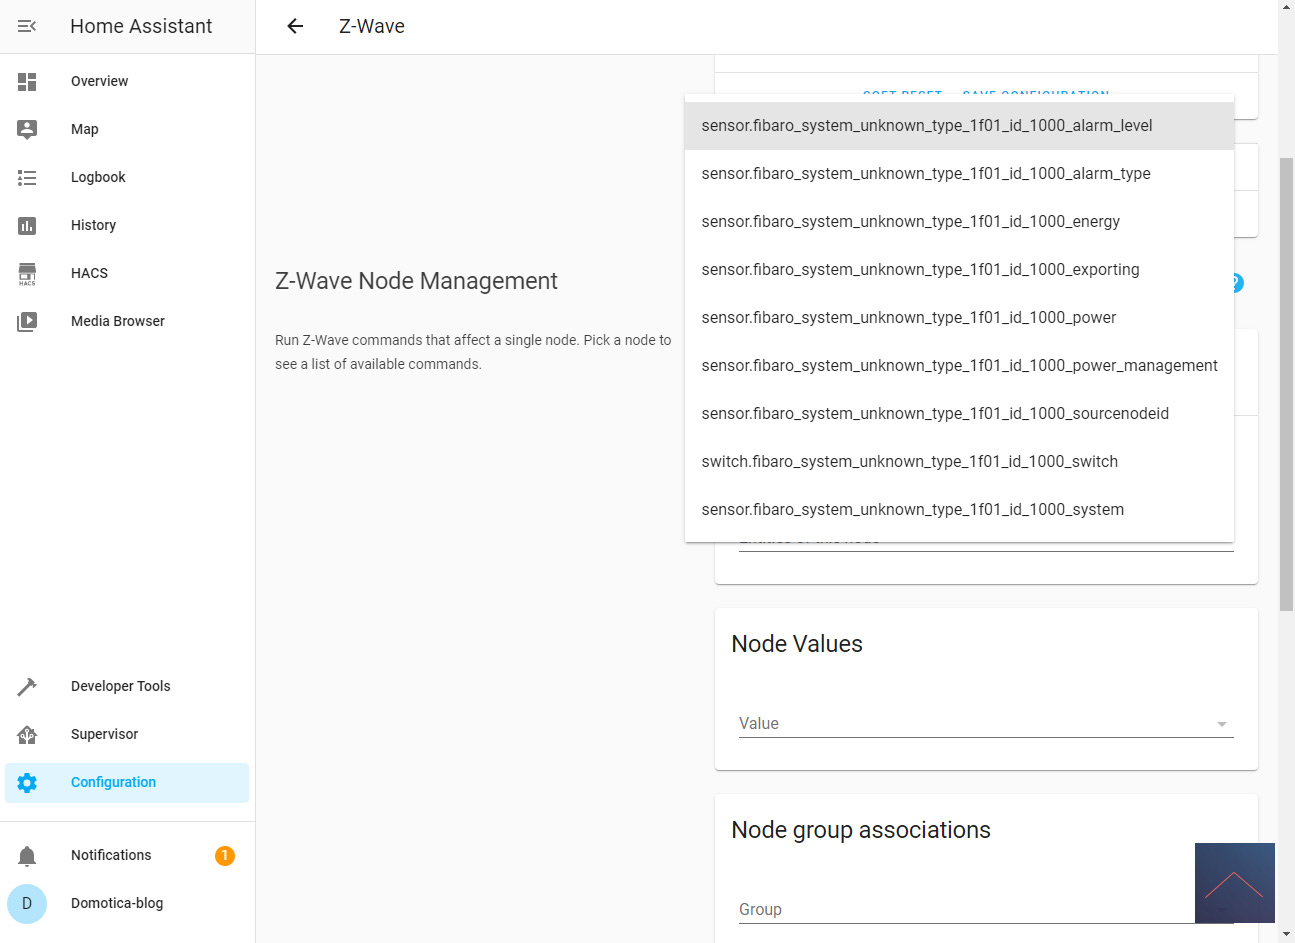
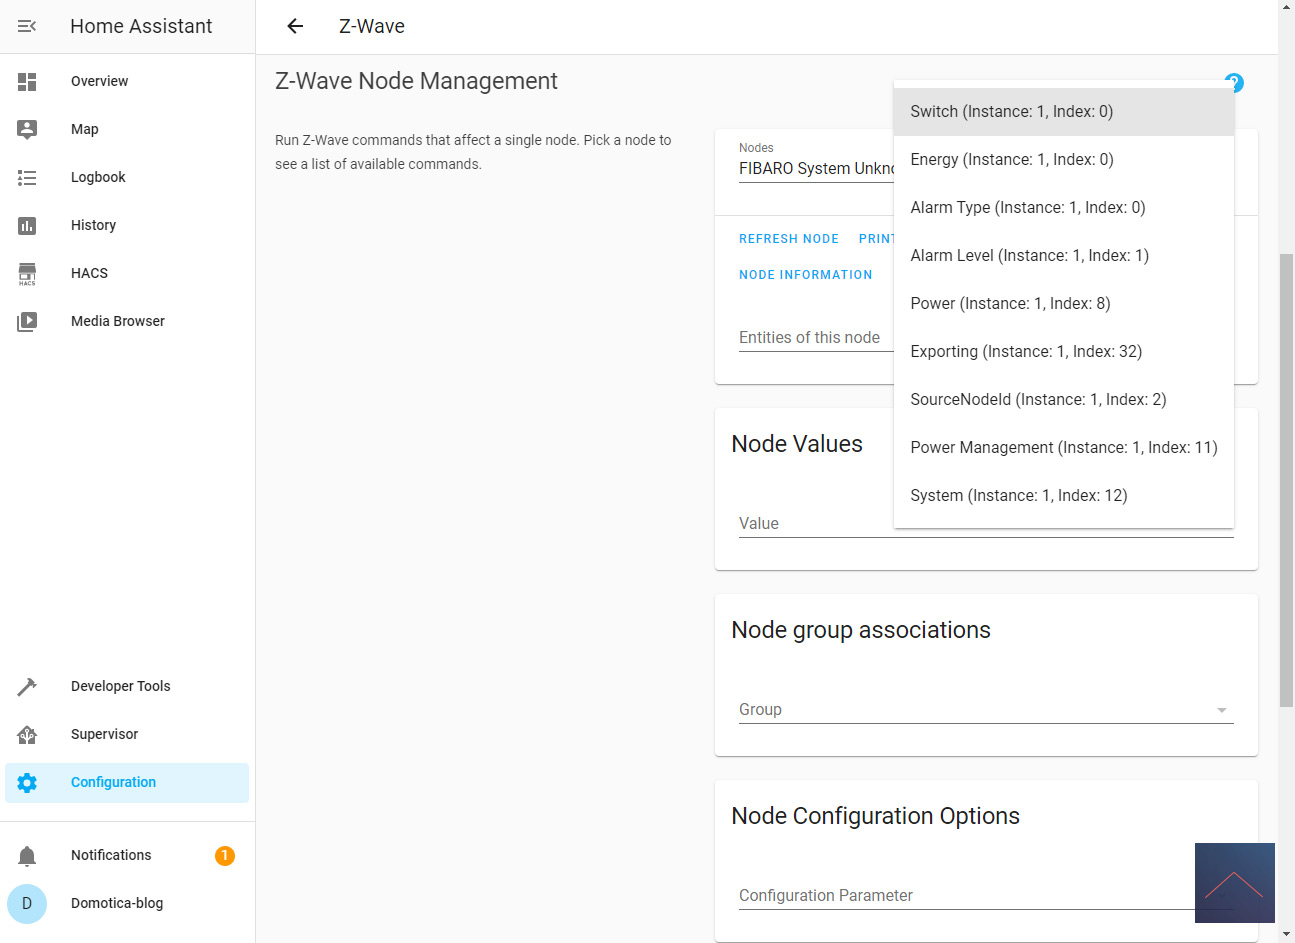
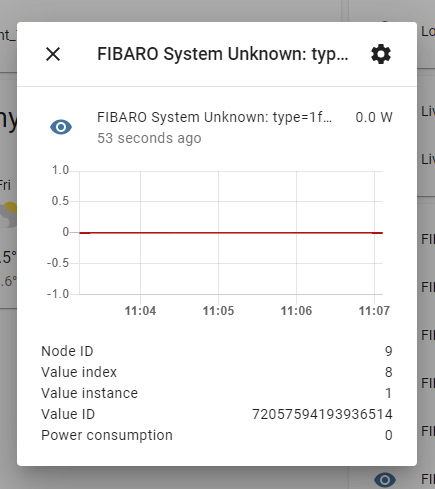
Configuration:
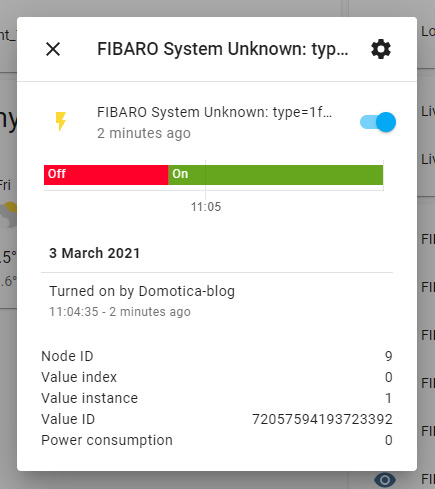
Control:

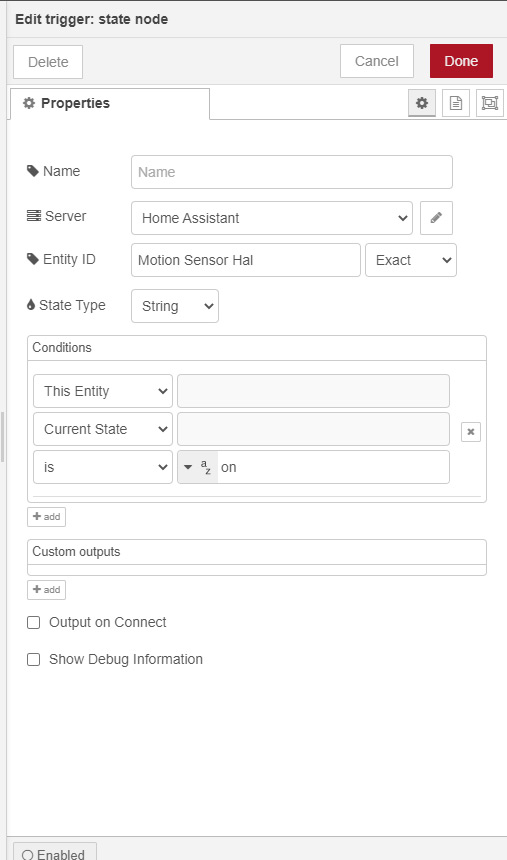
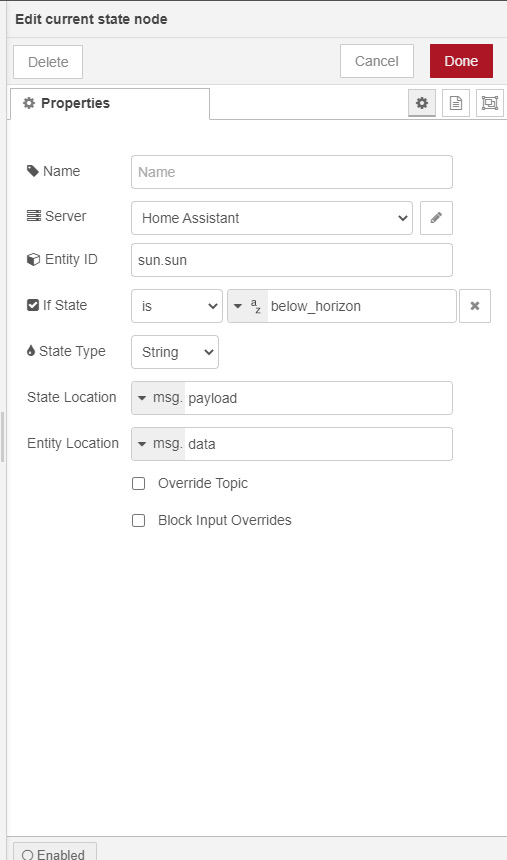
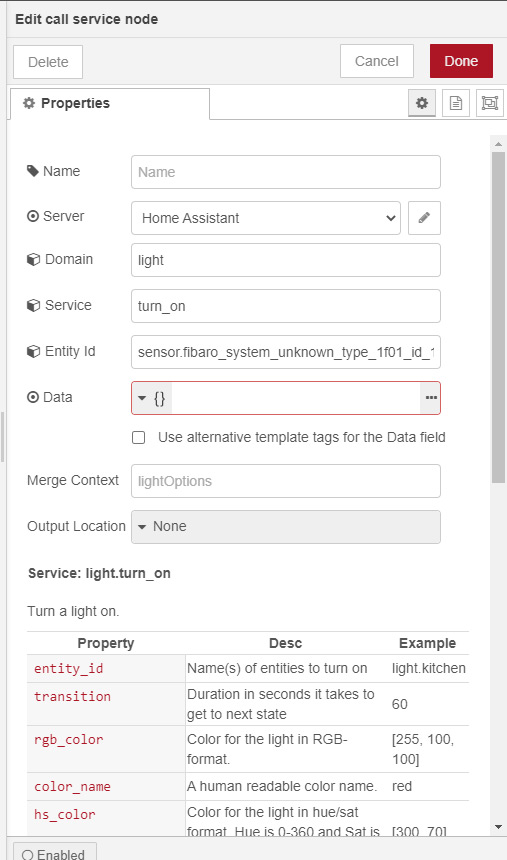
Example flow:
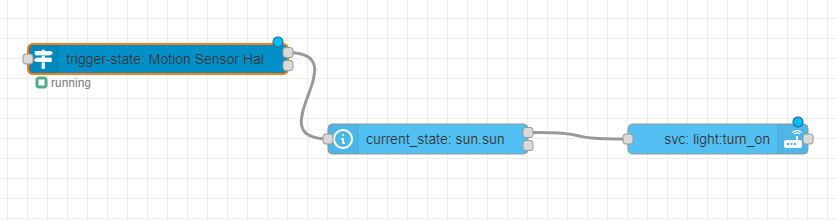
We make as an example that if there is movement and the sun is below then the walli is turned on.