Review
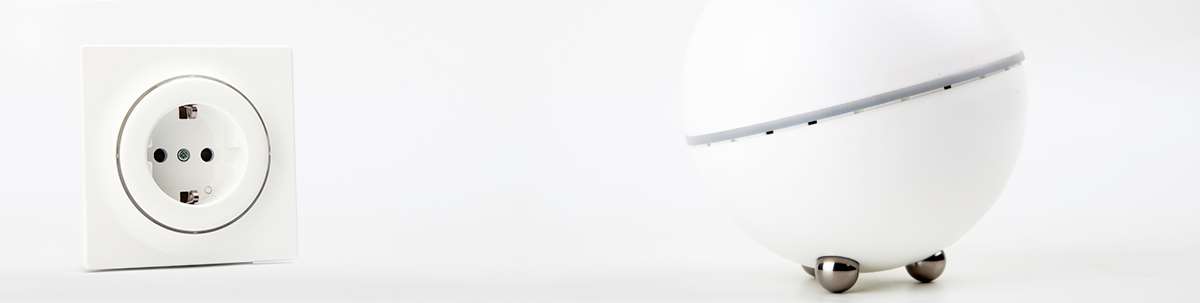
Fibaro Walli Outlet/Power Socket
Installation on Homey:
We will first install the Fibaro Walli on the Homey. The Homey supports the Z-Wave Plus protocol and has a Fibaro APP so the installation shouldn't cause too many problems.
Before we add it, make sure that the Walli is installed in our wall socket. Make sure this box is at least 40mm deep. A diagram is included on how to connect it. This is not very complicated because only 3 wires need to be connected. These are the L (brown), N (blue) and the F-Earth (yellow).
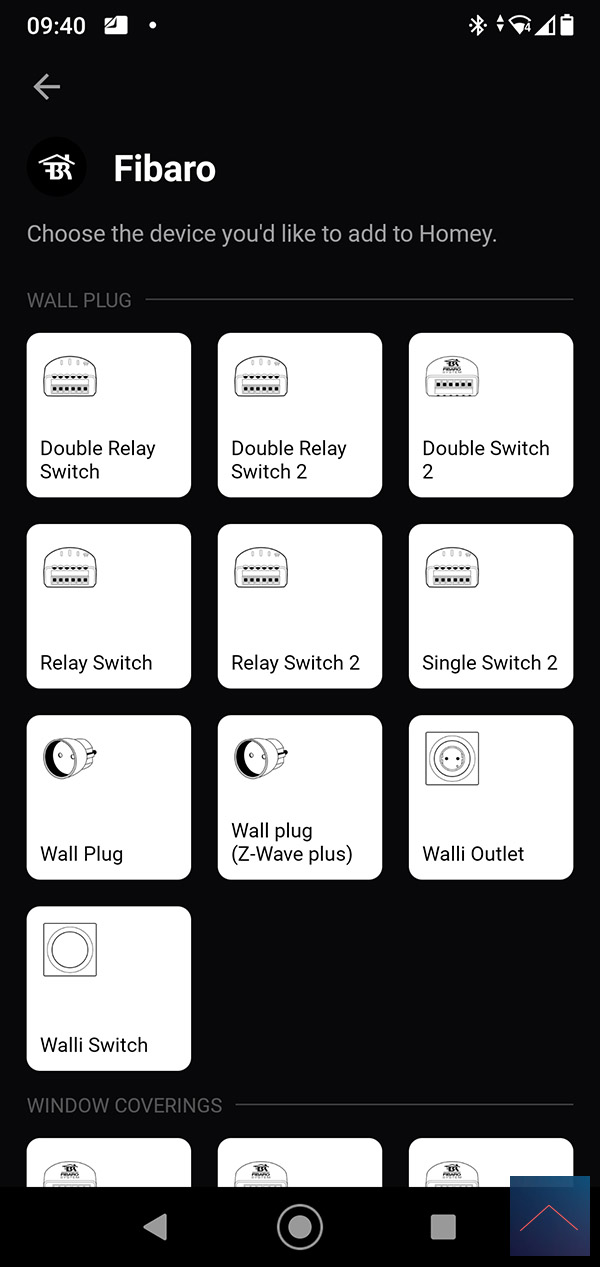
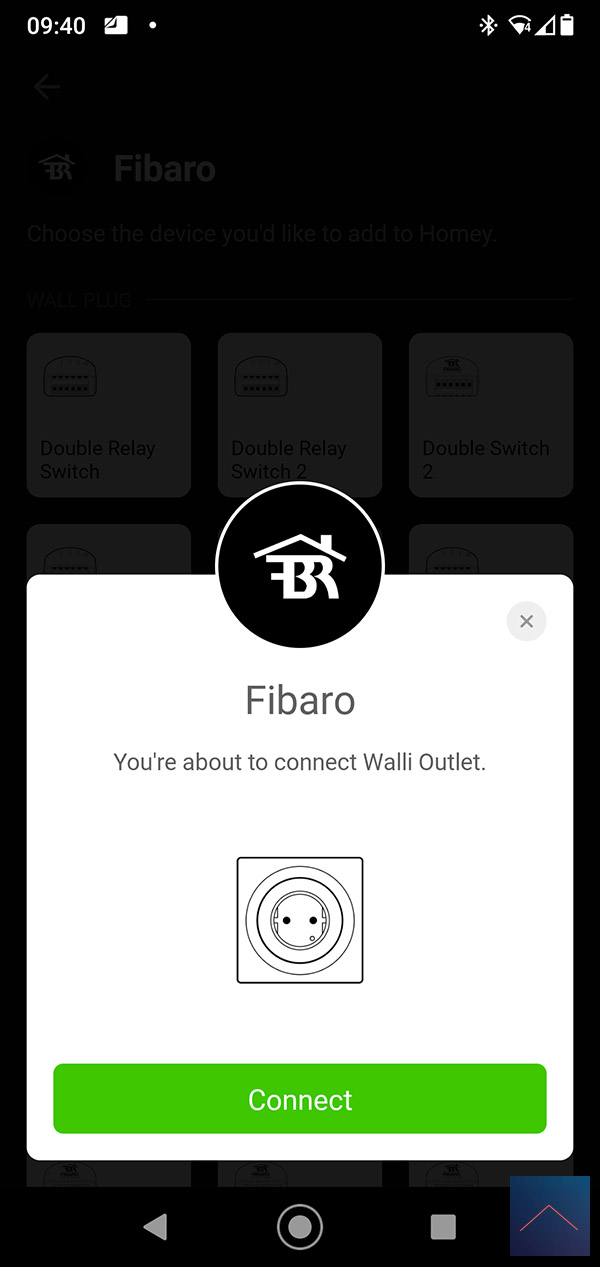
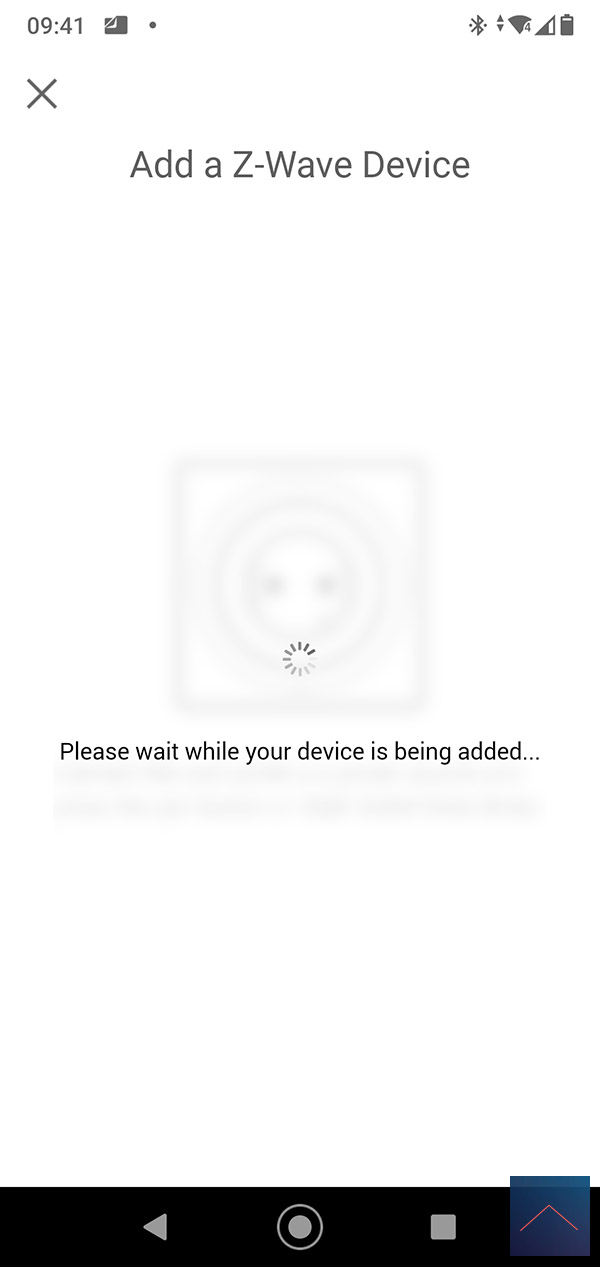
When you have supplied everything with power again, we log into the Homey and go to our devices. We then press the plus sign and look for the Walli.
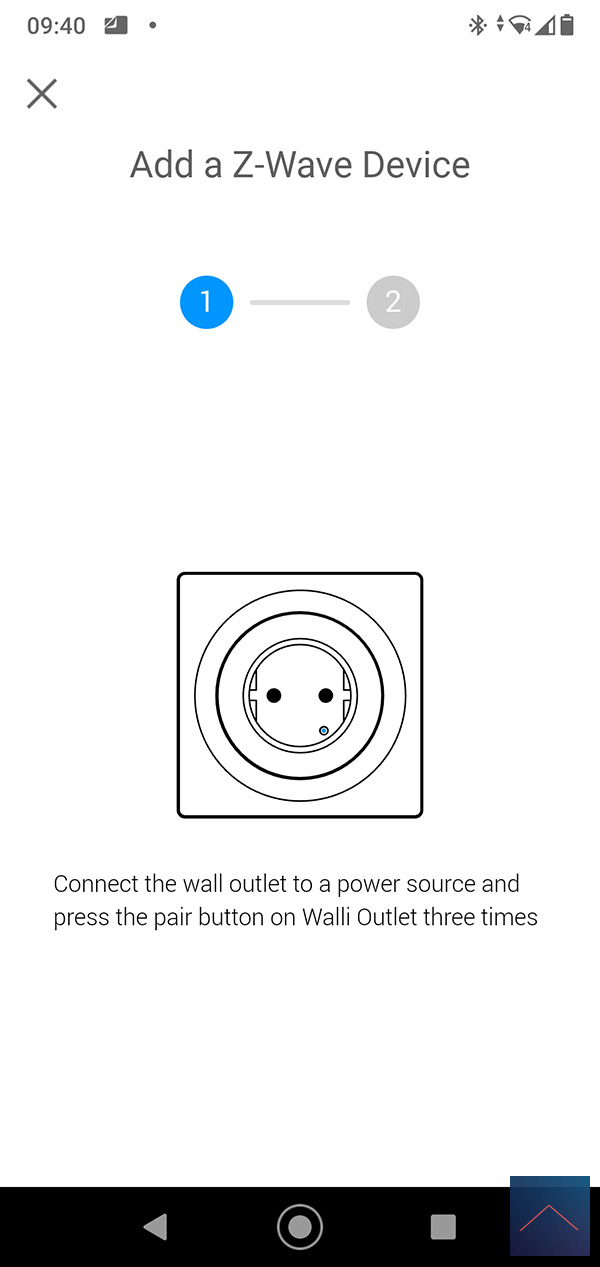
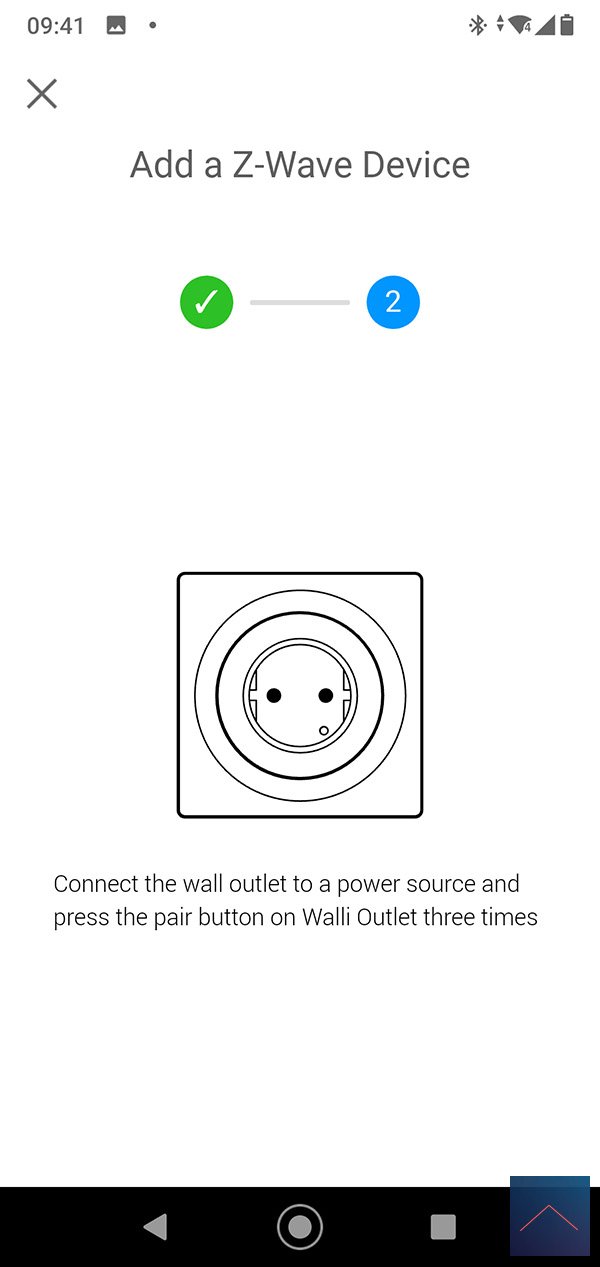
According to the instructions, we have to press the add button on the front 3x in quick succession. This button is somewhat hidden, but it is at the bottom right, where you put the plug in.
The Walli will first be reset and will light up red and then turn white. After this we repeat this process and the Walli will light up yellow and then green to indicate that the addition was successful.
Now we can enjoy wirelessly controlling everything we put into it.
Installation screens:

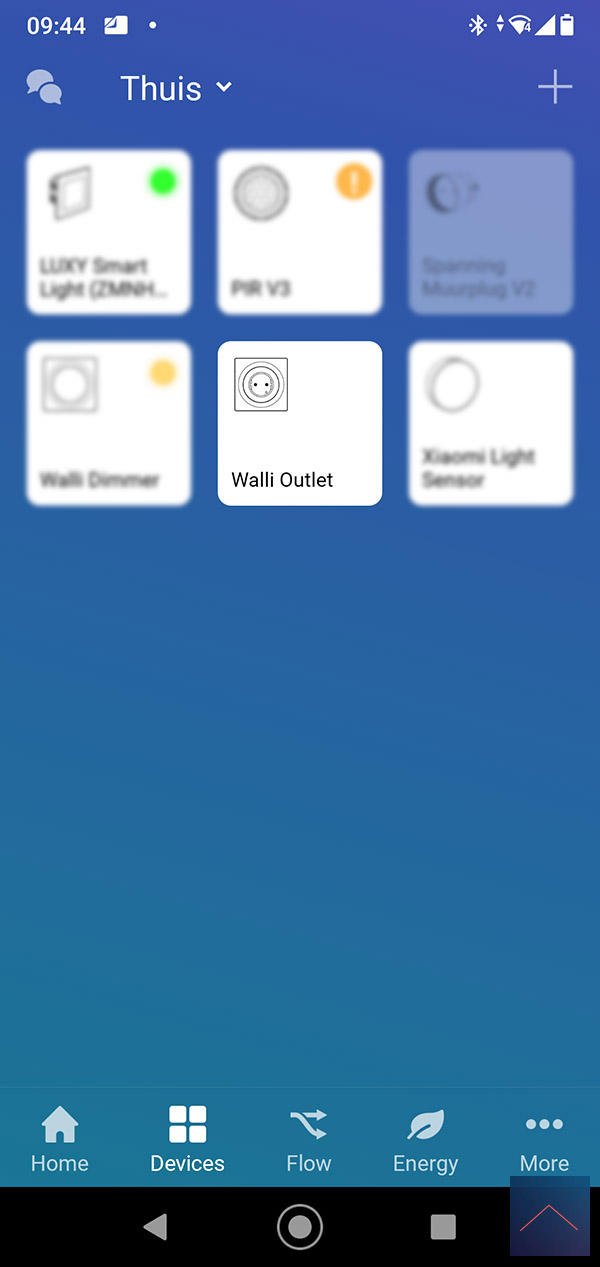
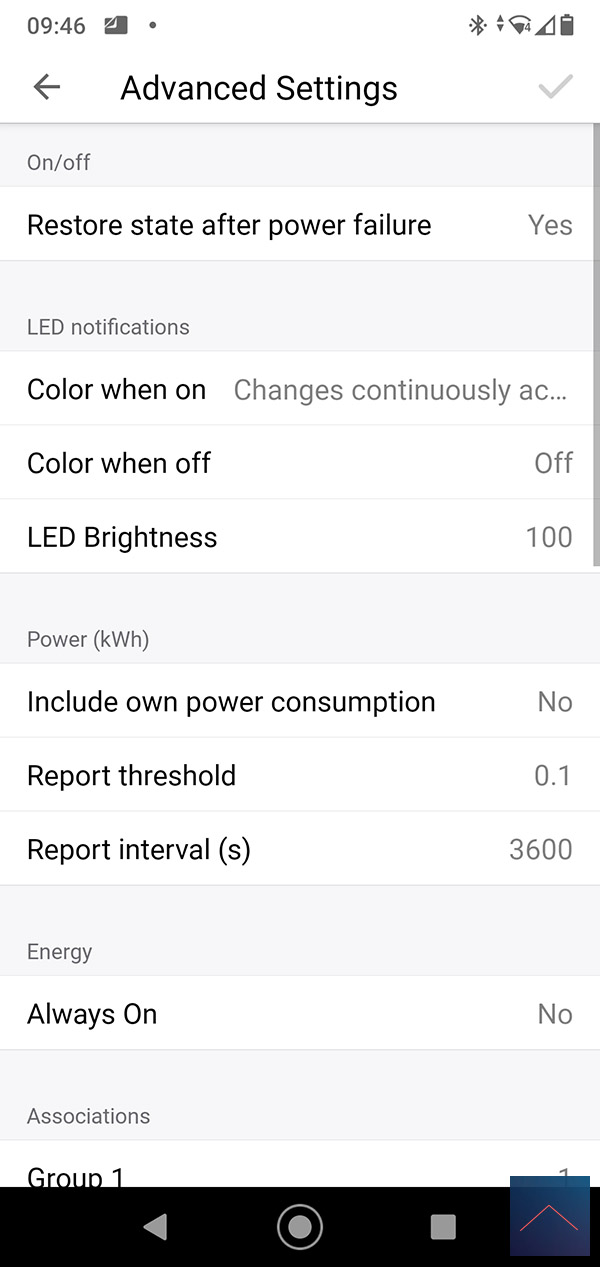
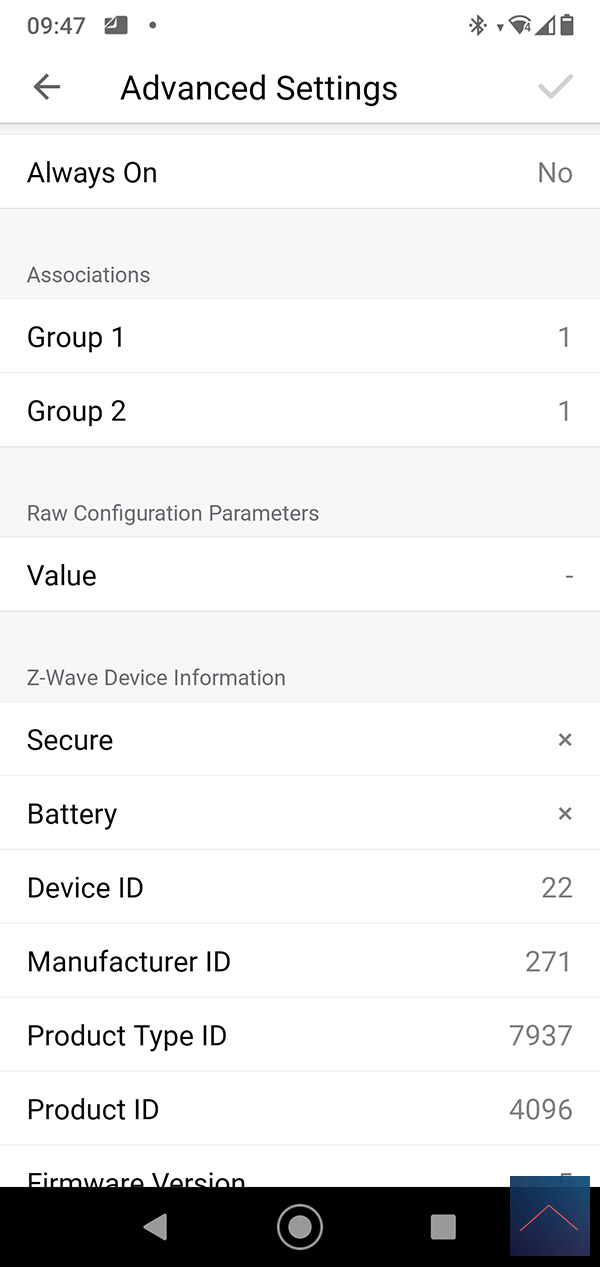
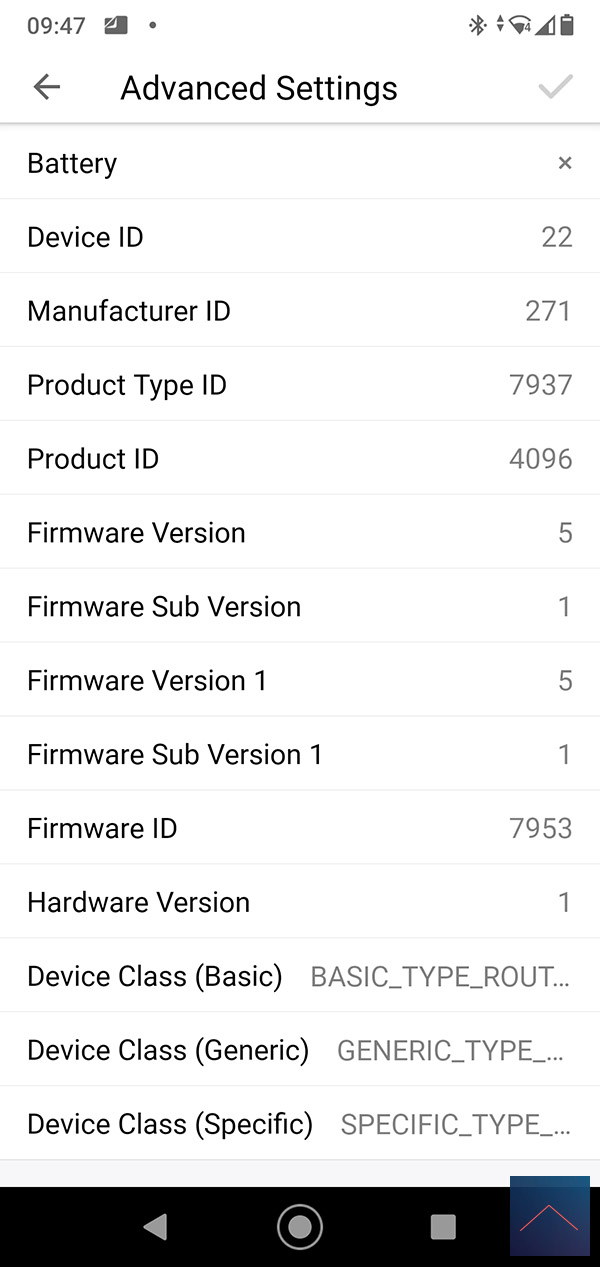
Configuration:
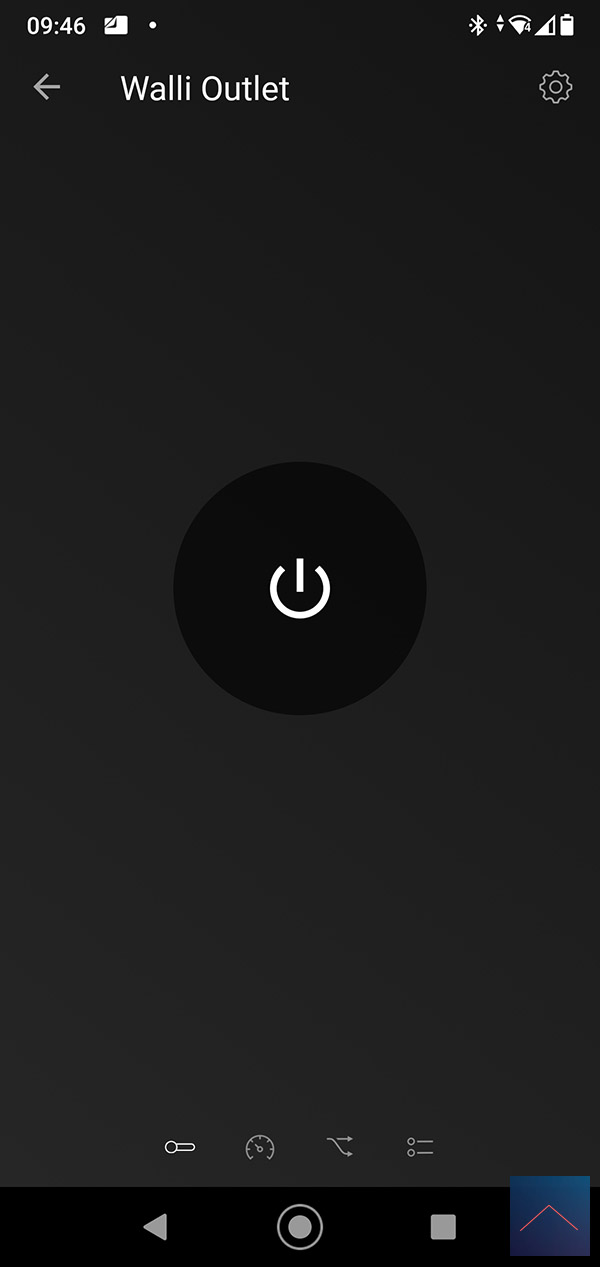
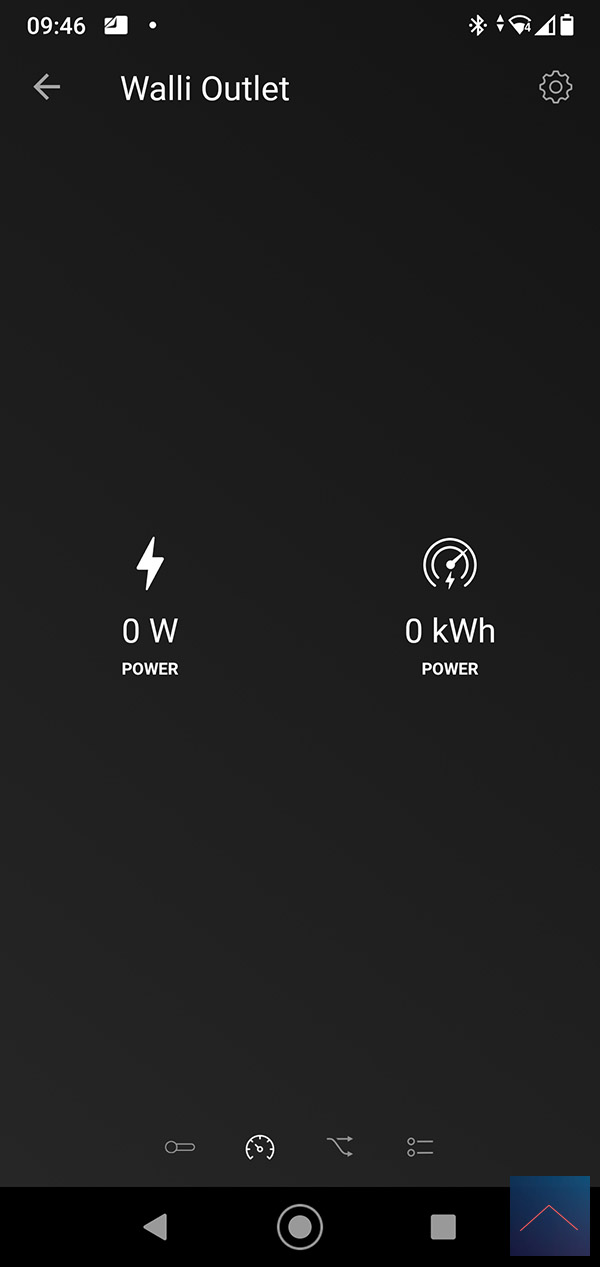
Control:
We get an on/off switch and we see the total consumption and the current consumption.
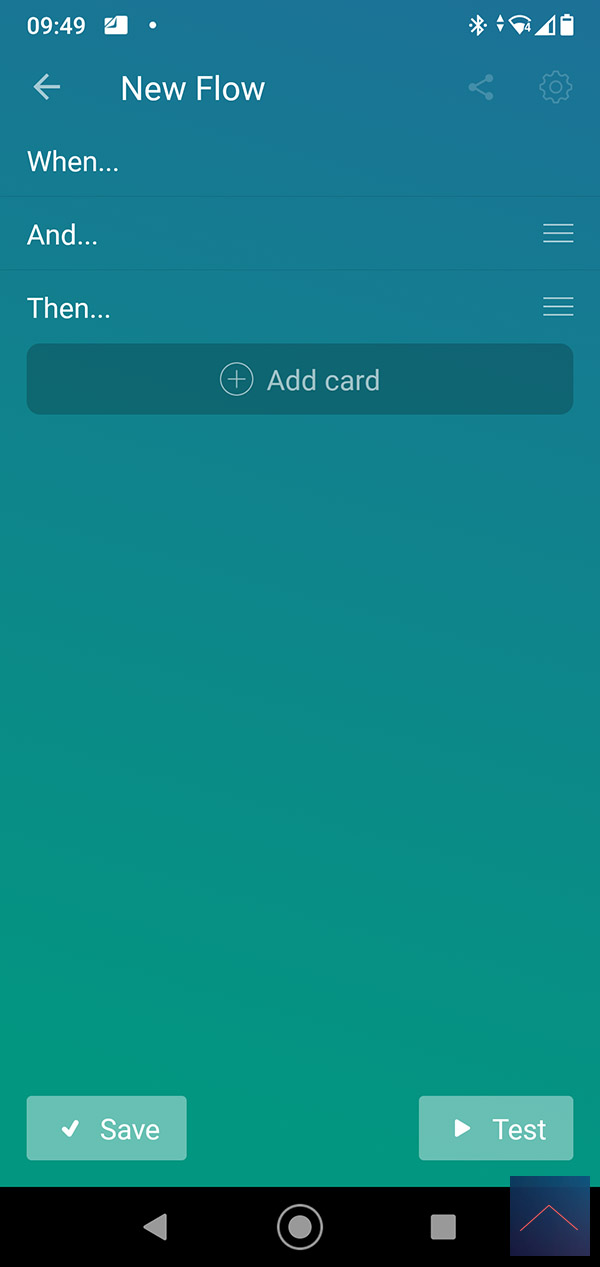
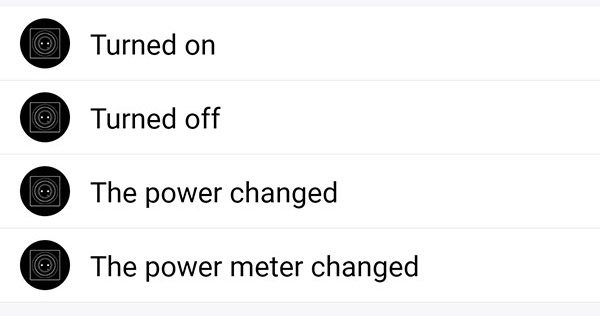
Flow options:
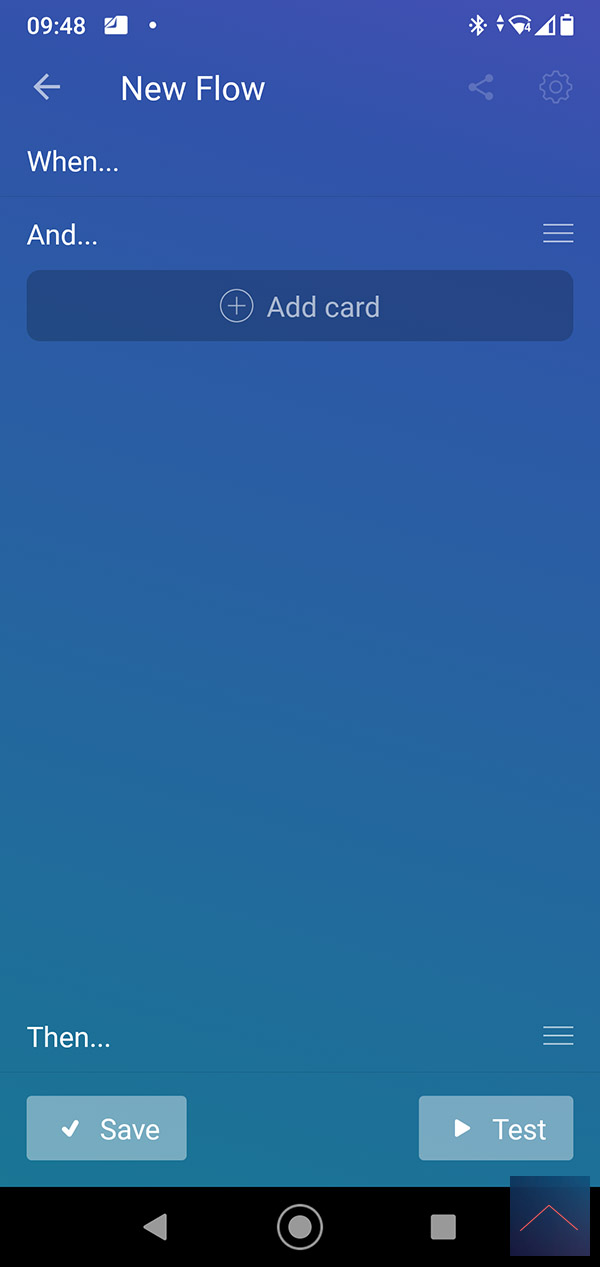
To create a flow you get the following options:
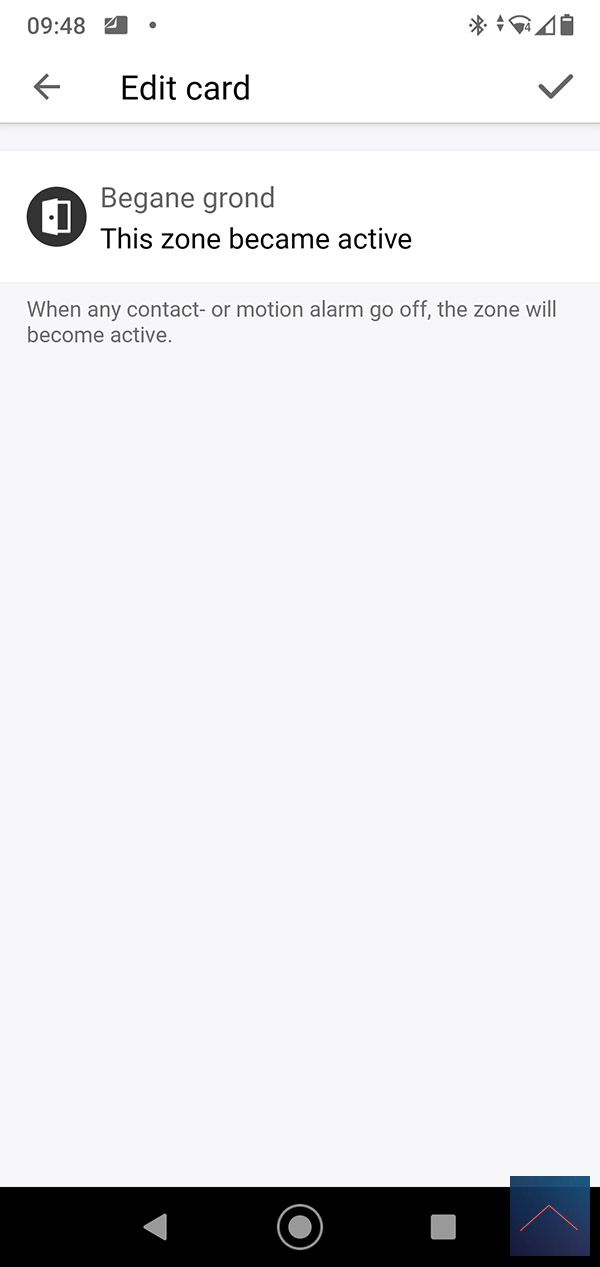
IF:
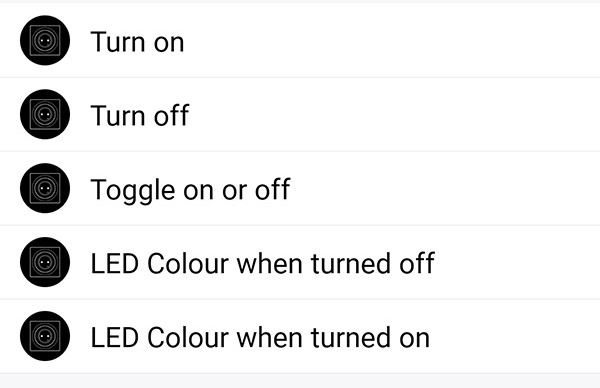
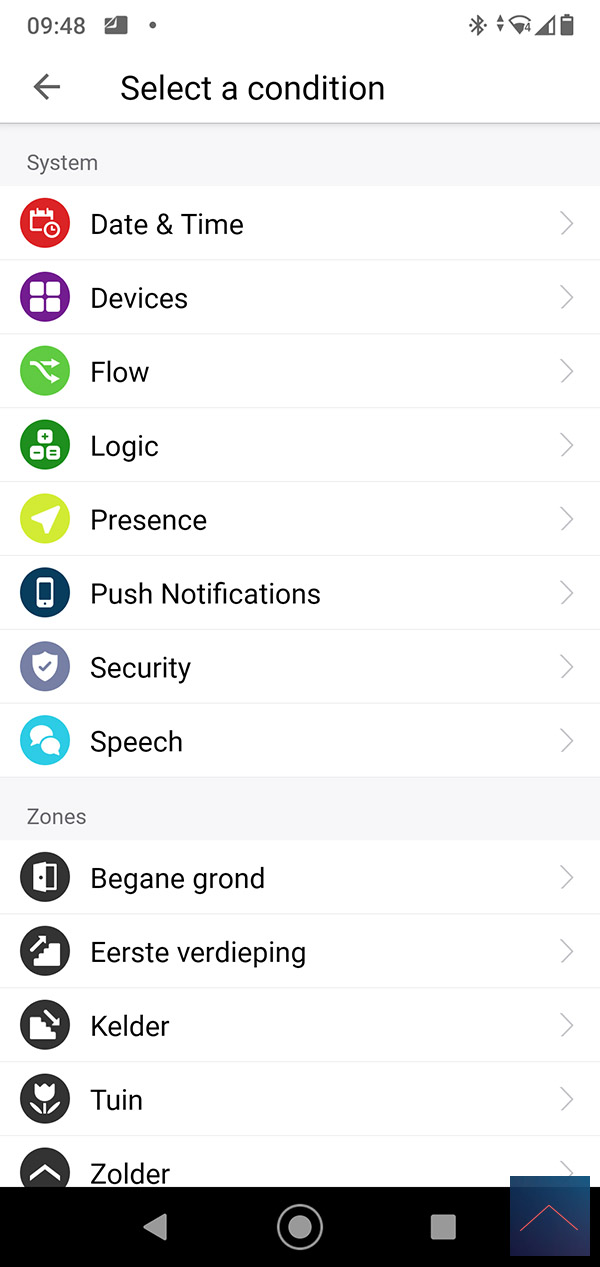
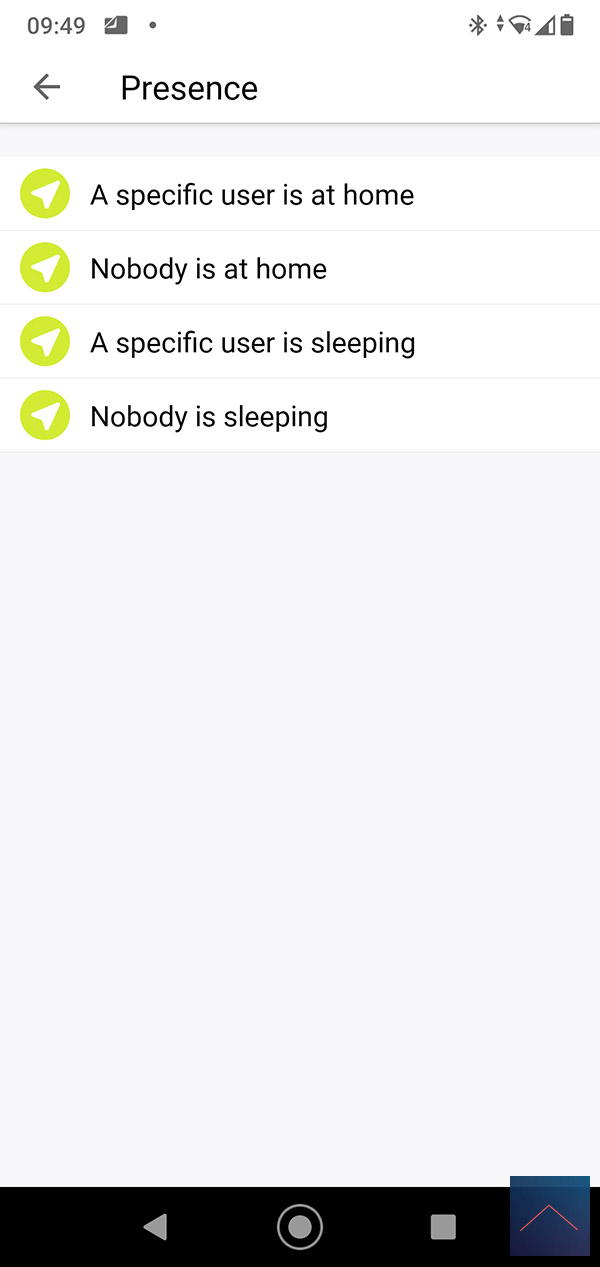
AND:

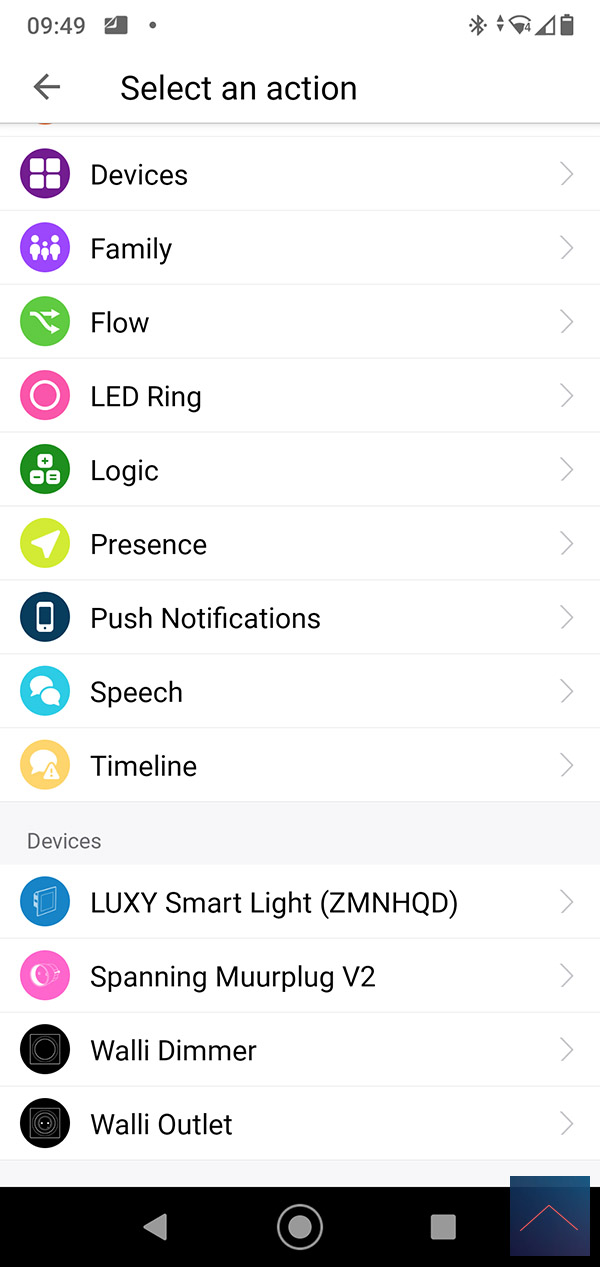
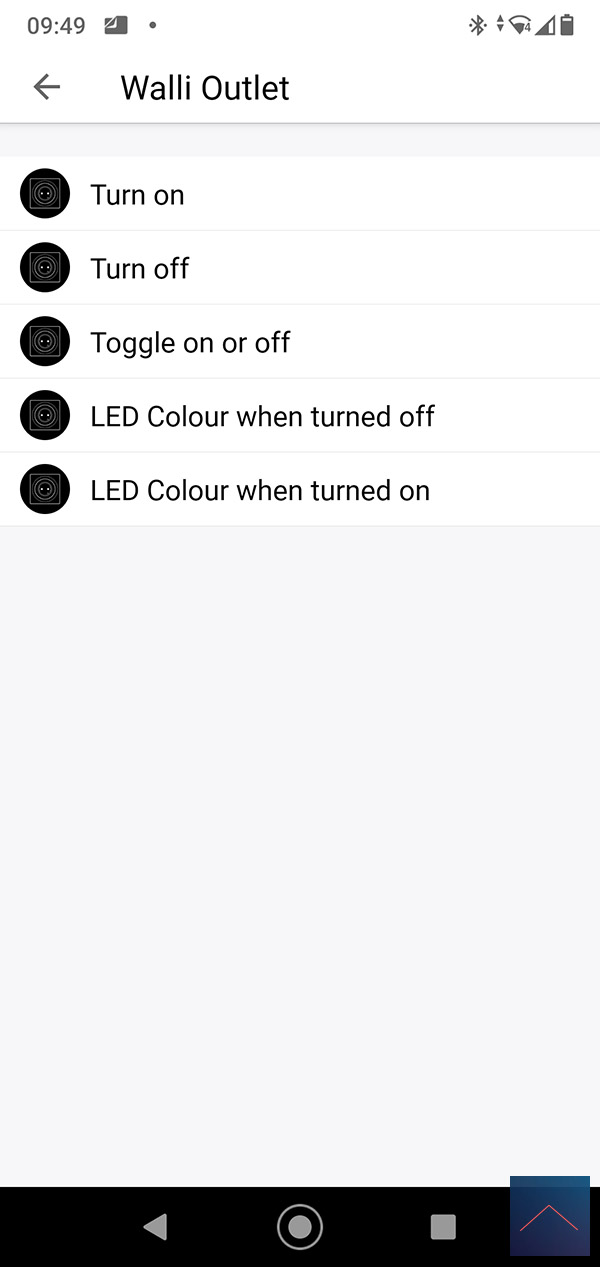
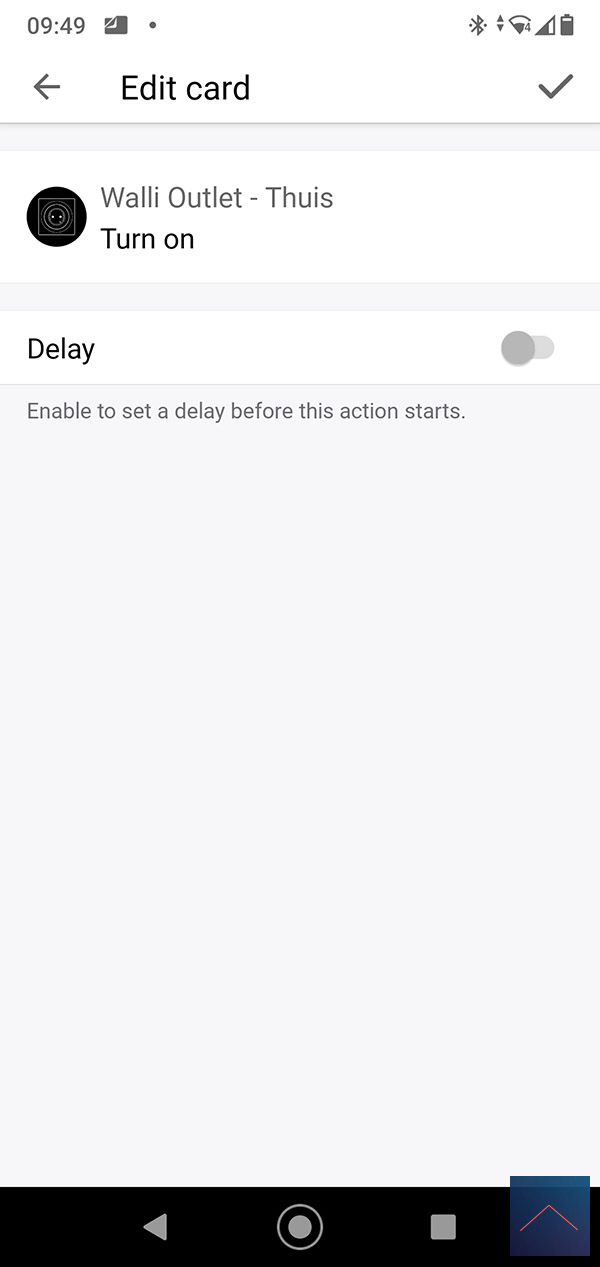
THEN:
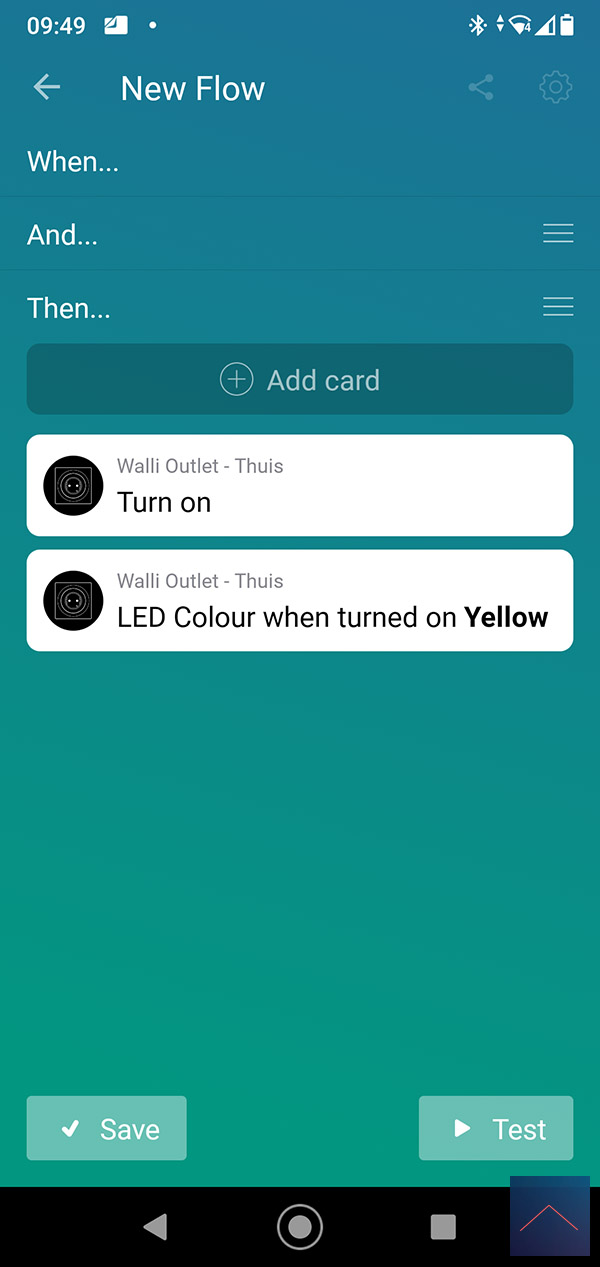
Flow example:
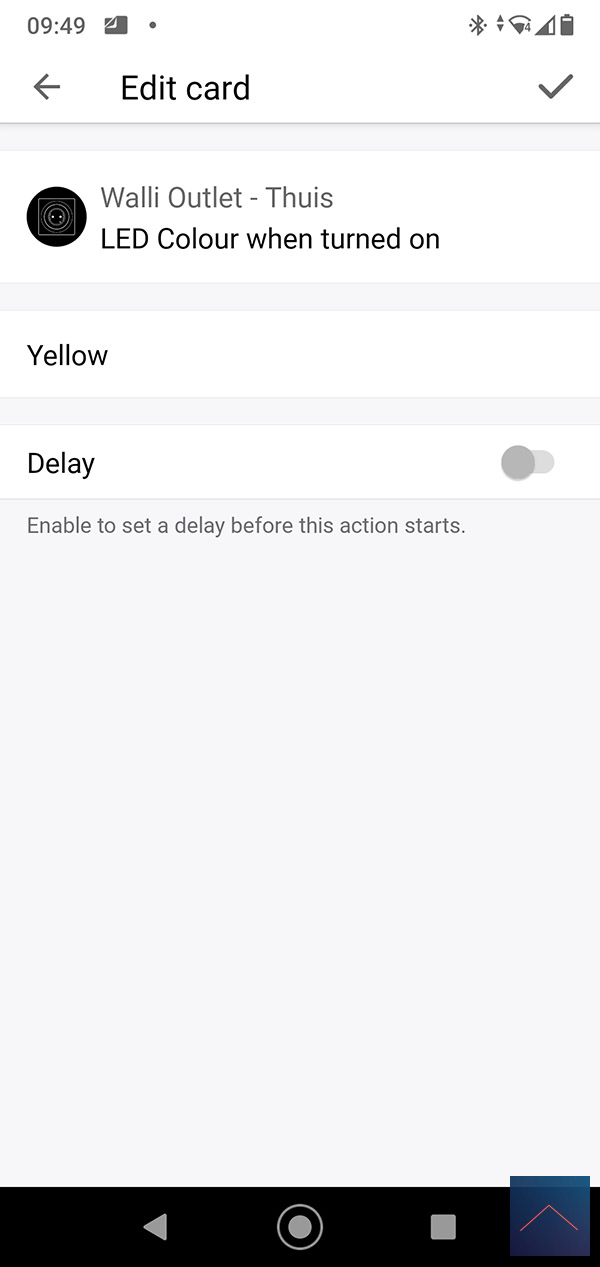
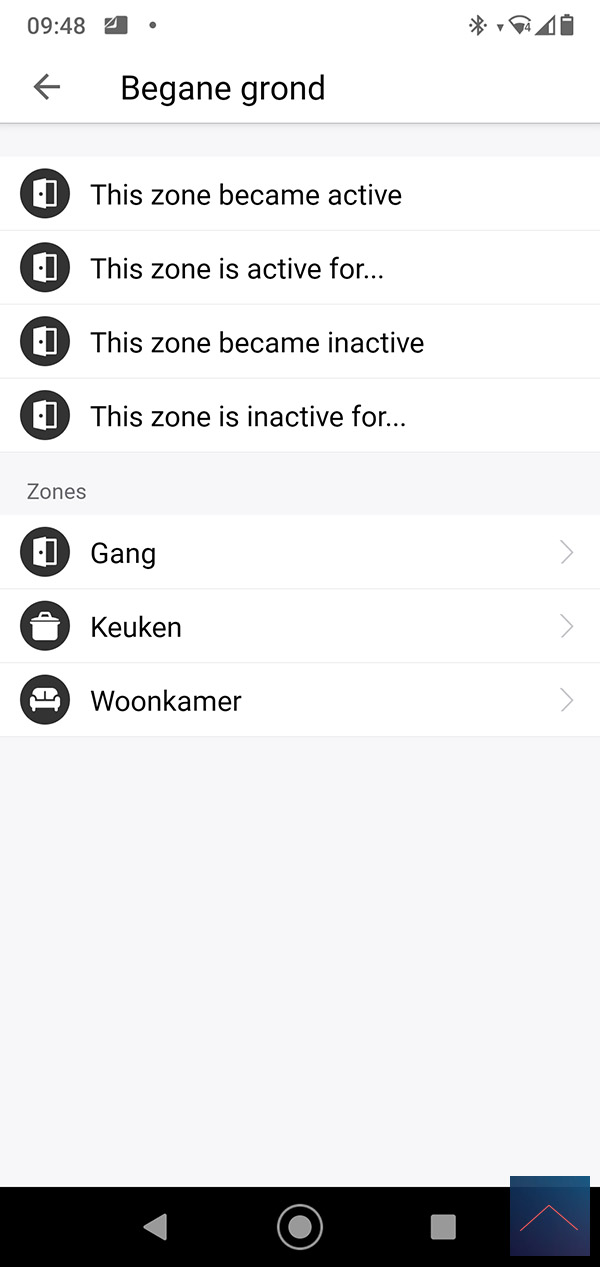
As an example we make that if there is movement on the ground floor, and I am at home, that the Walli is switched on and the LED lights up yellow.
IF:
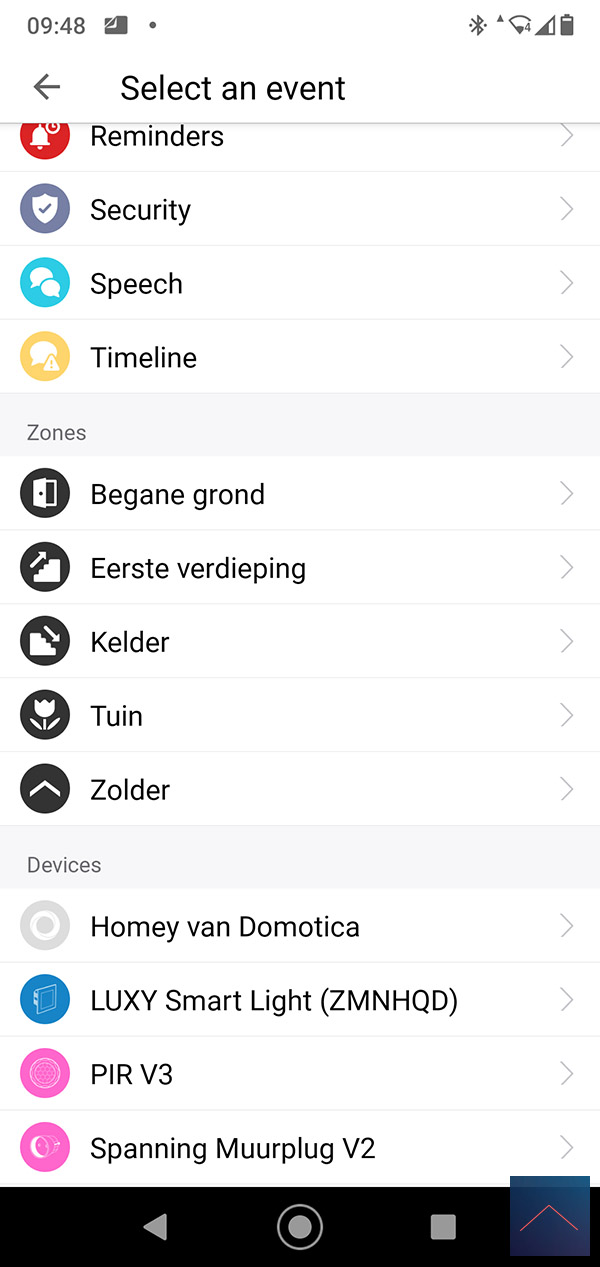
AND:
THEN: