Review
Fibaro Walli Outlet/Power Socket
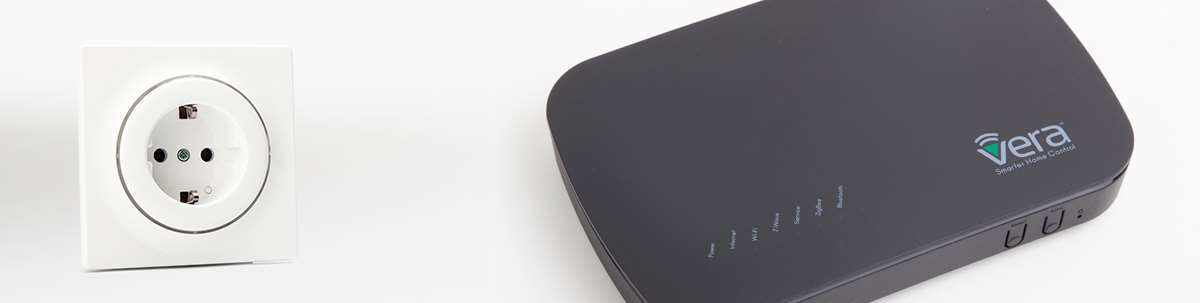
Installation on Vera Plus/Edge:
We are also going to install this Walli on the Vera Plus to see if it also works well here.
We are the first to install the Walli where it should be placed. Make sure that the flush-mounted box is at least 40mm deep. We can connect it via the supplied schematic. This is not very complicated, because only 3 wires need to be connected. These are the L (brown), N (blue) and the F-Earth (yellow).
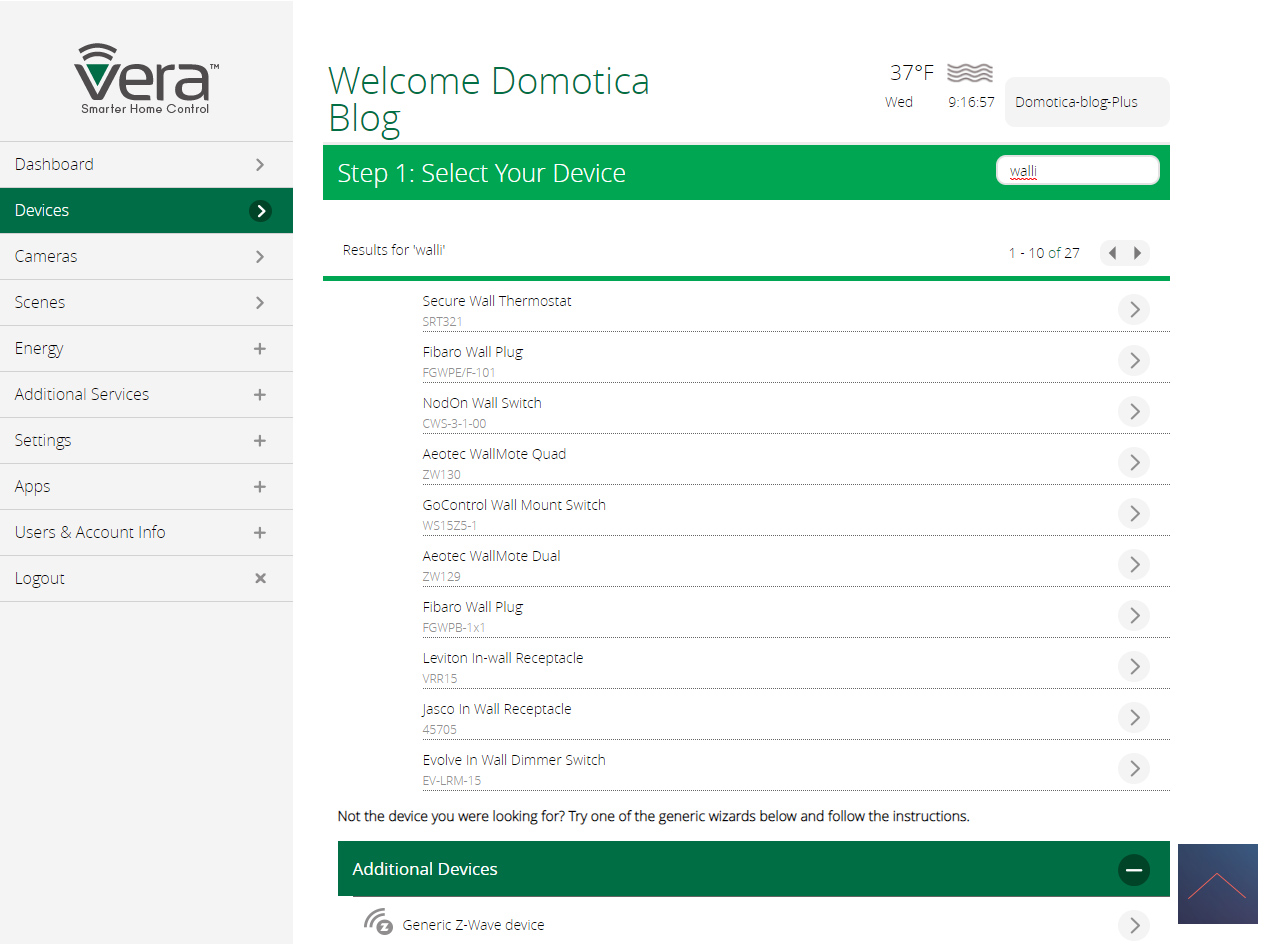
We now power the Walli again and log in to the Vera and go to our devices. We then click on "Add device". We are looking for Walli but unfortunately it is not found. So there is no other option than to add it already "Generic z-wave".
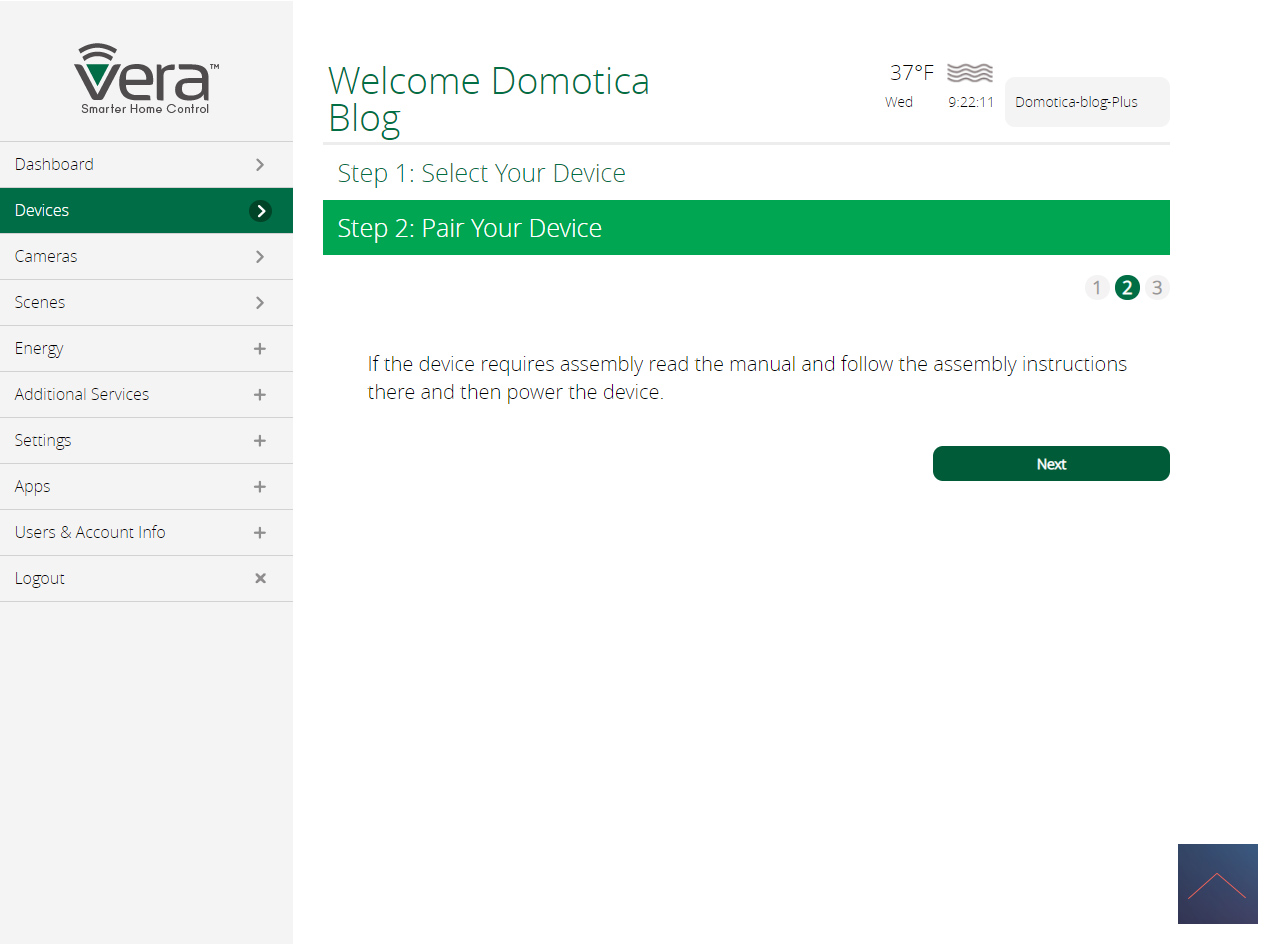
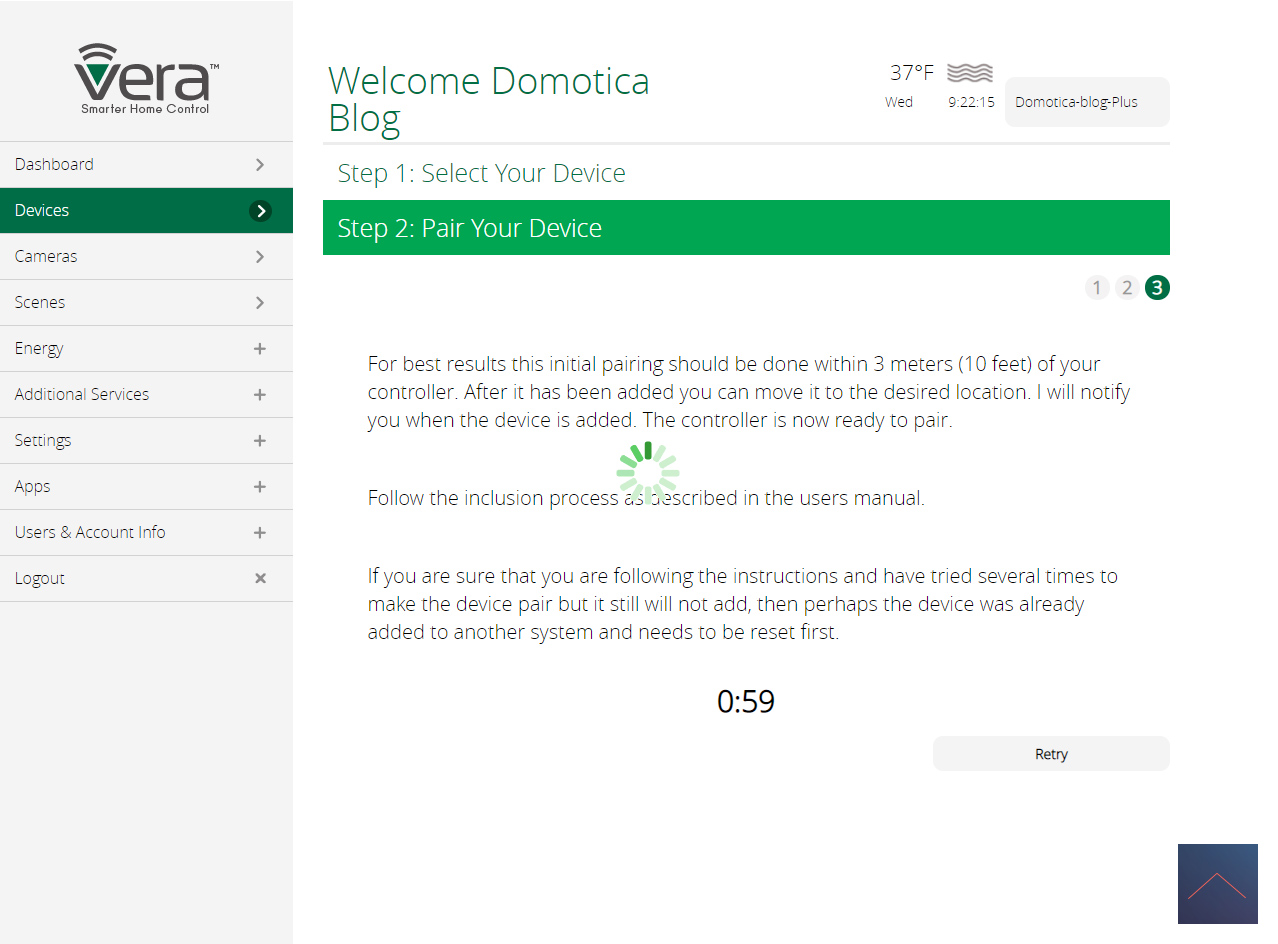
After clicking through a few steps you will be asked to put the Walli in "add mode", you can do this by clicking the button on the front 3x in quick succession. After this he was immediately found and we see him flash green and then light up white to indicate that it was successful.
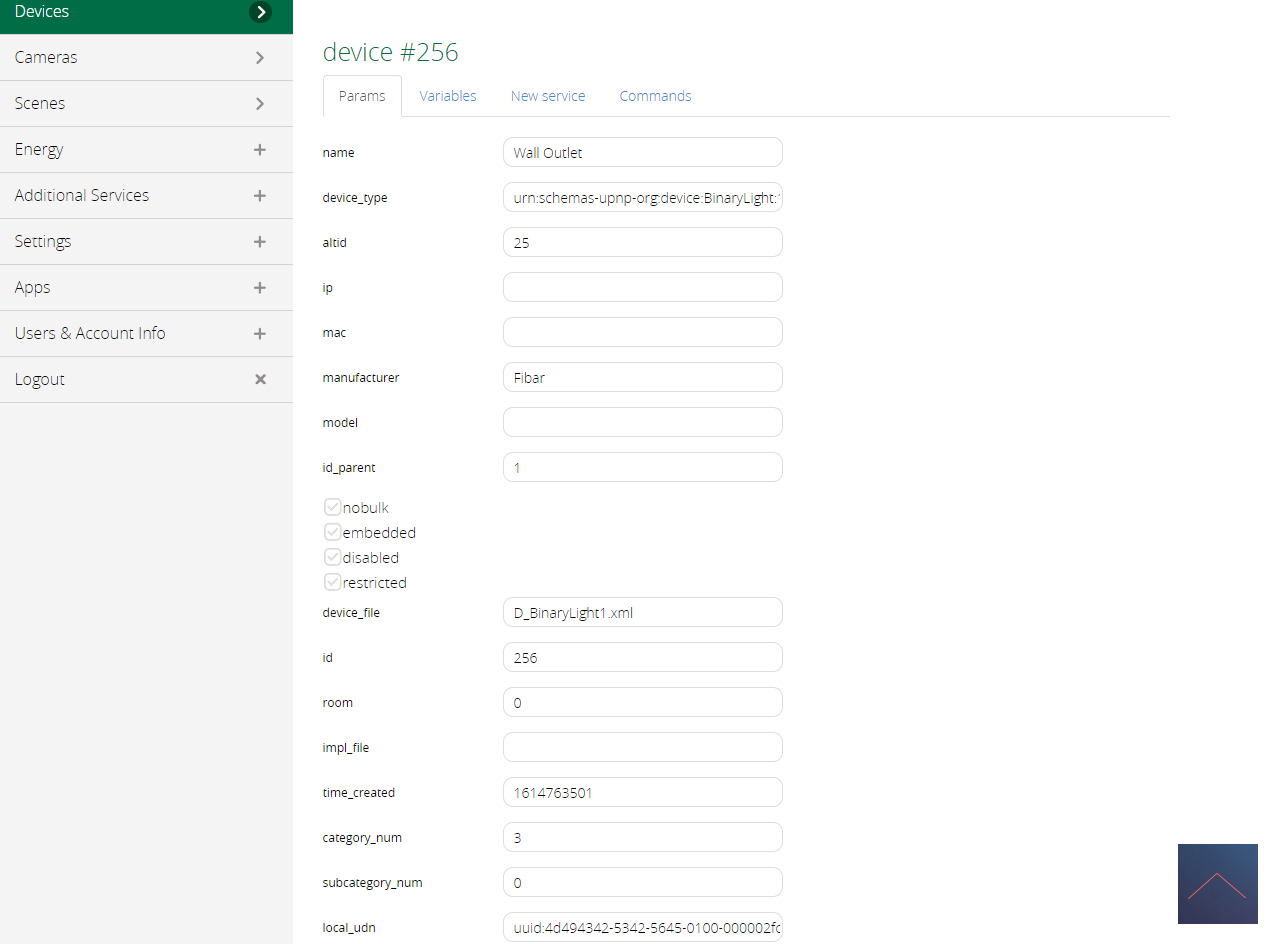
Installation screens:

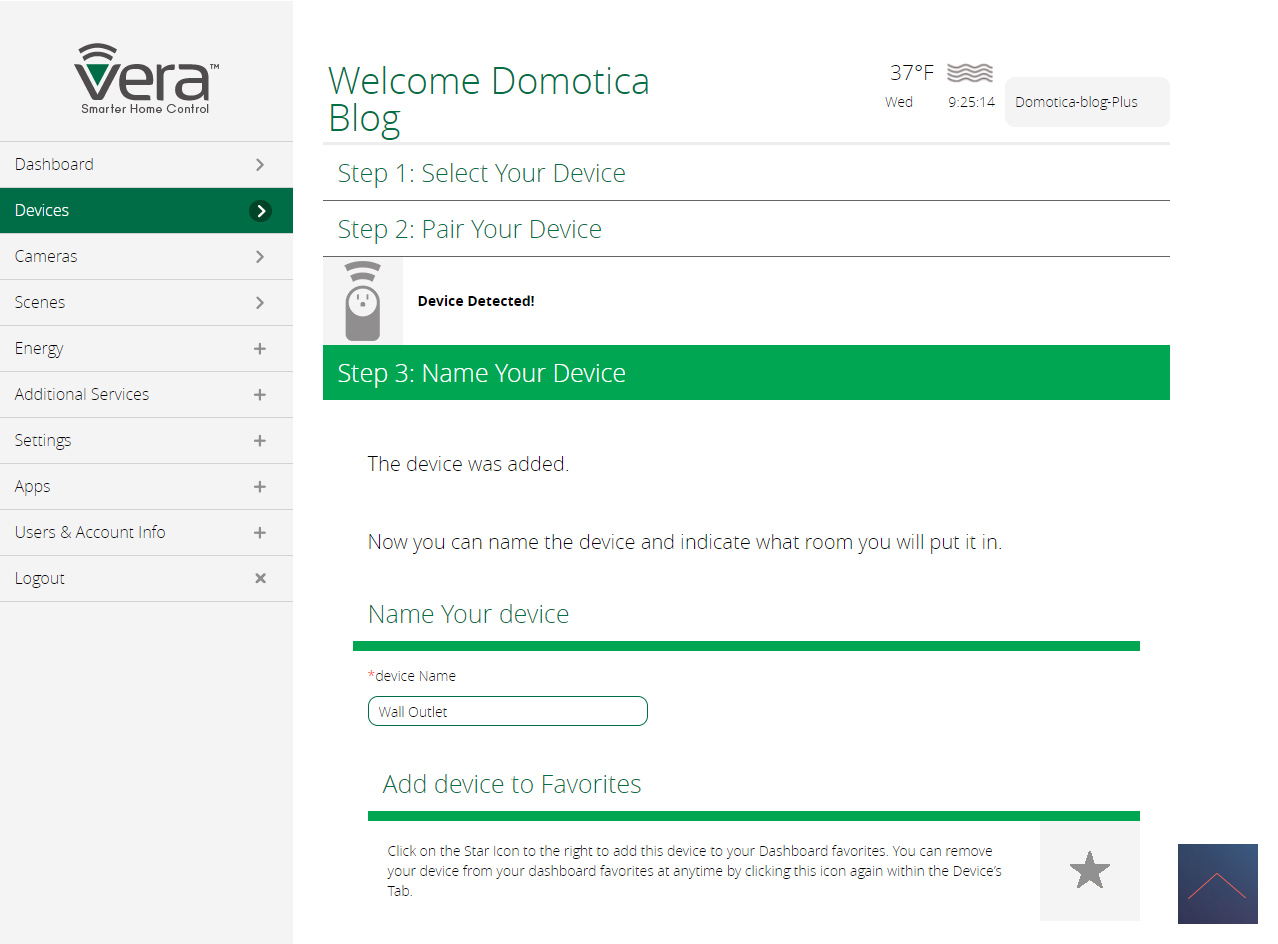
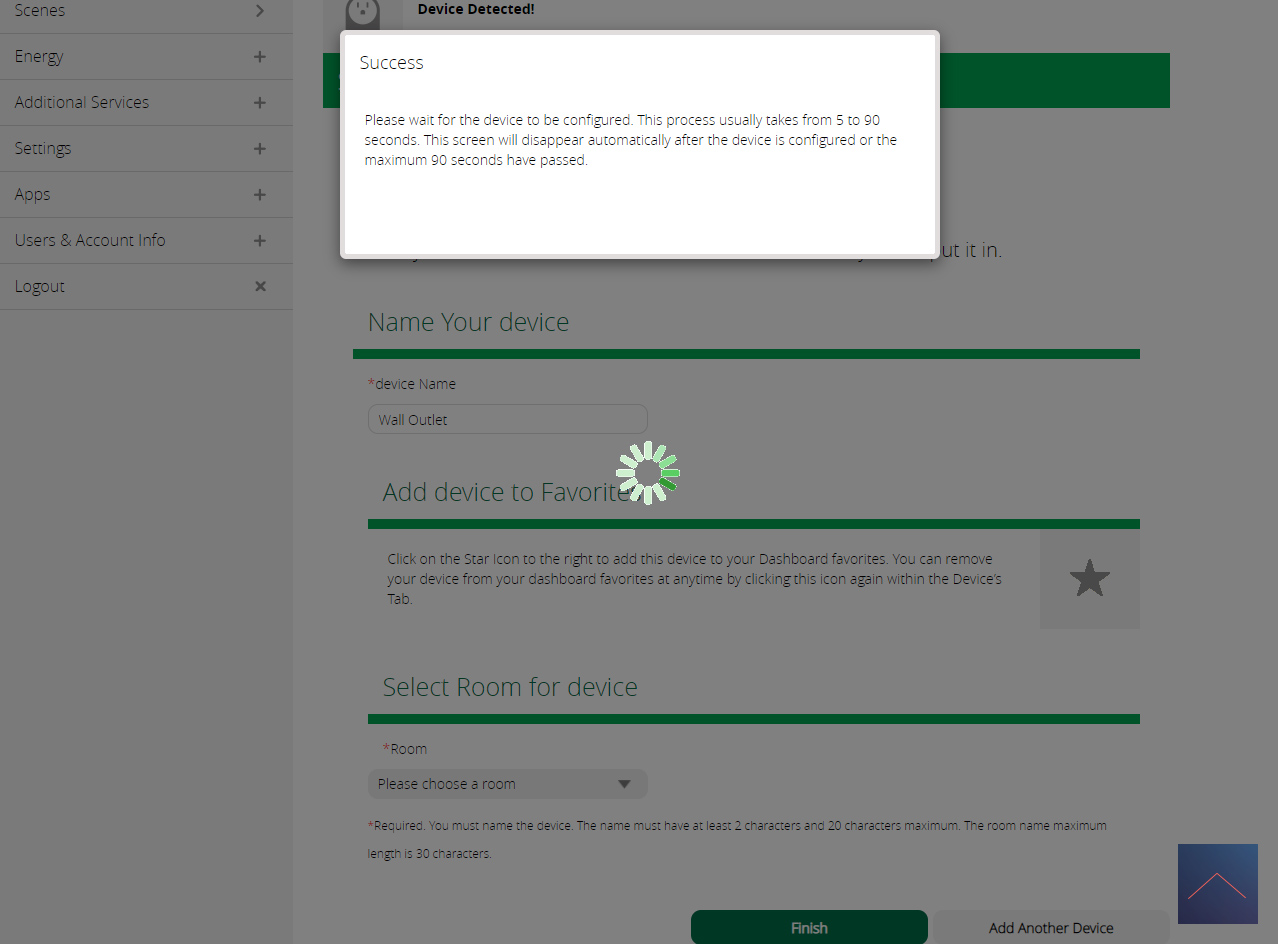
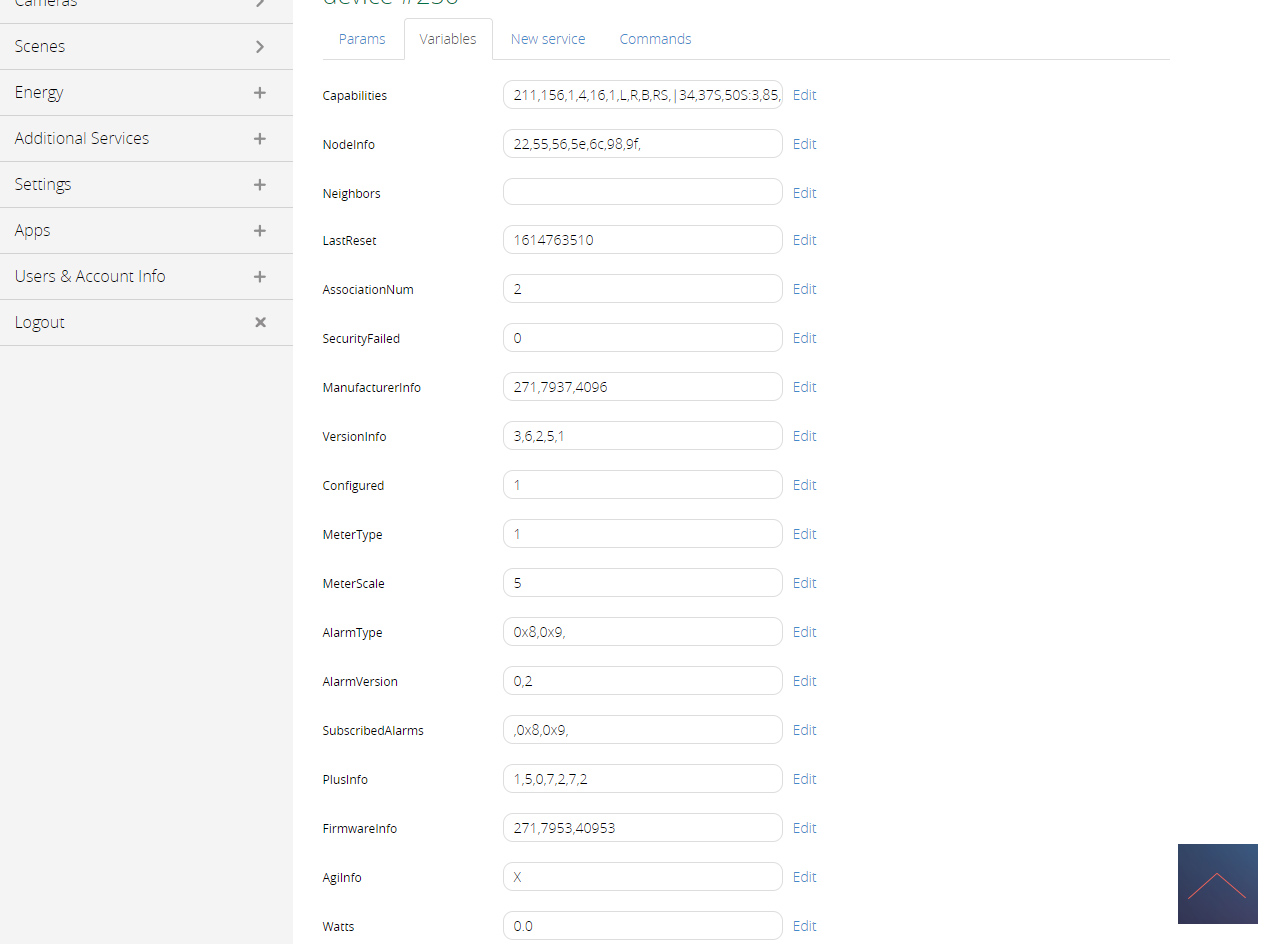
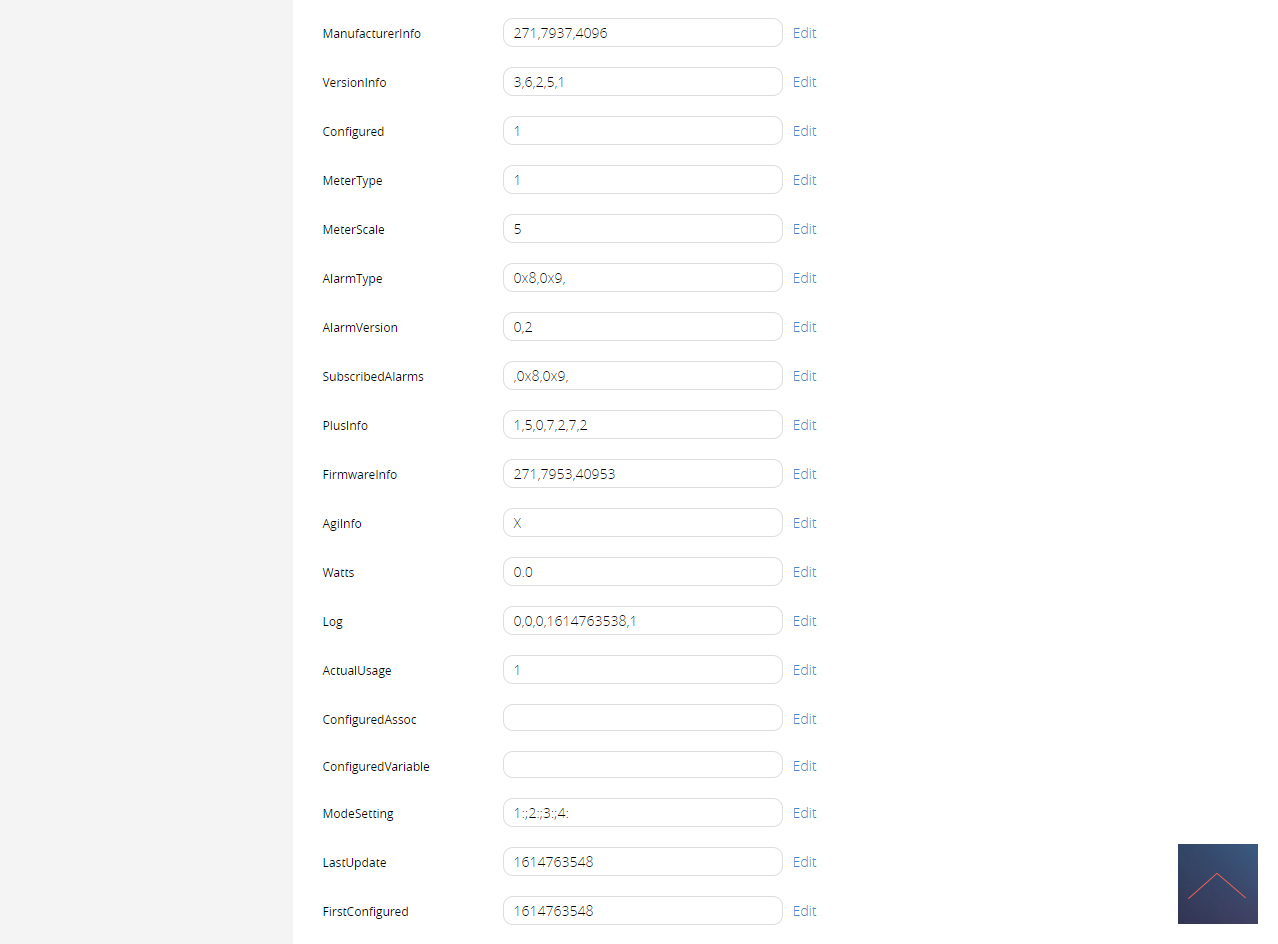
Configuration:
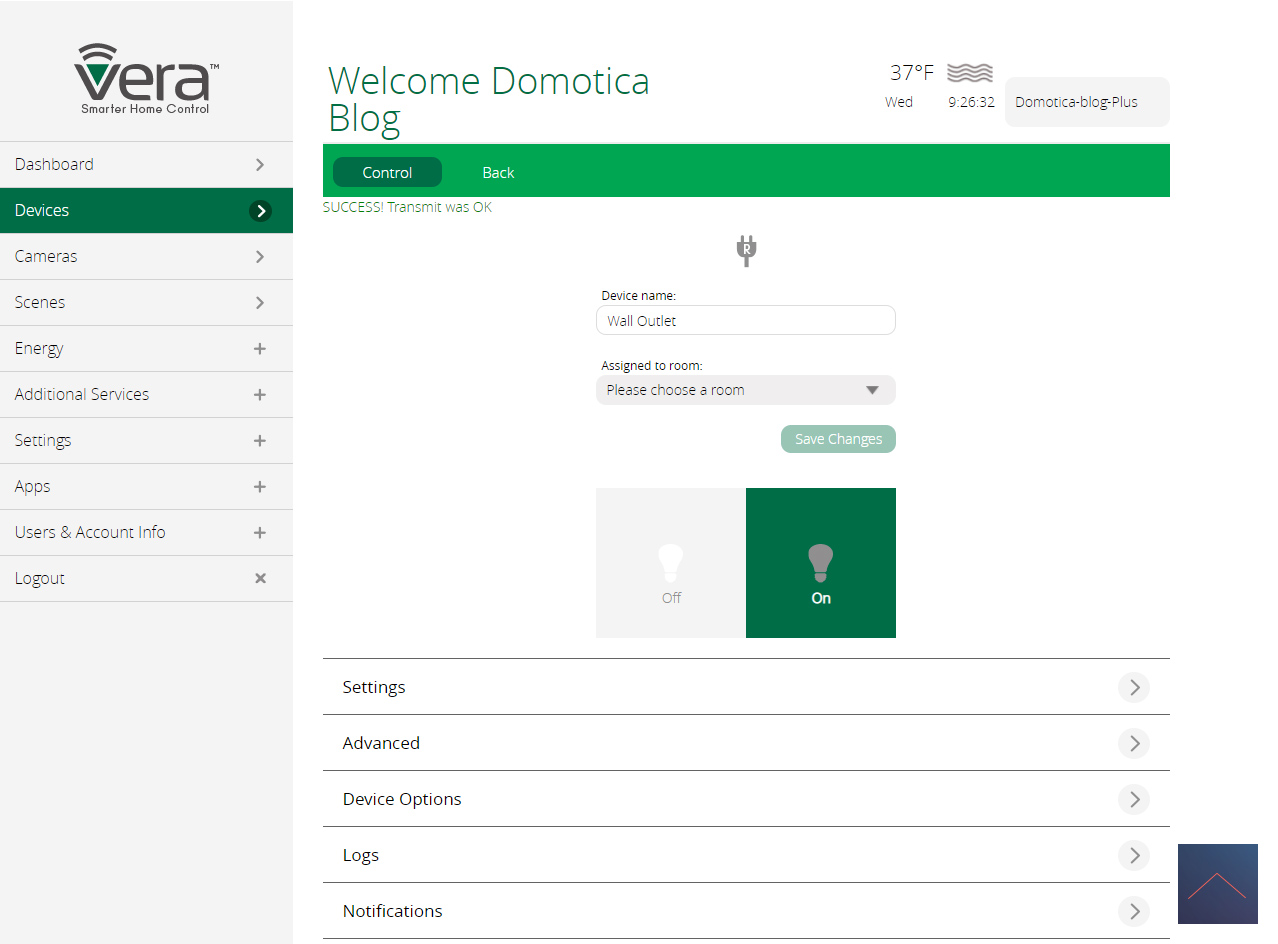
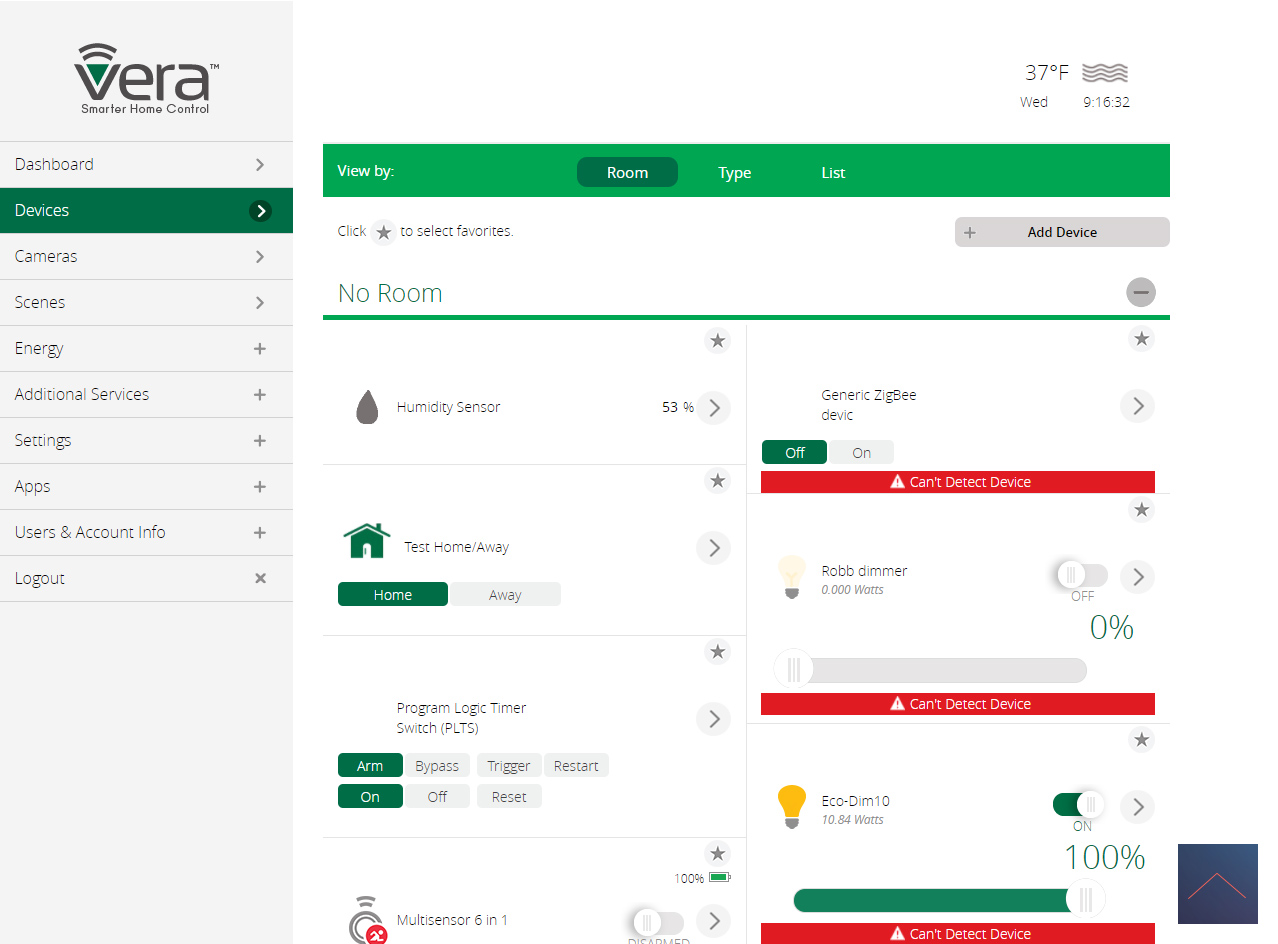
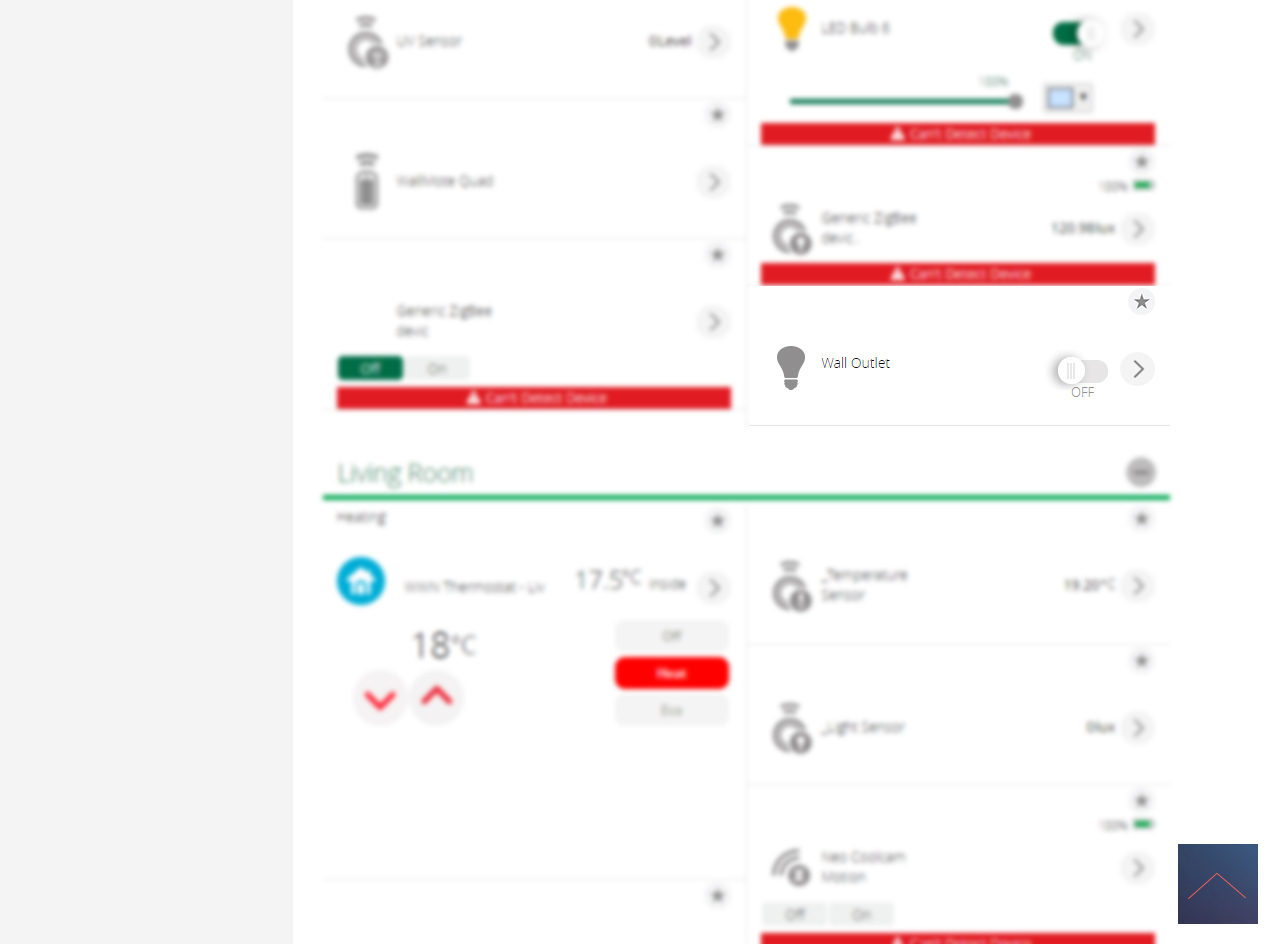
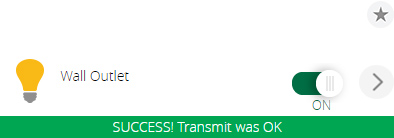
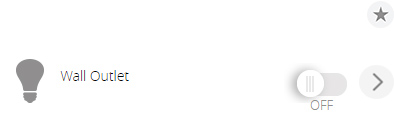
Control:
We get an on/off switch and we do not see the current consumption and total consumption. During the configuration we do see all parameters/configuration options.
We do not have the option to change the color of the LED with a scene.
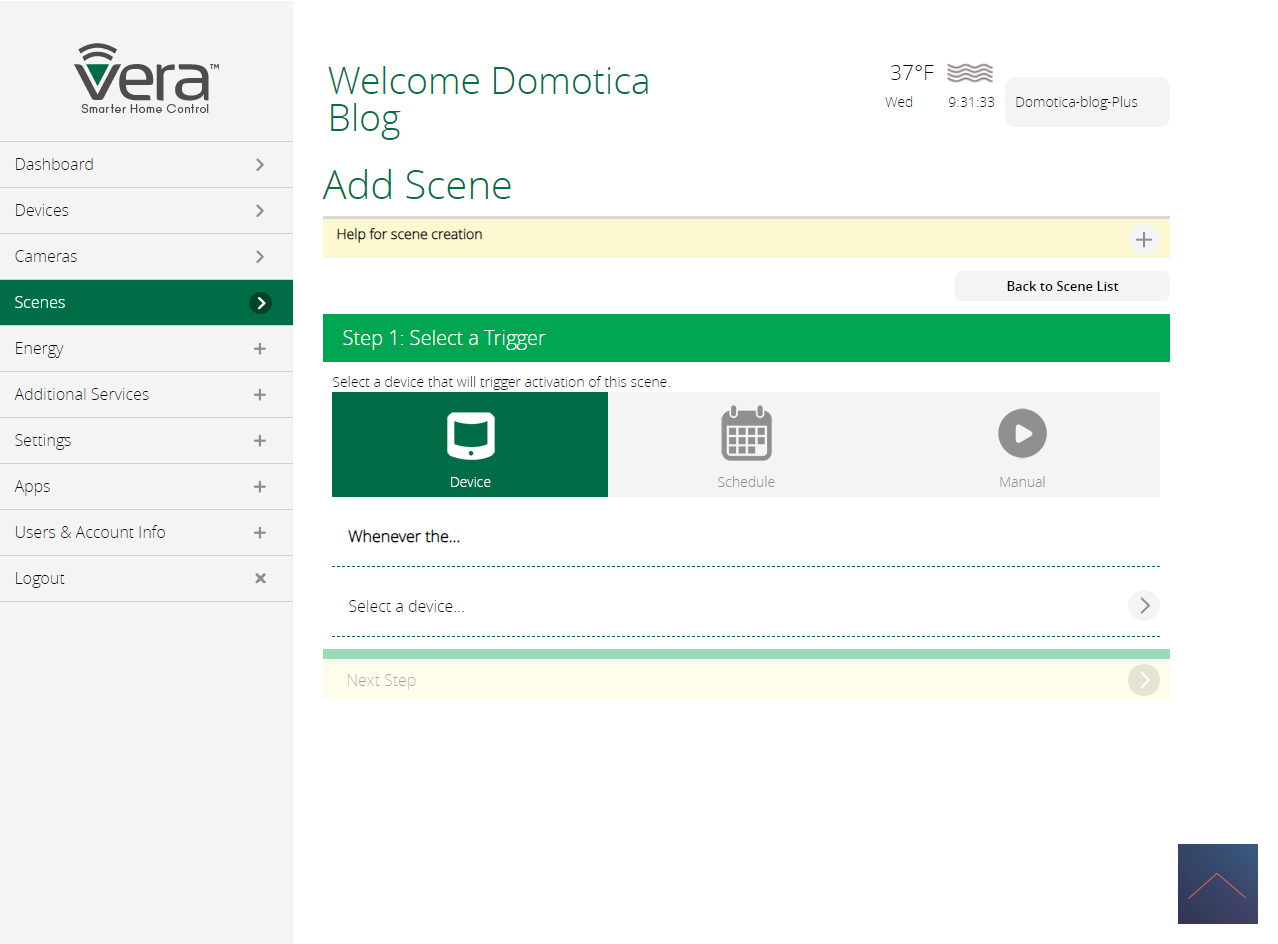
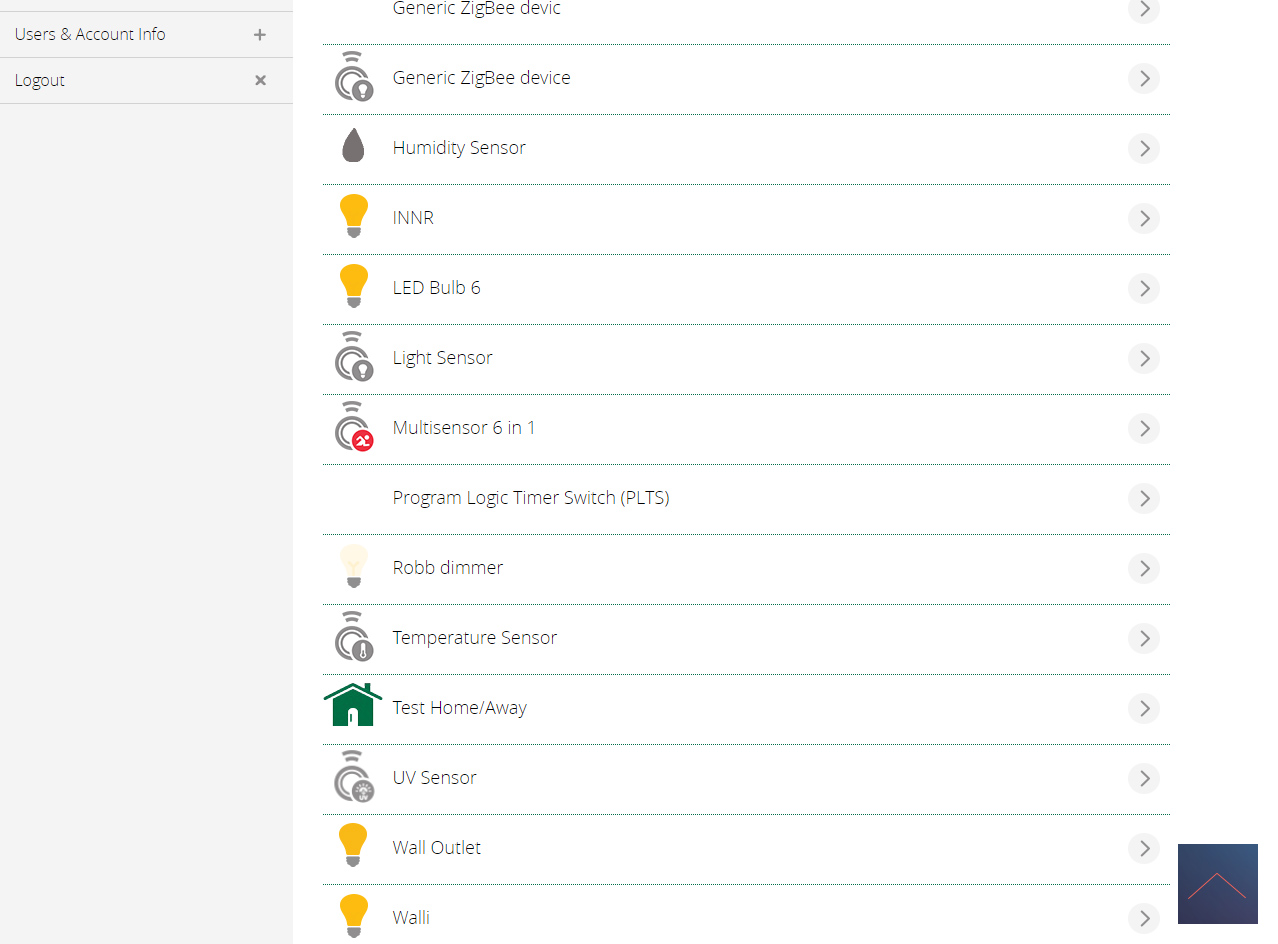
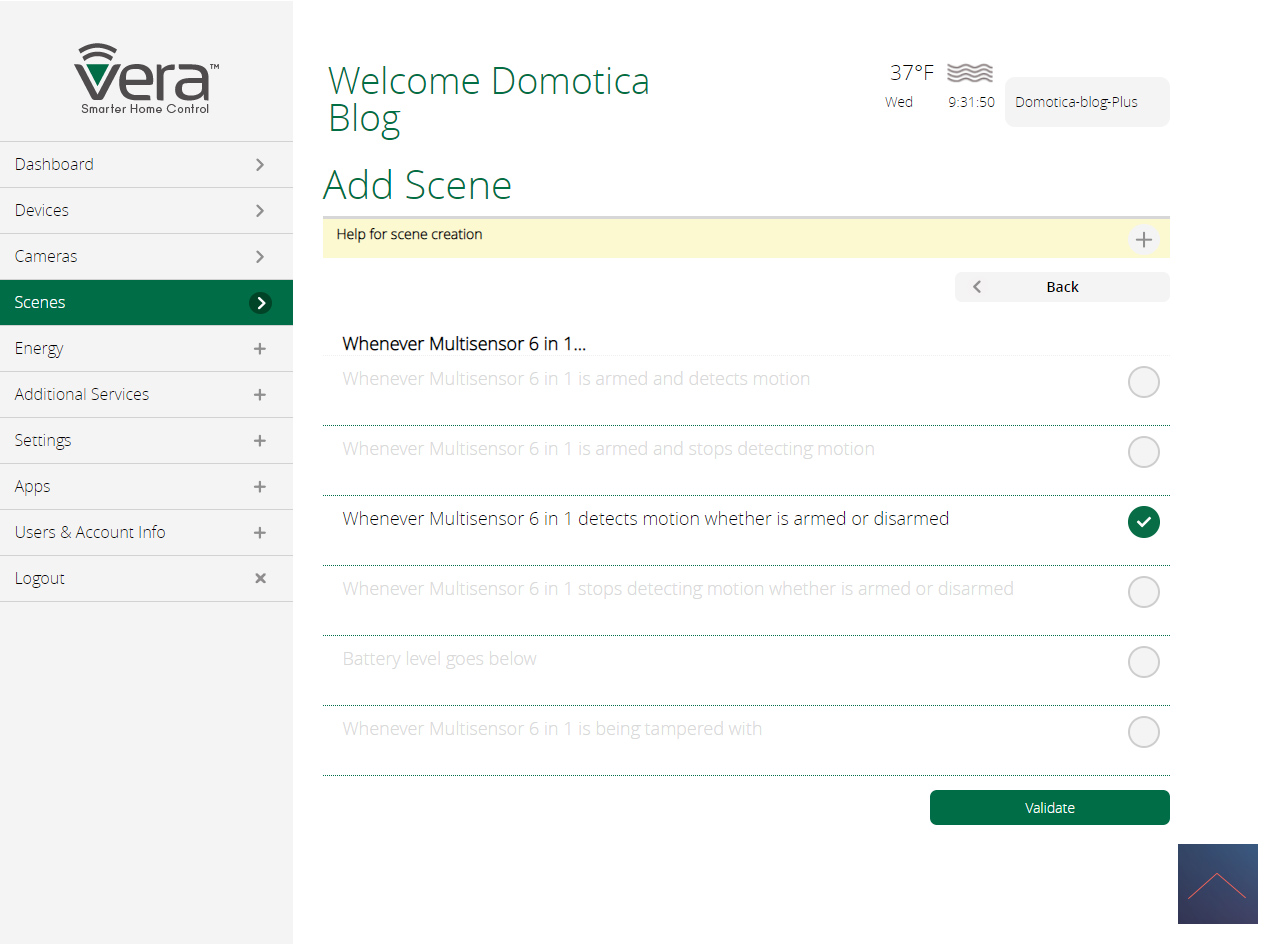
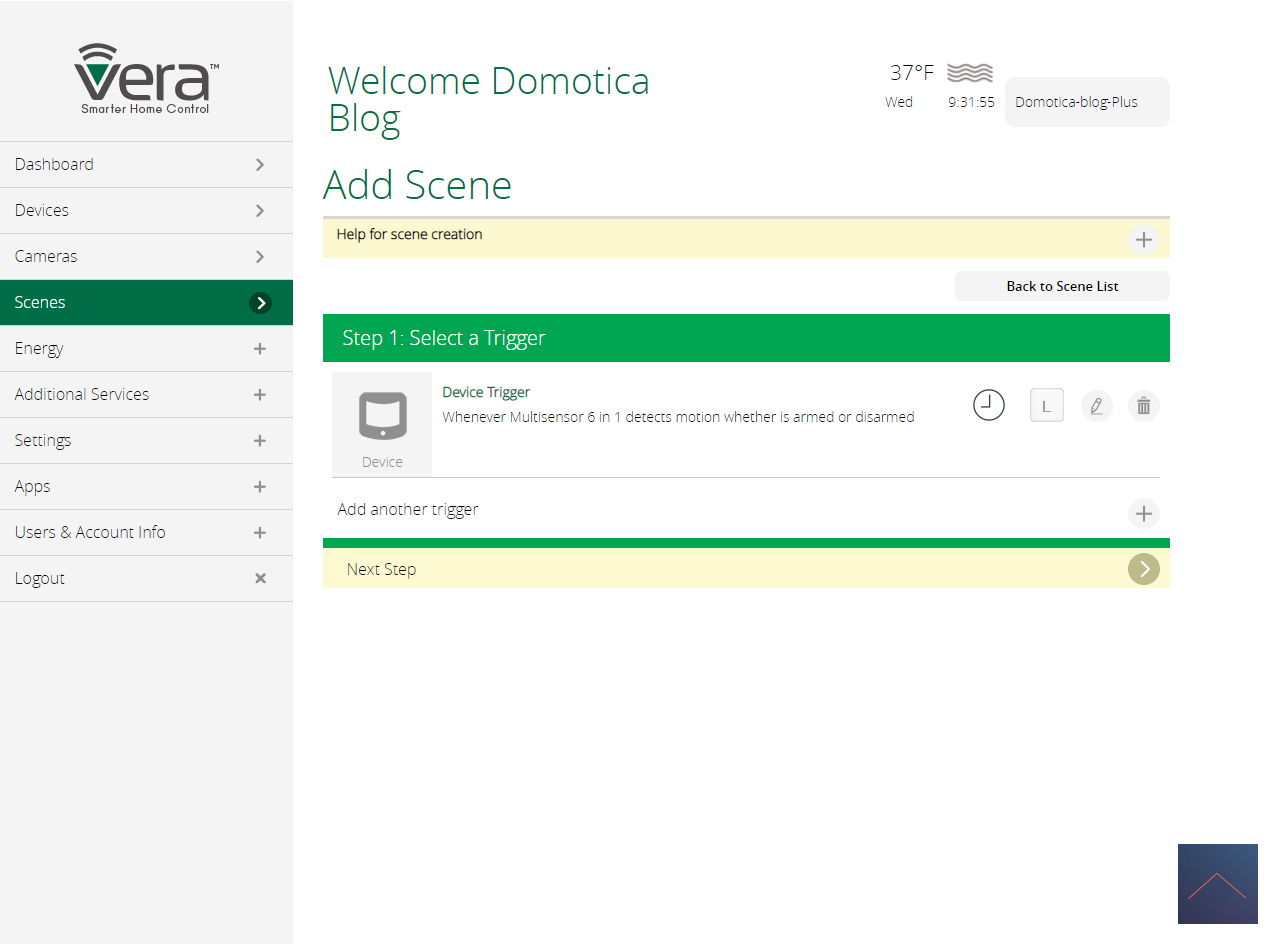
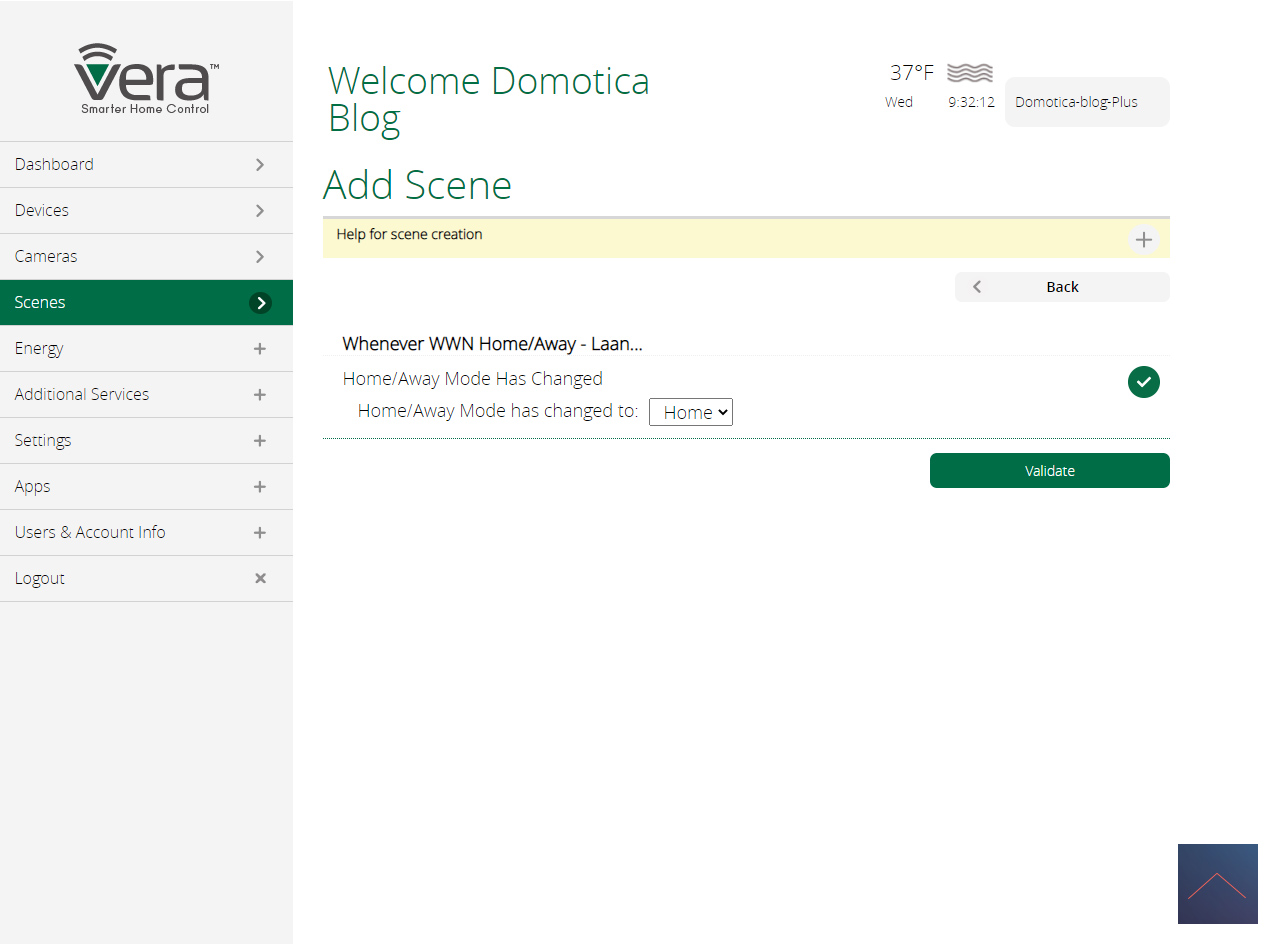
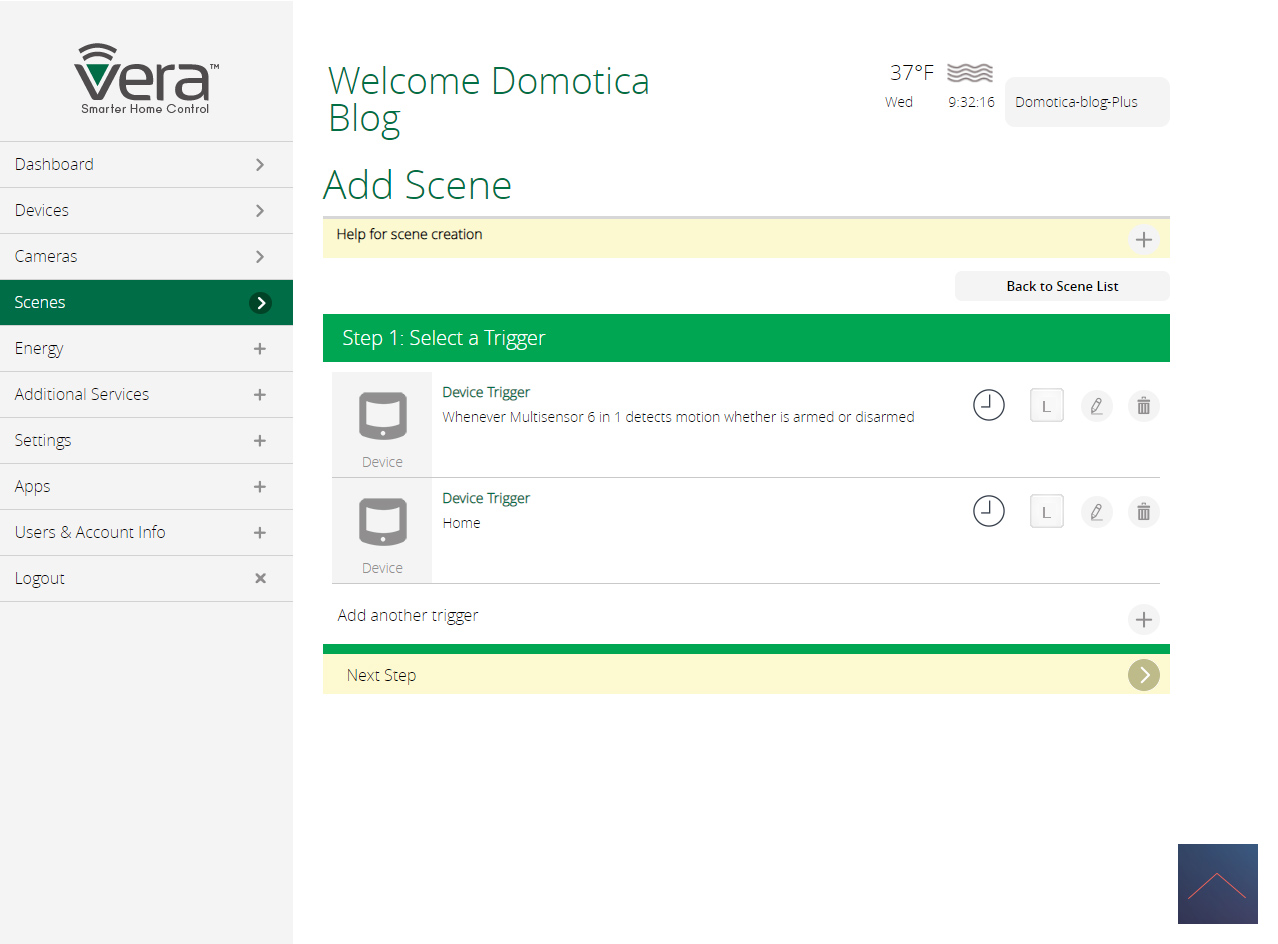
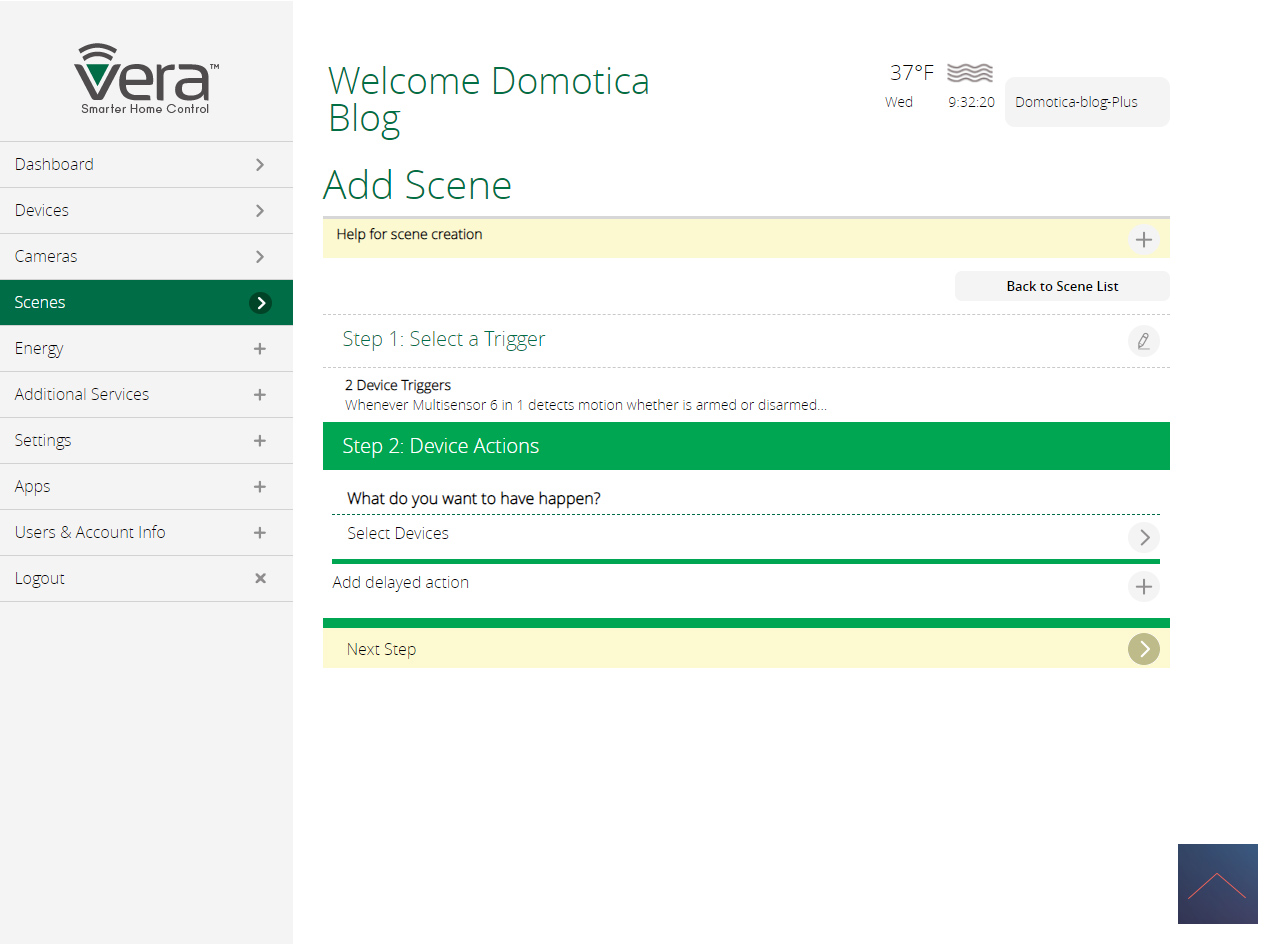
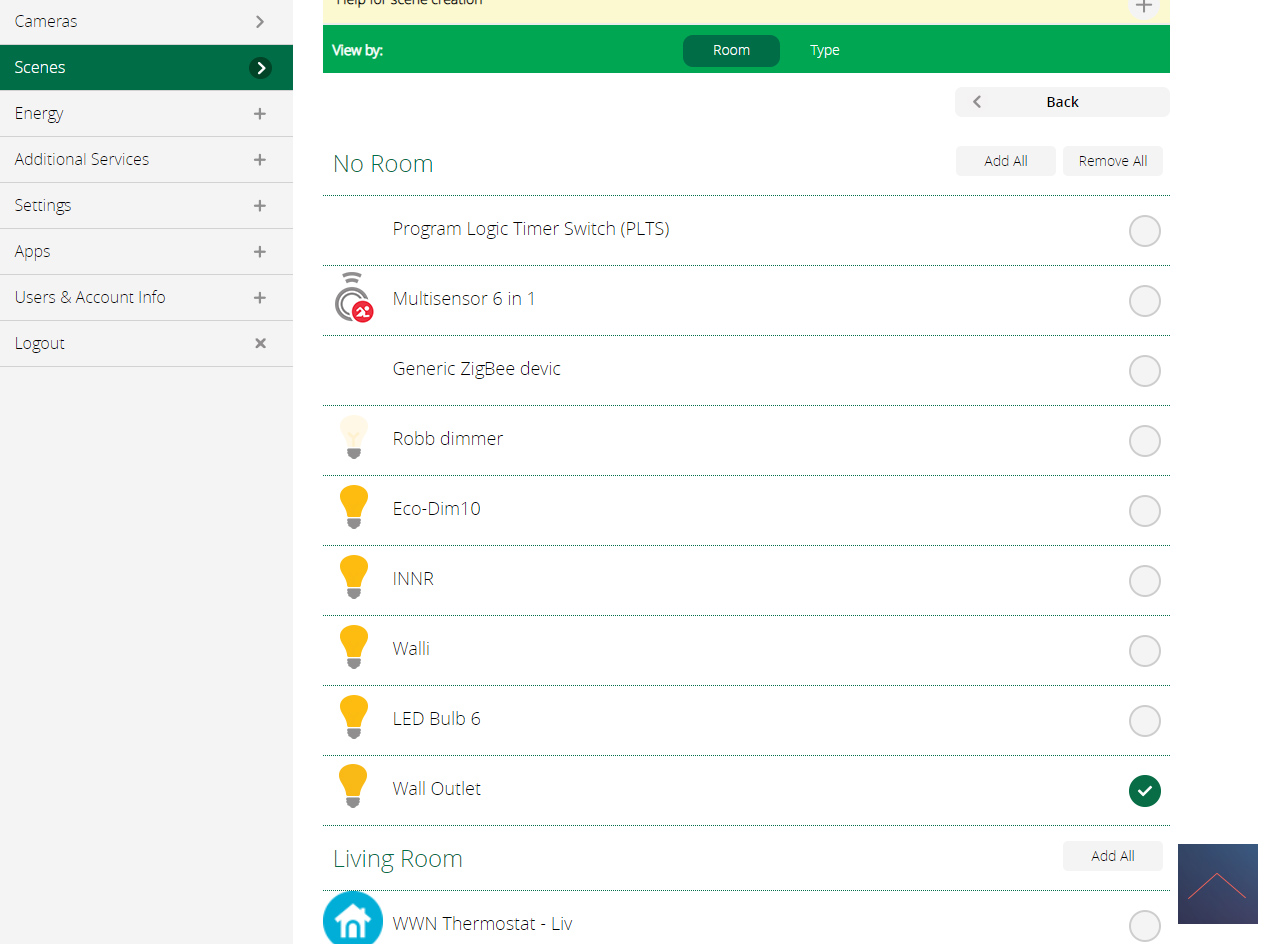
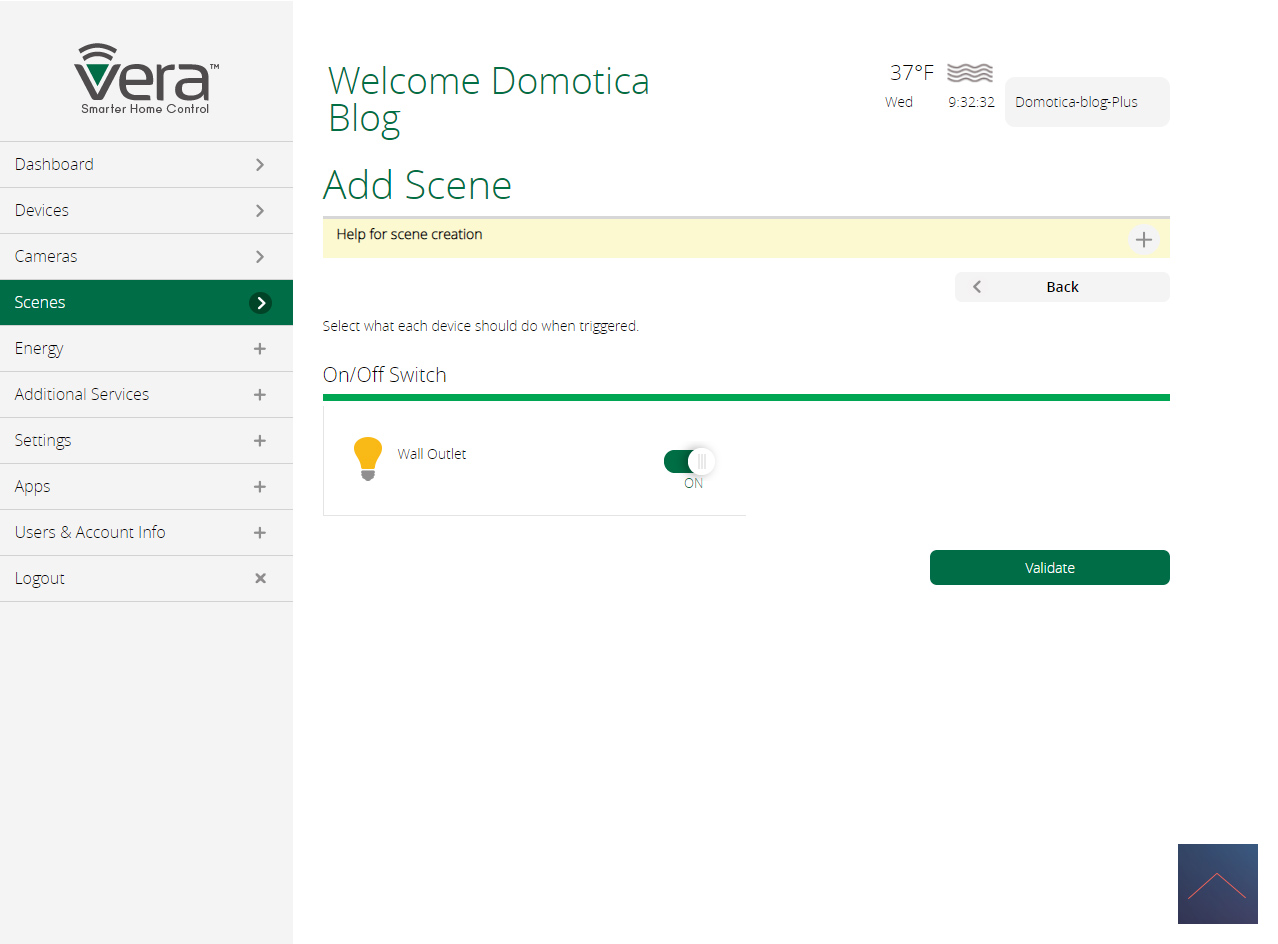
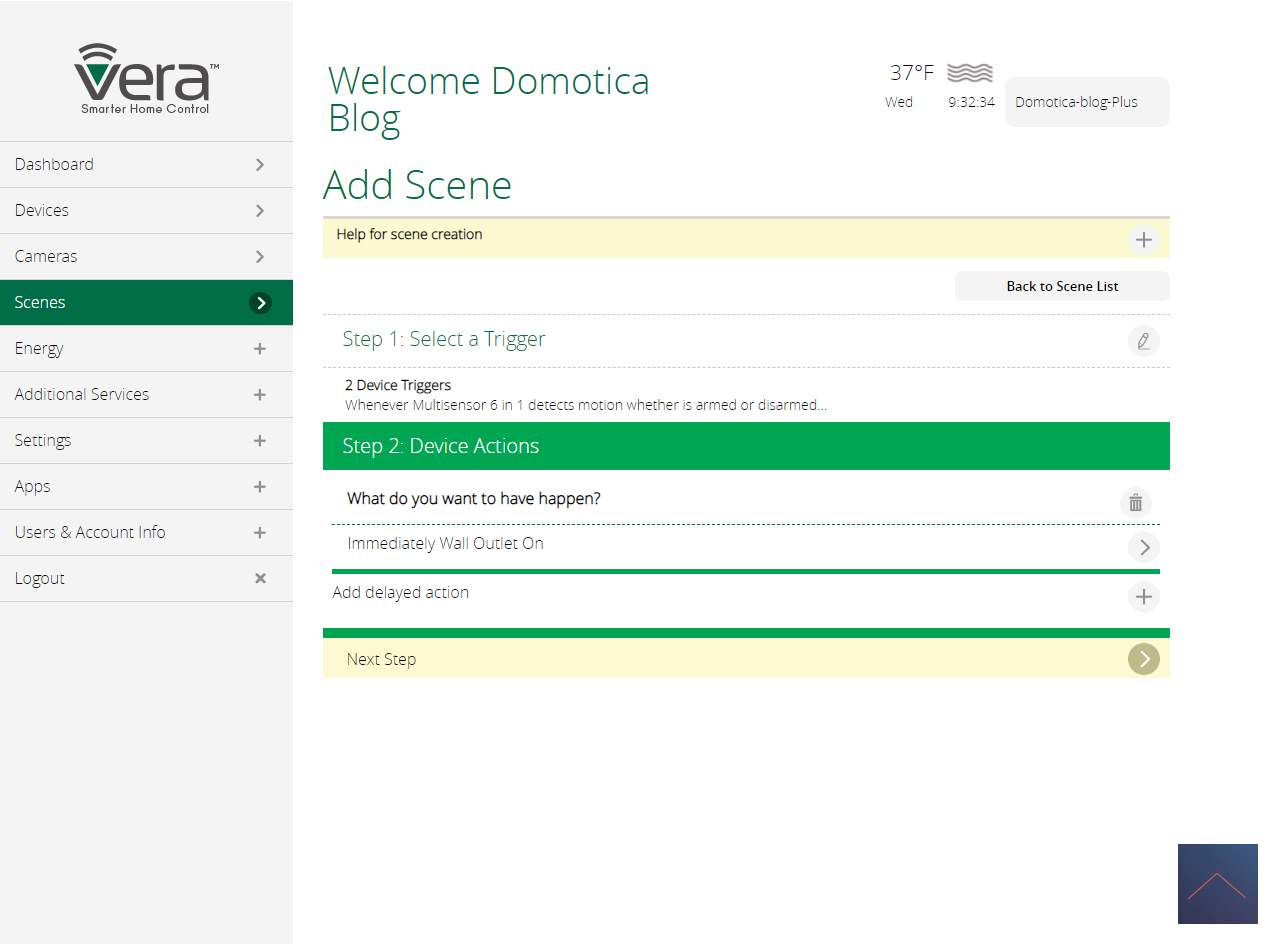
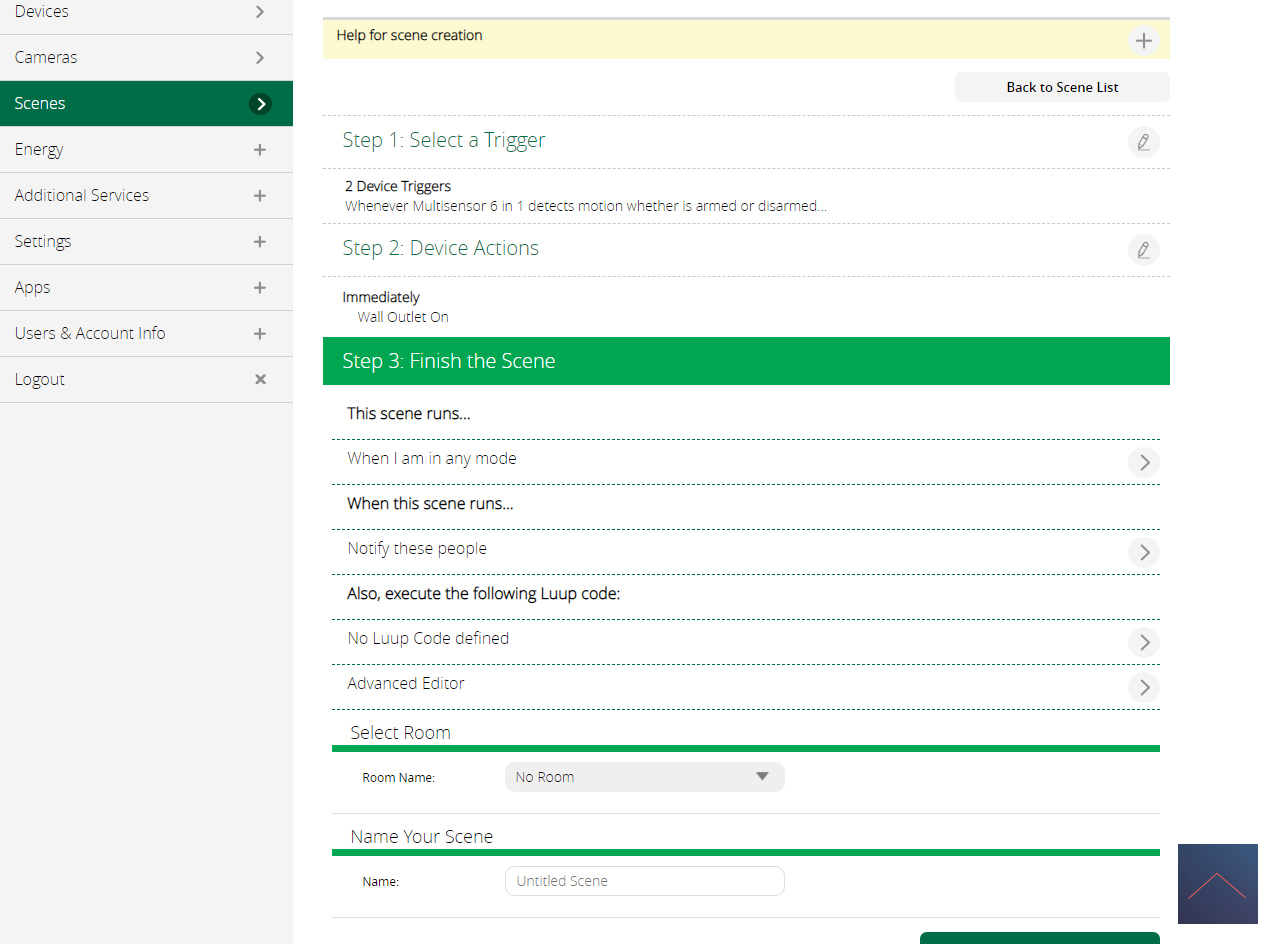
Example scene:
As an example we make that if there is movement in the hall, and I come home, that the Walli is switched on.