Review:
Eco-DIM. 07
Installation via Home Assistant:
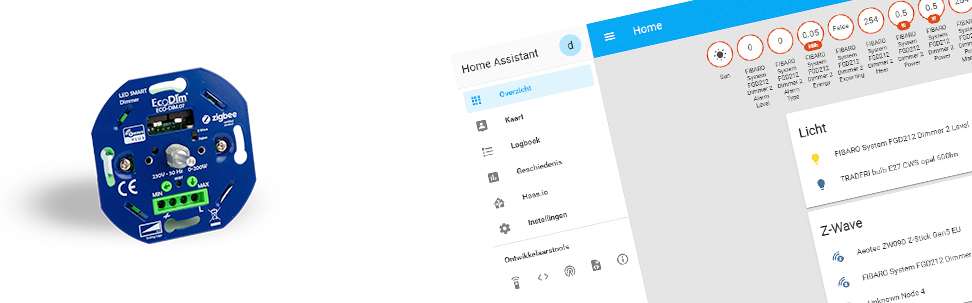
We are also going to add this Eco-DIM to HASS which we have installed on a Raspberry PI3 with an Aeon Labs Z-Wave USB stick. So we are going to add it as a Z-Wave, so make sure that the switch on the front of the dimmer is set to Z-Wave.
As a first step you ensure that the power has been removed from the wall socket in question. So nice that we will in any case not get a shock. Then remove the old wall switch and replace the Eco-DIM. A schedule is included. The dimmer uses a 2-wire system so you don't have to pull new wires. When you're done, wait a while before turning the power back on and screwing it all together.
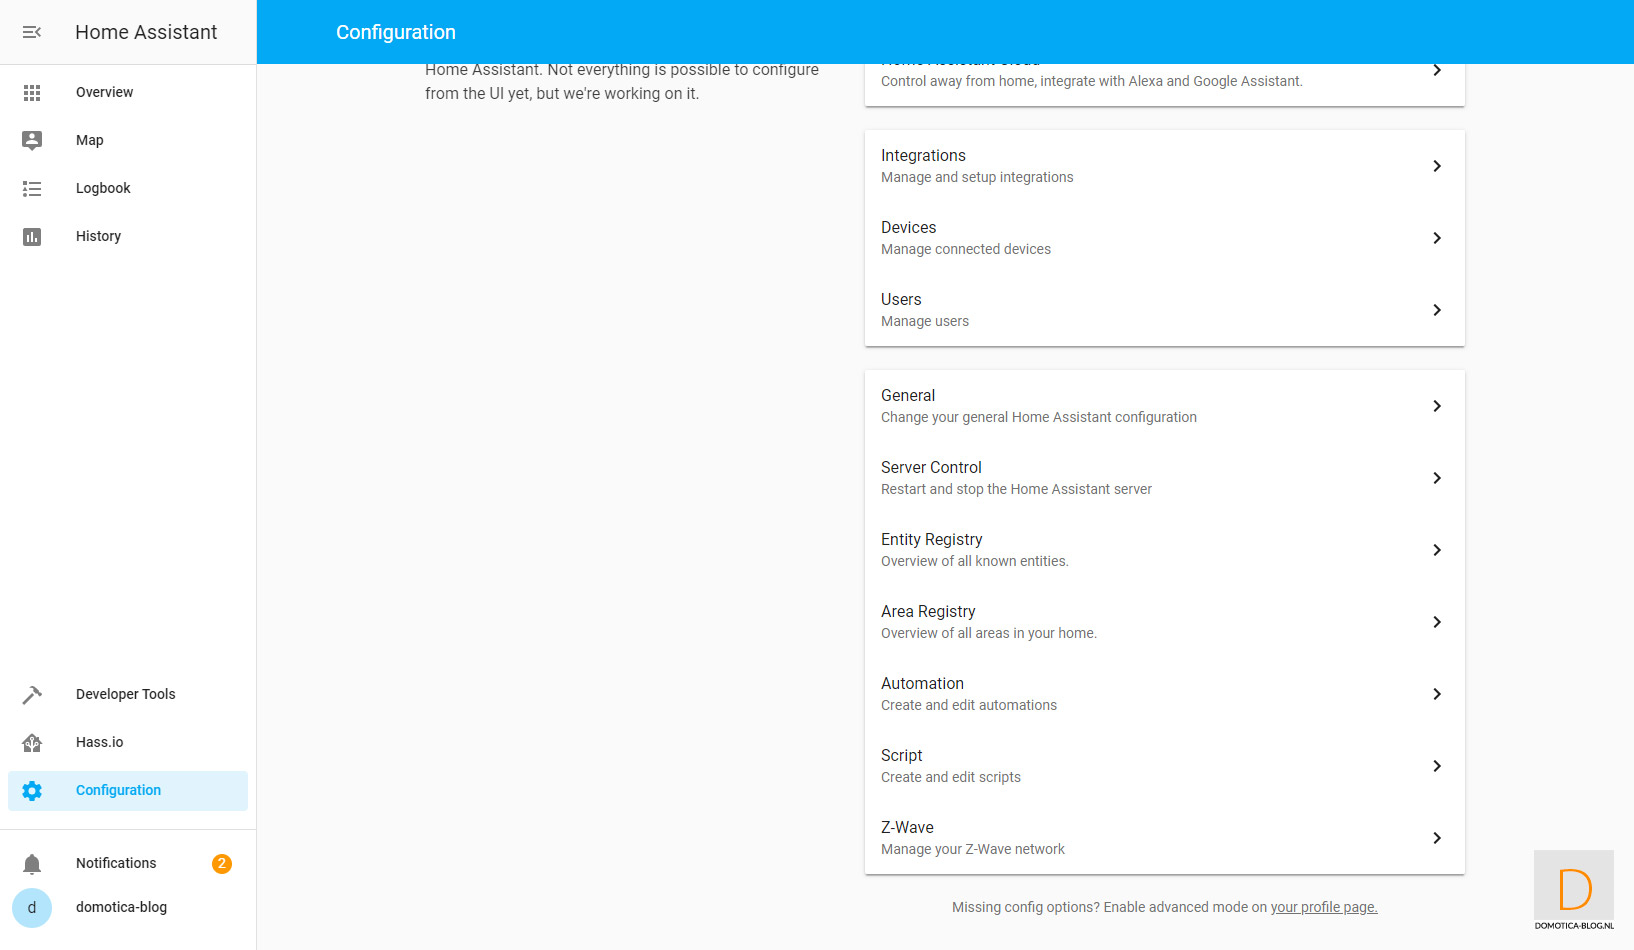
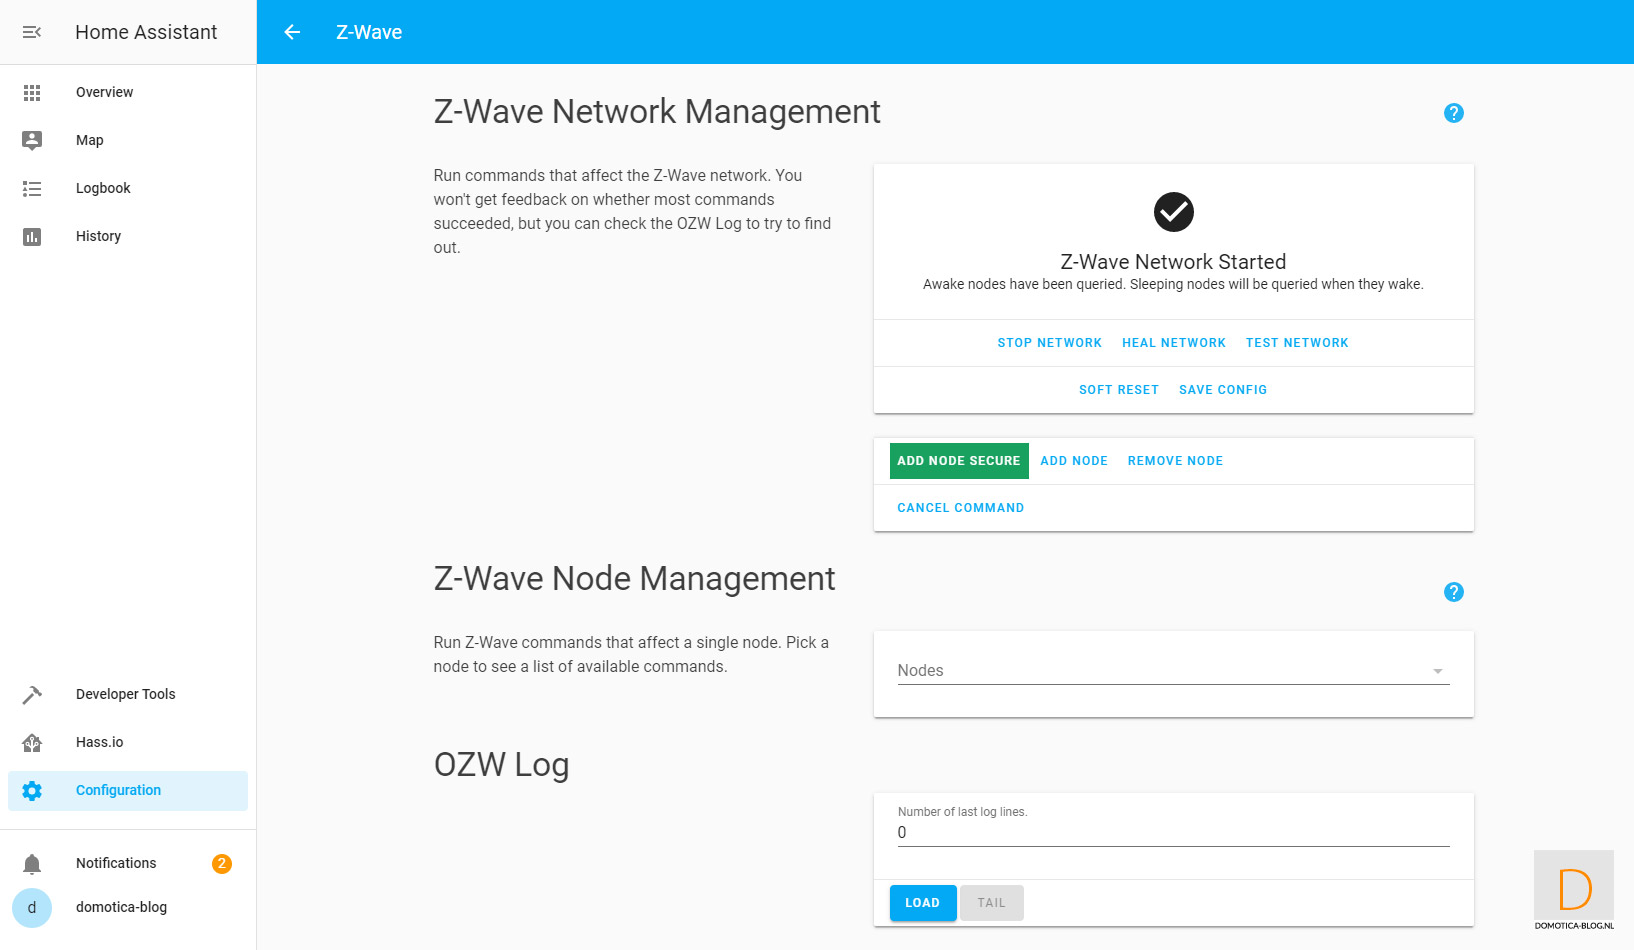
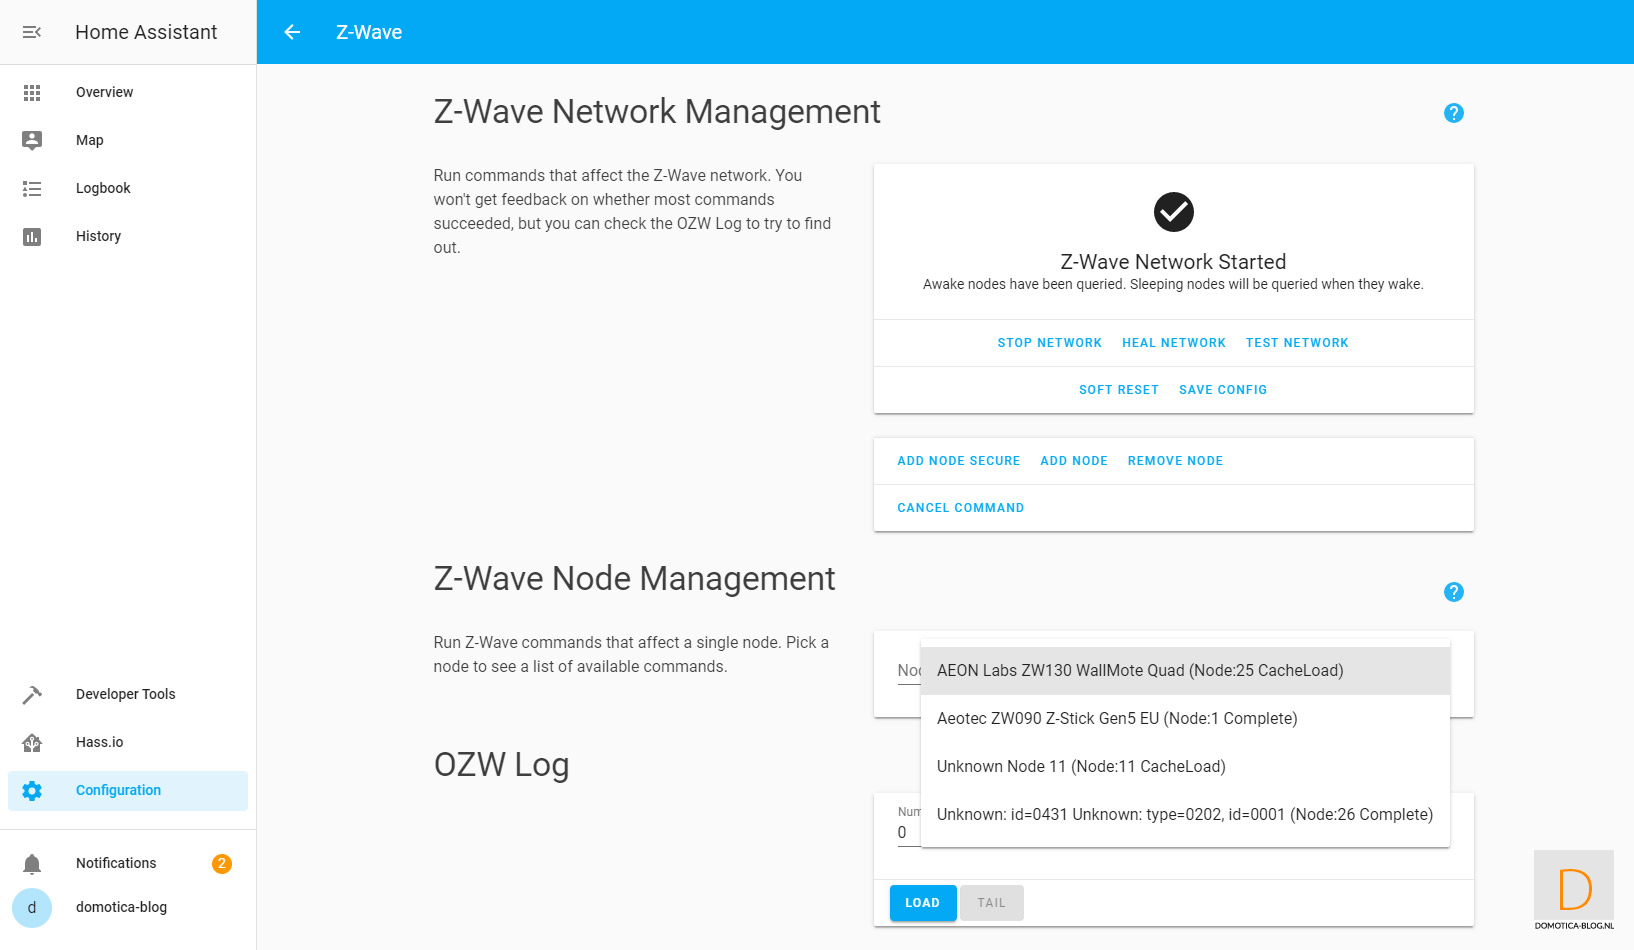
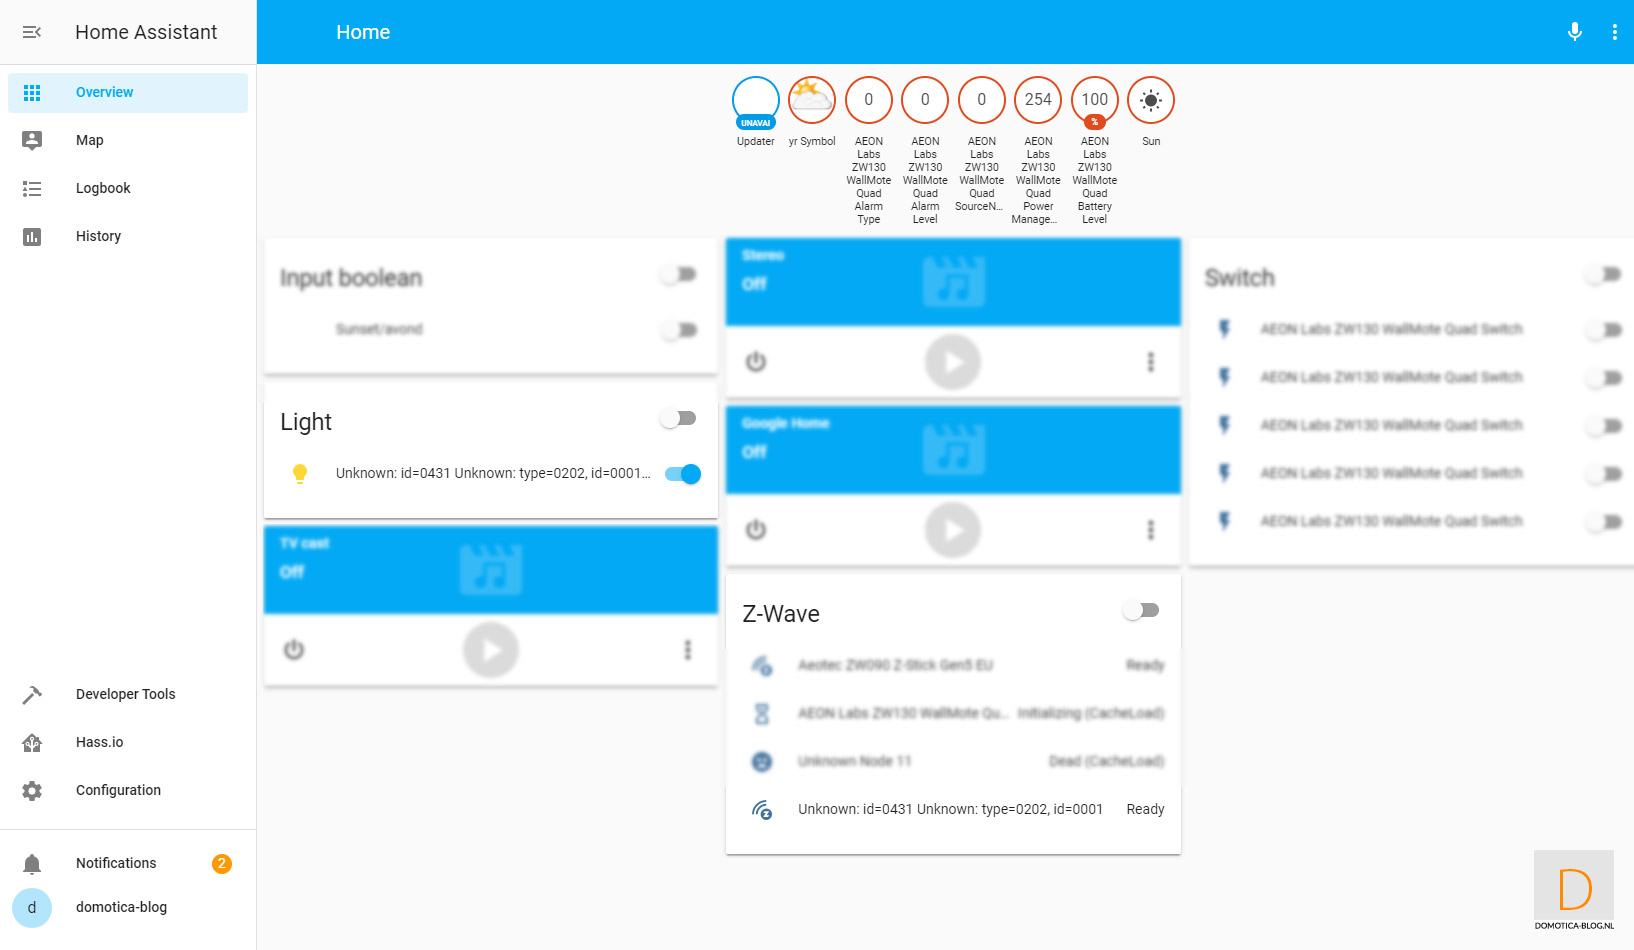
This is because it is easier to add the dimmer first. You do this by logging in to HASS via your browser and going to your configuration and then to Z-Wave. Then click on "add node" to start adding. HASS gives a very short message that the addition has started. You then provide the dimmer with power. Nothing seems to have happened, but after opening the nodes menu I see the Dimmer.
If the addition does not work, you can press the button on the front 4 times in succession then you start the addition as well. By the way, the LED will first blink and then be fully lit to indicate that the addition was successful.
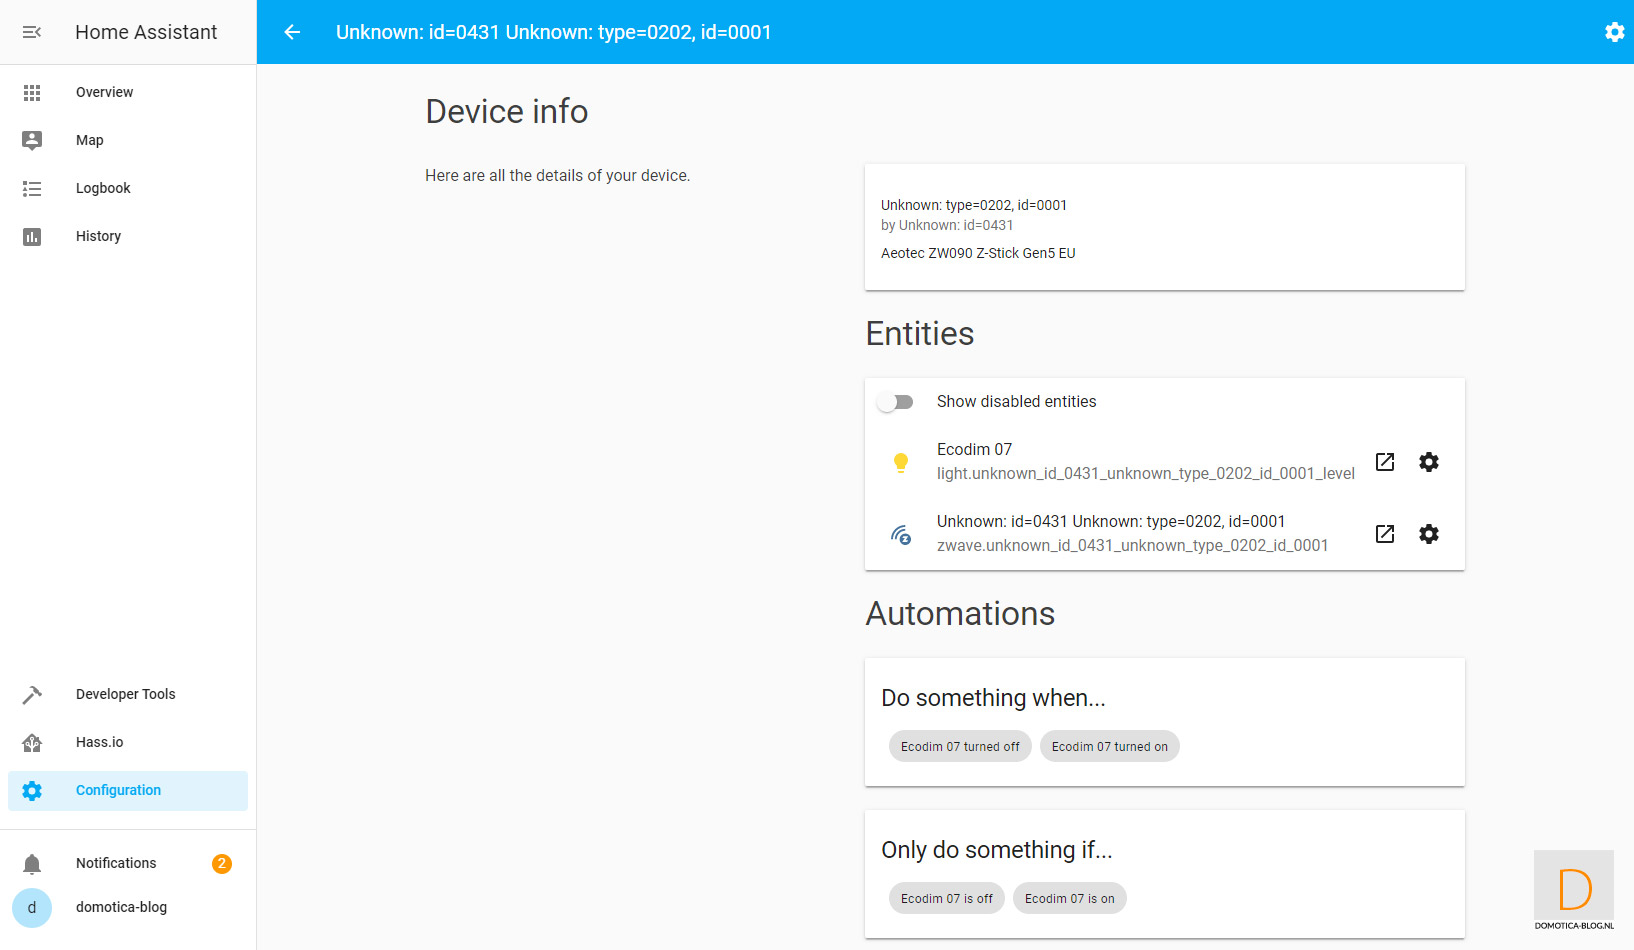
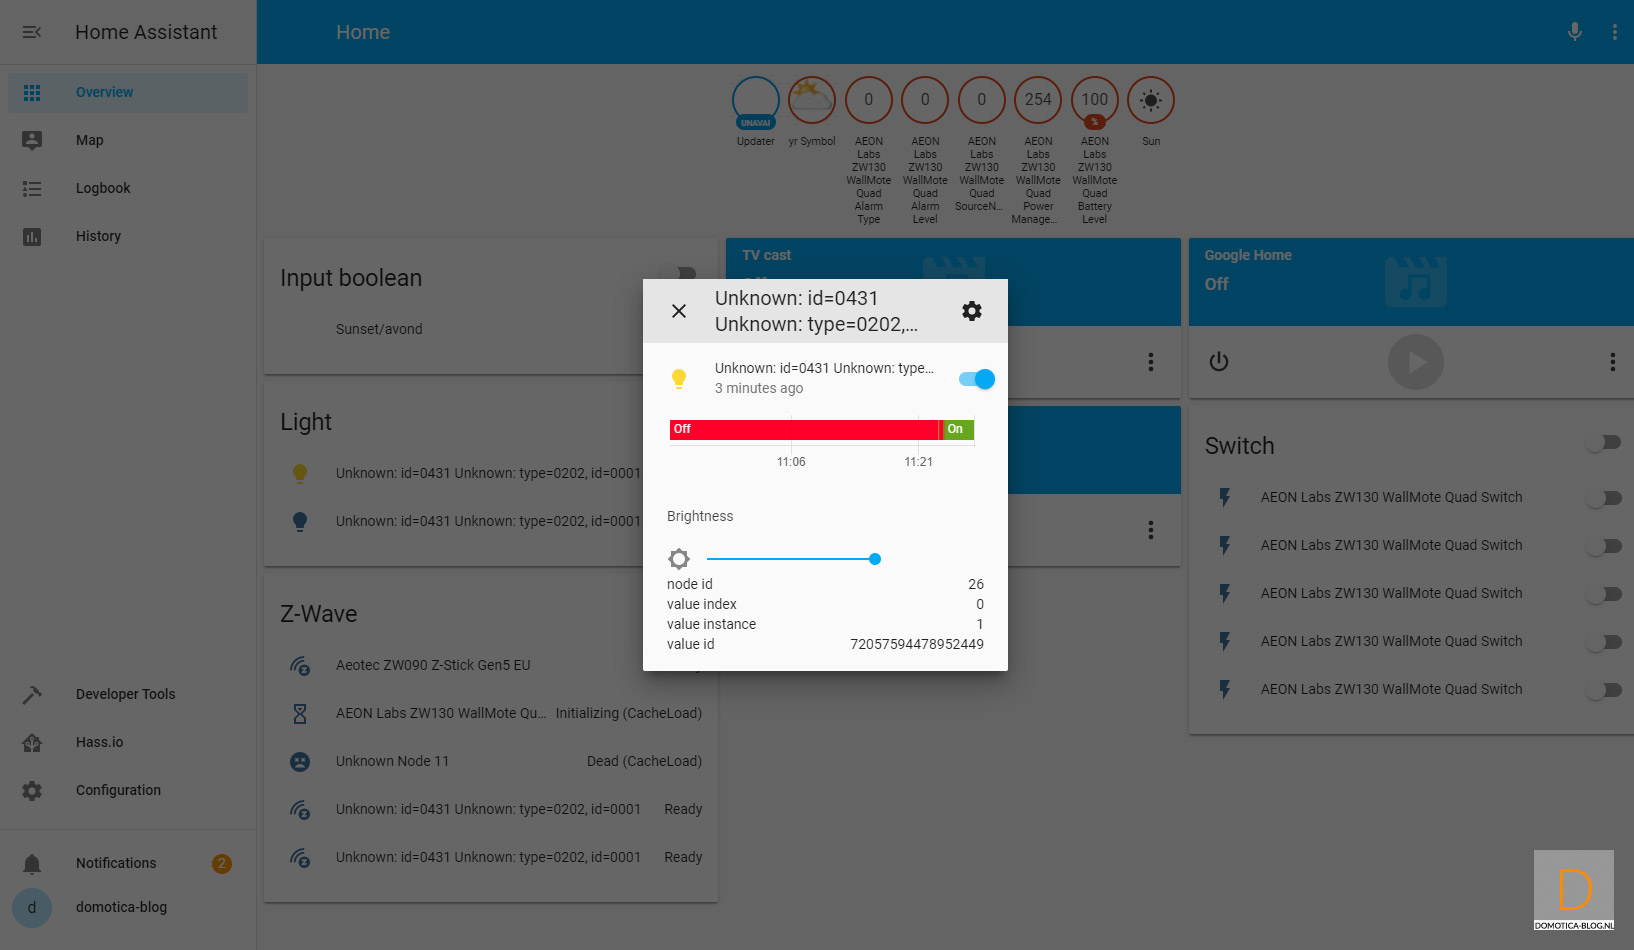
When I look at my devices I also see them standing and when I operate them the dimmer responds as well. So all right. The final step, of course, is to close it all up again.
Installation screens:

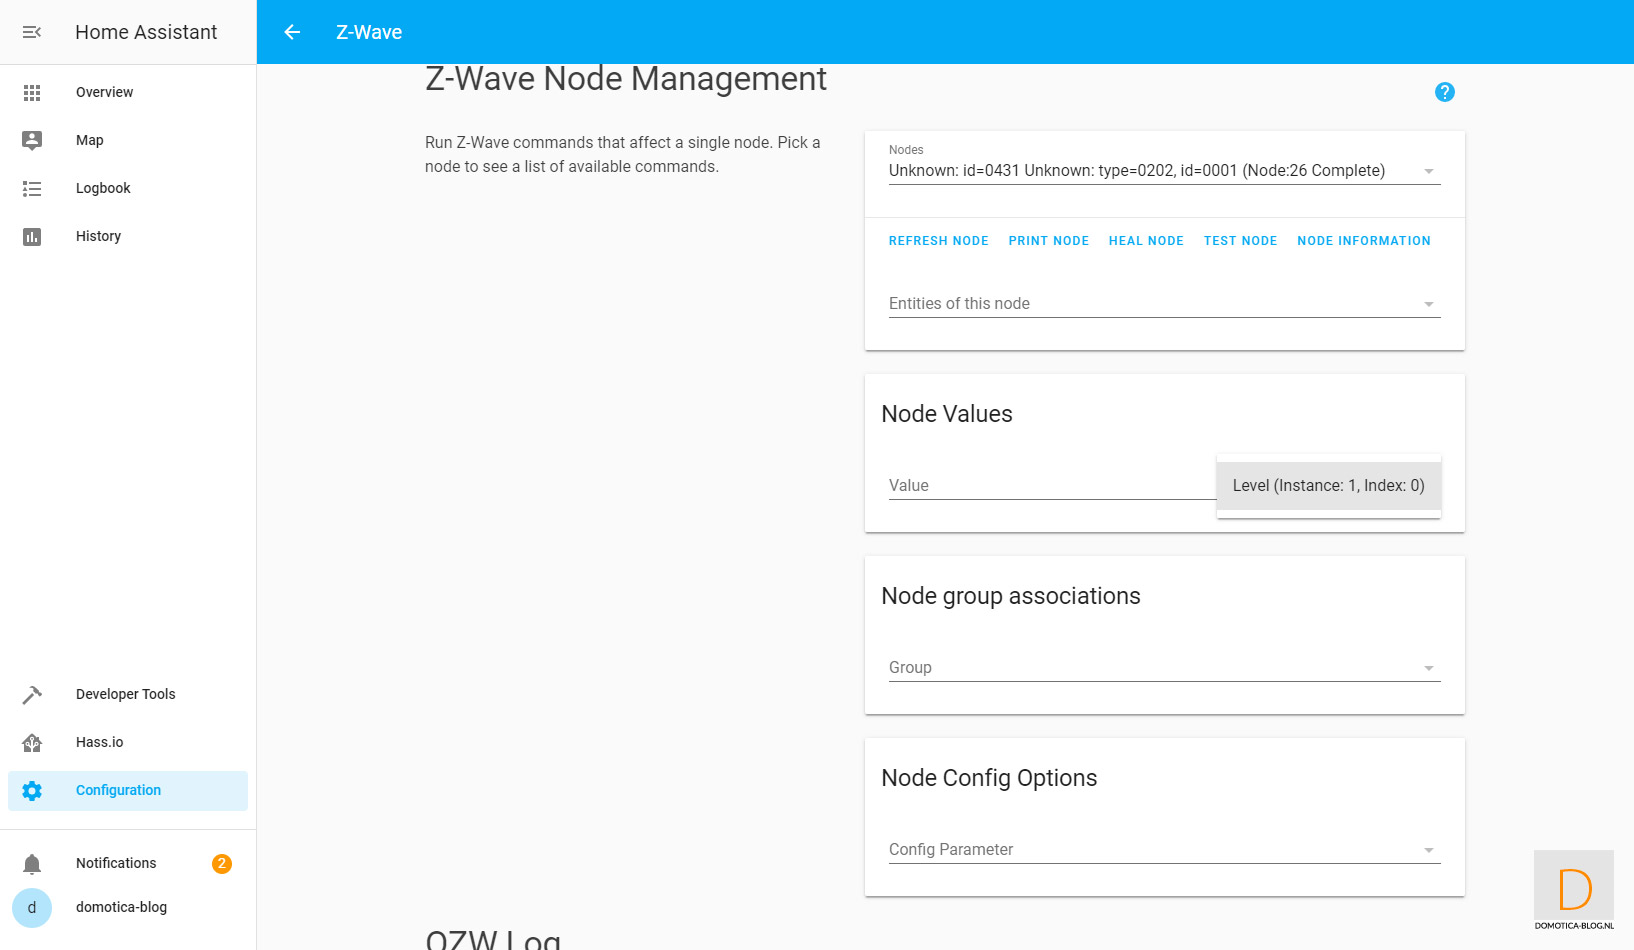

Node info:
Dashboard:

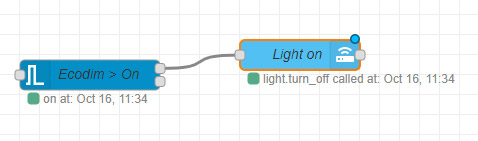
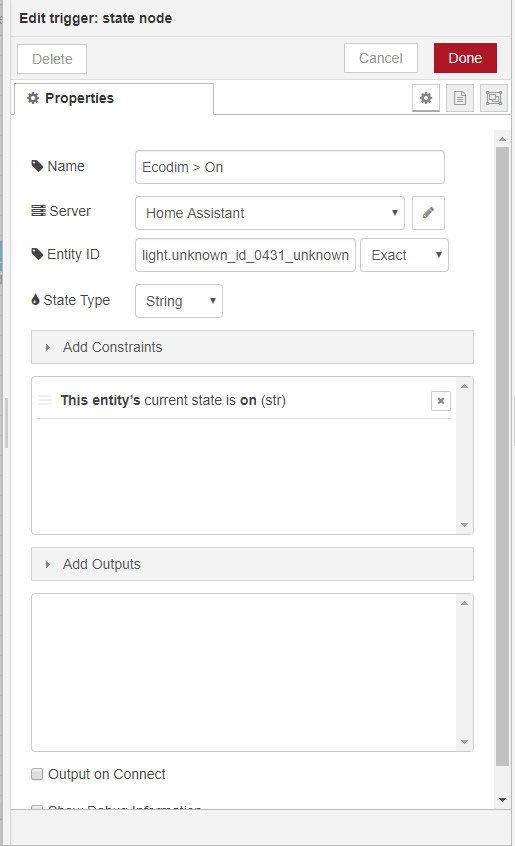
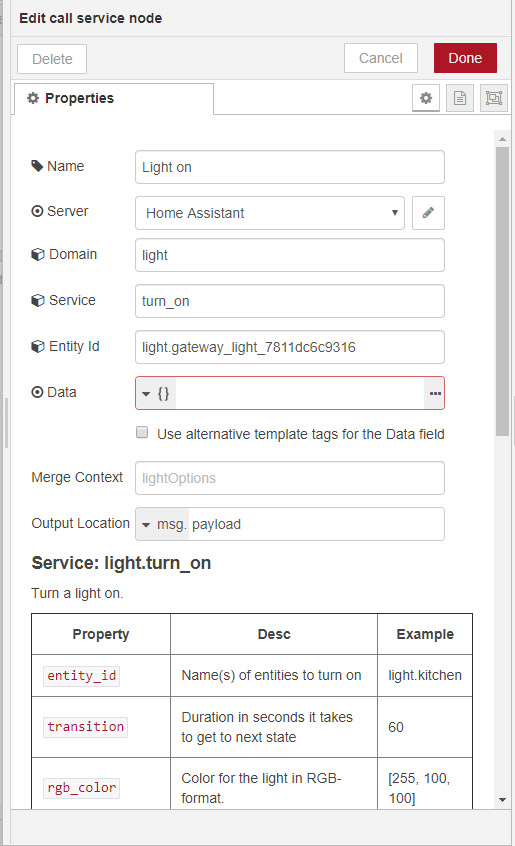
Example flow:
If the Eco-Dim is switched on, then also switch on the hall lamp.