Review:
Eco-DIM. 07
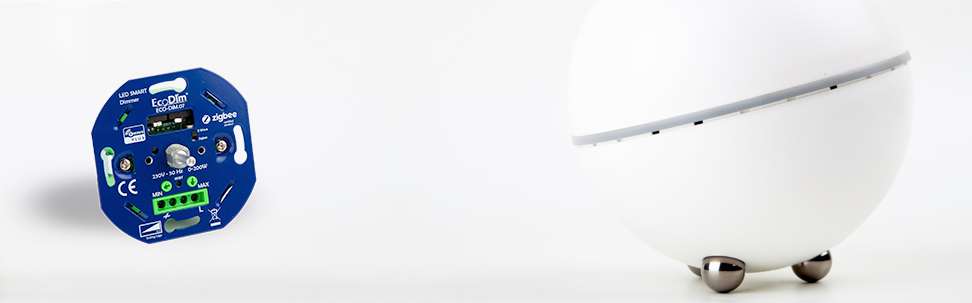
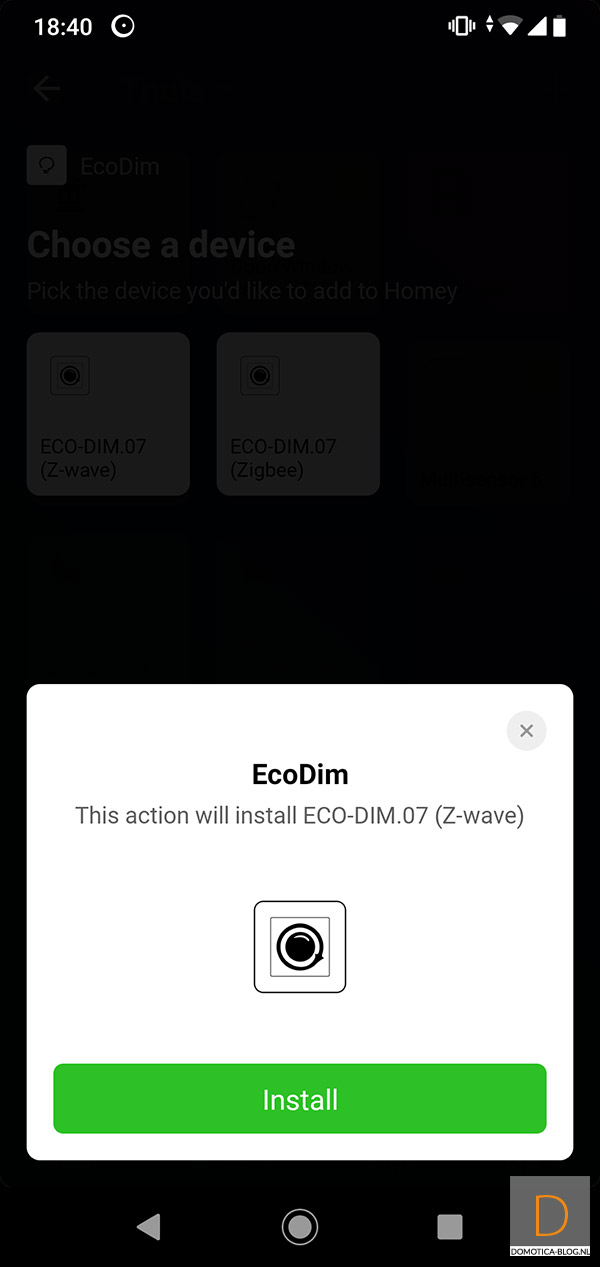
First we connect the dimmer and we ensure that the current is removed from the existing wall switch. Unscrew the existing wall switch and connect the dimmer according to the enclosed diagram. Make sure the switch is on Z-Wave, because we are going to add it as a Z-wave. When you're done, wait a while before turning the power back on and screwing it all together. This dimmer has an "auto inclusion" option which is available for a certain time. So it's better to start the Homey APP first.
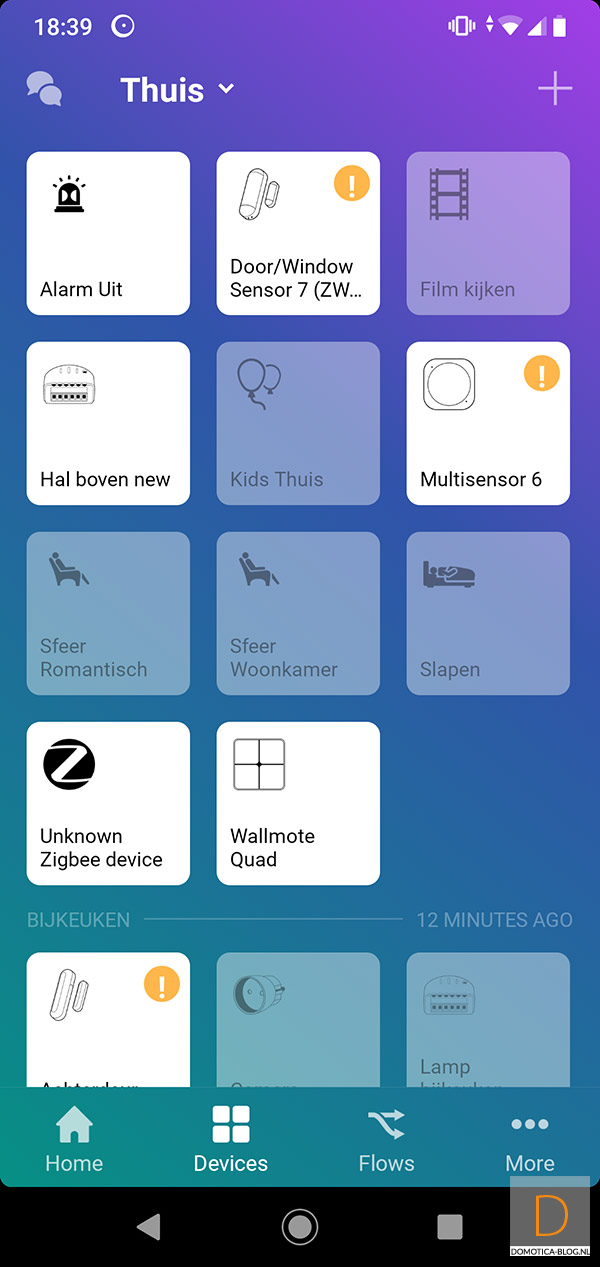
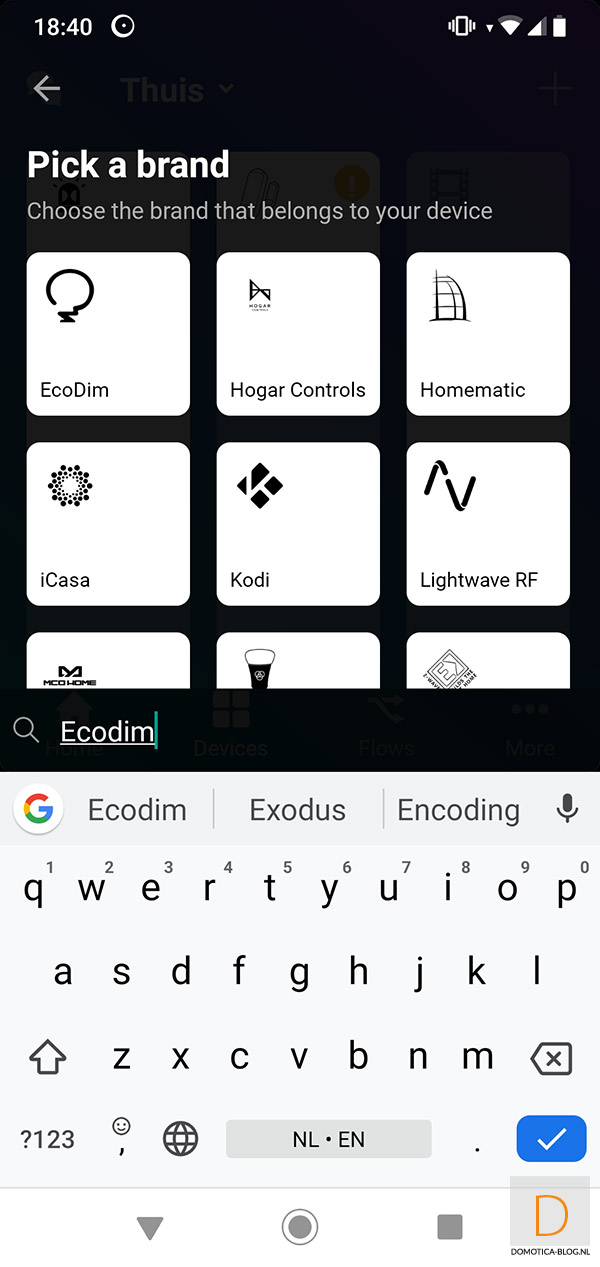
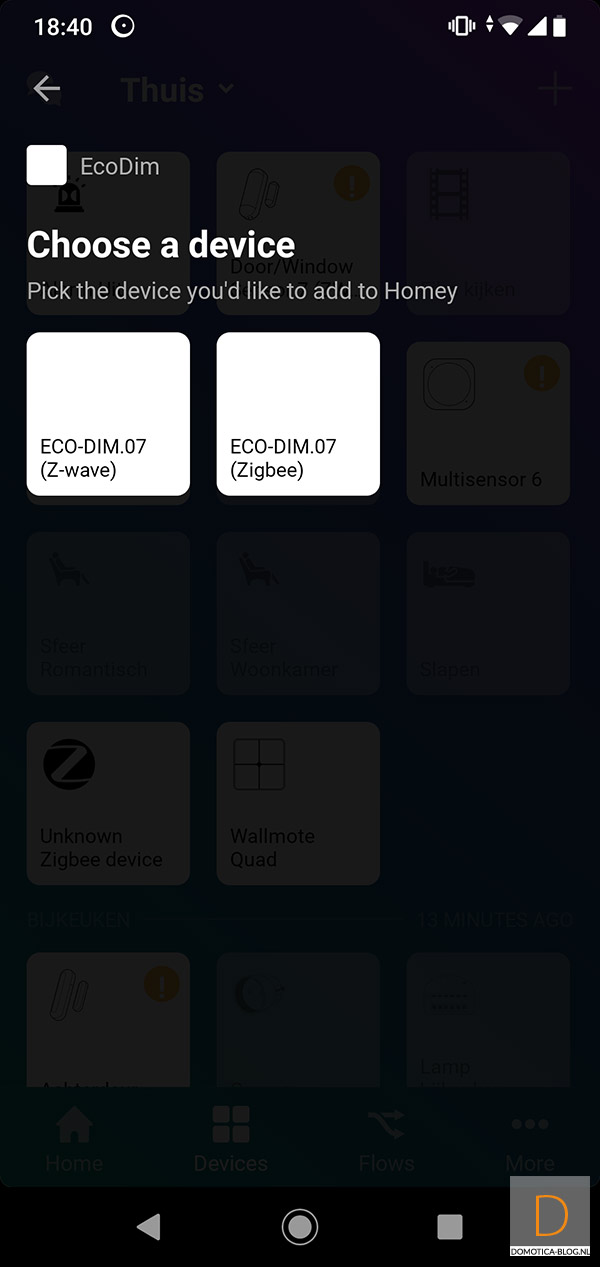
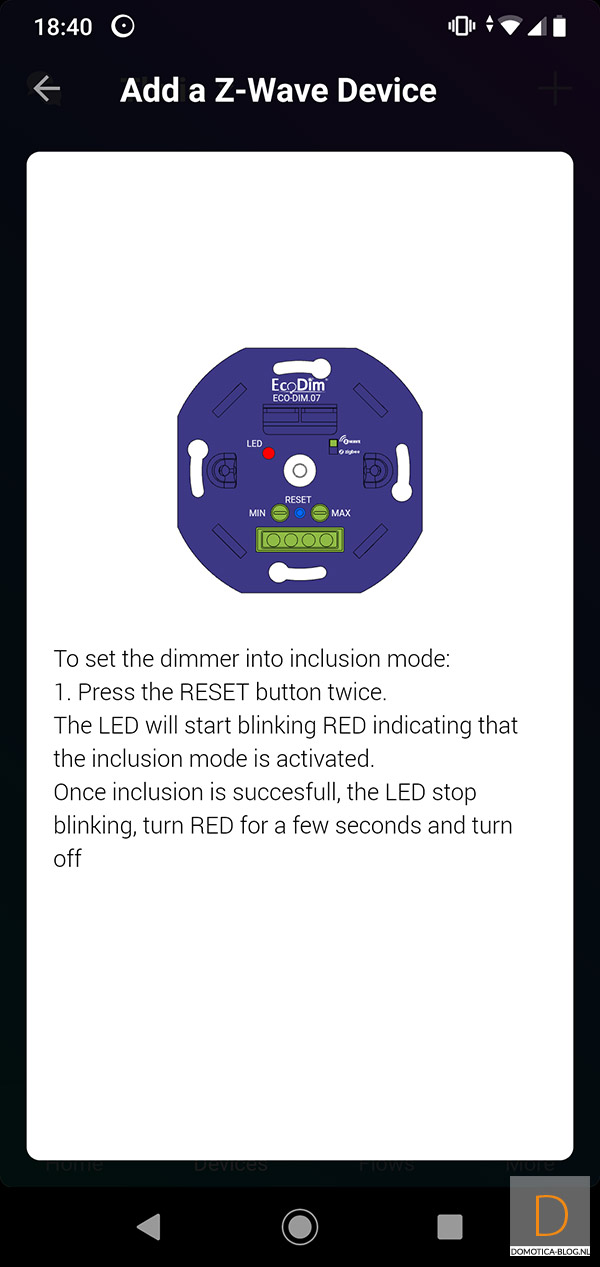
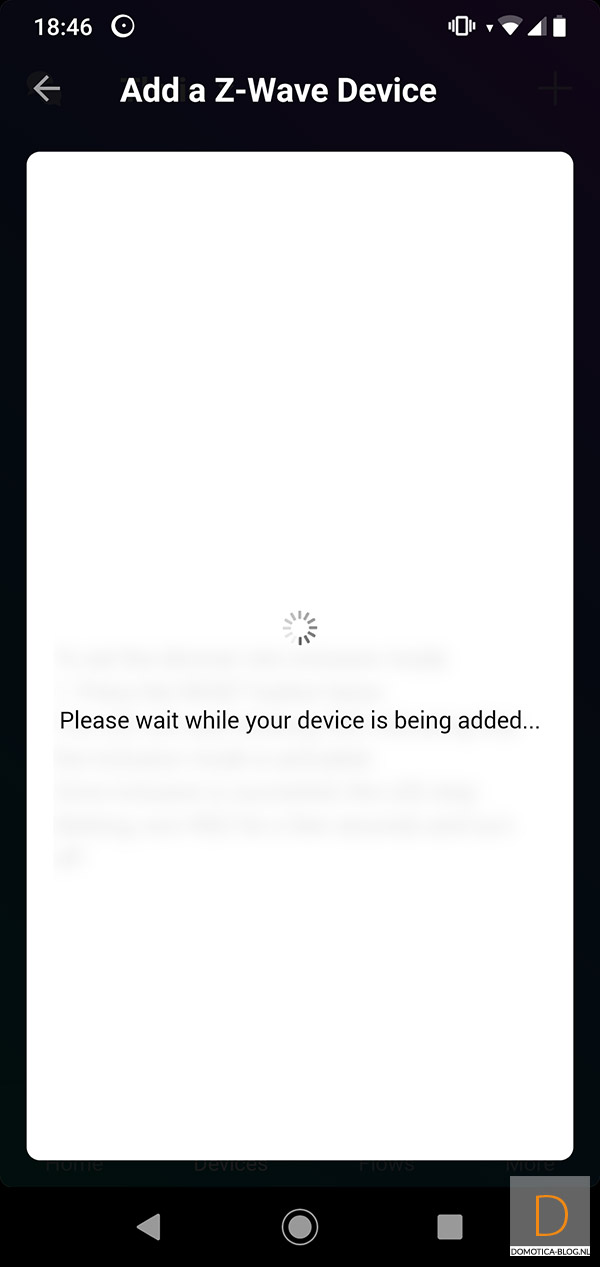
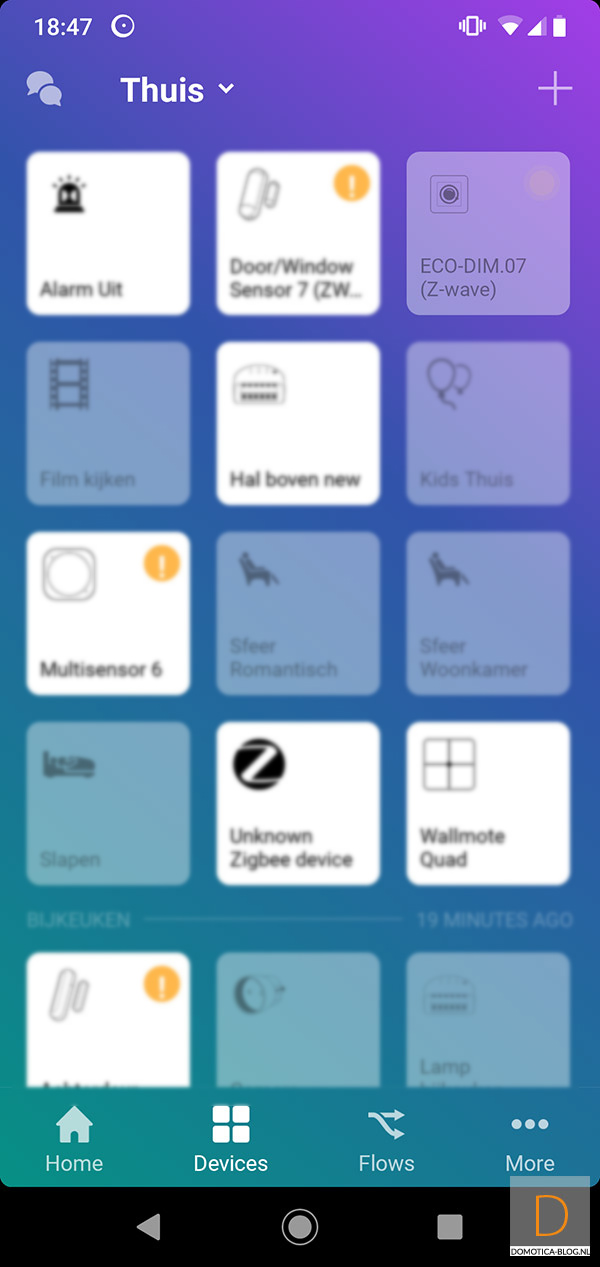
You then go to devices and click on the plus in the top right. After this, find the Eco dimmer and click on the Z-wave version. Then you put the power on the dimmer and it will be found. Unfortunately this was not the case with us, but you can also start adding via the button on the front. You can do this by pressing it 4x quickly in succession. The LED on the front of the module will flash and then light up red to indicate that the addition was successful. It was found immediately and I see it on my devices. If this is not possible by the way, you can also try pressing the button twice in succession.
As a final step, we close the wall switch again.
Installation screens:
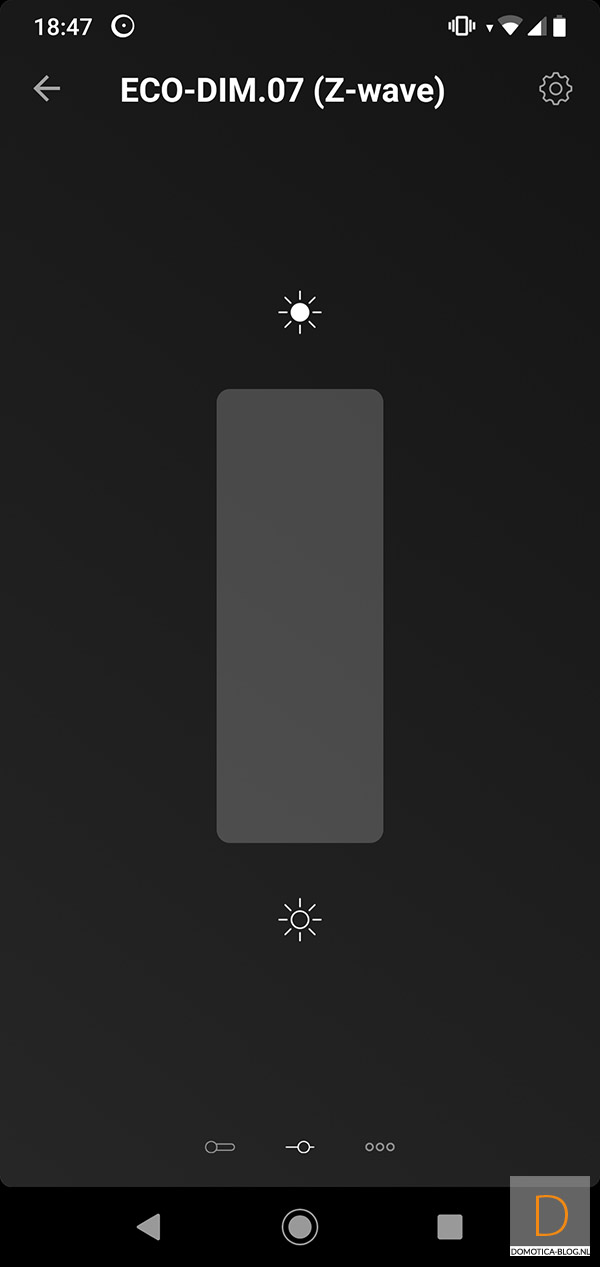
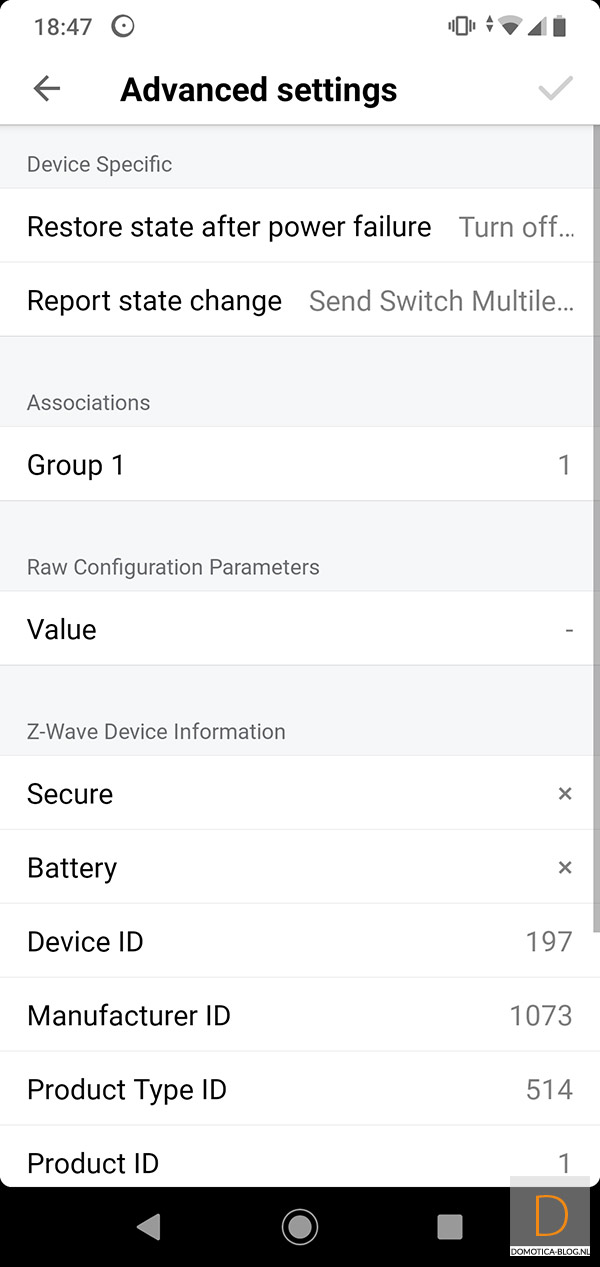
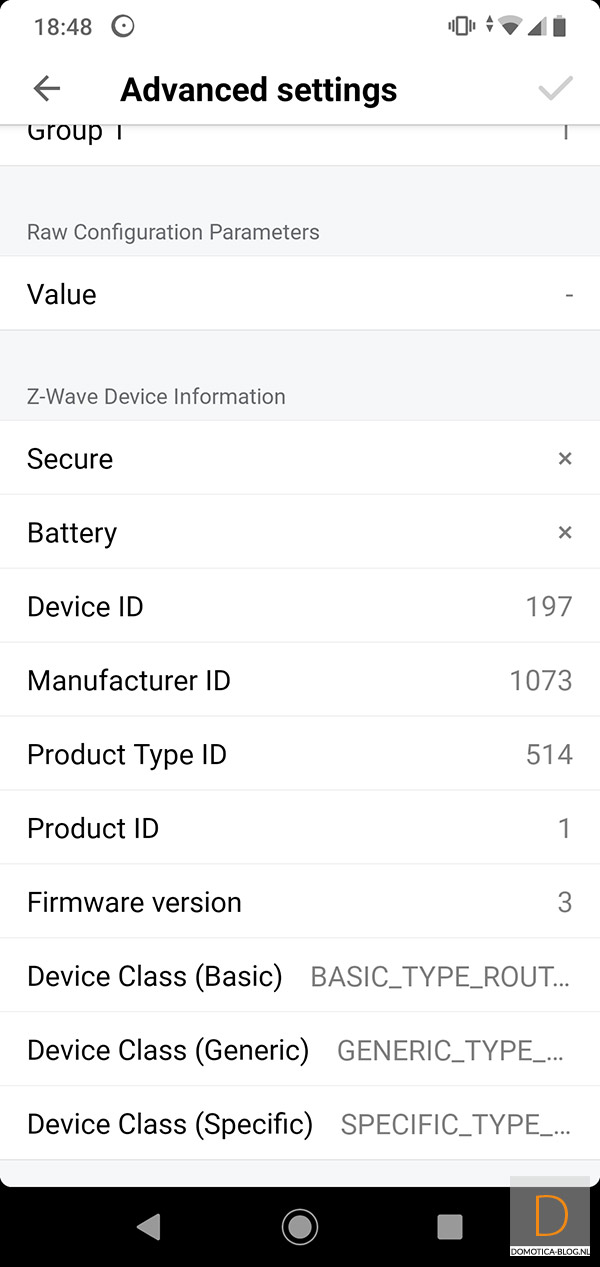
Configuration/operation:
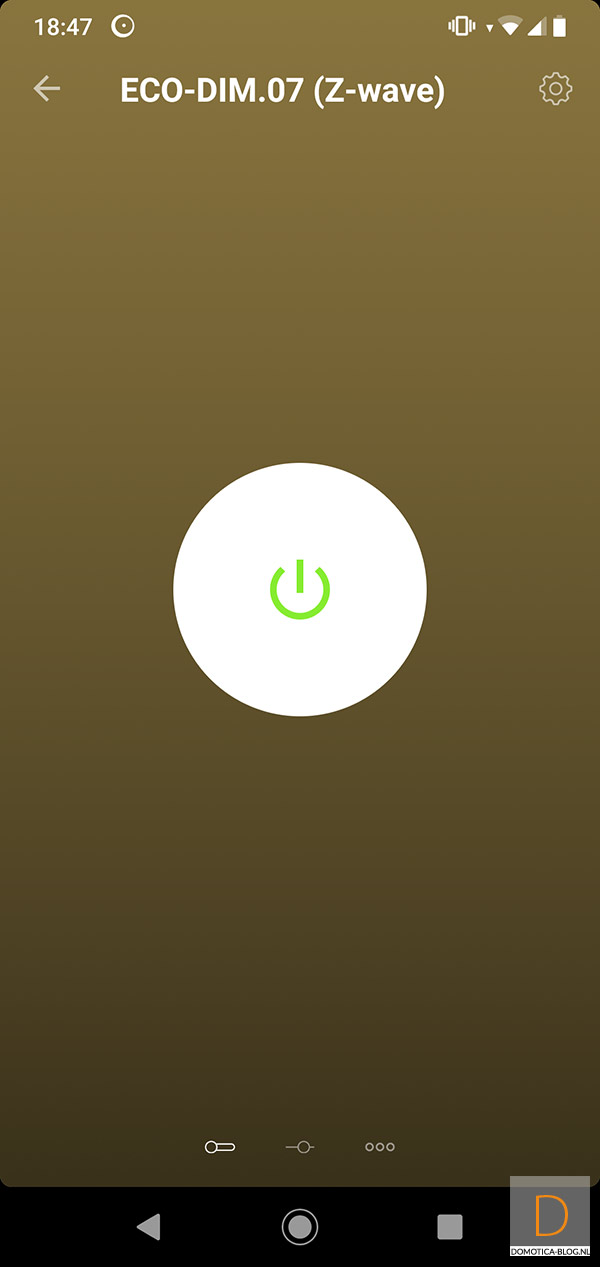
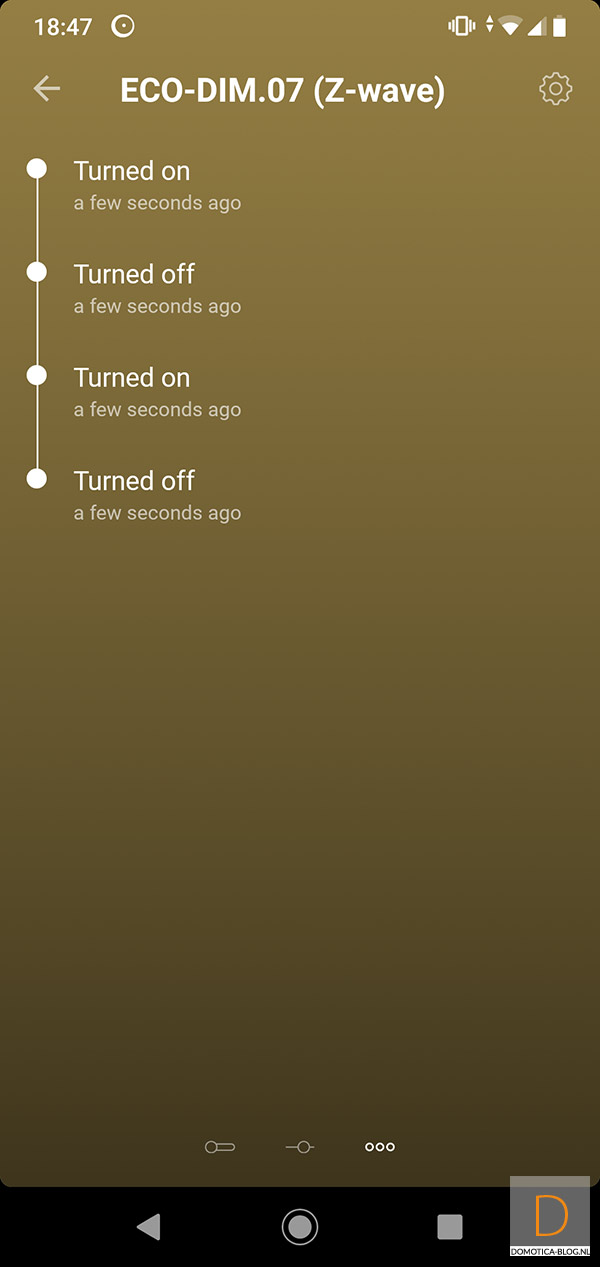
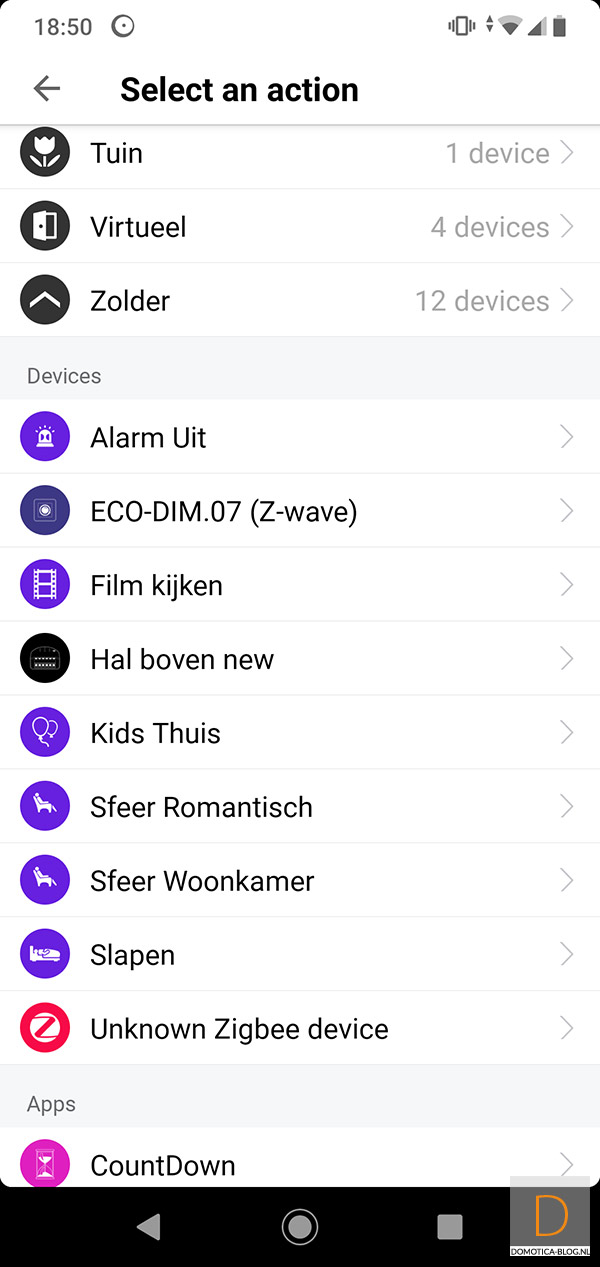
Devices:

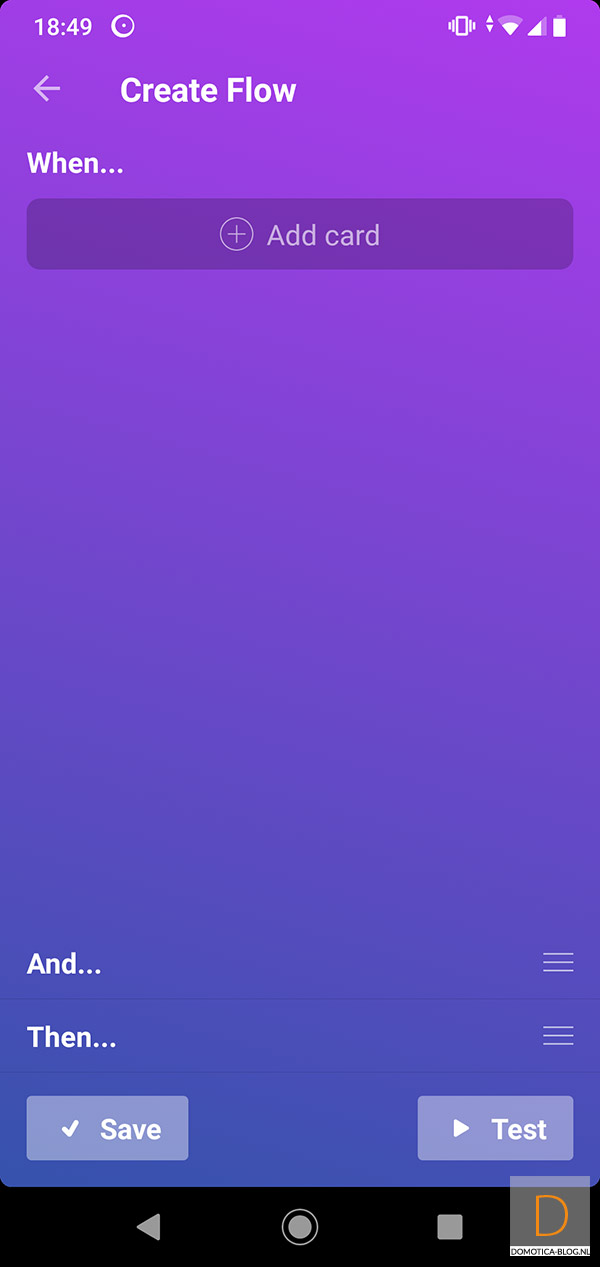
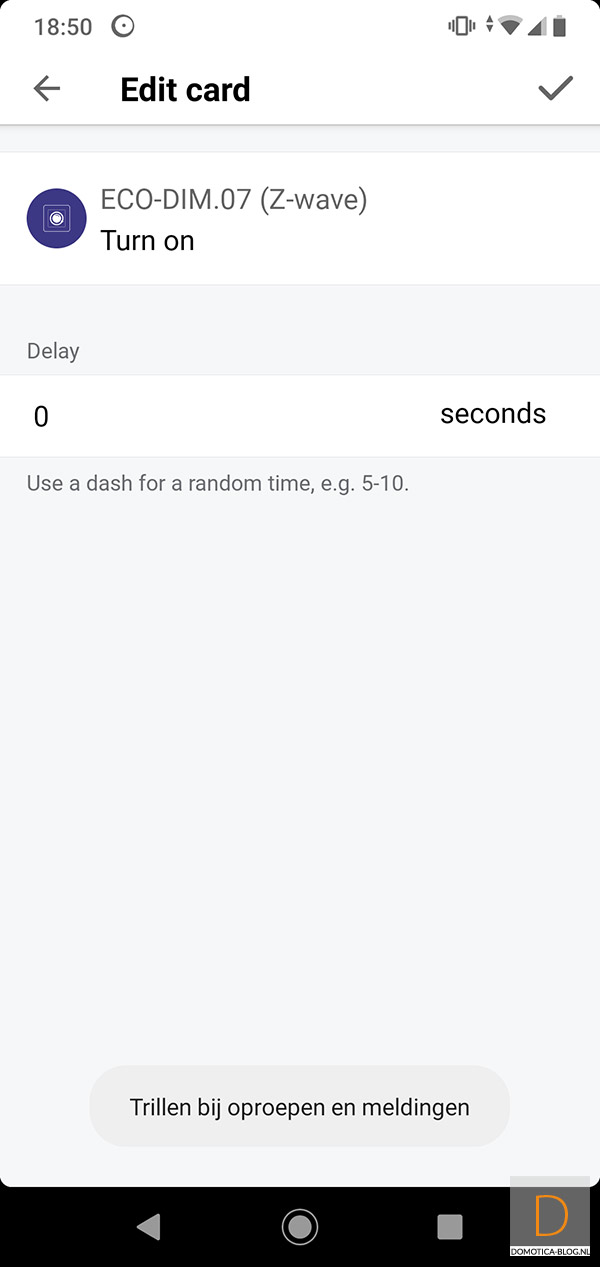
Flow options:
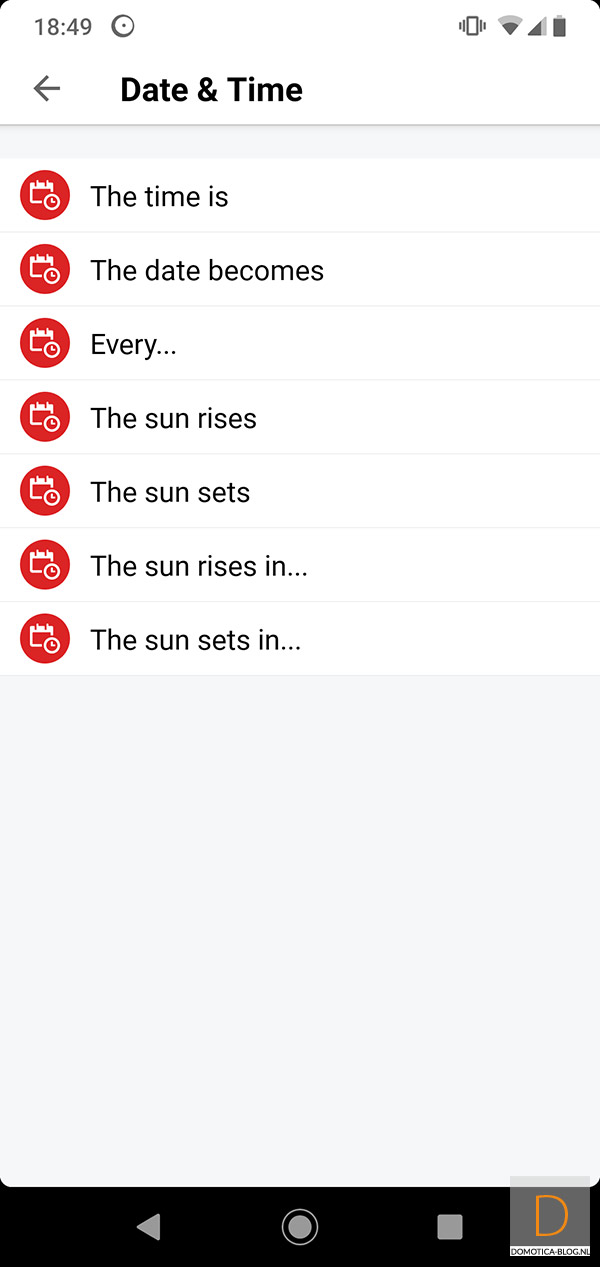
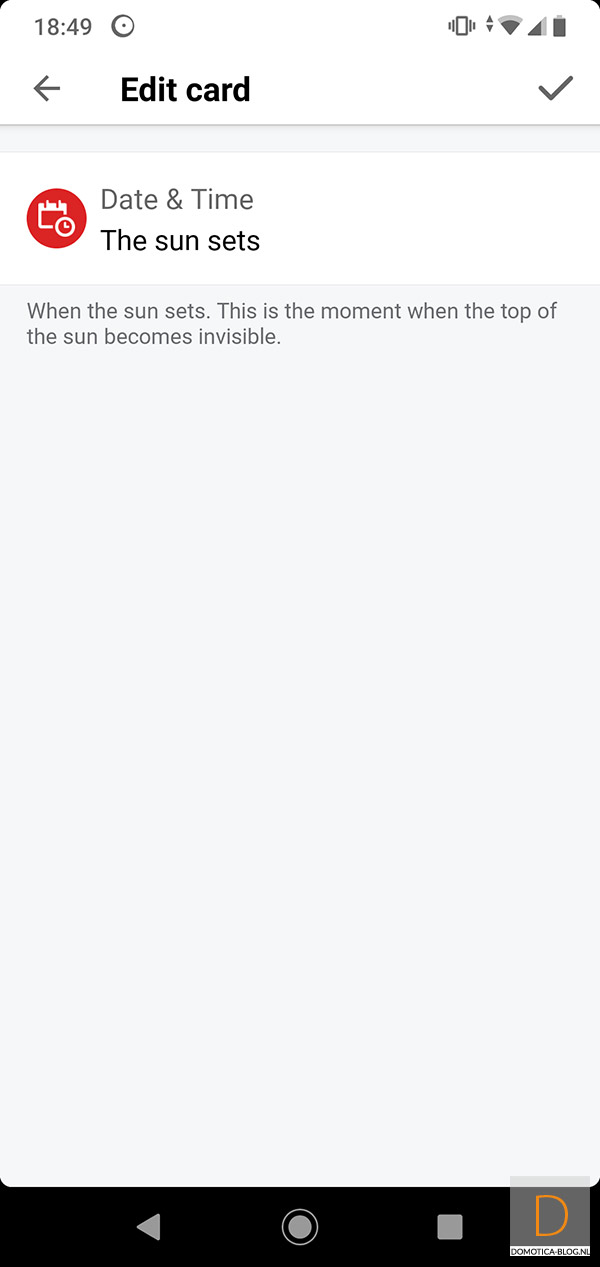
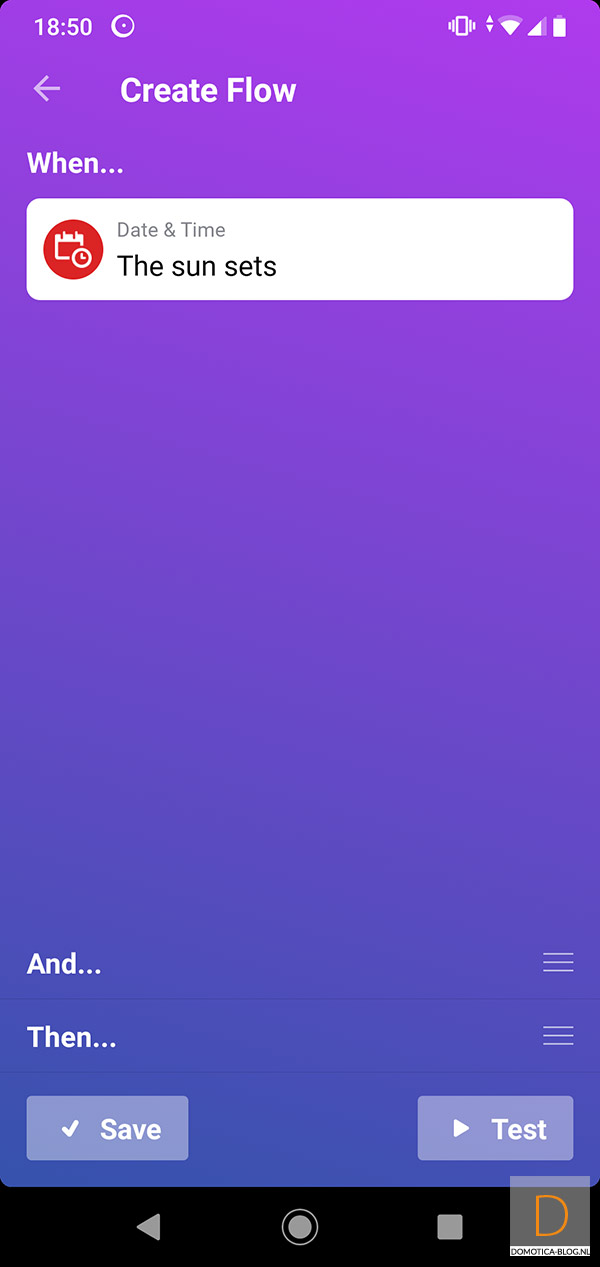
IF: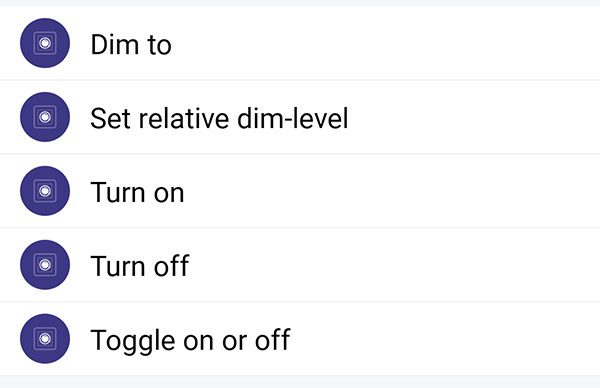
AND:
THEN:
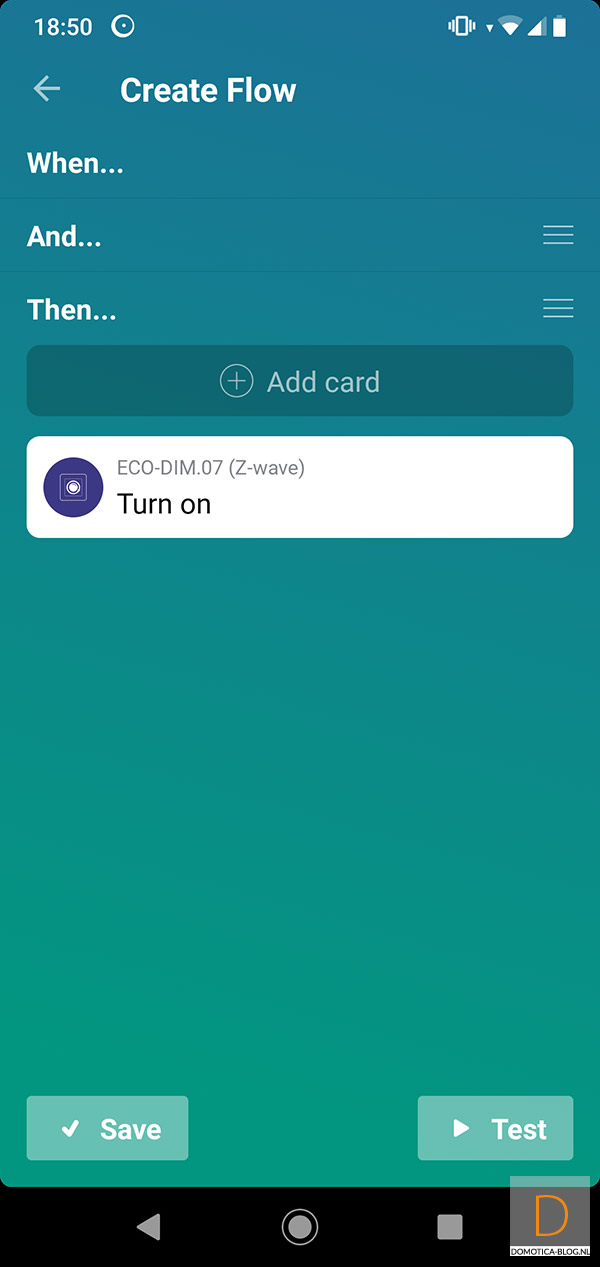
Flow example:
When the sun goes down, be switched on with the Eco-DIM.