Review:
Eco-DIM. 07

Installation with the Philips HUE:
Last but not least, we add the dimmer to the Philips HUE controller. This controller uses the Zigbee protocol so we ensure that the switch on the front of the dimmer is set to Zigbee.
We then unscrew the existing wall switch, of course don't forget to remove the power. We disconnect the wires and connect the Eco-DIM via the enclosed diagram.
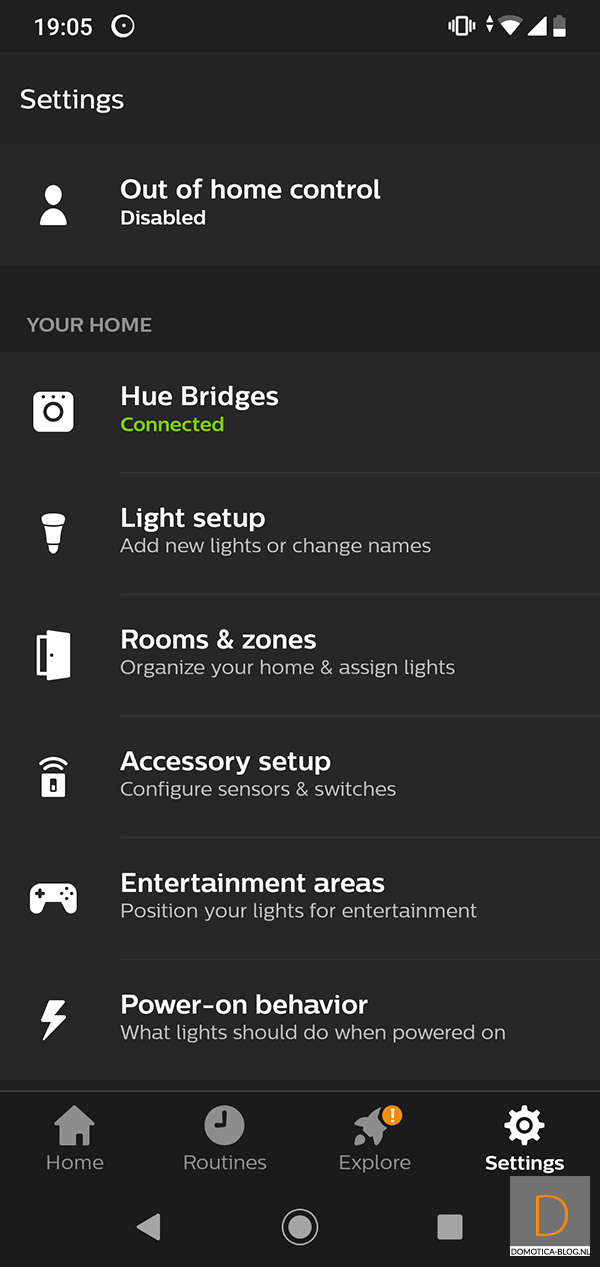
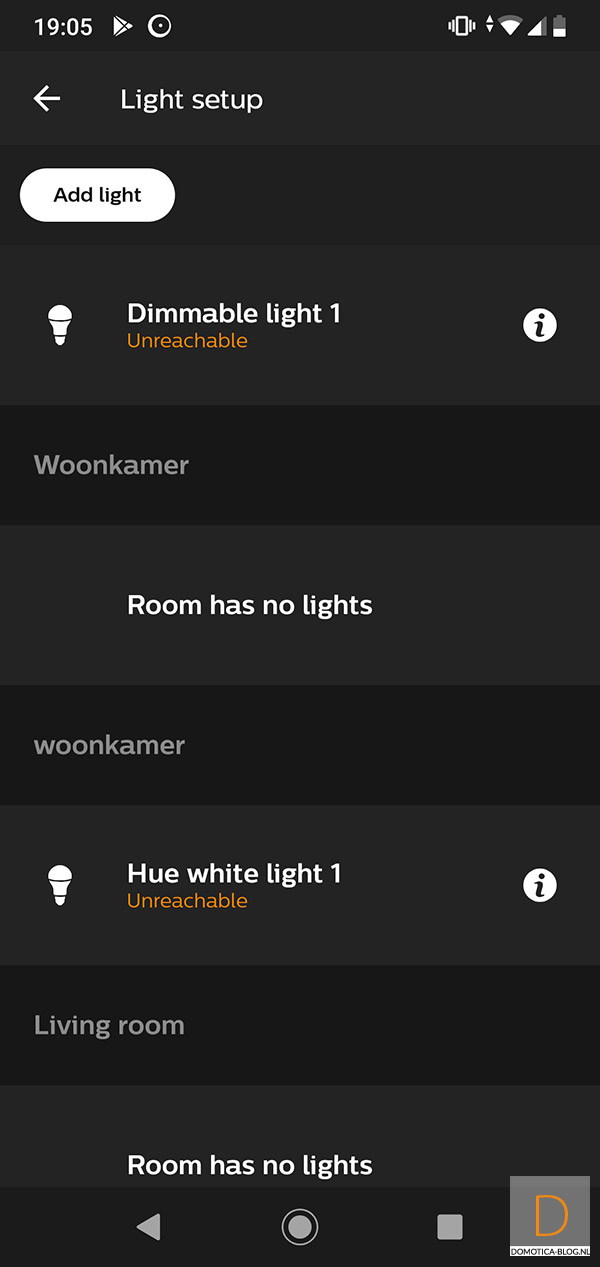
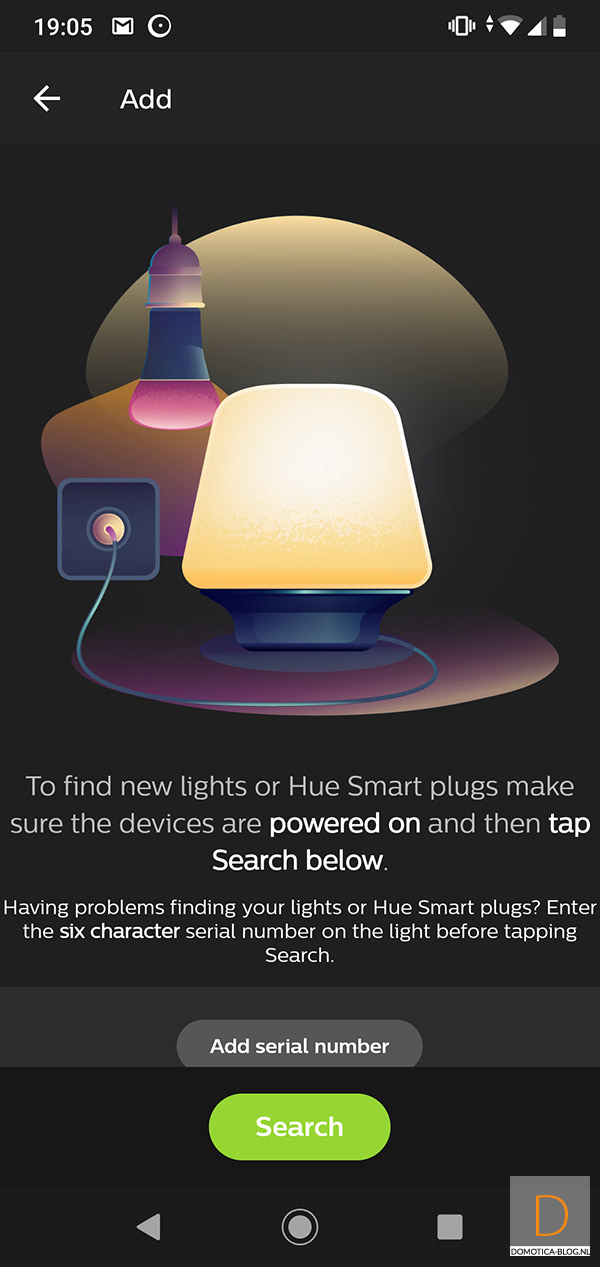
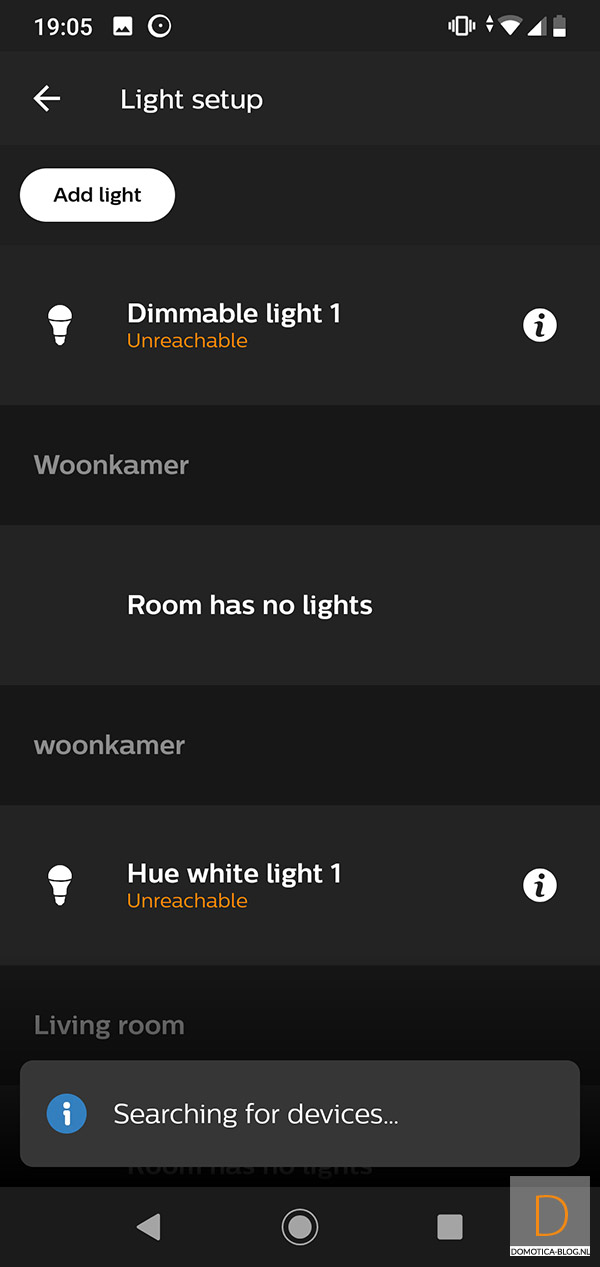
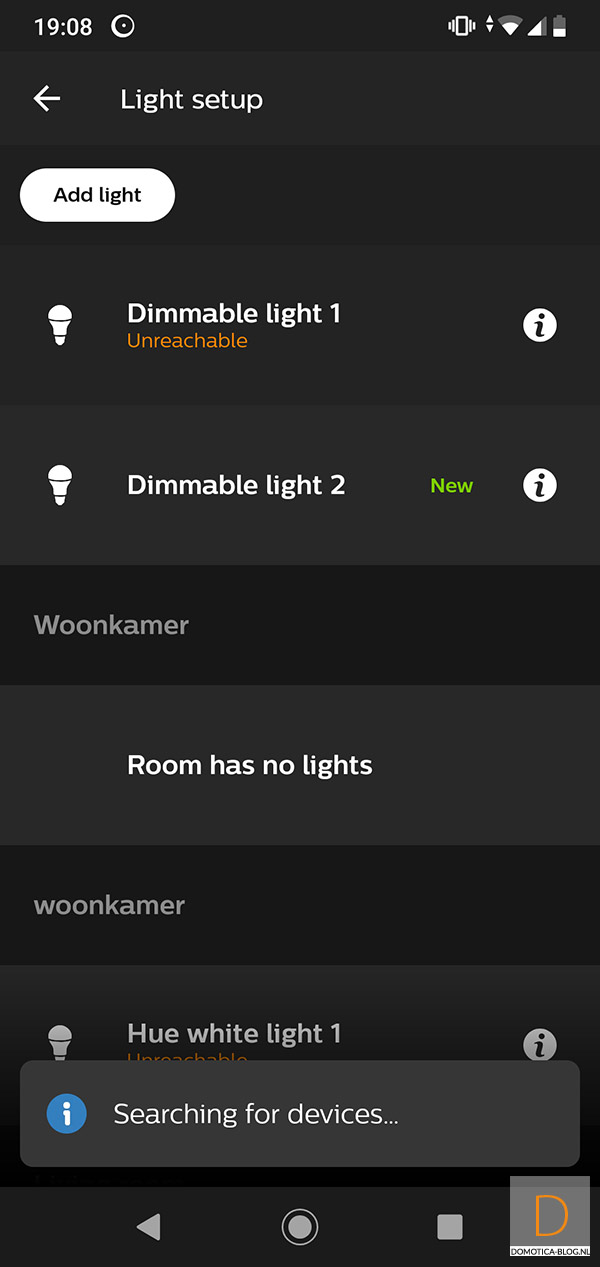
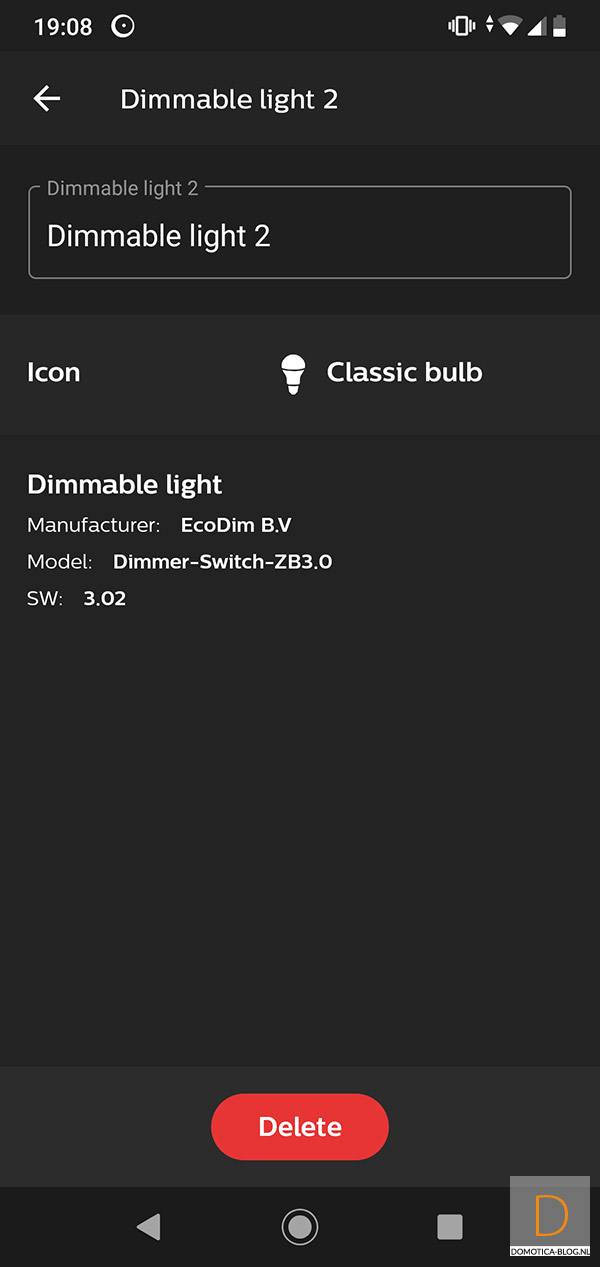
When you're done, wait a while before turning the power back on and screwing it in tightly. This is because it is easier to add the dimmer first. You do this by logging in to the Philips HUE APP and going to settings and lamp setup. Then press "add light" and press "search". After this you provide the lamp with power. According to the manual he should be found immediately but this is not the case. We first reset the dimmer by pressing the reset button 4 times in succession. The LED will light up and the dimmer has been added in this way.
When I have checked whether the dimmer also works via the wall switch, I screw it all shut.
Installation screens:
Configuration:
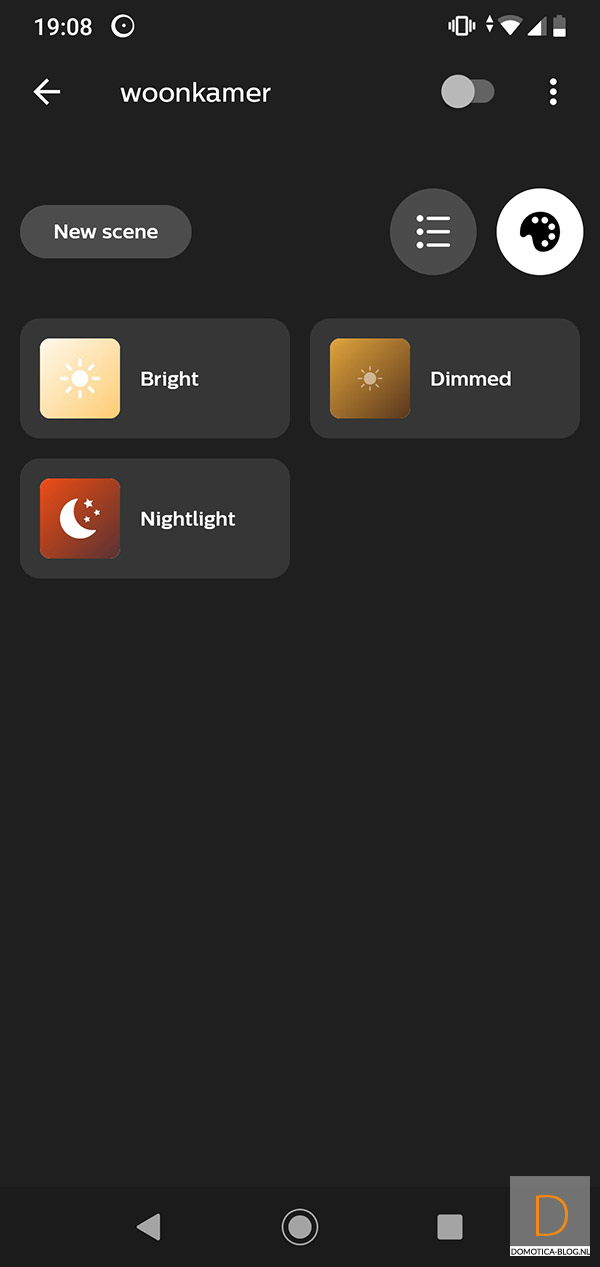
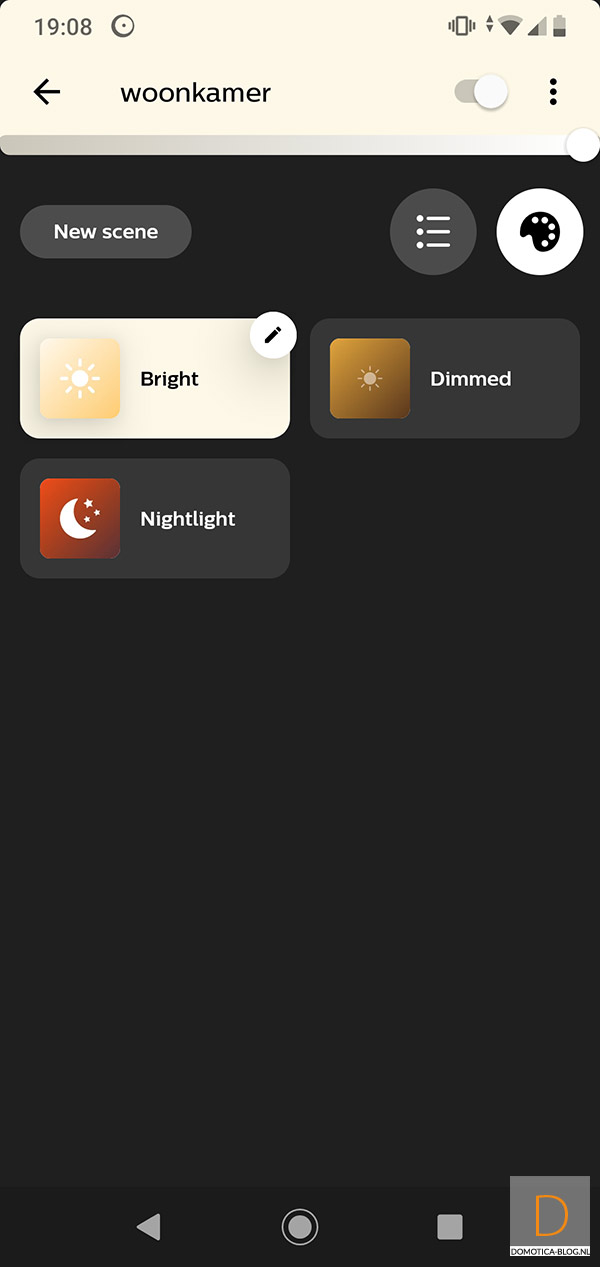
Dashboard and operation:
You get a dimmer and an on / off switch. You can also change the color but this of course does not work.
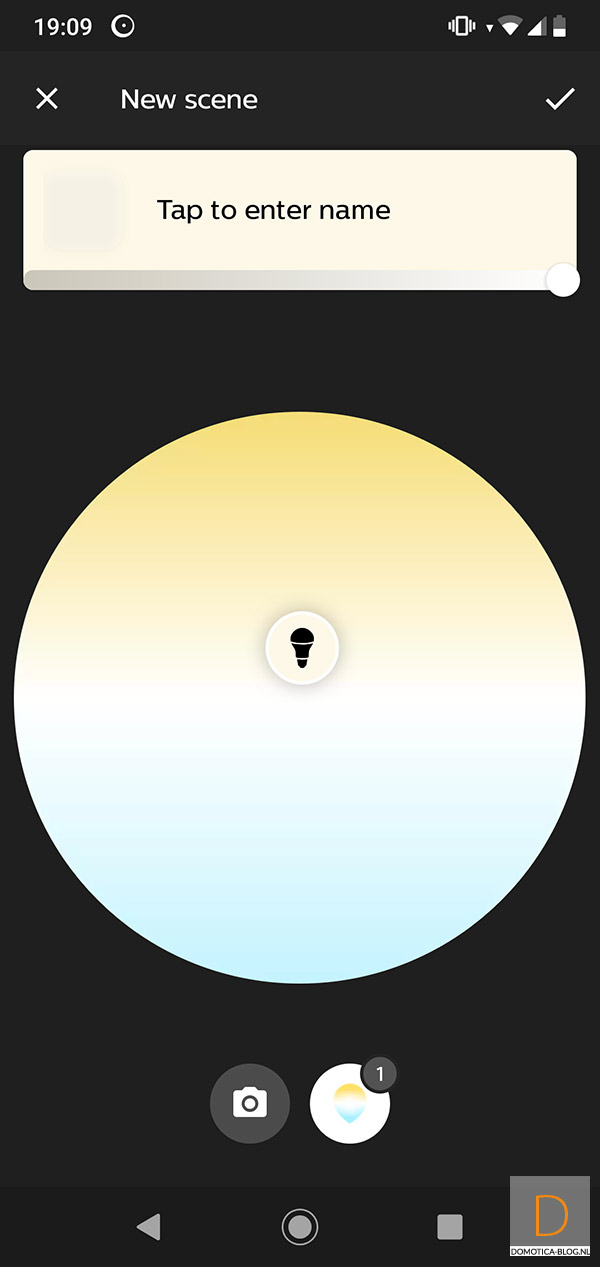
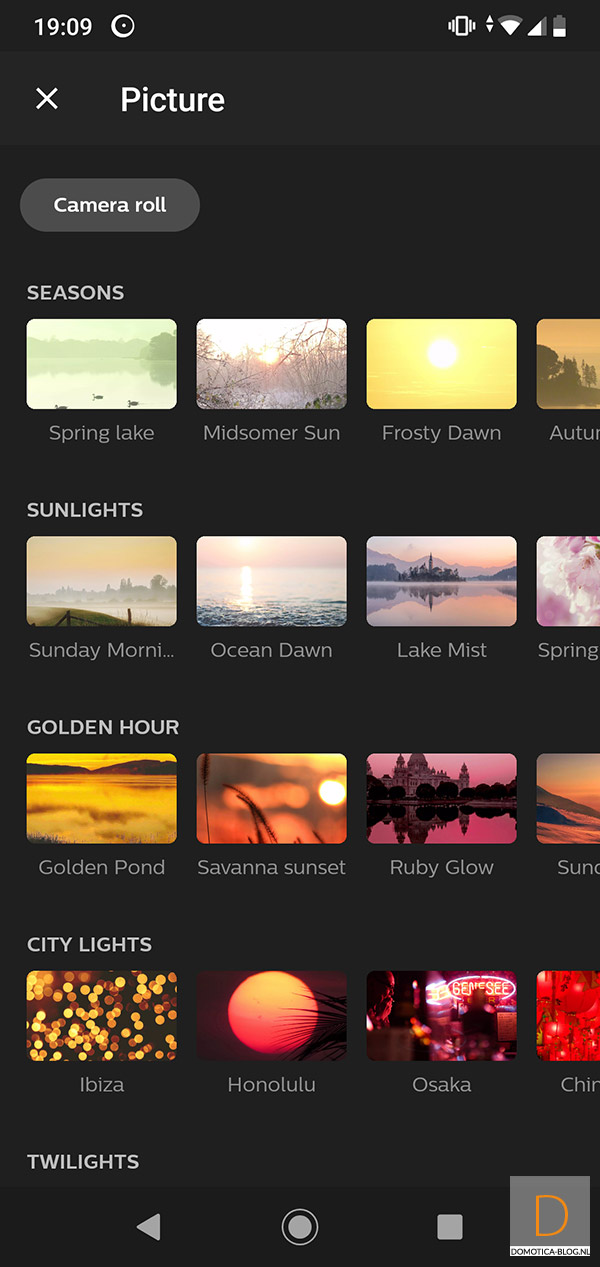
Example scene:
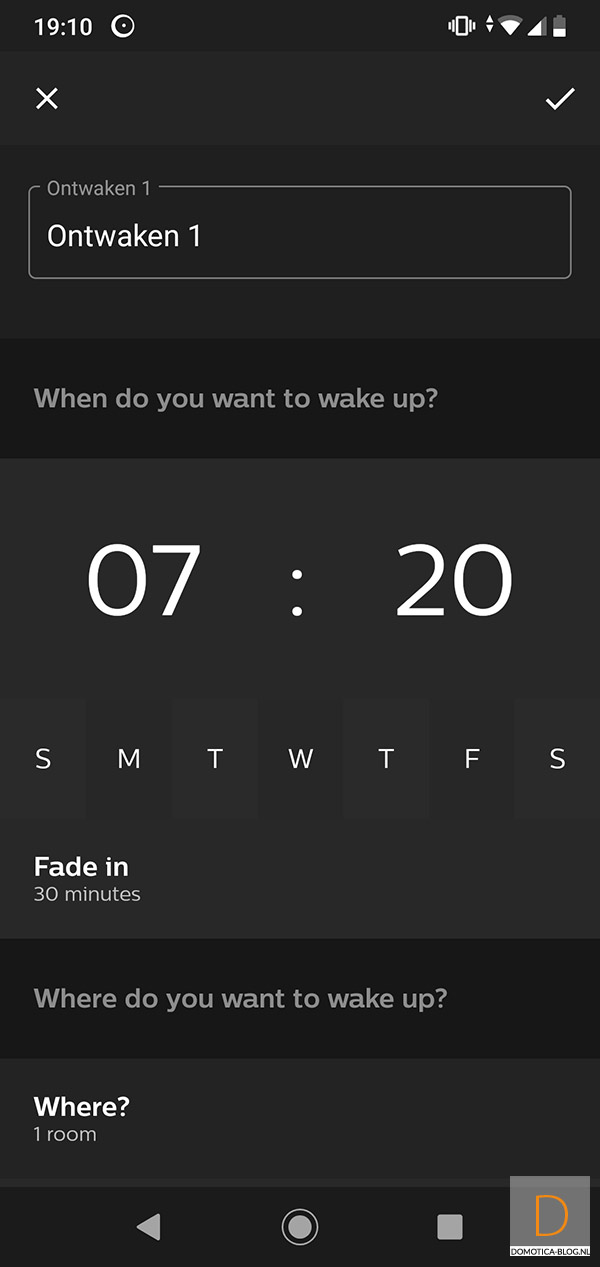
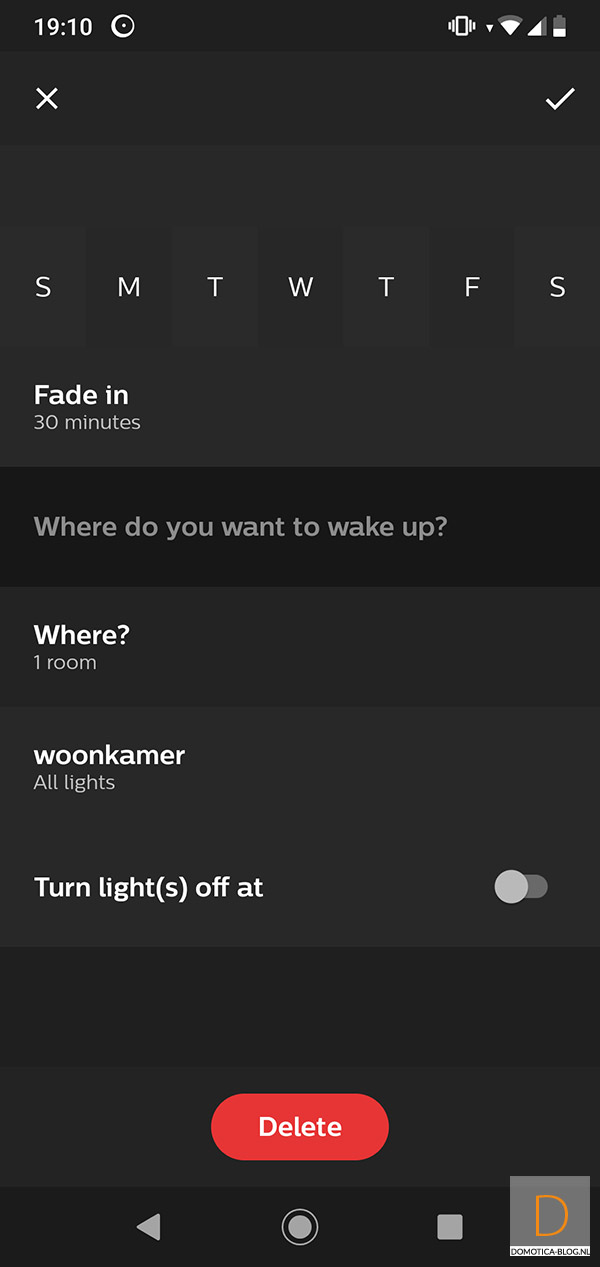
I want the Eco-DIM to start at 7:20 AM (to simulate a wake light).