

Review:
Eurotronic Spirit Thermostatic valve - Z-Wave Plus
Installation via the Fibaro Home Center 2:
We will install this thermostat valve on the HC2 to see if it works properly. The first step is to remove the valve from the tap. After this you place the 2AA batteries. Make sure they are properly fitted. If everything is done, the front display will light up and indicate INC.
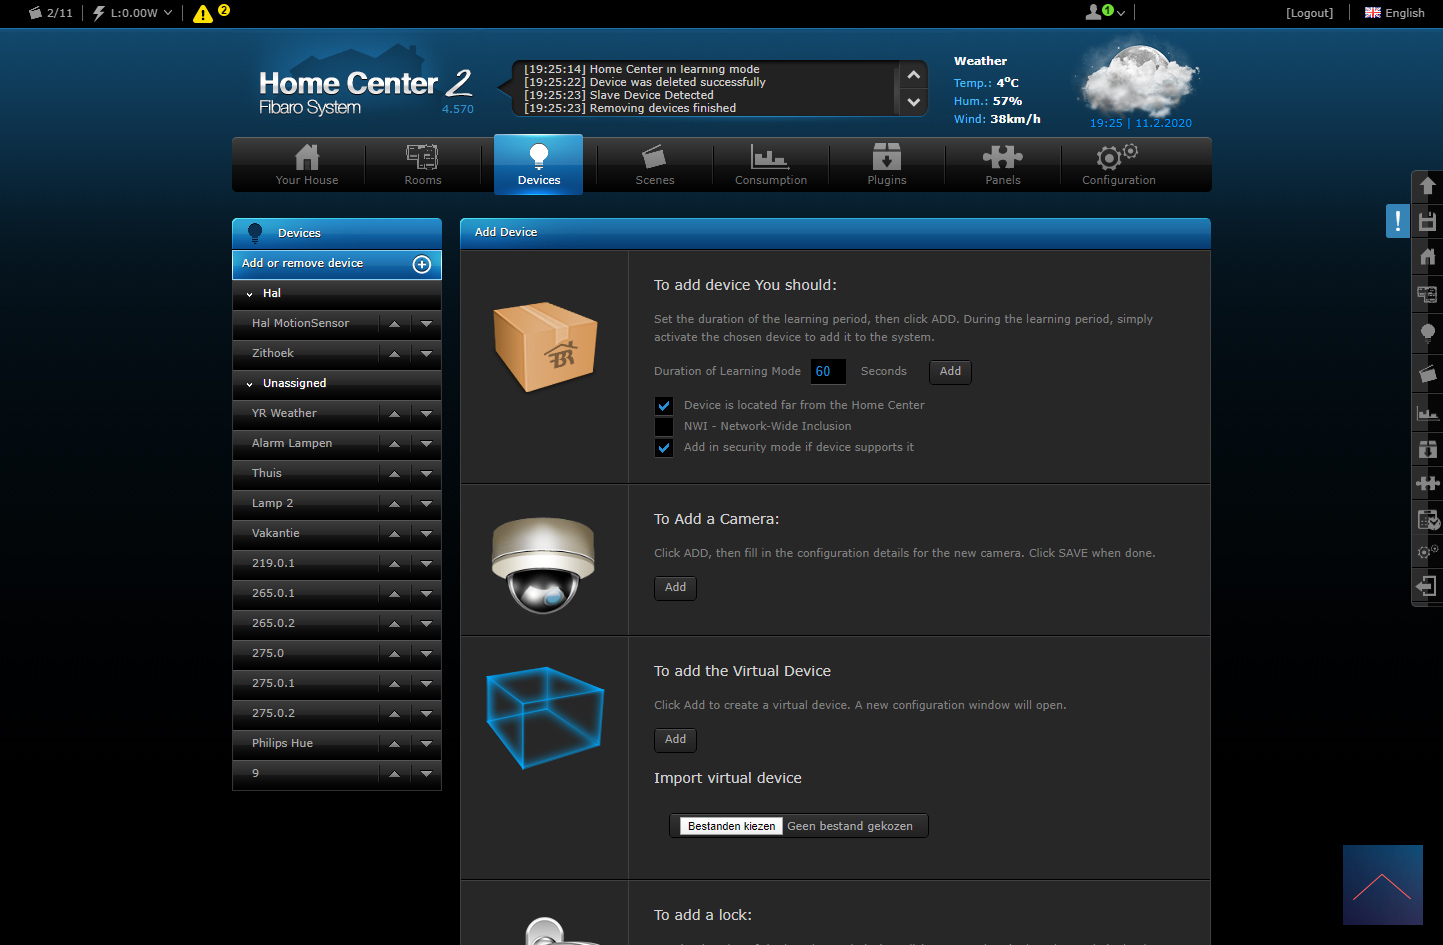
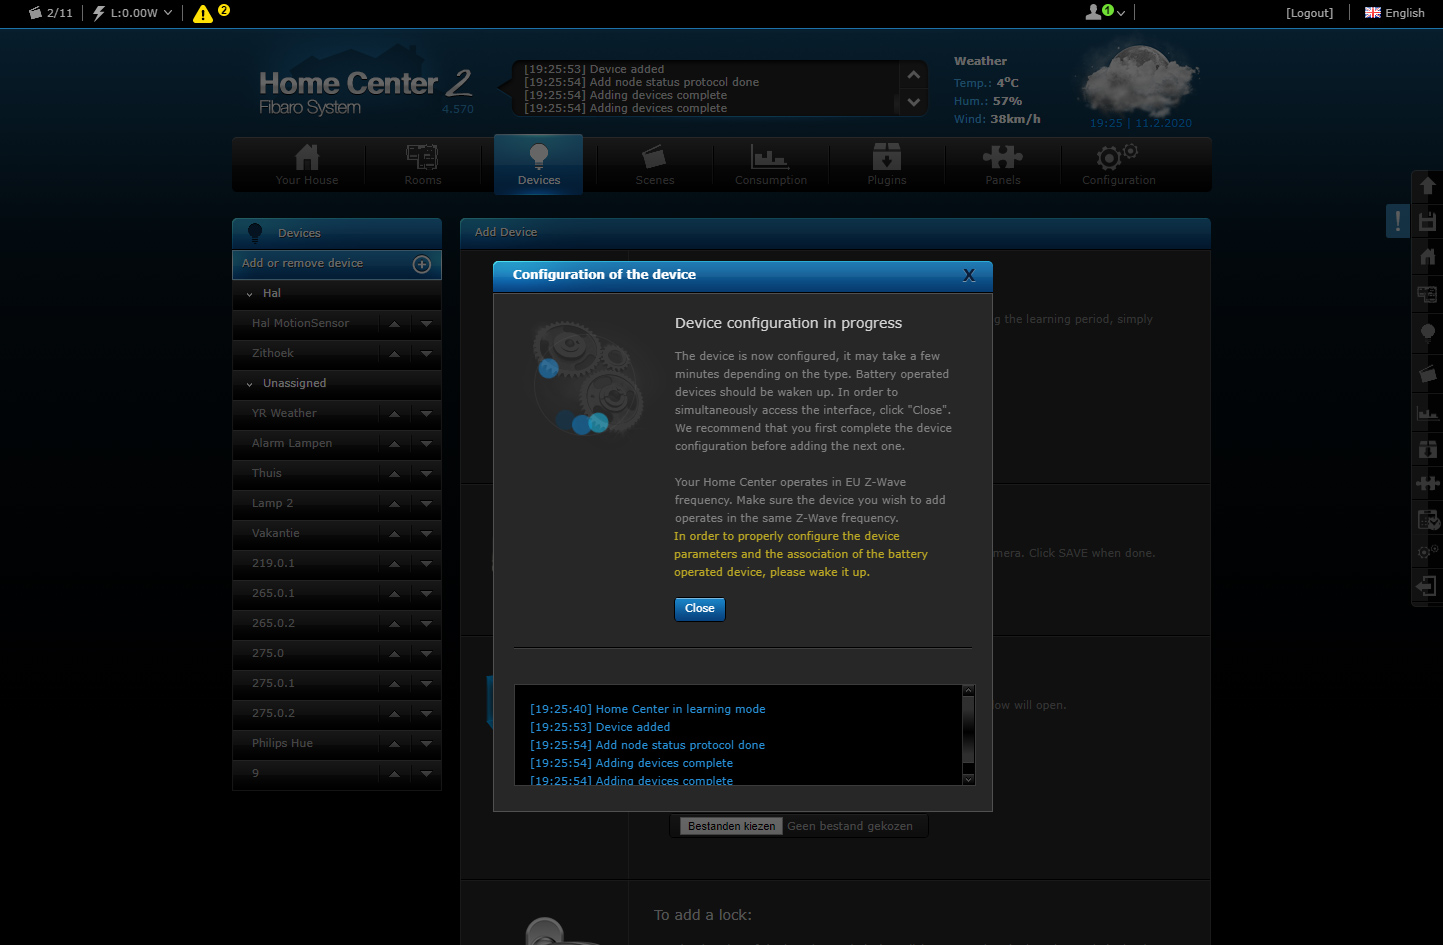
Then log in to the HC2 and go to your devices. Then click on "add" and the adding will now start and you have 60 sec. to press the boost button (middle button) on the tap. It was found almost immediately and the display will show the Node ID briefly. After this, "InS" was shown in the display to indicate that you must install the tap on the radiator.
So this is the next step. First unscrew the old tap. Do not worry that water will come out as long as you leave the T piece alone, there is nothing wrong. Then use the adapters to attach the Spirit. Do not tighten the whole super because that is not necessary and you might break the adapter.
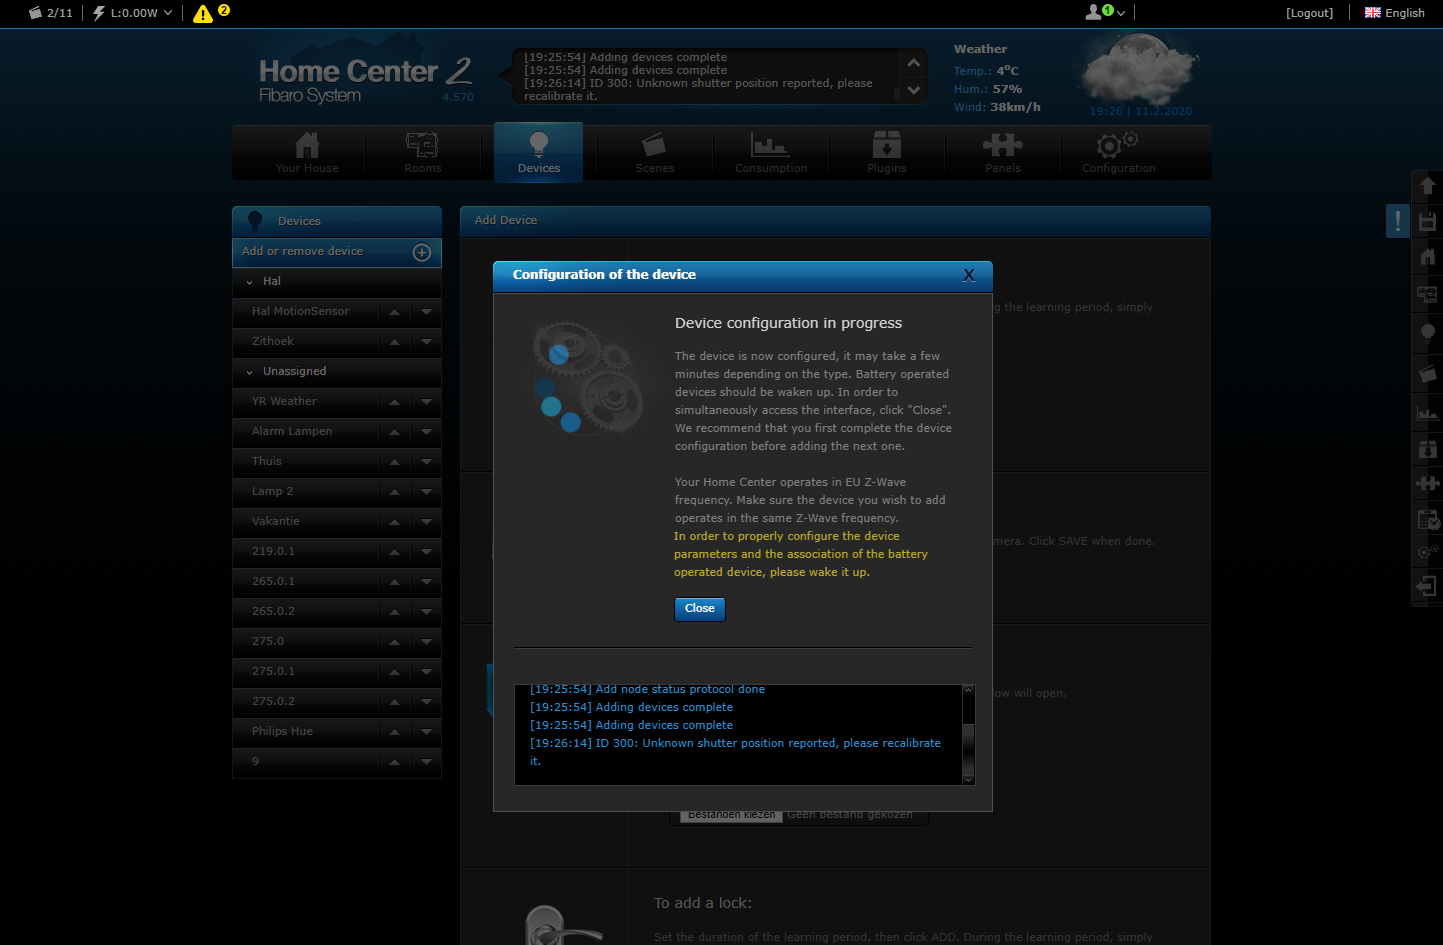
Then press the boost button again to start the calibration. You can then operate the tap via the HC2.
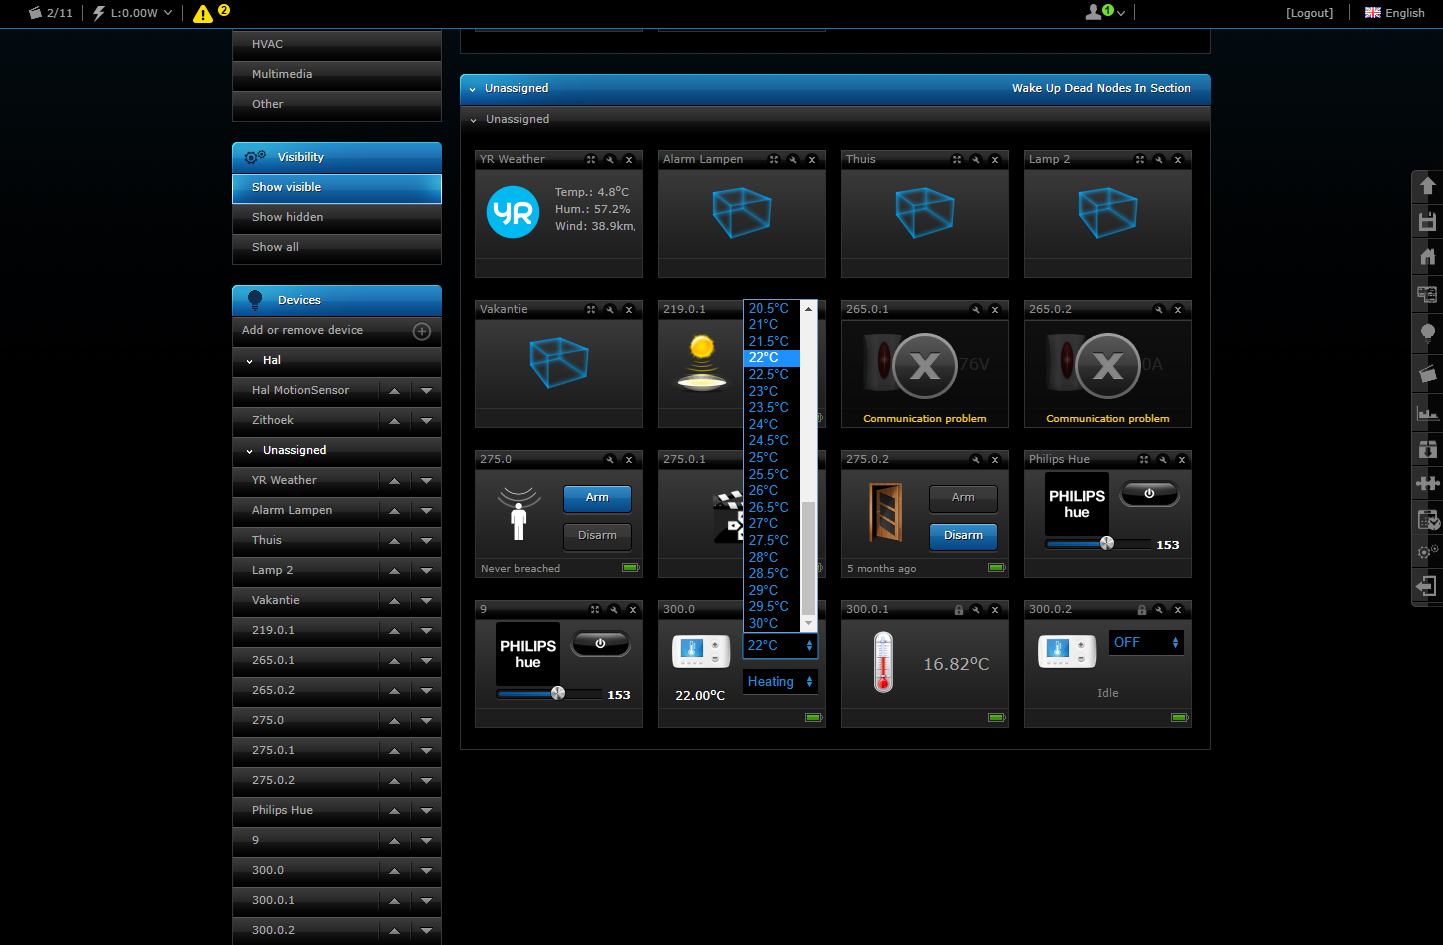
With the HC2 it is striking that you can set the temperature of the room. He therefore controls how far (and for how long) the tap must be opened.
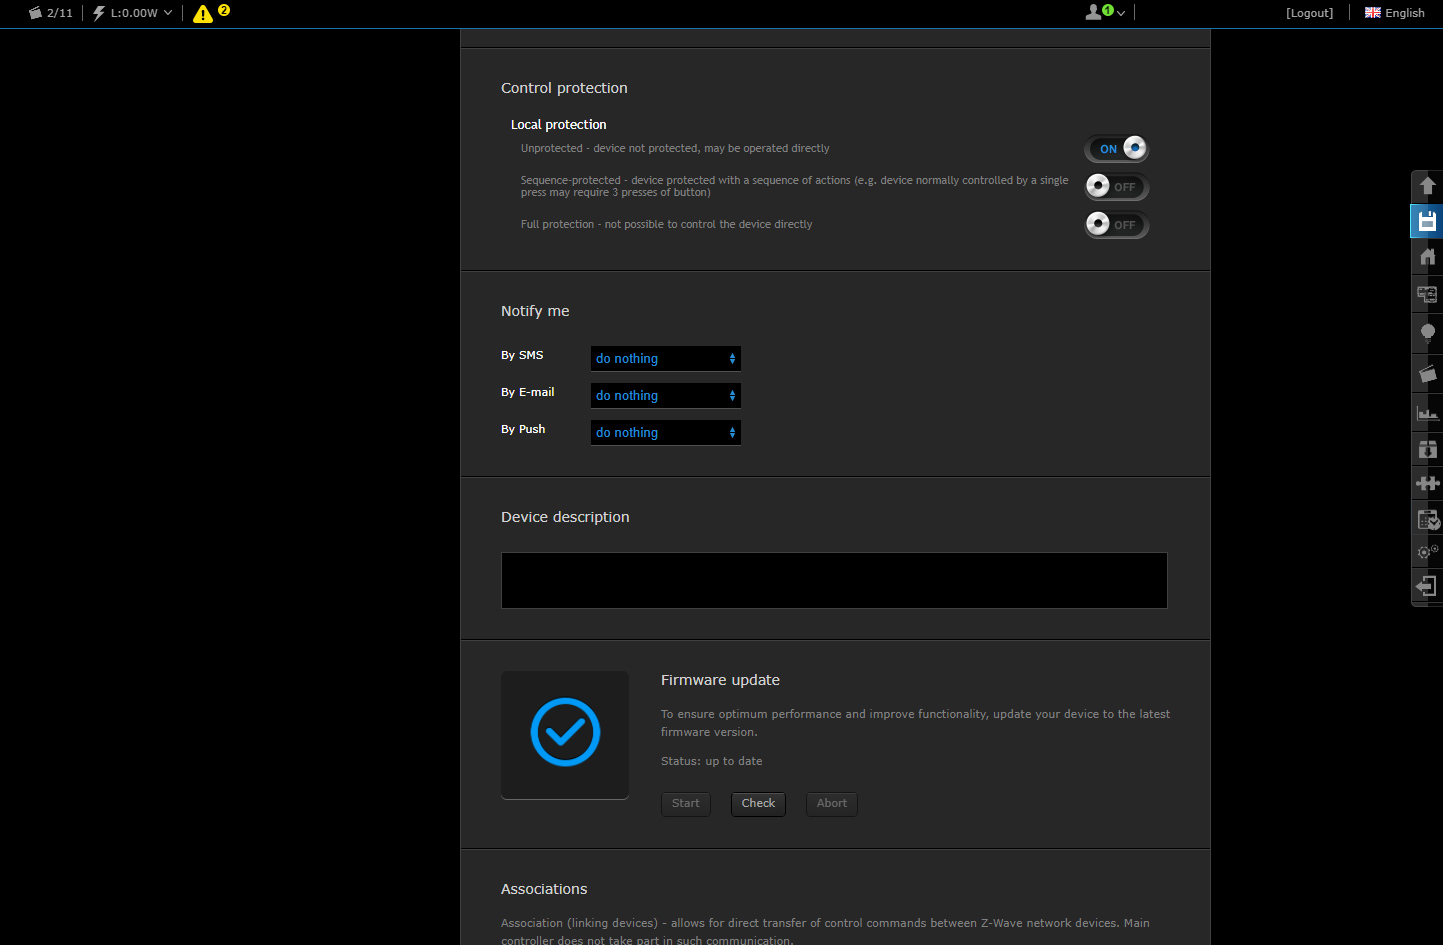
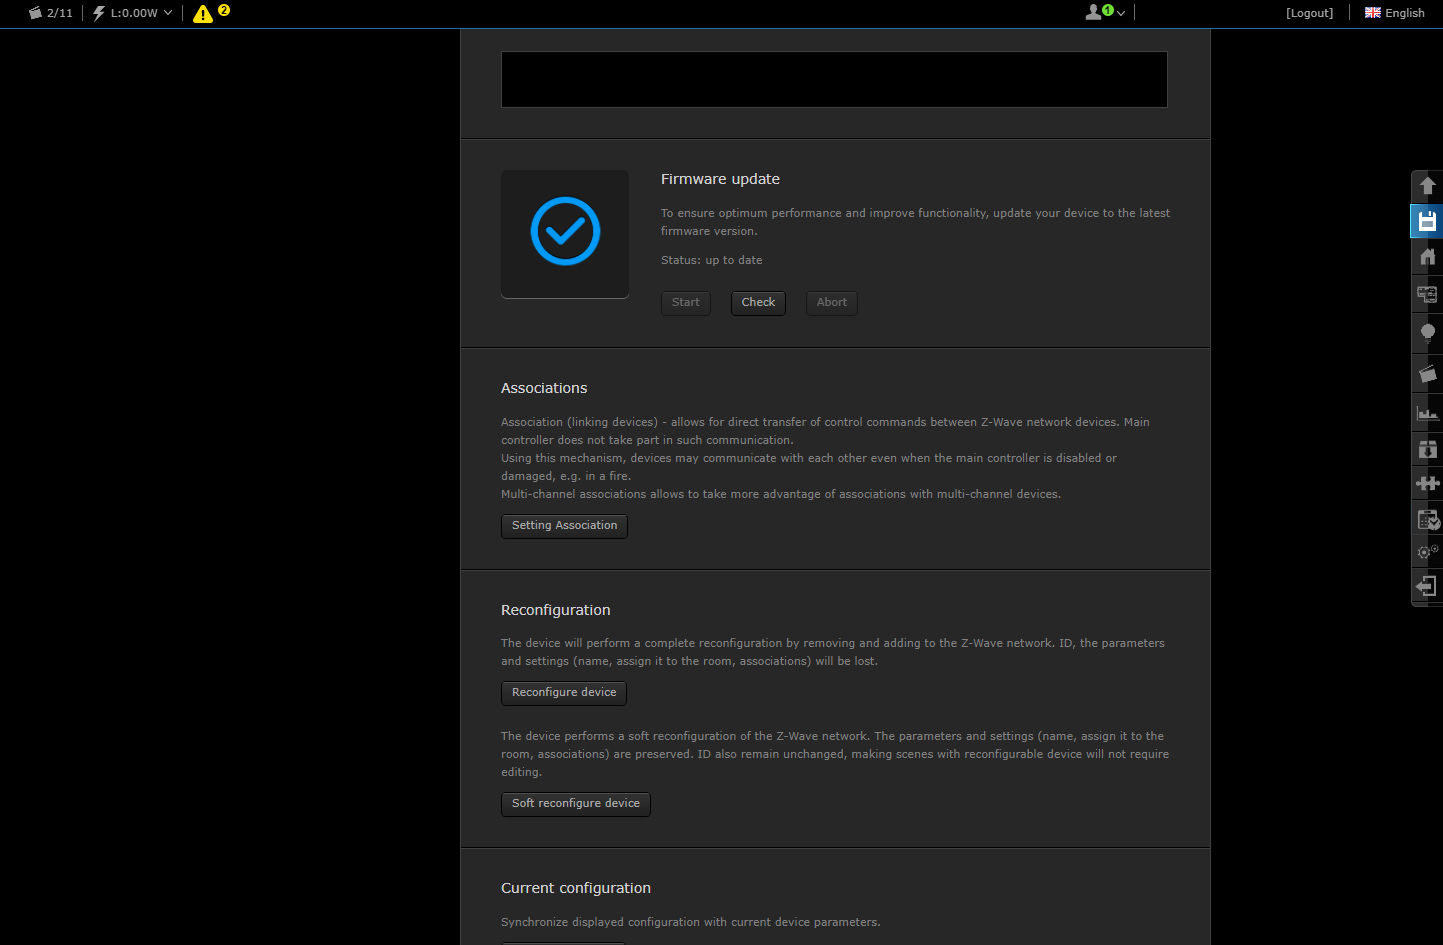
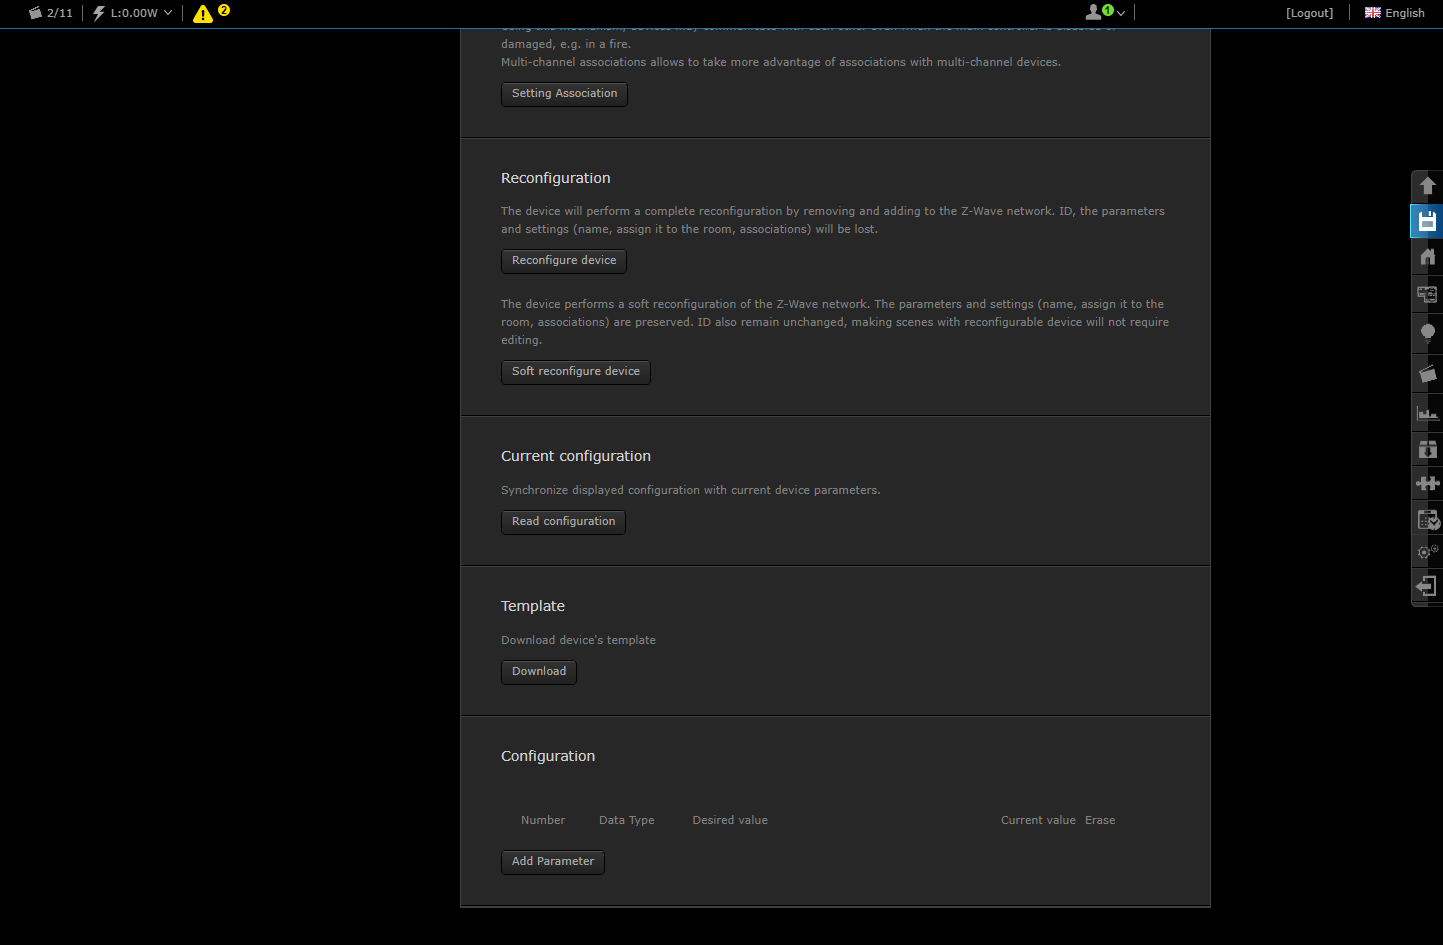
Installatie schermen:
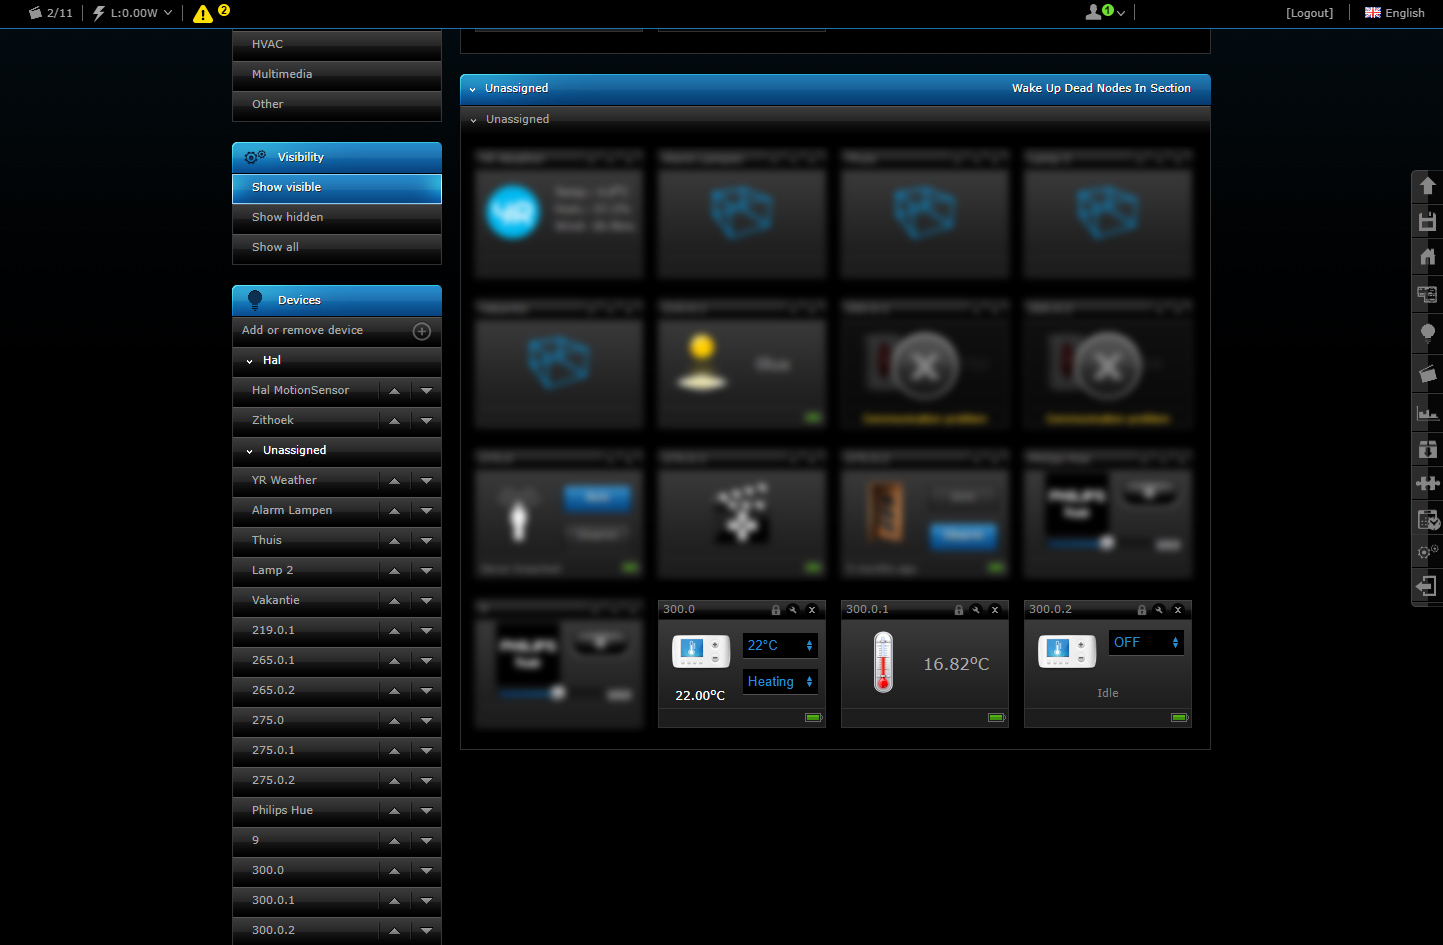
Configuration:
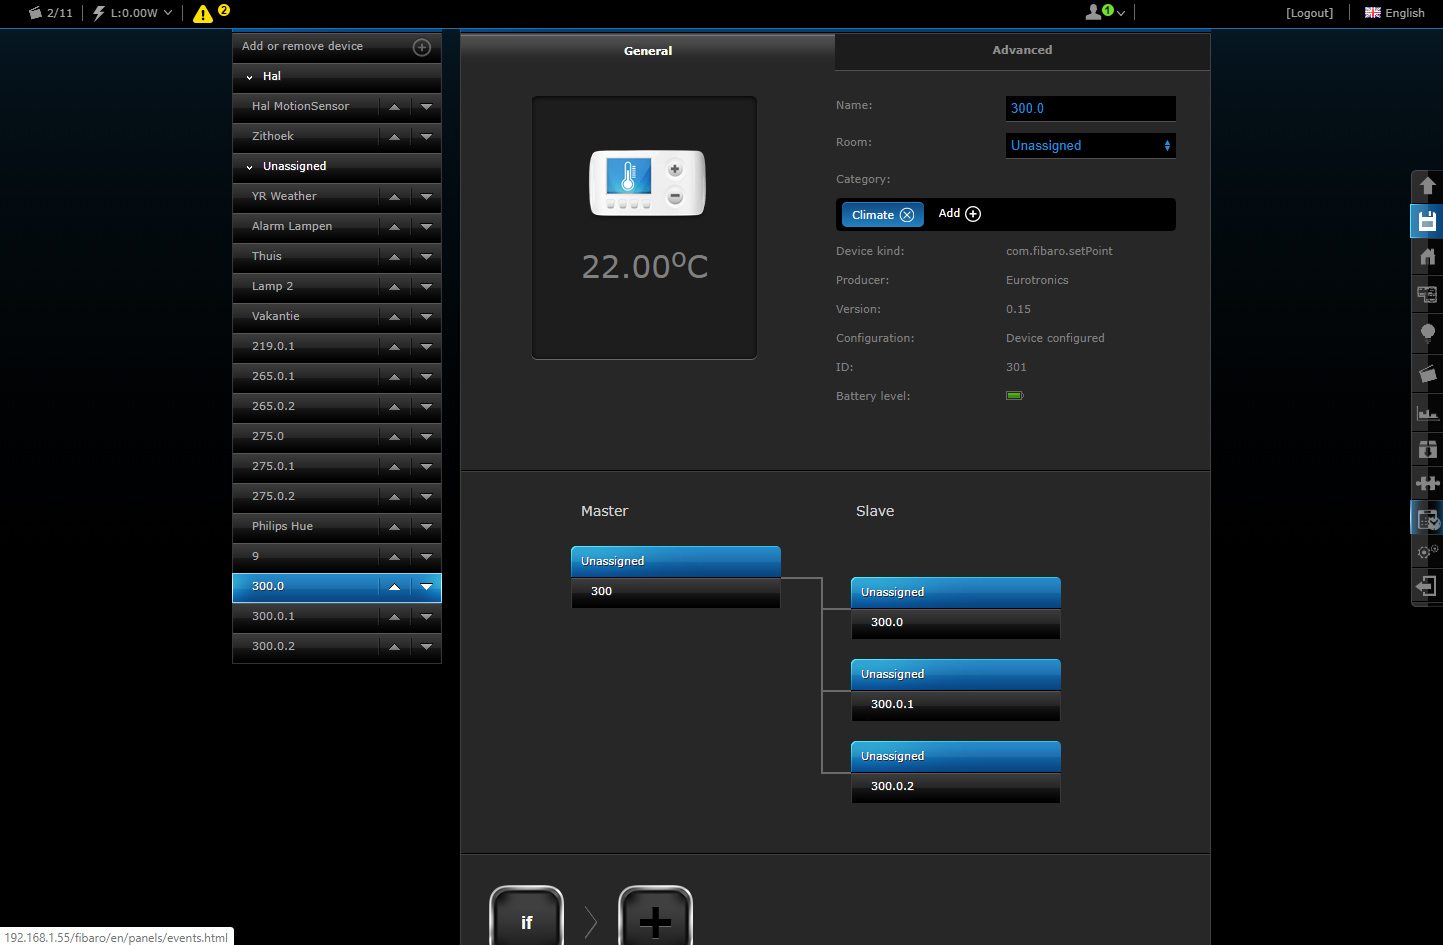
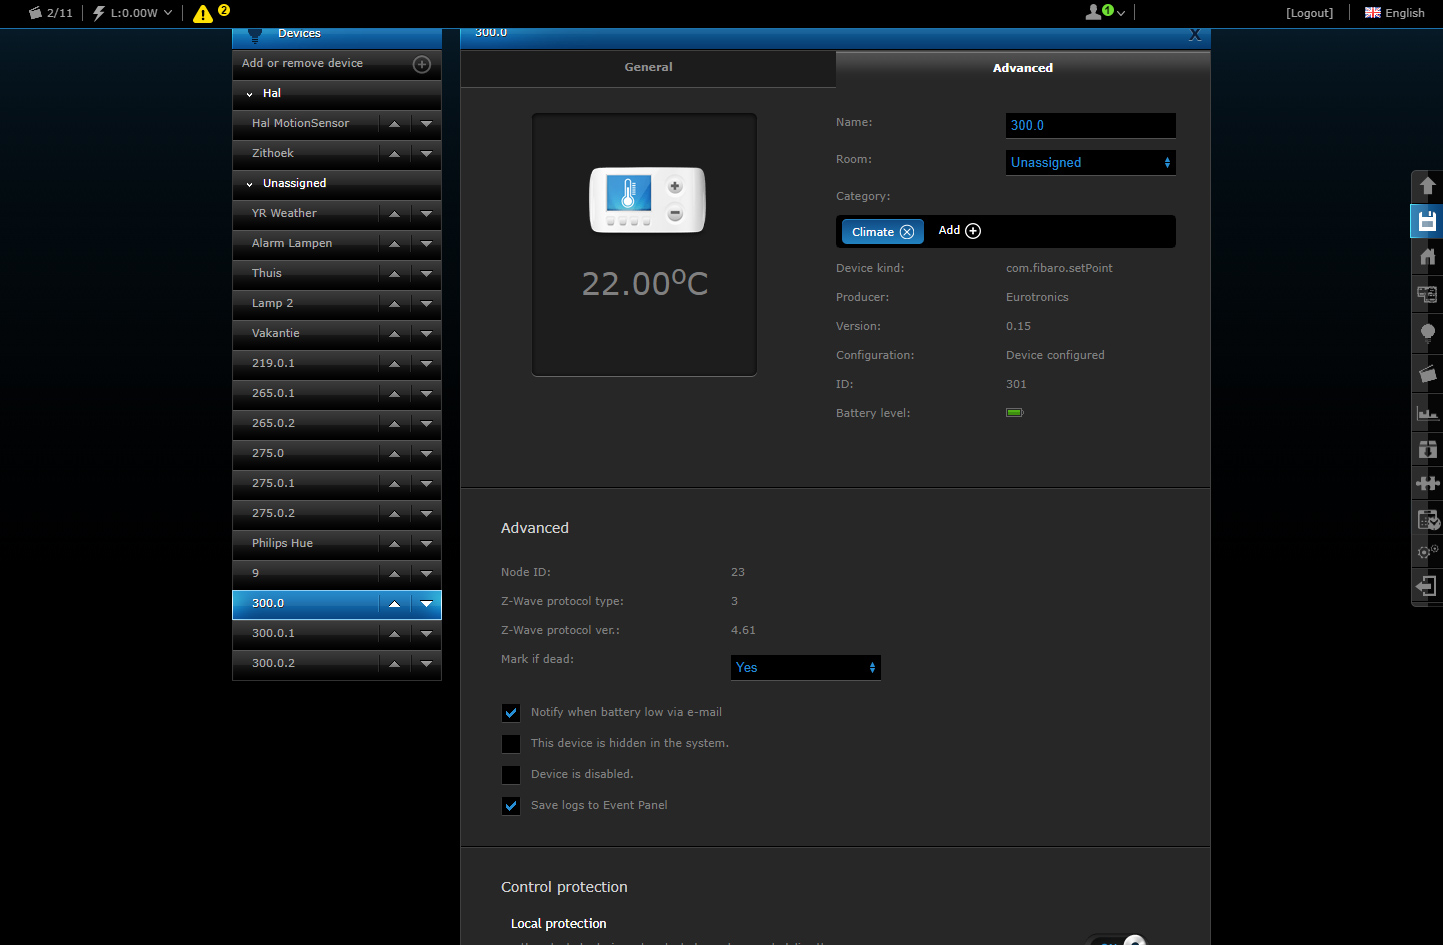
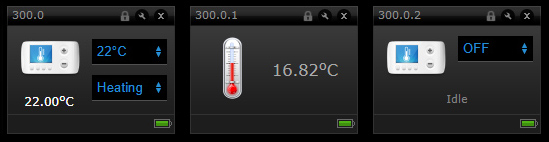
Devices:
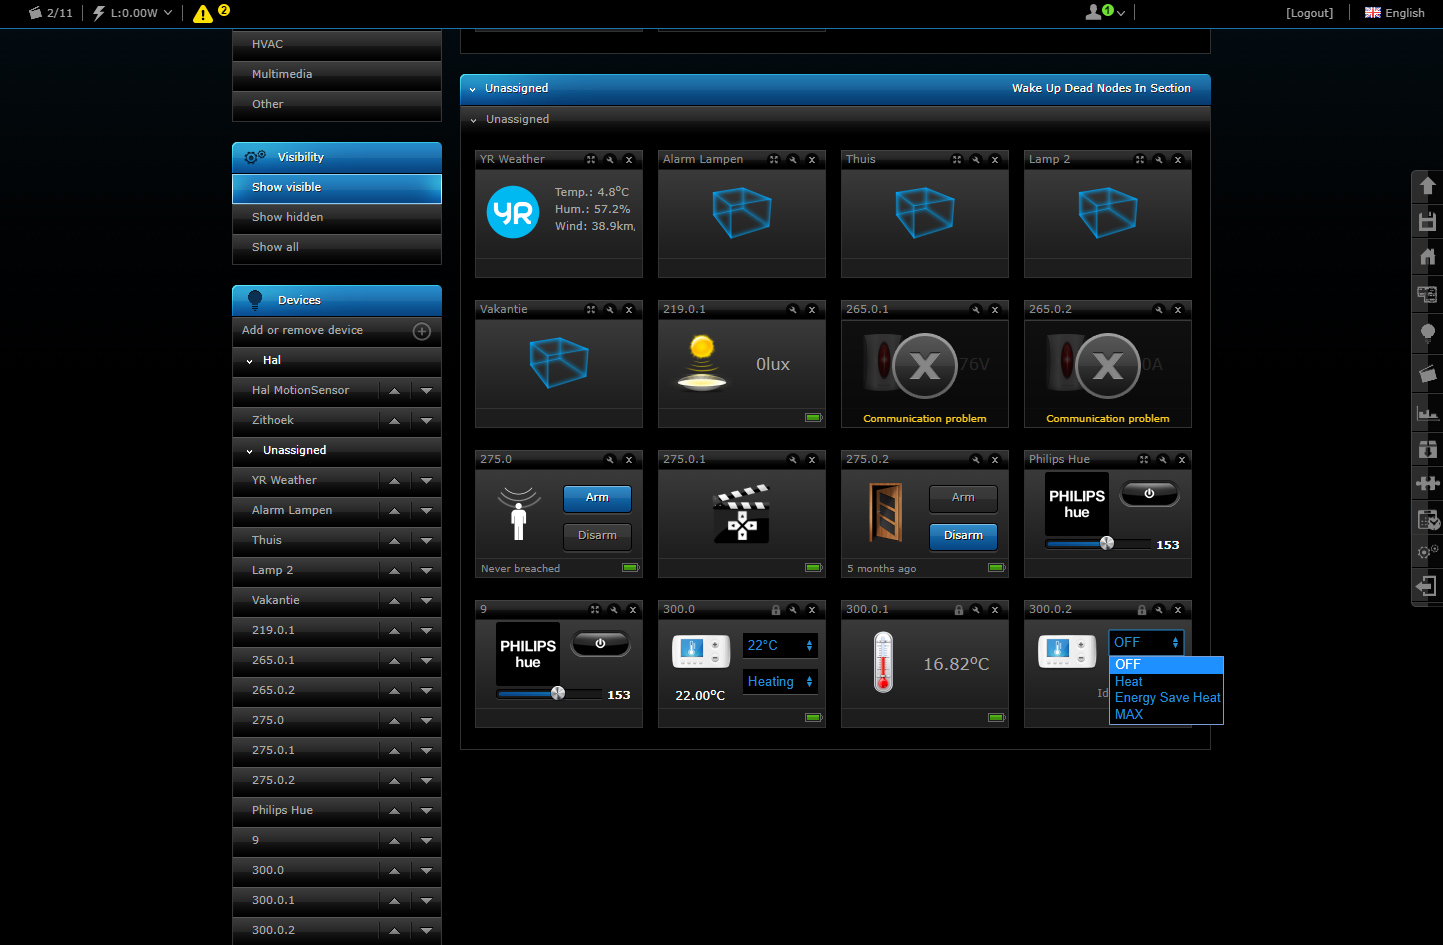
You get the set temperature, current temperature and you can determine the mode.
Scene options:
You get the scene options below to automate.
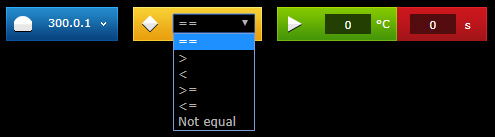
IF:
THEN:

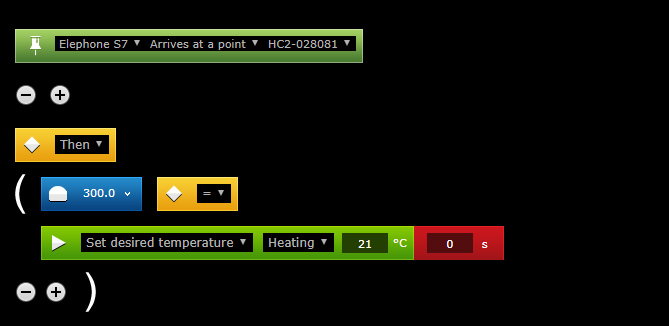
Example scene:
It would of course be nice if the radiator is switched on when you get home. The HC2 has a location determination for this which it determines based on your Geo location of your telephone. We use this as a starting point. We then set the thermostat to the desired temperature.
Conclusion:
The thermostat does what it needs to do and you can control the temperature. I didn't ran into any problems.