

Review:
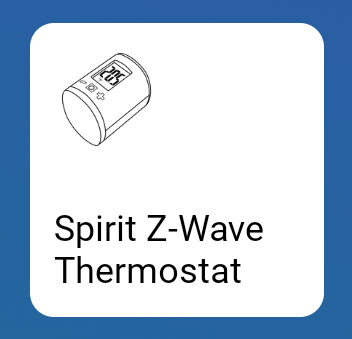
Eurotronic Spirit Thermostatic valve - Z-Wave Plus

Installation via the Homey:
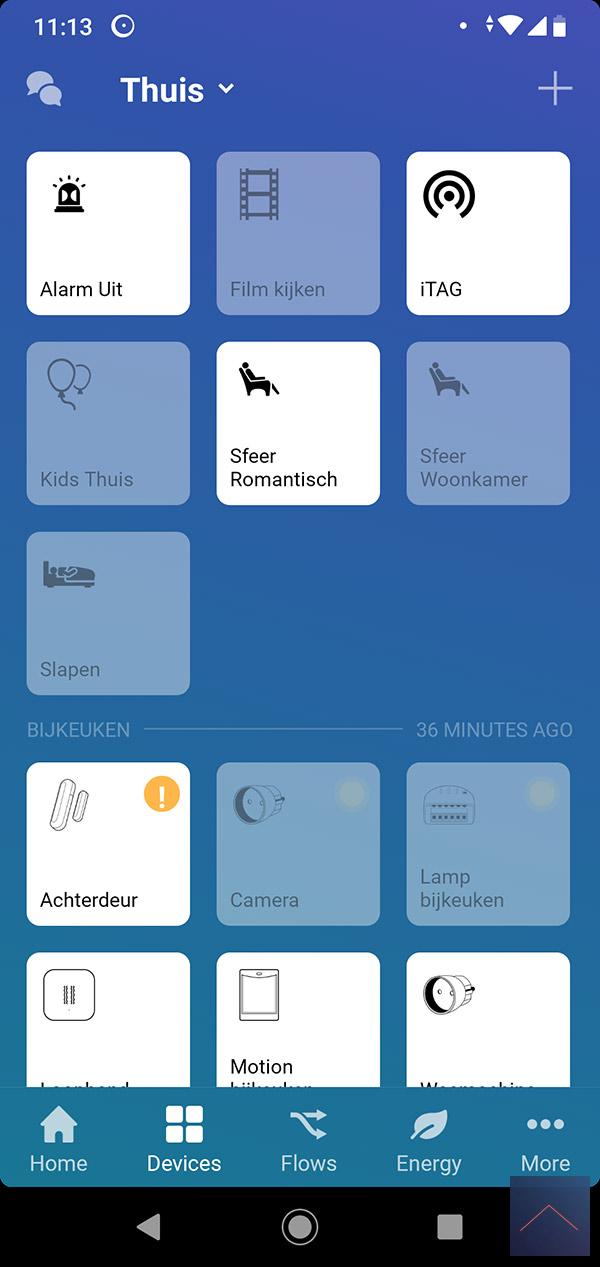
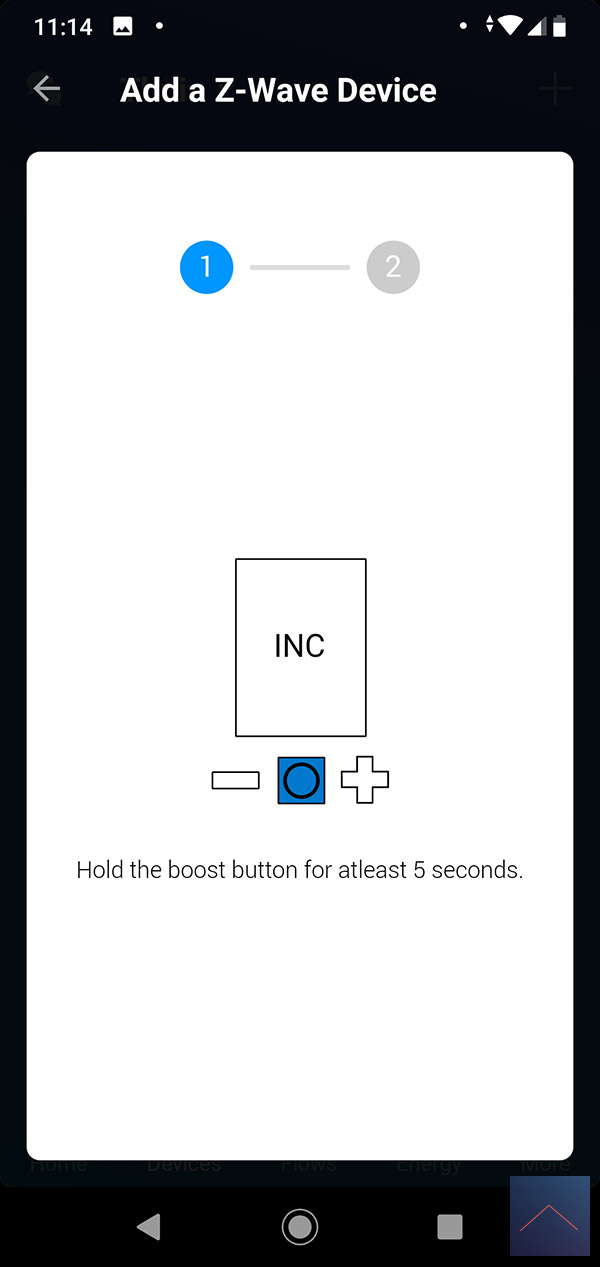
The first controller with which we will test this smart crane is the Homey. As a first step, we ensure that the Spirit is supplied with power. You can do this by removing the cover and inserting the batteries. Make sure you put it on properly (this is quite difficult to see). The display will light up and Inc will appear in the display. Then log in to the Homey and go to your devices.
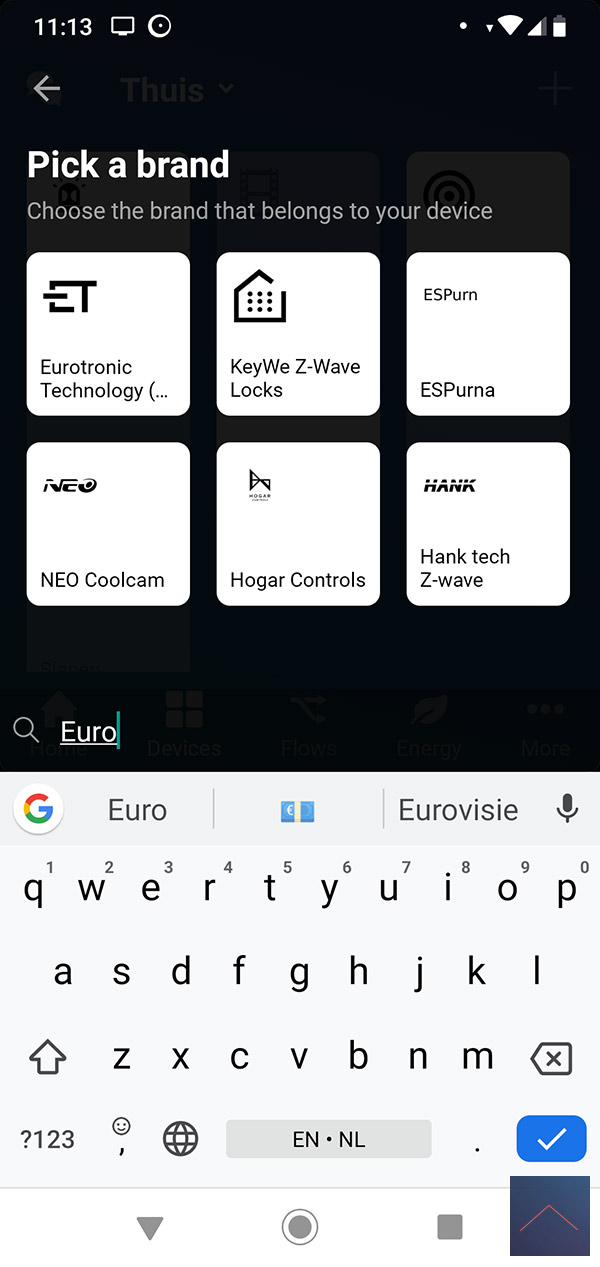
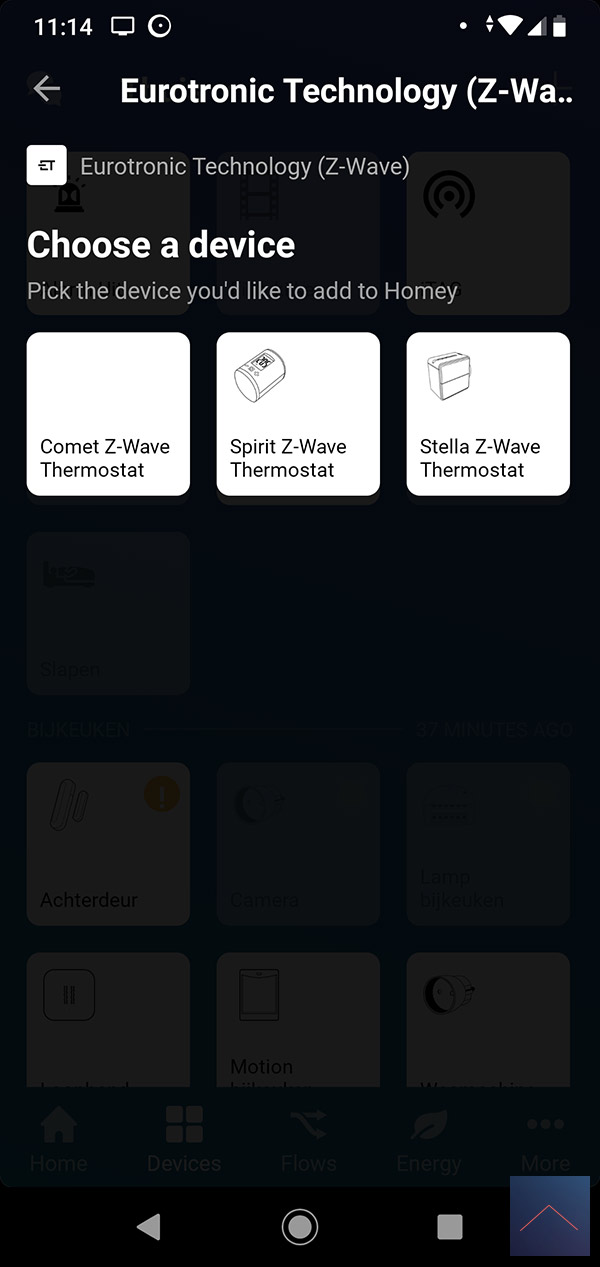
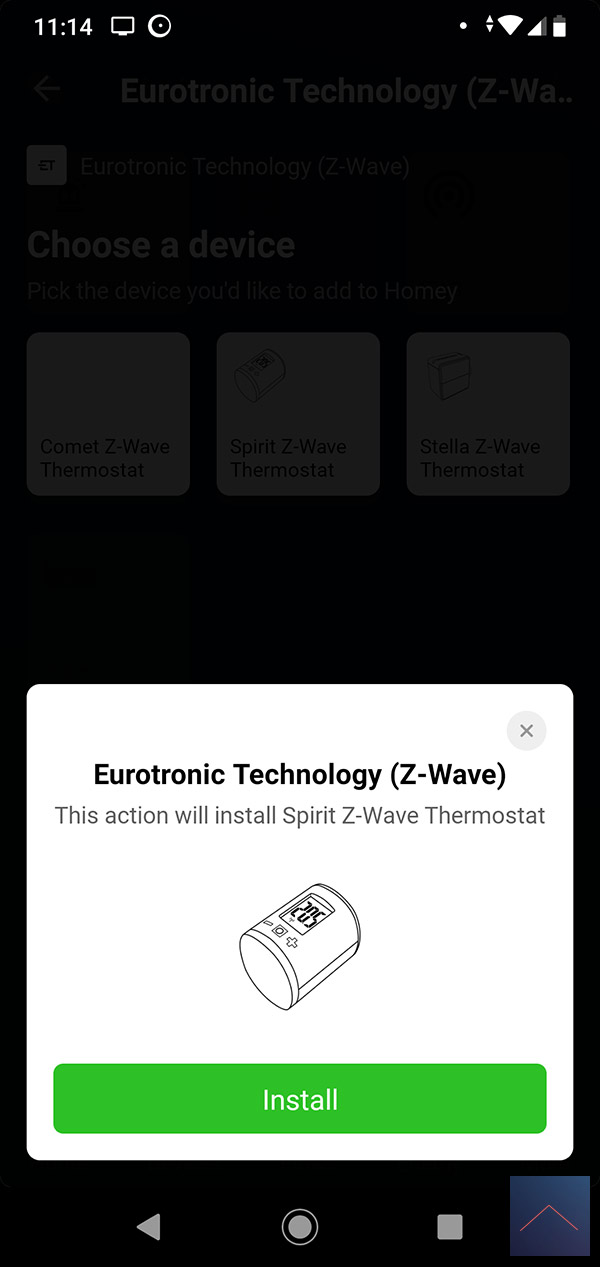
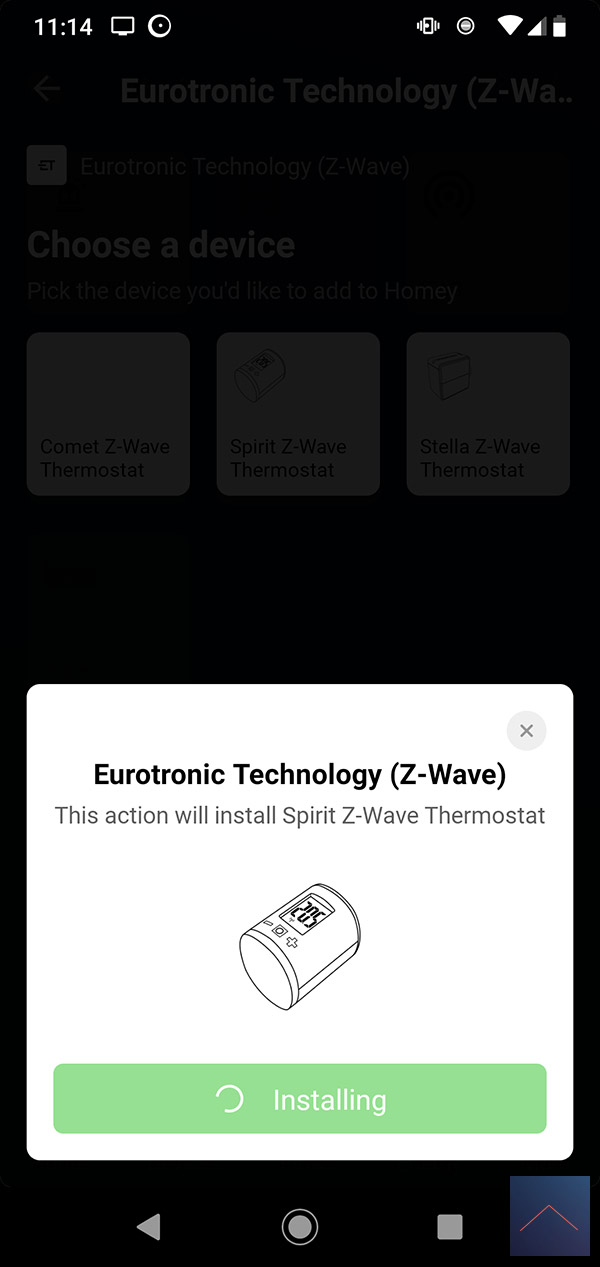
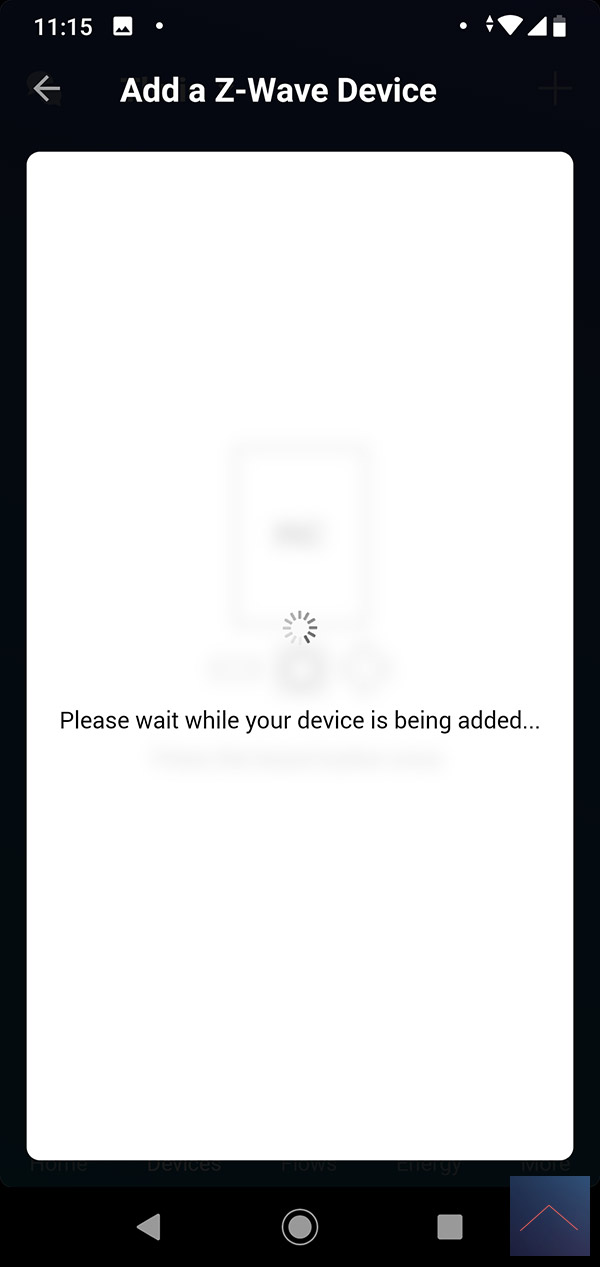
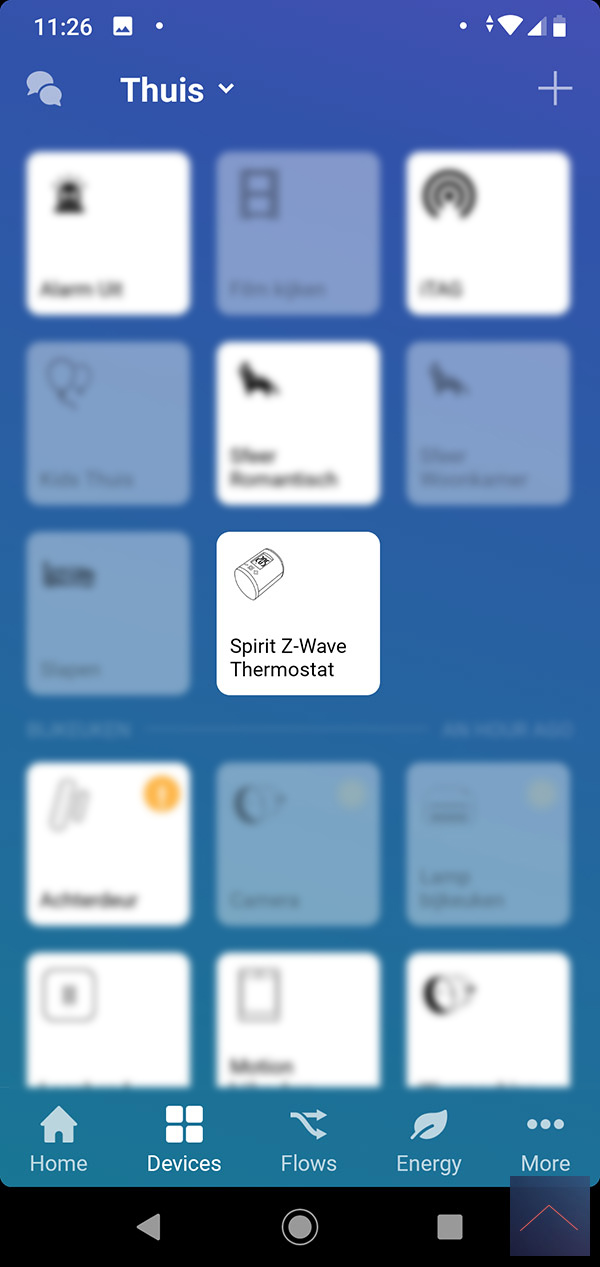
Then press / tap on the plus sign and search for Eurotronic and install the APP if you do not have it yet. After this the adding procedure will start and the APP will ask you to hold the boost button (middle button) for 5 seconds. He was immediately found after this and the button glowed green and he was of course added to the Homey.
Of course we want to use it on a radiator, so that's the next step. The display now shows iNs that you can install it. You do this by unscrewing the old tap and tightening the Spirit again. Don't worry, no water will come out because this is a separate circuit. When tightening, make sure that you do not over tighten it, as this is not necessary and you prevent it from breaking.
As a final step, press the boost button again to start the calibration. This ensures that the tap knows what the open and closed position is. After this you can use it in the Homey.
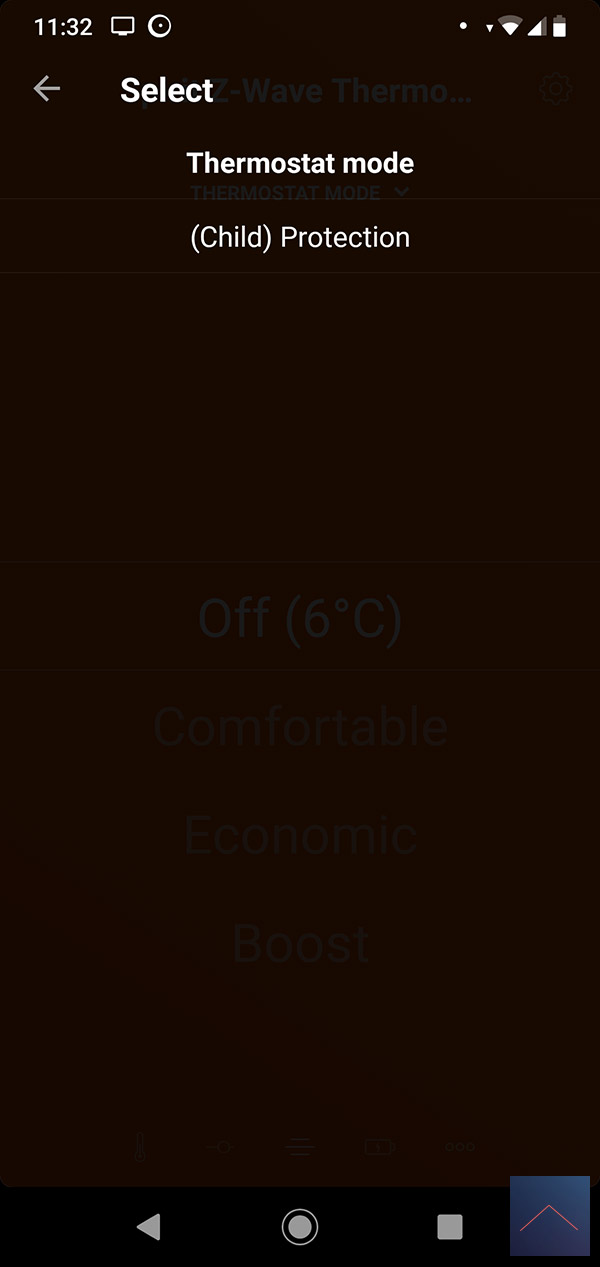
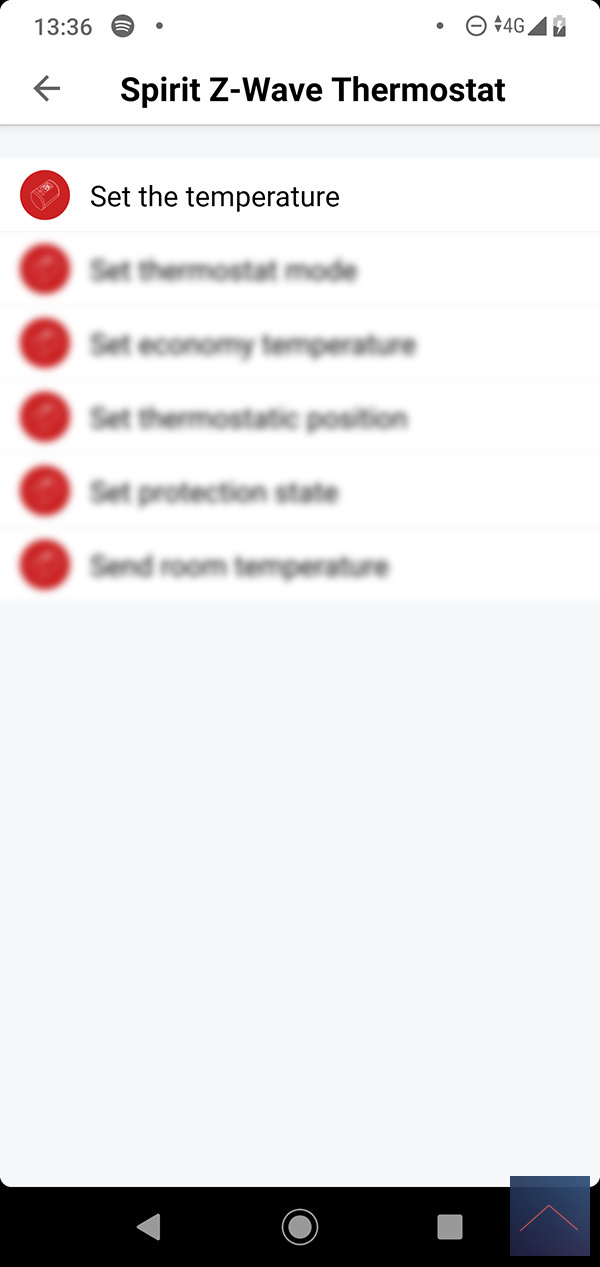
In the Homey you get the option to set the desired temperature and you can switch on the different modes. The following modes are available:
- Off (6 ° C)
- Comfortable (set via the Homey)
- Economic (18 ° C)
- Boost (tap full open)
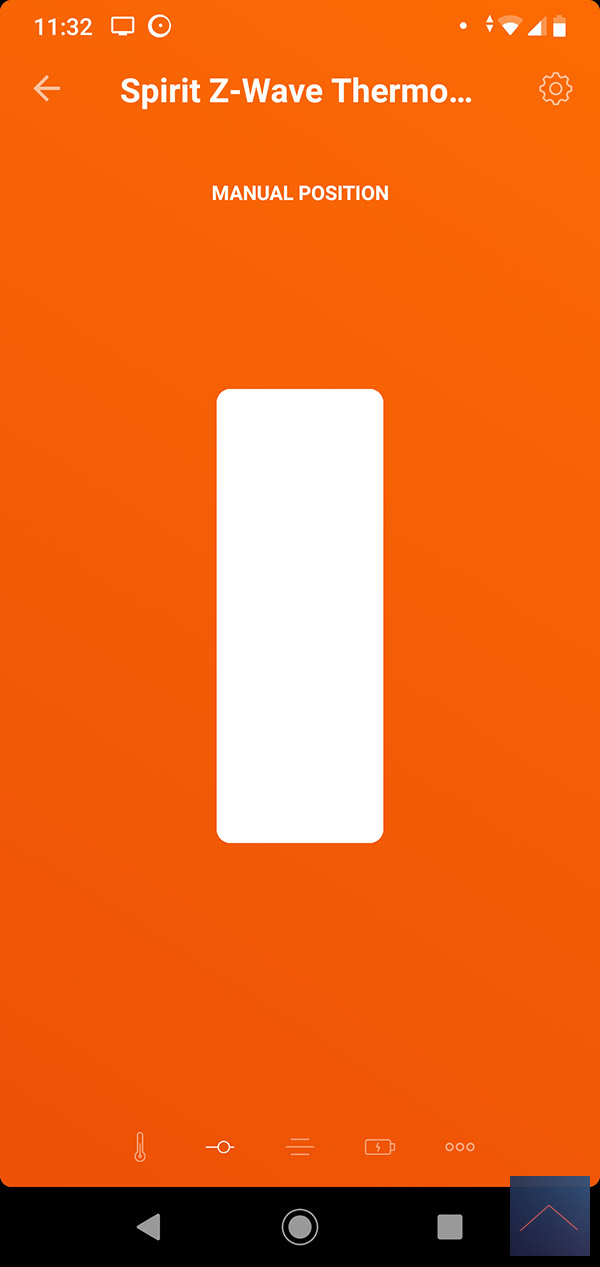
- Manual (you can determine the position yourself)
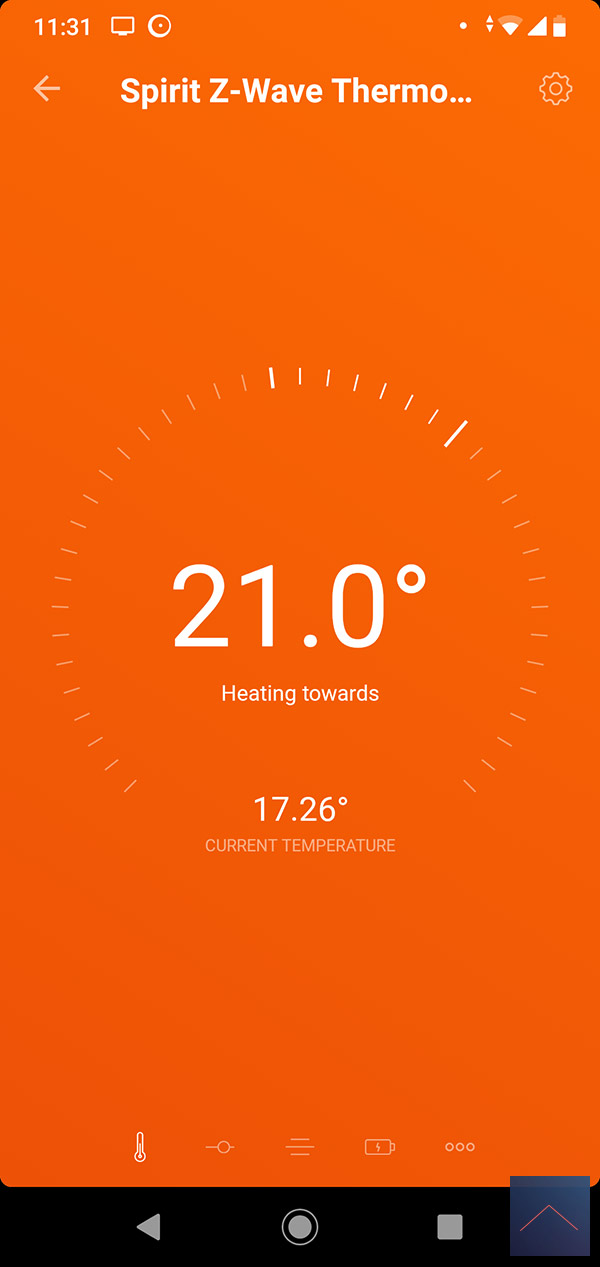
You also get a battery status, but unfortunately this shows nothing and you can see the temperature of the room. It should be mentioned that this sensor is in the tap, so also close to the radiator. This naturally gives you a somewhat distorted picture. There is also a possibility to get an external temperature sensor.
Finally, I want to report that it is possible to detect whether a window is open. He will then close the tap when it is detected.
Installation screens:
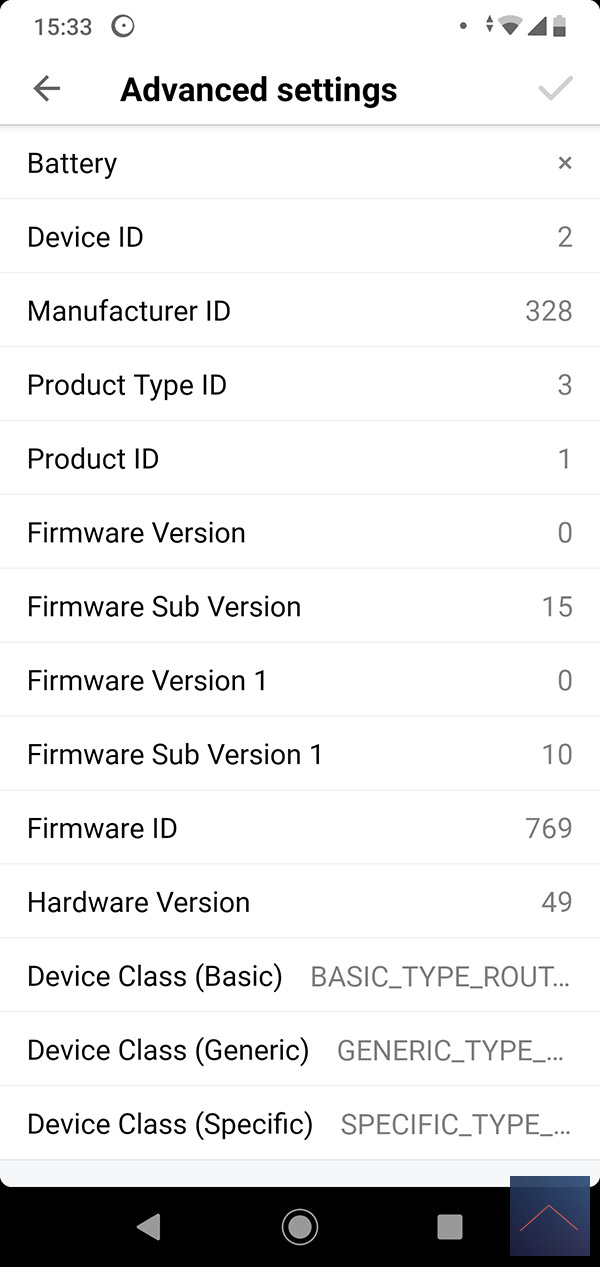
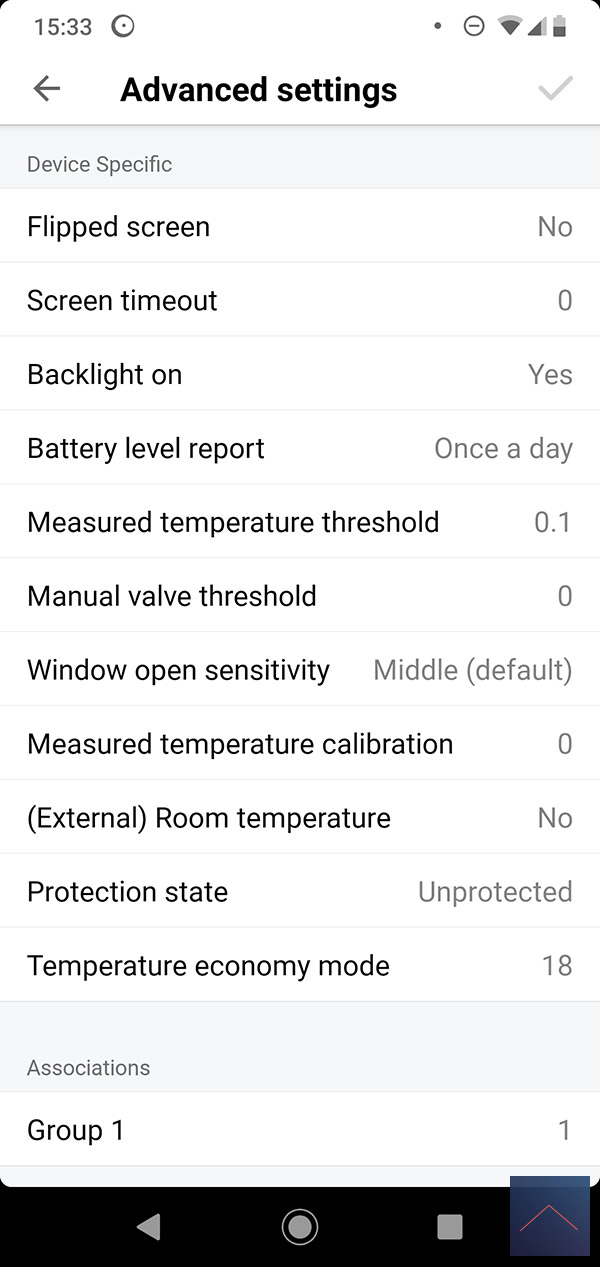
Configuration:
Controling
Dashboard:
Flow Options:
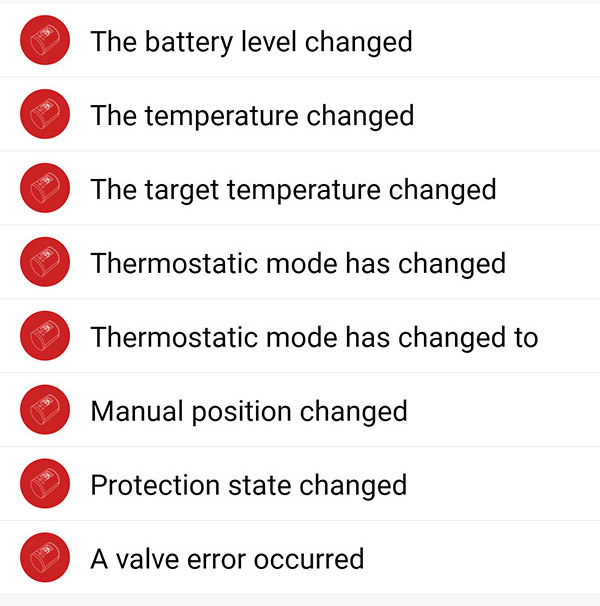
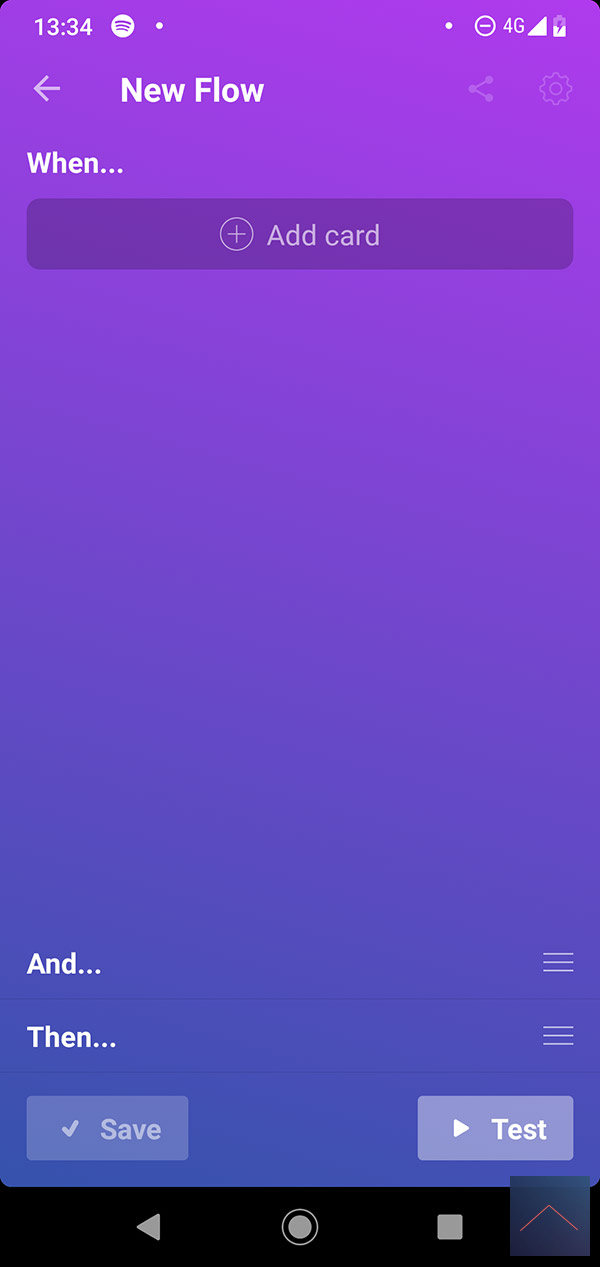
You will have the following options at your disposal if you are going to make a flow:
IF:
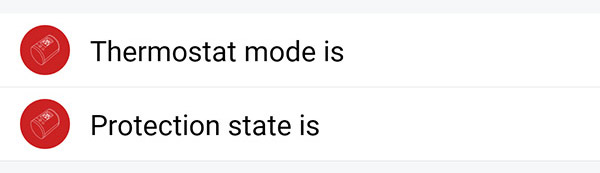
AND:
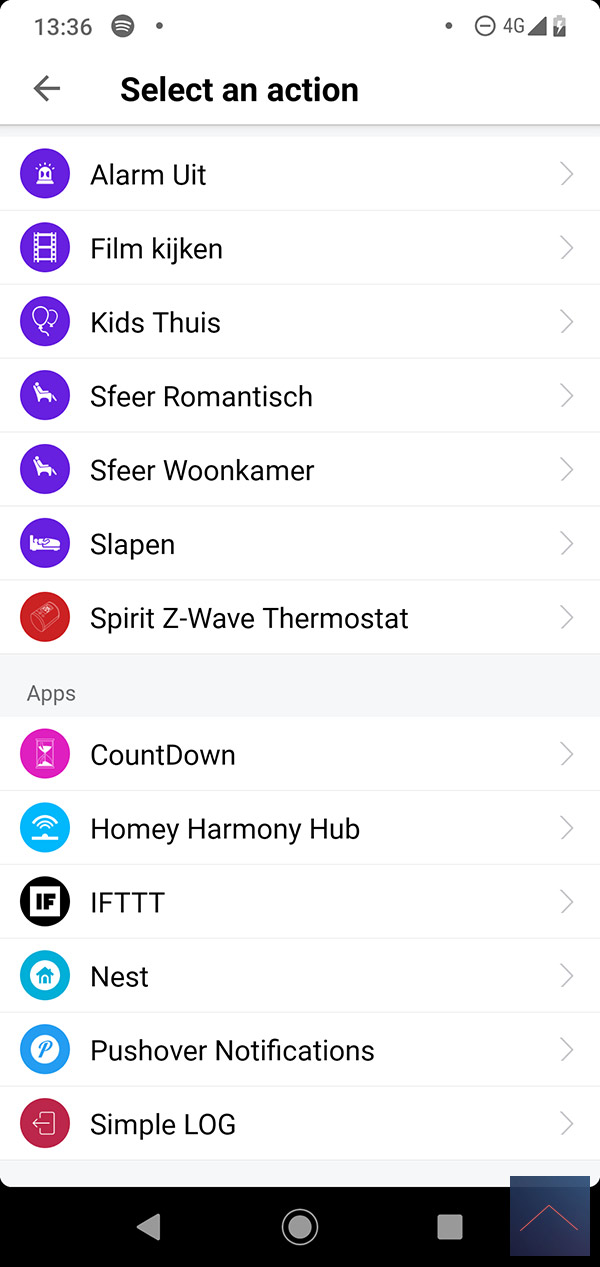
THEN:
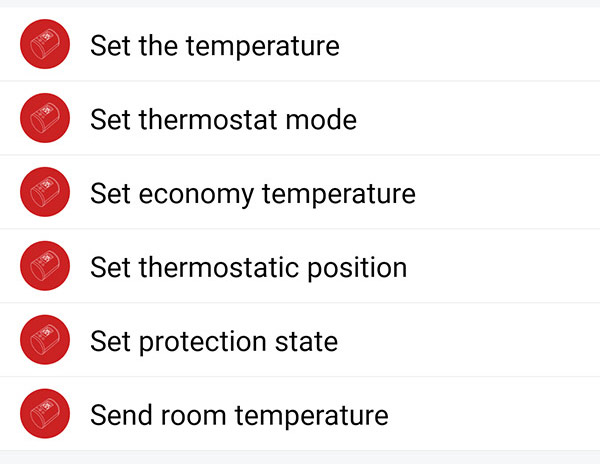
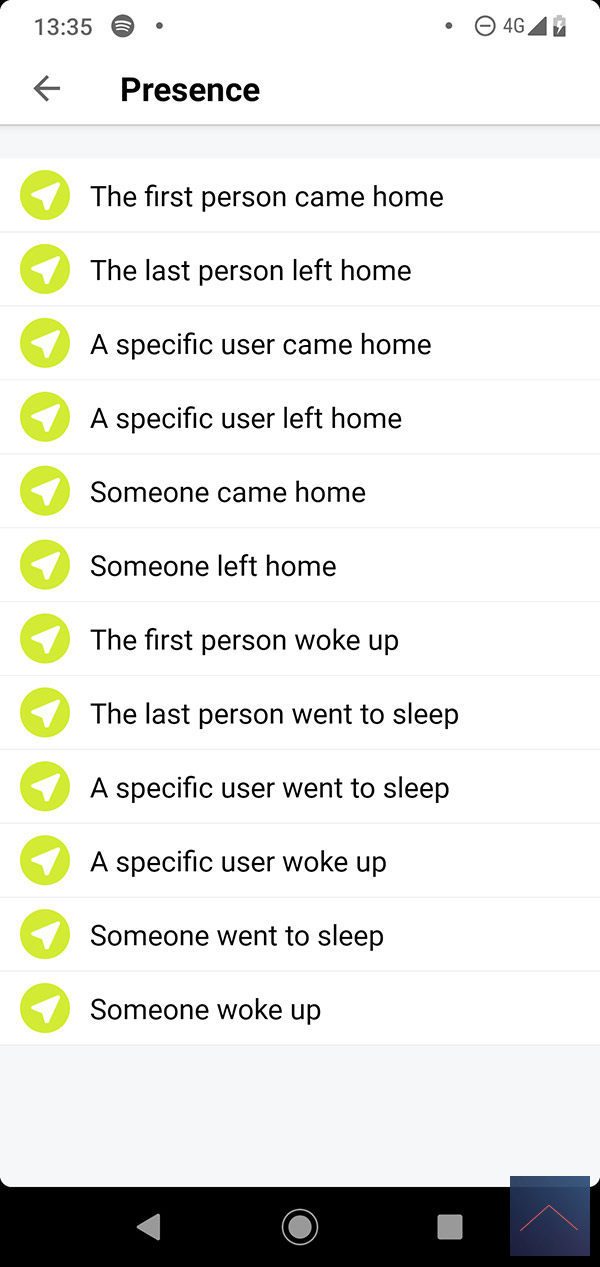
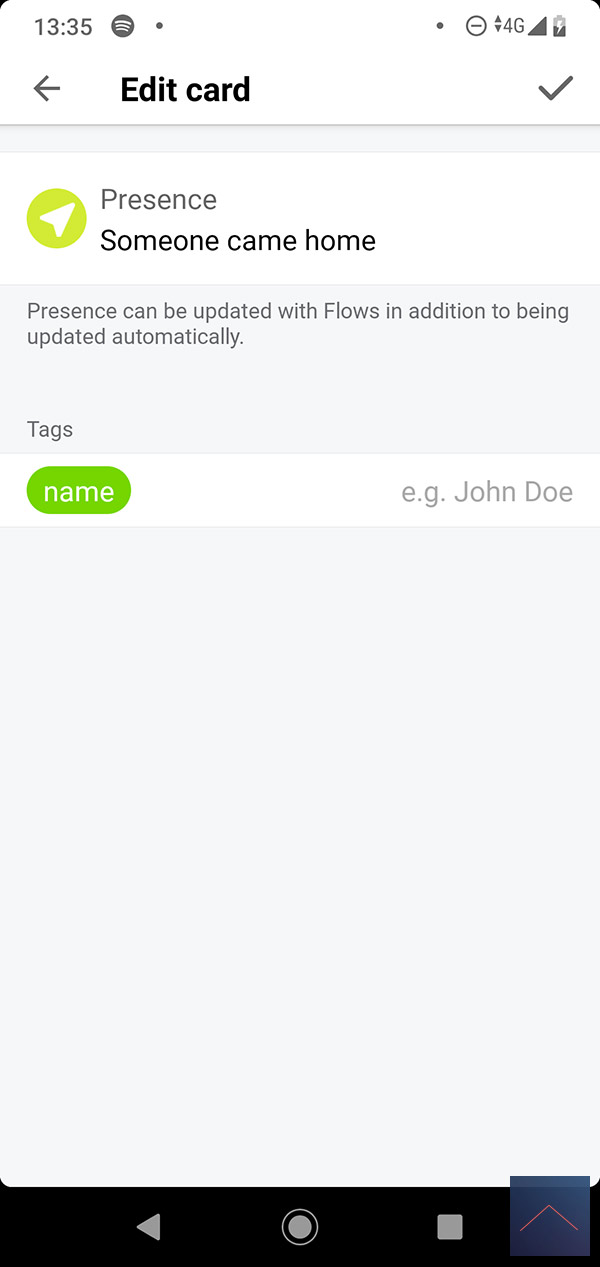
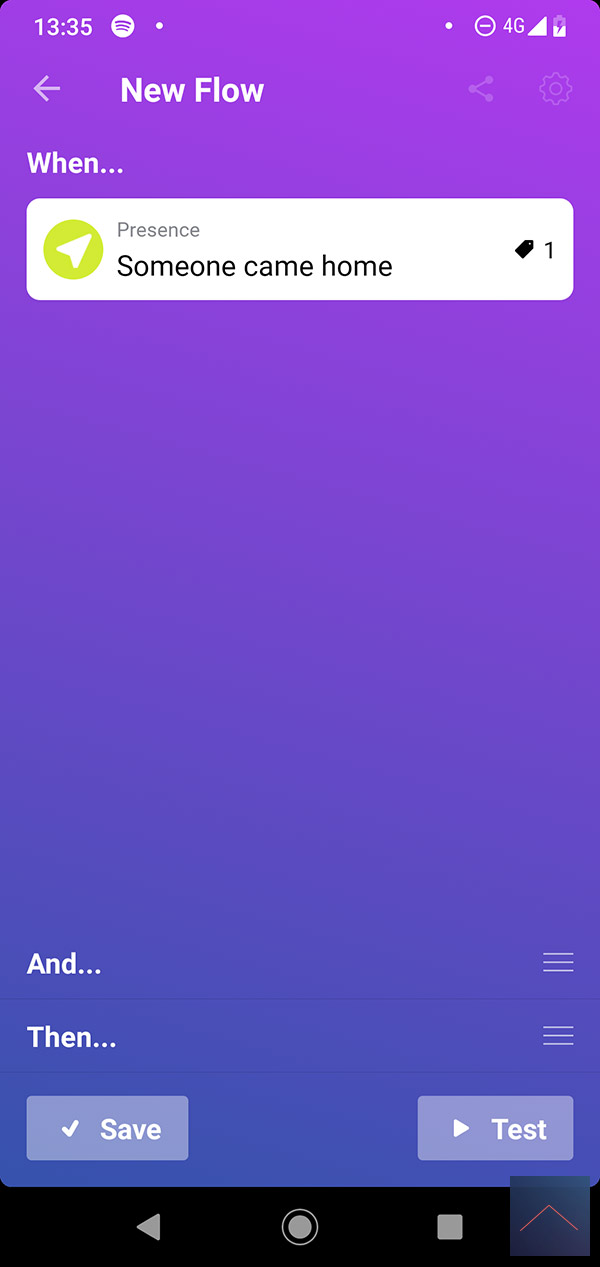
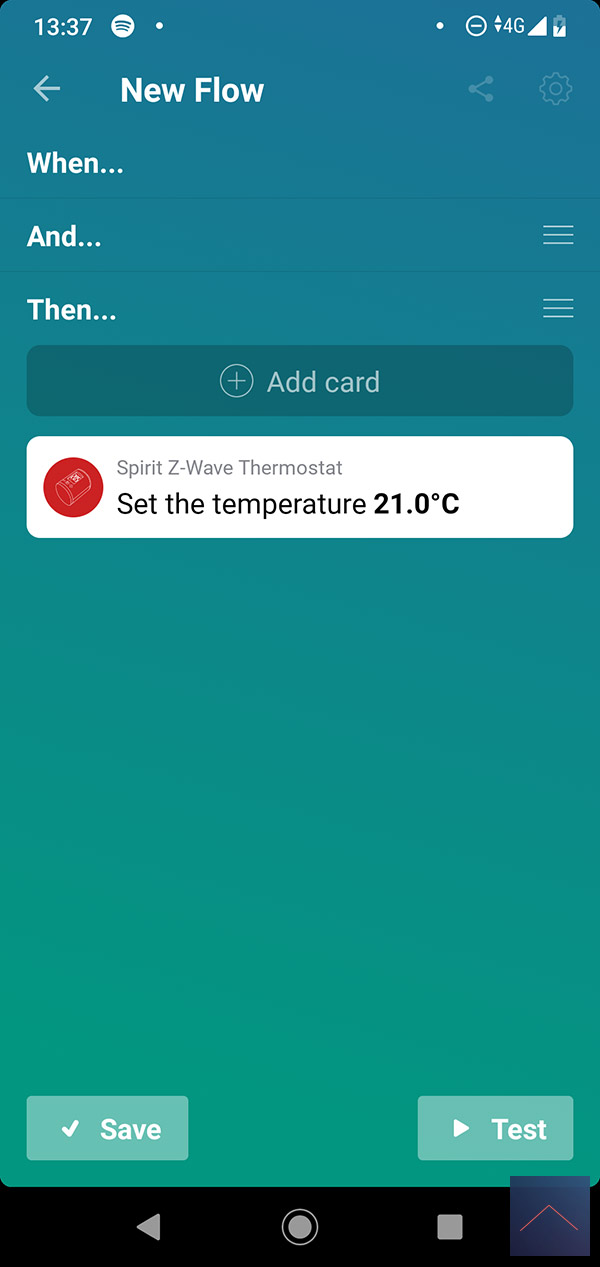
Example flow:
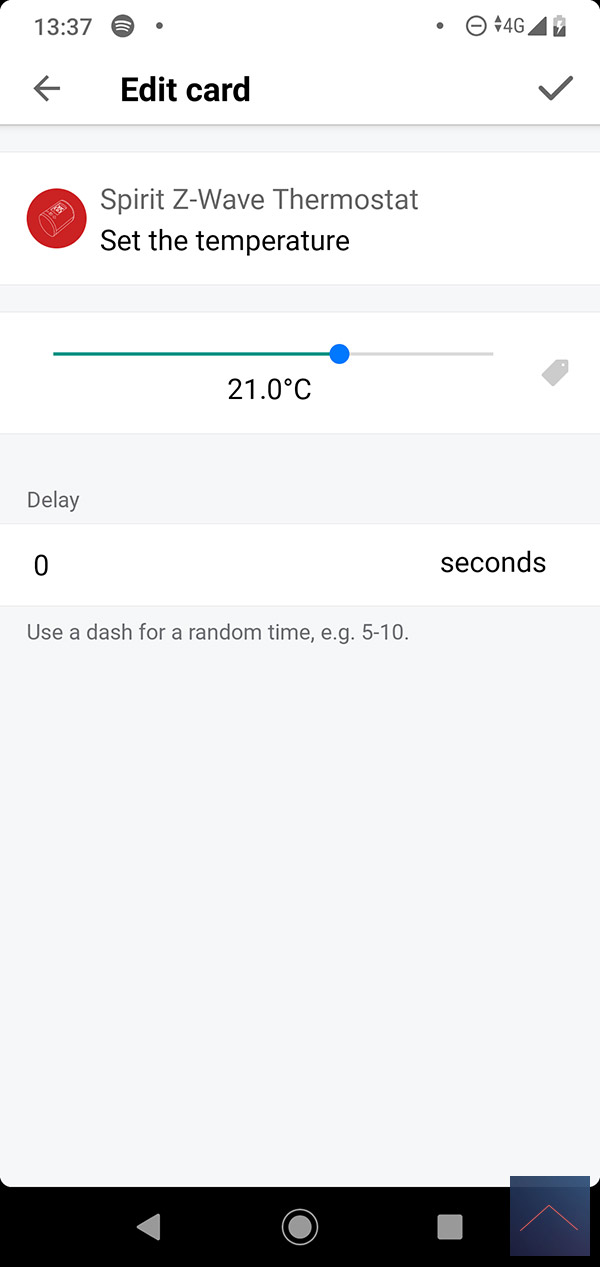
It would be nice if the radiator is switched on when I get home. Homey has a presence card for this which you can use as a starting point. This will check whether you are at home or away based on the GEO location of your mobile. As a final step, we set the temperature at 21 degrees.

Conclusion:
This thermostat works without problems and it responds quickly to a command. The only thing that works a bit strange is that if you switch to another mode, it does not adjust the temperature in the app.