Review:
Eurotronic Spirit Thermostatic valve - Z-Wave Plus
Installation via Home Assistant:
As usual, the last controller with which we will test this thermostat is Home Assistant. We are going to test it in collaboration with the Aeotec USB Z-Wave stick.
The first step is to put the batteries in the tap. You can do this by removing the cover and you guessed it: put all the batteries in it. 2x AA batteries are included. Make sure you put them in well (this is a bit hard to see). If you have done everything right, the display will light up and show "InC".
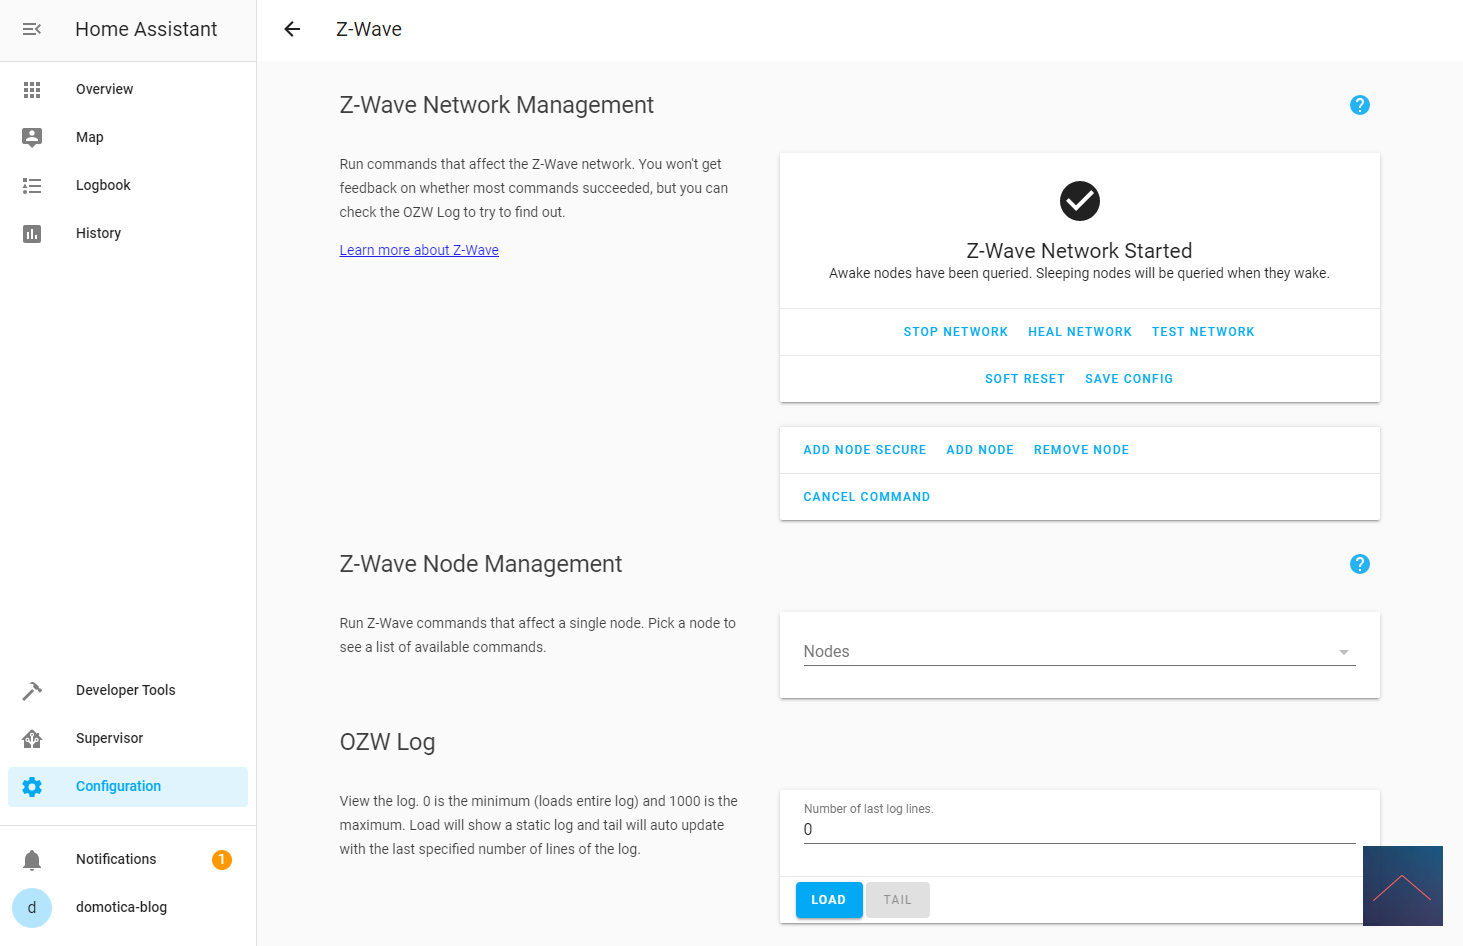
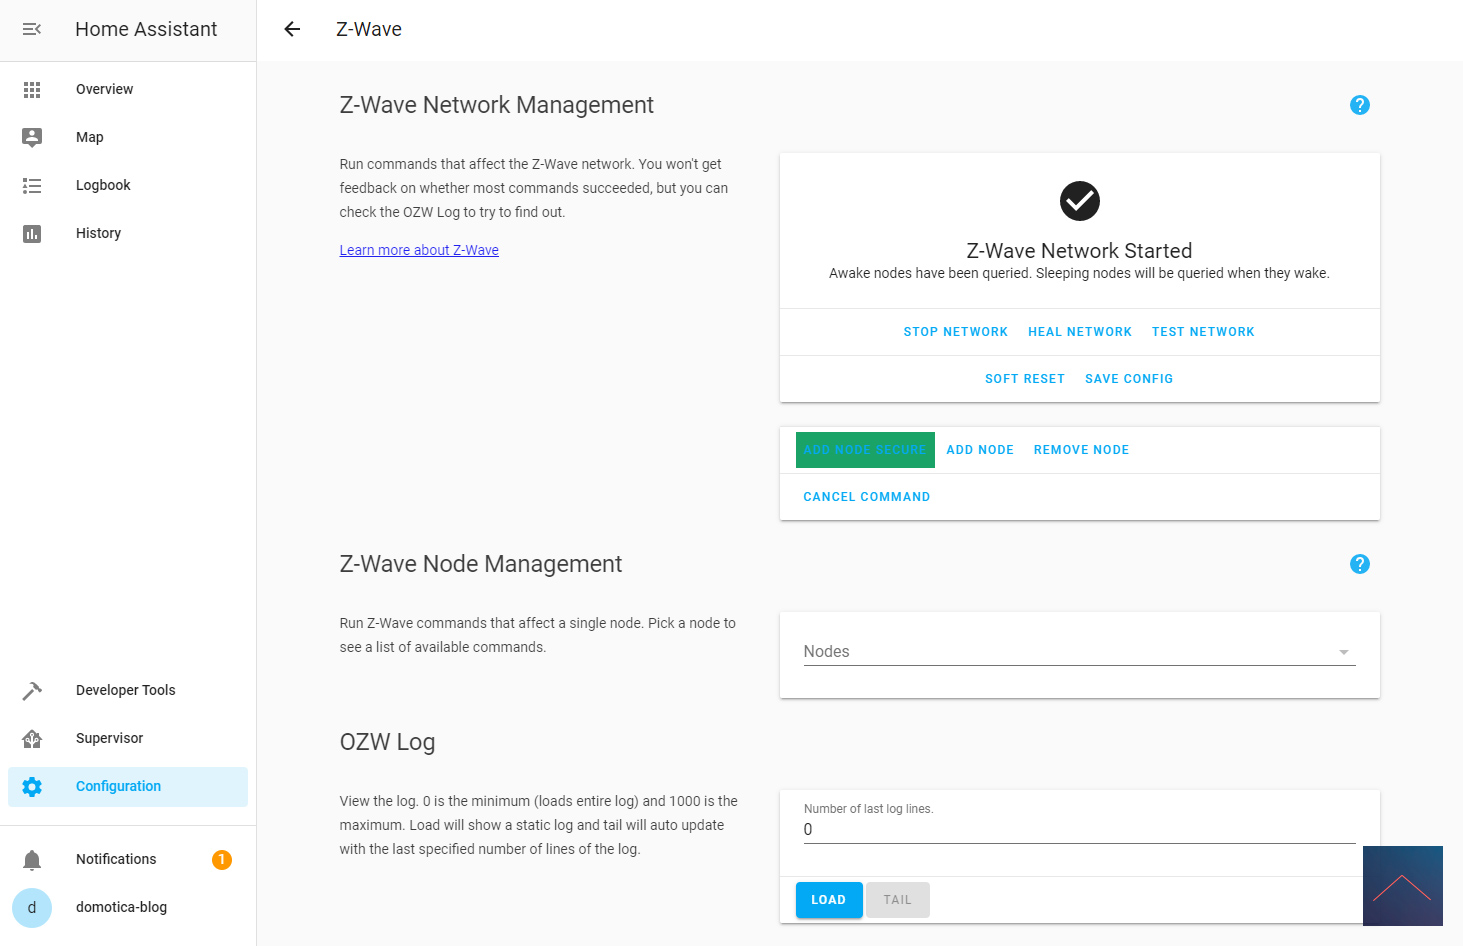
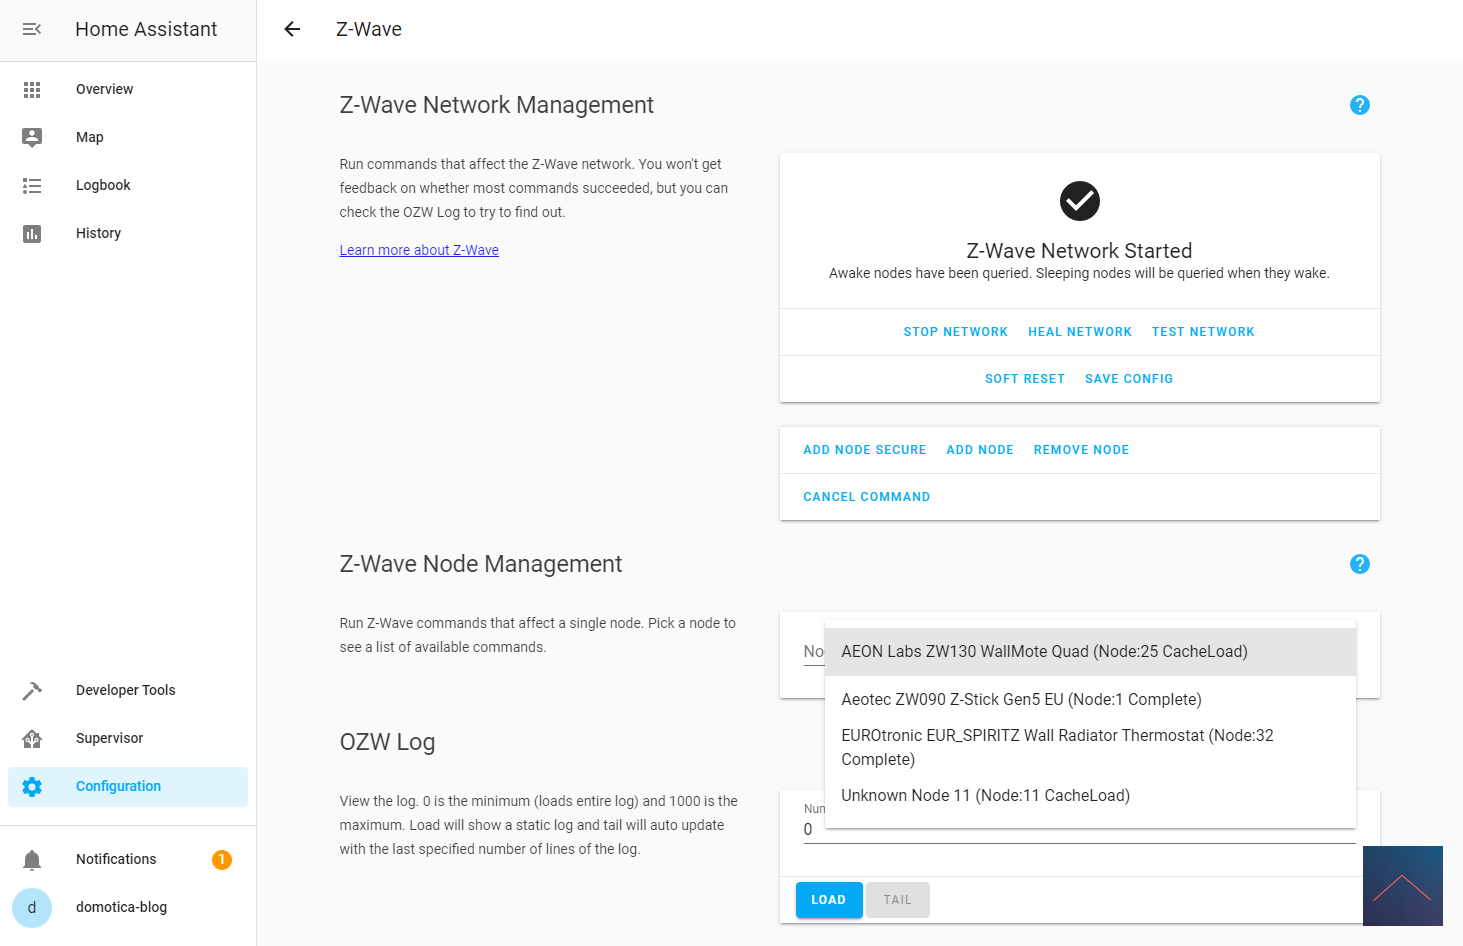
Then log in to HASS and go to your configuration and then to Z-Wave. Then click on the add node secure to start adding. At HASS there is no message but you must then press the boost button on the tap. This will then light up and start counting down. If you wait a moment and then click on nodes you will see it appear. The countdown on the tap will also stop and the LED will light up green and the display will show xx.
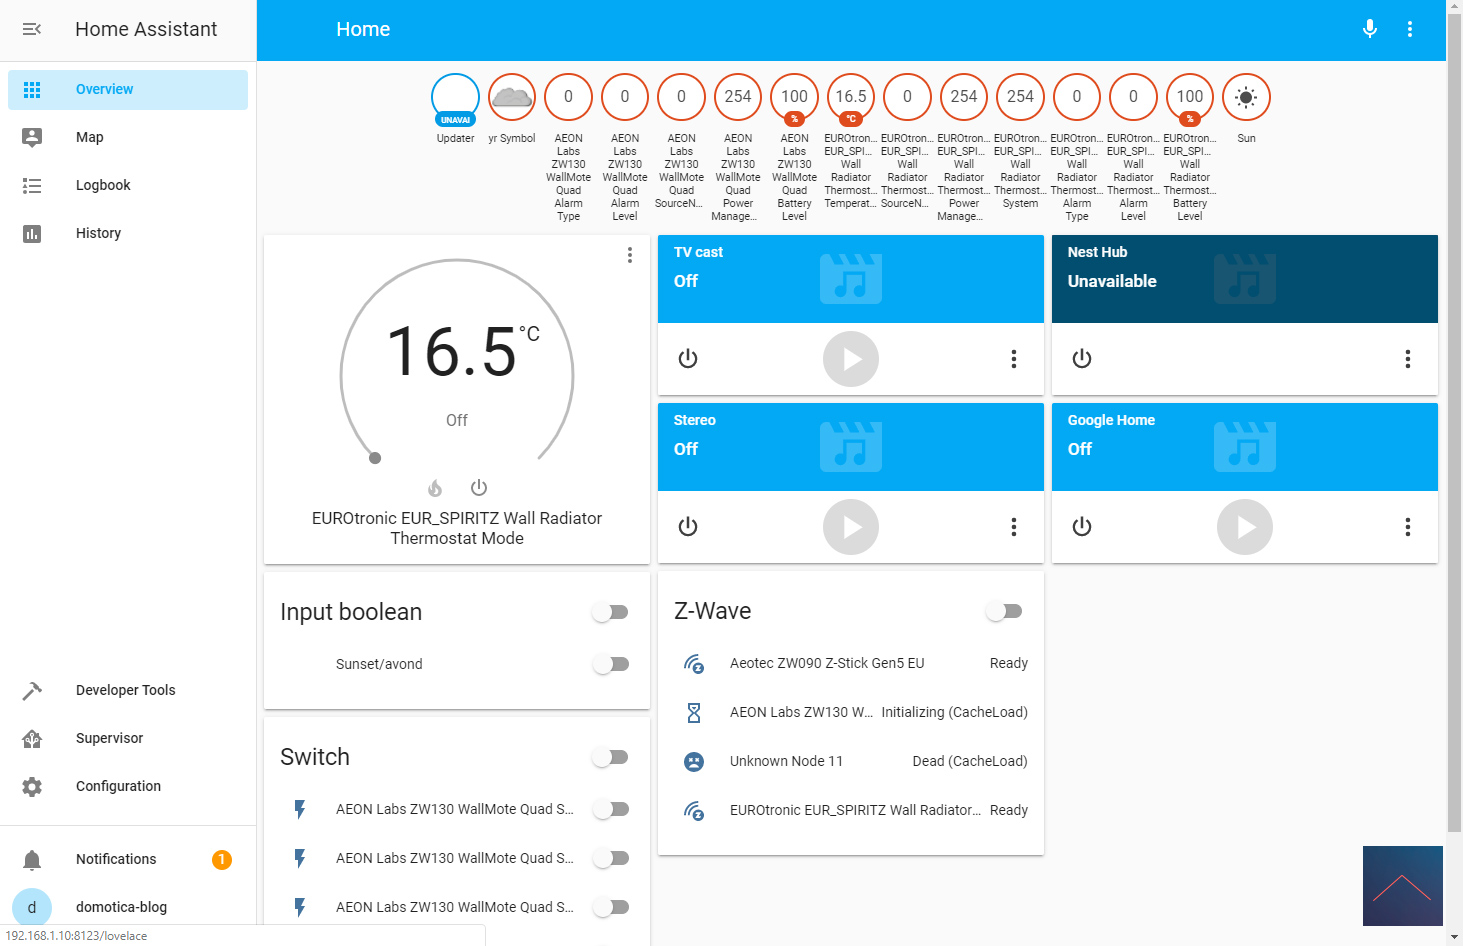
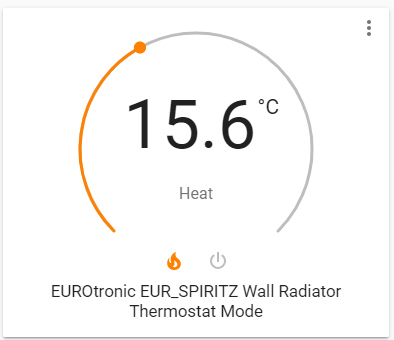
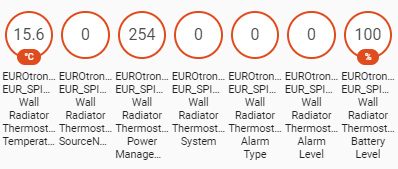
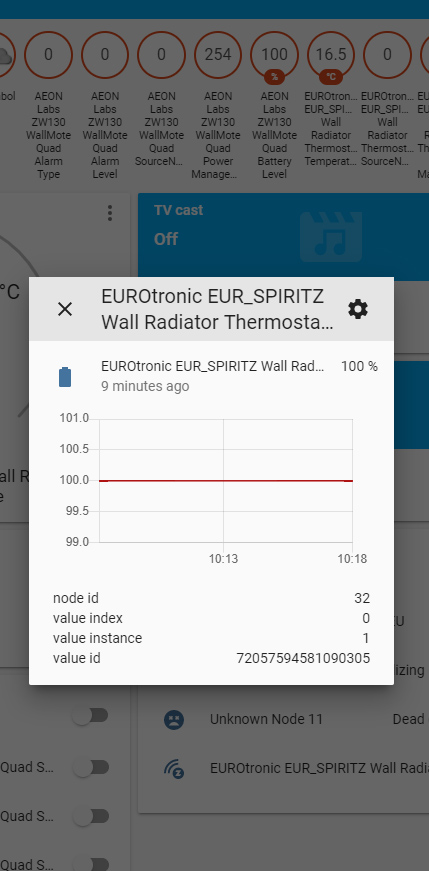
All configuration options are available so this saves searching. When I look at my overview I see a thermostat, battery level, set temperature and the ambient temperature. So totally complete.
Installation screens:
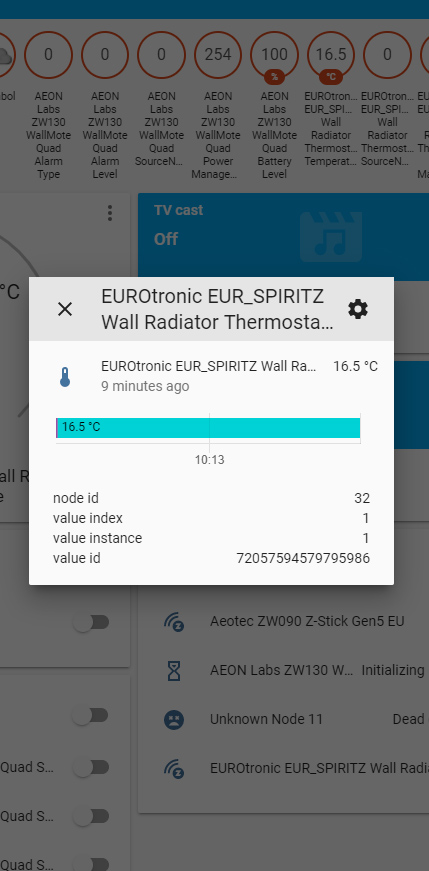
Controlling:
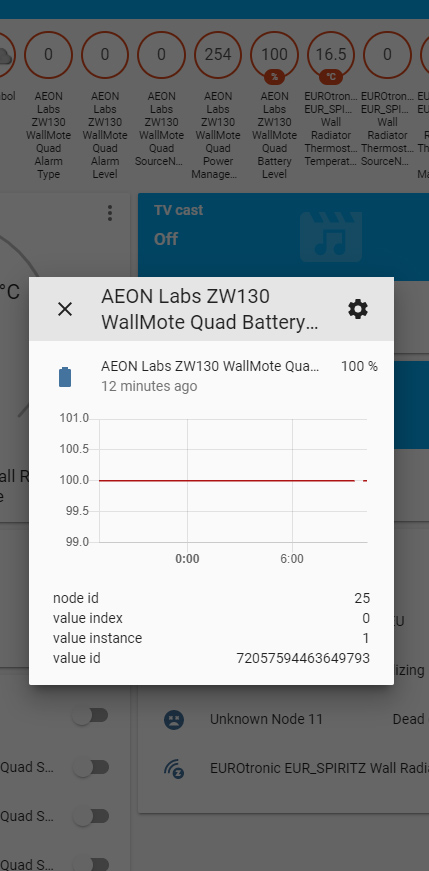
Devices:
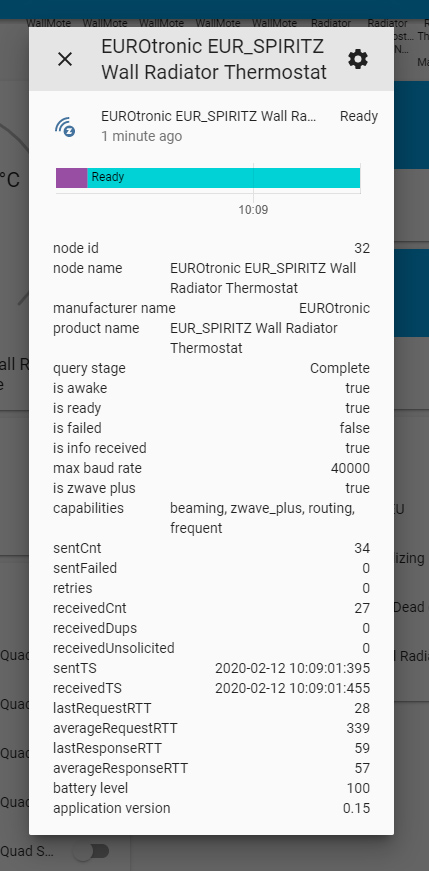
Node info:
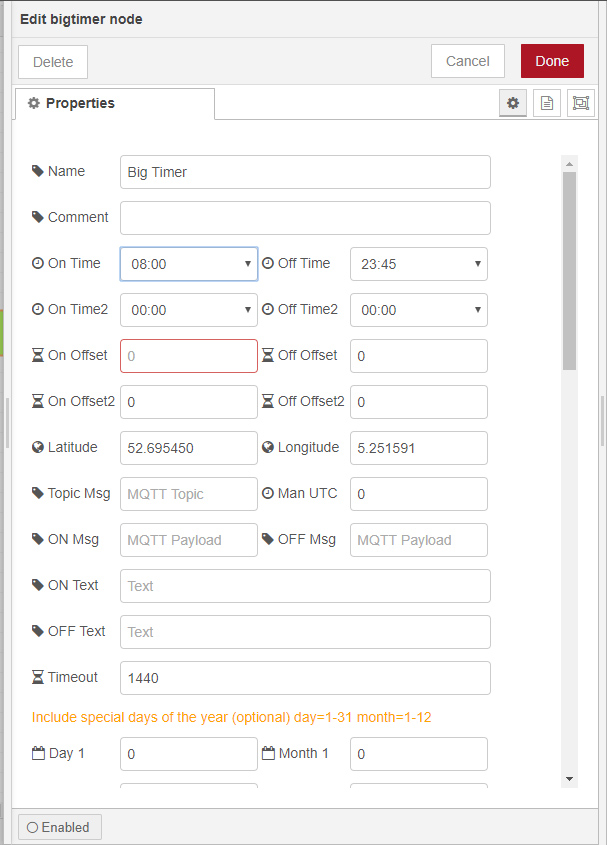
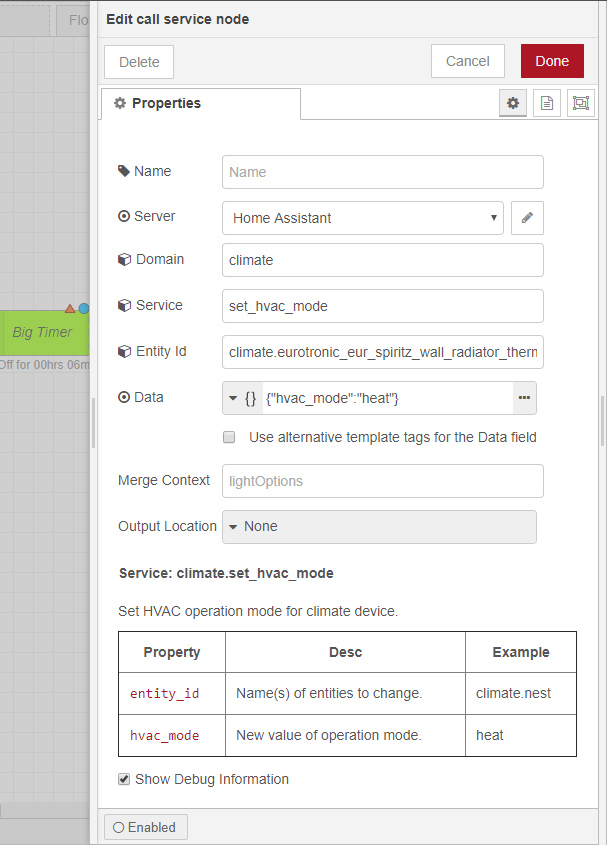
Example flow:
I would like the thermostat to be switched on at 8:00 am. I use the big timer as a trigger for this and when it is 8 am I set the thermostat mode to "heat".