Review:
Eurotronic Spirit Thermostatic valve - Z-Wave Plus
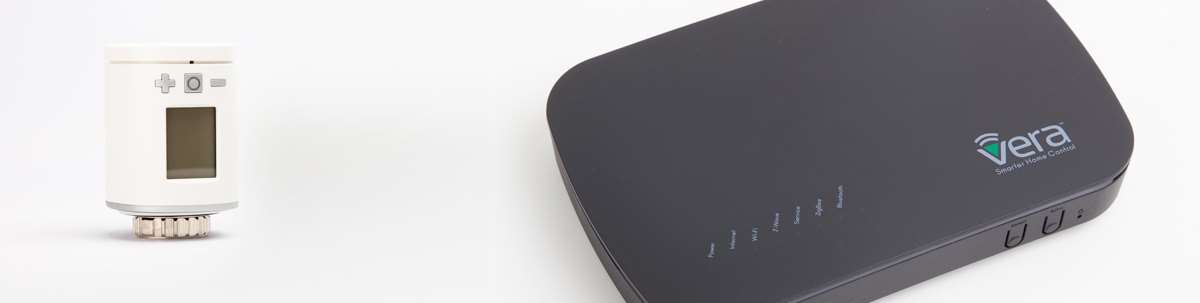
Installation via the Vera (Plus / Edge):
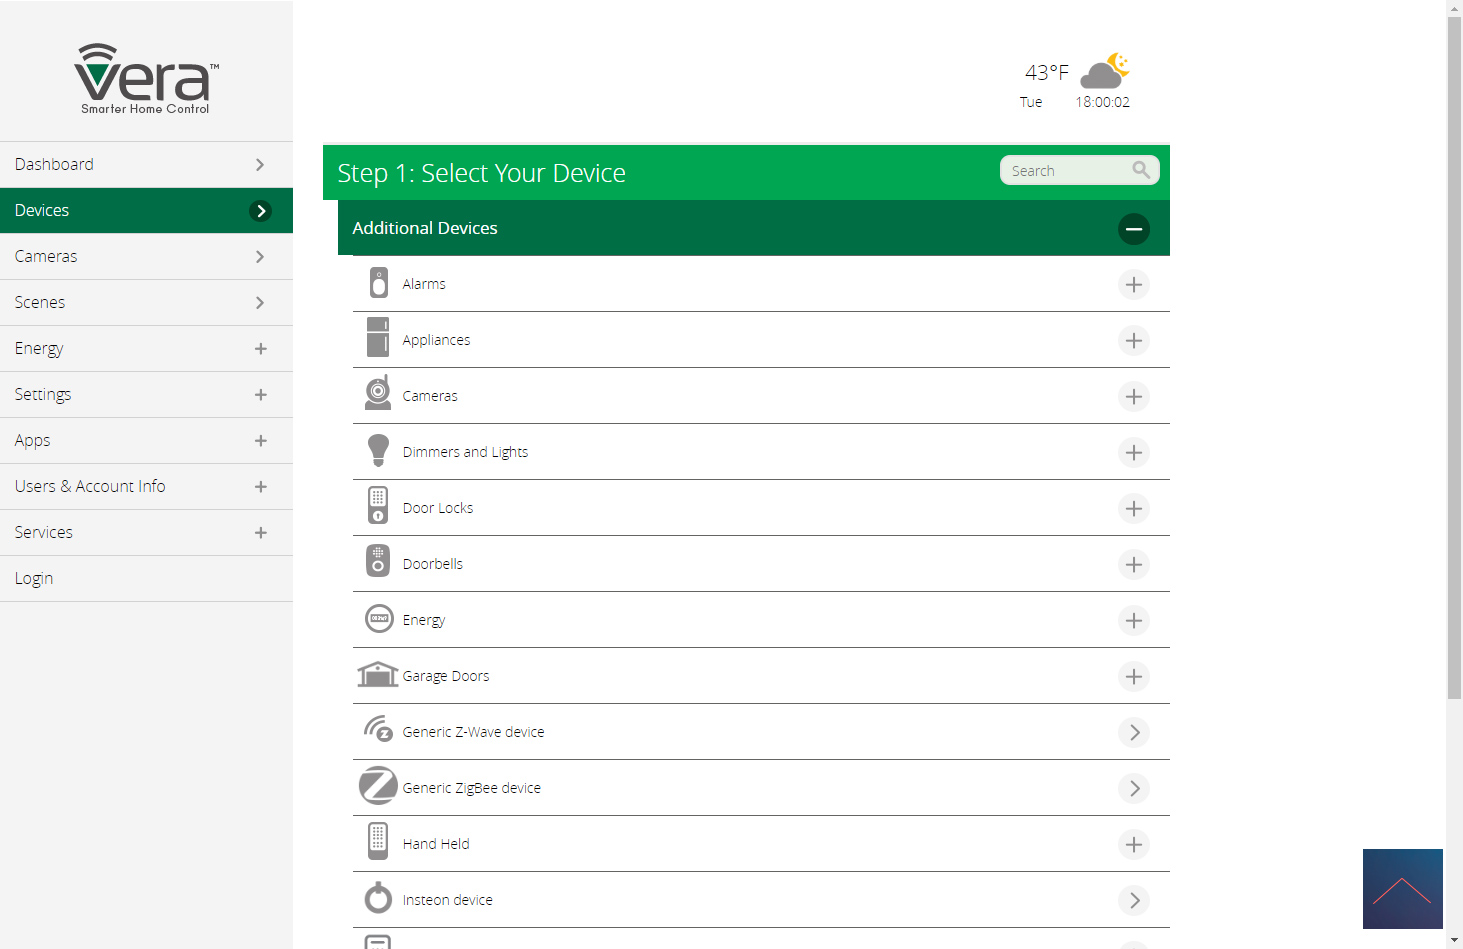
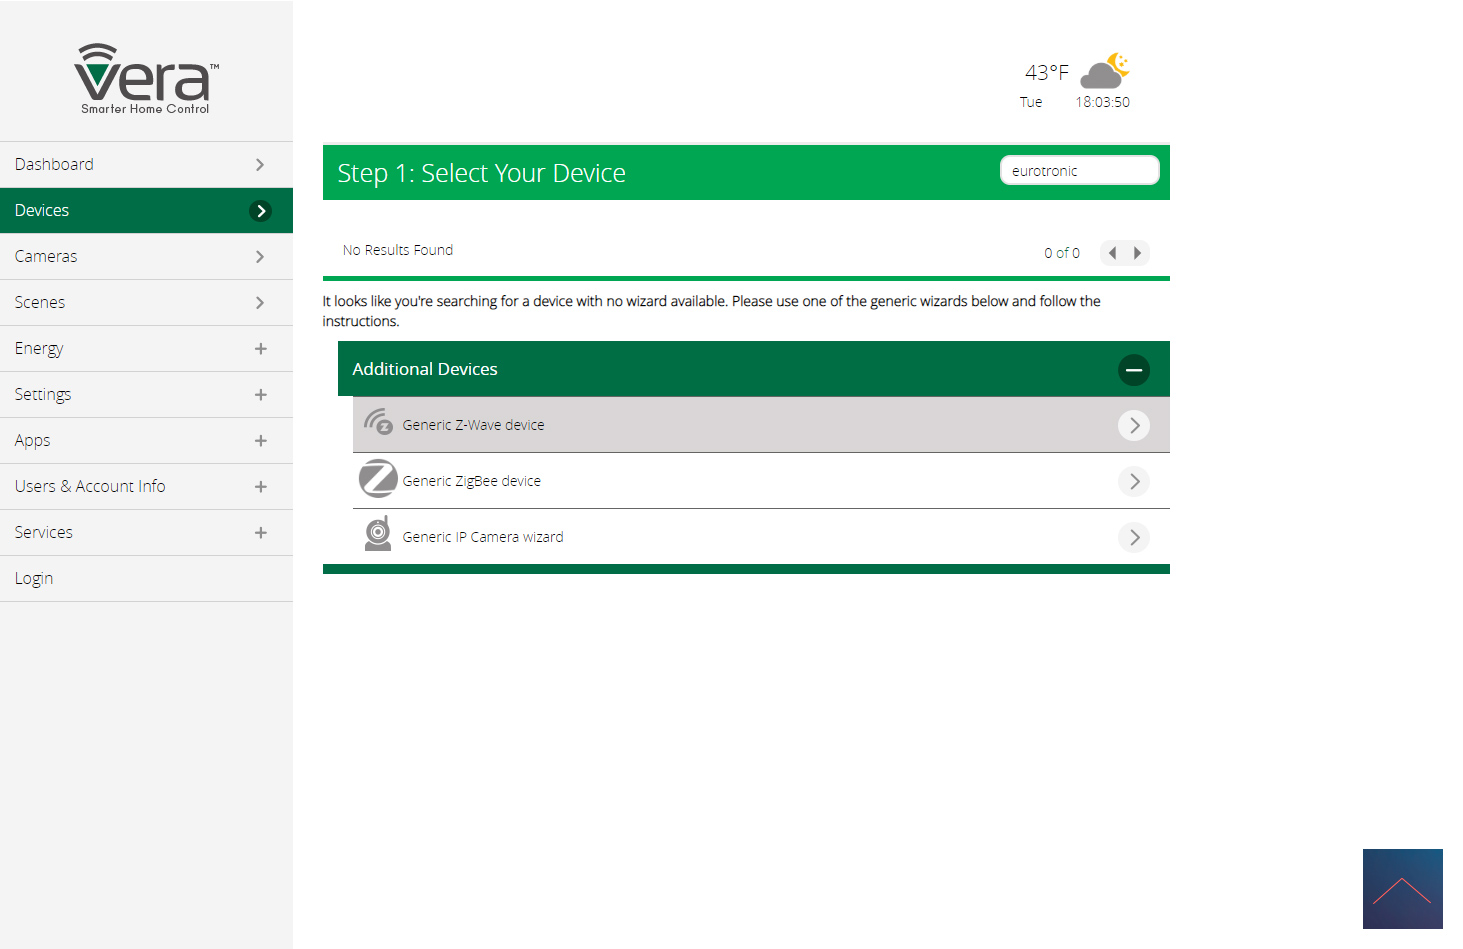
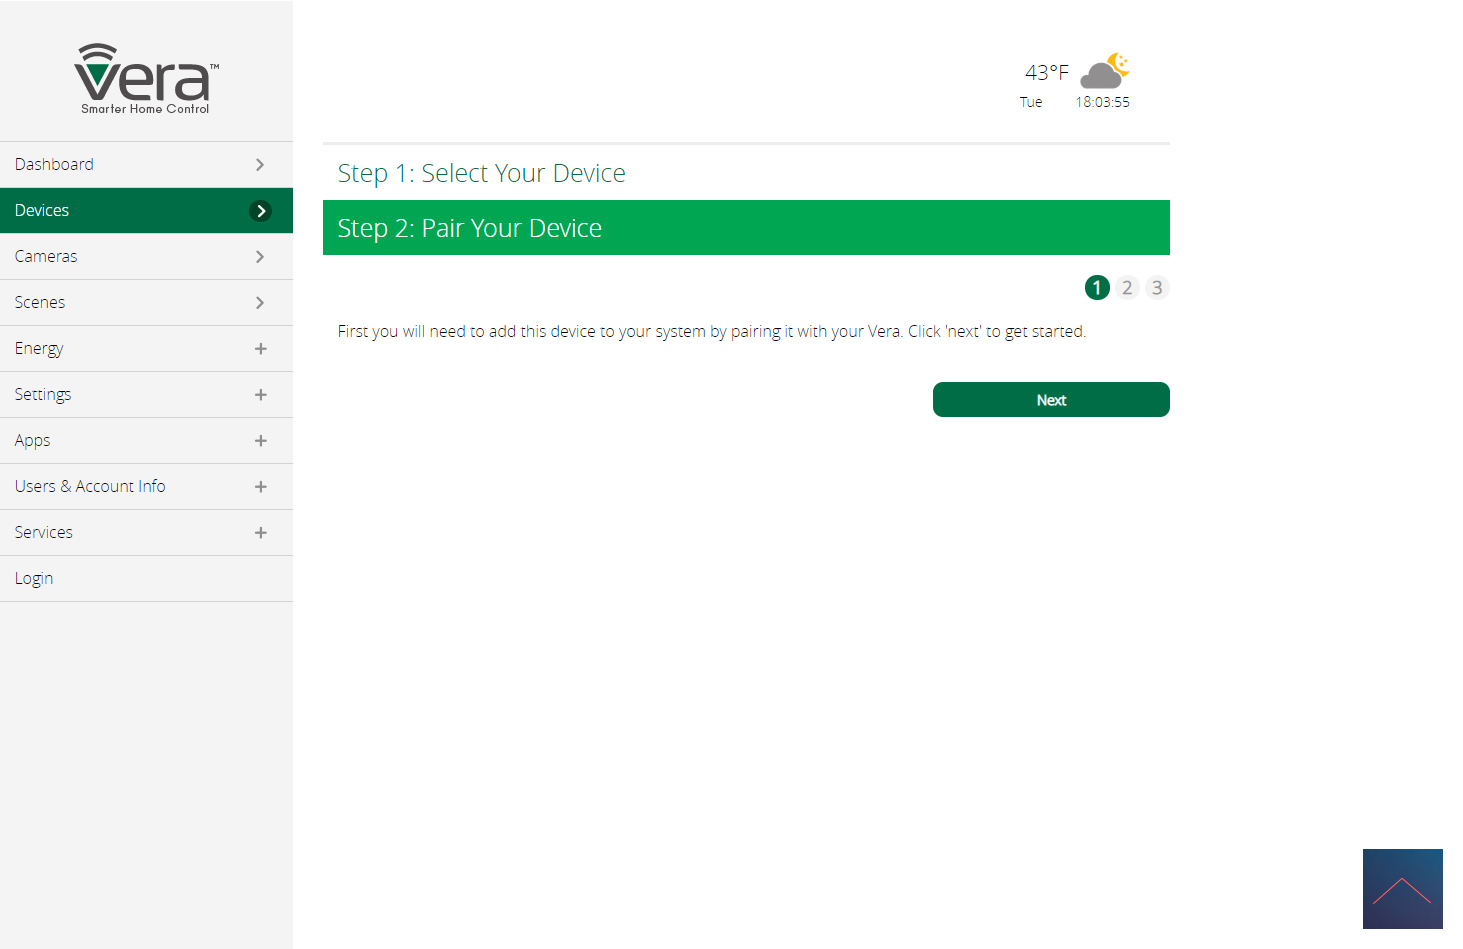
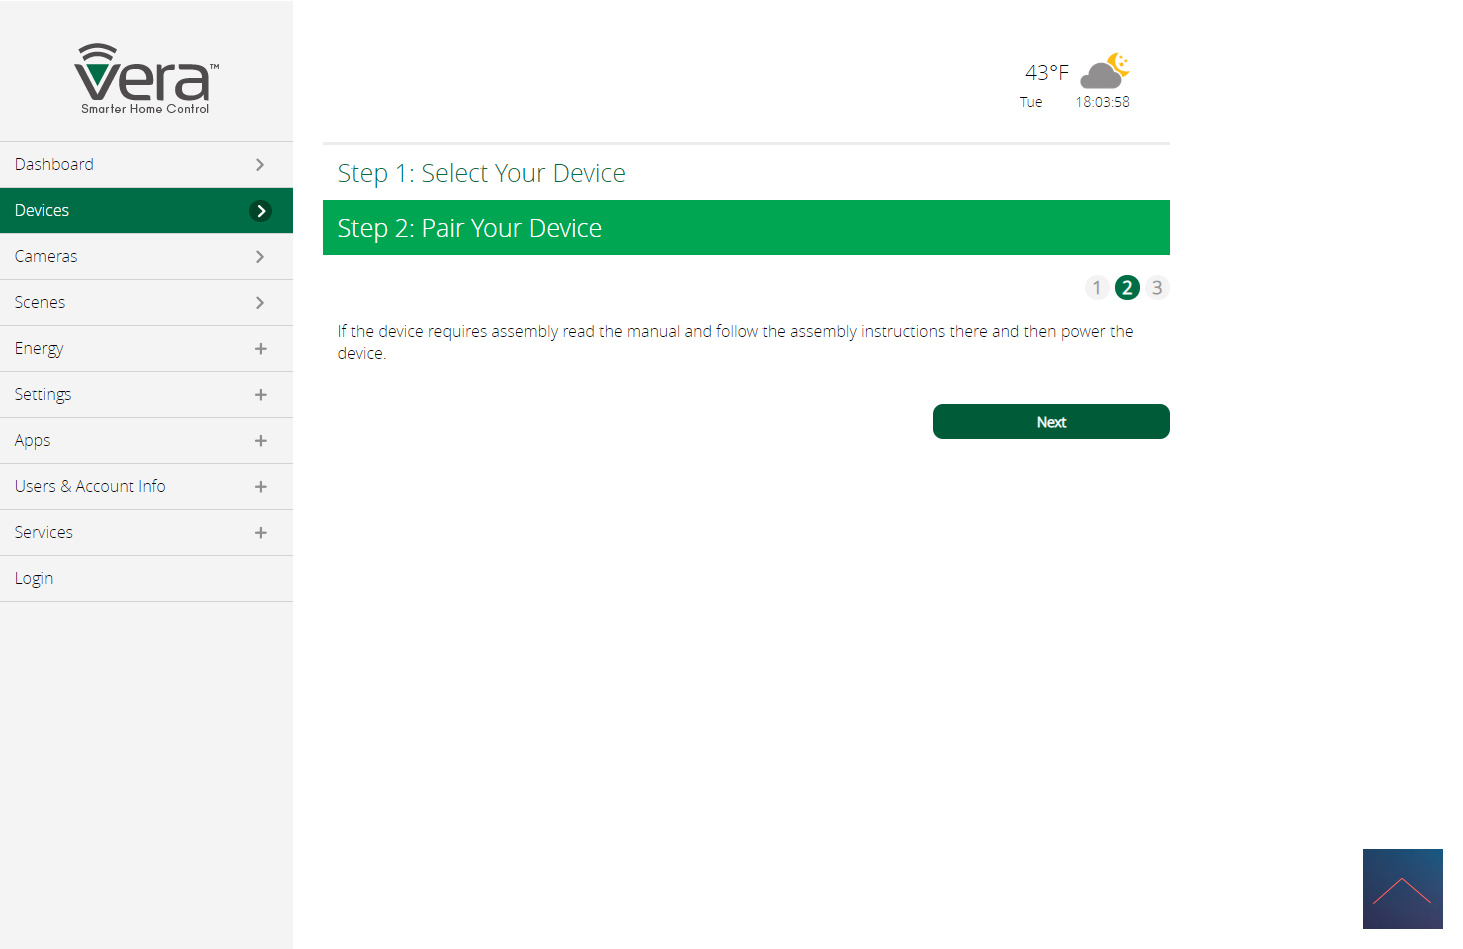
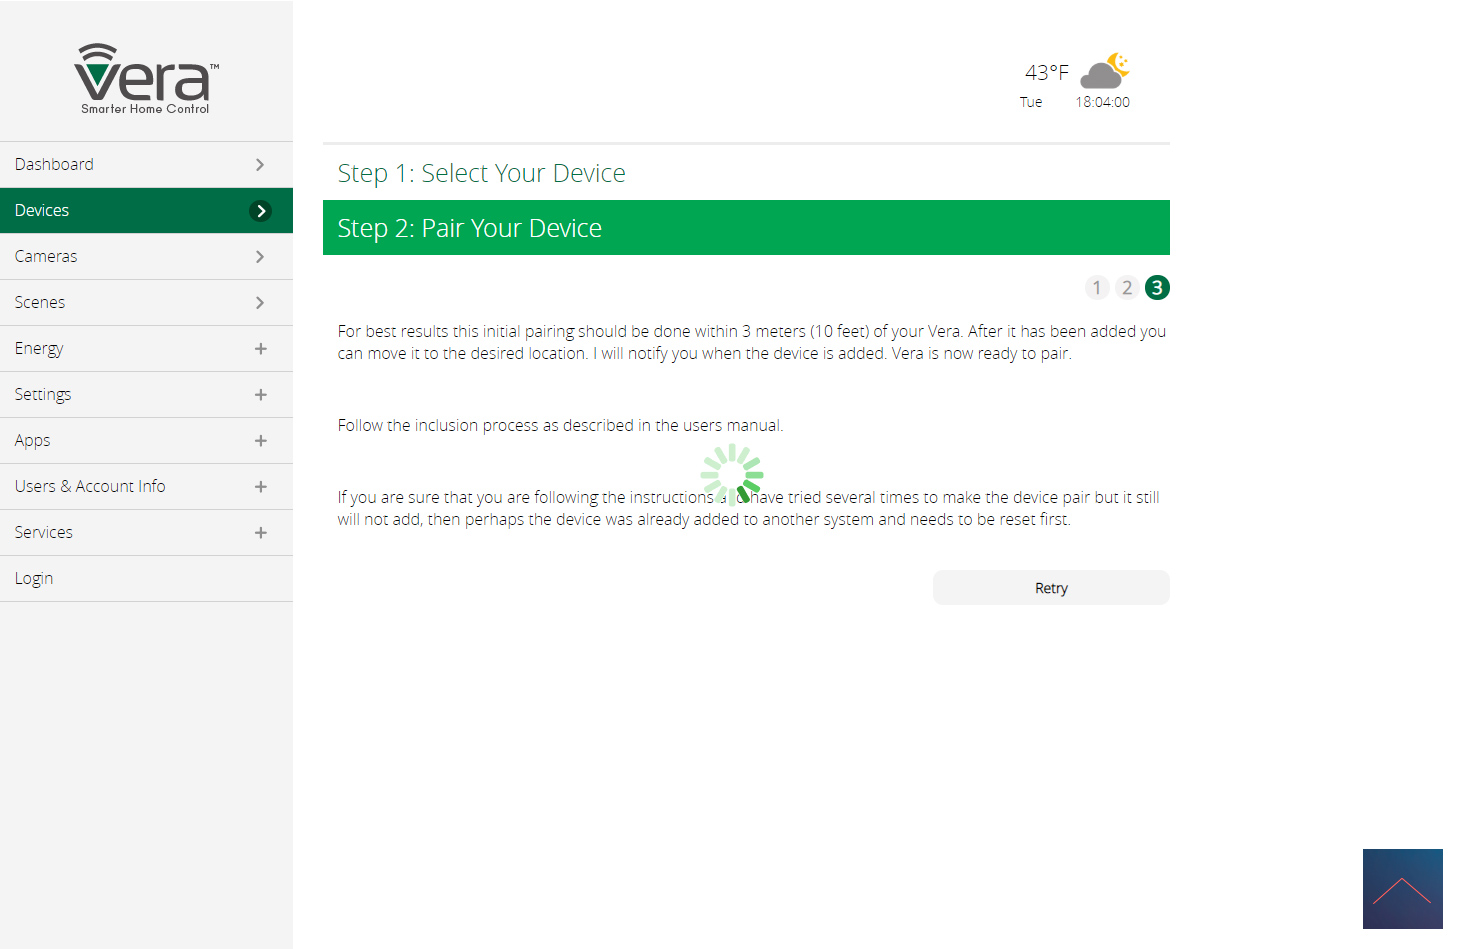
We are going to install this smart thermostat valve on the Vera. The first step is to log in and go to your devices and search for Spirit there. As we often see with the Vera, he was unfortunately not found. No need to worry, because adding "generic z-wave" is often possible. So in this case we do this too. If you have clicked on next a few times, the Vera asks you to put the thermostat in add mode.
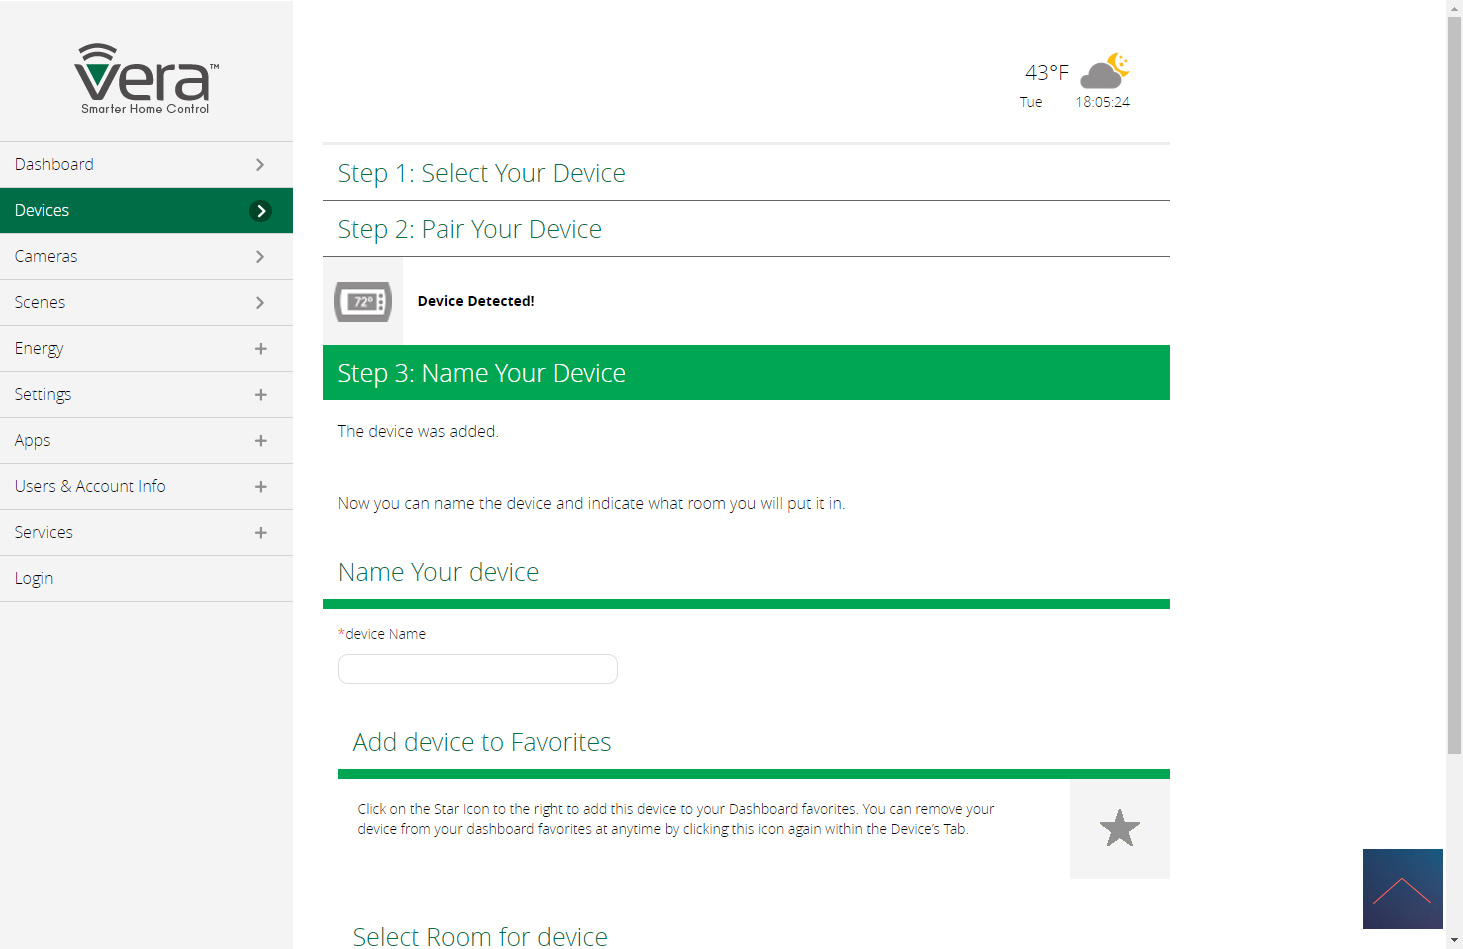
You can do this by removing the cover on the top and inserting the batteries. Make sure you put it on properly. The display will turn on and show INC if they are placed correctly. After this you press the boost button (middle button) after which it was found by the Vera. He adds it neatly and sees it with my devices.
The final step is to install the tap on your radiator. You do this by turning off the old tap. Don't worry, the water won't come out because this is a closed circuit. Use the supplied adapters for the correct connection.
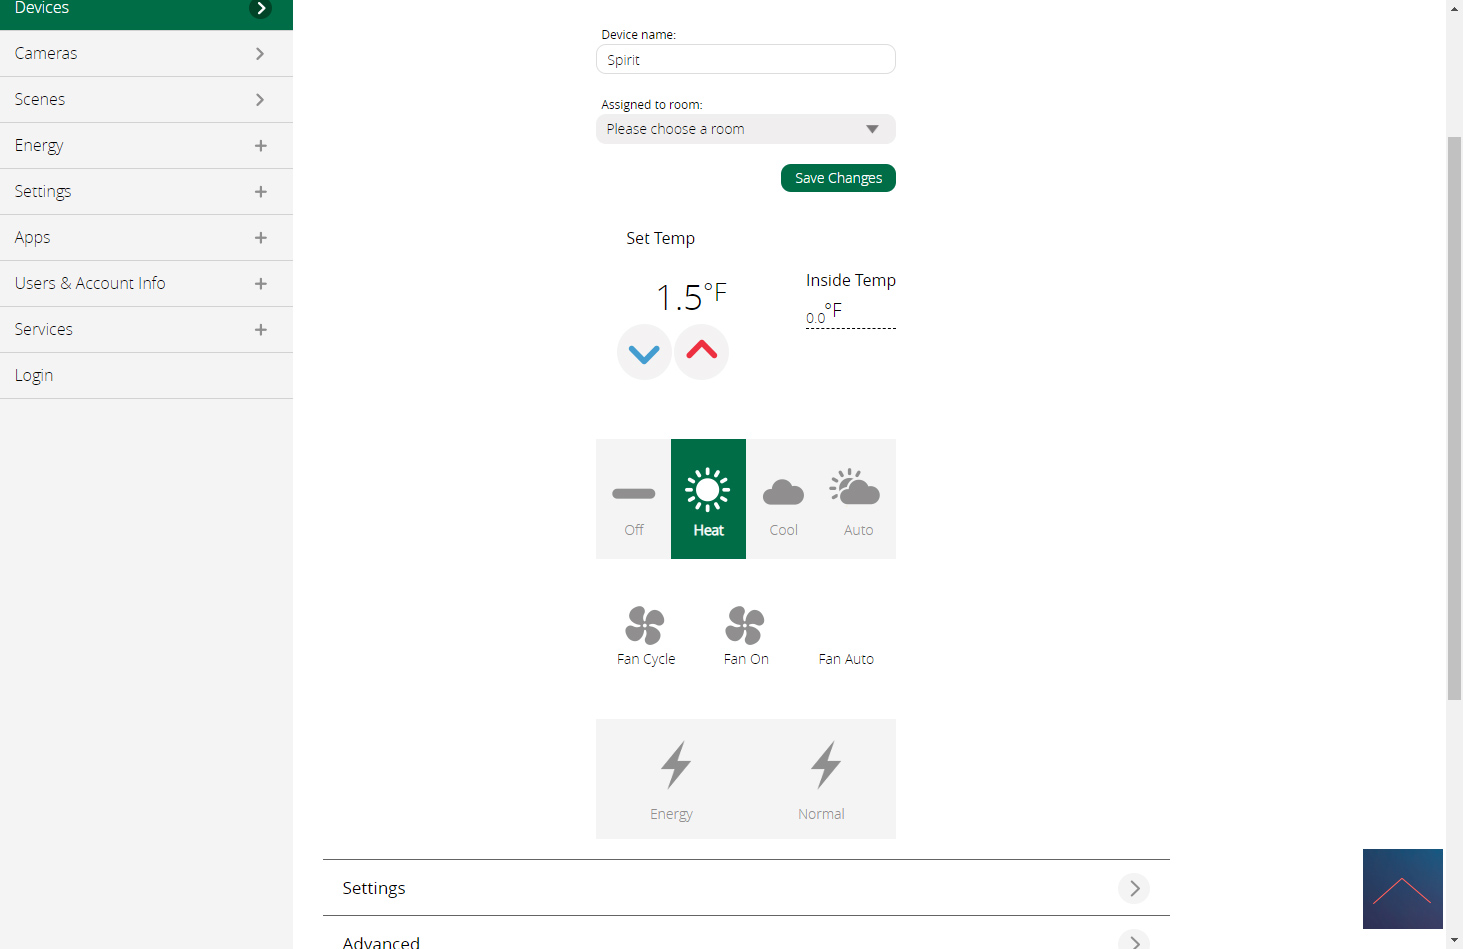
If it is tight, then press the boost button on the front of the tap again. The Spirit will do a calibration to ensure that the tap closes and opens properly. If the calibration is successful then I can operate the tap via the Vera. It strikes me that I can only set a temperature difference.
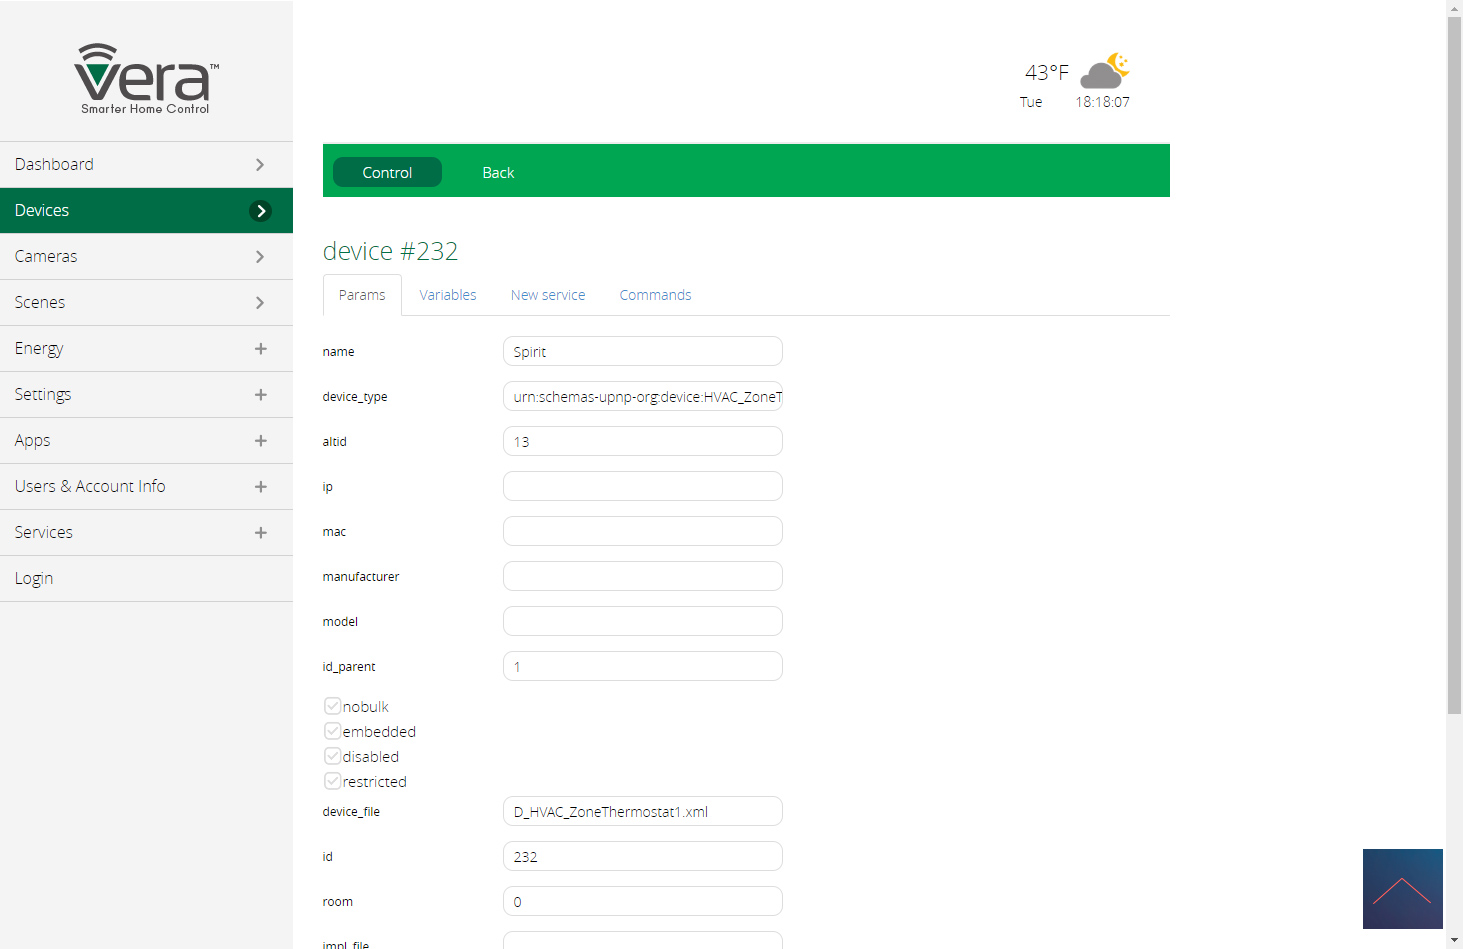
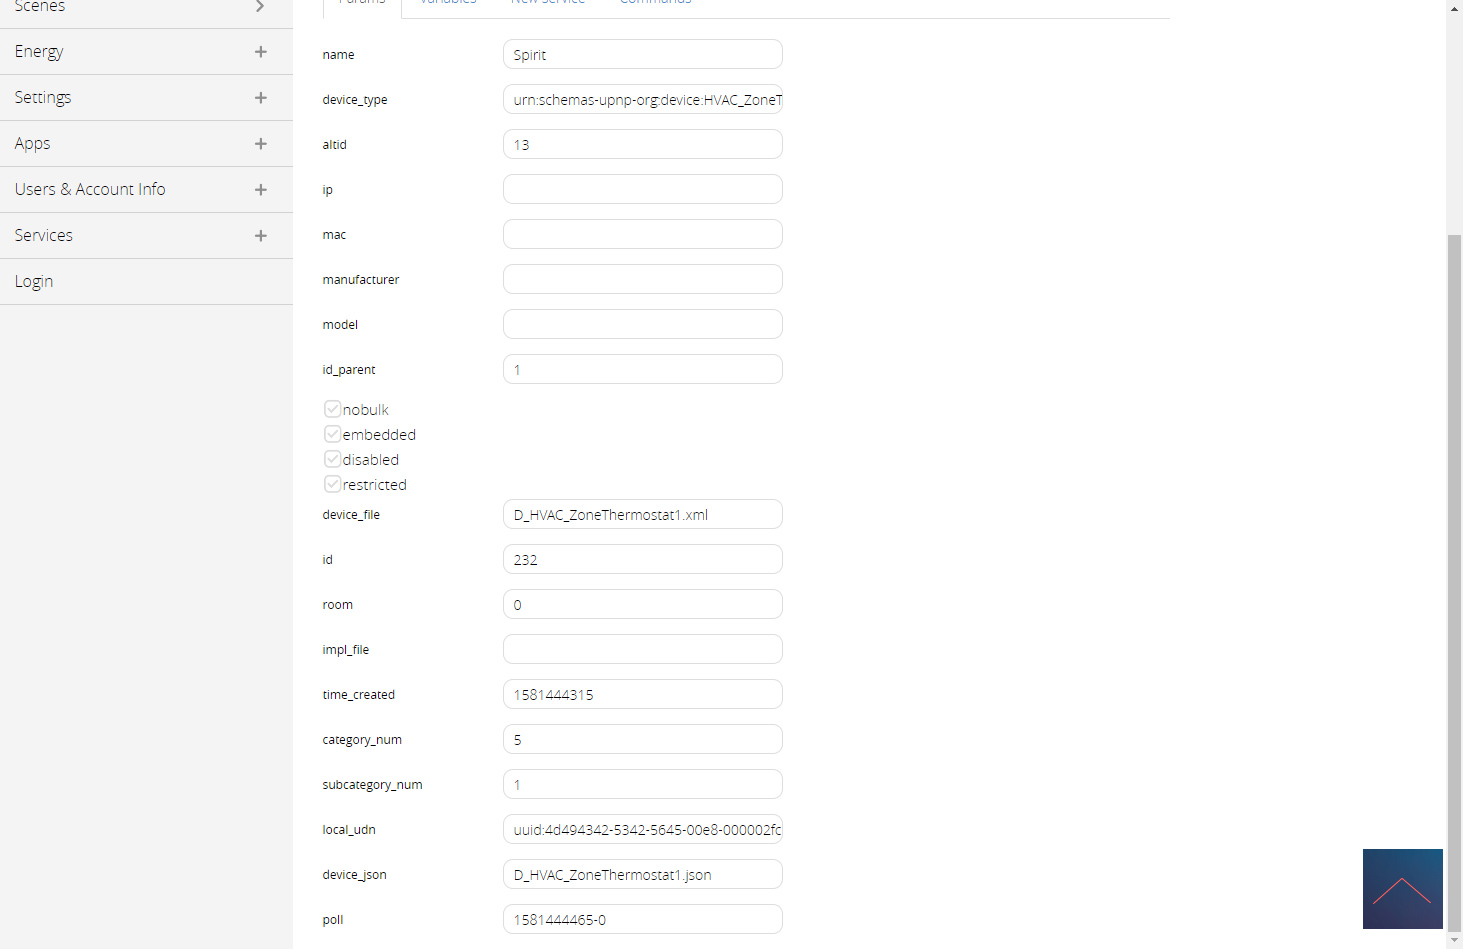
Installation screens:
Configuration:
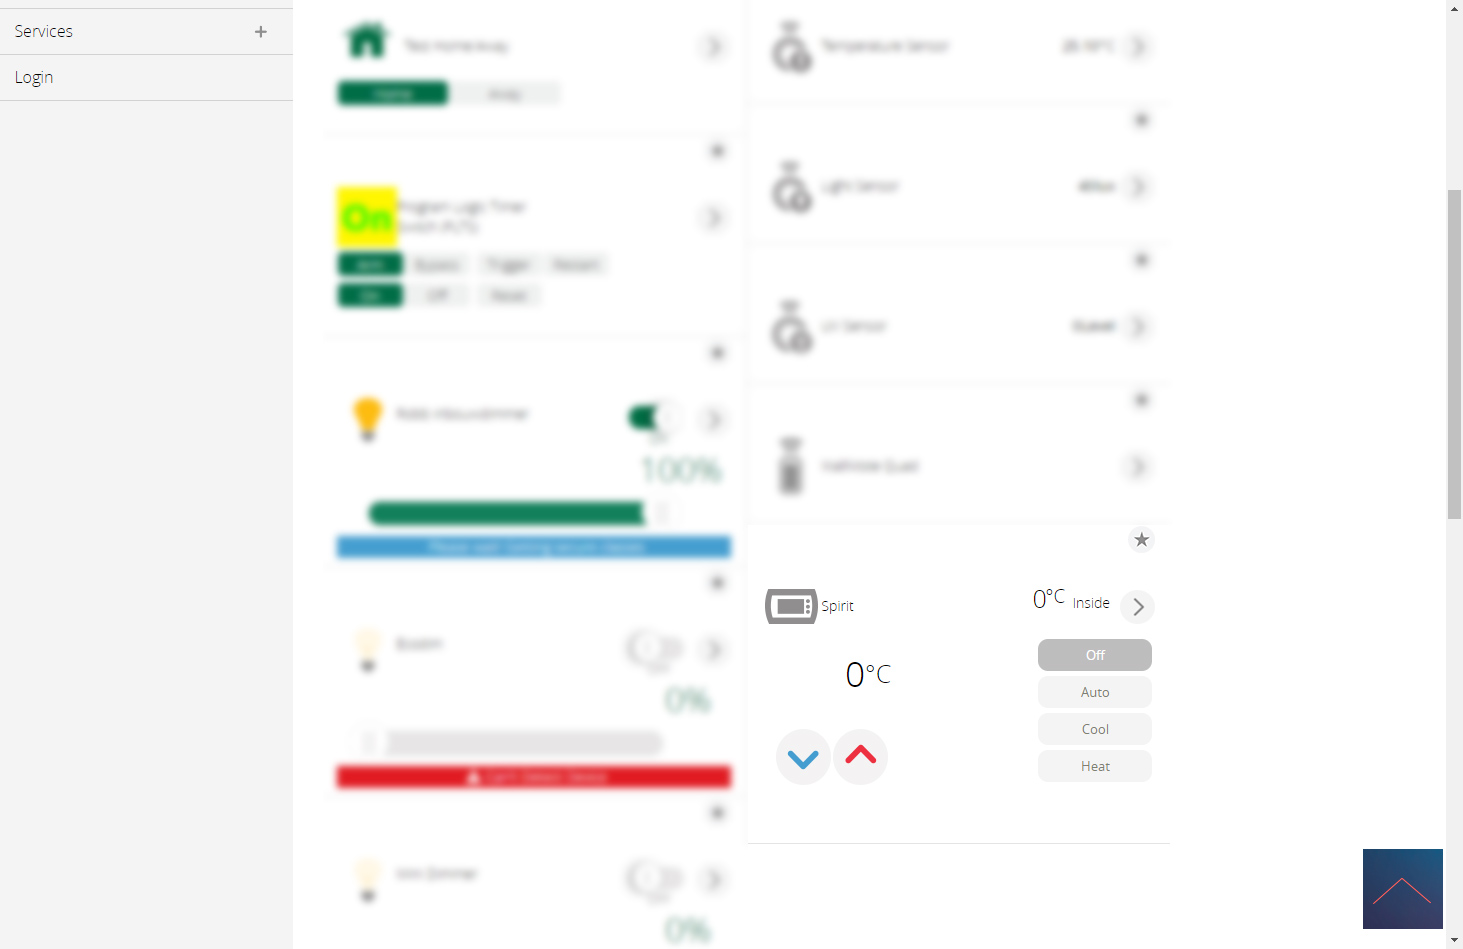
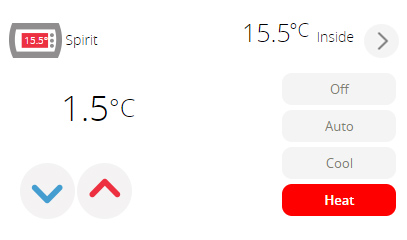
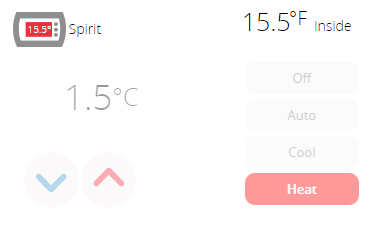
Dashboard:

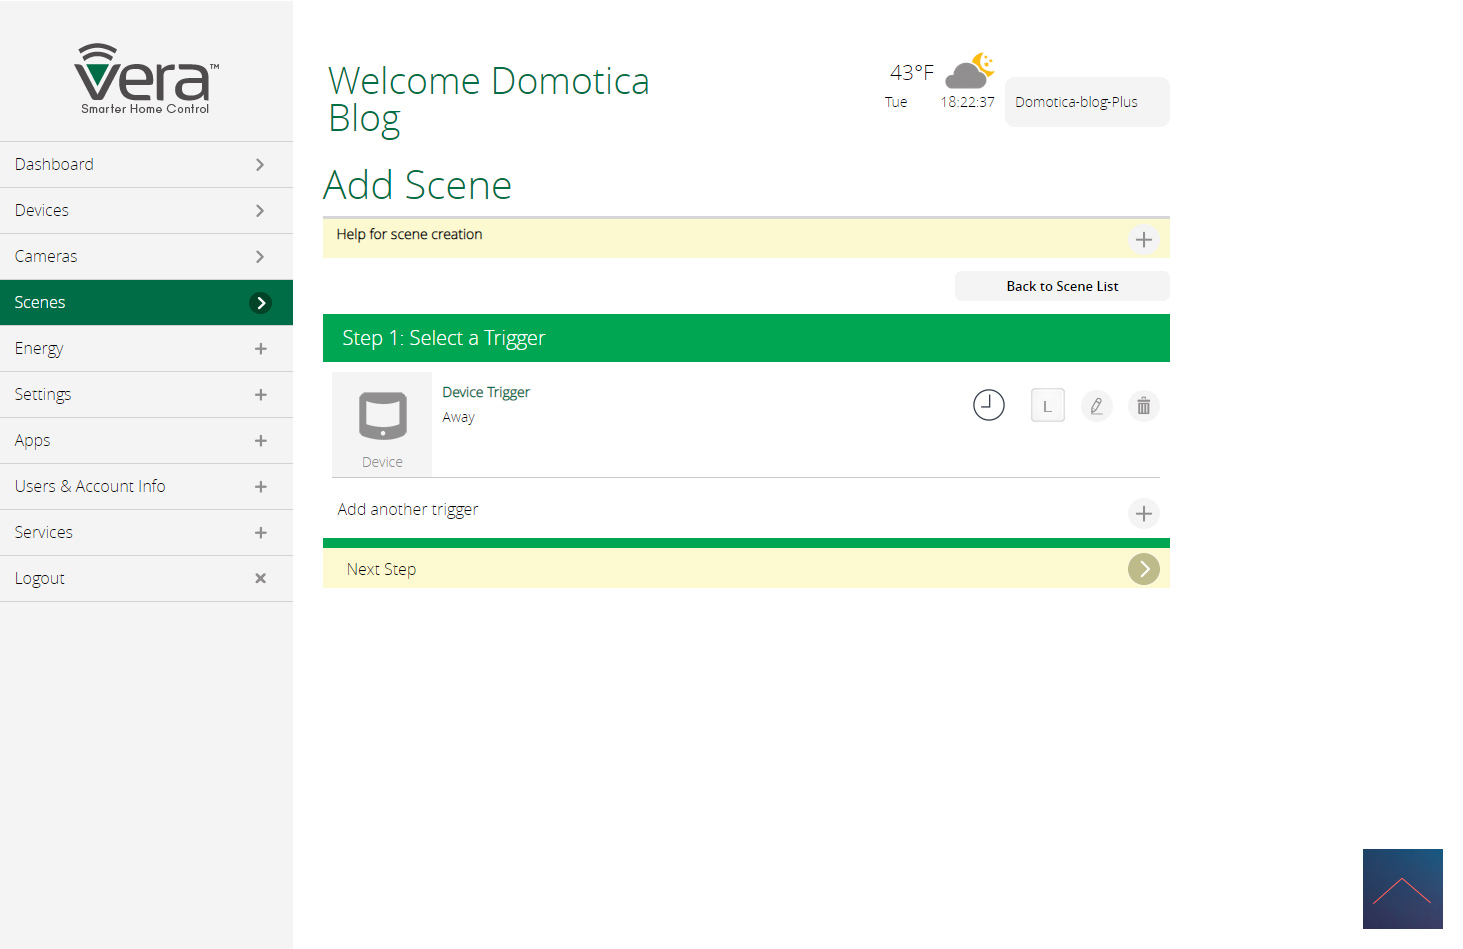
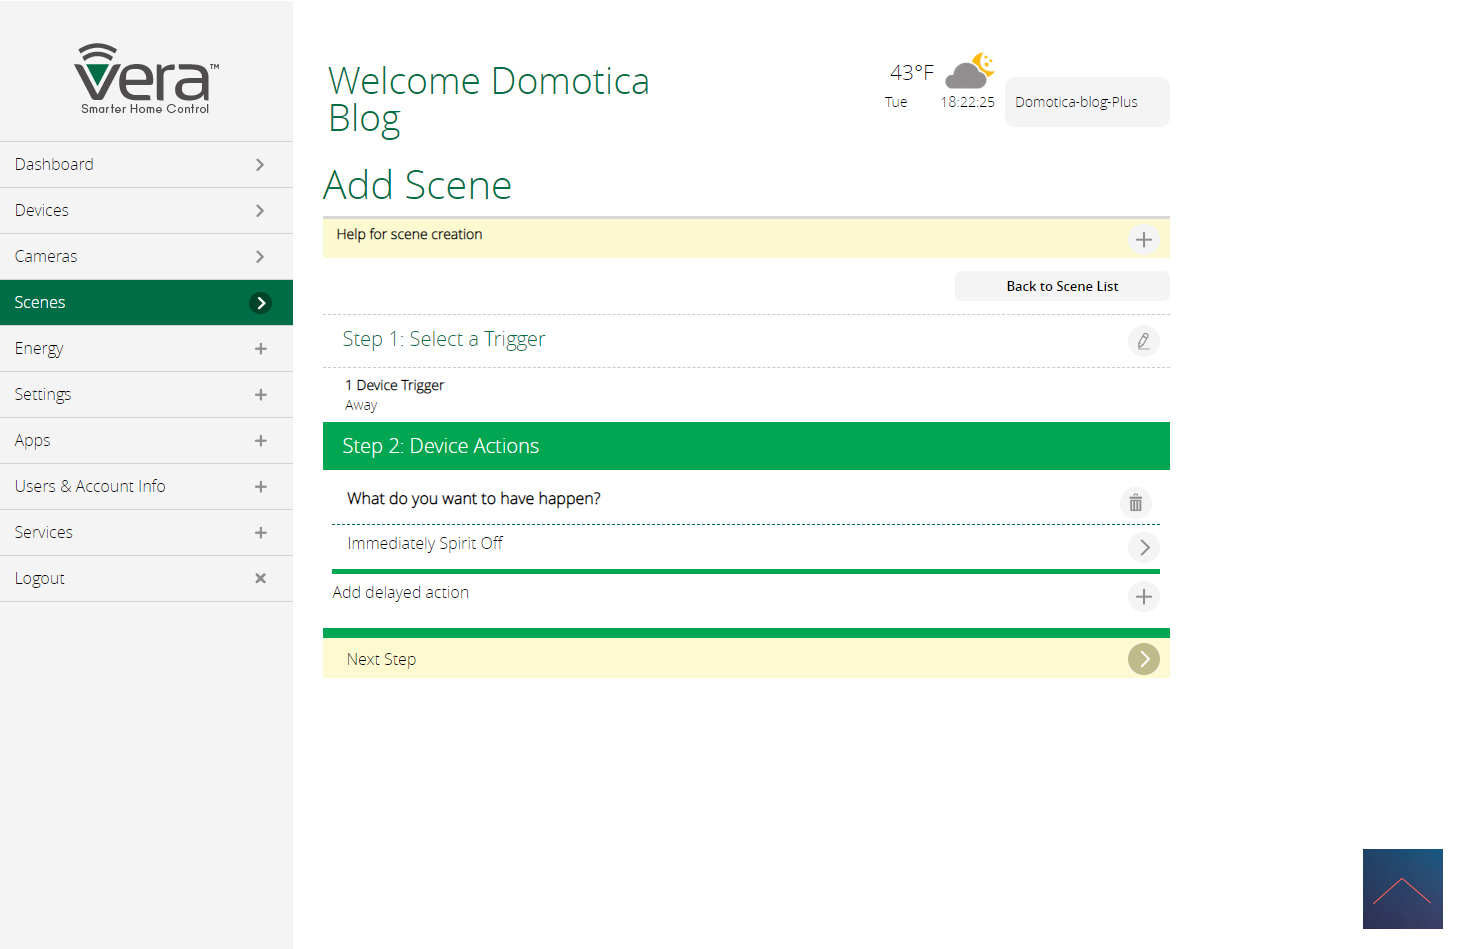
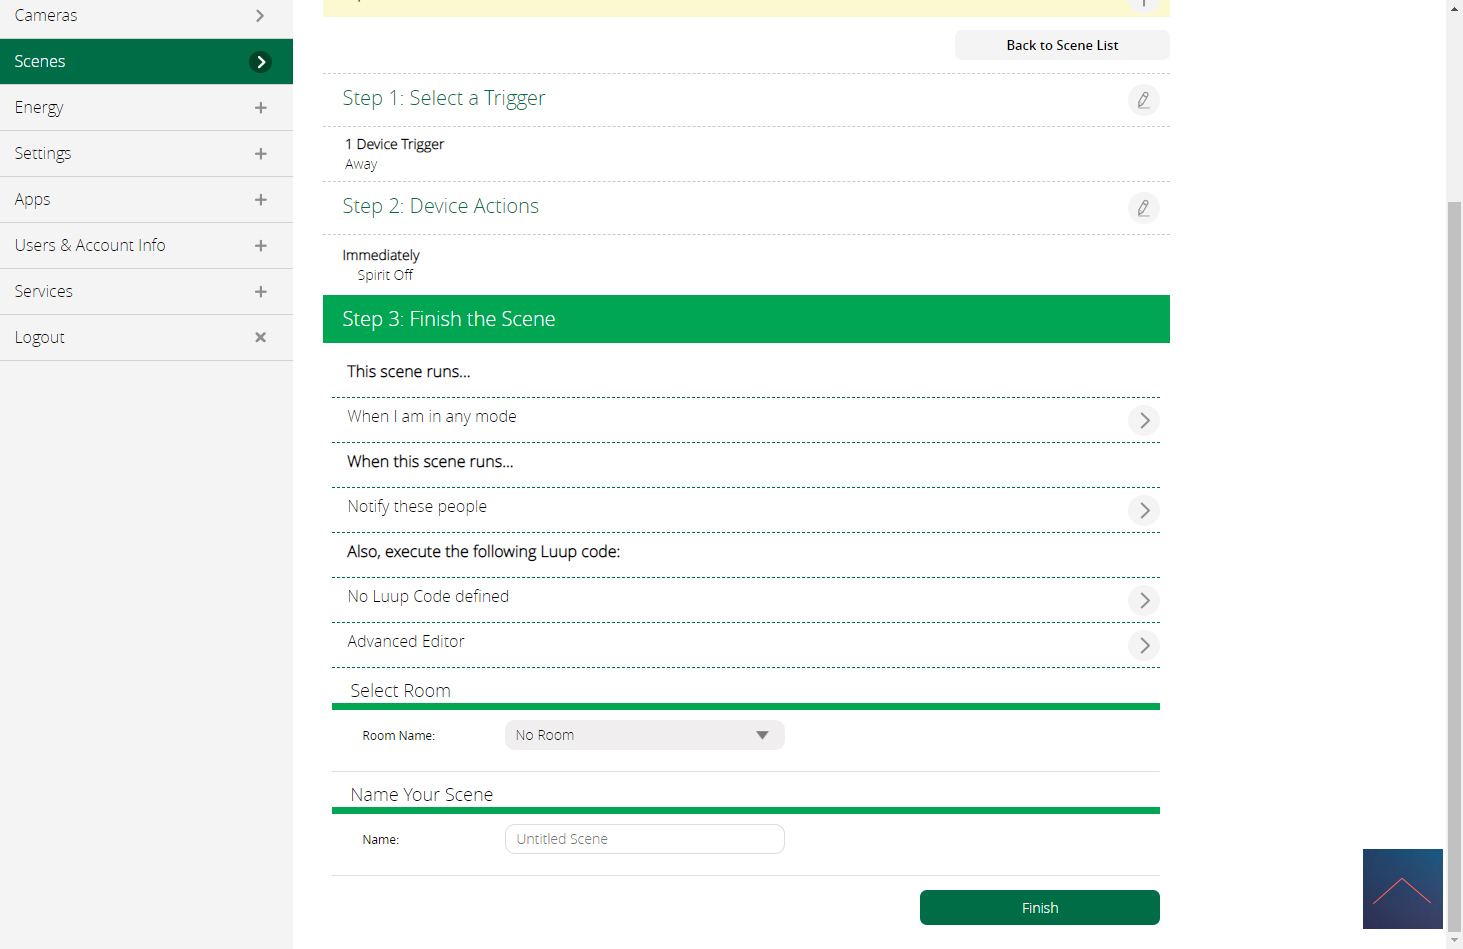
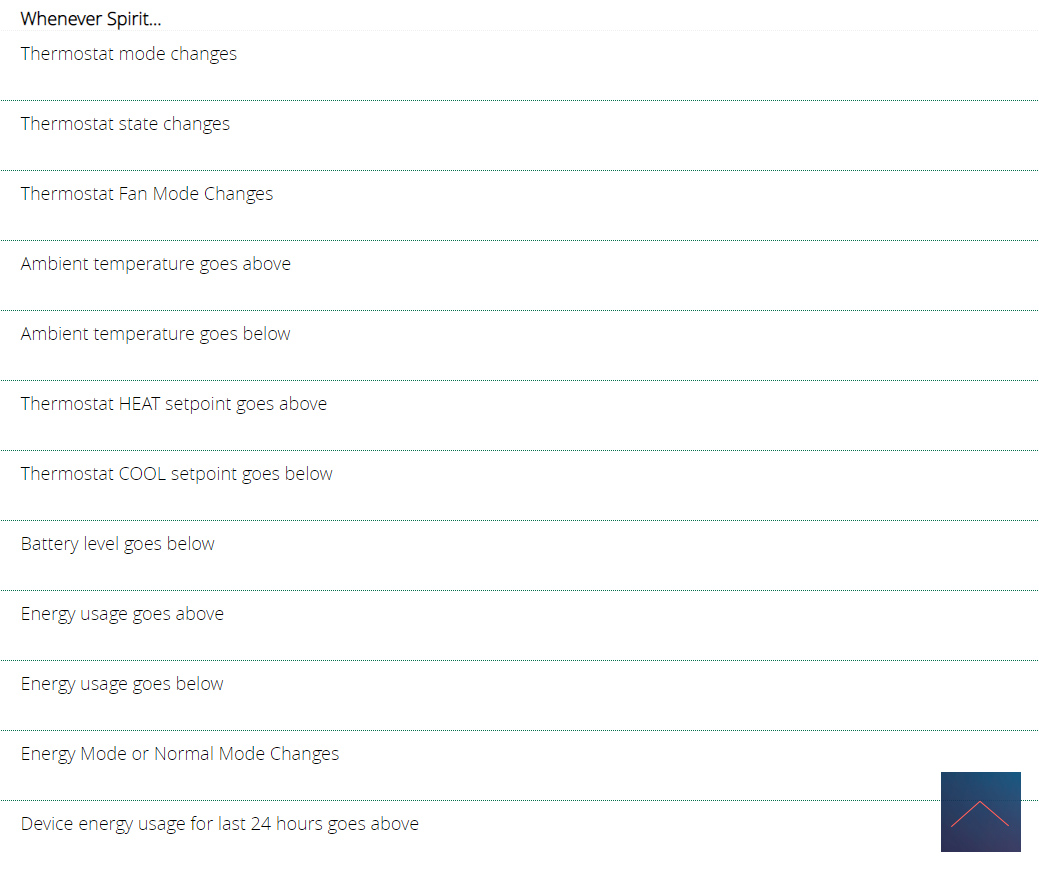
Scene options:
You get the options below to make a rule.

Example scene:
Is of course super useful that if I leave the spirit goes to a lower temperature. We are going to create a scene for this where we use the location of your phone as a trigger.