Review:
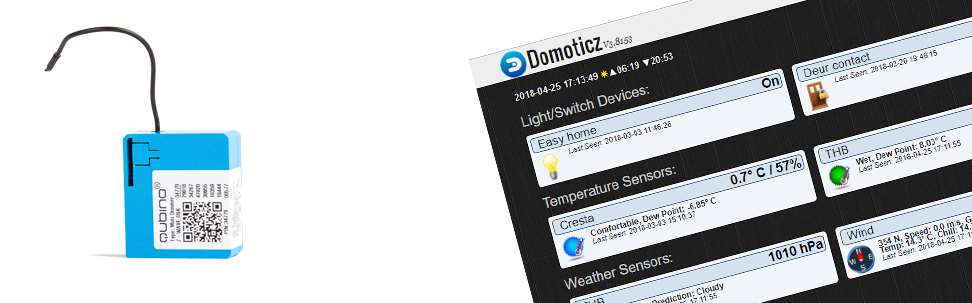
Qubino Mini Dimmer
Installation with Domoticz:
We will also add this module to Domoticz in collaboration with the Aoelabs Z-Wave Stick. The first step is to connect the dimmer. As already mentioned you can connect 2 wires or 3 wires. If you have the option to connect it with 3 wires (with blue (NULL) wire) I would go for this option, because most lamps will work better.
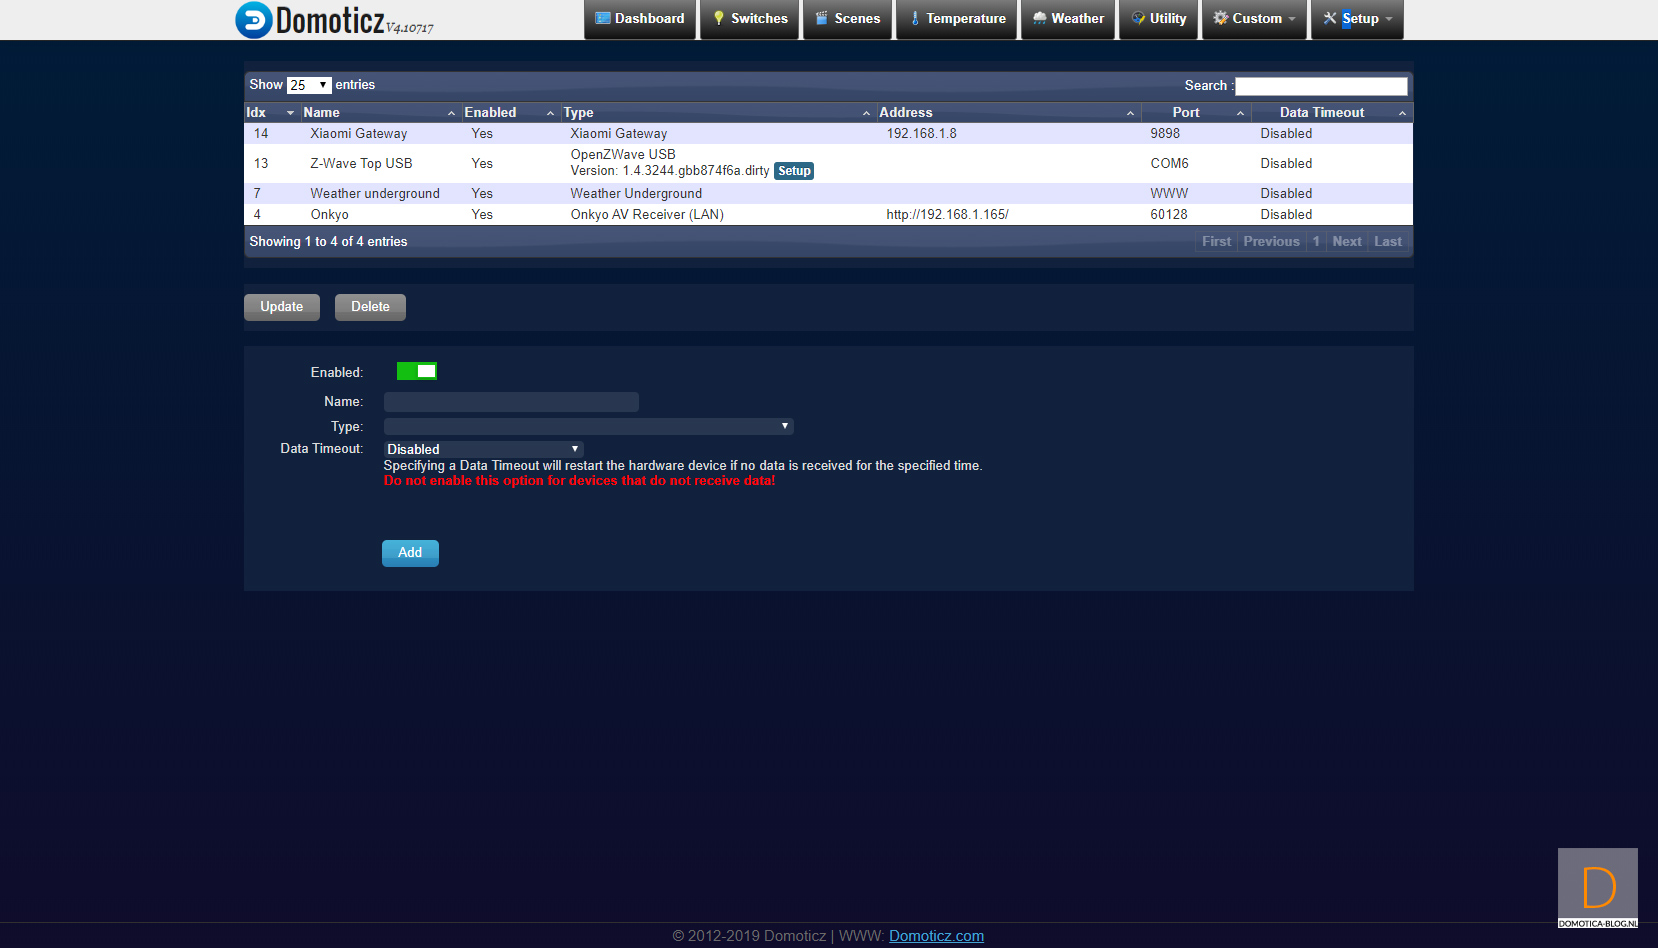
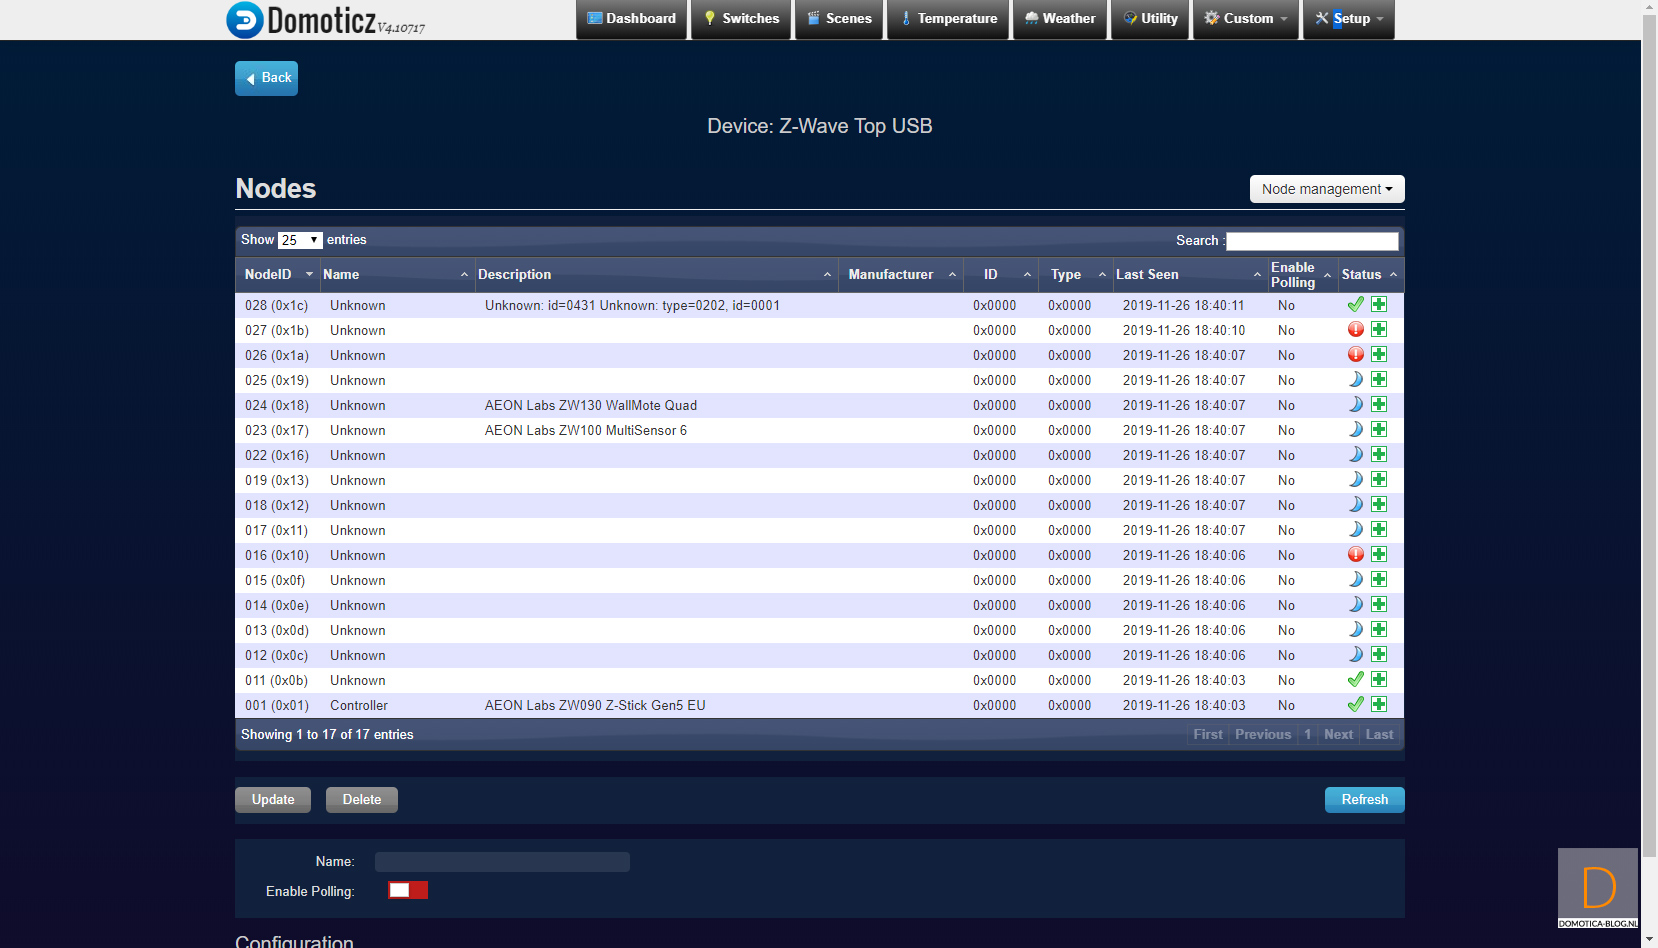
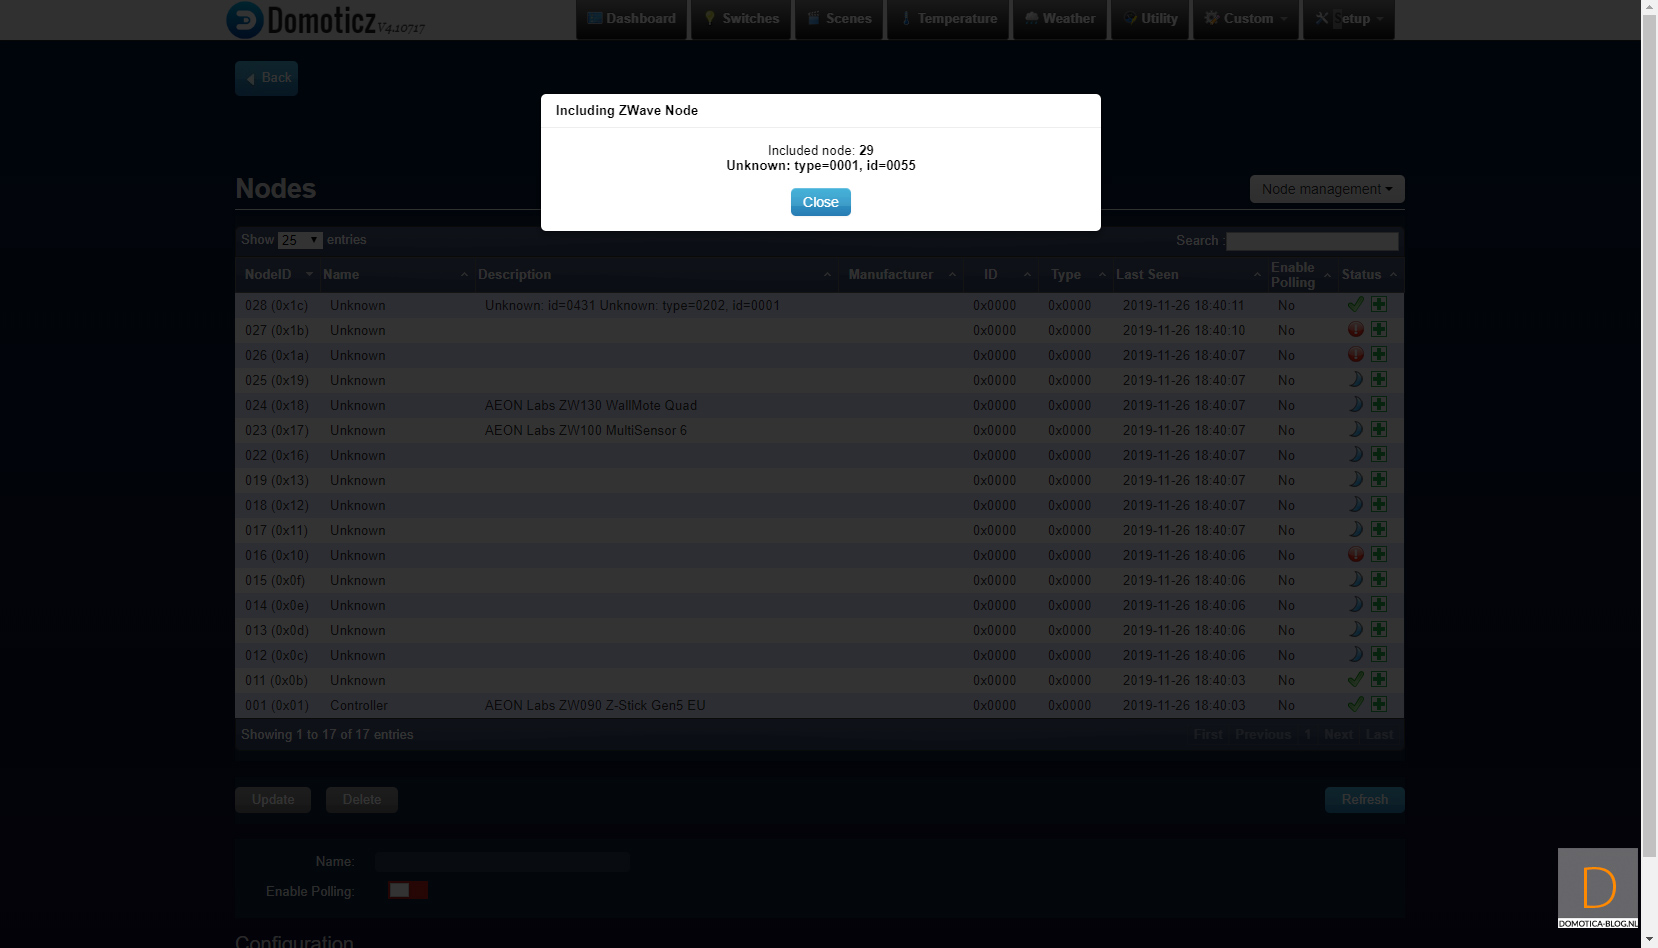
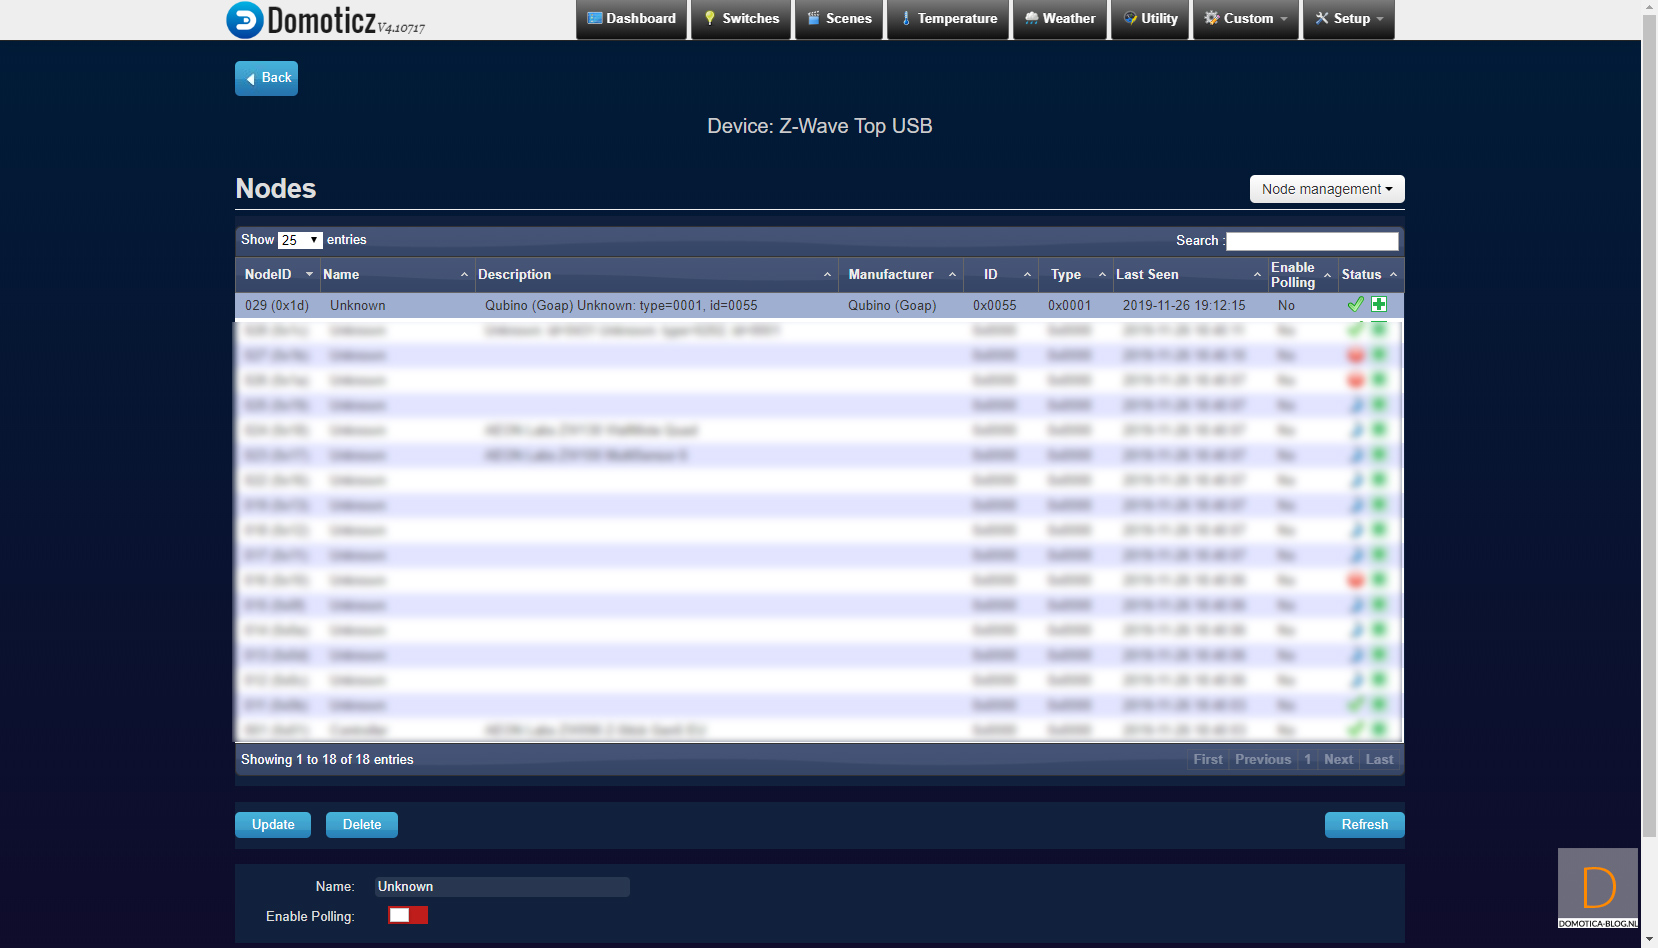
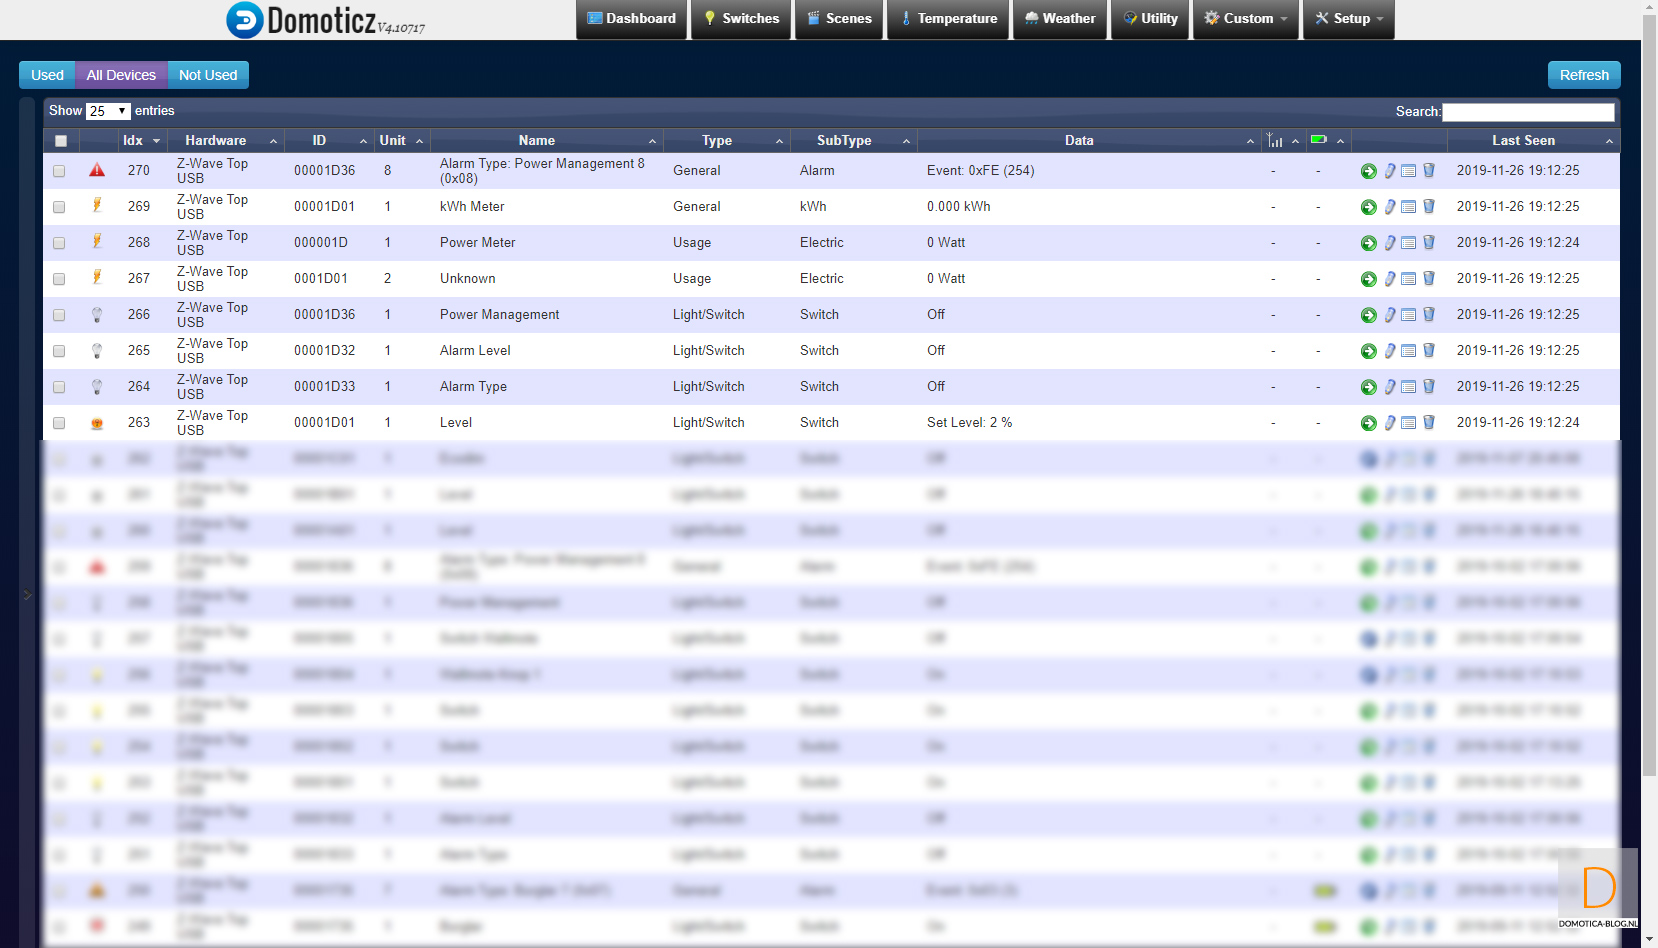
Make sure there is no more power on the wall switch and connect the dimmer according to the enclosed diagram. Wait a while before turning the power back on. We will first log on to Domoticz and add it there. We add this by going to the menu item "setup" and then to "hardware". Then click on setup of the Aeon Labs controller and go to include node secure (on the right). After this you provide the dimmer with power. He was found immediately and see him at my devices. I see an on / off switch, a dimmer, the total consumption and current consumption. Completely complete.
If the addition fails, you can also switch the dimmer on and off 3 times within 3 seconds. If this also fails then remove the power again and reset the dimmer. You can do this by pressing the wall switch 5x within 1 minute. You can also use the button on the dimmer itself.
Installation screens:
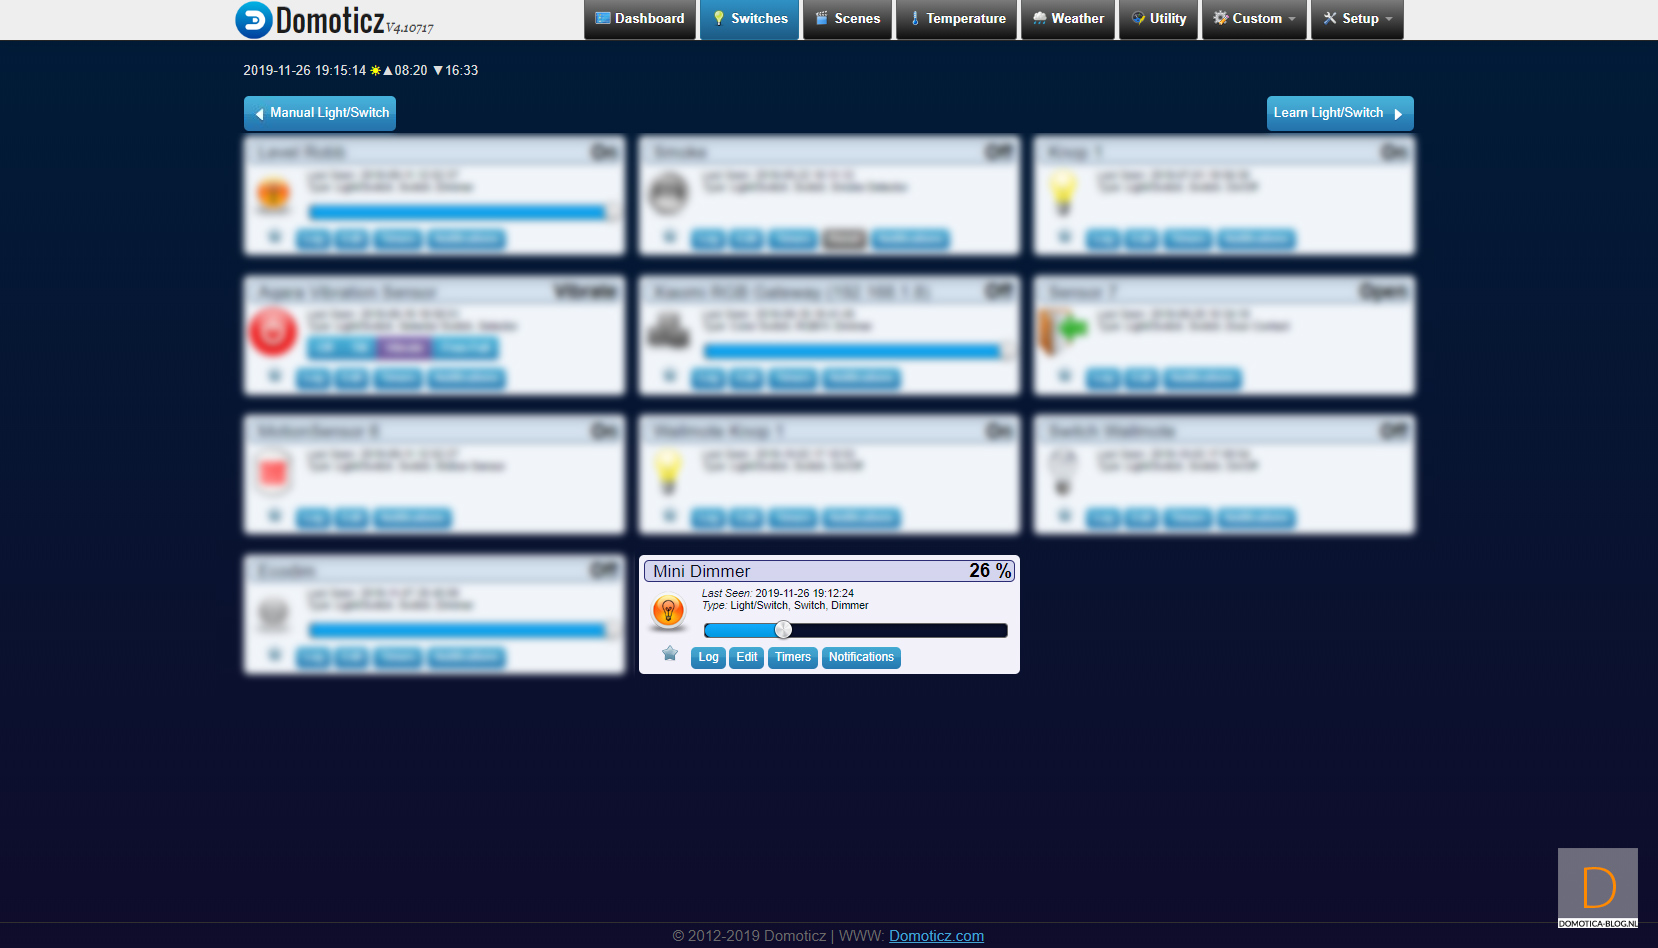
Dashboard:
On/off and dimmer: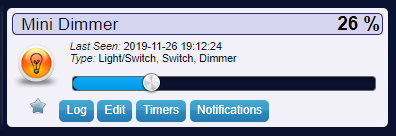

Measurement: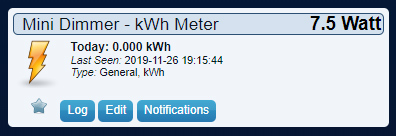
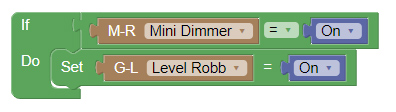
Example event:
If the mini dimmer is switched on, then the dimmer in the hall must also be switched on.