Review:
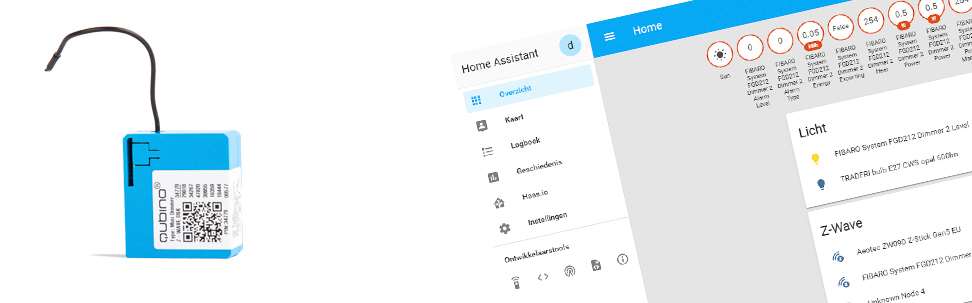
Qubino Mini Dimmer
Installation with Home Assistant (HASS):
The last system is Home Assistant. The first step is to connect the module. As already mentioned, you can connect it without and with blue wire (2 or 3 wires). If you have the option to connect it with 3 wires (with blue (NULL) wire) I would go for this option because most lights work better.
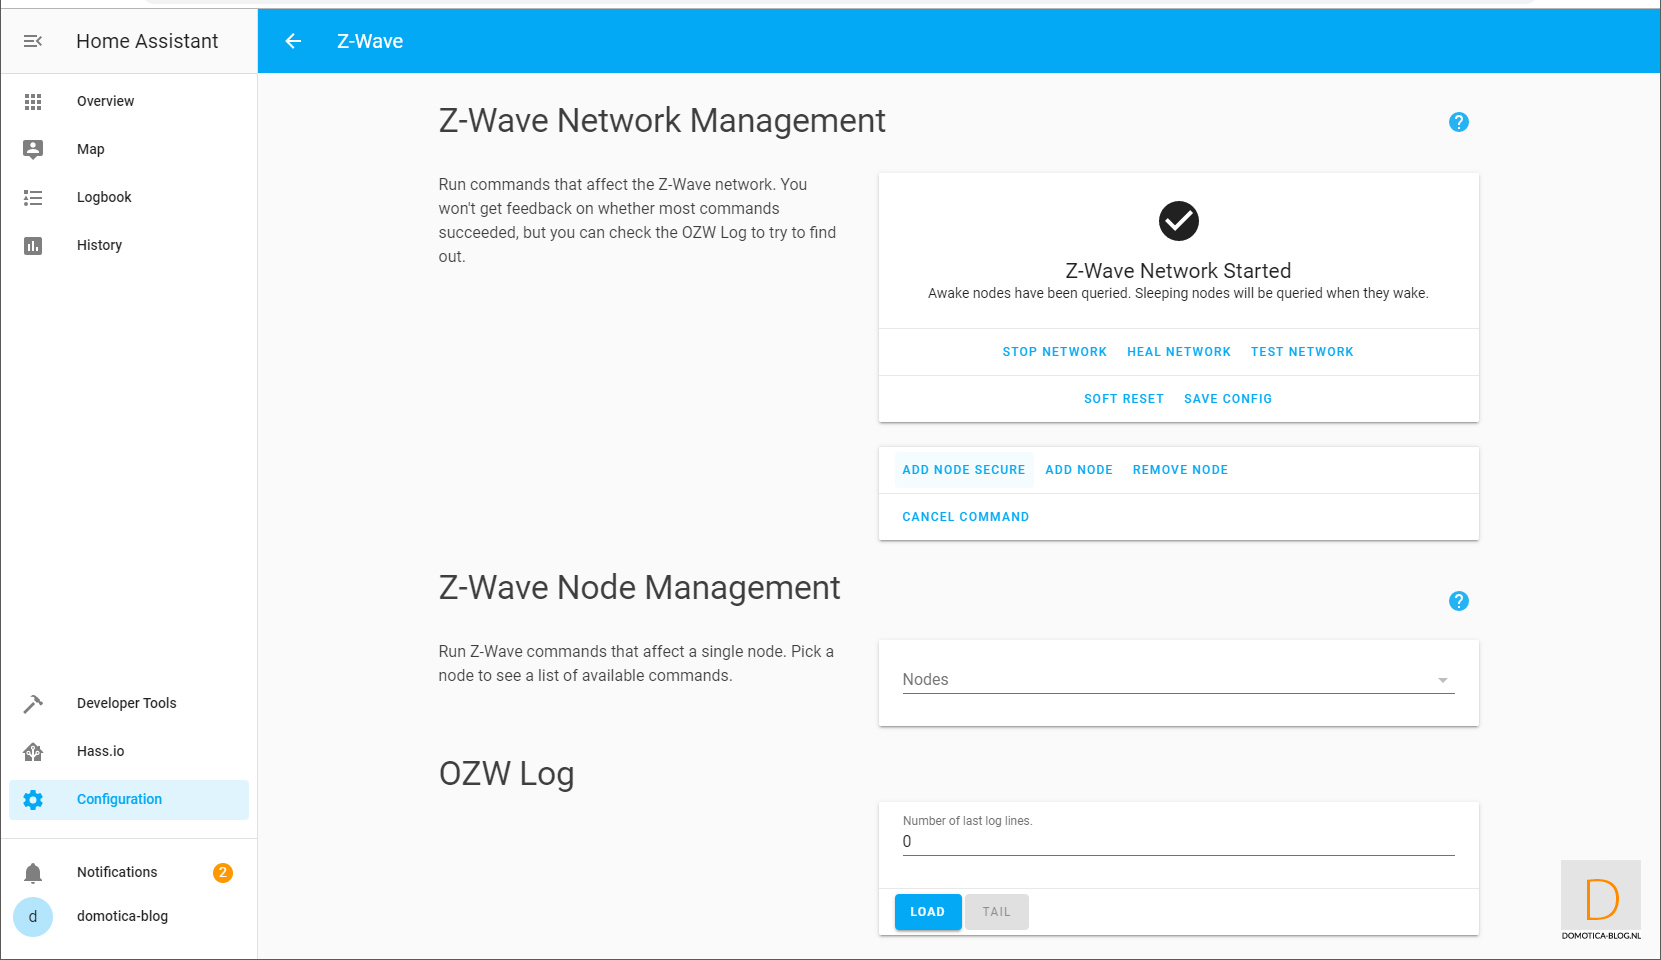
Be the first to disconnect power from the wall switch. Then connect it as shown in the enclosed diagram. Wait a while before turning the power back on. It is better to first log in to the HASS. If you are logged in, go to your configuration and then to Z-Wave. Then click on "add node secure" to start adding. Then provide the module with power. HASS gives a very short message that the addition has started. After opening the nodes menu I see the Mini Dimmer. The dimmer indicates that the addition has started when the LED lights up blue.
It will then light up red and then green. If this is not the case, you can also switch the dimmer on and off 3 times within 3 seconds. If this also fails then remove the power again and reset the dimmer. You can do this by pressing the wall switch 5x within 1 minute. You can also use the button on the dimmer itself.
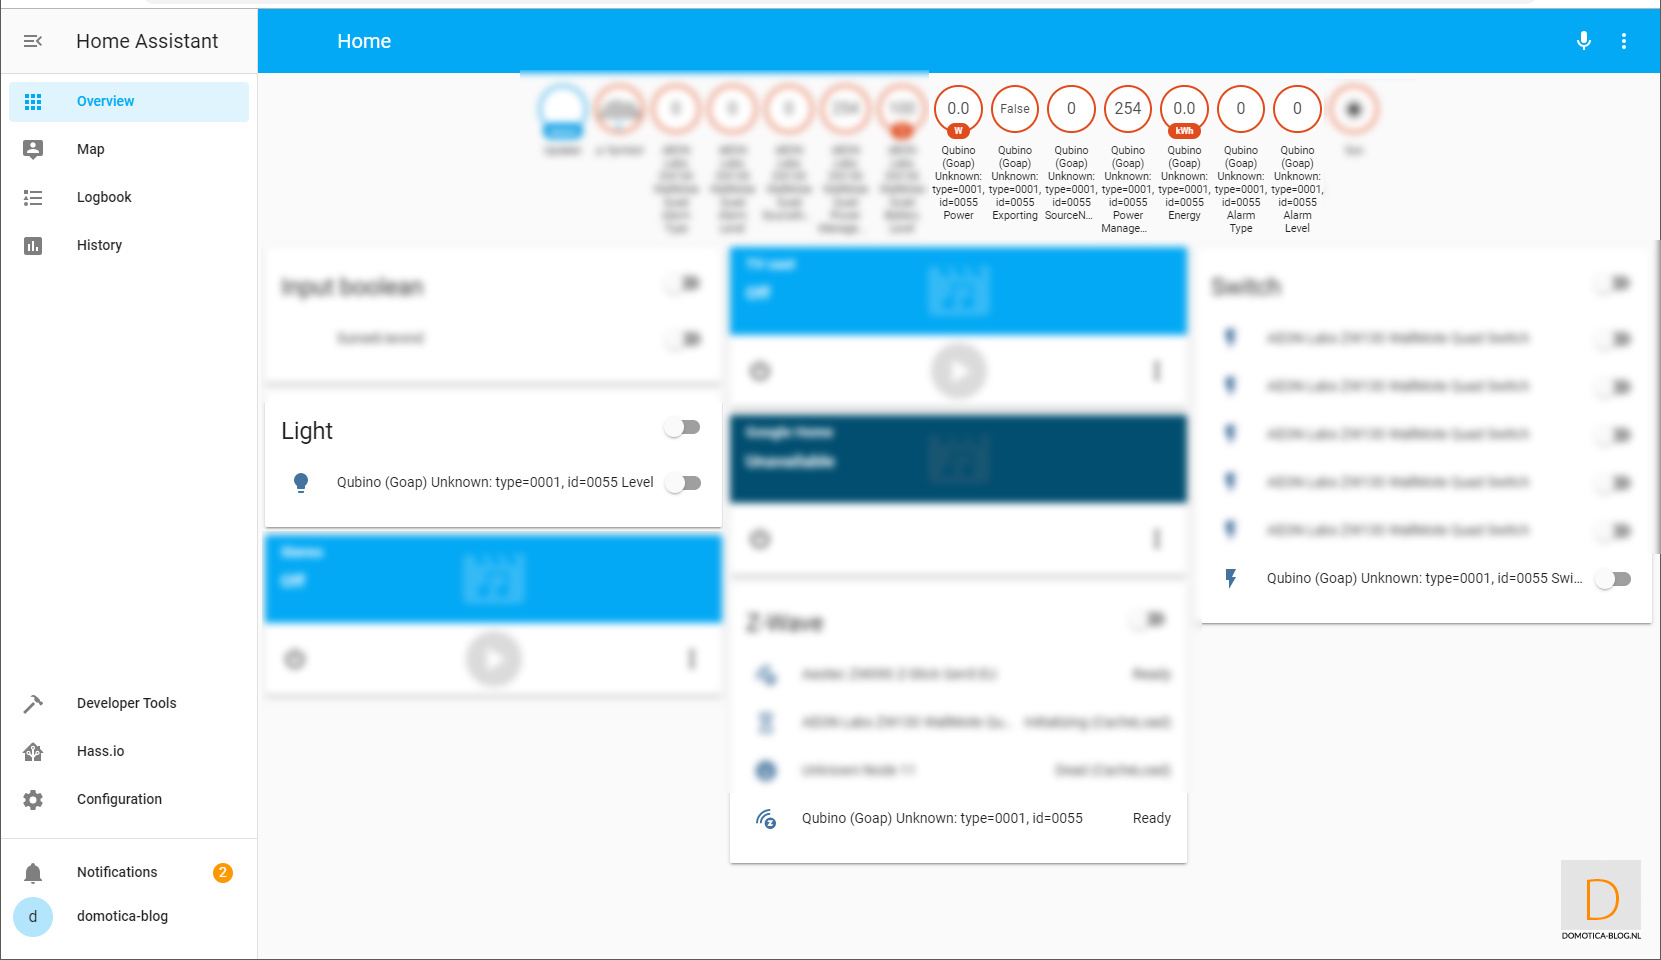
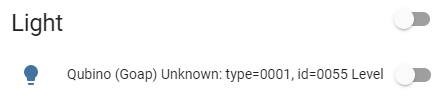
When I look at the dashboard I see an on and off switch, a dim possibility, the total consumption and current consumption.
Installation screens:
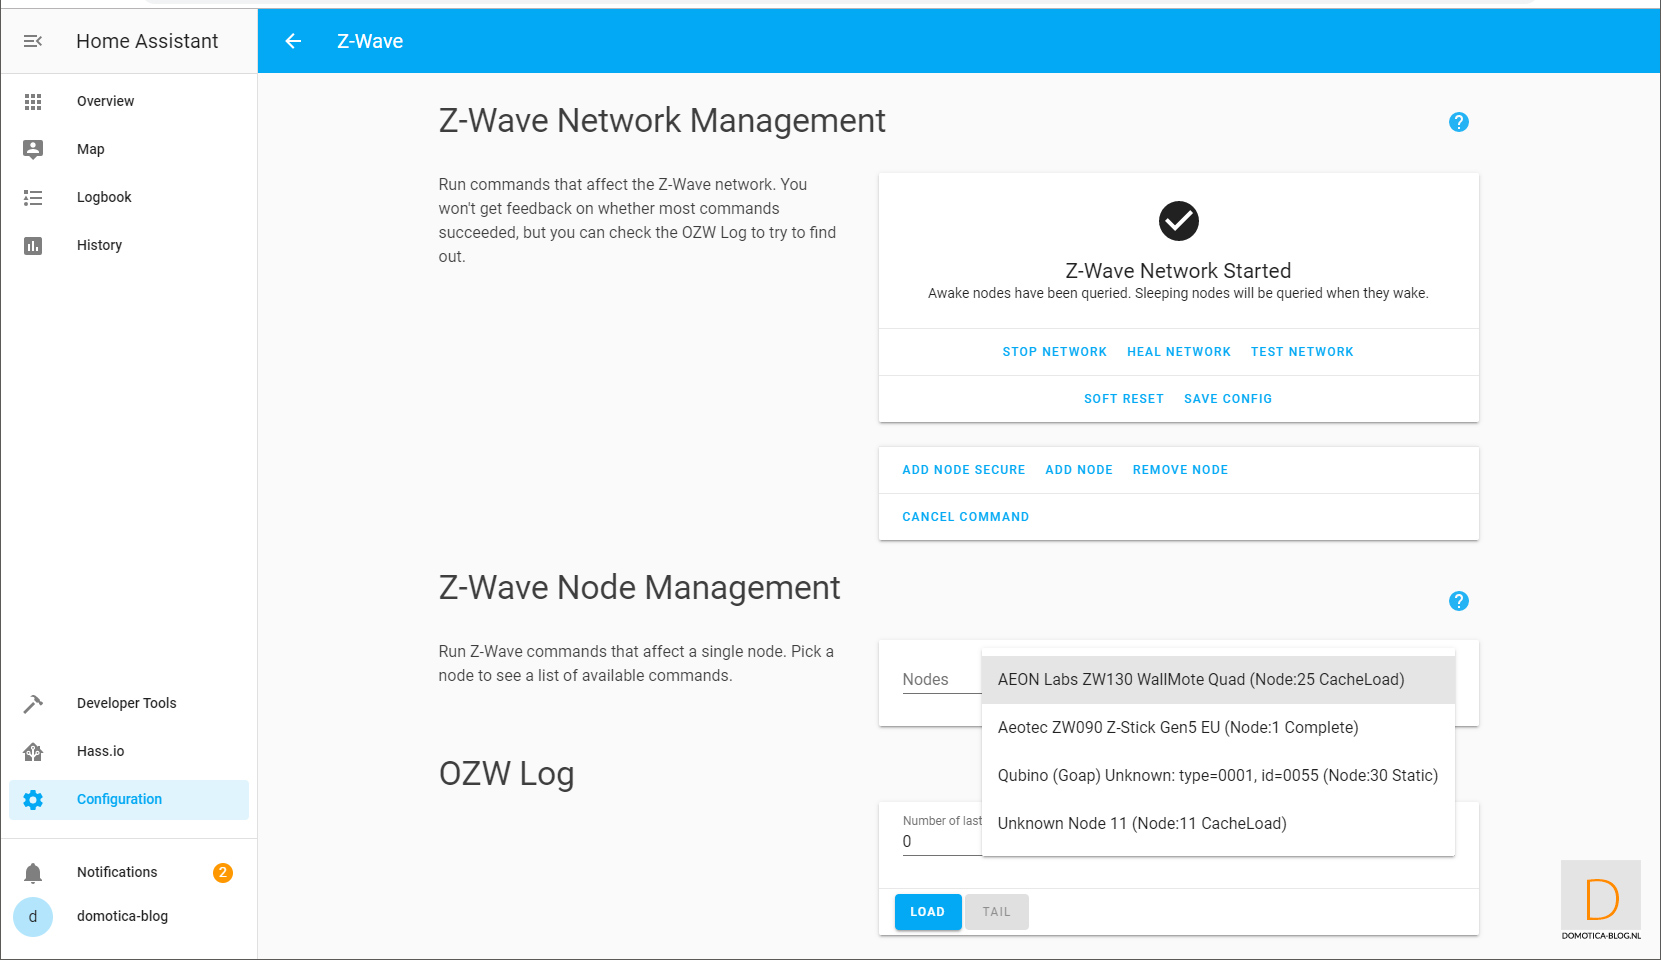

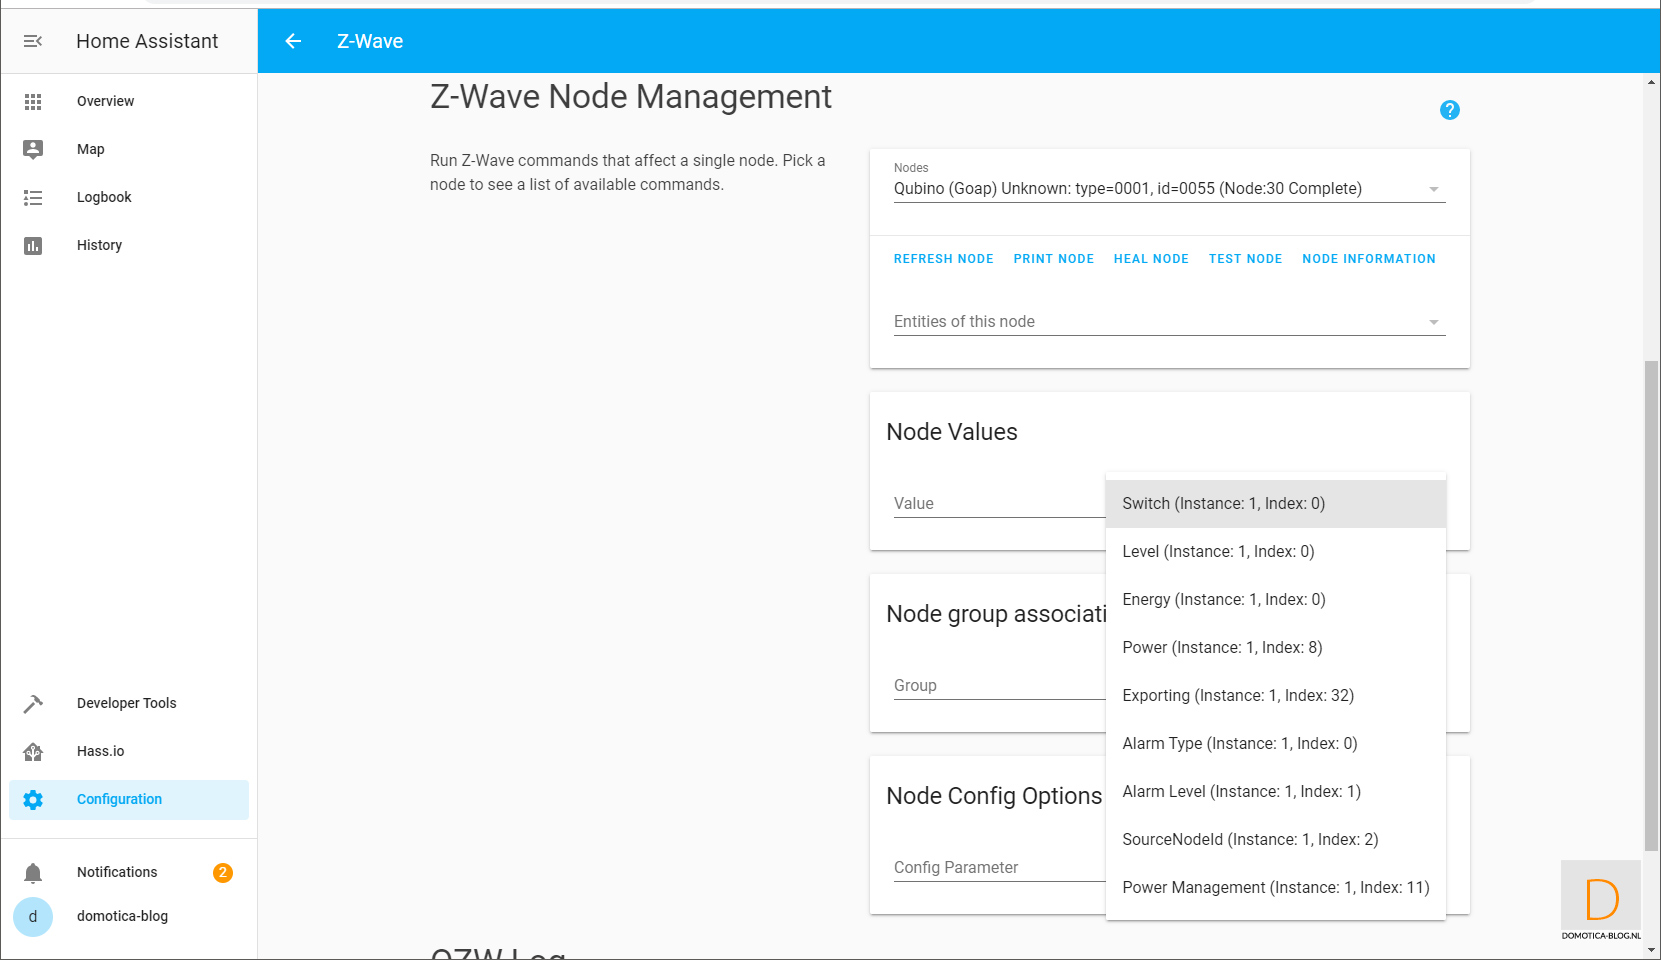
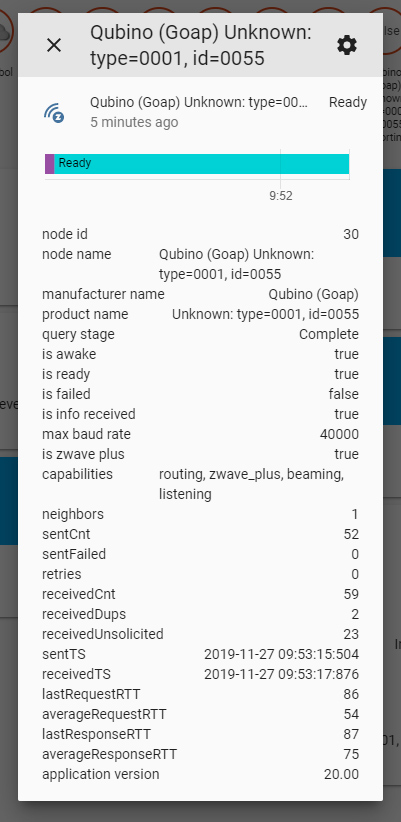
Node info:
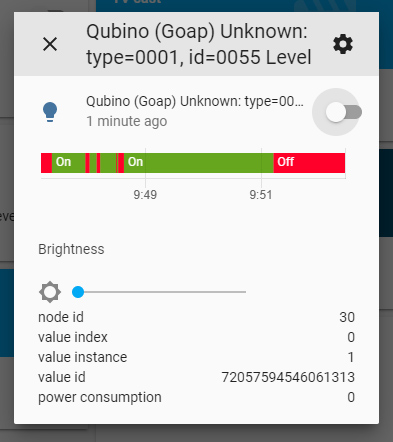
Dashboard:
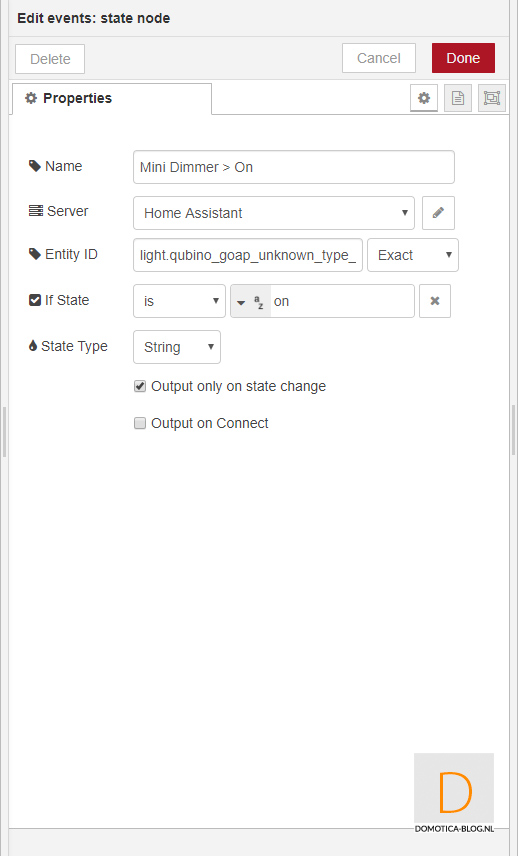
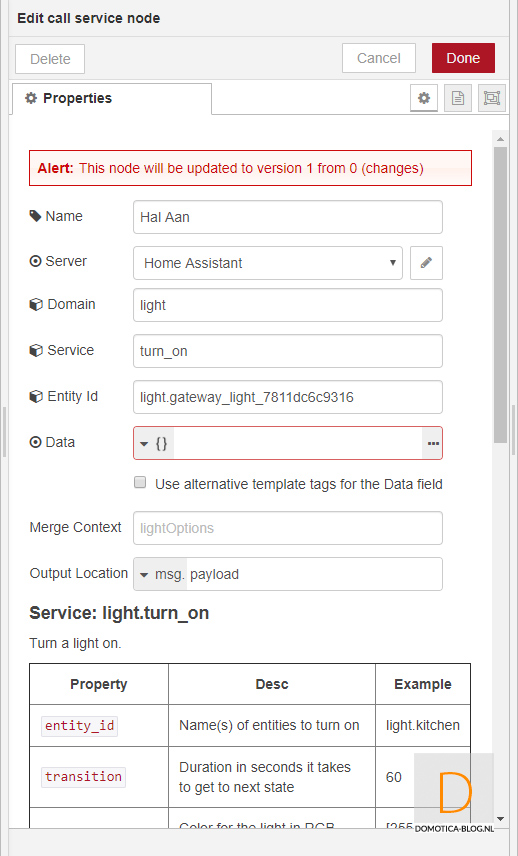
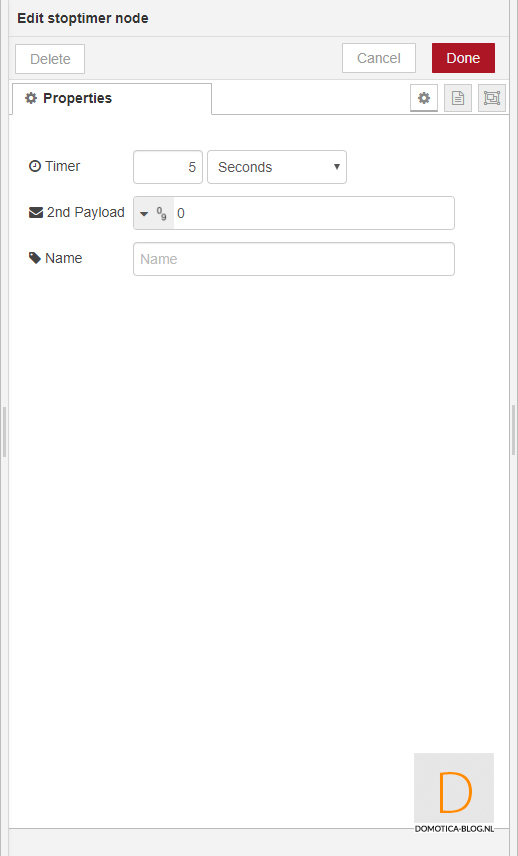
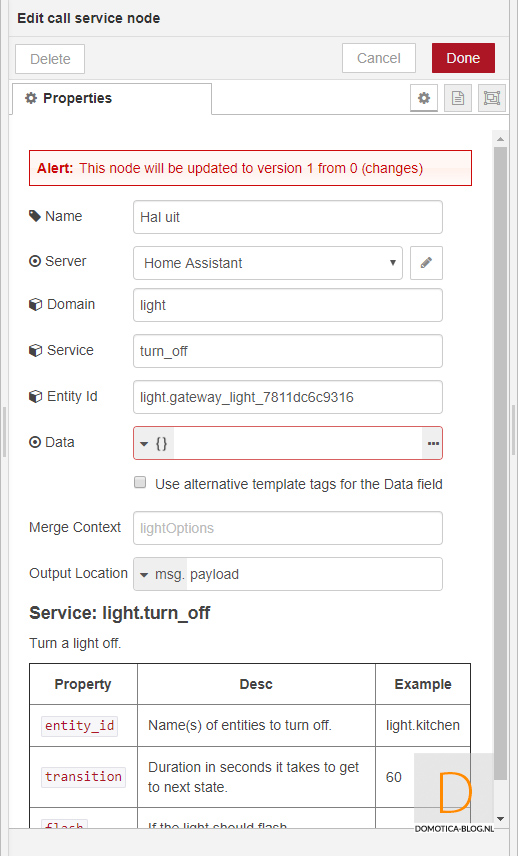
Example flow:
I would like, if the dimmer is switched on, that another lamp is also switched on. If I switch the dimmer off again, the other lamp must go out again after 5 seconds.