Review:
Qubino Mini Dimmer
Installation with the ZipaTile/ ZipaBox:
The next controller is the Zipatile. In general, Qubino products work great with this controller, so this Mini Dimmer shouldn't cause too many problems.
We will first install the module. Make sure that the power of the wall switch is off, because such a shock remains annoying. After we have unplugged everything, we determine whether we will connect it with 2 or 3 wires. If you have a blue wire (ZERO) then I would connect it to 3 wires. Because you are more likely to work well with your lamp. A schedule is included in the manual. When you're done, wait a while before turning the power back on.
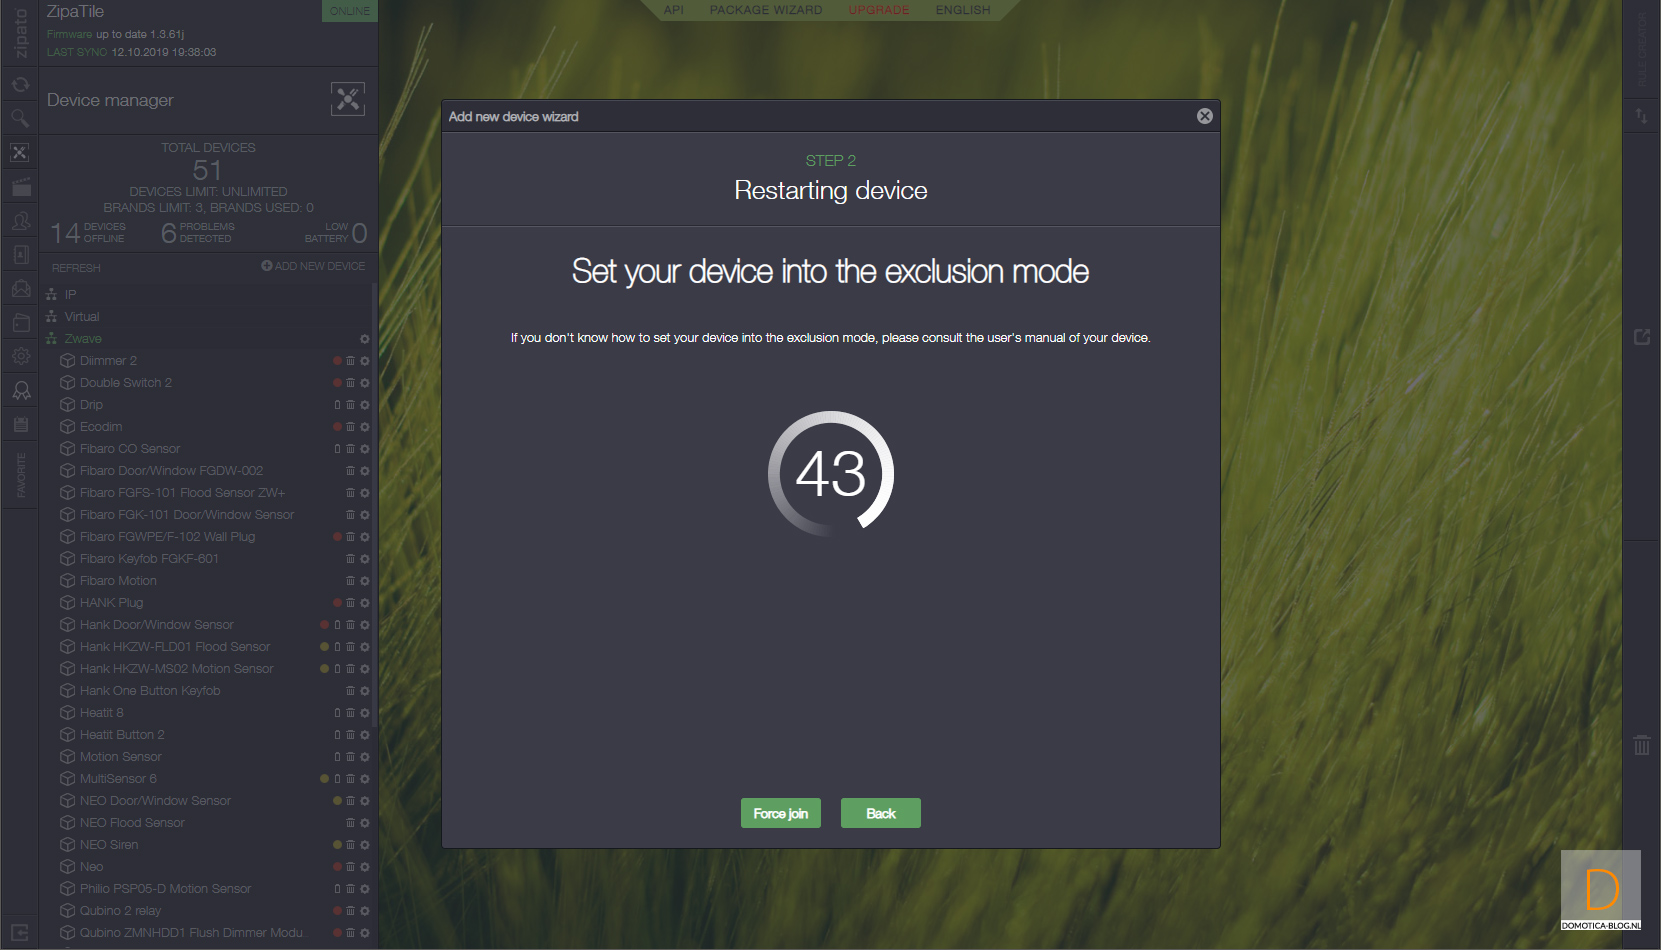
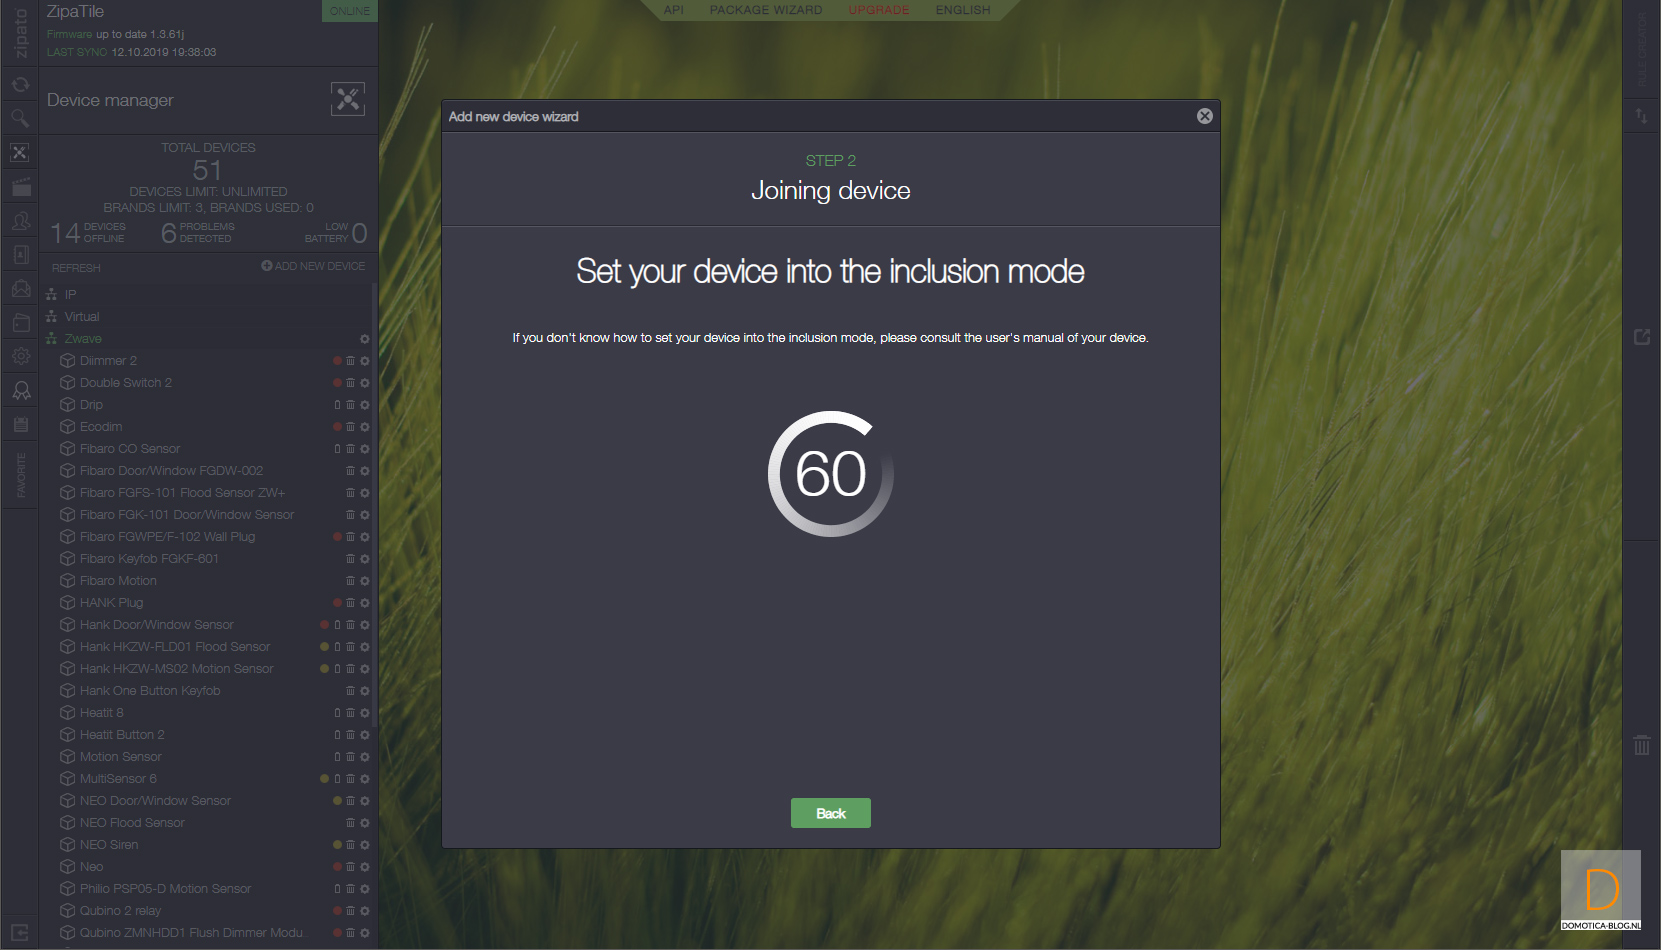
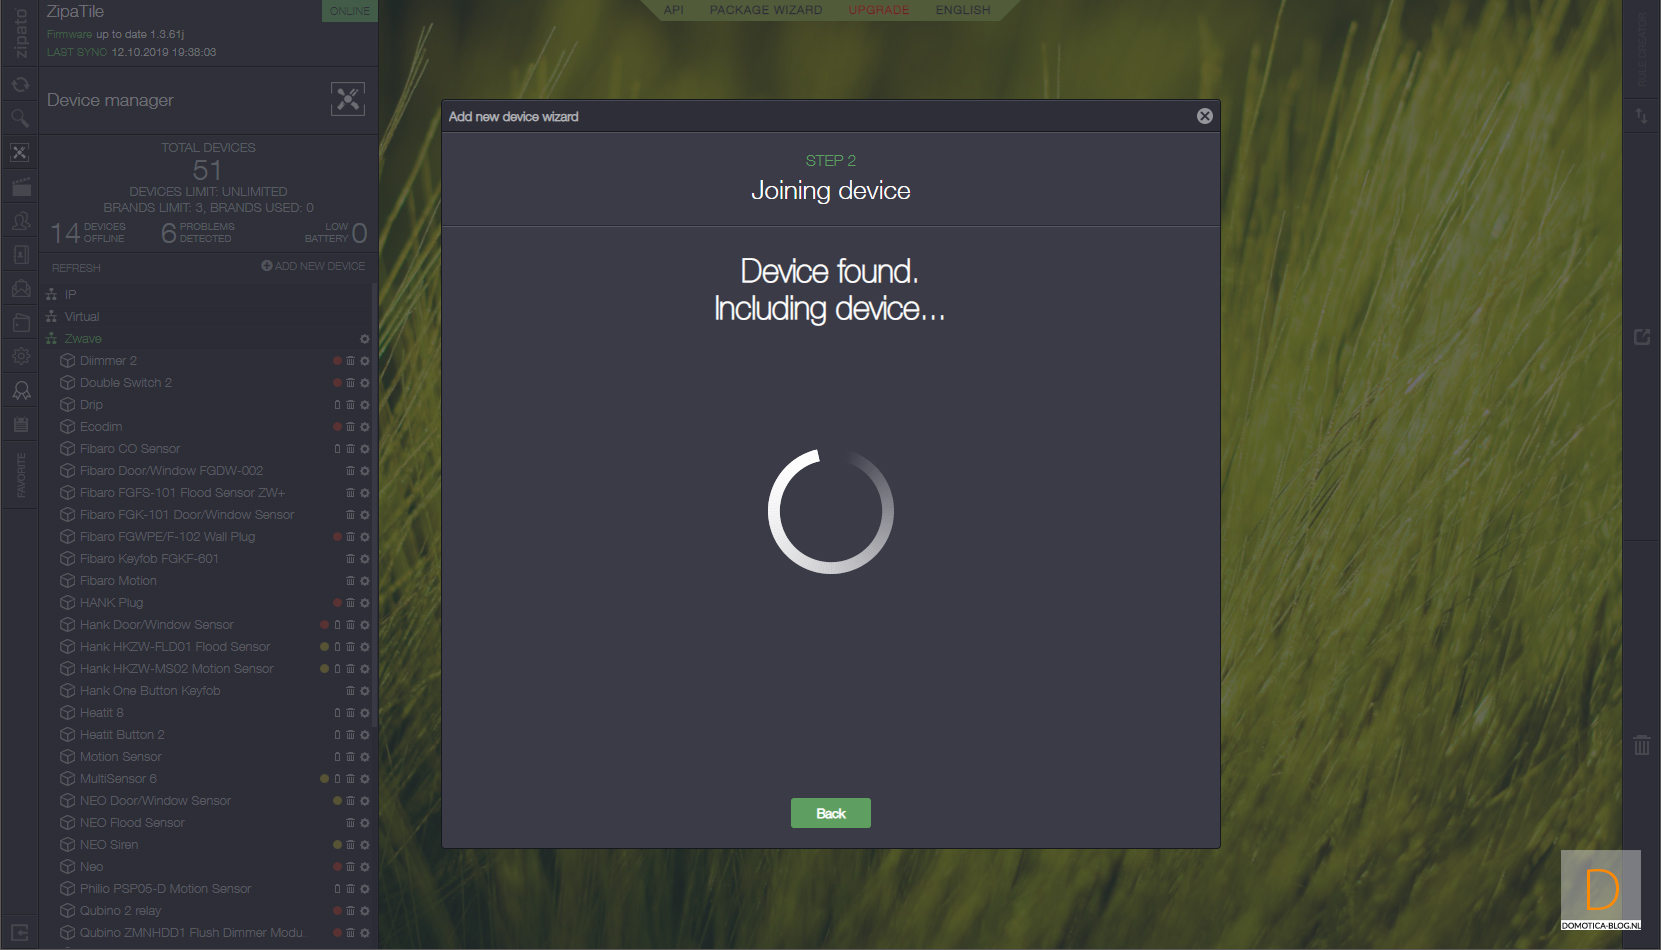
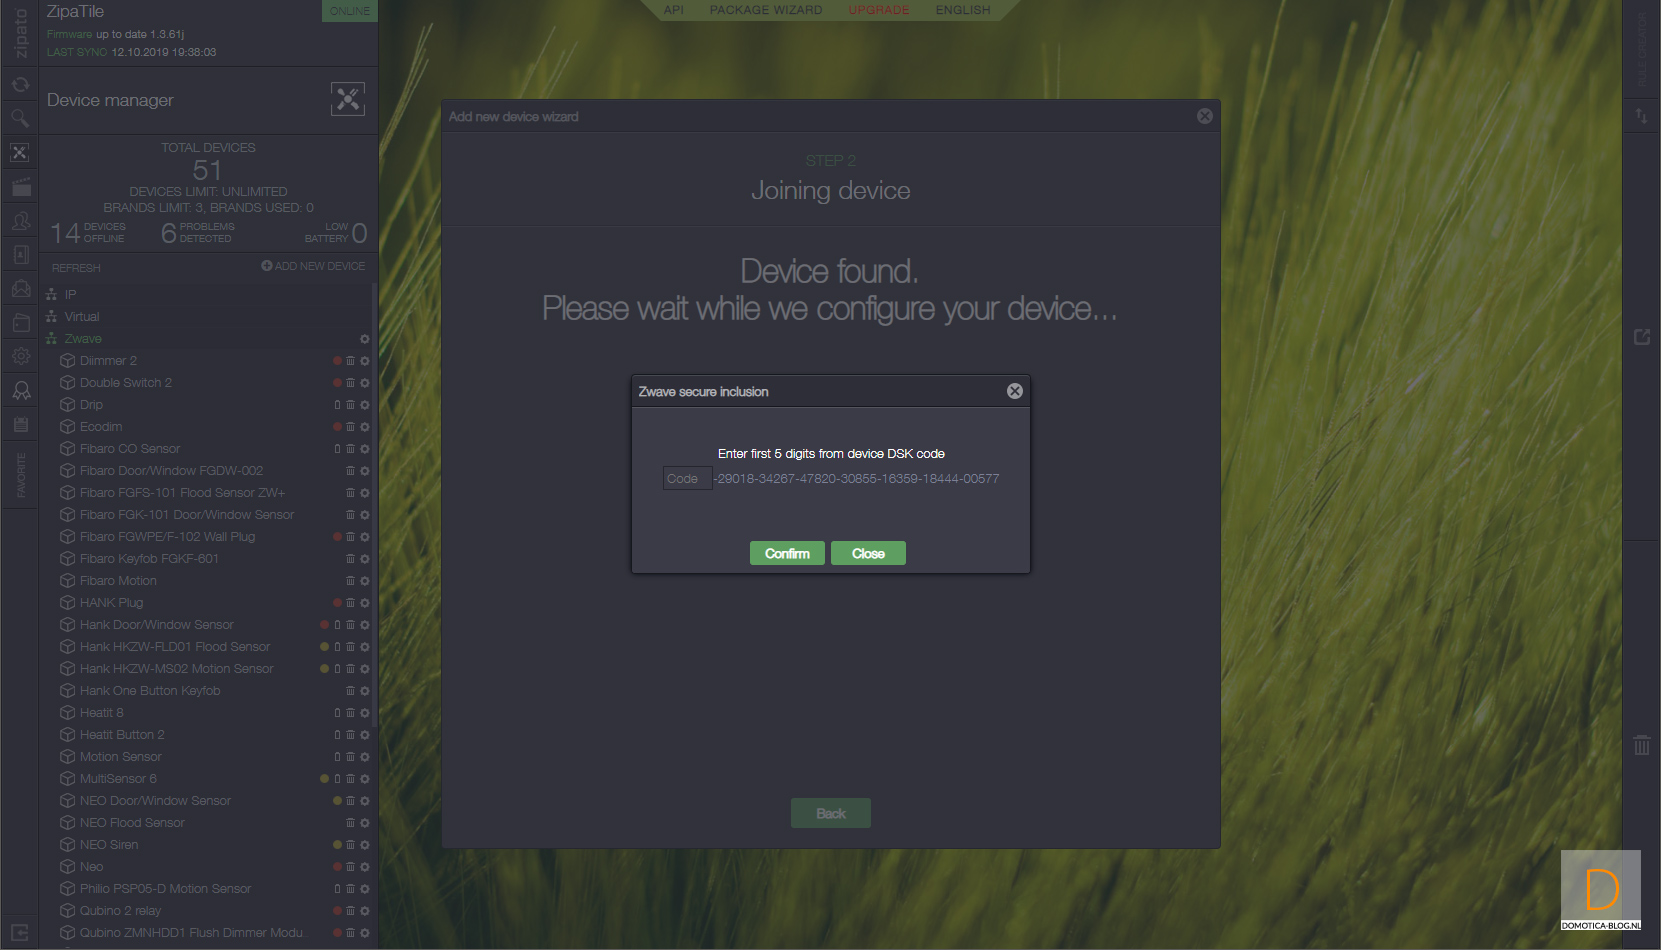
Log in first on the Zipatile and go to your devices. Then click on "add new device" and then on Z-Wave. The Zipatile will first remove the module (reset) and then add it. To start this you provide the dimmer with power. He was found and reset. After this he should add him but this did not happen. To start this you just have to remove the power and bring it back. Then click 3x on the wall switch. He was then added.
The LED on the module will also illuminate blue to indicate that the addition has started. When it is ready, it will first turn red and then green.
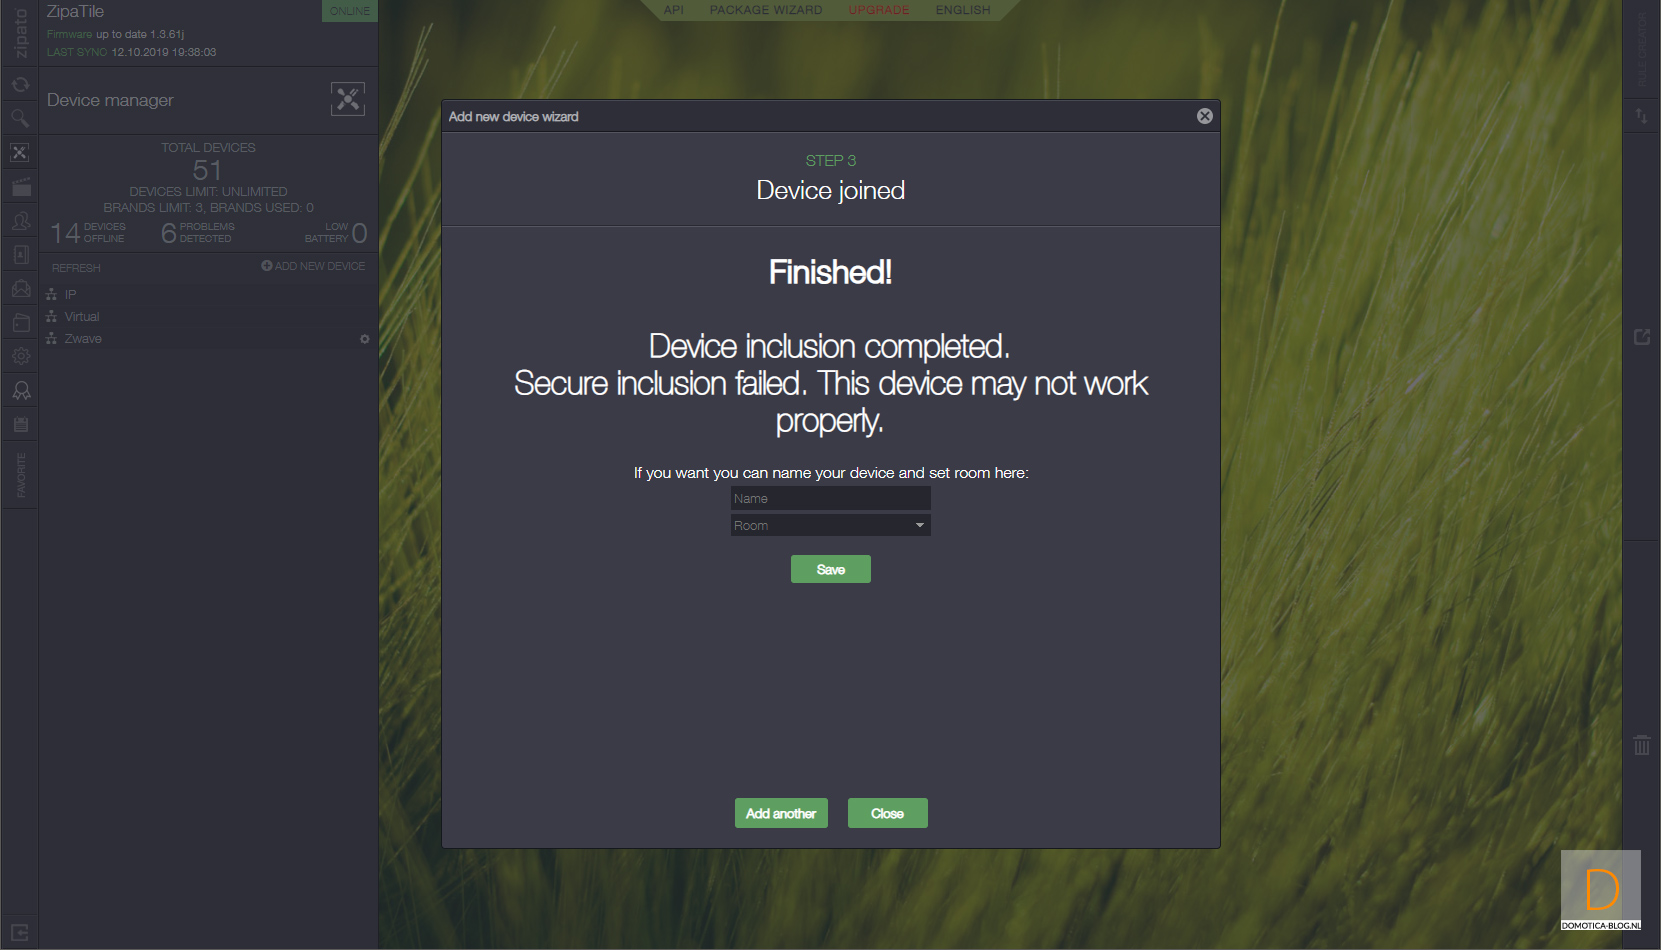
If I now look at my devices I see an on and off switch, I can dim, see the total consumption and current consumption. Completely complete.
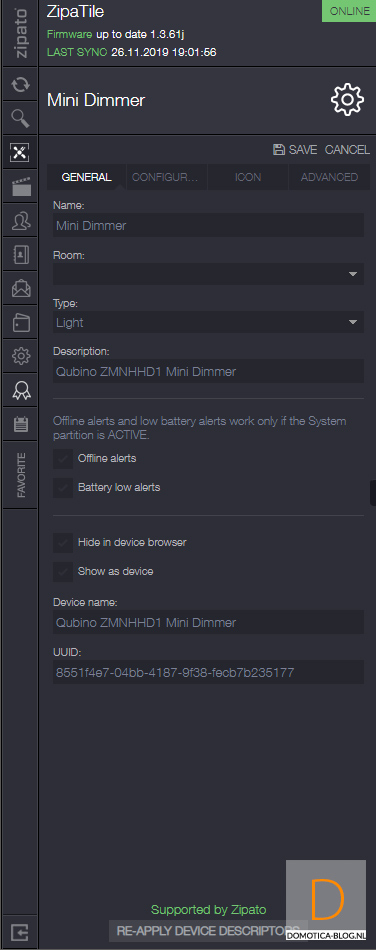
Installation screens:


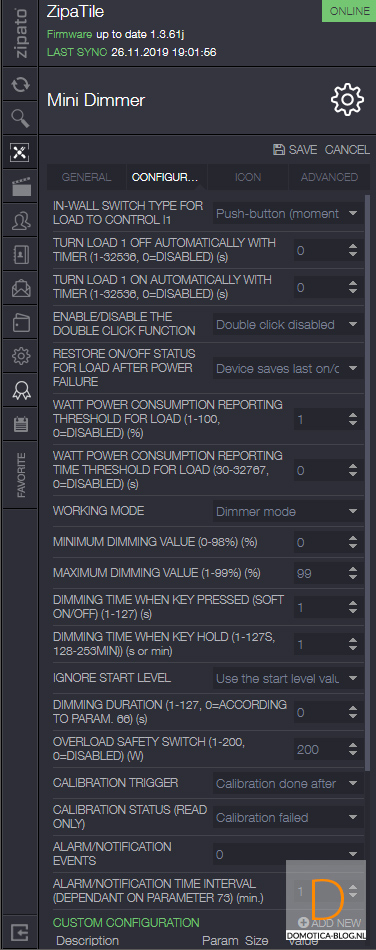
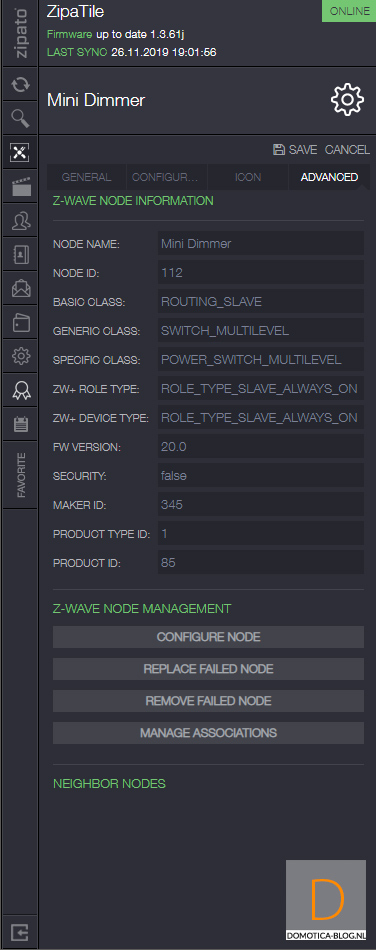
Configuration:

Dashboard:
On // off and dimmer:


Measurement:


Options in rule creator:
Sensor: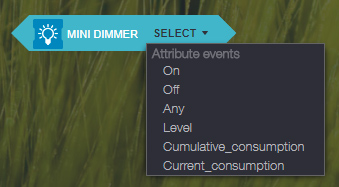
Measurement: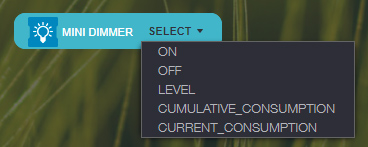
Action: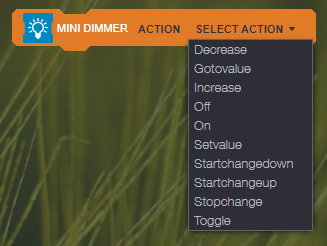
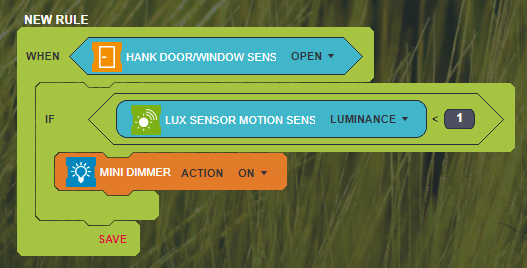
Example line:
If the front door is opened and the light sensor is lower than 1 lux (it is dark) then the mini dimmer must be switched on.