Review:
Qubino Mini Dimmer

Installation with the Fibaro Home Center 2:
The first step is to connect the dimmer behind your existing wall switch. You can connect this dimmer with 2 wires or 3 wires. If you have the option to connect it with 3 wires (with blue (NULL) wire) I would go for this option, because most lights work better. First tip is to disconnect the power from the switch and connect the dimmer according to the supplied diagram.
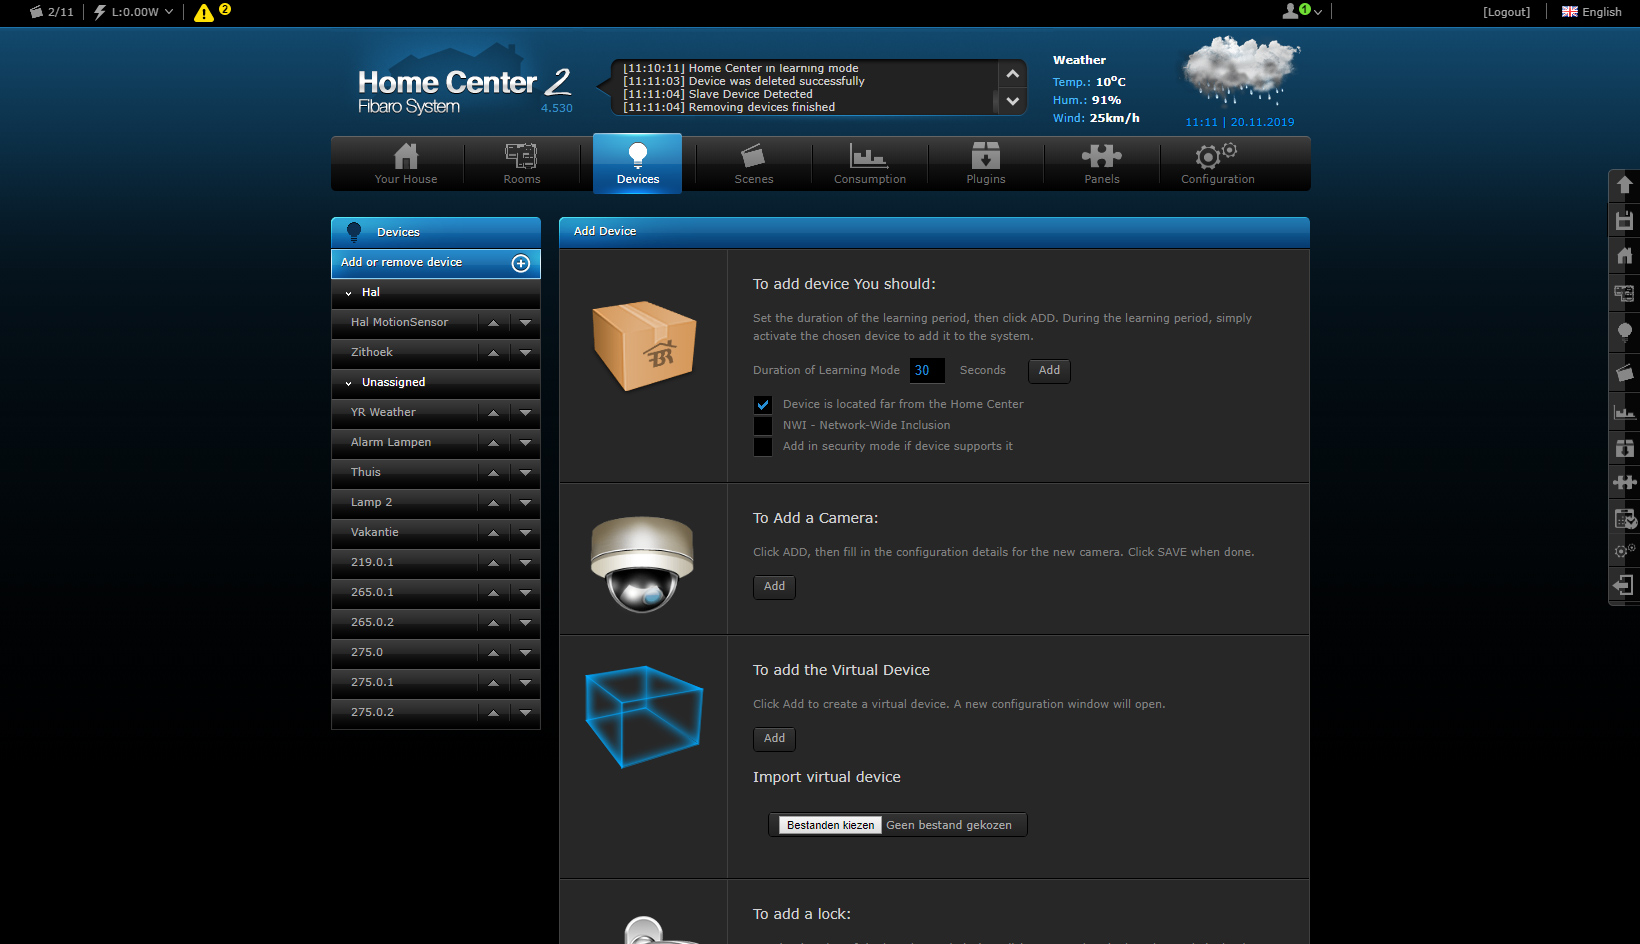
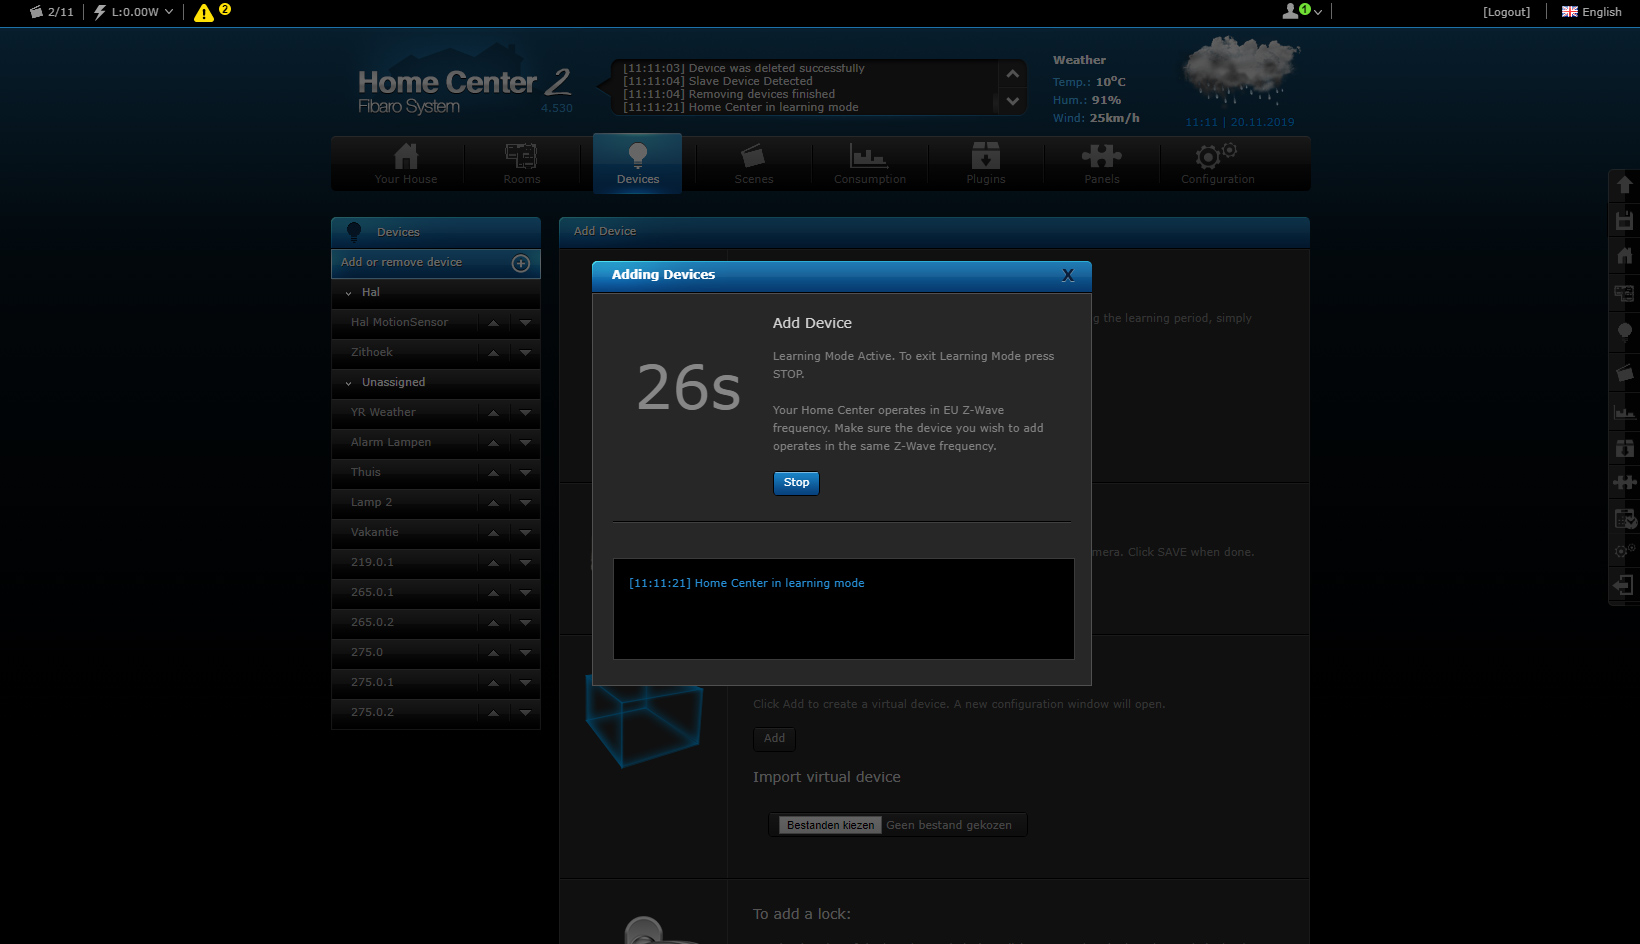
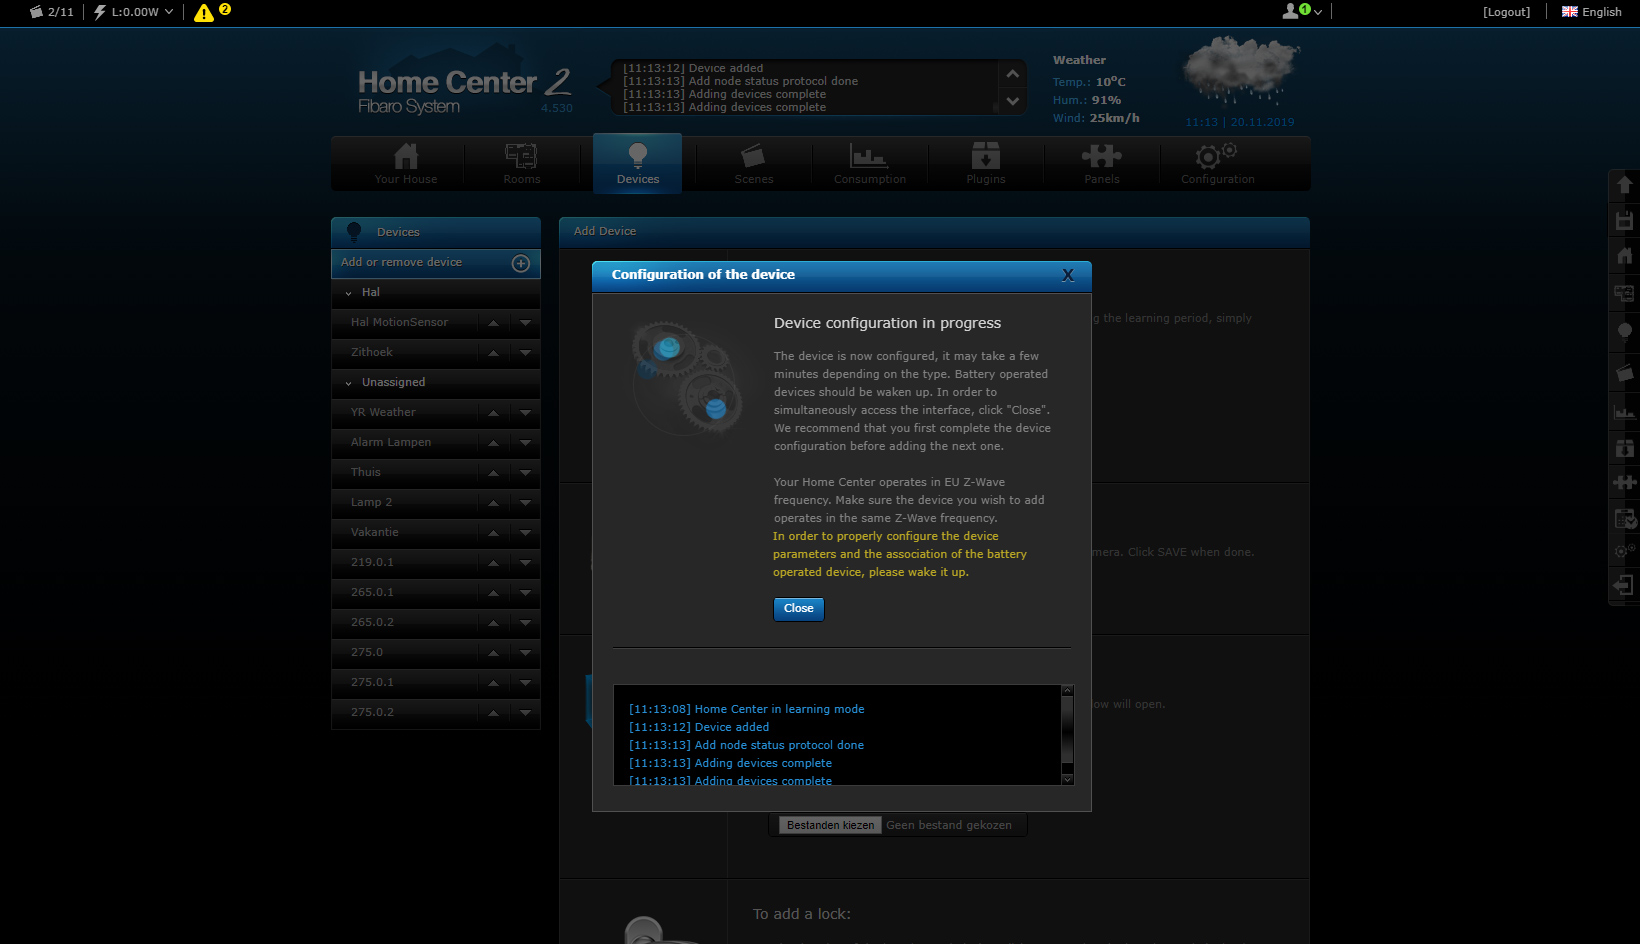
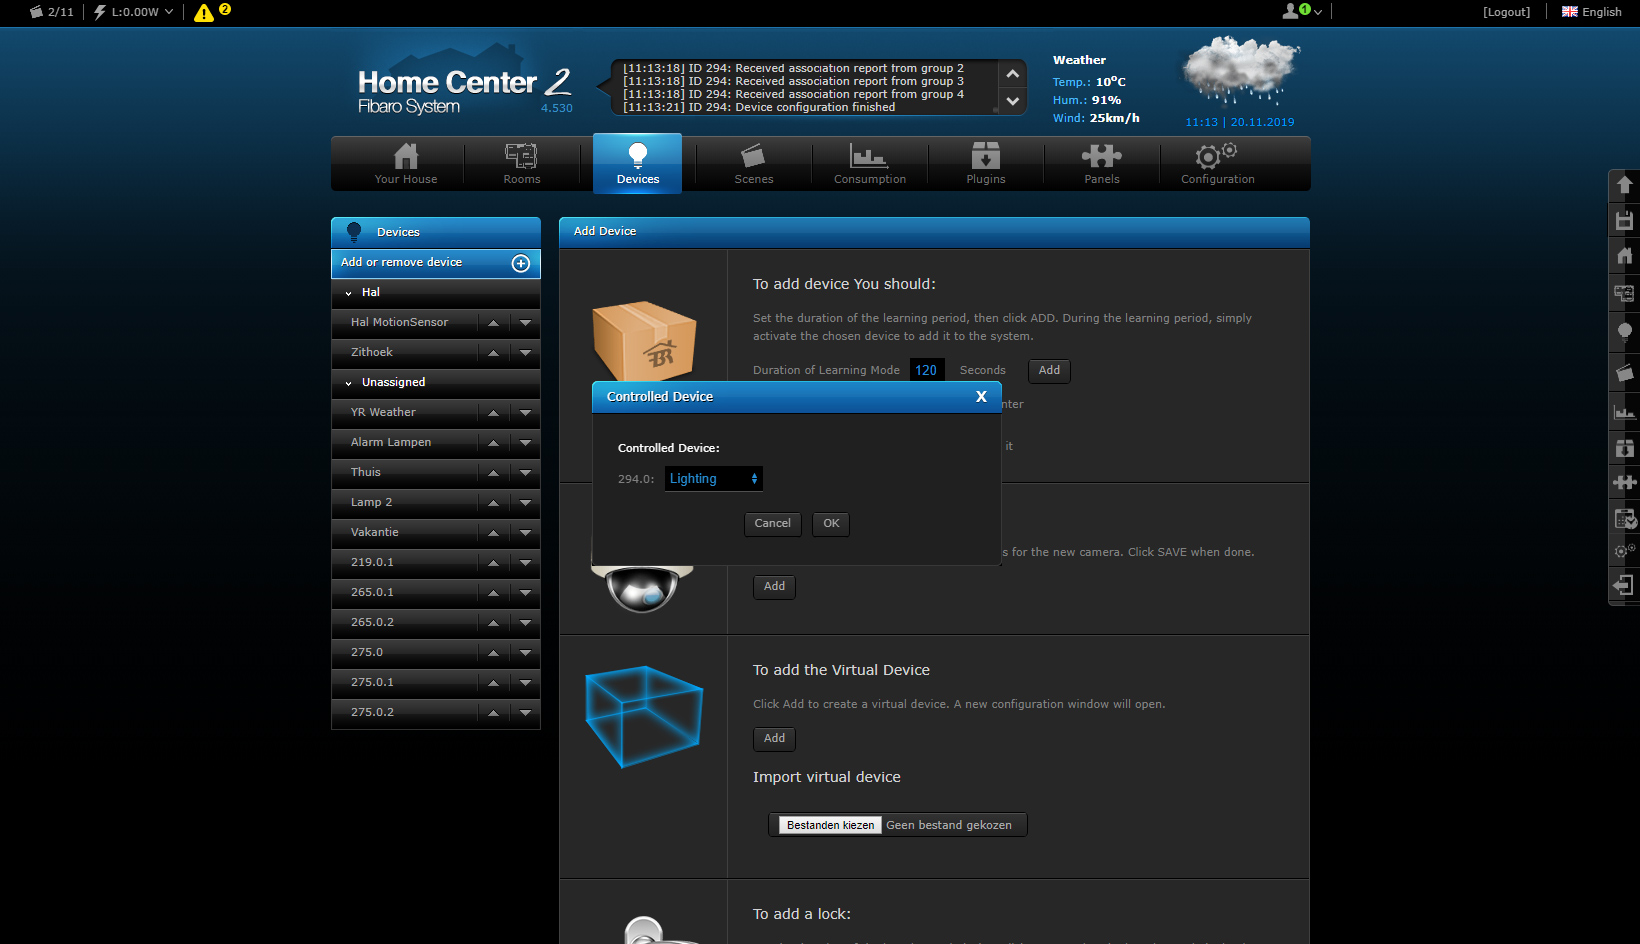
Wait a while before turning the power back on. It is better to first log in to the HC2 and go to your devices. You then click on "add". Then you provide the dimmer with power. In my case, he was found immediately. The dimmer indicates that the addition has started when the LED lights up blue. It will then light up red and then green.
If this is not the case, you can also switch the dimmer on and off 3 times within 3 seconds. If this also fails then just remove the power again and reset the dimmer. You can do this by pressing the wall switch 5x within 1 minute. You can also use the button on the dimmer itself.
Always ensure that the module is close to the HC2 or vice versa of course.
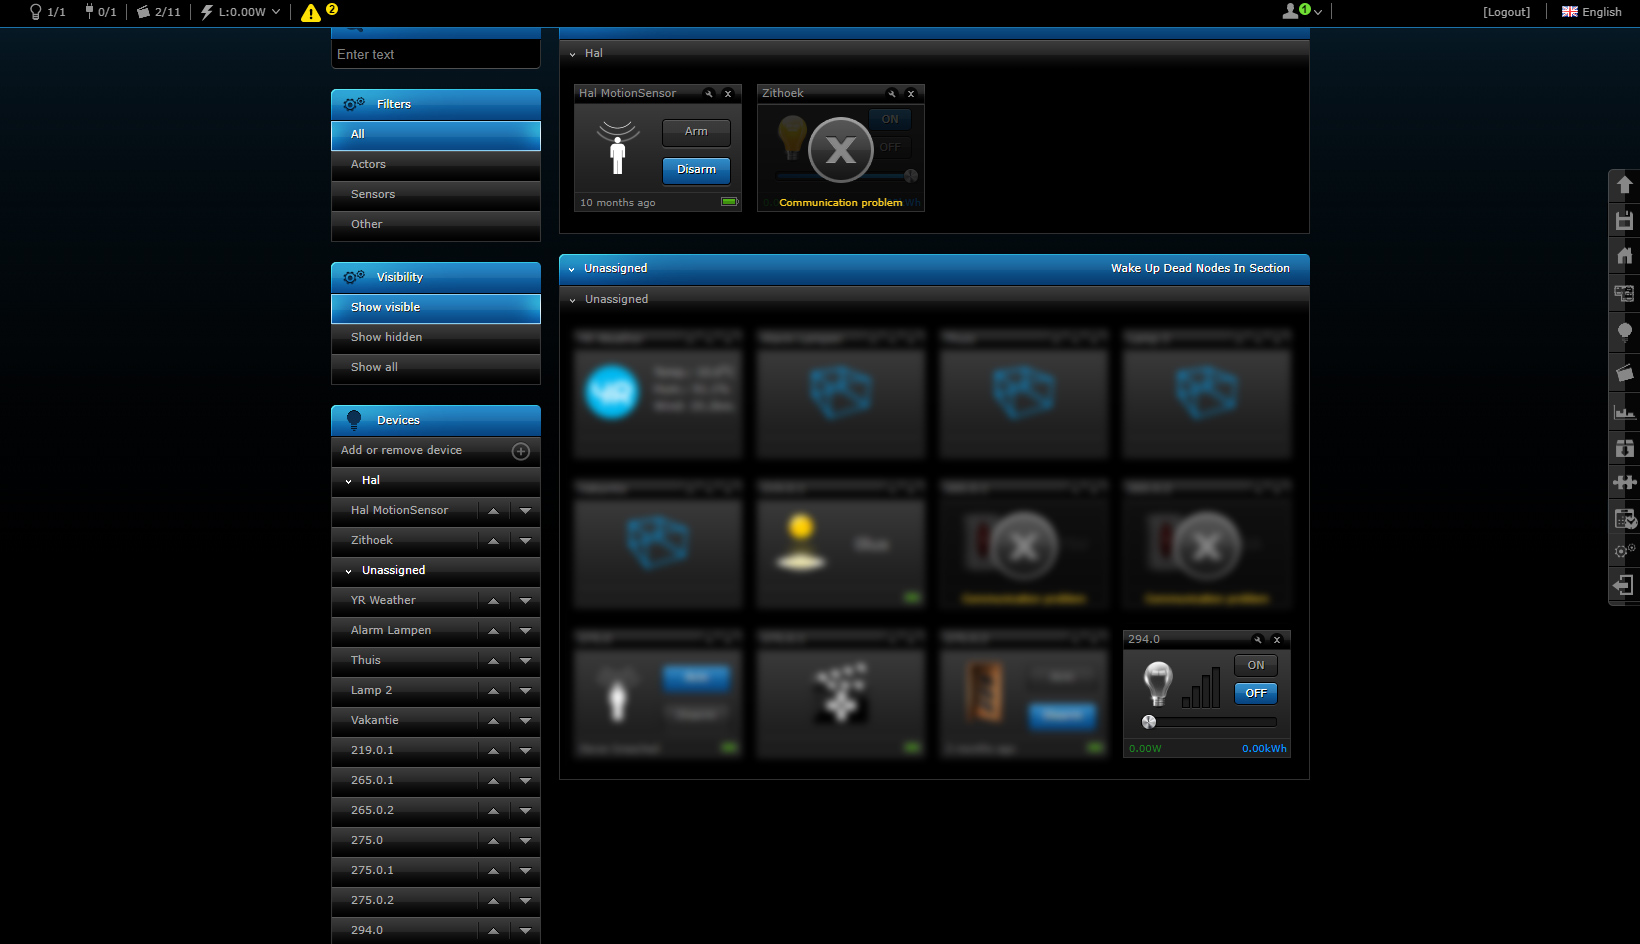
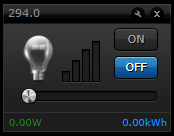
With my devices I see an on and off button, I can dim, see the total consumption and the current consumption. Completely complete and, more importantly, he responds to my commands.
Installation screens:
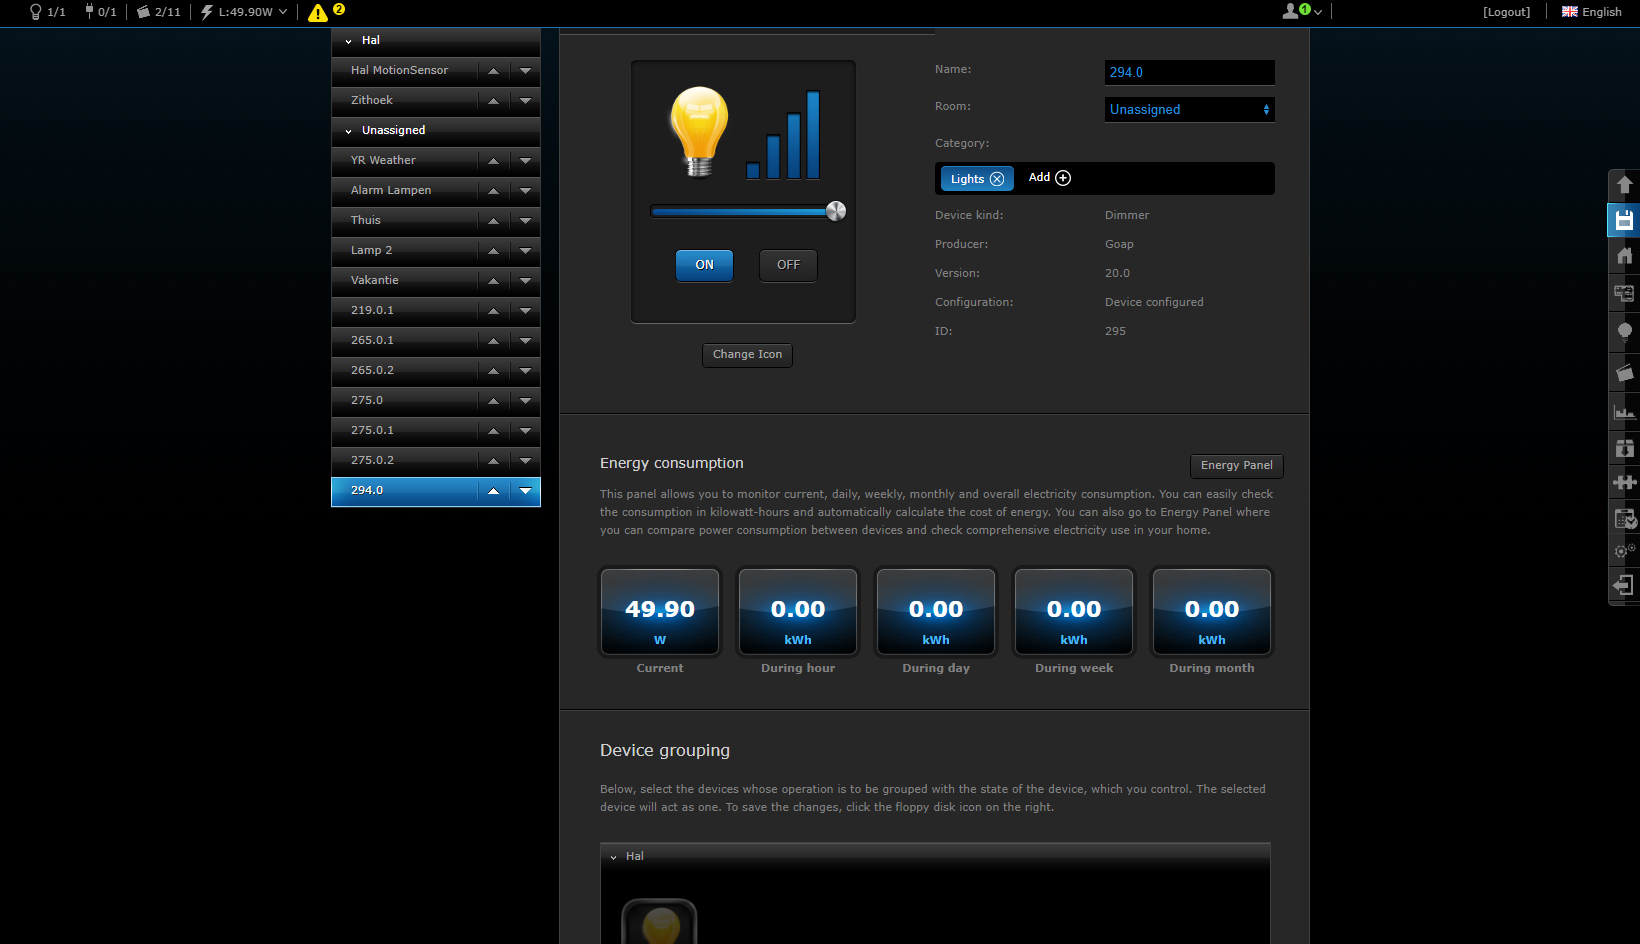
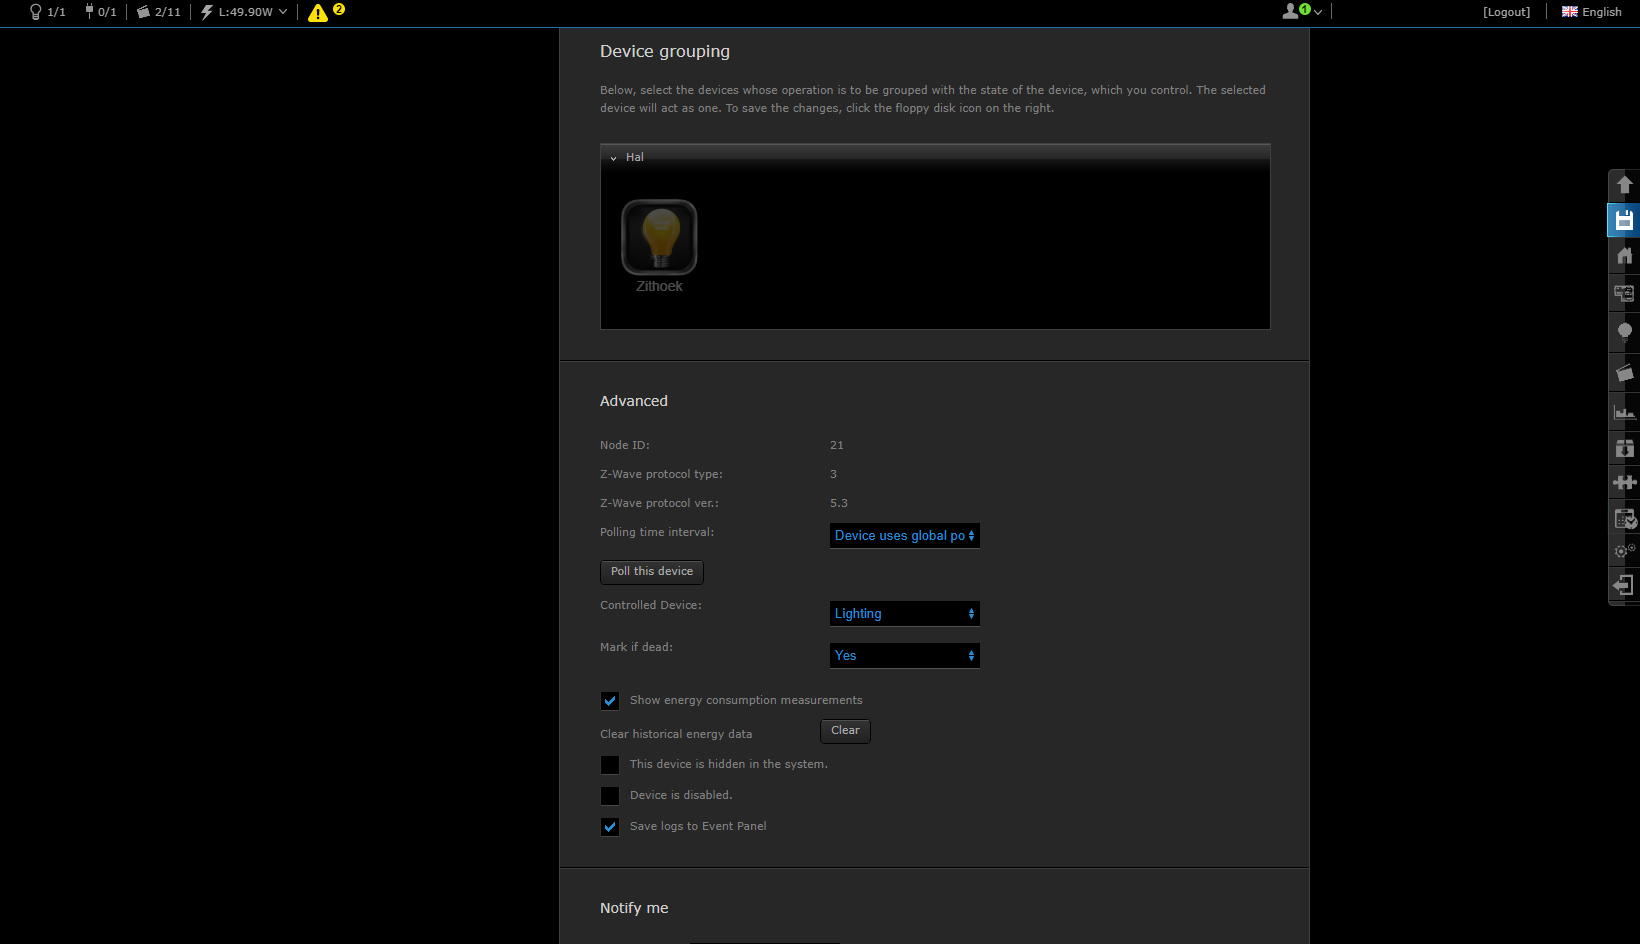
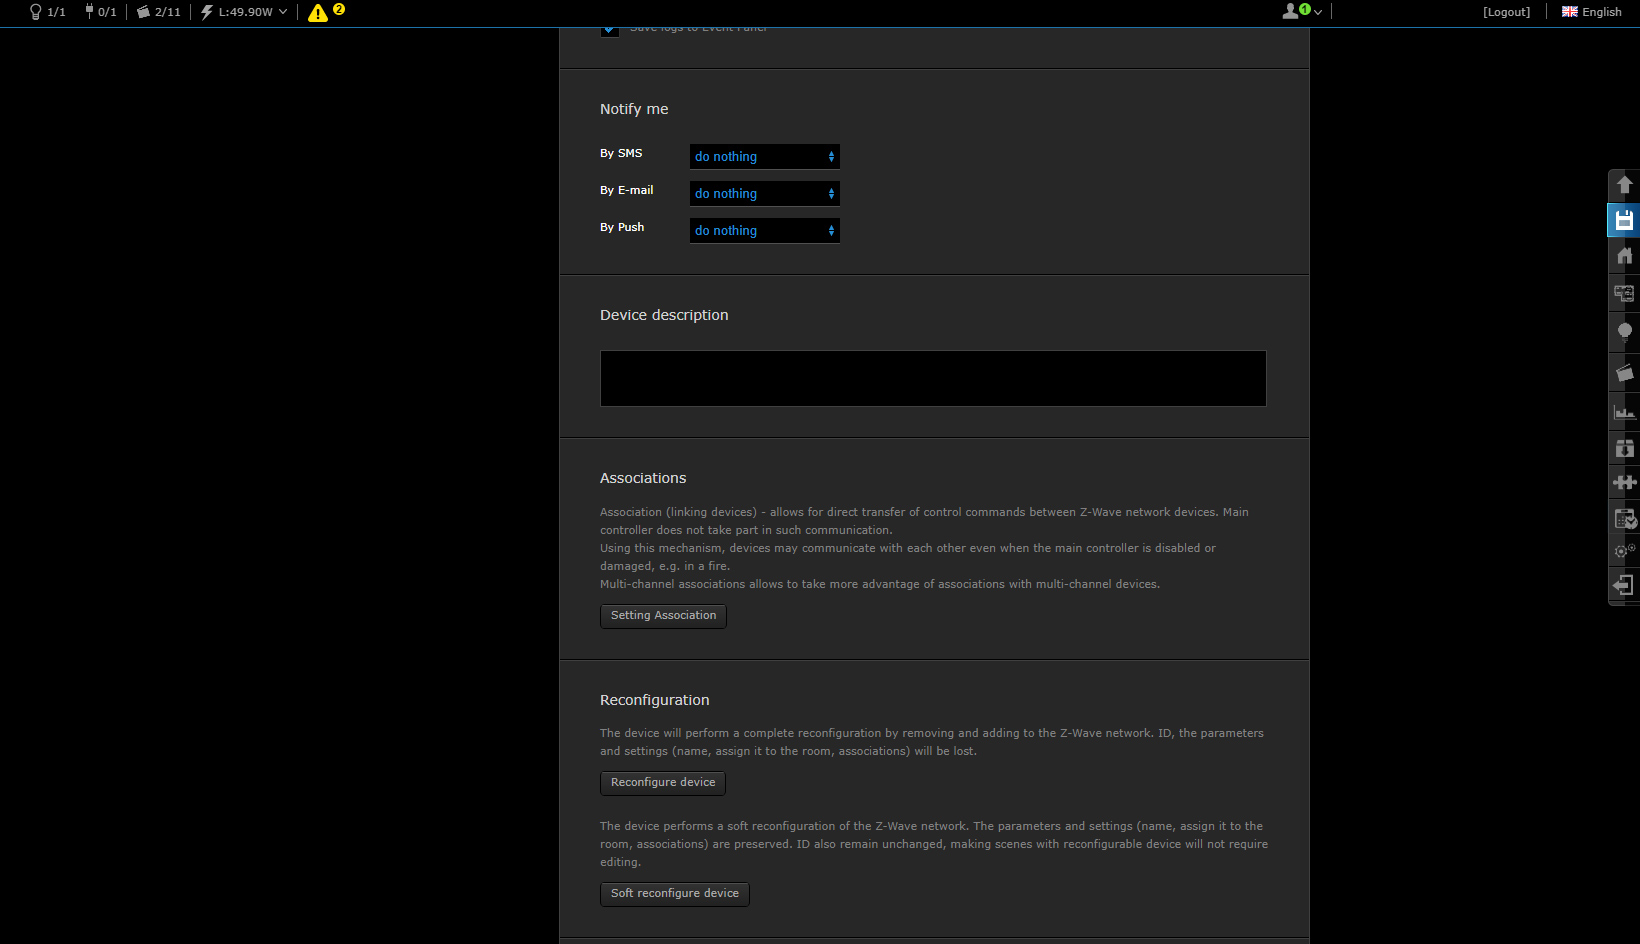
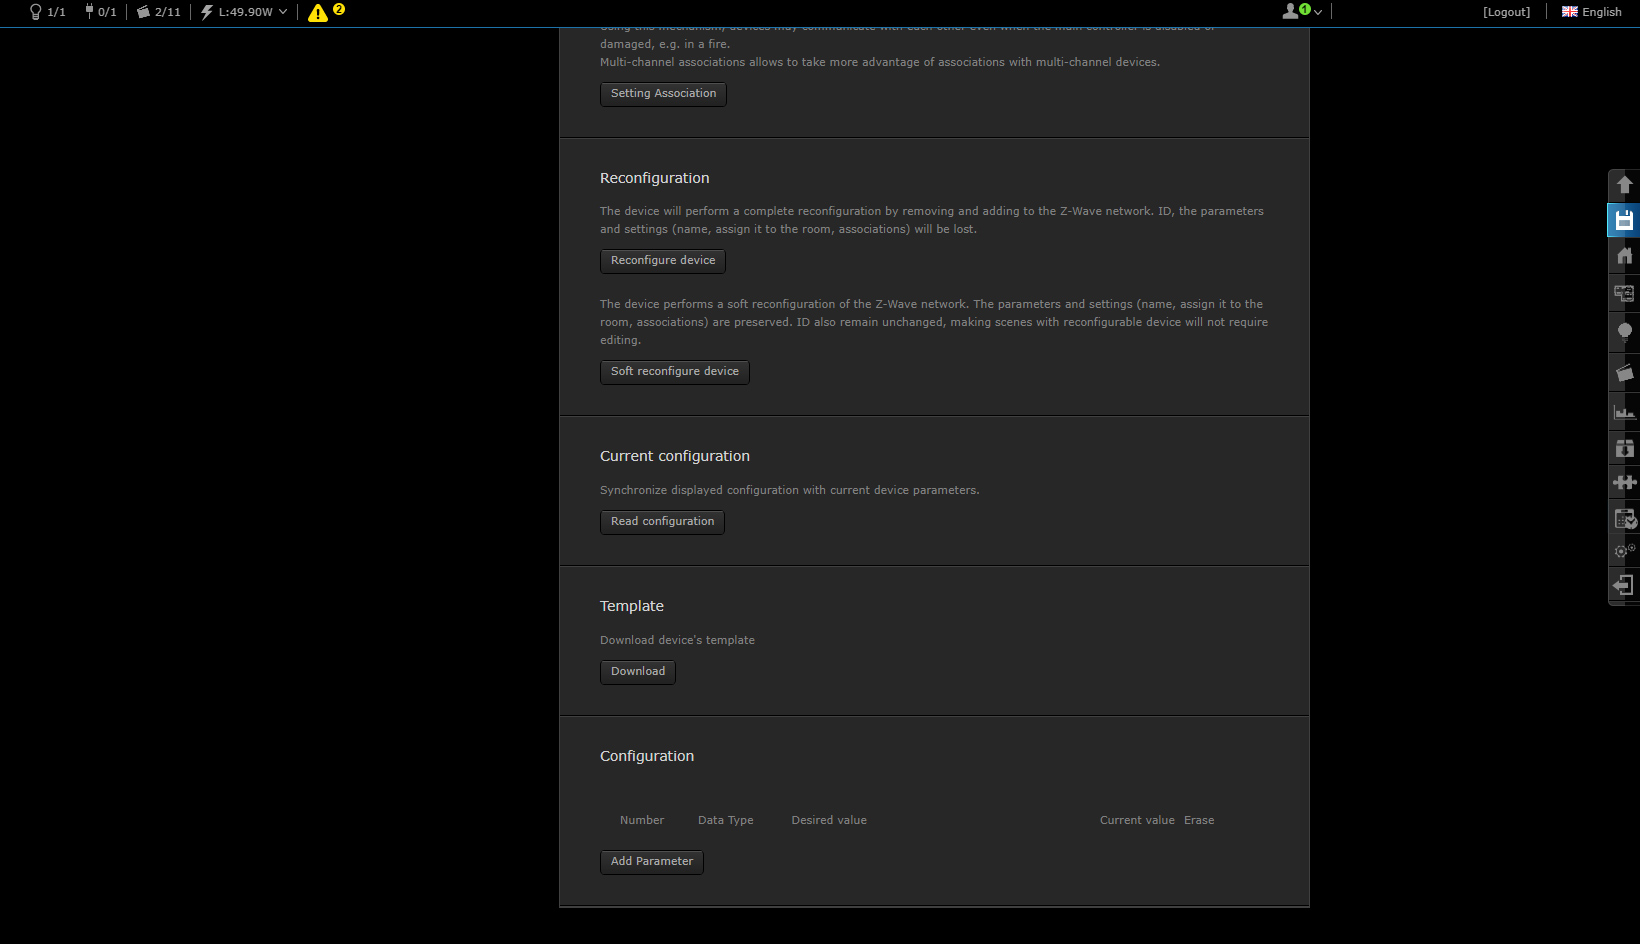
Configuration:
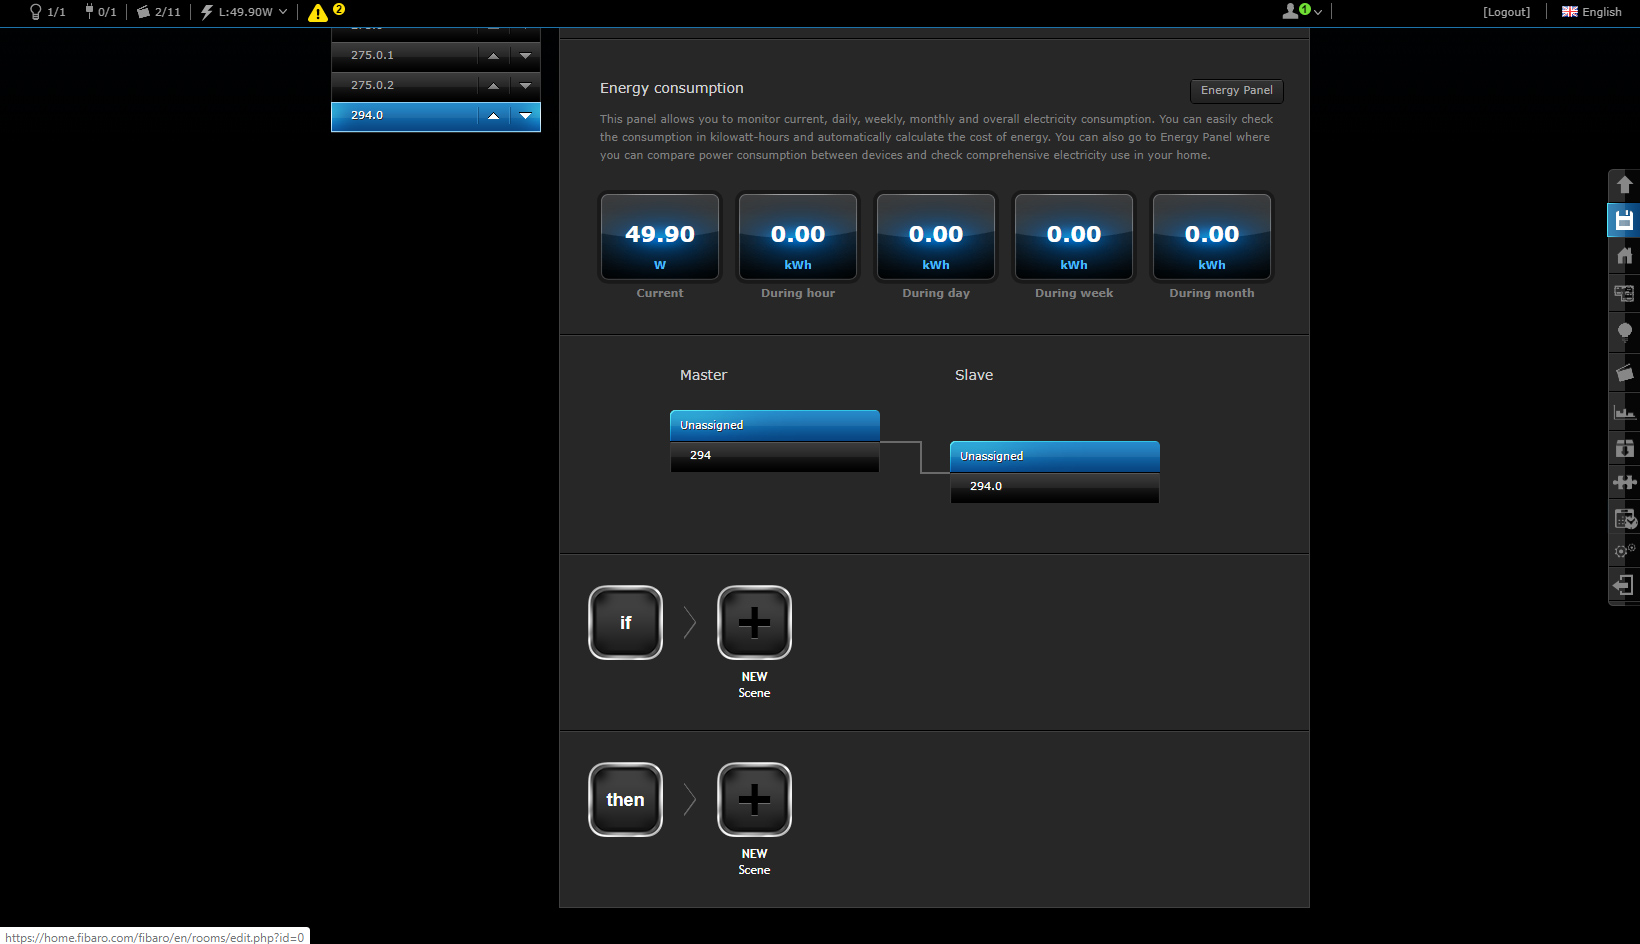
Dashboard:

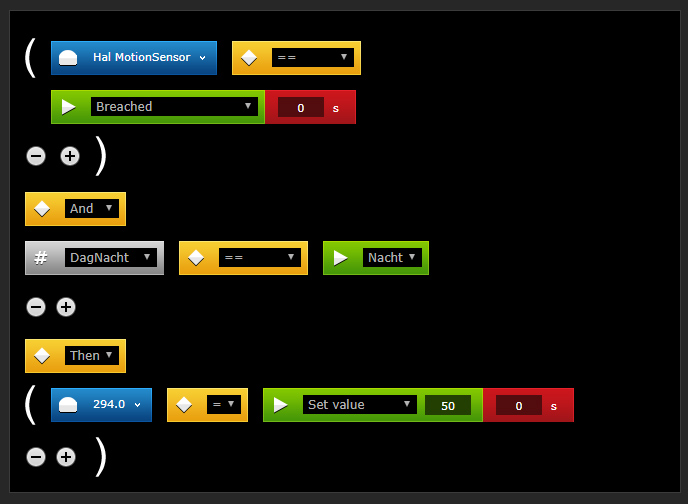
Scene example:
I would like that if there is movement in the hall and it is night, then the dimmer is switched on. I arrange the night arrangement with the script from Robbshop.